
Battlefield 3 Premium Guide Campaign Mission 4: Going Hunting
Going Hunting
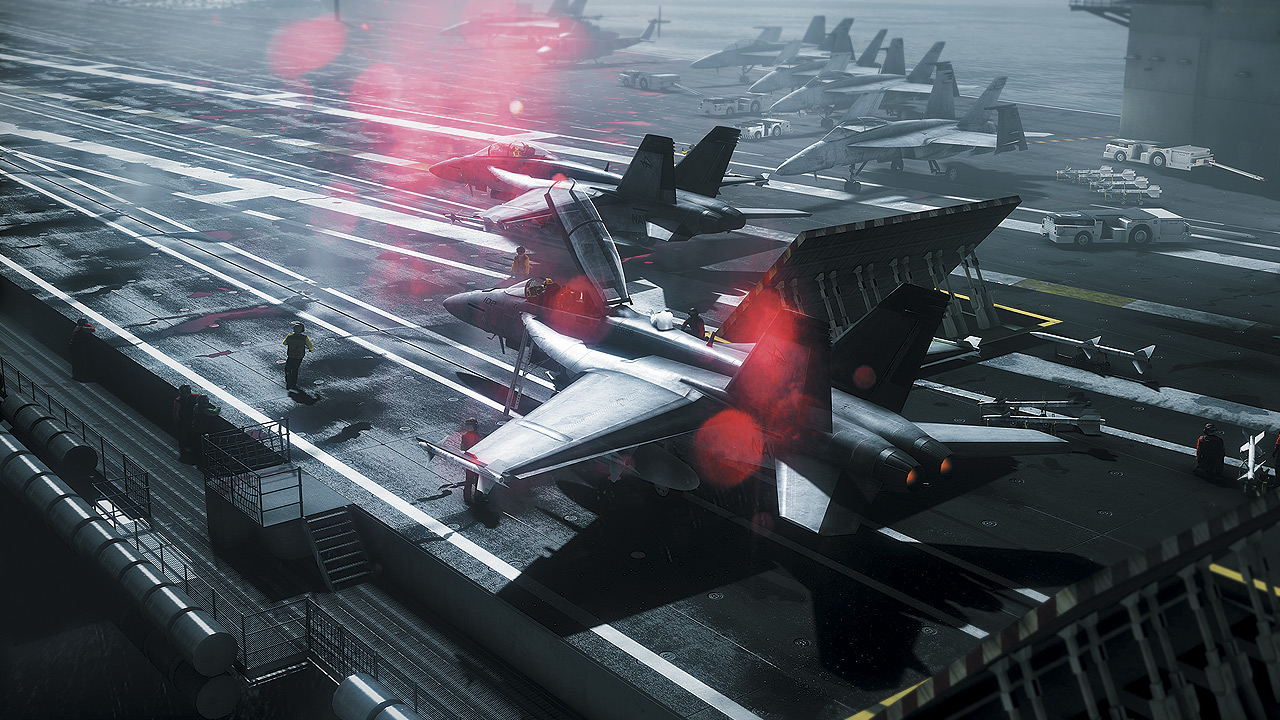
Callsign
Lt. Jennifer “Wedge” Coleby Hawkins - WSO
Location
USS George H.W. Bush, Persian Gulf
Date
October 31st
Time
0600hrs Zulu Time
Mission Summary: The Marines on the ground need a little airborne firepower to help assist with operations in Tehran in the search for a high value target.
Unbeknownst to Lt. Hawkins, her sortie has a direct link to Blackburn’s operations on the ground, albeit from a few thousand feet up.
Jargon
HMD
A Head-Mounted Display is one of the most lethal tools a wizzo has available to them, allowing targeting through the simple ac-tion of looking at (more specifically, turning one’s head toward) a target.
With it, weapons can be deployed without ever taking eyes off the target. When dogfighting, keeping tabs on a target is absolutely paramount.
Constant breaks, dives, ascents, and rolls are used to help shake pursuers, and all it takes is a second of lost focus to turn the predator into prey.
After turning to a proper heading, you and your wingman punch through heavy clouds on the way toward potential targets. There’s not much to do here save for admire an incredible view, but things are quickly going to change.
Take a deep breath and prepare for the most expensive game of cat and mouse on the planet.
This is due to the myriad reasons why an IFF response may not be received (damage, interference, etc.). That said, a negative or incorrect response most definitely is a valid reason to be on guard for the potential for an enemy threat.
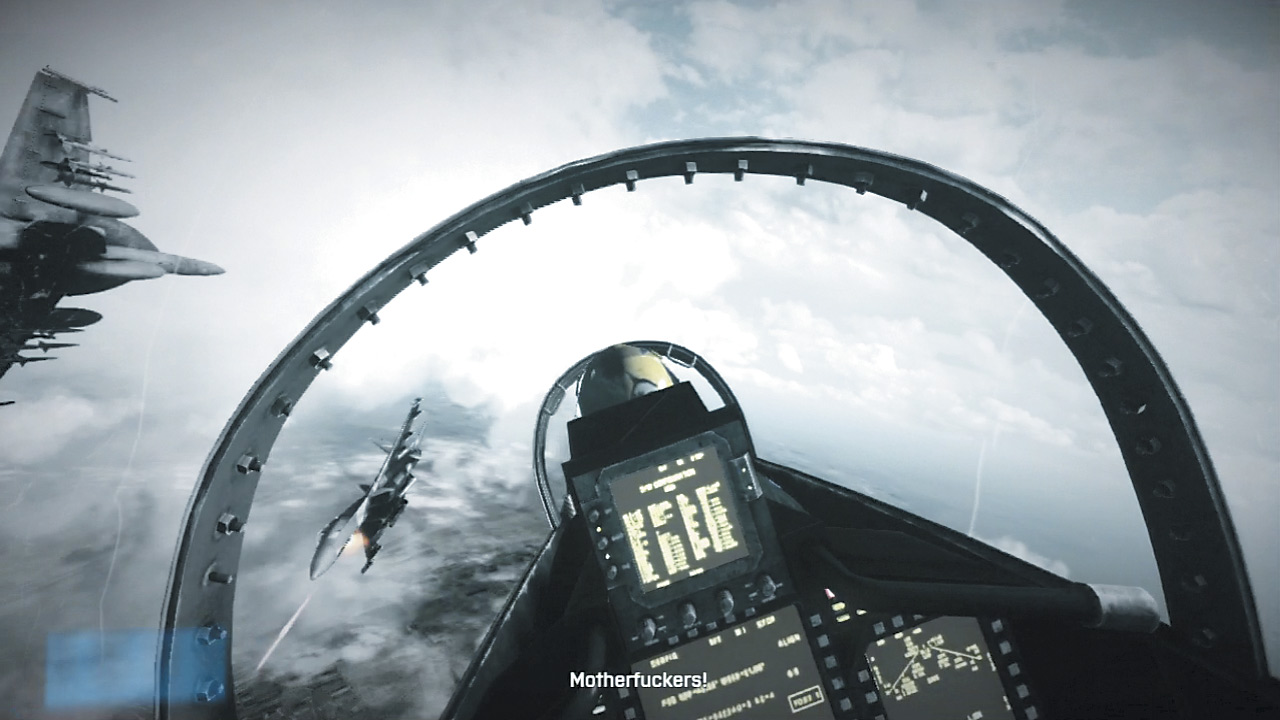
The two unidentified bogeys decide it’s best to shoot first and ask questions never, forcing a hard break to the left to re-acquire the targets. The pair of fighters break formation, forcing your wingman to follow the left bogey.
Meanwhile, you and your co-pilot track the right one, which almost immediately begins dumping countermeasures. Time to go hunting.
In a brilliant move, the pilot of the MiG dumps flares, immediately pulls up, punches his air brake, and sheds enough speed to swap places. Yes, that means there’s a bogey on your six.
Thankfully, this is precisely what a wizzo is trained to handle. Swivel your head around to keep the enemy in sight while your pilot performs evasive maneuvers to re-establish the natural order of things where you are the aggressor rather than the other way around.
It’s a simpler task than it may sound, though that doesn’t mean it’s especially easy. Keep your eyes trained to the rear at all times and listen for the sound of a missile lock.
When it turns into a steady tone, get ready to deploy flares. They are designed to throw off the heat-seeking missiles the enemy jet will try to unload with precision.
There’s a limited window of time to react, but deploying the flares is a multi-stage process that releases multiple flares to mask your jet’s engines. A smattering of incoming fire from the 30 mm cannon forces your pilot to mimic the bogey’s evasive maneuvers.
He turns hard, dumps speed much like his opponent, and finally drops in behind the hostile craft even as it begins expelling out flares of its own. Keep eyes-on, as this is practice for protracted dogfights that may play out in the moments to come.
[ ACHIEVEMENT | TROPHY ]
Dogfighting 101
If you’re going to have any hope of snagging the You Can Be My Wingman Anytime Achievement/Trophy, you must complete these dogfights without taking any damage, and while minimizing ammo usage.
Have patience here; both your flares and those of the enemy MiGs are used heavily for a very good reason: they work—and work well provided they are used properly.
Their deployment period is fairly lengthy; plenty of flares are shed in a single go, though they don’t take terribly long to reload. That reload time is the absolute key to taking down these fighters with a carefully-paced shot.
Most pilots will try to break away as they dump flares, creating a wide wake of heat that confuses the missiles. If you see a target beginning to bank, hold off on firing until they’ve leveled out—and likely after they’ve dumped yet another set of flares.
When being pursued, play the waiting game. Your HMD prominently indicates when a missile has actually been launched by lighting up as red as Satan’s generous ass.
Refrain from deploying flares until just after the display turns red. Generally speaking, if your pilot is turning and burning during a lock, it’s a good idea to bust out the flares.
If flying along a relatively straight trajectory, wait for the crimson hum.
TAKE OUT ENEMY FIGHTERS
Finally, a chance to turn the tables on these airborne aggressors. Hawkins’ HMD goes into effect, locking onto any target that she (and you) can keep relatively centered in view.
It’s important to get off a clean shot here without letting enemy flares render your missiles useless. Play the waiting game and listen for the ticking sound to stop.
Again, if the target jet is banking, prepare for their flares to fill the screen. Wait for them to subside, then launch and pray for a proper impact.
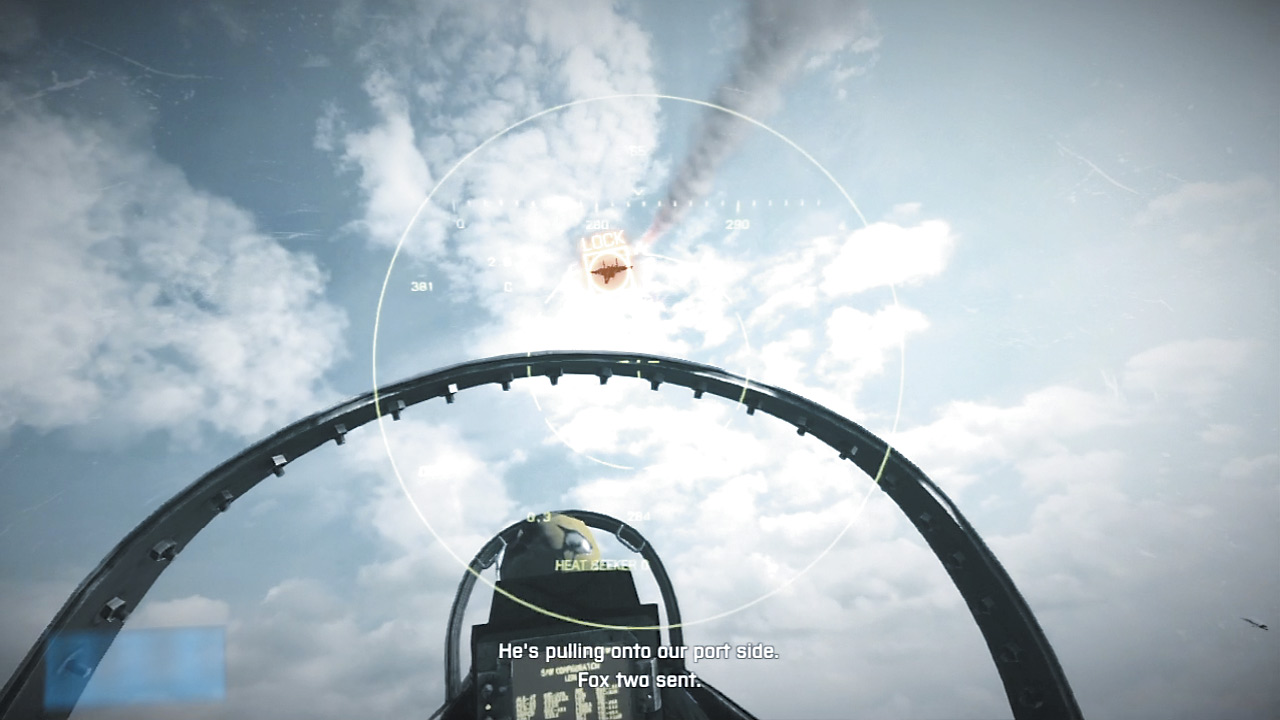
After a few more dogfights, the opportunity to unload with your own cannons comes into play. Press the weapon switch button just as you did during the pre-flight check, then get ready to finish things old-school.
The engagement becomes all about classic dogfighting mechanics here; unload as the target is crossing into the line of fire. If you hesitate or wait for a perfect position, it will already too late and you’ll have to switch back to missiles.
After finally finishing off his targets, your wingman moves back into formation from behind with orders to proceed to the original target.
Unfortunately, a radar lock comes from out of nowhere and a bogey cuts the transmission short as your wingman is shot out of the sky. After a hard brake to avoid the same fate, two bogeys appear on your six. This is not going to be easy.
TAKE OUT REMAINING MIGS
A pair of missile locks is a bad situation to find yourself in, so respond quickly with flares to break both locks. Don’t be stingy with the flares here when dealing with these close-range pursuers.
After a few close scrapes, the enemies break formation and split up. This creates an opportunity to avengeyour lost wingman. Hit them hard here, punching missile fire as soon as the lock alarm sounds to avoid deflections by their countermeasures.
If the missiles don’t take, fall back to the usual tactics, playing patiently to bring this cat and mouse game to a close. After taking out the first target, his buddy quickly slips in behind you and another bout of missile evasion begins. Deftly avoid the incoming attacks and down the last enemy fighter while pulling some intense Gs.
The skies may be clear of bogeys, but they most definitely aren’t free of danger. While linking back up with the strike force, heavy anti-air and surface-to-air missile threats make it clear this isn’t going to be a cakewalk. Perhaps its time this nimble fighter takes care of those SAM batteries...
CLEAR SAMS USING HARM MISSILES
Tracing the transmissions back to their source, the impressive payload literally follows a signal to its genesis and detonates. An enemy’s transmissions become a bullseye that the HARM can target with incredible precision.
Follow the on-screen prompts to switch to the HARM, then look for the brightorange targets to come into view. Use the zoom button if needed, then center a target in the reticule until a hard lock is acquired.
After firing, keep the target painted as the missile races toward it. Repeat with the other two targets to secure the airspace for strafing and bombing runs to come, and then move on to something a little more challenging.
In this case, it’s the guiding hand of Lt. Hawkins that marks targets from high above, directing the bomb-equipped planes on their strafing runs. So long as a target is held in view, the deployed munitions will easily hit the bullseye every time.
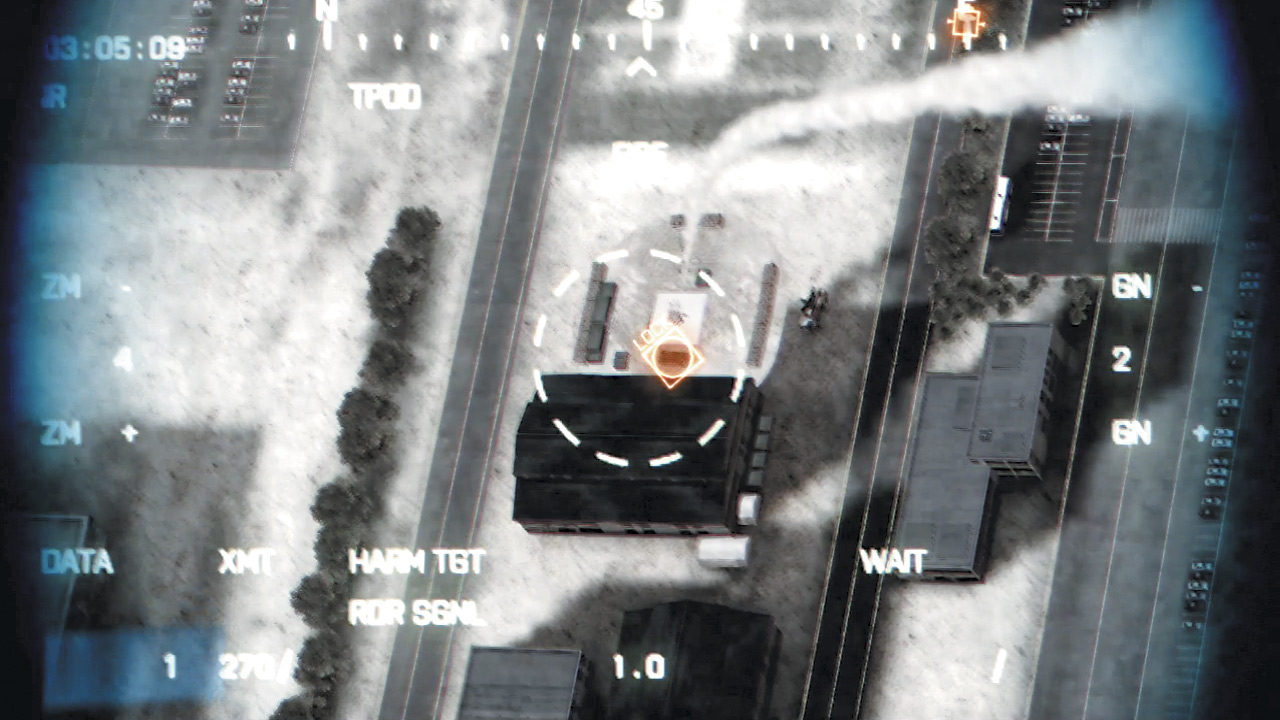
DESTROY ALL PARKED PLANES
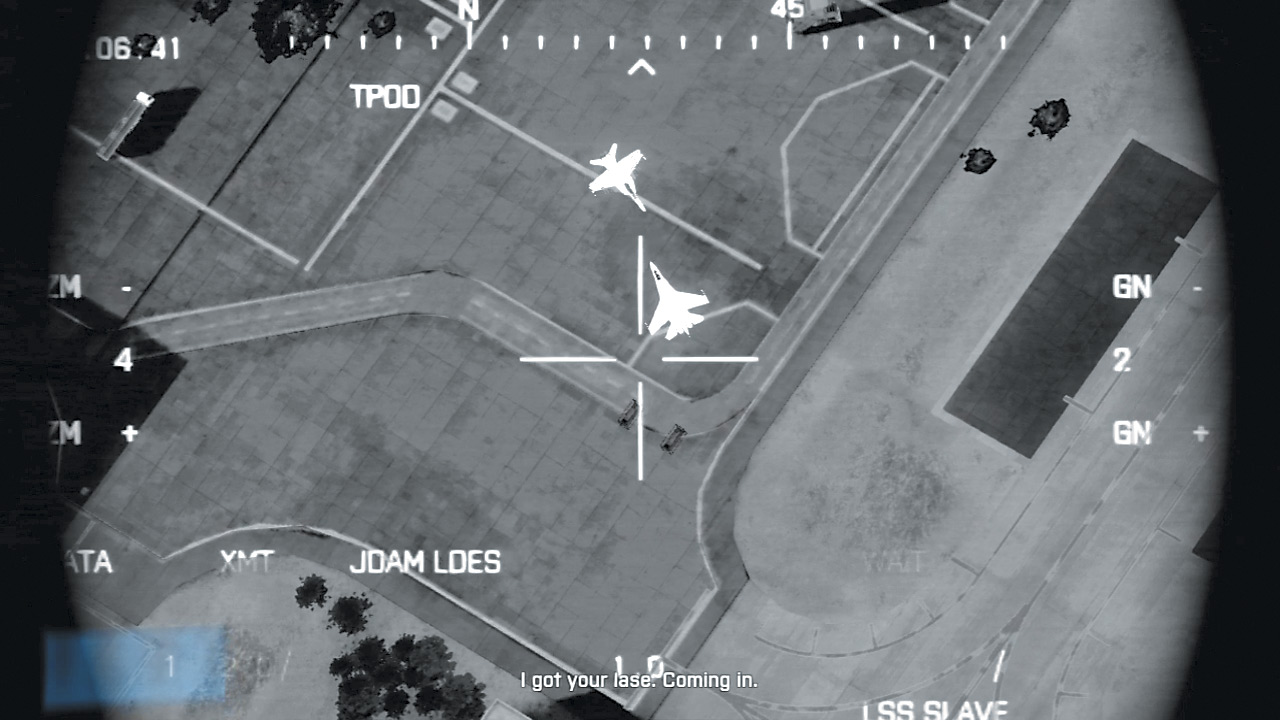
The second phase of the airport strikes is similar to the first, but requires more effort tokeep the target centered in view despite any sudden maneuvers your pilot might have to make. Switch to infrared view to see a smattering of warm jet bodies all around the airport.
Wait for the flashing targeting reticule to turn solid, then center it on a plane in view and punch that fire button. Correct the aim as needed to keep the target centered until the air strike run is completed.
Zooming in and out here definitely helps; pull out wide to look for the target, then zoom in to make sure the target is painted until the last second. Repeat for the other three planes on the field, then gear up for even more challenging target practice.
DESTROY PLANES BEFORE THEY GET AIRBORNE
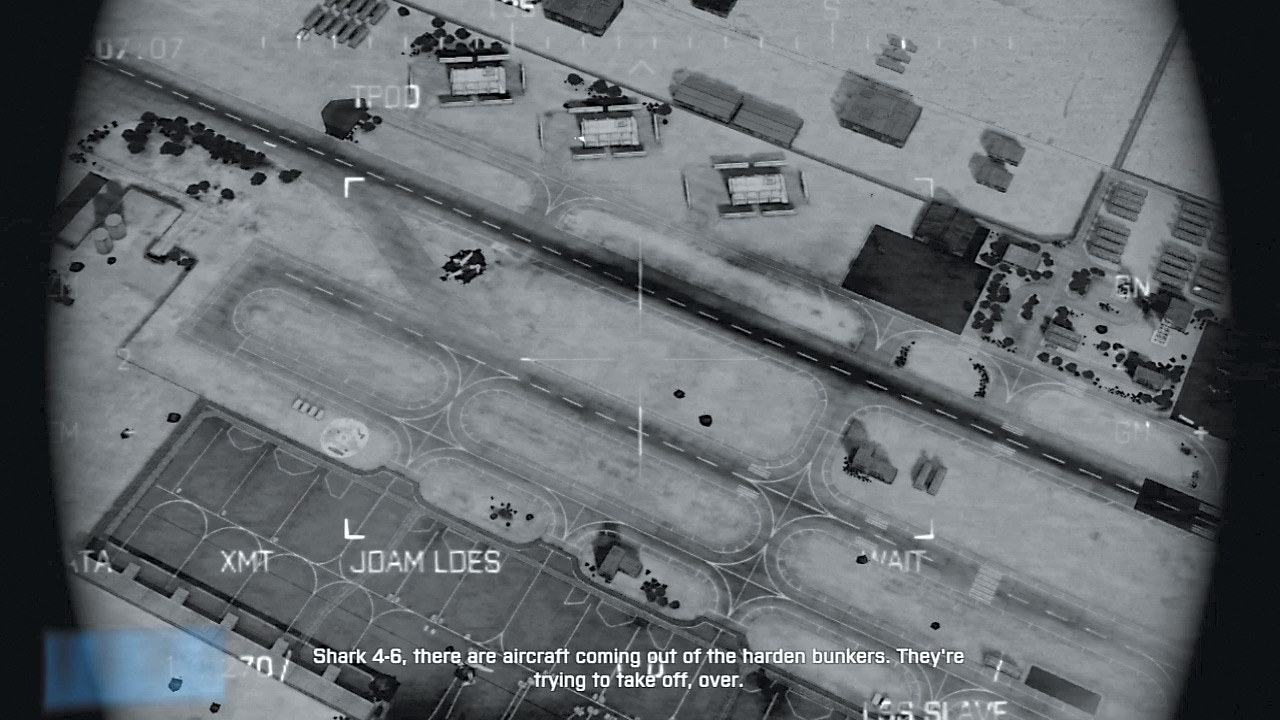
Three hangars hardened against normal air strikes are hiding a dangerous threat. Multiple jets parked there will complicate the mission significantly if they are allowed to take off.
Thankfully, they glow in infrared just as brightly as the stationary ones that were taken out. Use the same wide view to first find the planes, then zoom in and paint them, holding on the target until they’ve been hit.
There’s only a short amount of time before they can throttle up and tear down the runway, so make the shots count. Take out three more planes to ensure complete air supremacy.
TAKE OUT HELICOPTER USING 30 MM
Marking the A-10’s gun run is similar to the previous support you’ve provided thus far with one important distinction: this time the target is marked wherever the crosshairs are at the time; no correcting the target or needing to track it here.
When given the go-ahead, use the on-screen controls to switch to targeting for the Thunderbolt’s run, line things up and press the trigger.
TAKE OUT THE RUNNERS
The helicopter and its PLR passengers will be completely obliterated, causing the rest of the ground forces to scatter almost immediately.
Pick out the small group running away from the pack and lead them ever so slightly, then call in one last run and enjoy the show. Once the runners have been dealt with, the mission is marked as successful.
As Hawkins and her pilot can head back to the USS George H.W. Bush, sit back and enjoy a first-person view of a carrier landing in the dead of night.