
Battlefield 3 Premium Guide Battlefields Conquest
Grand Bazaar
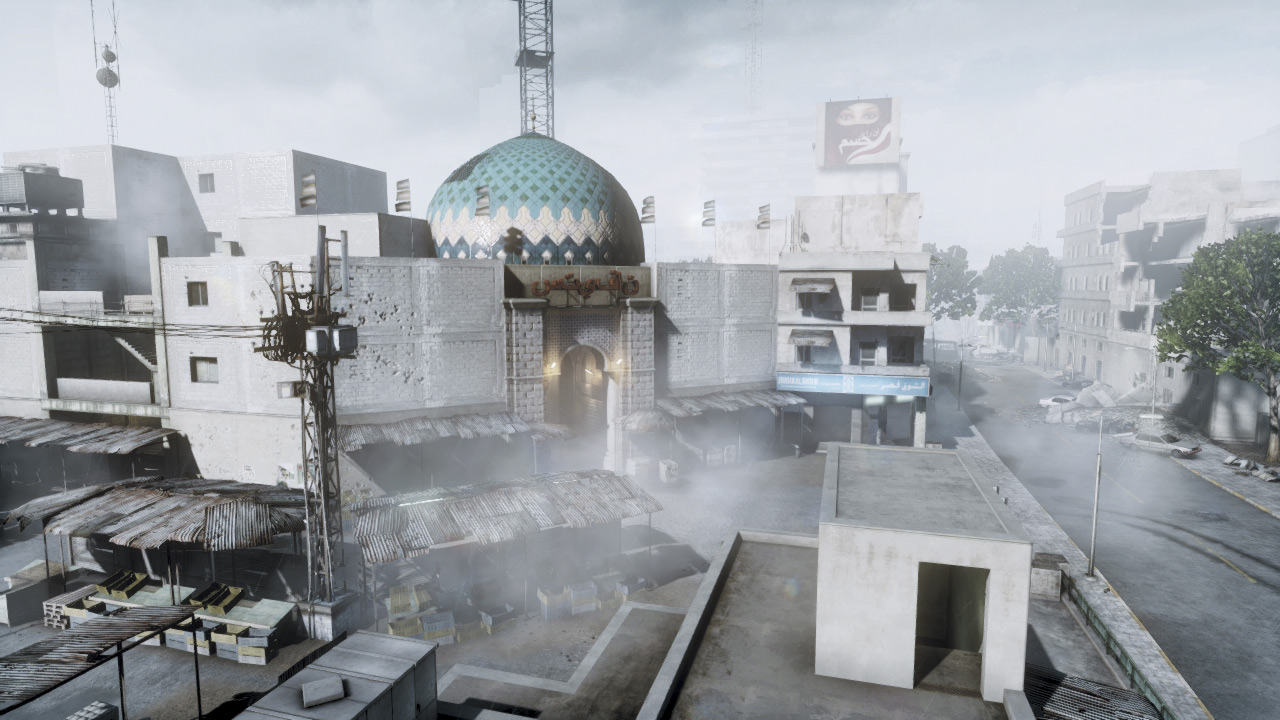
The battle for central Tehran has reached its second week; what was expected to be over within days continues as Russian and US forces clash for the control over this ancient city.
No one knows how this will end, but military experts claims that risks are high as the soldiers fight, street by street, in the now deserted city.
US infantry supported by armored vehicles is trying to find a way out of downtown Tehran. A collapsed building is blocking the closest route, so they have to go through the central districts, securing each sector as they advance.
Russian infantry is hiding everywhere in the alleys and buildings. The American contingent is attempting to secure the two main squares and the surrounding area.
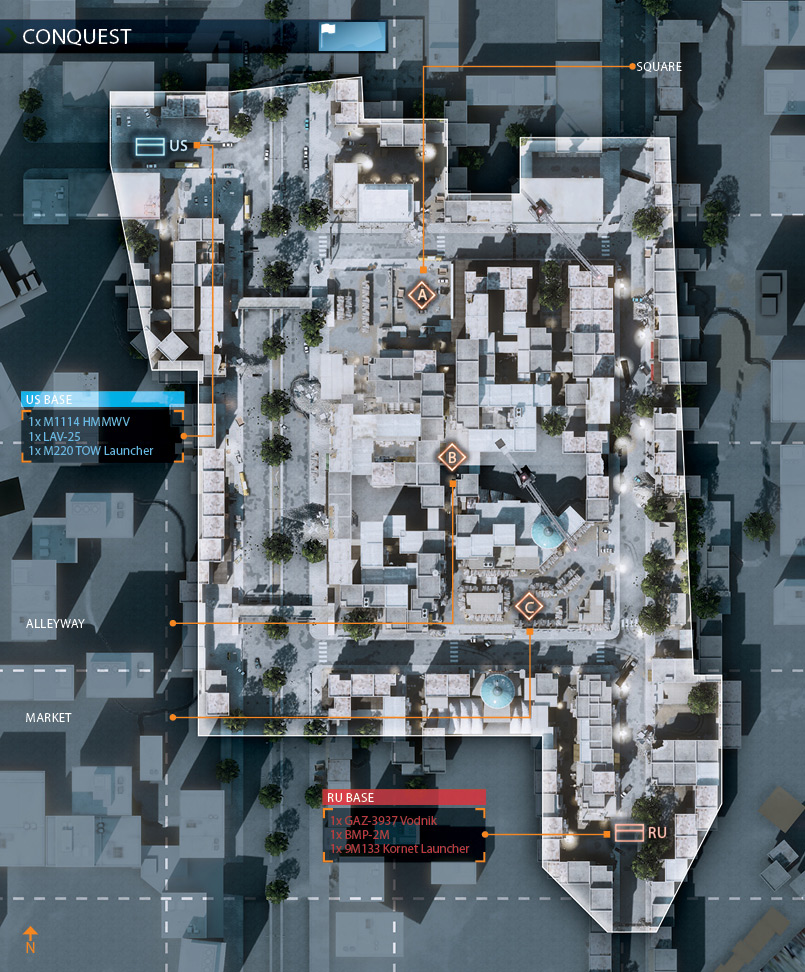
Ready for some urban combat? This head-on Conquest match is an intense conflict centered around a hotly contested city block in the center of the map.
Only three control points are up for grabs, which means each team must hold at least two to initiate a drain on the opposing team’s tickets.
For the US team, it makes the most sense to capture and lock down the Square (A) and Alleyway (B) while the RU team strives to hold the Market (C) and Alleyway (B).
The fight for the central Alleyway (B) can be costly, and may ultimately not be worth the large number of tickets it takes to capture and hold.
Therefore both team’s should consider possible flanking maneuvers in an attempt to hold the nonadjacent Square (A) and Market (C) instead of grinding against the Alleyway (B).
In any case, holding the control points to the north and south makes it much easier to apply pressure on the Alleyway.
US BASE
Base Assets
| Name | Quantity | Respawn Time |
|---|---|---|
| M1114 HMMWV | 1 | 30 sec. |
| LAV-25 | 1 | 60 sec. |
| M220 TOW Launcher | 1 | 30 sec. |
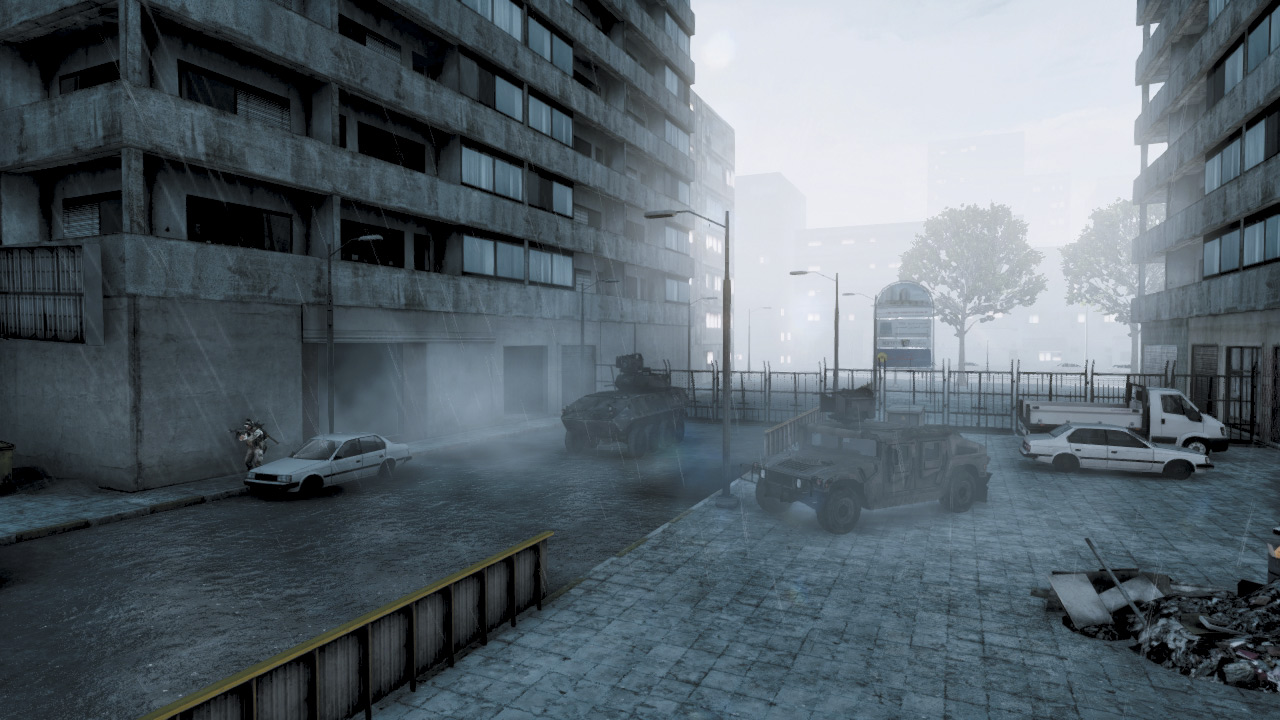
The US Base is located in the northwest corner of the map. This dead-end street is more of a deployment area than a base, as it spawns only a HMMWV and an LAV-25.
The lack of vehicles at this base should prepare you for what is mostly a infantry battle in this urban center. Early on, US troops should make a push for the nearby Square (A) control point while the HMMWV and LAV-25 assault the Market (C) far to the south.
While the adjacent streets are safe to cross at the beginning of a match, it’s best to deploy from one of the central control points later on.
The streets offer long sight lines for enemy snipers and they may be waiting for you to enter the intersection just east of the base. So unless there are vehicles available, avoid spawning at the US Base once a match gets underway.
RU BASE
Base Assets
| Name | Quantity | Respawn Time |
|---|---|---|
| GAZ-3937 Vodnik | 1 | 30 sec. |
| BMP-2M | 1 | 60 sec. |
| 9M133 Kornet Launcher | 1 | 30 sec. |
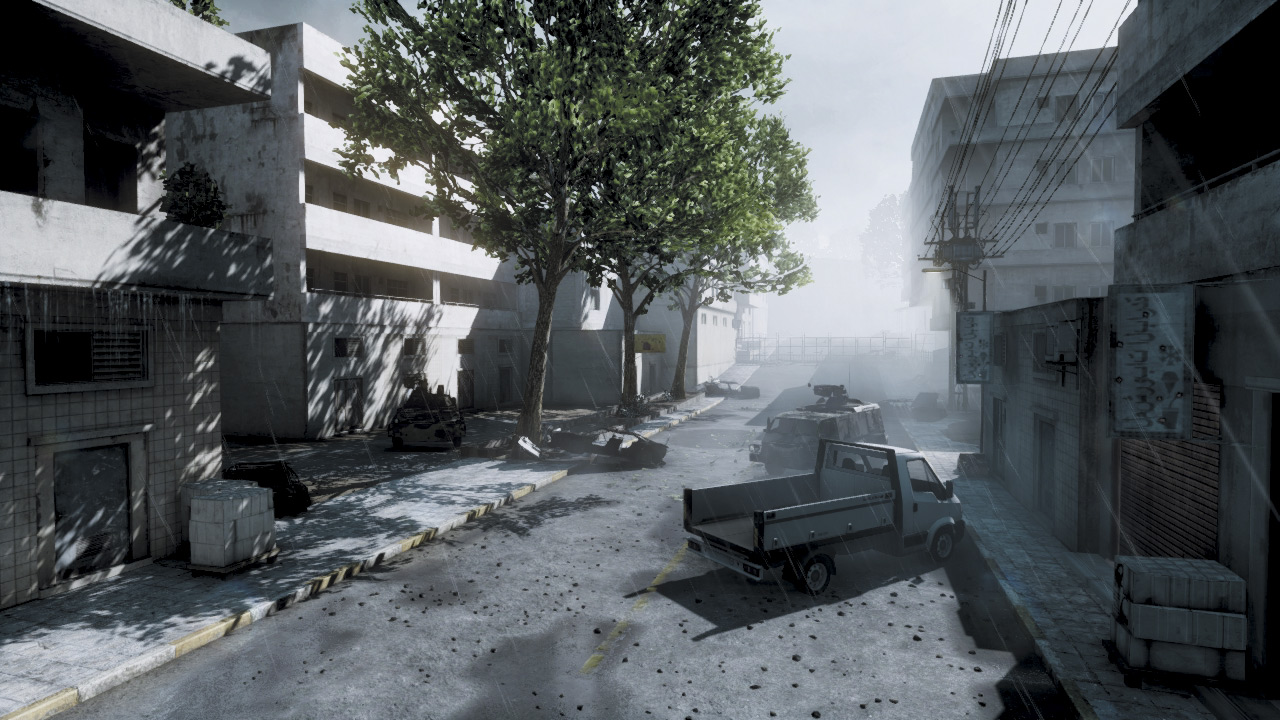
The RU team starts in the southeast corner of the map. Like the US Base, the RU Base spawns only a couple of vehicles. Both the Vodnik and BMP-2M should be used early on to rush the Square (A) control point to the north while the RU infantry secure the nearby Market (C).
The eastern street, running north and south, provides a clear sight line into the RU Base. So infantry spawning here should be prepared for taking fire from long range while exiting the base.
It’s much safer to utilize the alleyway to the west of the base when attempting to reach the Market (C) control point on foot. However, once a control point is held by the RU team, it’s best to spawn away from the base.
This will put you (and your squad) closer to the action while keeping you safe from enemy snipers scanning for prey on the city streets.
A: SQUARE
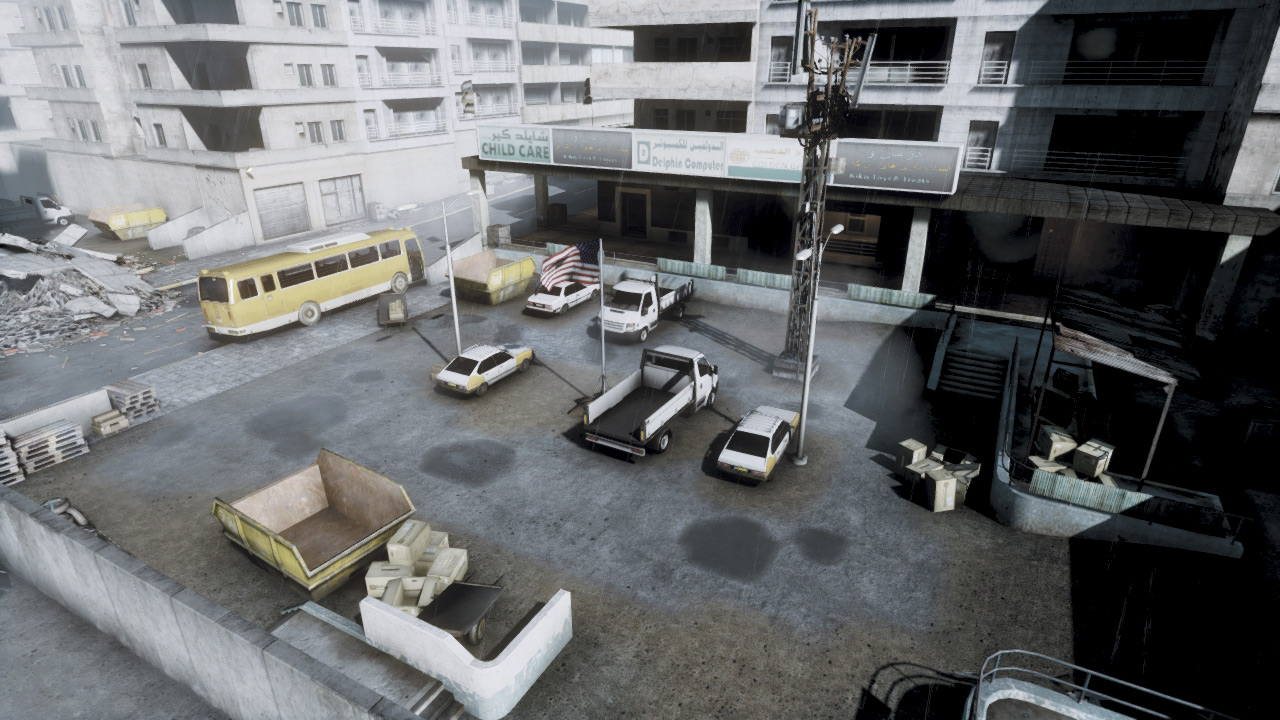
The Square is the northernmost control point located only a few meters from the US Base. As a result, the US team has a good chance of capturing this control point early on.
However, the Square is closely linked to the other two control points in the center of the map, giving the RU team a good chance of wresting it away from US control, especially if they hold the Alleyway (B) and Market (C) to the south.
So if the US team holds this position, they should expect RU attackers approaching from the Alleyway (B) to the south. But if the RU team holds the Square, they can most likely expect attacks to originate from the US Base to the northeast.
The flag here is positioned in the center of a parking lot. Instead of taking cover near the explosive vehicles, consider hiding near one of the yellow dumpsters while capturing or contesting the flag.
If you’re attacking this point from the west, the concrete wall on the western edge of the square can be destroyed, which allows you to create new entry points.
B: ALLEYWAY
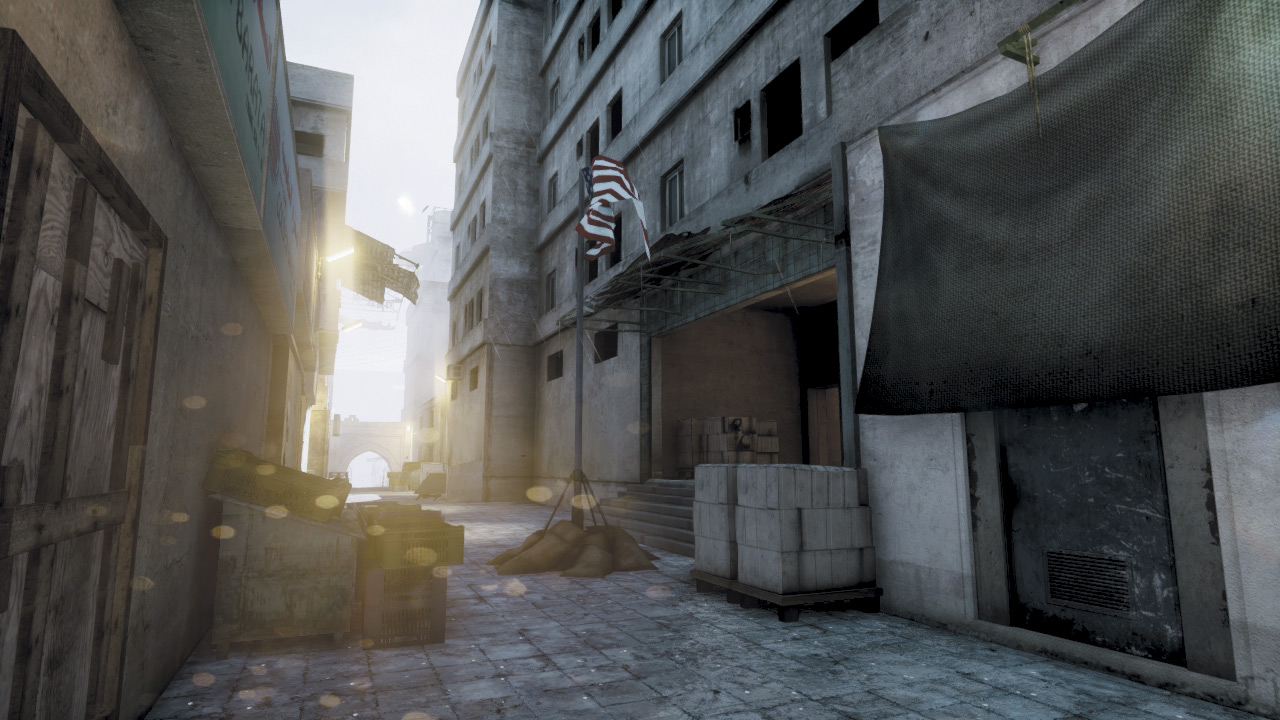
Sitting at the dead center of the city block, the Alleyway (B) is the most contentious control point on the map. Flanked by the Square (A) to the north and the Market (C) to the south, it will see heavy action throughout the duration of the match.
The Alleyway is too narrow for vehicles to enter, so this is a control point that must be completely captured or contested by infantry. The flag sits at the center of this narrow passage, making it a dangerous location for attackers and defenders alike.
When attempting to capture or contest the flag, always seek cover in one of the stalls to the east or west. This allows you to stay within the flag’s capture radius without exposing yourself to fire from the north or south ends of the Alleyway.
These alcoves also come in handy when defending the control point; use them to ambush attackers. With little cover, attackers must largely rely on smoke to conceal their advance on this position.
Otherwise they’re open to both long- and close-range attacks. It’s usually safer to secure both the Square (A) and Market (C) before closing in on this control point.
C: MARKET
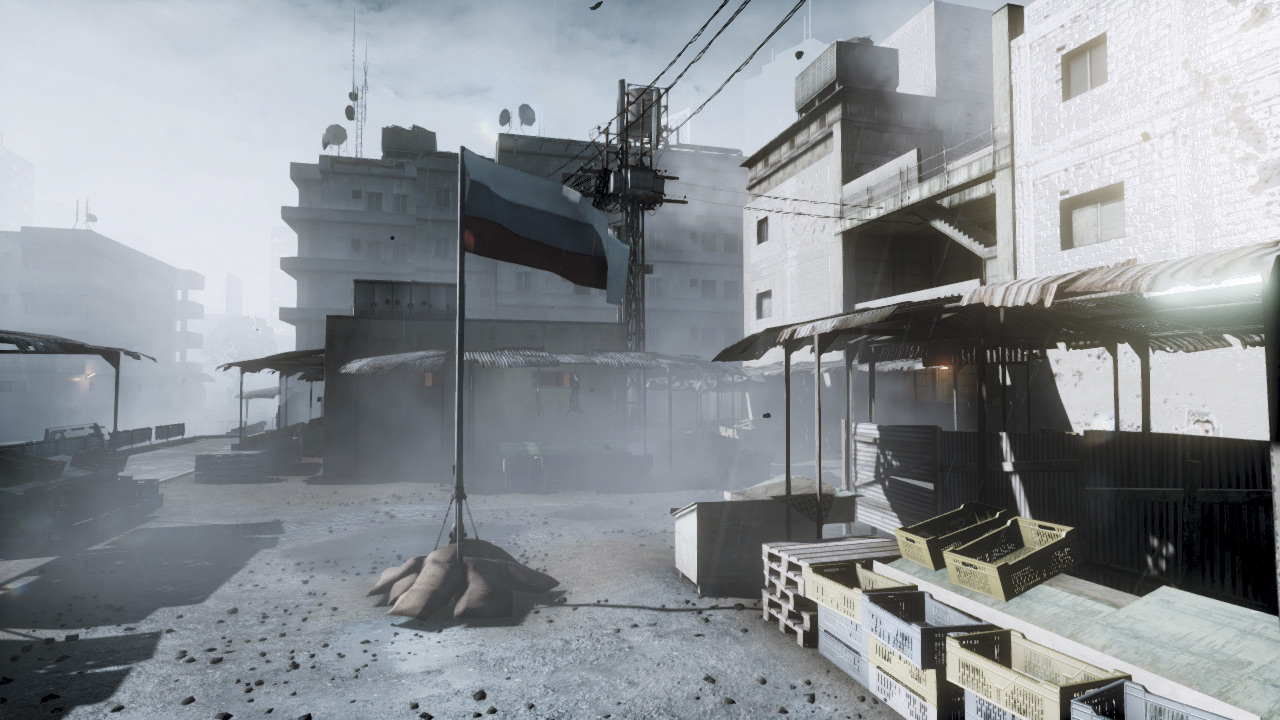
The Market (C) is the southernmost control point, and is therefore within the RU team’s sphere of influence. Although the Market spawns no vehicles, it gives the RU team a foothold on the central city block, allowing them to stage attacks on the nearby Alleyway (B) and Square (A).
The flag here sits in the center of an abandoned marketplace. The stalls offer decent cover and concealment for infantry attempting to capture or contest the flag.
The Market sits on a raised platform, which prevents vehicles from entering. However, vehicles can provide fire support from the streets to the south and east.
Heavy machine gun fire can tear through the light cover of the fruit stalls, so never assume you’re safe. If it’s held by the RU team, most attacks originate from the Alleyway (B) to the north.
But if the US team manages to hold this control point, they can expect stiff resistance coming from the RU Base to the southeast. A couple of balconies on the north side of the Market are ideal for defending this location from above.
However, attackers that manage to sneak in and take cover among the fruit stands may be hard to spot from a distance, which requires a more close-quarters approach to defense—use a shotgun!