
Battlefield 3 Premium Guide Battlefields Rush
Kharg Island
Like the Conquest maps, this Rush map also features a wide assortment of vehicles that give the US attackers the chance to advance by ground, air, or sea.
At the start, the US must push their way ashore by staging an amphibious assault on the island’s southern beach. From there, it’s a steady push through the Gas Station, Offices, and Docks.
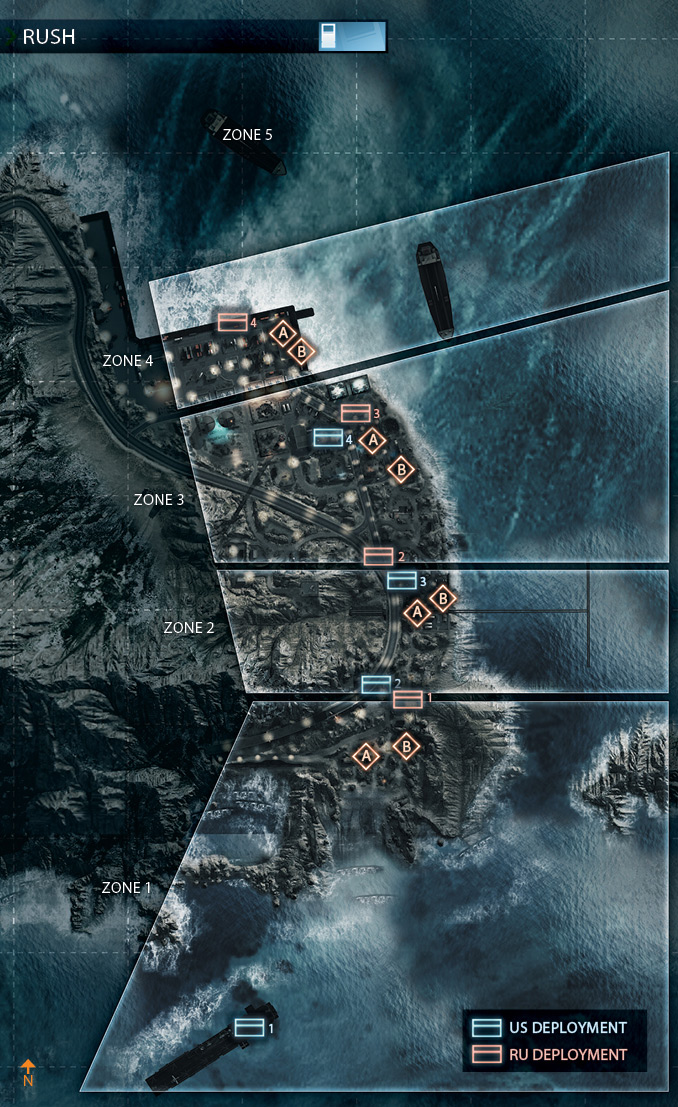
Throughout the battle, the RU defenders are short-handed on the vehicle front. This requires expert deployment of the few resources available as well as a heavy reliance on engineers to deal with the onslaught of US vehicles.
An RU team comprised largely of engineers (and support troops to resupply them) will have the best chance of halting the US advance.
ZONE 1: BEACH
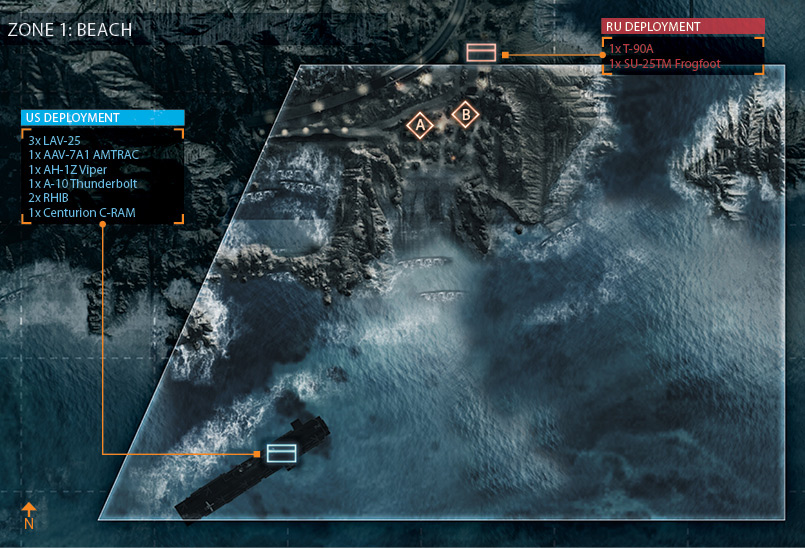
M-COM Station A
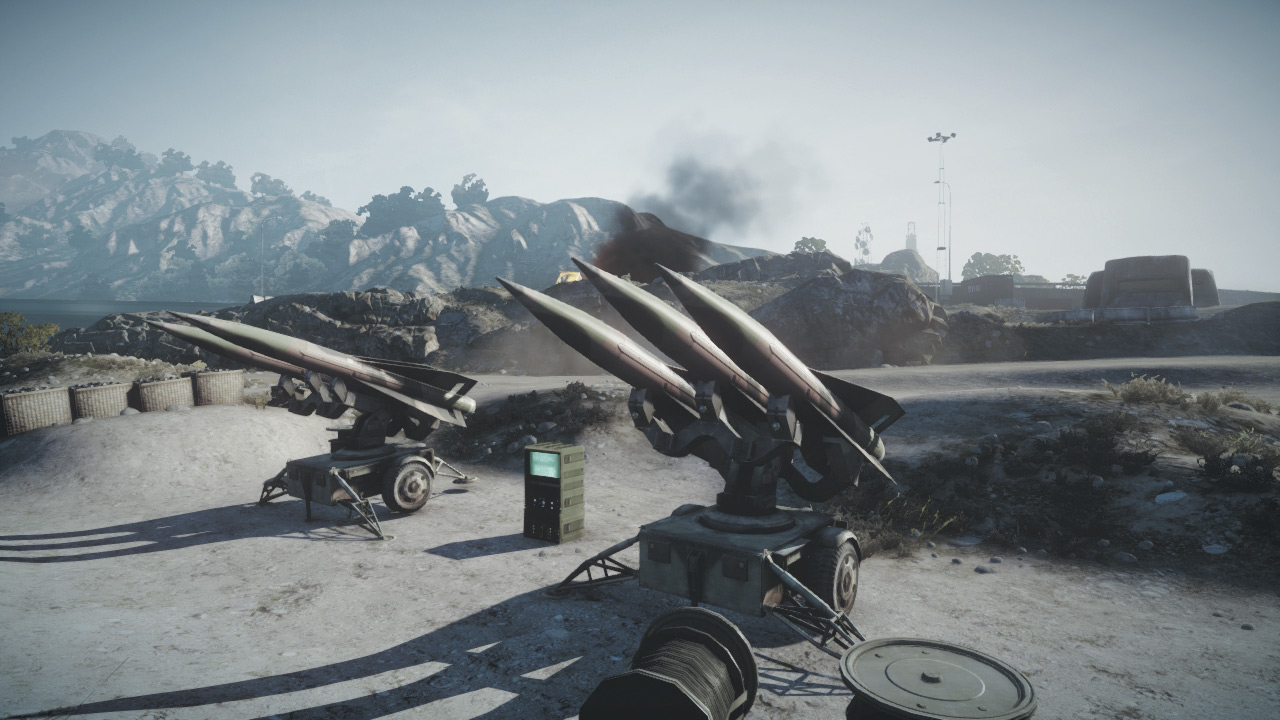
M-COM station A is completely exposed and flanked by two missile batteries on the northwest edge of the beach—the missile batteries don’t function.
With no cover around the objective itself, defenders are best served by covering this position from a distance, using the nearby rocks for cover and concealment. Planting mines and C4 around the objective isn’t a bad idea either.
The attackers must use the support of vehicles to get close enough to plant a charge on this M-COM station. Otherwise, obscuring the objective in smoke is the next best option.
The LAV-25s are great for suppressing nearby infantry, providing enough of a distraction for one brave attacker to plant a charge on the objective.
Once a charge is placed, attackers should form a defensive perimeter around the objective while continuing to use the vehicles to suppress defenders attempting to disarm the charge.
M-COM Station B
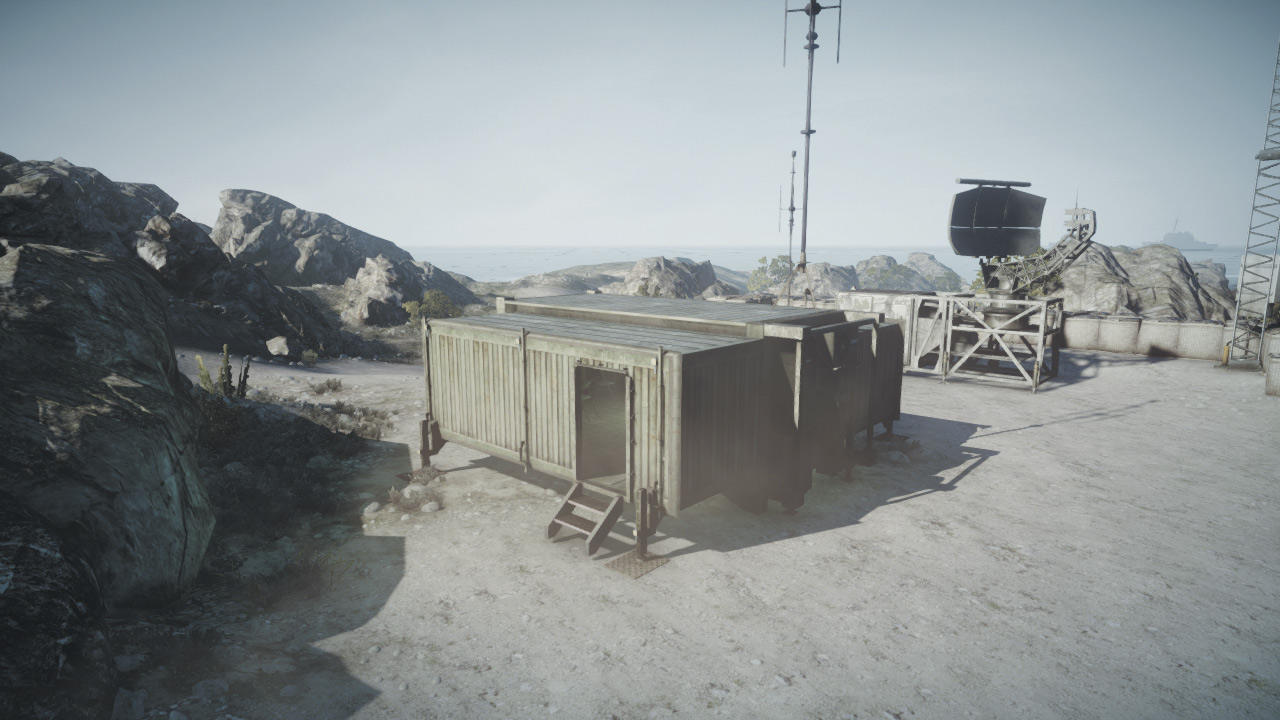
This objective is located within the mobile communications trailer on the northeast side of the beach. The trailer can be entered from the north and south.
But instead of defending the objective from within the cramped space, it’s best for the RU team to cover the two entry points. Hiding inside only makes you vulnerable to grenades tossed in through the doorways.
Still, booby-rapping the interior with C4 and Claymores can be very effective. Like M-COM Station A, the US team is best served by using their LAV-25s to secure the area around the communications trailer before sending infantry inside to plant the charge.
Once again, covering the two entry points is key to preventing the defenders from disarming the charge, so make sure both doorways are covered, especially the northern one nearest the RU deployment area.
US DEPLOYMENT
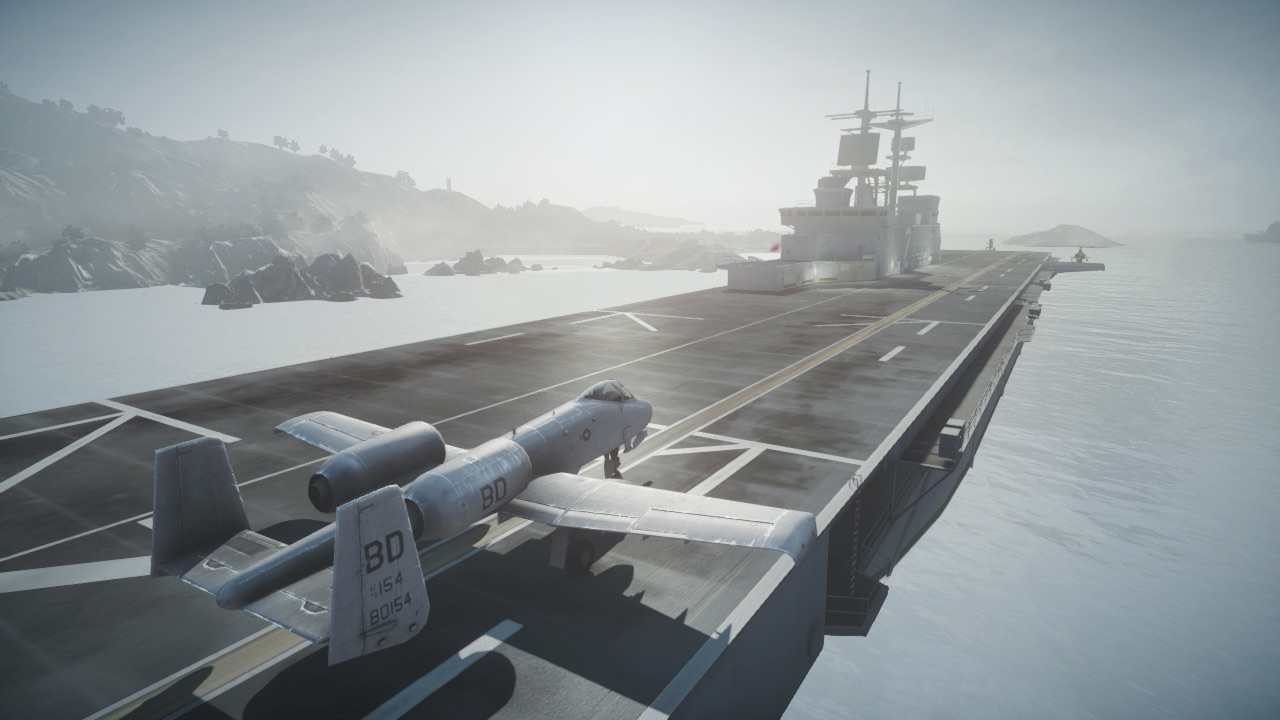
Base Assets
| Name | Quantity | Respawn Time |
|---|---|---|
| LAV-25 | 3 | 60 sec. |
| AAV-7A1 AMTRAC | 1 | 60 sec. |
| AH-1Z Viper | 1 | 90 sec. |
| A-10 Thunderbolt | 1 | 40 sec. |
| RHIB | 2 | 30 sec. |
| Centurion C-RAM | 1 | — |
The US team starts on the aircraft carrier southwest of the beach. There are plenty of vehicles available with which US troops can make an amphibious landing and establish a beachhead.
The two RHIBs are the fastest of way to get troops onto the beach, but they also offer the least protection. So use these only early in the round before the RU defenders have a chance to reach the beach.
The LAV-25s and AMTRAC are slower, but they offer much more protection. Regardless of how they get ashore, the US team should promptly deploy Radio Beacons in isolated, well-covered areas of the beach.
The AMTRAC also serves as a mobile spawn point, so consider parking it on the beach in an area where it can’t be easily spotted by the enemy.
This lets teammates spawn directly on the beach instead of on the aircraft carrier. Air power is critical for securing a beachhead so get the Viper and A-10 up in the air as soon as possible to perform strafing runs on the defenders.
The aircraft are also essential for countering the RU team’s SU-25TM during the amphibious landing.
RU DEPLOYMENT
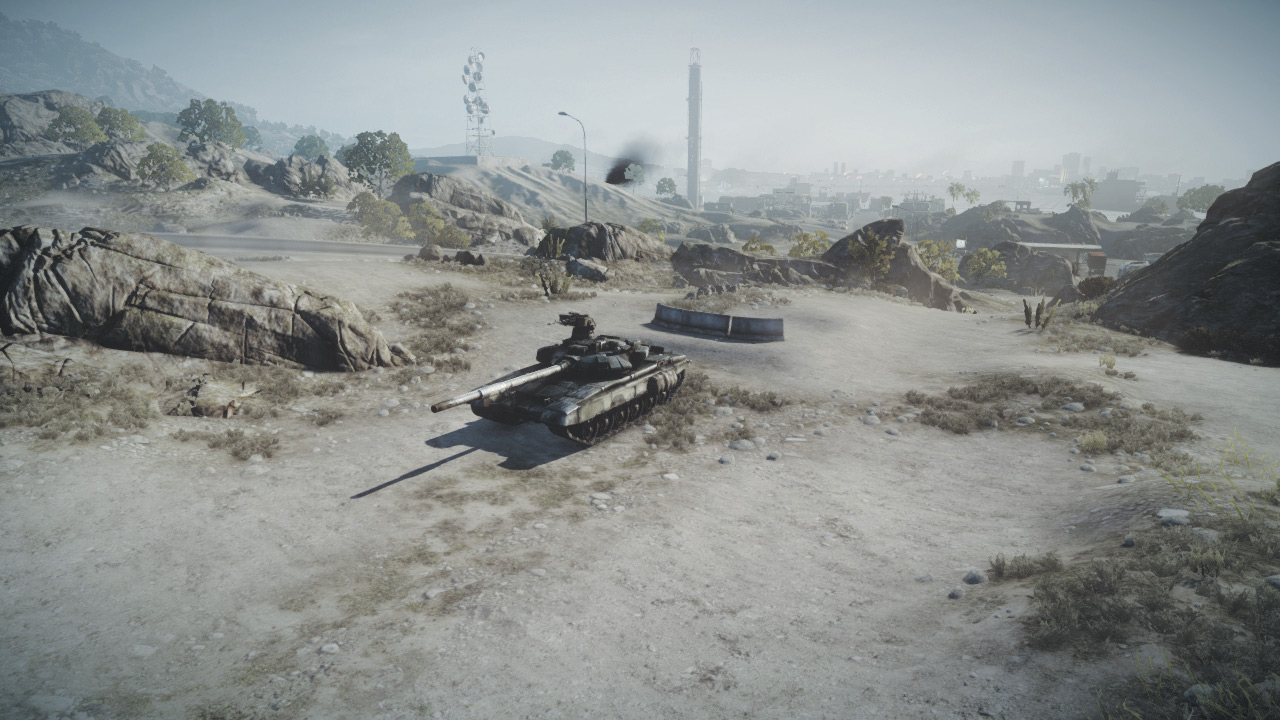
Base Assets
| Name | Quantity | Respawn Time |
|---|---|---|
| T-90A | 1 | 120 sec. |
| SU-25TM Frogfoot | 1 | 40 sec. |
Given the flood of US vehicles coming ashore, the RU team has a tough fight ahead of them at the beach.
Engineers are critical in fending off the waves of vehicles pushing ashore as well as shooting down the US aircraft—anti-tank weapons and the SA-18 IGLA anti-air missile launcher are essential.
A good SU-25TM pilot can make all the difference, so don’t spawn in the jet unless you’re up to the task and have the necessary unlocks to shoot down aircraft or deploy devastating air-to-ground munitions.
The RU team has only one tank, so it must be kept healthy by a team of dedicated engineers while accurately targeting the incoming LAV-25s and AMTRAC.
The tank’s Guided Shell weapon unlock, when used in conjunction with a recon soldier’s SOFLAM laser target designator, can be a game changer, allowing for pinpoint accuracy even if the T-90A does not have line of sight.
So use recon troops to lase targets while the T-90A holds back and fires from a safe location. Meanwhile, infantry should perform routine patrols of the beach, killing any hiding enemies while destroying US Radio Beacons.
The longer you can keep the US team spawning on their carrier, the better your chances of holding out here.
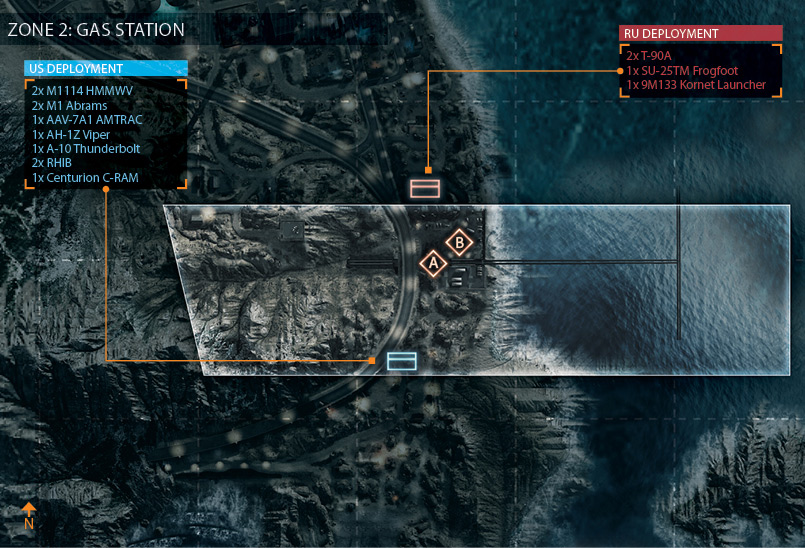
ZONE 2: GAS STATION
M-COM Station A
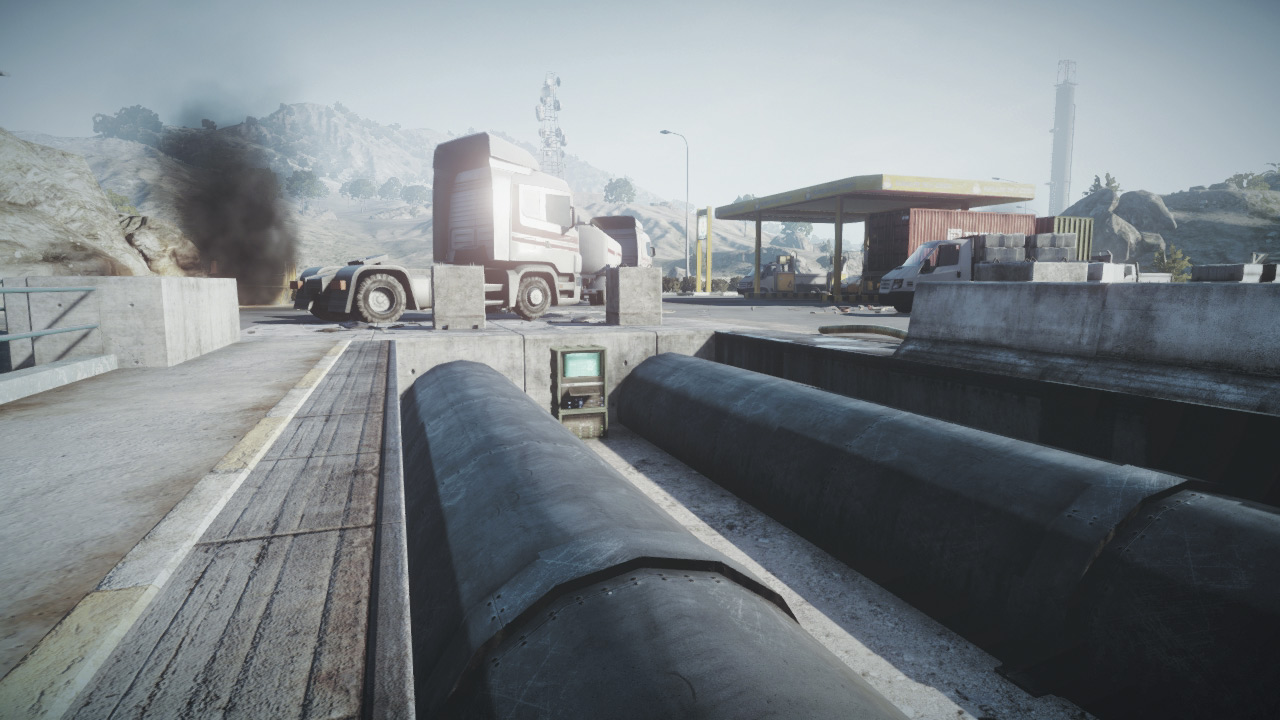
This objective is located in a unique position, flanked by the two pipelines on the south side of the Gas Station. The area between the pipelines forms a narrow trench that makes it relatively easy for attackers to sneak up on the M-COM station without being spotted.
Therefore, defenders need to find elevated positions around the objective so they can see down into this trench and counter sneaky advances by the US team.
Booby-trapping the area around the objective with C4 or Claymores is a very effective defensive tactic. Avoid defending from within the trench area as it leaves you open to attacks from above.
Although it’s possible to sneak up on this objective, attackers should still rely on their vehicles to provide fire support before attempting to set a charge on the objective.
M-COM Station B
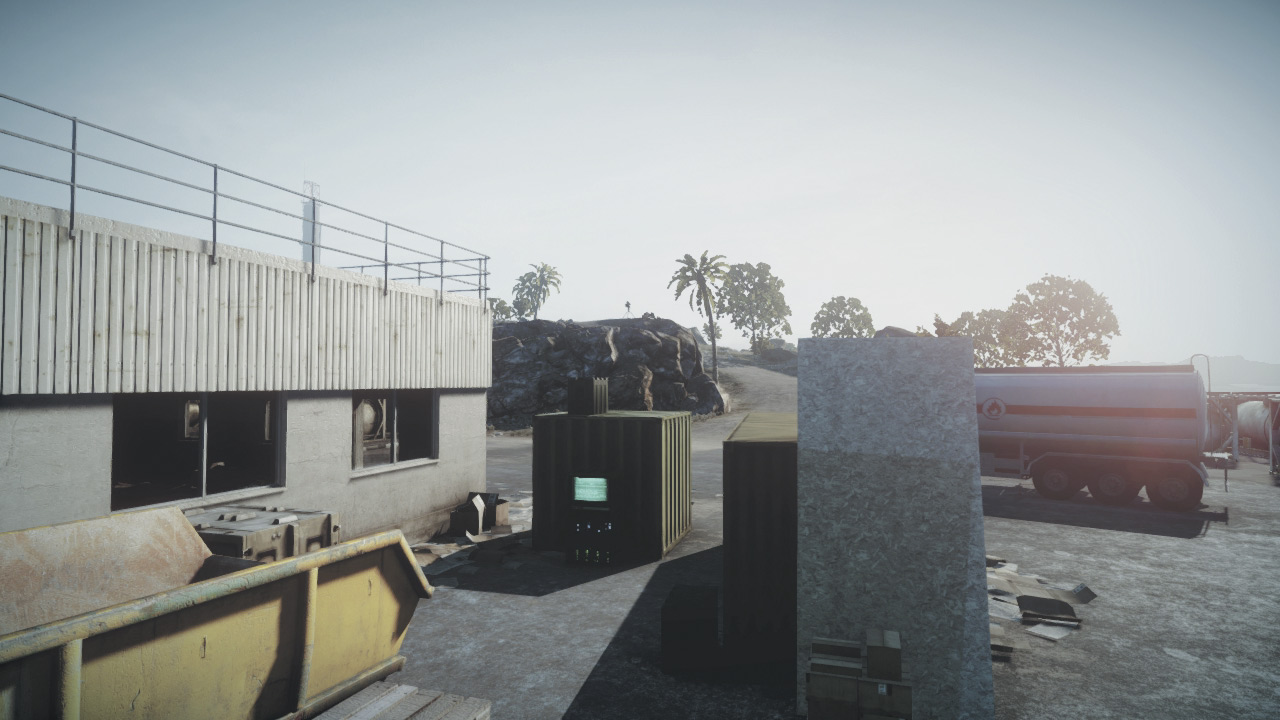
M-COM station B is on the east side of the ’s concrete building at the Gas Station, partially concealed by some shipping containers and metal crates.
While the concrete building can be completely demolished, the shipping containers and crates can’t be destroyed. This limits the sight lines to the objective, requiring both attackers and defenders to get up-close to the M-COM station to cover it.
Both teams can seek cover in the nearby building (while it’s still standing) and cover the objective from the windows. Attacks can come from any direction, so the defenders may wish to plant a T-UGS motion sensor near the objective to monitor enemy movement around it.
This can serve as an early warning so defenders can respond before a charge is set.
US DEPLOYMENT
Base Assets
| Name | Quantity | Respawn Time |
|---|---|---|
| M1114 HMMWV | 2 | 40 sec. |
| M1 Abrams | 2 | 25 sec. |
| AAV-7A1 AMTRAC | 1 | 60 sec. |
| AH-1Z Viper | 1 | 90 sec. |
| A-10 Thunderbolt | 1 | 40 sec. |
| RHIB | 2 | 30 sec. |
| Centurion C-RAM | 1 | — |
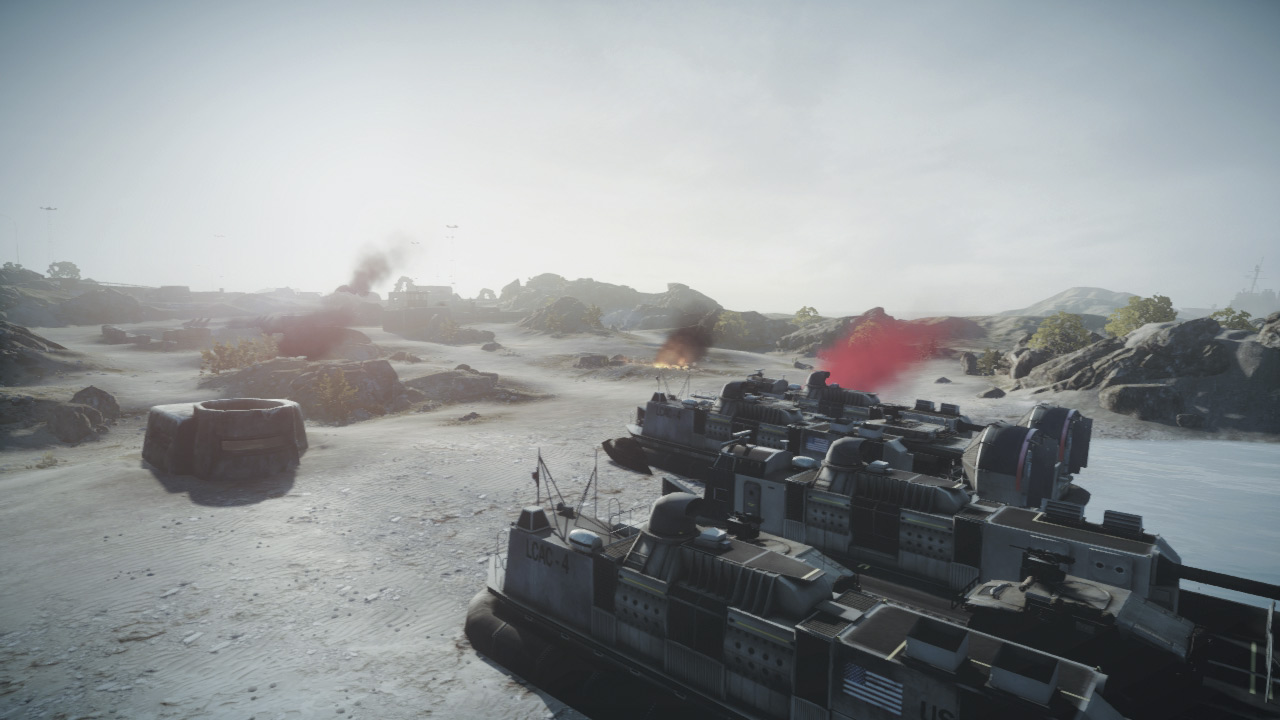
Shortly after the first two M-COM stations are destroyed, two large hovercraft arrive on the beach loaded with a fresh batch of ground vehicles, including two M1 Abrams tanks and a couple of HMMWVs.
The US team also retains the AMTRAC, AH-1Z, A-10, and two RHIBs, which are spawned back at the carrier. Before racing for the Gas Station to the north, make sure you don’t leave any teammates stranded on the beach or carrier.
It’s important to consolidate your forces and coordinate a simultaneous attack on the objectives at the Gas Station in an attempt to overwhelm the defenders.
This time the defenders have two T90A tanks, so failing to coordinate attacks can lead to disaster. Use the aircraft to distract and suppress enemy ground units while your vehicles roll in to assault the objectives.
RU DEPLOYMENT
Base Assets
| Name | Quantity | Respawn Time |
|---|---|---|
| T-90A | 2 | 180 sec. |
| SU-25TM Frogfoot | 1 | 40 sec. |
| 9M133 Kornet Launcher | 1 | 30 sec. |
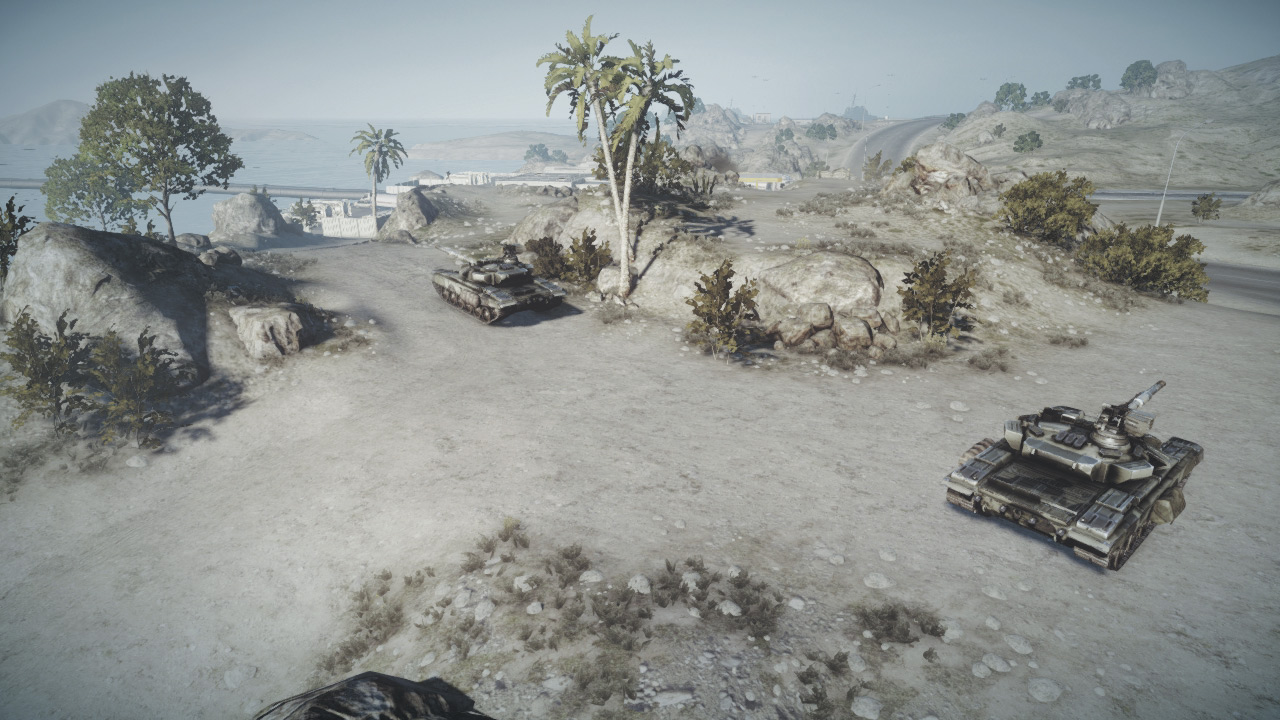
The RU team deploys on the hill just north of the Gas Station. This gives them adequate time to move into position and establish a perimeter around the objectives before the US team arrives.
The two T-90A tanks are crucial to defending this location, so don’t let them get destroyed. It takes a whopping three minutes for each tank to respawn, so do your best to keep each tank healthy by surrounding it with a team of engineers.
The tanks are crucial for countering the two M1 Abrams. Position the T-90As so they can support each other while covering the main road to the south. The SU-25TM also plays a big role in stopping the US assault.
While it’s a useful ground attack asset, the SU-25TM is best deployed here as a fighter. So load it out with heat-seeking missiles and use them to shoot down the US team’s AH-1Z and A-10.
Engineers can support the SU-25TM by firing their own IGLA missiles at enemy aircraft.
ZONE 3: OFFICES
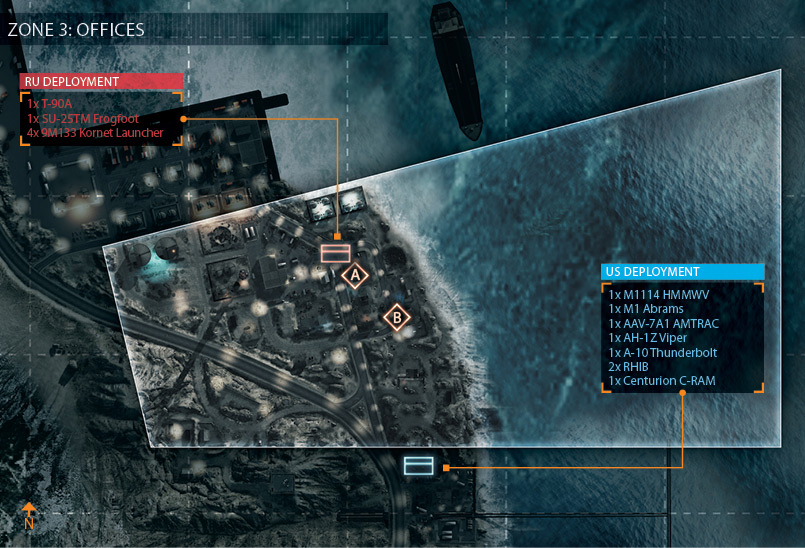
M-COM Station A
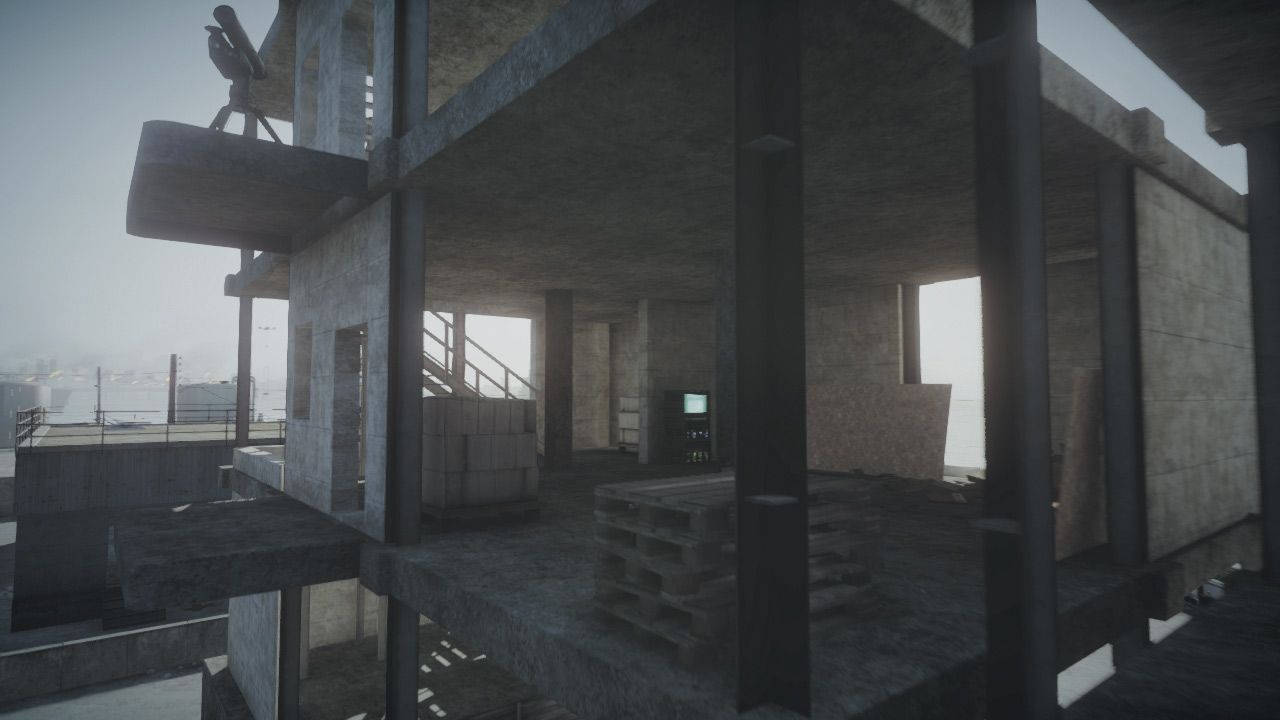
This is one of the most defensible M-COM stations on the map, and the RU team has a strong chance of holding off the US attack here.
Located on the second floor of a partially constructed building, this objective can be accessed only by infantry climbing staircases on the structure’s northern and southern sides.
Barring parachute assaults from above, the defenders can effectively block access to the objective by covering these staircases. While the concrete exterior walls of the building can be destroyed, the building itself will not collapse, even under the most intense bombardment.
So it’s up to the attackers to infiltrate the second floor and plant a charge. Both teams can benefit from Radio Beacons placed on the rooftop or third floor of the building to guarantee a nearby spawn point.
Although it’s farther from their deployment area, the US team should attack this M-COM station first to prevent the entire RU team from rallying around this location.
M-COM Station B
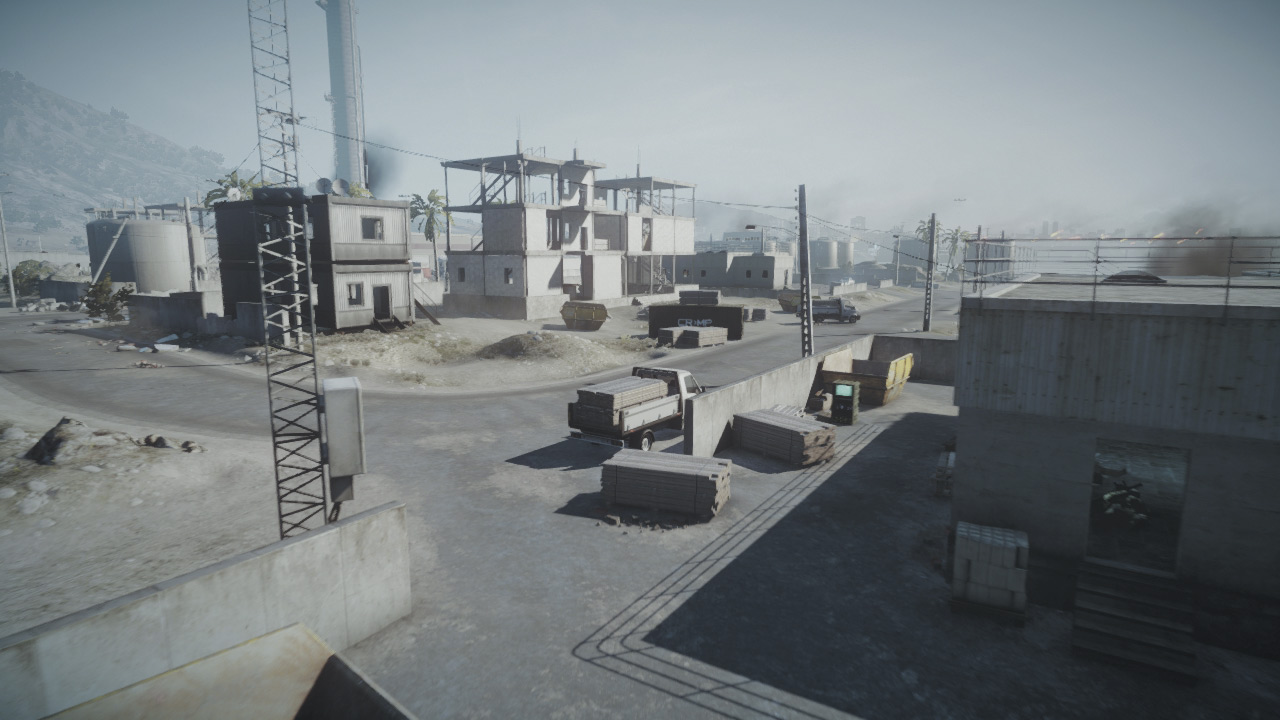
M-COM Station B is located along the west side of a building near the coast. The building is surrounded by a low concrete wall with entrances to the east and west.
However, attackers shouldn’t bother entering through these choke points. Instead, breach the exterior wall with explosives of any kind to make your own entrance. Meanwhile, defenders should cover the objective directly by hiding in the nearby building and firing at attackers through the west-facing windows.
However, defenders should also prepare for the possibility of attackers arriving in RHIBs and attacking from the sea to the east. With some many potential directions of attack, a T-UGS motion sensor comes in handy for monitoring enemy movement around the objective.
US DEPLOYMENT
Base Assets
| Name | Quantity | Respawn Time |
|---|---|---|
| M1114 HMMWV | 1 | 30 sec. |
| M1 Abrams | 1 | 120 sec. |
| AAV-7A1 AMTRAC | 1 | 60 sec. |
| AH-1Z Viper | 1 | 90 sec. |
| A-10 Thunderbolt | 1 | 40 sec. |
| RHIB | 2 | 30 sec. |
| Centurion C-RAM | 1 | — |
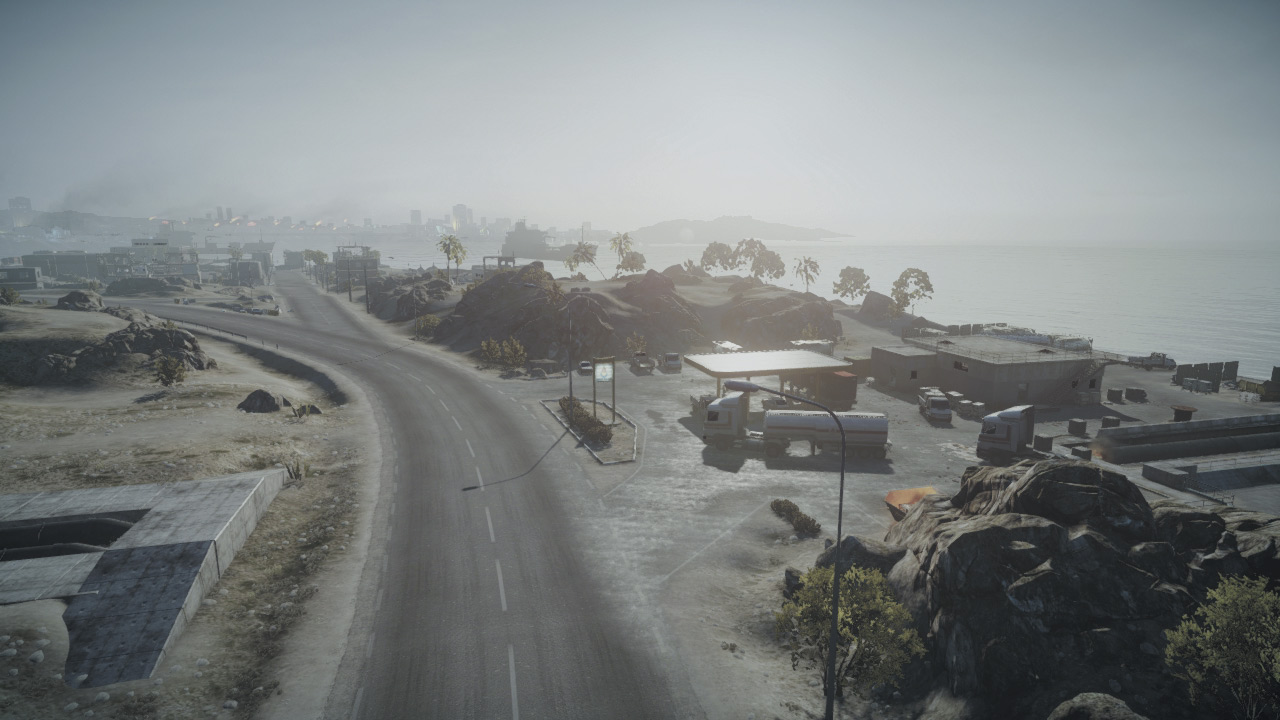
In this stage of the battle, the US team deploys near the Gas Station. Although the US maintains a large number of vehicles, they are spread out between this location and the aircraft carrier. So don’t forget about the AH-1Z, A-10, AMTRAC, and RHIBs back at the carrier.
The AMTRAC is slow but serves as a mobile spawn point. Consider parking it in an isolated area to the north to provide teammates a forward spawn point near the Offices.
The RHIBs offer a quick way to flank the defenders from the sea and avoiding the carnage along the highway. With fewer tanks at your disposal, the aircraft must play a bigger role in the ground attack, constantly strafing the RU team’s positions to the north.
RU DEPLOYMENT
Base Assets
| Name | Quantity | Respawn Time |
|---|---|---|
| T-90A | 1 | 180 sec. |
| SU-25TM Frogfoot | 1 | 40 sec. |
| 9M133 Kornet Launcher | 4 | 30 sec. |
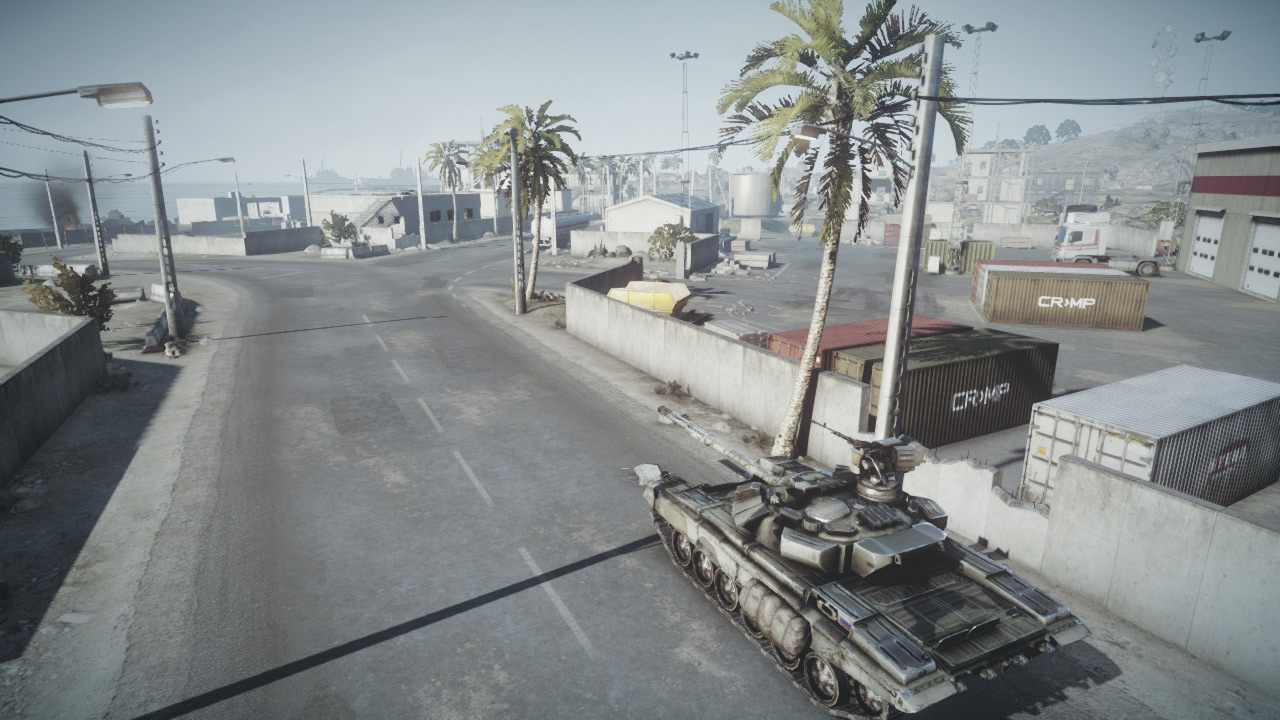
Having been pushed back to the Offices, the RU team now deploys near the coastal road north of the new objectives. The RU team only has one tank this time, so make the most of it.
Consider using the Guided Shell weapon to lock on to distant targets spotted by friendly recon troops using the SOFLAM. You can deploy the tank’s main cannon without exposing the tank to frontline combat.
The Kornet launchers can also make an impact on the US advance, so look for opportunities to fire these powerful manually guided missiles at incoming ground vehicles.
However, the US aircraft still pose a significant threat, so be prepared to counter them with the SU-25TM as well as shoulder-fired IGLA missiles carried by engineers.
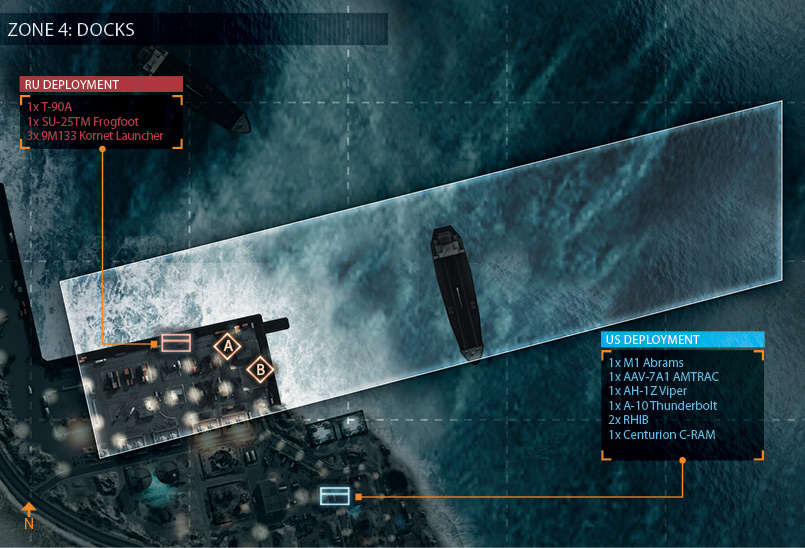
ZONE 4: DOCKS
M-COM Station A
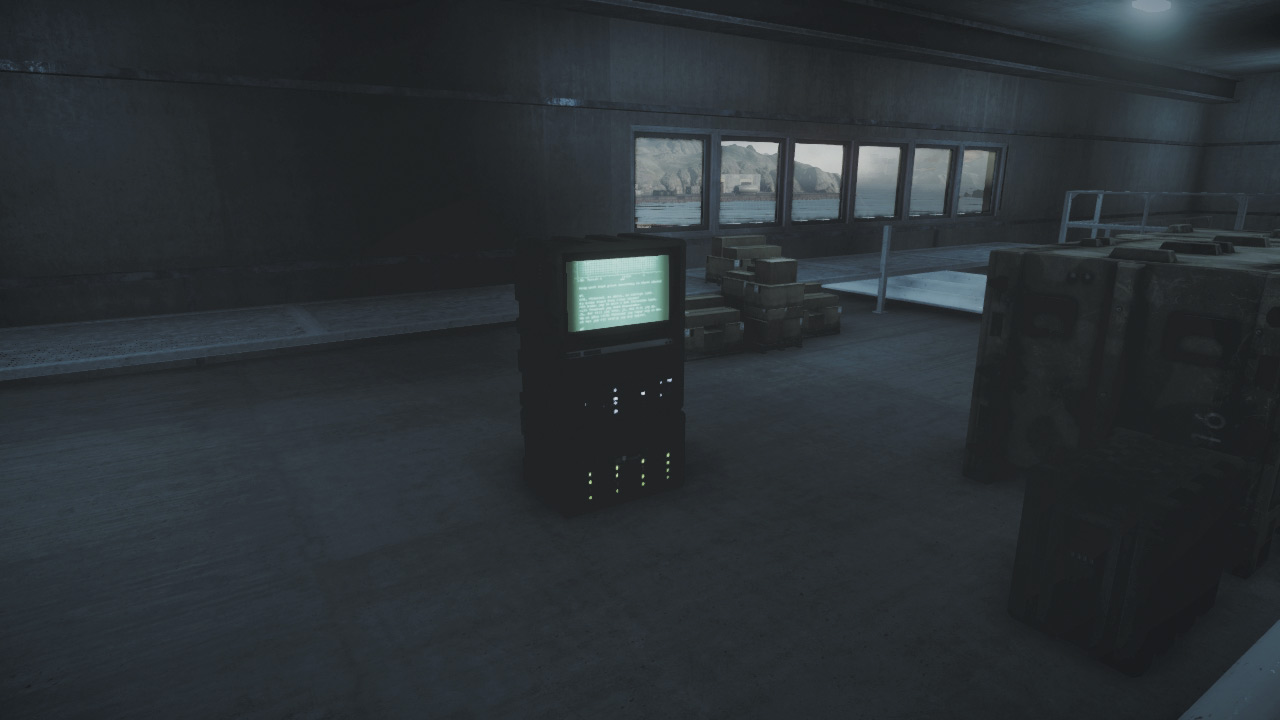
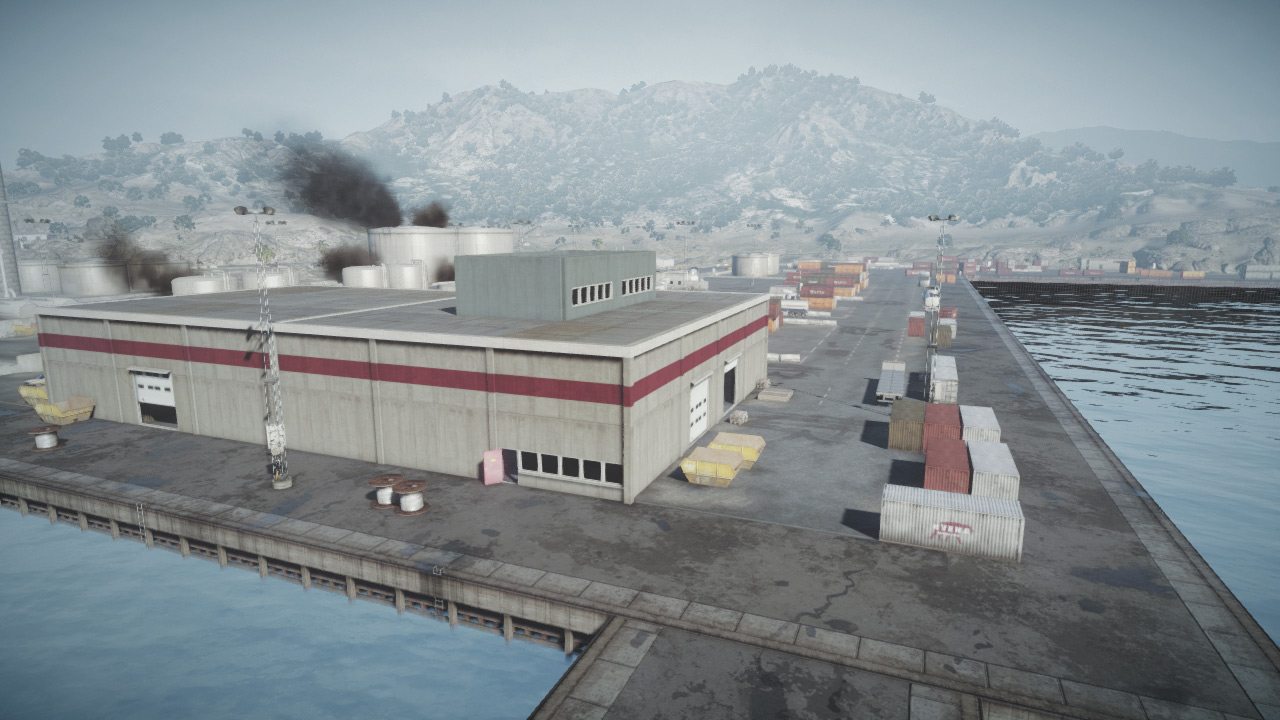
Located on the second floor of the warehouse, this M-COM station is tough to reach if it is well defended. The upper-floor platform on which the objective sits is accessible via the surrounding catwalk system.
This upper level can be reached by three staircases inside the warehouse. The staircases are pure choke points and the RU defenders should take advantage of them.
The interior of the warehouse is rather dark, making Tactical Lights and Laser Sights very effective for both teams. When attacking, expect stiff resistance inside the warehouse.
Instead of entering through one of the existing doorways, blow a hole in one of the exterior walls to make your own entrance, then rush the objective before the defenders realize what’s happening.
M-COM Station B
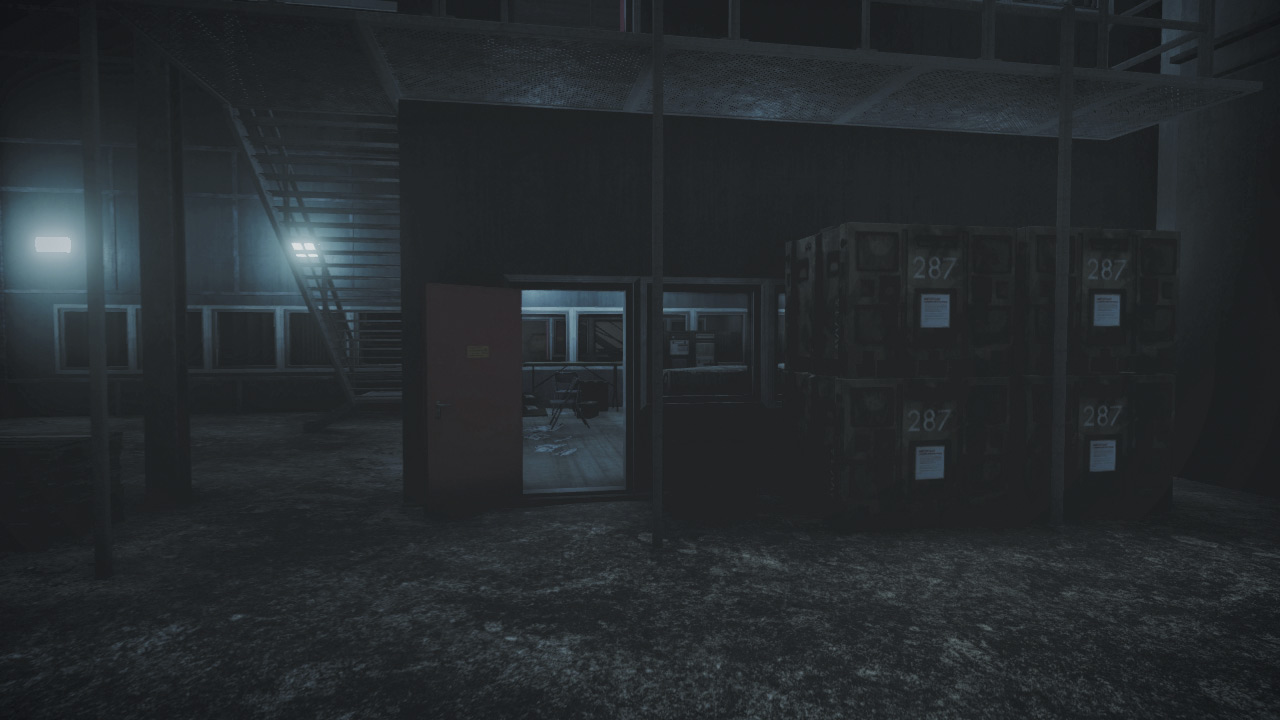
This M-COM station is barricaded in a eastern office on the ground floor of the warehouse. For the attackers, reaching this objective can be deadly unless you think outside the box.
The wall directly behind the M-COM station can be destroyed, allowing for easy access from the warehouse’s western exterior. So simply blow a hole in the wall with a rocket or grenade launcher, hop inside the office and plant the charge.
Defenders must prepare for such unorthodox attacks by defending the western exterior of the warehouse. But not all attackers think alike, so defenders must also cover the interior approach.
Since both objectives are in the same building, defenders posted inside the warehouse should be prepared to respond to attacks on either M-COM station.
US DEPLOYMENT
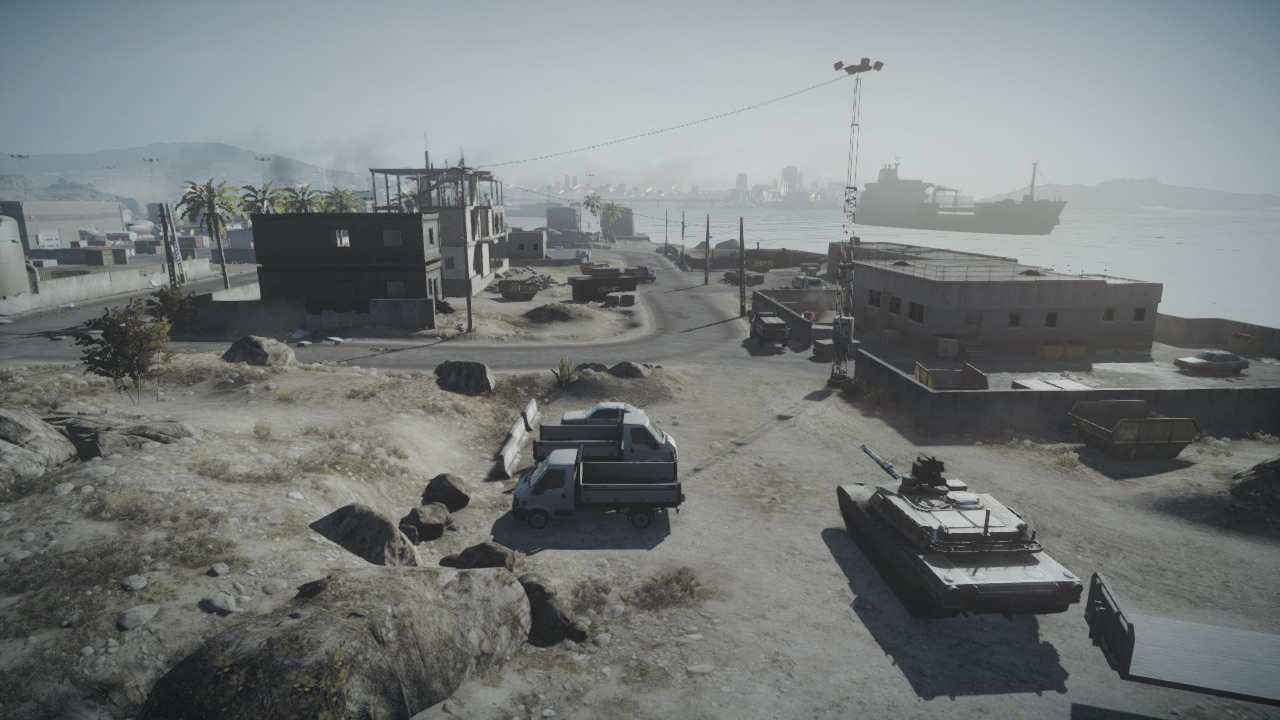
Base Assets
| Name | Quantity | Respawn Time |
|---|---|---|
| M1 Abrams | 1 | 25 sec. |
| AAV-7A1 AMTRAC | 1 | 60 sec. |
| AH-1Z Viper | 1 | 90 sec. |
| A-10 Thunderbolt | 1 | 40 sec. |
| RHIB | 2 | 30 sec. |
| Centurion C-RAM | 1 | — |
Six M-COM stations down, two more to go. For the final stage of this battle, the US team deploys near the Offices. The objectives in the large warehouse at the docs require a greater focus on close-quarters infantry tactics, but vehicles still play a role in transporting troops and securing entry.
While the warehouse can’t be destroyed, the exterior walls can be blasted open with explosive munitions. Use the M1 Abrams to punch holes in the warehouse walls so teammates can enter.
Meanwhile, use the A-10 and AH-1Z to provide close air support by strafing enemy units outside the warehouse, including the RU team’s T-90A. The RHIBs spawned at the carrier offer one of the best methods of assaulting the Docks, so don’t forget to utilize these boats.
RU DEPLOYMENT
Base Assets
| Name | Quantity | Respawn Time |
|---|---|---|
| T-90A | 1 | 90 sec. |
| SU-25TM Frogfoot | 1 | 40 sec. |
| 9M133 Kornet Launcher | 3 | 30 sec. |
Despite previous defeats, the RU team has a good chance of making a final stand here at the Docks. Both M-COM stations here are located within the warehouse.
Therefore, the lack of vehicles isn’t as much of a factor here as it was in the previous zones. Still, the RU team should make an effort to stop US troops from reaching the warehouse.
Using the shipping containers for cover and concealment, the T-90A is great for defending the warehouse’s western side, a popular entry point for attackers.
The US aircraft are more of a nuisance than a threat here, so don’t expend too many resources on shooting them down. Load out the SU-25TM for ground attack and use it to knock out US vehicles approaching from the south.
But the bulk of the team should focus their efforts on defending the warehouse exterior and interior from US infantry attacks. Spawning only a few meters from the warehouse, the defenders have a relatively easy time locking down this location.