
Battlefield 3 Premium Guide Battlefields Rush
Talah Market
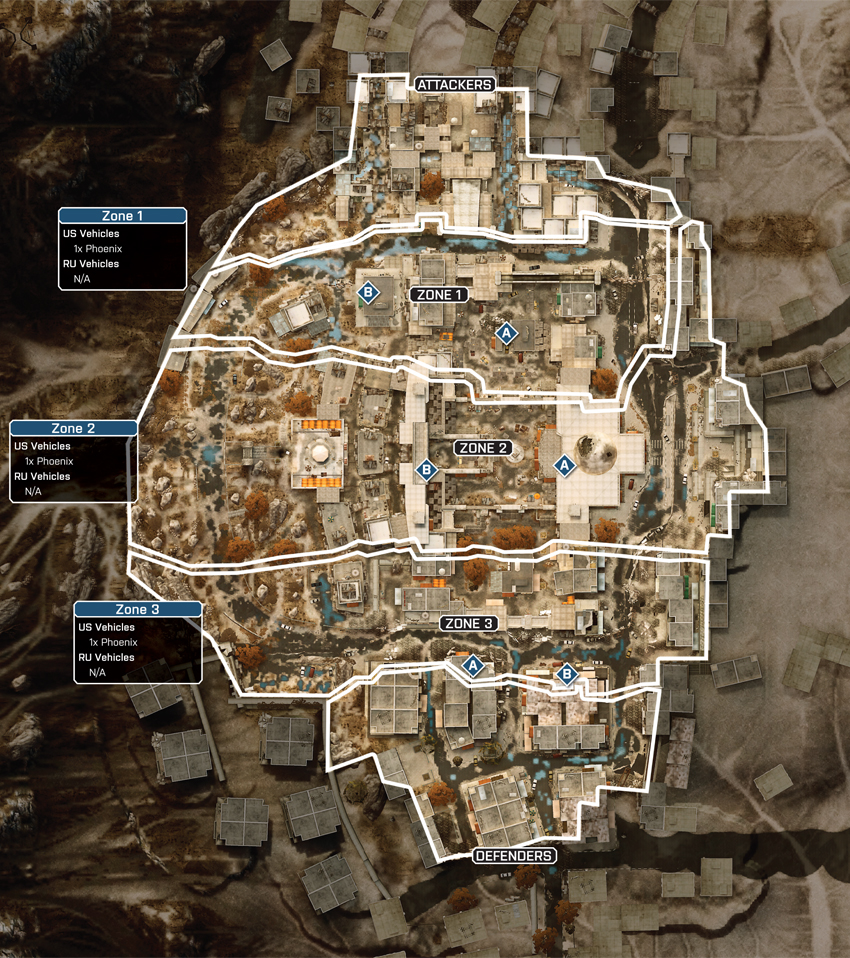
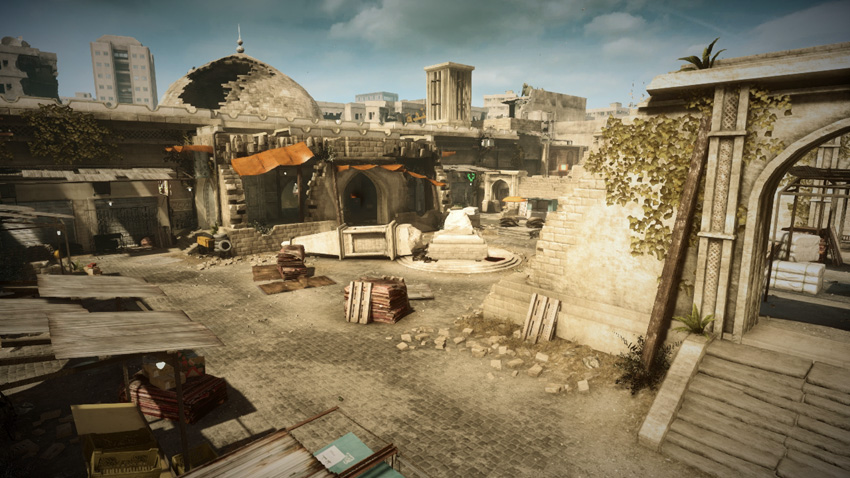
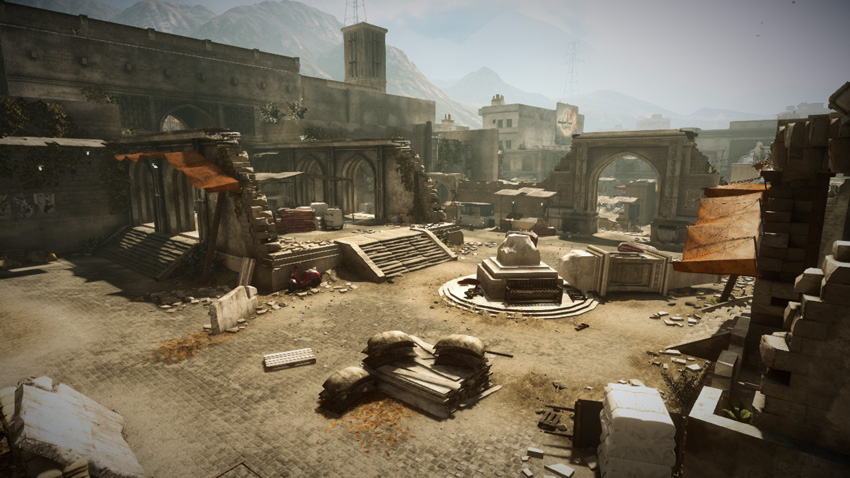
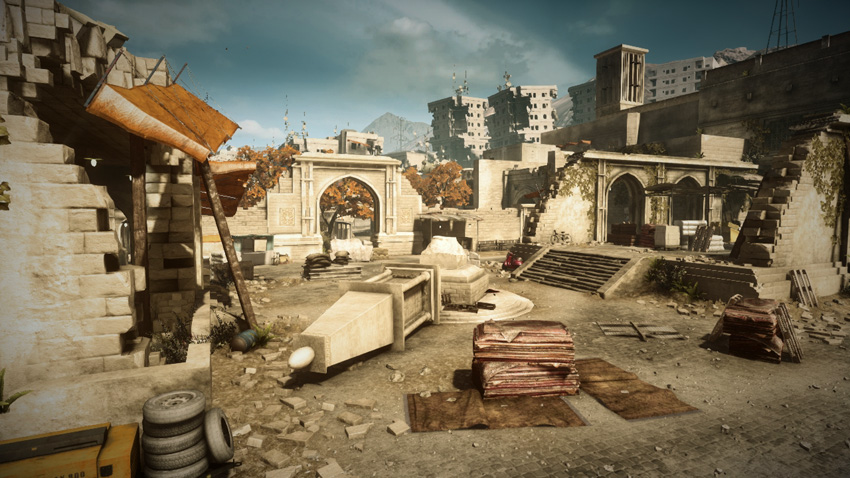
This is a relatively small-scale Rush battle, spread across three zones. With only one vehicle present on the map at any given moment, this is largely an infantry battle, as the US attackers cut a swath through the battlefield from north to south. While the battle progresses in a linear north-south fashion, most of the map is open for exploration, allowing for flanking maneuvers. This requires both teams to stay on their toes and consider alternative paths to the six M-COM stations. The attacking team is best served by fielding assault and support troops as well as a few recon soldiers equipped with MAVs. Recon troops are even more essential for the defenders given their ability to deploy T-UGS motion sensors. These sensors are ideal for detecting flanking attacks. Likewise, defenders may wish to keep some engineers on reserve to deal with the US team’s Phoenix. Most of the fighting takes place at close to intermediate range, so choose your loadout accordingly—assault rifles and carbines are the most versatile options.
Zone 1: Courtyard
US Deployment
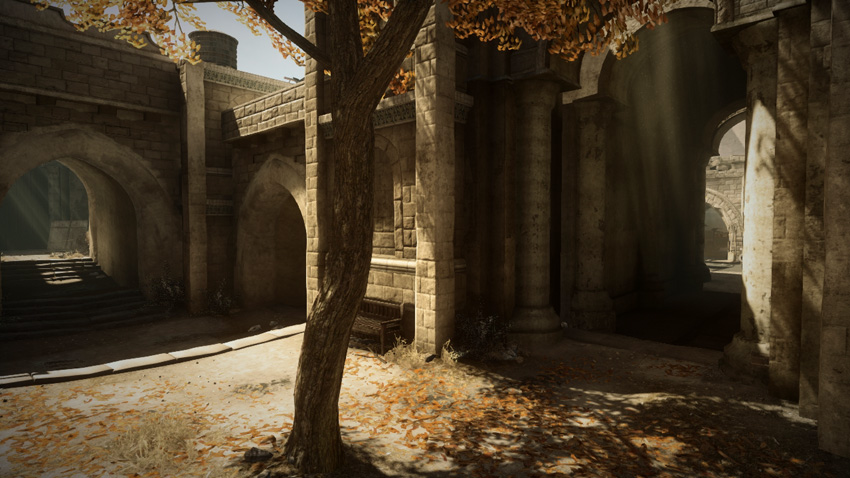
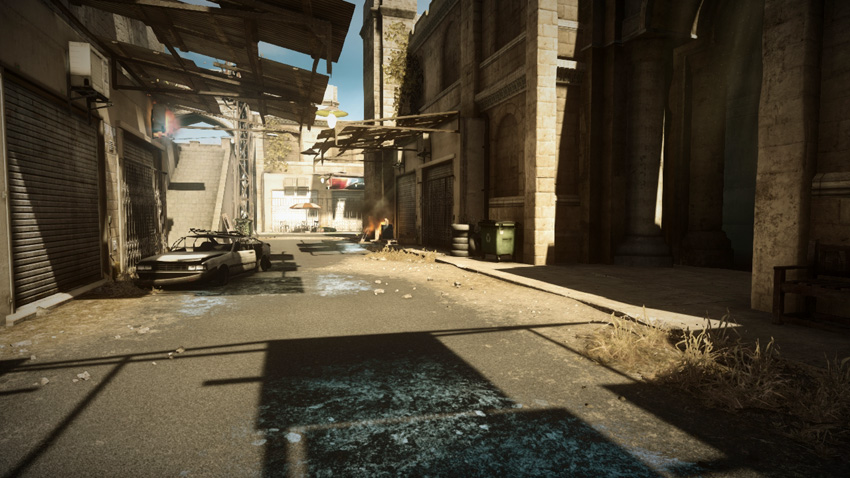
Deployment Area Assets
| Name | Quantity | Respawn Time |
|---|---|---|
| Phoenix | 1 | 30 sec. |
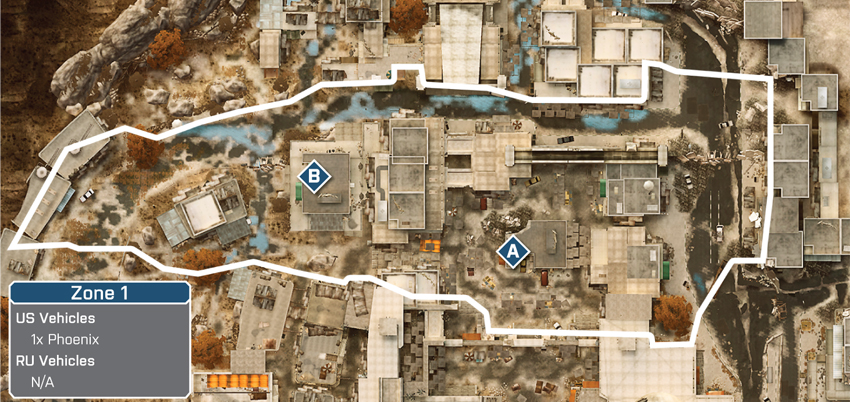
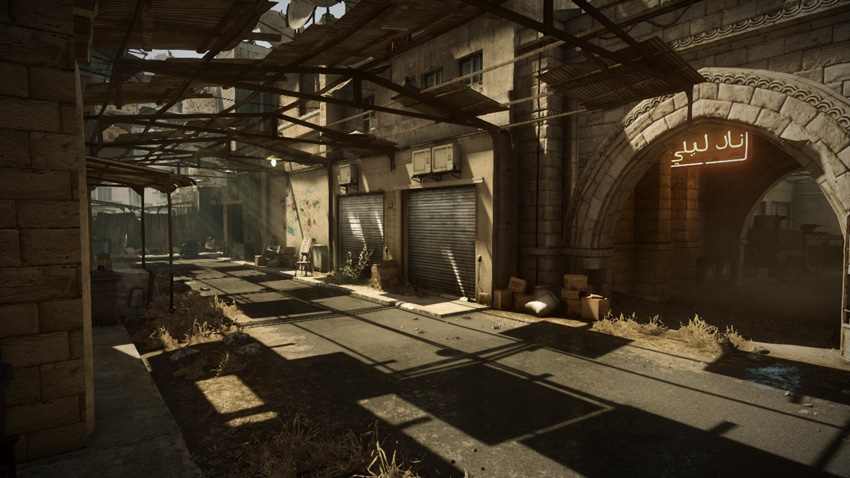
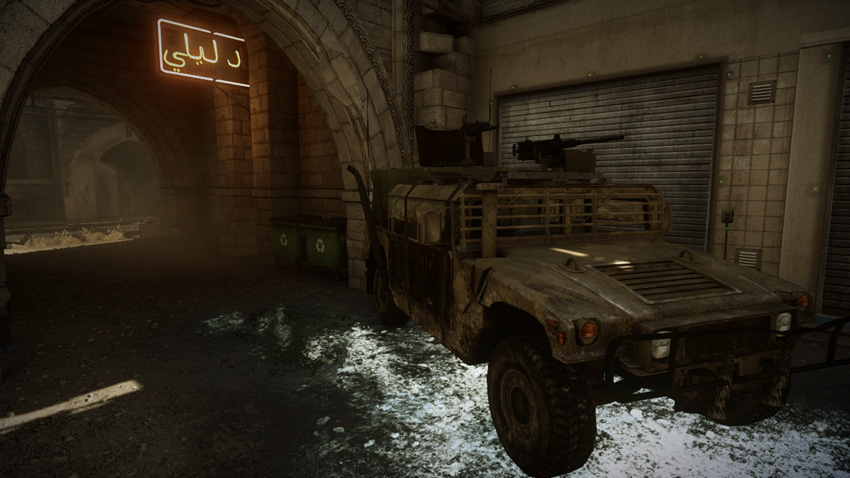
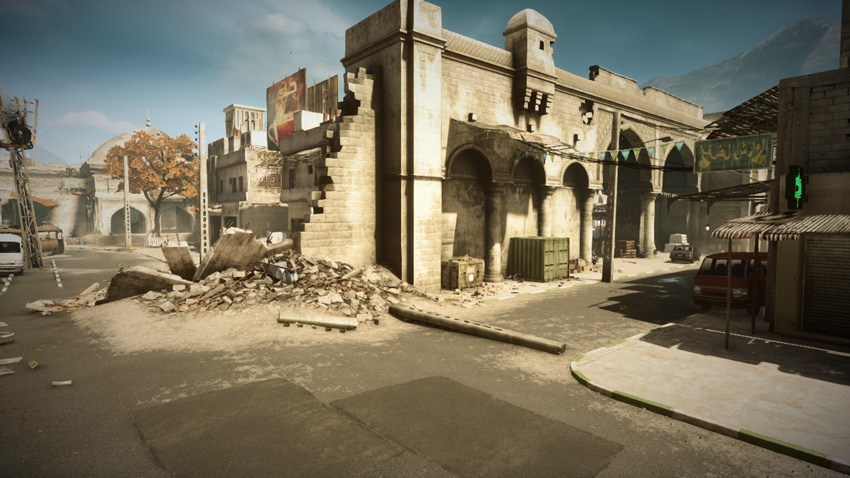
At the start of the battle the US team deploys from the narrow streets and alleyways on the north side of the map, along with a single Phoenix. The cramped, urban terrain surrounding the objectives in this zone make the Phoenix less effective as a transport vehicle. Instead, deploy it along the street, north of the objectives, and use its weapons to suppress the defenders. Providing fire support here can help friendly troops cross the street without coming under constant fire. Keep the Phoenix positioned to the east or west and avoid direct contact with enemy infantry to prevent getting taken out with rocket launchers or C4. While the Phoenix provides covering fire, the rest of the team should make an aggressive push toward the objectives early during the match, before the defenders can adequately secure them. Make a move for M-COM Station B first, then utilize Radio Beacons to maintain a presence nearby before attacking M-COM Station A.
RU Deployment
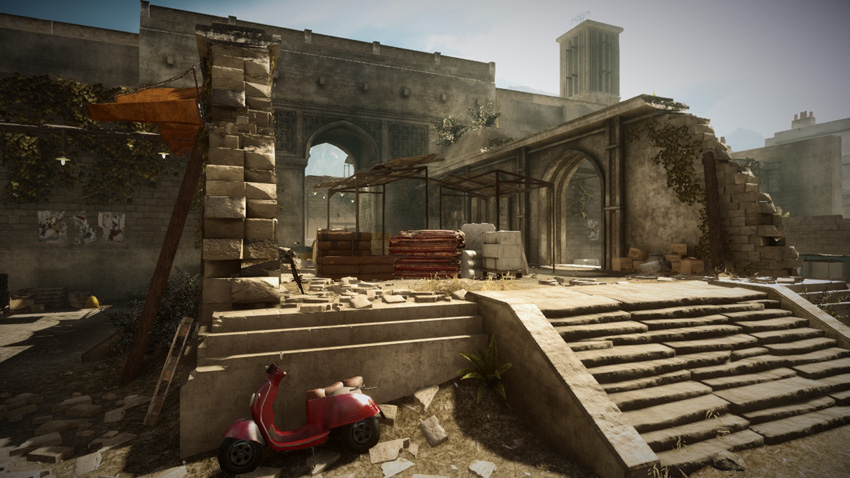
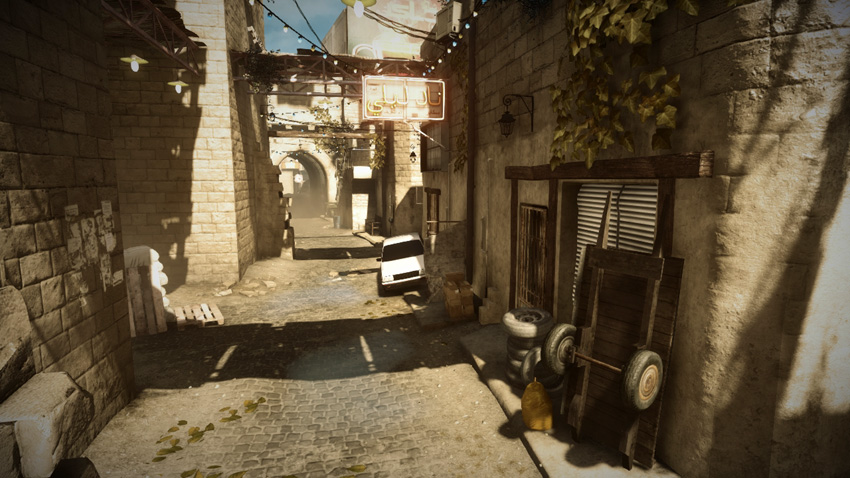
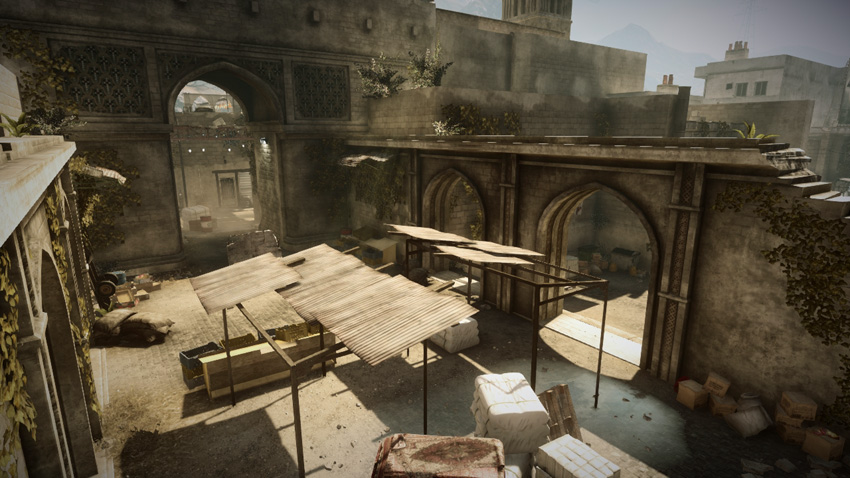
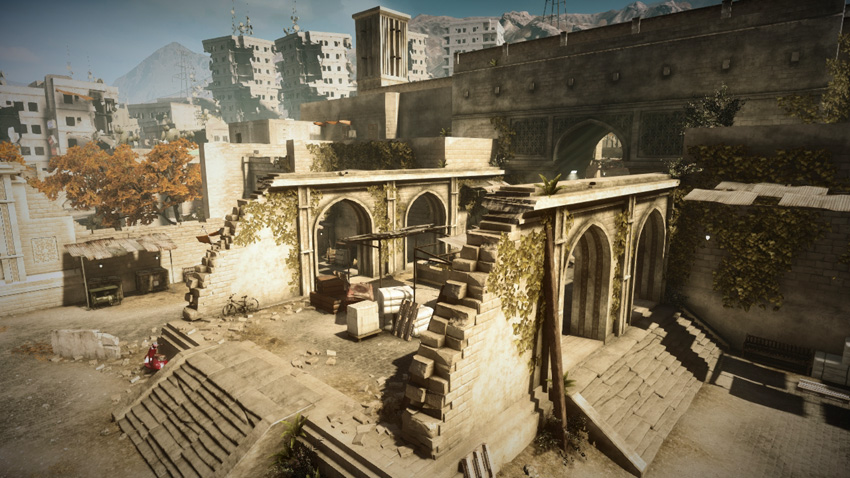
As in all Rush battles, the defenders have no extra time to prepare their defenses in the first phase. Therefore, the RU defenders must rush from their deployment area, near the Square, and take up positions around the objectives before the US team arrives. The early-round footrace often leads to some close-quarter fire fights as both teams swarm around the objectives. Carbines, PDWs, and shotguns are all very effective during these close-quarter engagements. With no vehicles at their disposal, the RU team must rely solely on infantry to hold back the attackers. The US team’s Phoenix poses a minimal threat to either objective. However, fielding a few engineers is always helpful when attempting to silence the Phoenix’s weapons. Recon troops equipped with MAVs and T-UGS motion sensors are also useful for spotting incoming attackers, which helps your team respond by intercepting enemy troops before they can plant a charge on either objective.
M-COM Station A
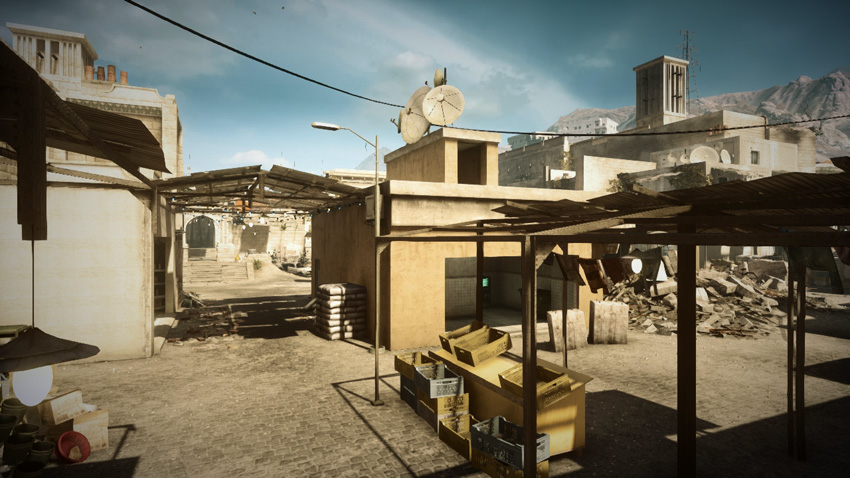
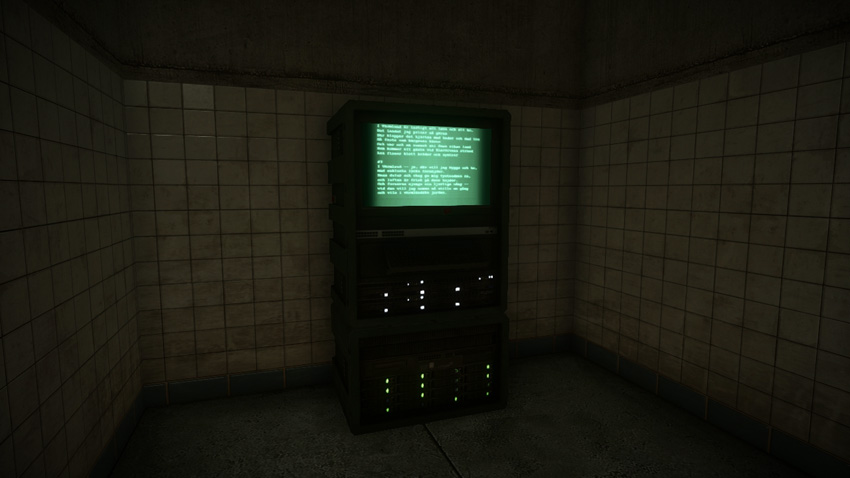
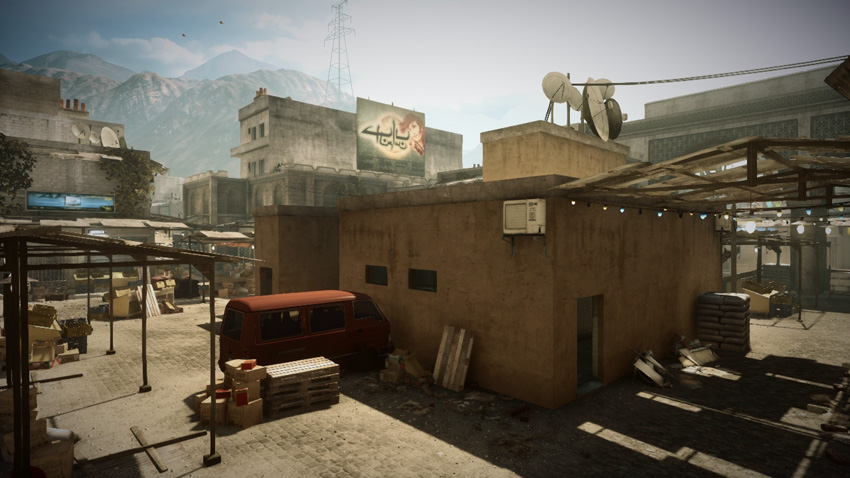
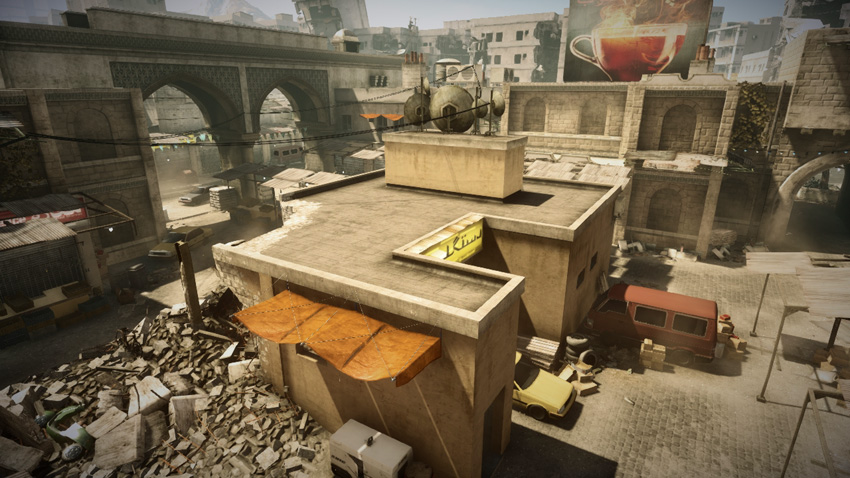
M-COM Station A is located within the damaged garage-like structure at the Courtyard. The objective is easily accessed through the large door on the north side of the structure, but this isn’t the only entry point. There are also doorways on the south side of the building. Furthermore, the perimeter walls of the structure can be destroyed with explosives to provide more access points. The roof of the building can be accessed via a set of internal stairs located on the southern side. While the rooftop offers a good view of the Courtyard and surrounding area, it offers little cover. So if you find yourself on the rooftop, always drop prone to make yourself less visible. Defenders are better off defending this objective from the ground, preferably by hiding among the objects and debris on the north side of the Courtyard. The dual archways on the north side of the Courtyard are a popular avenue of attack, so look for opportunities to flank attackers rushing toward the objective. To avoid being ambushed, attackers should consider approaching this objective from the east or west.
M-COM Station B
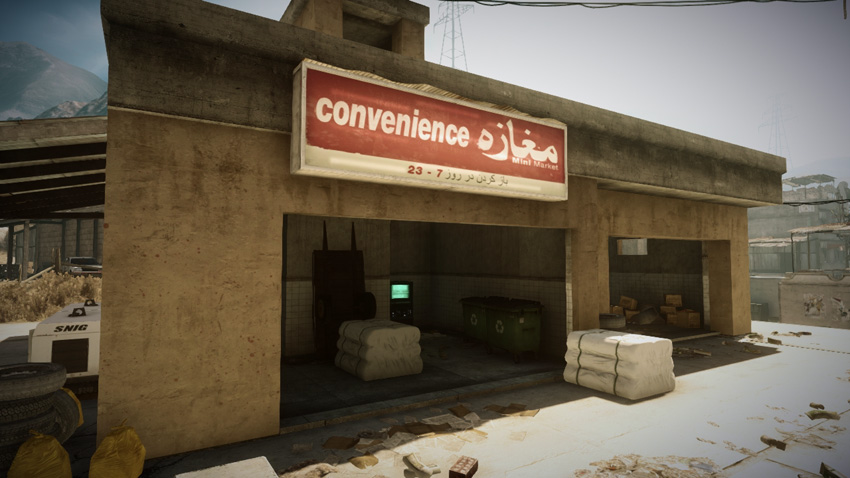
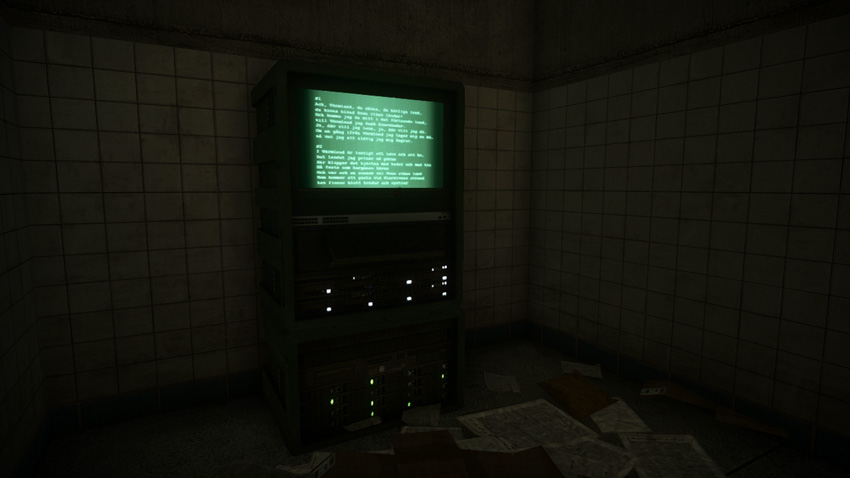
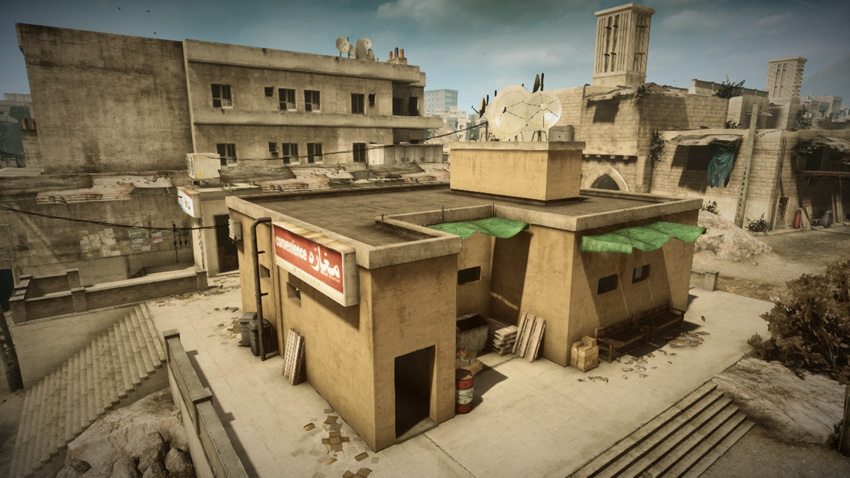
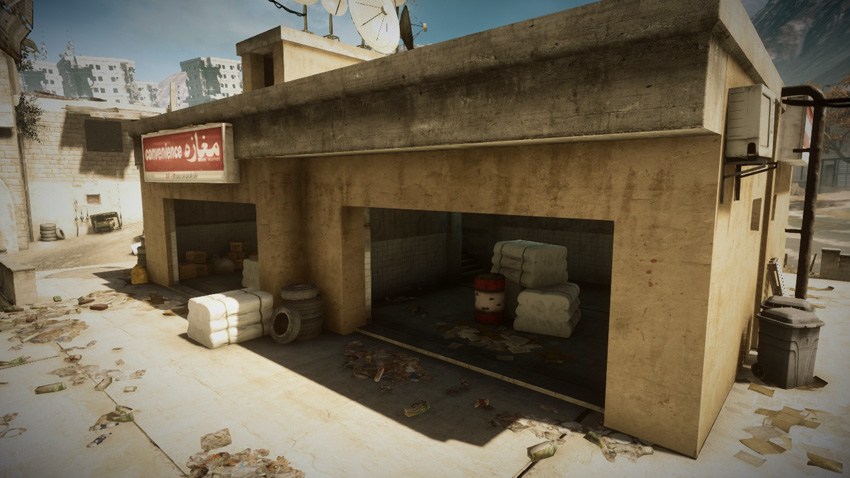
Like M-COM Station A, this objective is also housed within a garage-like building. This structure is located northwest of the Courtyard; it’s only a few meters from the US team’s deployment area. As a result, the RU team has a tough time securing this location before the US attackers arrive. In many instances, the RU team may arrive just as the attackers are setting a charge. While it’s possible to fend off early-round attacks, sometimes the RU defenders are better off sacrificing this objective while consolidating their forces around M-COM Station A. In any case, expect fighting here to occur at close range, particularly within the garage. If the garage’s interior is well defended, the attackers should consider bombarding the structure with explosive weapons such as mortars and rocket launchers in an effort to deny the defenders cover and concealment. Once the objective is destroyed, the US team should consider using this location as a forward base by deploying Radio Beacons inside the garage.
Zone 2: Square
US Deployment
Deployment Area Assets
| Name | Quantity | Respawn Time |
|---|---|---|
| Phoenix | 1 | 30 sec. |
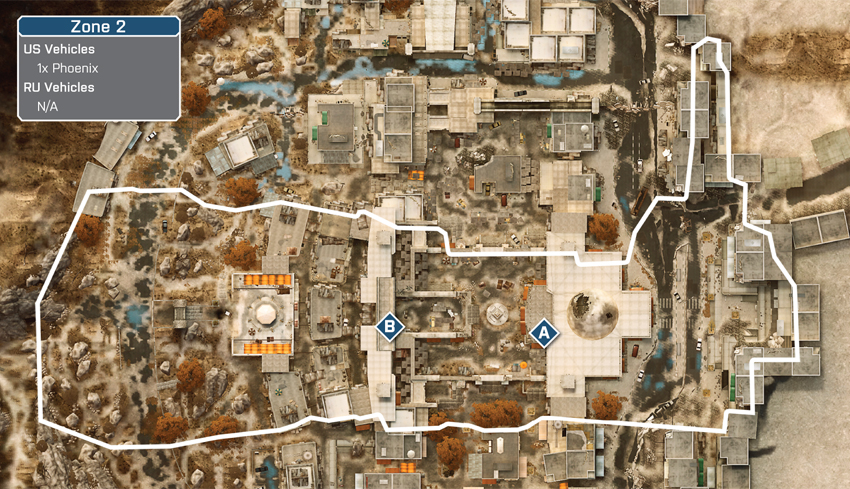
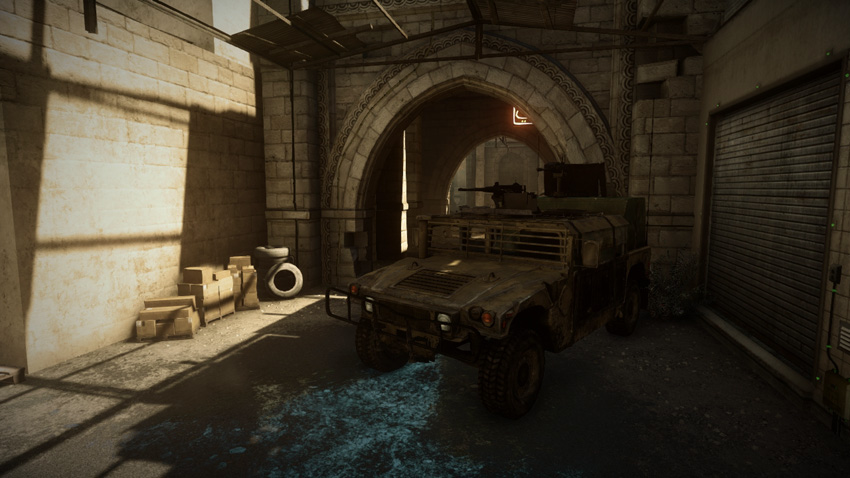
Following the destruction of the first pair of M-COM stations, the US team deploys near the Courtyard. The US team maintains access to a Phoenix during this phase of the battle, but it still deploys in the same location on the north edge of the map—however, you can deploy directly into the vehicle from the spawn screen if you want to avoid a short hike. The next set of objectives are located at the Square, near the center of the map. This time the defenders have a few extra seconds to prepare before the new objectives can be attacked. So instead of walking directly into an ambush by staging a frontal assault from the north, look for opportunities to flank from the east and west. This allows your team to avoid the open terrain in the center of the Square and hopefully catch the defenders off guard. Since the Square is largely off-limits to vehicles, the Phoenix is less effective as a weapons platform. However, it can still be used as a transport to swiftly move troops to flanking positions.
RU Deployment
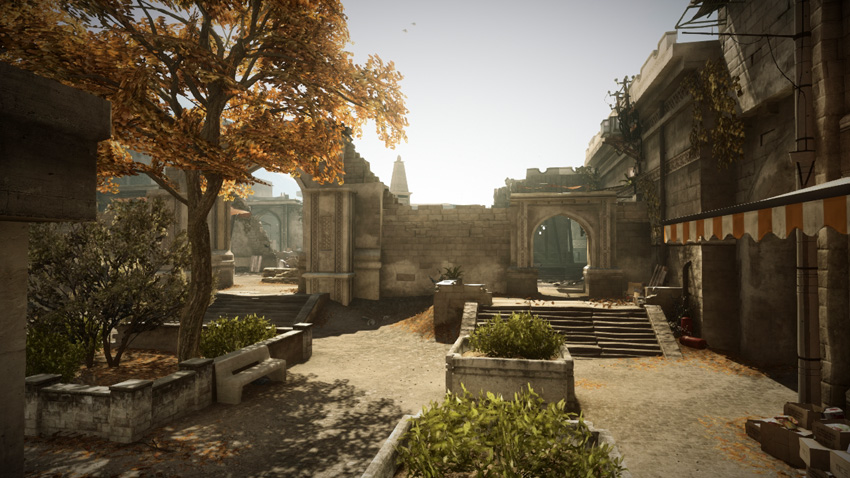
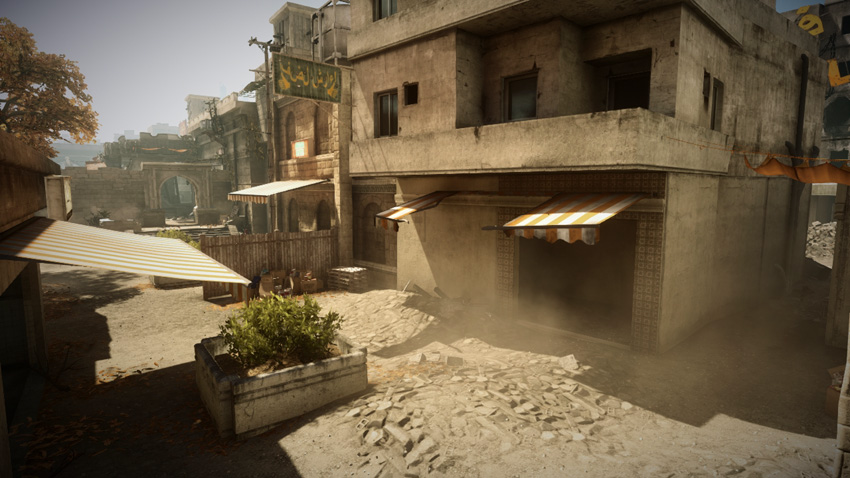
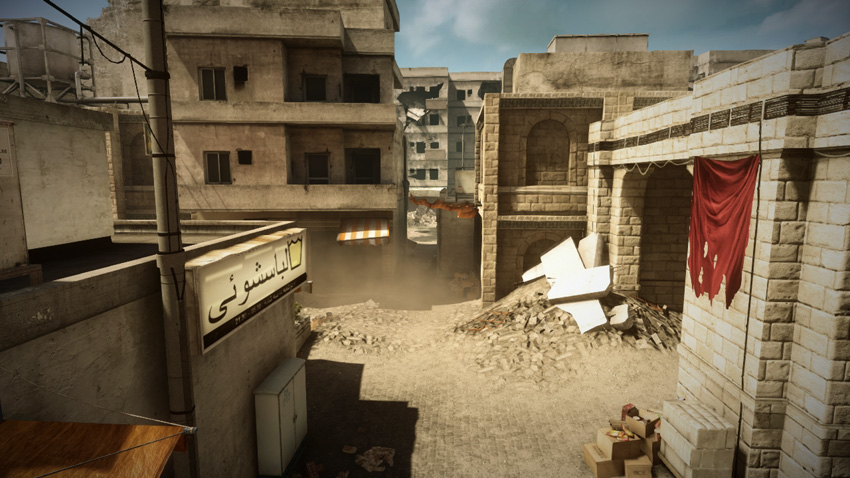
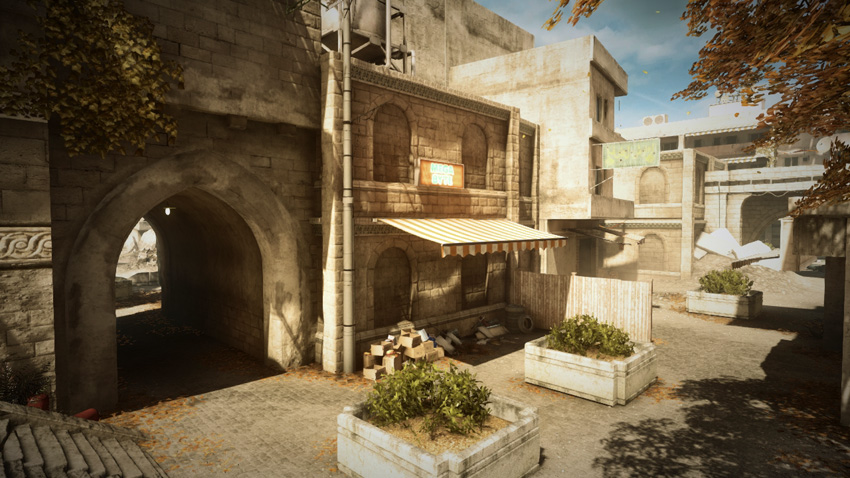
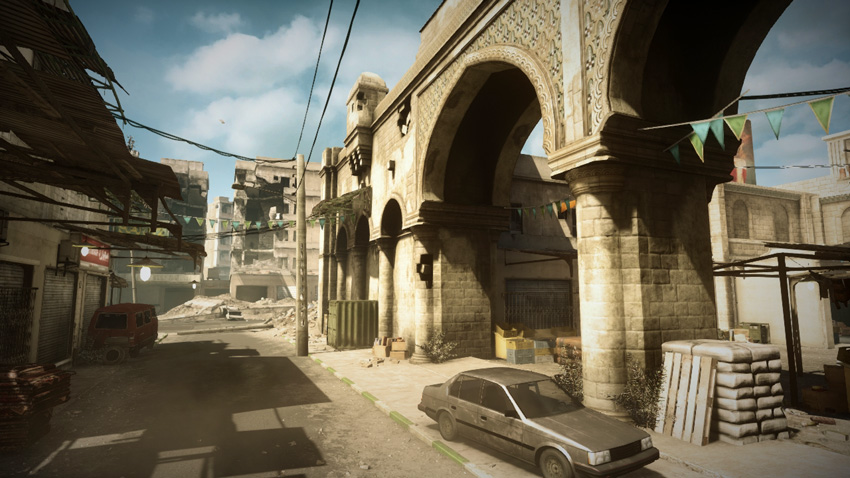
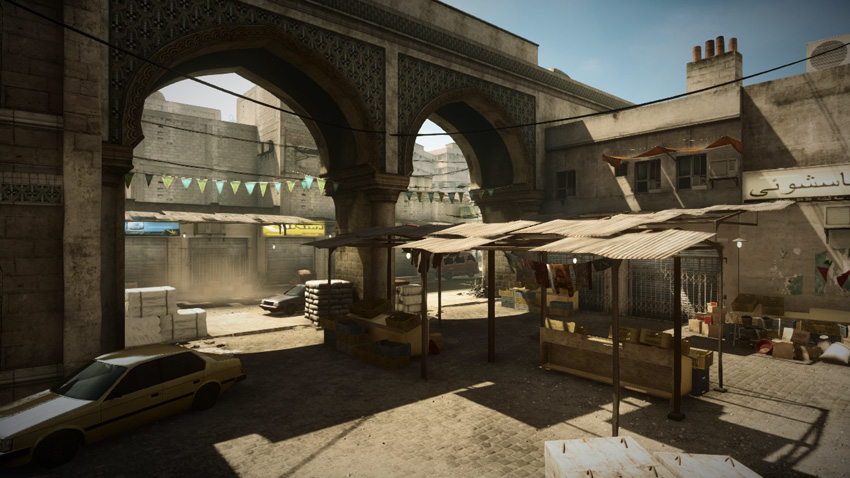
Holding back the attackers at the Courtyard is a difficult task. Fortunately, the RU defenders have a better chance as the battle shifts to the Square. At the start of this phase, the RU team deploys on the south side of the Square and they have a few extra seconds to get into position before the attackers arrive. Take these few precious moments to lock down the northern, western, and eastern access points to the Square. Since both objectives are located within the Square, they’re much easier to defend, and your team can consolidate their efforts at one location. Initially most attackers are likely to originate from the north, so be ready to respond as US troops rush through the Square’s northern archway. But also watch for flanking attacks as US troops infiltrate the Square from the souk to the east and the alleys to the west.
M-COM Station A
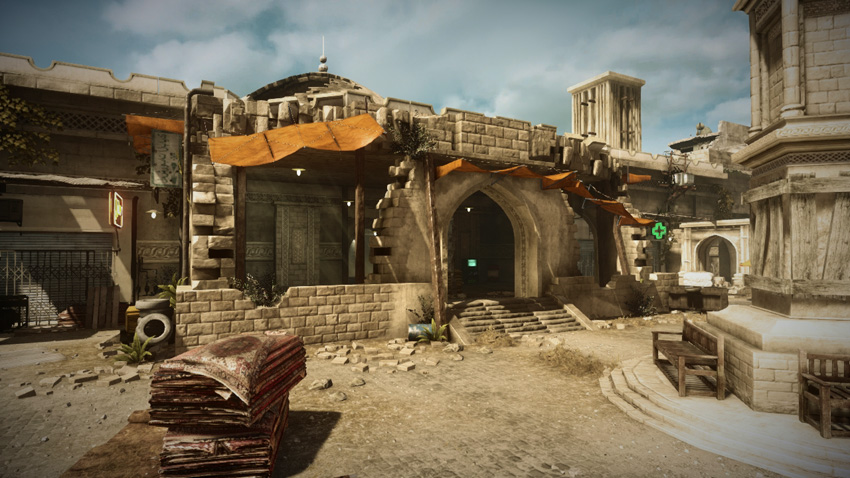
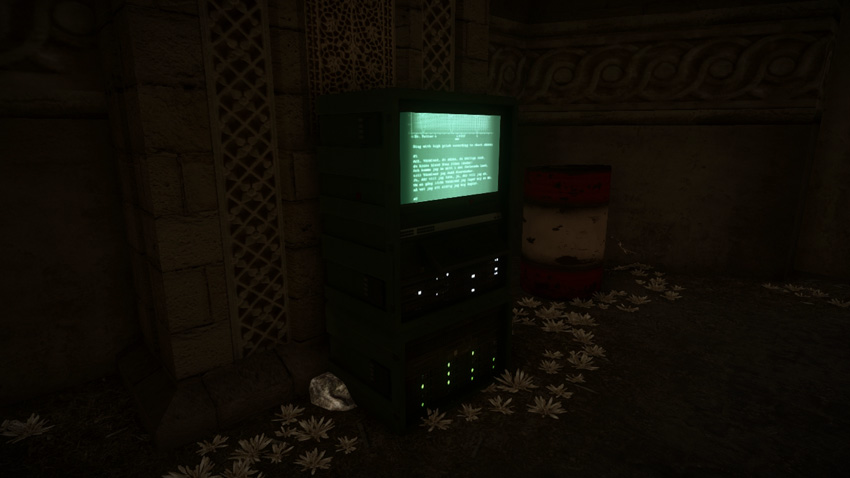
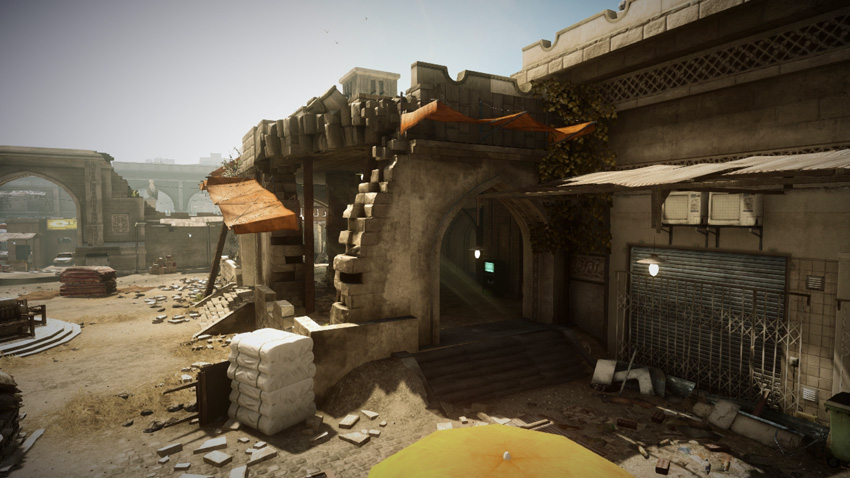
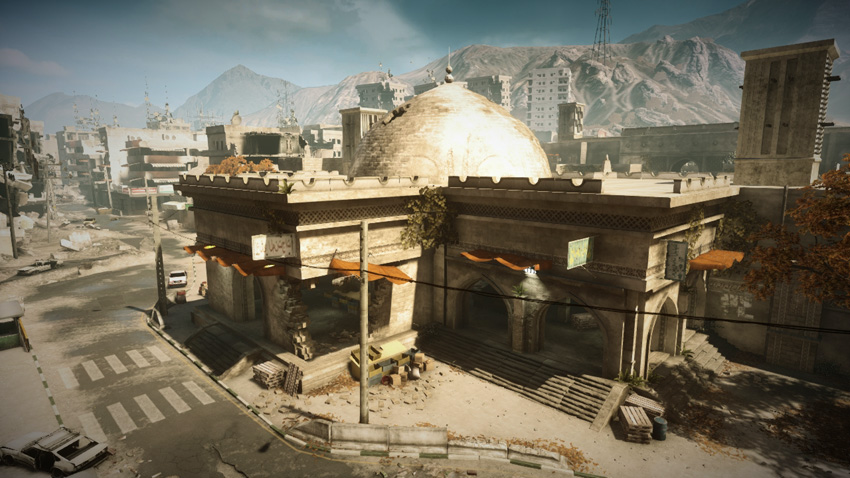
M-COM Station A is located within the abandoned souk on the east side of the Square. The damaged walls and archway on the west side of the souk make it possible to monitor the objective from multiple angles within the Square. So defenders watching M-COM Station B on the west side can still keep an eye on M-COM Station A. This poses a problem for the attackers; it’s extremely dangerous to approach the objective from the Square. Instead, attackers should attempt to flank from the east, approaching from the Main Street and assaulting through the souk’s interior. The dimly lit interior of the souk makes it the ideal location for deploying Tactical Lights and Laser Sights—use these weapon attachments to blind your opponents.
M-COM Station B
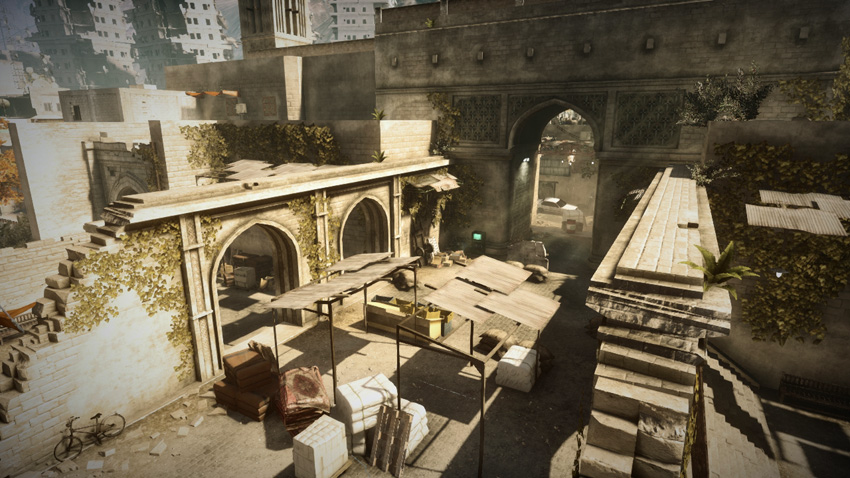
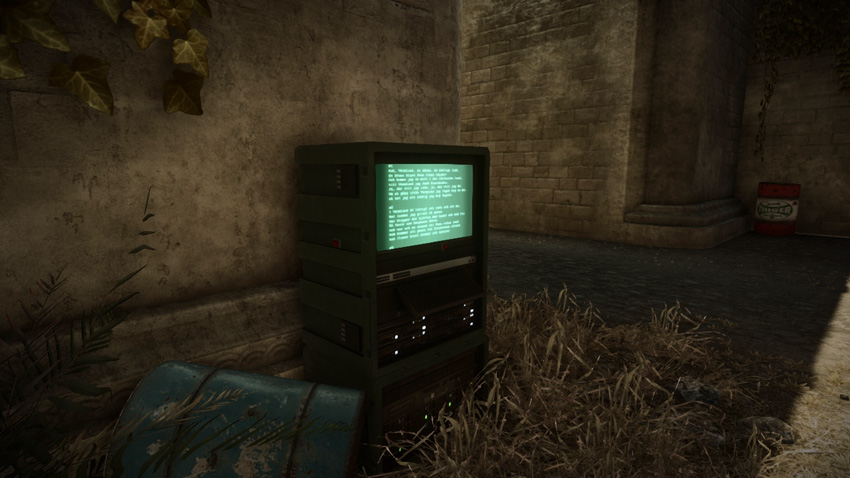
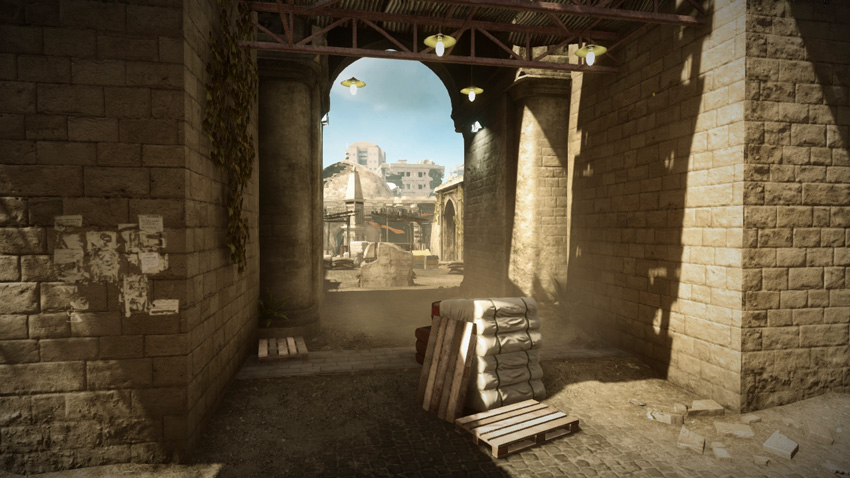
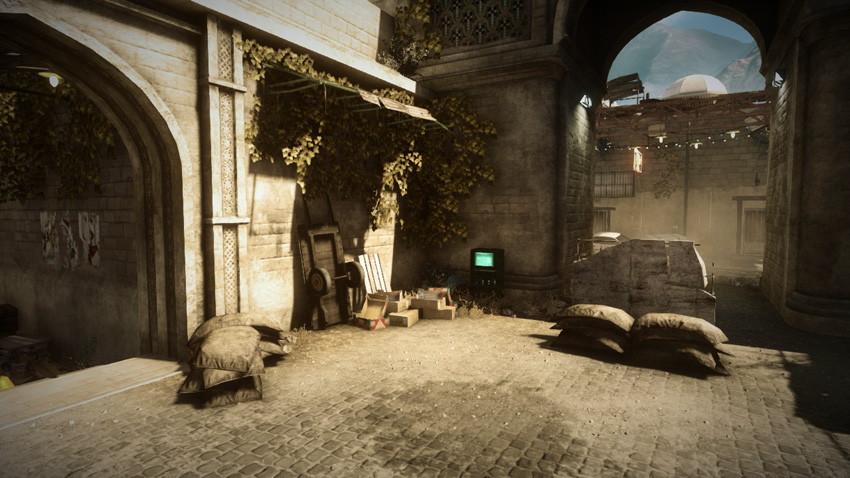
This objective is positioned on the west side of the Square, adjacent to the western archway. While defenders within the Square have a clear view of this objective from multiple angles, its important to secure the western alleyway to prevent flanking attacks. Early-round attacks from the north are often unsuccessful since the RU team can easily lock down the Square. However, attacks from the west are tougher to stop from the Square. So the defenders should position at least one squad along the alleyway directly west of the Square. This is a popular avenue of attack and should be watched at all times. Booby-trapping the western archway with C4 and Claymores is very effective, too. Even if the alleyway is well defended, the western approach is by far the preferable route when attacking this objective—use close-quarter weapons to pick off defenders and grenades to detonate booby traps. The nearby red barrels can also be detonated with small arms fire.
Zone 3: Suburb
US Deployment
Deployment Area Assets
| Name | Quantity | Respawn Time |
|---|---|---|
| Phoenix | 1 | 30 sec. |
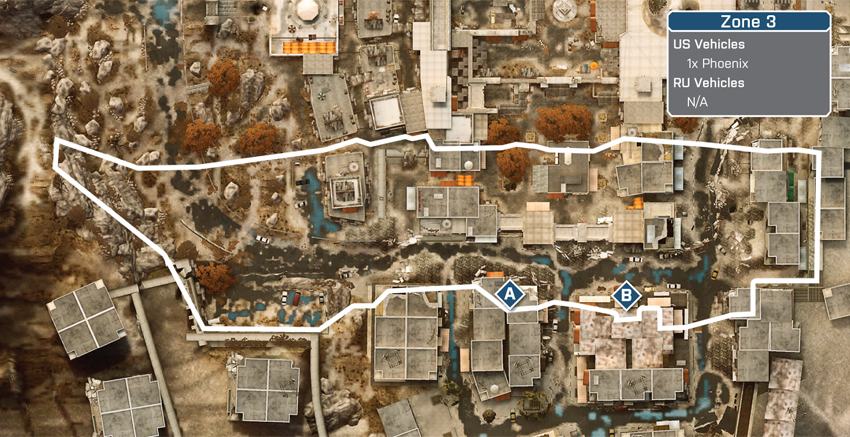
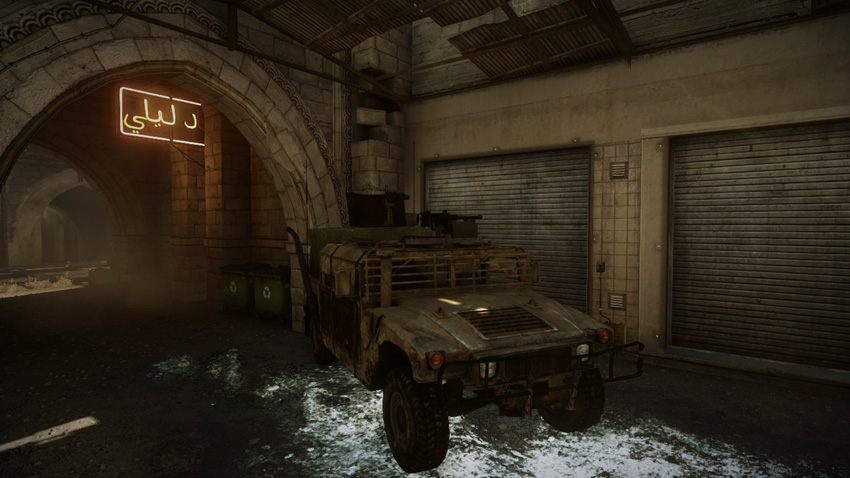
In the last phase of the battle, the US team deploys from the Square in preparation for their final assault on the objectives at the Suburb to the south. Once again, the US team has access to a Phoenix that deploys from the north side of the map. Unlike the previous phases, the Phoenix can play a larger role in securing the final objectives. Instead of rushing the objectives with this vehicle, park it along the street on the western or eastern flanks of the Suburb and use its weapons to engage and suppress the defenders. However, don’t keep the Phoenix positioned in one spot for more than a few seconds—otherwise it’s likely to be destroyed by incoming rockets or C4. At the very least, the Phoenix can serve as a distraction, giving friendly troops the opportunity to plant a charge on an objective.
RU Deployment
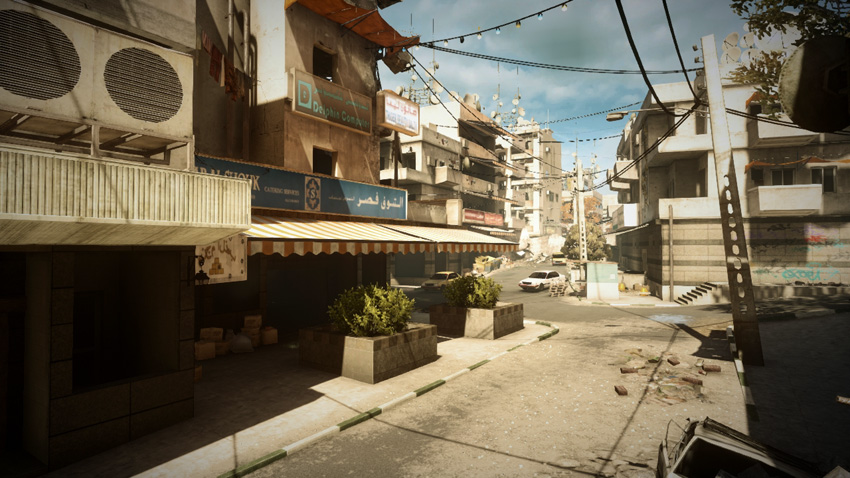
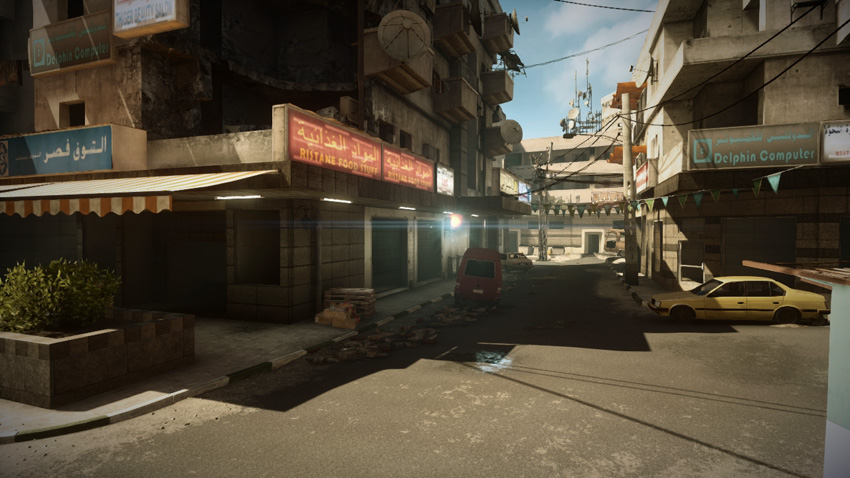
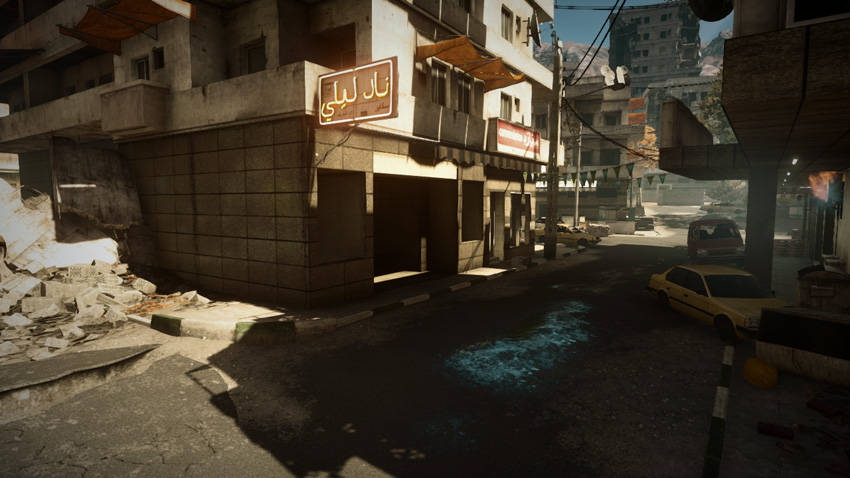
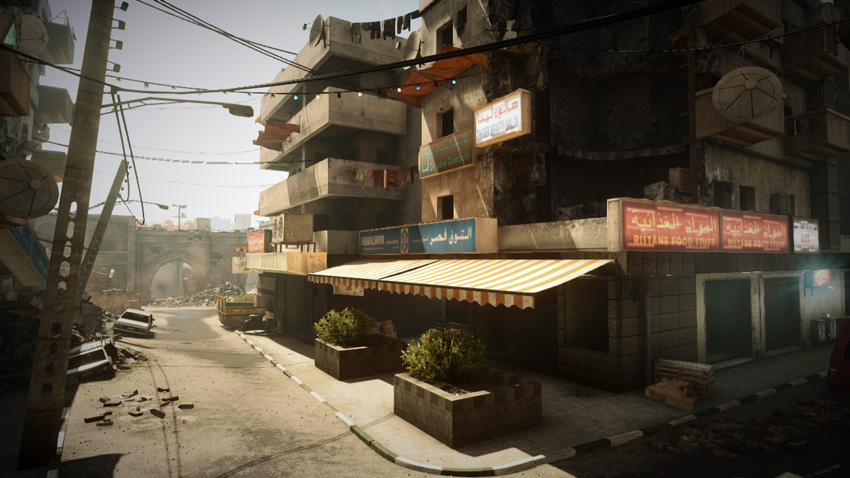
The RU team has one more chance to hold back the attackers, this time at the Suburb. RU troops deploying during this phase spawn in the streets directly south of the Suburb. This area is completely off-limits to the US team, but it’s also a considerable distance from the objectives. Therefore defenders should consider placing Radio Beacons closer to the objectives in an effort to maintain a constant presence near the action. Attacks by the US team’s Phoenix are much more common during this phase, so be ready to counter by fielding engineers equipped with mines and rocket launchers. There aren’t too many great hiding spots near the objectives, so consider intercepting the attackers as they push toward the dual archways across the street from the Suburb. While most of the enemy infantry are likely to approach from the north, watch for flanking attacks along the street to the east and west.
M-COM Station A
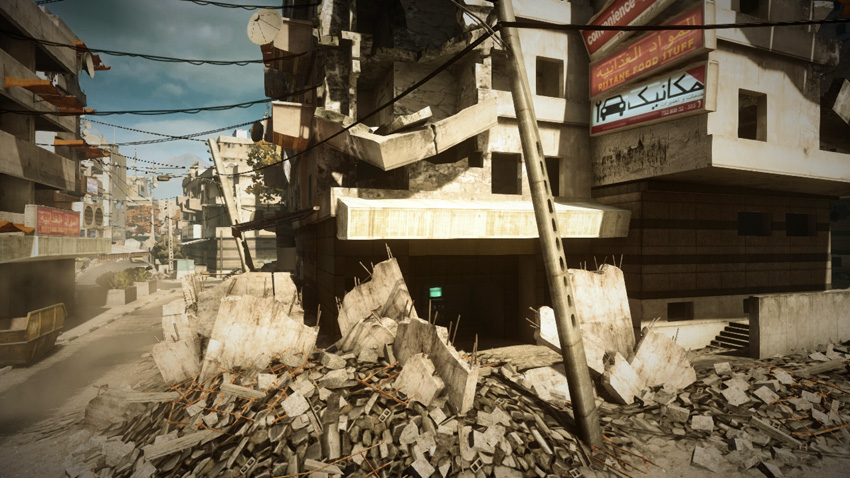
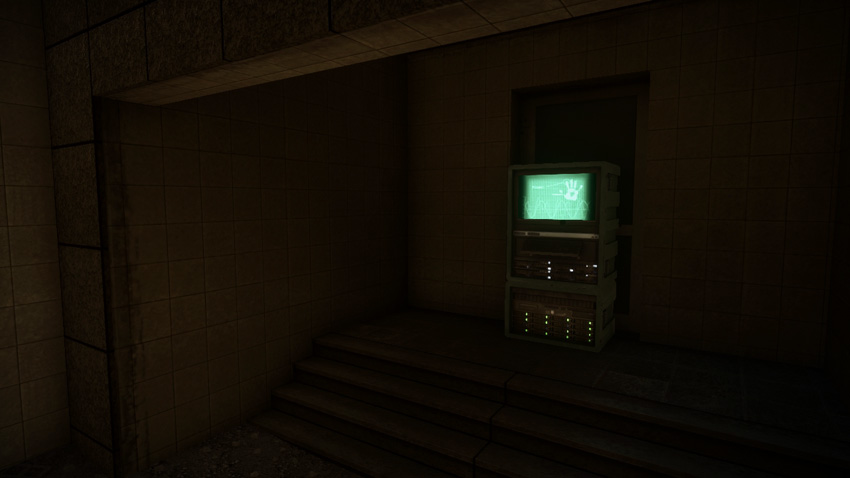
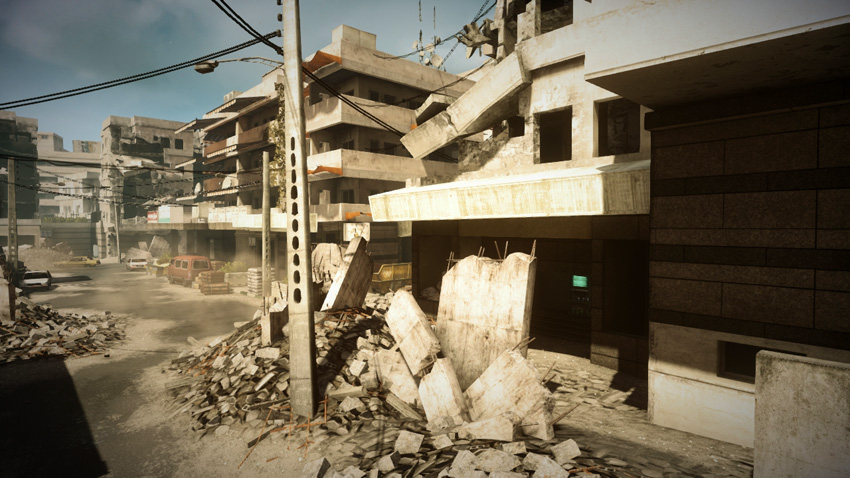
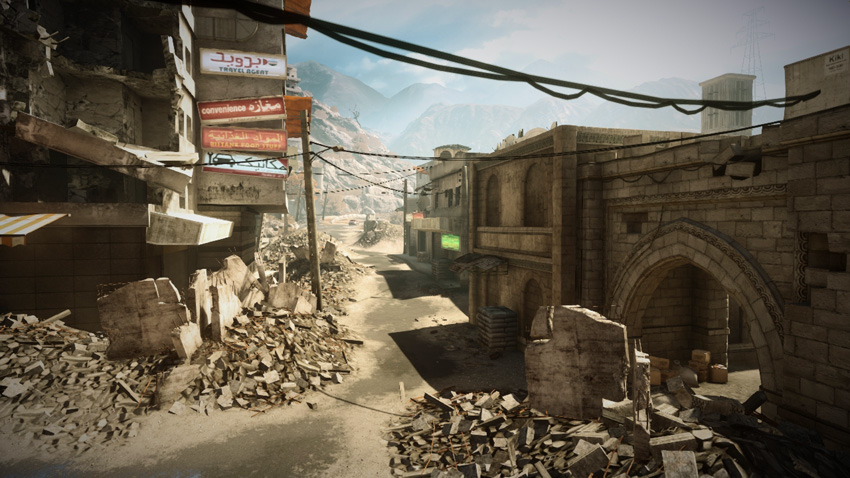
M-COM Station A is located in the entryway of a crumbling apartment building directly across the street from the dual archways. The surrounding rubble makes it difficult to maintain a line of sight on the objective from long range. Thus defenders may have a hard time detecting attackers tampering with the M-COM station until it’s too late. So when defending here, place T-UGS motion sensors nearby to detect enemy movement around the objective. Planting C4 and Claymores near the objective is also a good idea. For attackers, it’s easiest to sneak up on this objective from the west. Instead of racing down the street, use the rubble lining the street to conceal your movements. Flanking from the west is much safer than charging through the archways to the north. Use the Phoenix to provide covering fire while a teammate plants the charge.
M-COM Station B
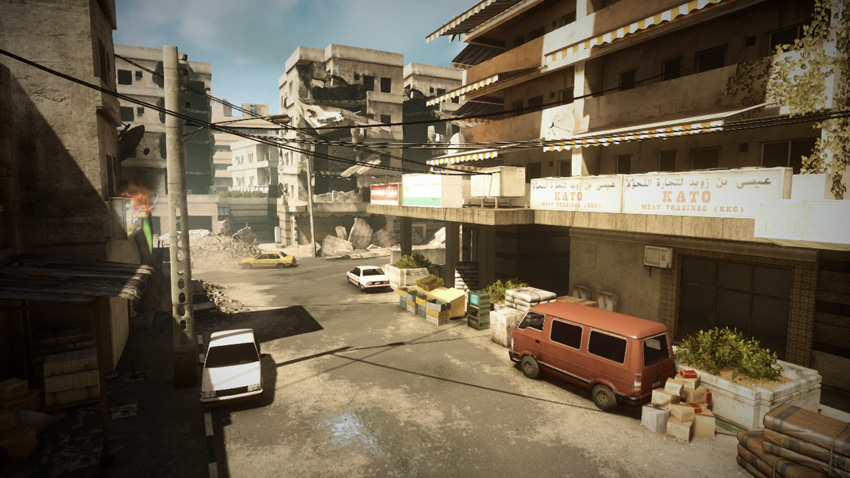
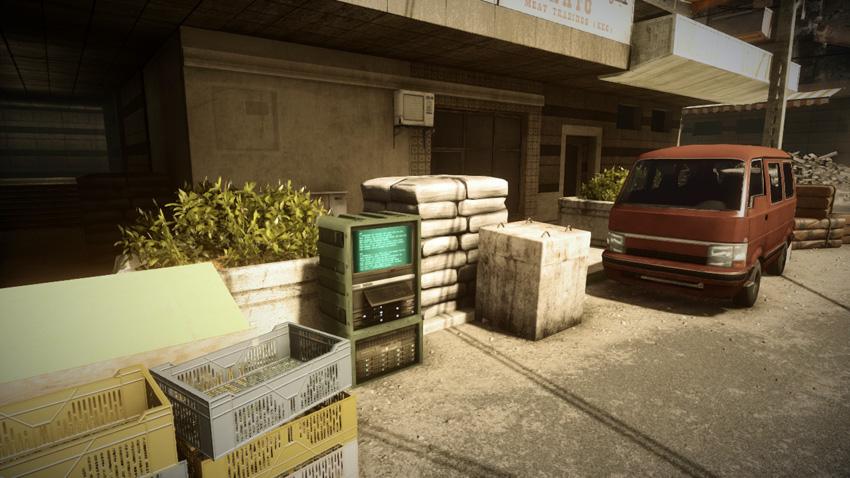
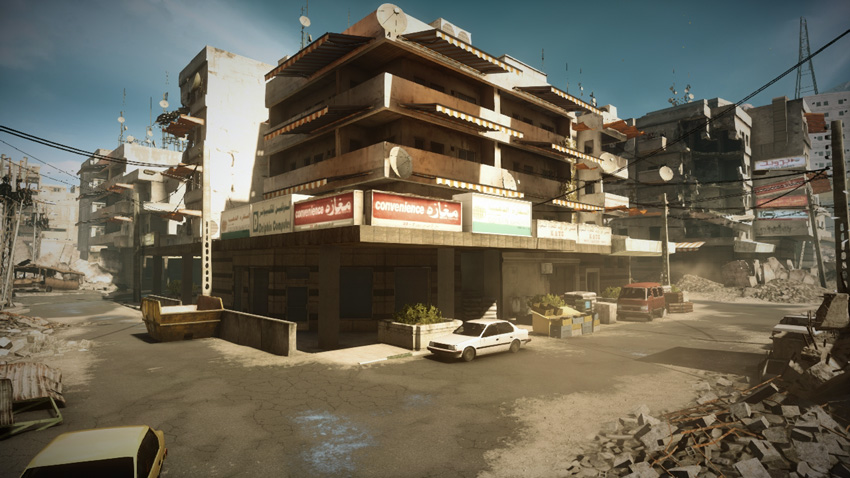
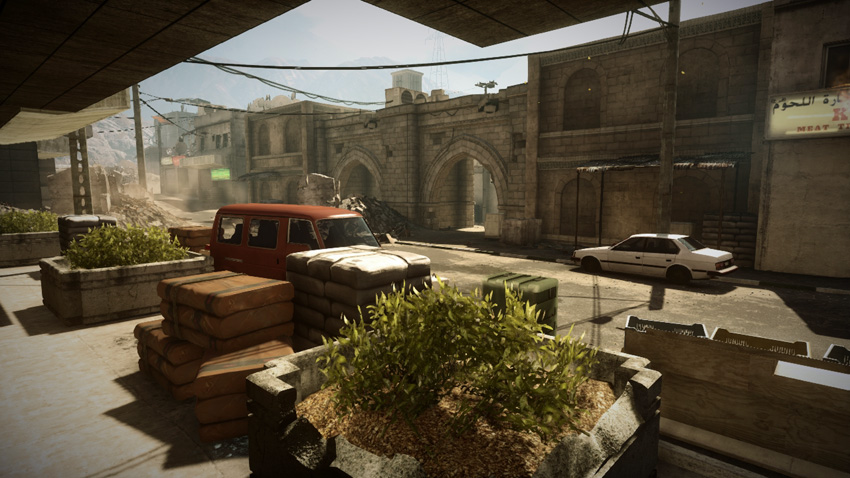
In contrast to M-COM Station A, this objective is very exposed, positioned along the street at the Suburb. Defenders can easily monitor it from multiple angles, including the alley and storefront to the south. Given the objective’s exposed nature, the attackers must approach very carefully. This is one instance where the Phoenix can play a critical role. Consider parking the Phoenix at the intersection to the east and use its weapons to provide covering fire. Alternately, use mortars or grenade launchers to deploy smoke on the objective before attempting to set a charge. Suppressing defenders and concealing movement are crucial elements of a successful attack on this problematic objective.