
Battlefield 3 Premium Guide Battlefields Squad Rush
Azadi Palace
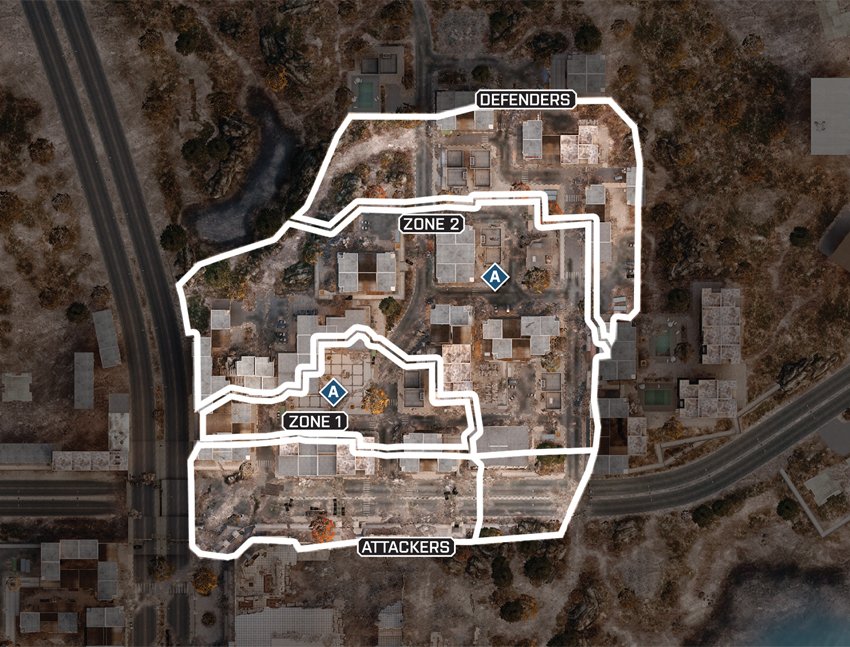
In both phases of this small-scale Rush battle, the defending squad has the definitive upper hand because they are capable of watching both objectives from a variety of top-notch overwatch positions. As a result, the attacking squad must forget about attempting a frontal assault and look for opportunities to flank. As in any Squad Rush match, gathering intel is crucial for both squads, so be ready to deploy T-UGS motion sensors and MAVs to detect your opponents and direct squad mates. Given the long sight lines at the Downtown plaza, both assault and sniper rifles are effective during the first phase. But when the battle shifts to the City Entrance, consider downsizing to carbines and PDWs.
Zone 1
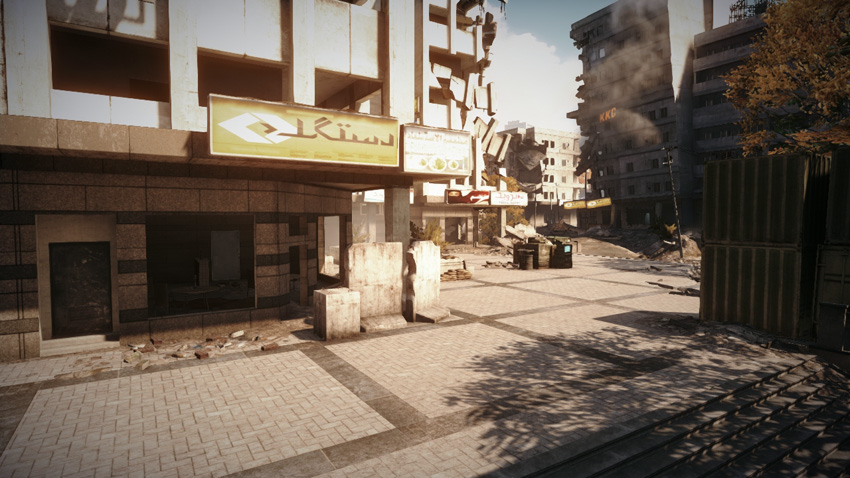
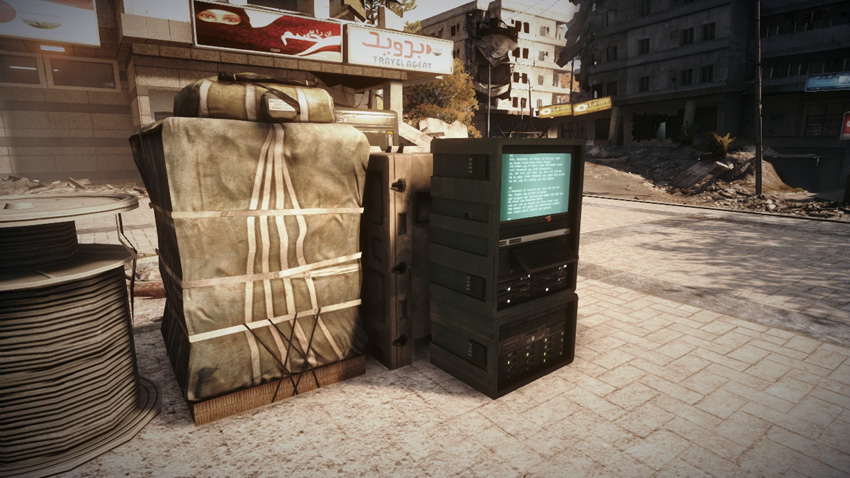
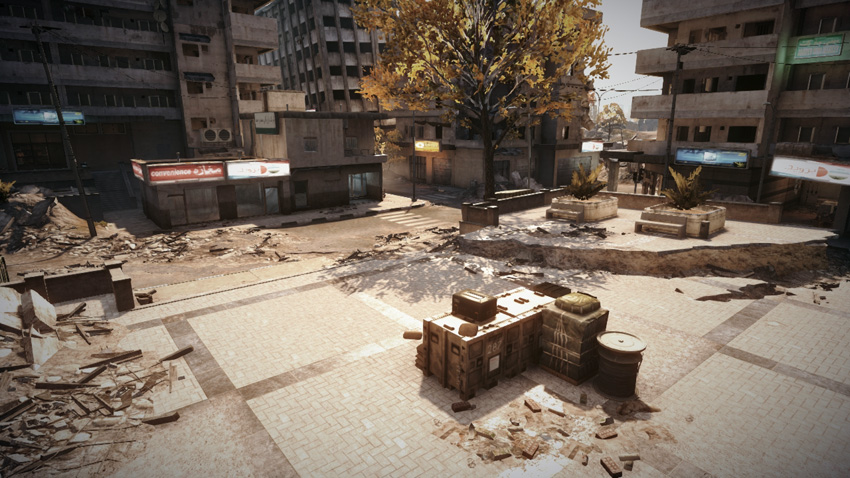
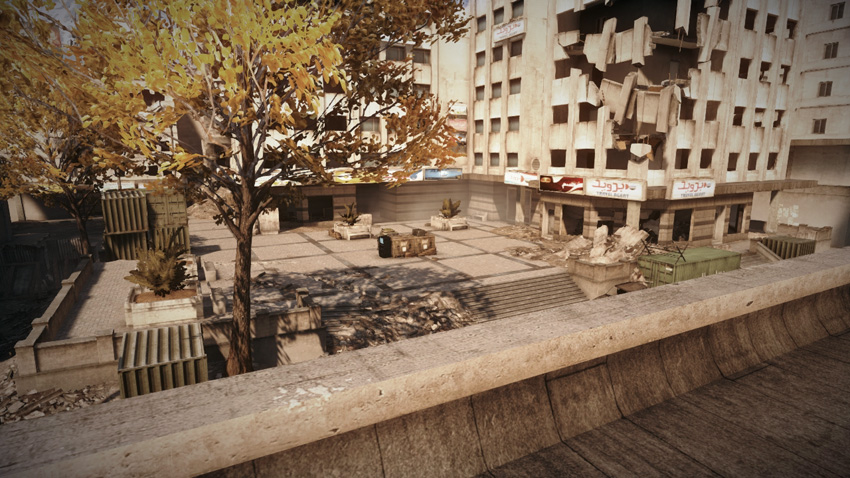
Positioned in the center of the Downtown plaza, the first objective is completely exposed, which poses a serious challenge for the attacking squad. All the defending squad has to do here is camp the objective and wait for the attackers to show up. There are several great overwatch positions on the perimeter of the plaza, including the storefronts to the north and west, as well as the rooftop across the street to the east. Take up positions at each spot to catch the attackers in a deadly crossfire. When attacking here, steer clear of the plaza until you can establish a foothold nearby, preferably within the building to the east. Securing this building not only allows you to take advantage of the rooftop overwatch position, but also the interior is a great spot to deploy a Radio Beacon to give your team a spawn point across the street from the objective. Use this building as a forward base while hunting down the remaining defenders, who are most likely hiding in the storefronts.
Zone 2
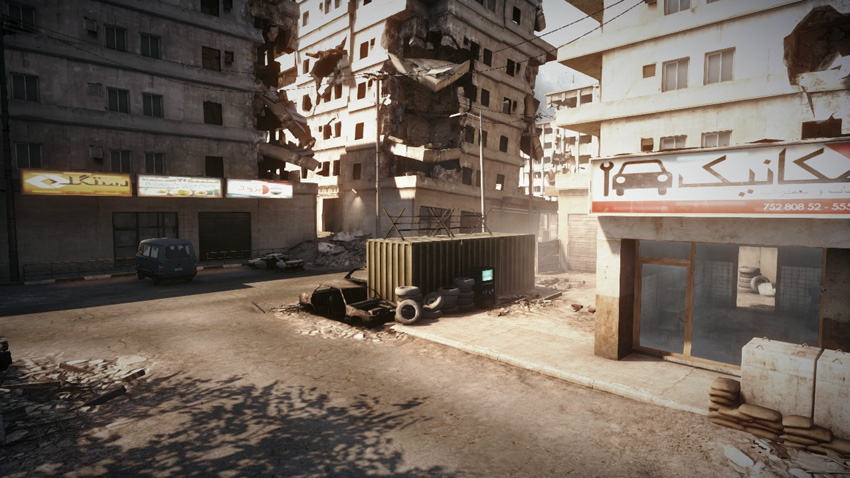
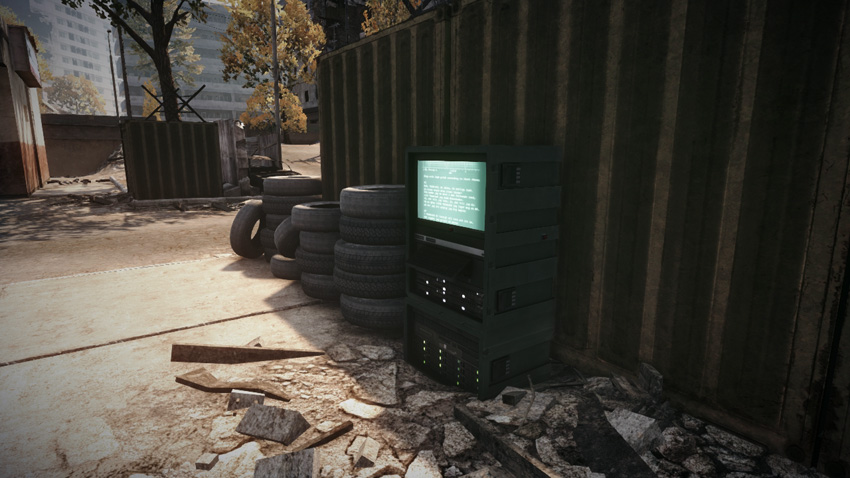
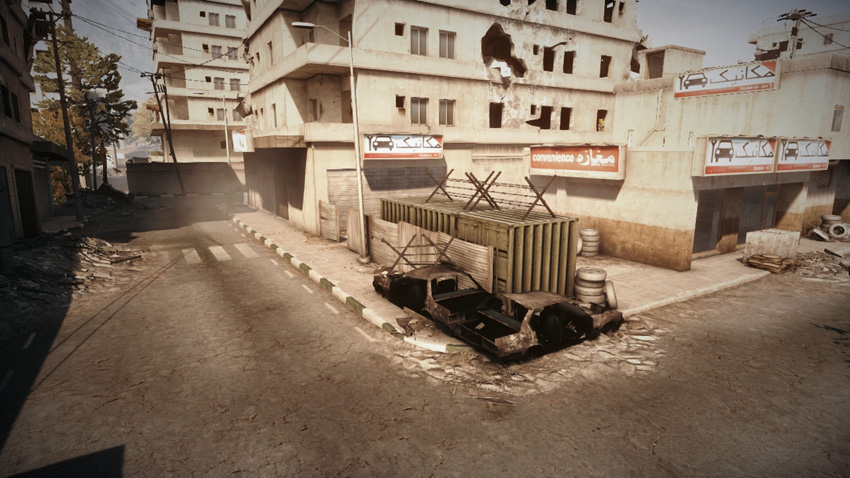
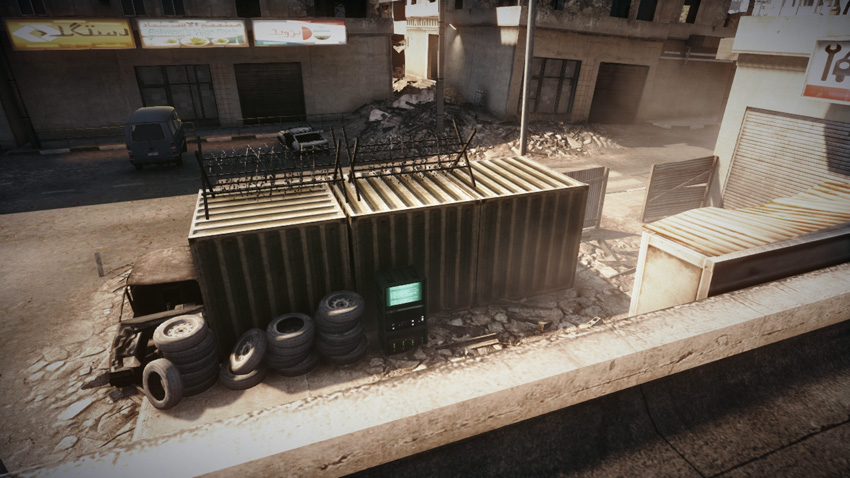
The second M-COM station is located near the City Entrance, positioned next to a large, green shipping container. The area around this objective offers a bit more cover for the attacking team. However, look for opportunities to take the defending squad by surprise. Instead of attacking from the south, flank the City Entrance from the north or west. The defending squad has the best line of sight on this objective from the two rooftops to the north and east. So infiltrate these two buildings and clear them out before making a move on the objective. If you don’t, you run the risk of walking into the defending squad’s trap. To prevent such flanking attacks, the defending squad should rely on T-UGS motion sensors or a MAV to detect the attacking squad before it’s too late.