
Battlefield 3 Premium Guide Battlefields Conquest
Seine Crossing
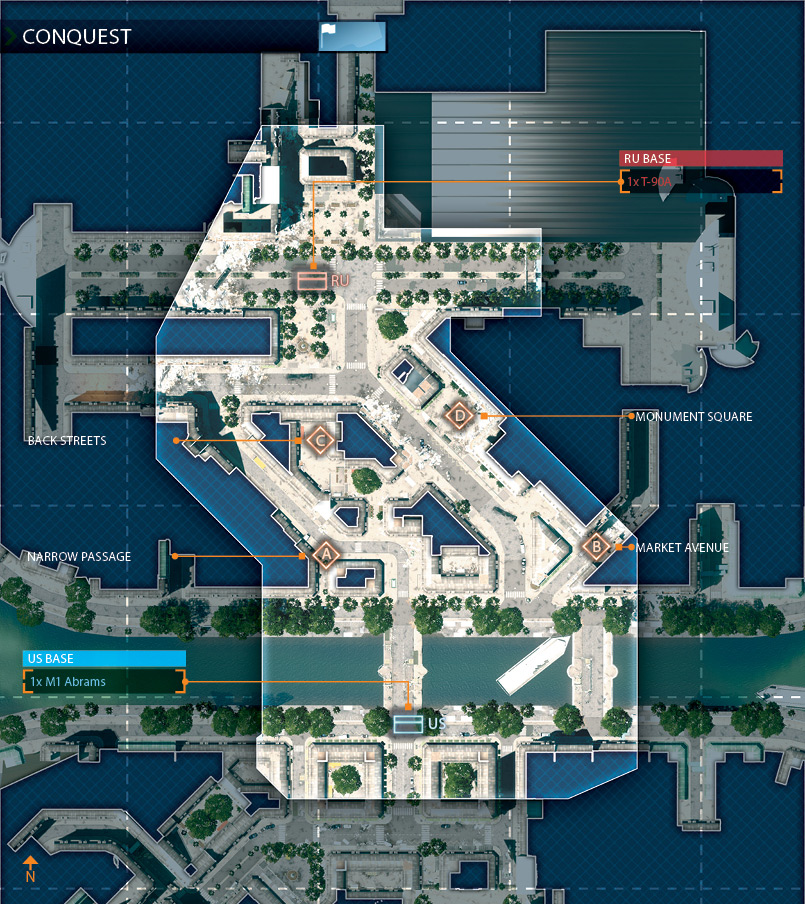
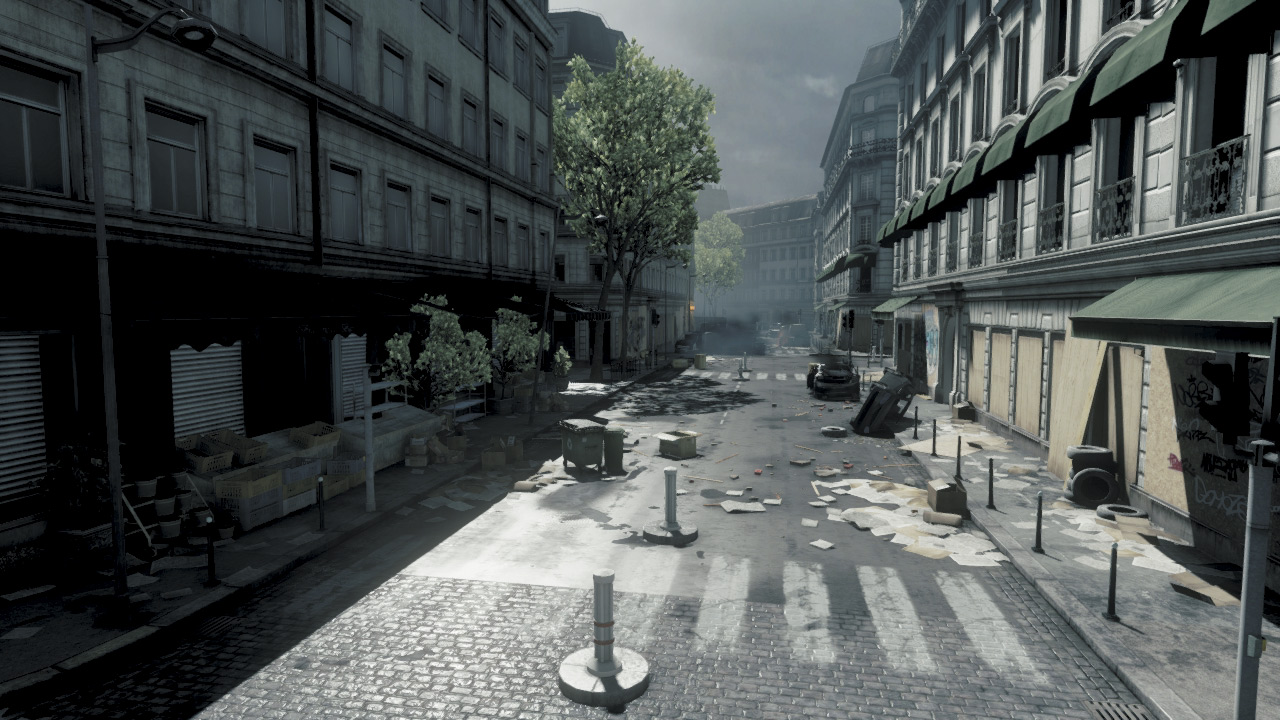
The American invasion of Russian occupied Paris is in full motion. The upscale area in the 7th District of Paris serves as the battleground as the US attempts a bold advance across the Seine River.
With what can be described as a total disregard for collateral damage, US Forces are leading their attack on the Seine River area with the largest bombardment thus far witnessed in Paris.
Although the objective is to push Russian forces out of the district and back beyond the historic corporate headquarters of a major French bank, US Marines will first have to navigate and control the urban areas and main roads in and around two key bridges over the Seine.
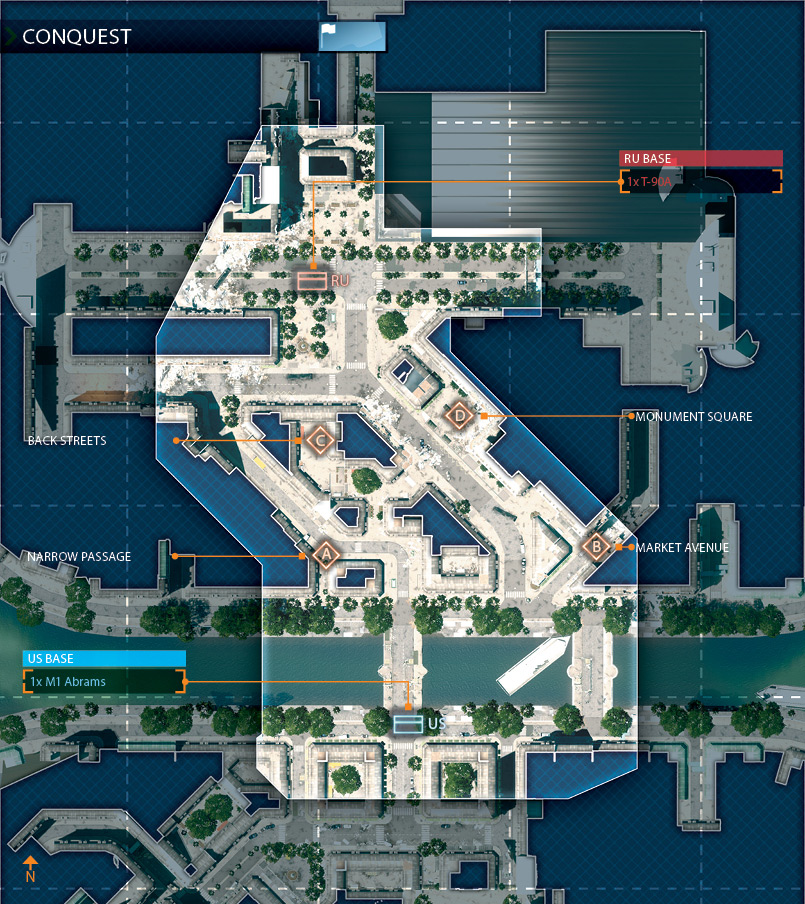
The streets of Paris are the site of this intense urban battle as the US and RU team’s fight for dominance. The position of the US Base on the south side of the Seine puts them at a potentially dangerous disadvantage.
In a lopsided match, the RU team can secure all the flags and contain the US team to the south side of the river by controlling the two bridges.
Therefore the US team must constantly struggle to maintain a presence on the north side of the river. With four control points up for grabs, each team must hold at least three flags to begin draining the opposing team’s ticket count.
The US team should try to capture the Narrow Passage (A) and Market Avenue (B) control points early on followed by a push to secure the Back Streets (C).
Meanwhile, the RU team should capture the Back Streets (C), Monument Square (D), and Market Avenue (B) control points. None of the control points spawn vehicles on this map, but both bases provide their team with a tank.
The tanks are best deployed as supporting vehicles and should never be driven headlong into a crowd of enemy infantry. Instead, hold back and attack from a distance where you’re less likely to be flanked by enemy troops.
US BASE
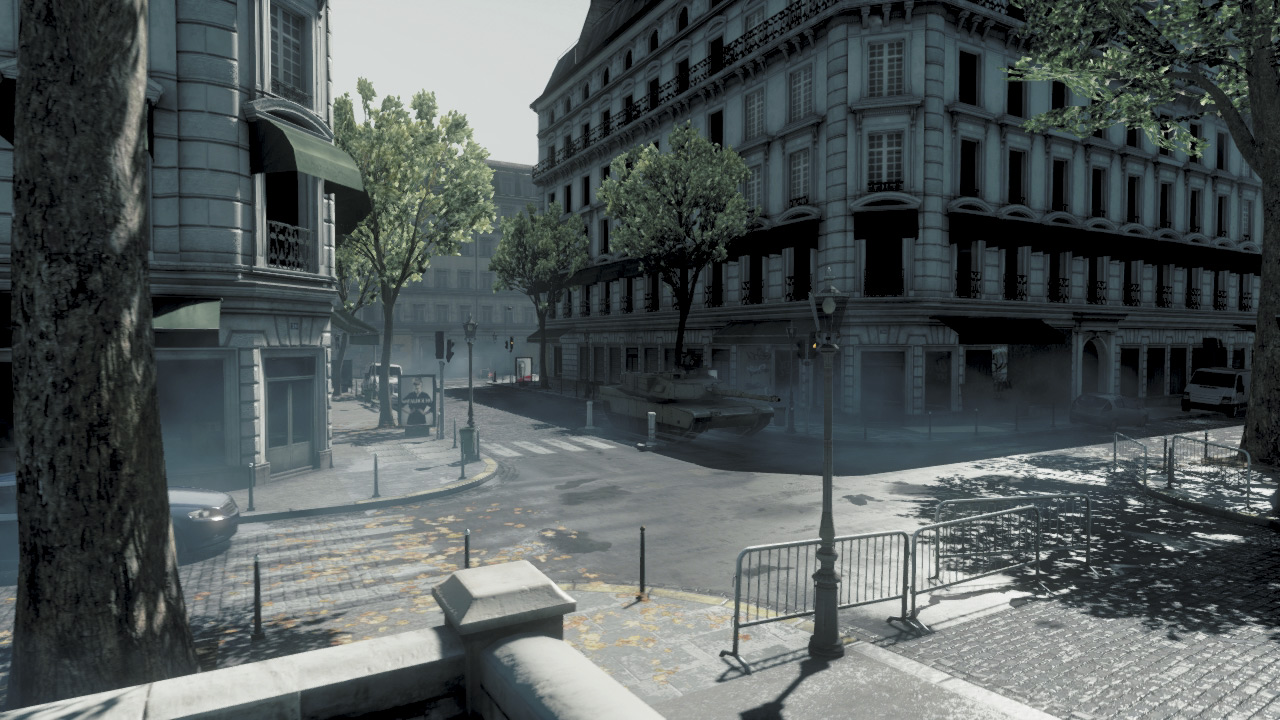
Base Assets
| Name | Quantity | Respawn Time |
|---|---|---|
| M1 Abrams | 1 | 90 sec. |
The US team deploys on the south side of Seine, not far from the two bridges that serve as the only access points the city’s center.
All of the control points are located on the north side of the bridges, meaning the US team must secure at least one flag to establish a spawn point on the opposite side of the river.
If the RU team manages to hold all the flags, they can lay siege to the US Base by locking down the two bridges—the US team can’t afford to let this happen.
Use infantry to capture the nearby Narrow Passage (A) while the M1 Abrams races to secure the Market Avenue (B) control point. Once a flag is held, make sure at least one squad stays back to defend it.
While the M1 Abrams is great for deterring attacks on control points, it’s better deployed on offense because it’s perfect for countering the RU team’s T-90A. Keep the tank healthy by surrounding it with engineers.
If the tank is destroyed, it eventually respawns back at the US Base, so don’t forget to bring it forward to assist in the fight.
RU BASE
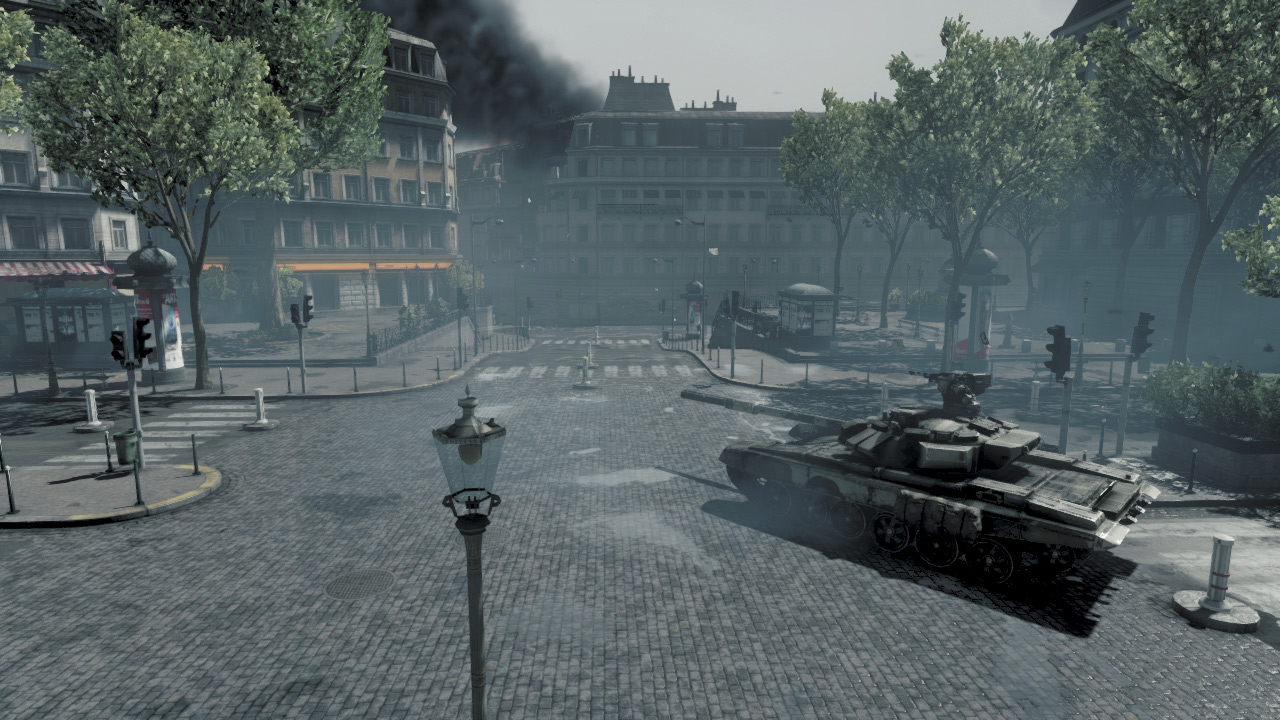
Base Assets
| Name | Quantity | Respawn Time |
|---|---|---|
| T-90A | 1 | 90 sec. |
The RU team starts off on the north side of the map, near the large bank building. Like the US team, the RU team only has one tank in this battle leaving it up to infantry to handle most of the heavy lifting, including the capturing of control points.
Early on, RU troops should rush toward the Back Street (C) and Monument Square (D). The T-90A should join the assault on Monument Square (D) to help secure the wide eastern street nearby.
Urban environments are not ideal for tank warfare, so never rush off in the T-90A on your own. Make sure you’re always surrounded by friendly engineers to conduct repairs.
Although the RU team has only one tank, make an effort to keep it in the battle, even if it means spawning back at the RU Base to drive it to the front lines.
In a tight match, the tank’s awesome firepower can make all the difference by depleting the US team’s ticket count with its main cannon and machine gun turret. The T-90A is also the best option for defeating the US team’s M1 Abrams.
A: NARROW PASSAGE
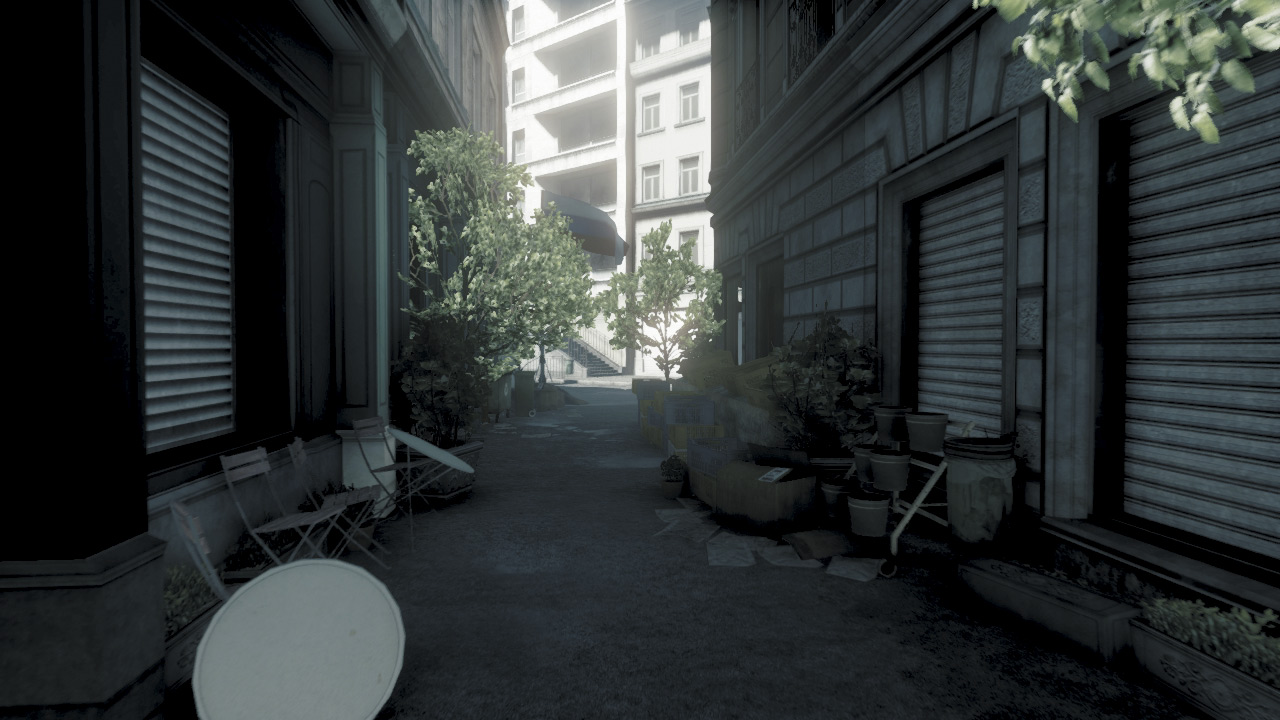
The Narrow Passage (A) is situated along a narrow street on the west side of the map. As the control point closest to the US Base, the US team has the easiest time capturing this flag early on.
But it must not be taken for granted. It’s important that the US team maintains a presence on the north side of the river, and the Narrow Passage serves as an excellent foothold, providing a spawn point within striking distance of the other flags.
The Narrow Passage (A) is closest to the Back Streets (C) control point to the north and easily accessible by the stairway in the building across the street.
The flag here is located at the opening of a narrow alley along south side of the street, flanked by a store and a garage—you can capture and contest the flag by hiding in either location.
When possible, approach this flag from the southern alley, as the street may be covered by sharpshooters positioned at either end. If you must attack along the street, do so with the aid of a tank.
B: MARKET AVENUE
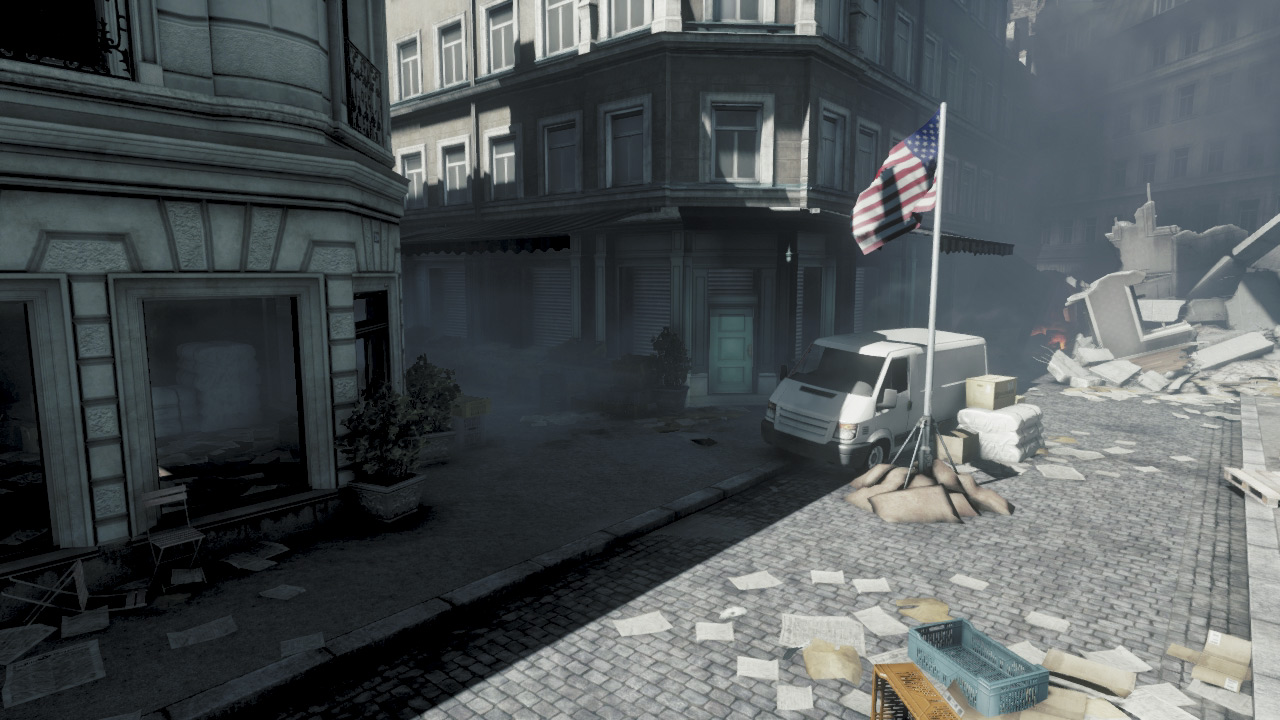
Market Avenue (B) is a narrow dead-end street on the east side of the map. Utilizing the alley to the west, this control point offers easy access to Monument Square (D).
If Monument Square (D) is held by your opponents, expect attacks to come down this alley. Aiming a light machine gun down the alley is a good way to suppress advances from this direction.
The flag here is located along the street next to a white van. The van will explode if it takes heavy damage, so think twice before hiding next to it. Instead, seek cover in the nearby store.
You can capture and covert the flag from within the store, making it an ideal hiding spot for attackers and defenders. So if the flag is being contested by unseen forces, toss a grenade into the store and see what happens.
The rubble pile at the end of the street offers a good view of the southern approach and is ideal for recon defenders fending off attacks from the US Base.
C: BACK STREETS
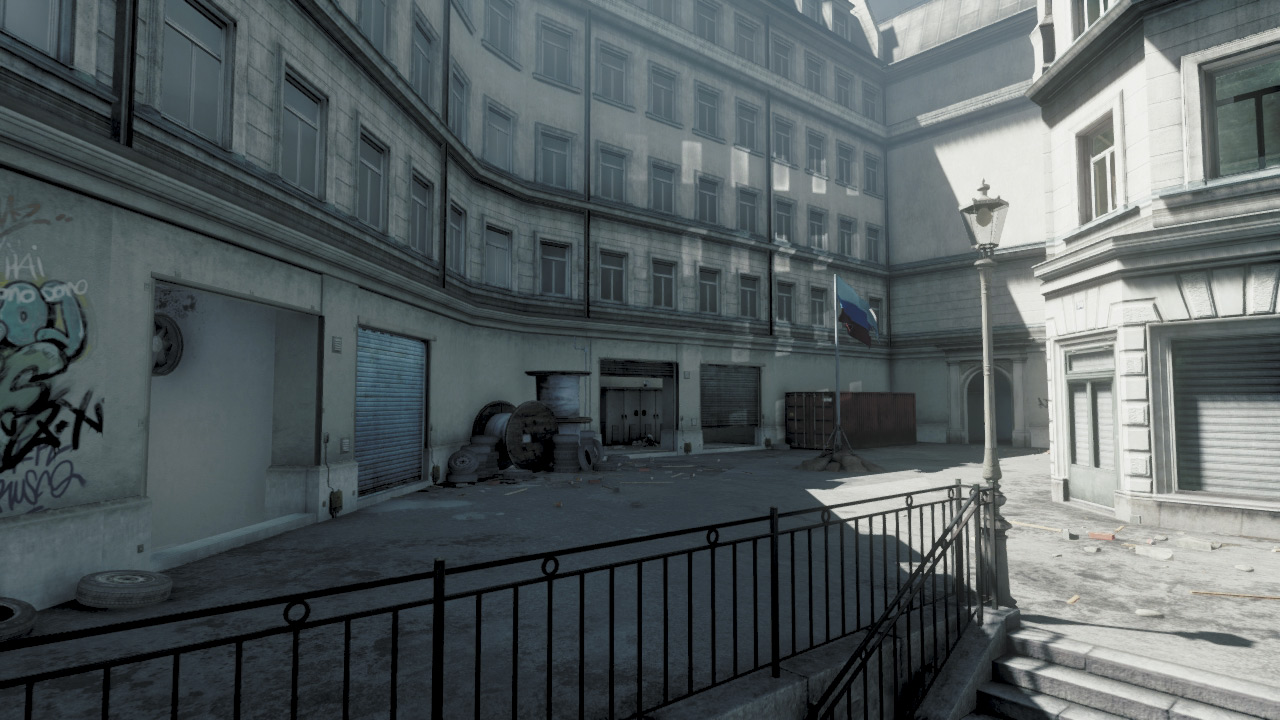
The Back Streets (C) is an open courtyard-like area accessible only by infantry.
Although the area is rather enclosed, it can be approached from three different directions, including a narrow passage to the north, a set of steps to the southeast, and the stairway to the west.
With so many different access points, it’s important to monitor the surrounding control points to determine where enemies are likely to attack from.
The Narrow Passage (A) is the closest control point, so the stairway to the west is a frequently traveled route. The Back Streets (C) is also very close to the RU Base, which gives the RU team the best chance of holding onto this location.
The flagpole sits in the center of the courtyard, but it can be captured and contested from cover along the perimeter. The best cover point is the second-story window to the northeast.
Defenders posted here can easily engage traffic around the flag—just make sure someone is watching the stairway leading up to these windows.
D: MONUMENT SQUARE
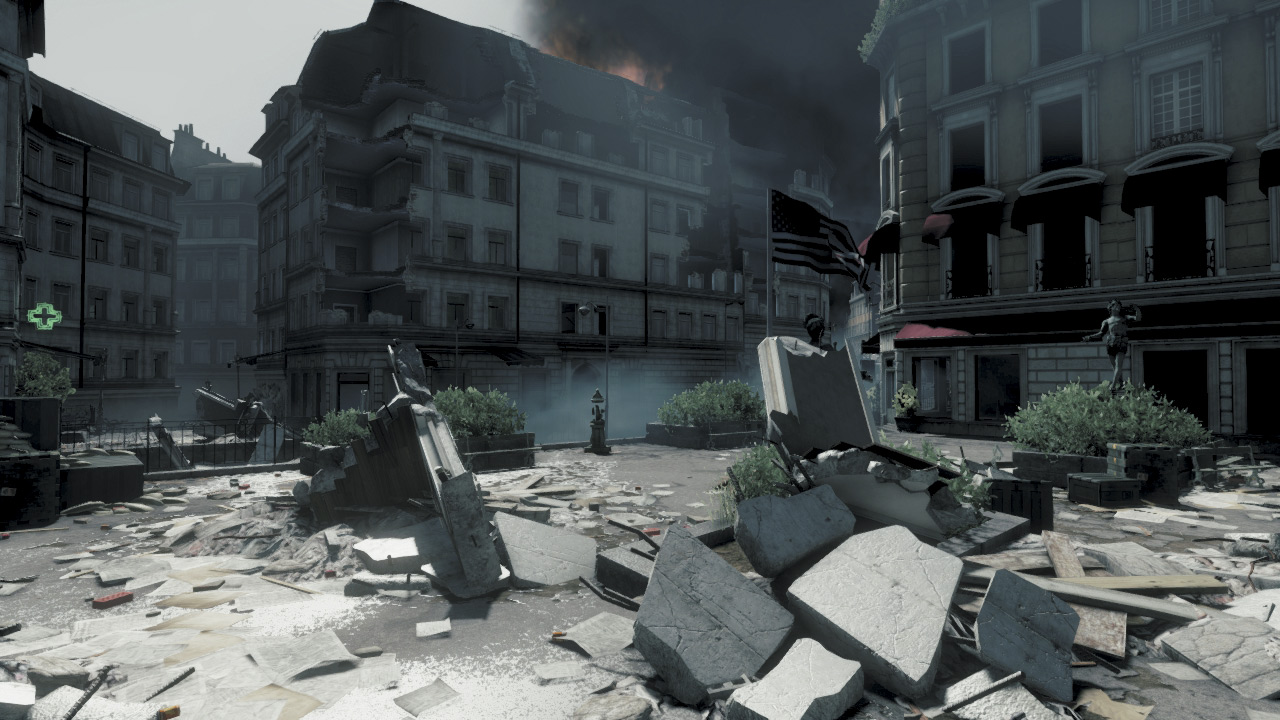
Monument Square (D) is a small plaza located on the north side of the map. The plaza is elevated above the street and is only accessible by troops moving along the eastern or western steps.
Located within a few meters of the RU Base, Market Avenue (B), and Back Streets (C), this is a hotly contested control point likely to see heavy action. So try to capture this control point early and deploy at least one squad here to defend the flag full-time.
Since the two sets of steps to the east and west are the only access points, it’s relatively easy for defenders to ambush attackers.
The rubble to the east, the second story window to the north, and the store interior to the east all offer excellent defensive positions from which to observe the flag in the plaza’s center.
While tanks can’t access the flag directly, they can provide fire support from the nearby street. At the very least, a tank can serve as a distraction, allowing attackers to make a move on the plaza.