
Battlefield 3 Premium Guide Battlefields Rush
Tehran Highway
Set on the outskirts of Tehran, this conflict requires the US team to push through four urban zones during a night assault. The fight starts out on the north end of the map before trickling down through the city streets to the south.
Although the US team has the most vehicles in each stage, these assets must be deployed wisely to avoid falling victim to ambushes staged by RU tanks and engineers. Despite the risks, a timid approach never fares well here for the US team.
With some careful coordination, the US team must use the provided speed and firepower of these vehicles to overwhelm the defenders at each location.
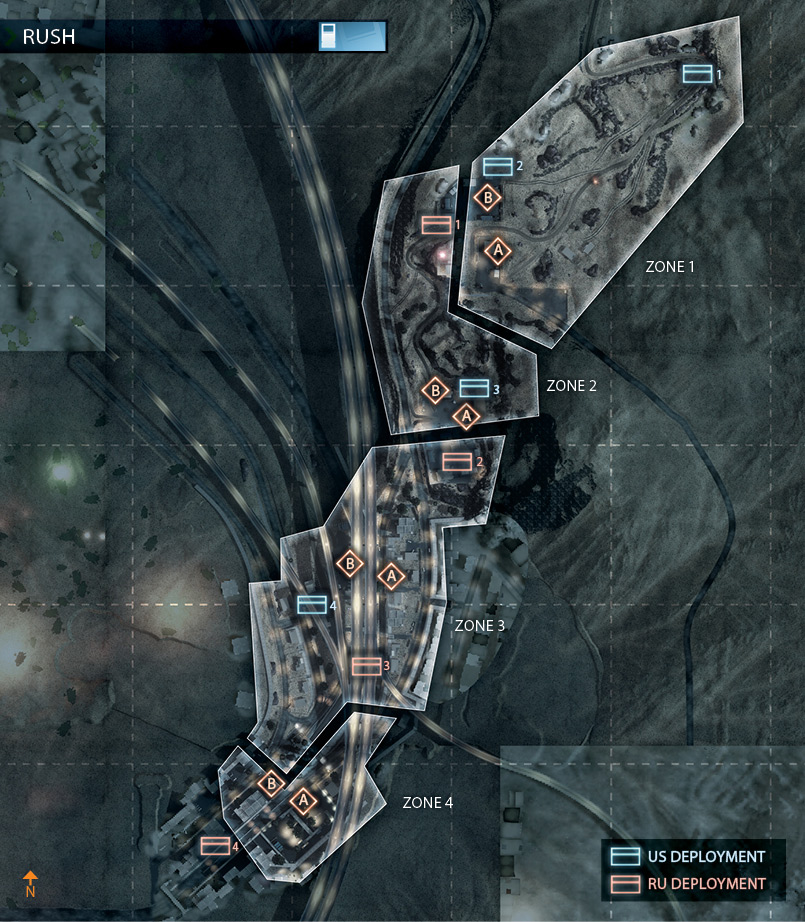
Meanwhile, the RU team must make the most of the limited resources provided. This means keeping their tanks fielded and constantly repaired. A RU team consisting largely of engineers has the best chance of stopping the US advance.
Both teams can benefit from infrared technology in this night battle, so choose the Thermal Optics upgrade for vehicles and consider attaching a IRNV (IR 1x) scope to your weapon.
ZONE 1: HILLTOP BASE
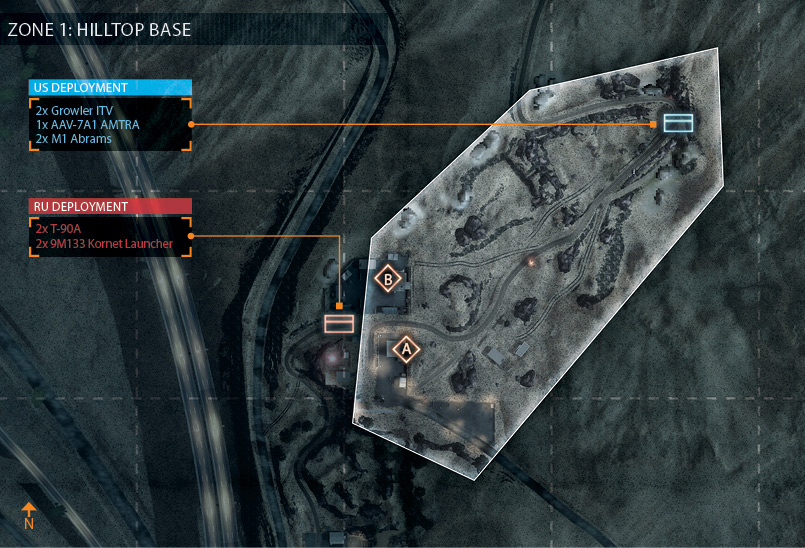
M-COM STATION A
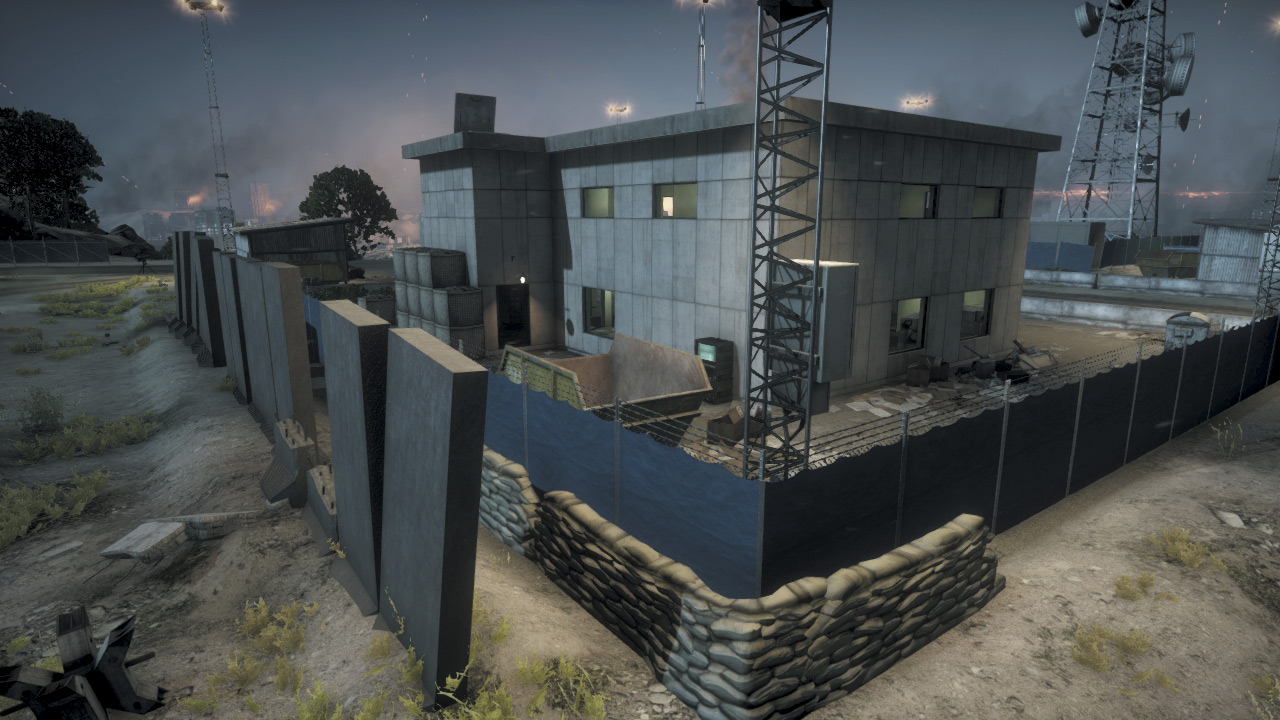
M-COM Station A is located on the south side of the base, placed outside the northeast corner of a two-story concrete building. RU recon troops posted on the second floor of the building have a great view of the eastern approach; it is ideal for spotting and engaging incoming troops and vehicles.
But the building can be completely leveled with sustained shelling by the US tanks. Attackers should not be deterred by the slabs of concrete, chain-link fence, and sandbags placed around this objective.
The concrete can be destroyed with explosive munitions, the fence can be sliced open with a knife, and the sandbags can be jumped. In many respects, an attack from the east is the safest way to access this objective—it beats circling around the fence and attacking from the west.
However, attackers should prepare to face defenders in the nearby building and narrow alleys adjacent to the M-COM station. So if the building is still standing, consider securing it before attempting to plant the charge.
M-COM STATION B
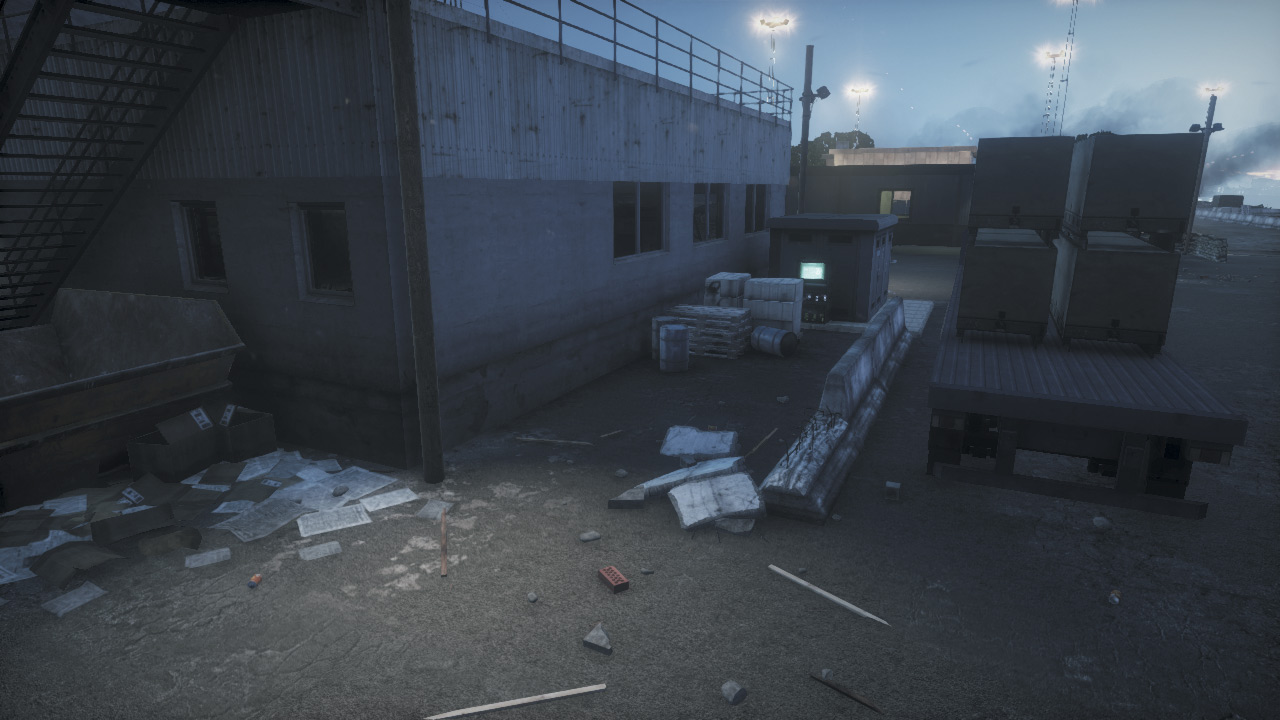
This objective is positioned on the north side of the base, behind a small single-floor concrete building. Defenders have the best time watching this M-COM station from the north, as the building to the east and flatbed trailer to the west form a narrow alley that makes it difficult to spot the objective from any other angle.
Given the tight confines around the objective, this narrow alley behind the building is a great spot for Claymores. To avoid exposing themselves to RU defenders approaching from their deployment area to the west, US attackers should advance through the building, infiltrating it from the east side.
Consider dropping a Radio Beacon inside this structure to secure a spawn point for your squad before attempting to plant a charge on the objective.
By blowing a hole in the west side of the building, from the interior, you can gain easy access to the objective without exposing yourself to fire from the south or west. Still, it’s a good idea to deploy smoke on the objective to conceal yourself against attacks from the north.
US DEPLOYMENT
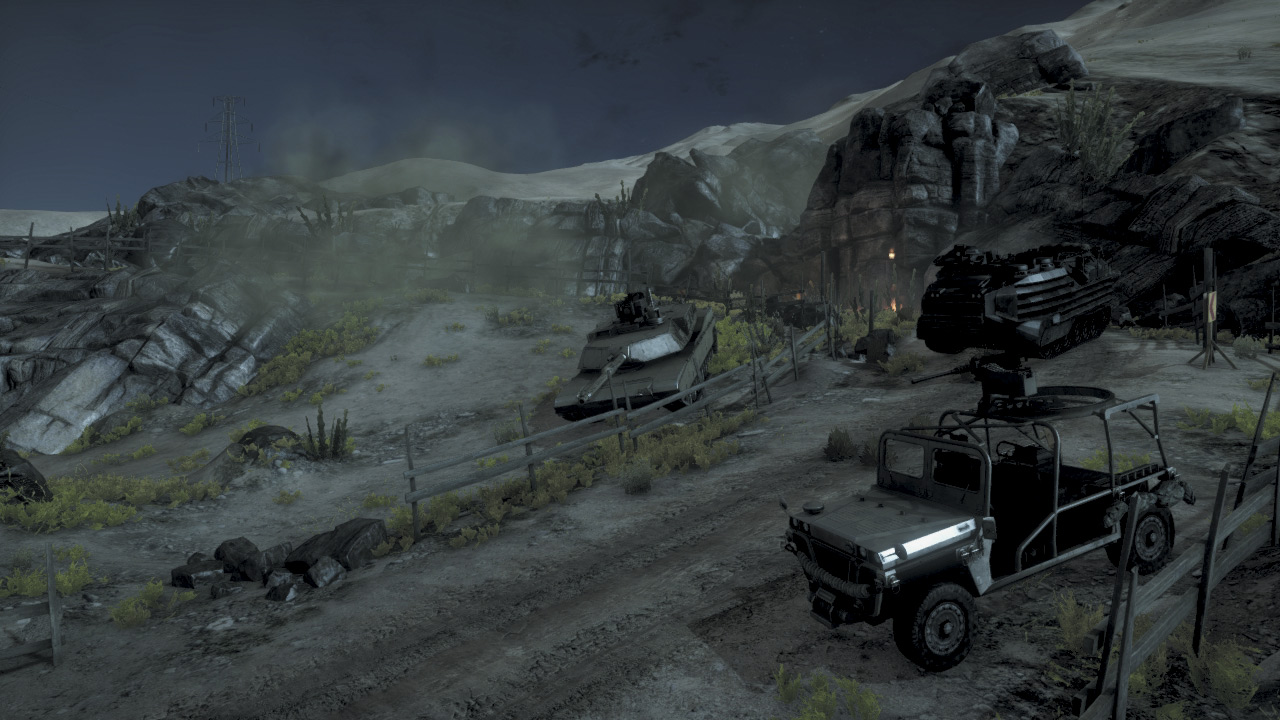
Base Assets
| Name | Quantity | Respawn Time |
|---|---|---|
| Growler ITV | 2 | 5 sec. |
| AAV-7A1 AMTRAC | 1 | 30 sec. |
| M1 Abrams | 2 | 60 sec. |
The US team starts this battle by deploying on an arid hillside northeast of the objectives. The advance across the sparse landscape is extremely dangerous, so utilize the provided vehicles to transport troops into the base held by the RU team.
The Growler ITVs are the fastest vehicles available, great for staging early raids on the objectives. However, these light vehicles are vulnerable to attacks by RU engineers and the two T-90As, so limit their use if the RU team forms a solid defensive line along the east side of the base.
The two M1 Abrams are your team’s best bet for punching through RU team’s defensive line. So hold them to the east and engage the T-90As from long range, preferably with the Guided Shell upgrade.
Although slow, the AMTRAC is great for moving infantry near the base. Park it behind some large rocks on the east side of the base and use it as a forward spawn point. The AMTRAC’s machine gun turret is also great for suppressing RU infantry to the west.
RU DEPLOYMENT
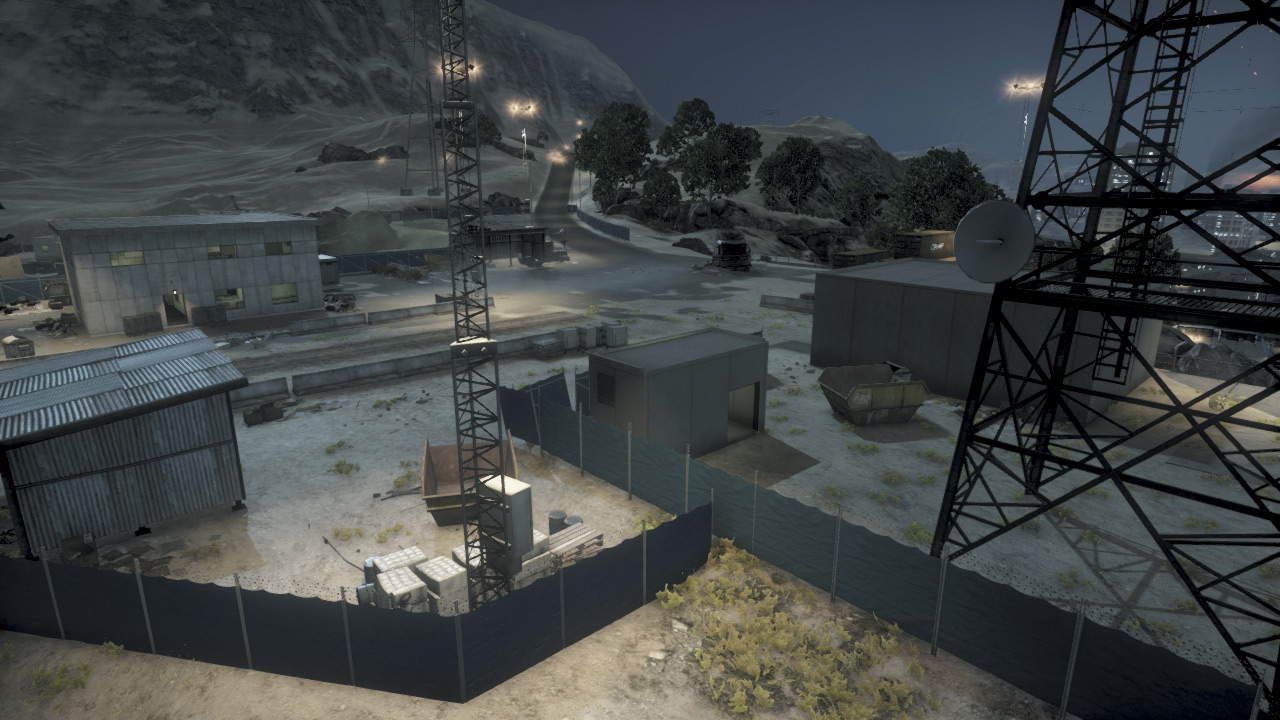
Base Assets
| Name | Quantity | Respawn Time |
|---|---|---|
| T-90A | 2 | 60 sec. |
| 9M133 Kornet Launcher | 2 | 60 sec. |
At the start of the match, the RU team has only a few seconds to spare before the US team comes rolling into the base. So don’t waste anytime moving troops and the two T-90As to the east side of the base to counter the US assault.
The dusty approach to the east provides little cover for the attackers, so try to confront the US team here before they can infiltrate the base. Initially, the speedy Growler ITVs pose the biggest threat because they are capable of transporting troops within the base.
So be ready to blast these light vehicles with rockets and tank rounds. Carefully hunt down any survivors that escape. The T-90As and Kornet launchers are essential for knocking out the incoming M1 tanks and AMTRAC.
Engineers can assist by firing rockets or by dropping mines along the base’s eastern entry points. While forming a defensive line to the east is important, don’t push too far away from the objectives. Keep at least two squads back inside the base to watch the objectives, defending them from sneaky flanking attacks by US infantry.
ZONE 2: DEPOT
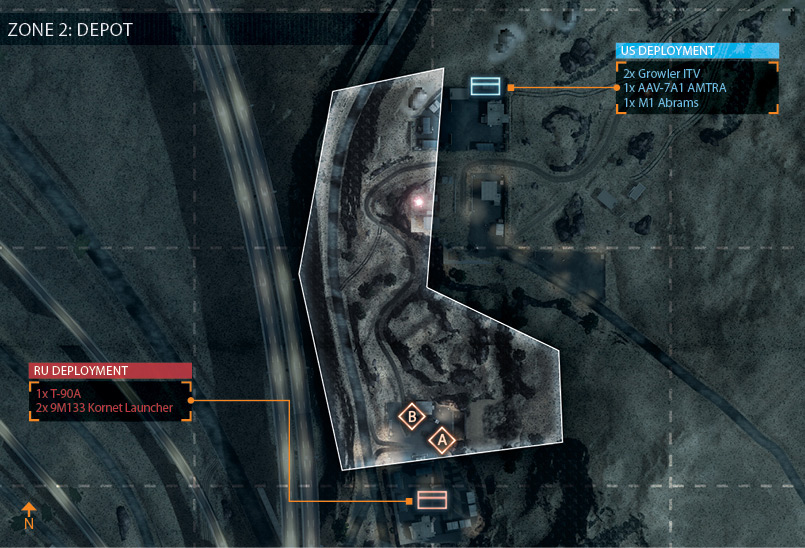
M-COM STATION A
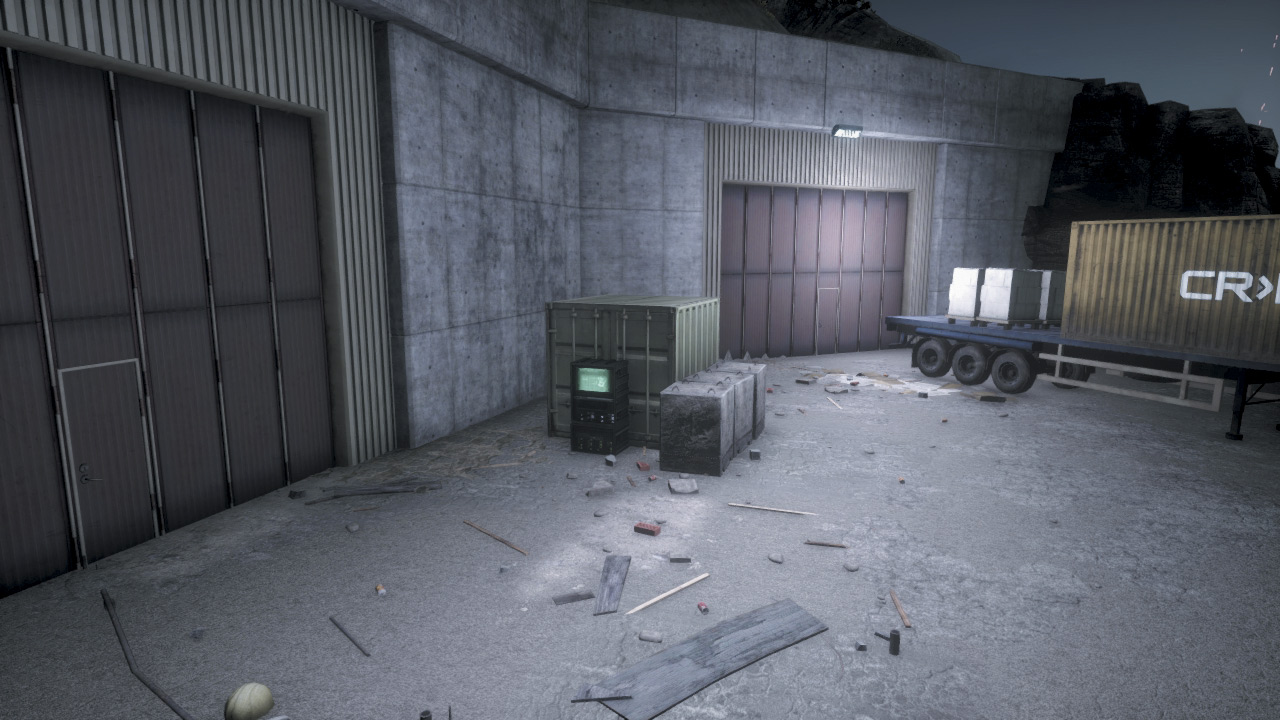
M-COM Station A is located in the depot’s northeast corner. If properly defended, this can be a tough objective for the attackers to destroy given the lack of cover and numerous hiding spots around the perimeter.
Defenders should prepare for US troops rushing down the hill to the north. A forward line of defenders posted along the hill can slow such attacks. But it’s important to post defenders around the objective, too.
The truck and trailer on the south side of the objective provides great cover and concealment for defenders. Consider lying prone beneath the trailer to pick off attackers dropping down into the depot.
Hiding on the north side of the depot is also effective; you can hit attackers from behind as they drop down into the depot and rush toward the M-COM station.
If infantry attacks from the hill are unsuccessful, the US team must rely on their vehicles to help secure the area around the objective. Both the M1 and AMTRAC can make a serious dent in the defensive efforts here, buying infantry enough time to set a charge on the M-COM station.
M-COM STATION B
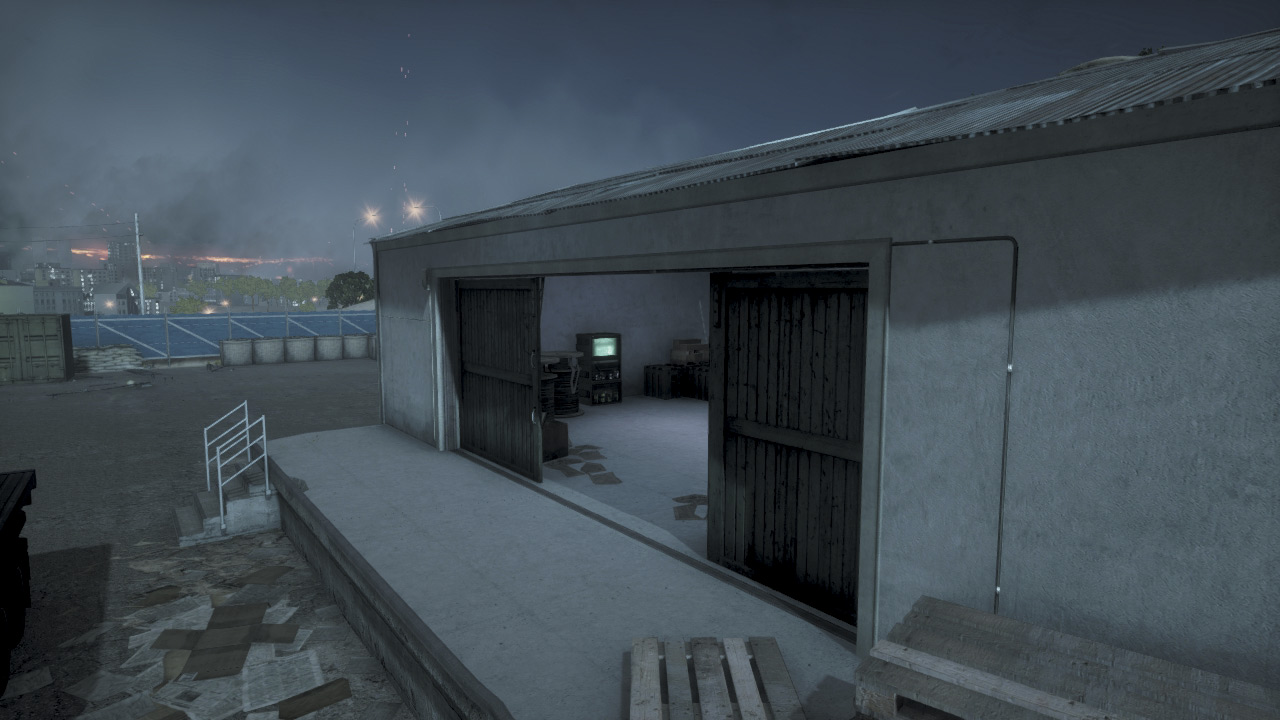
This objective is located on the depot’s northwest corner within a small concrete building. The dirt road to the west is a popular avenue of attack for the US team, they deploy troops and heavy firepower here.
Therefore the RU defenders must counter by positioning their T-90A within view of this road. RU engineers can also assist by attacking incoming vehicles with rockets and mines at this northwestern choke point.
But the defenders must also prepare for infantry rushing down the hillside to the north. Initially, there are only two entrances into the building housing the M-COM station.
But instead of using these entrances, attackers should blow a hole in the northern wall of the structure to get easy access to the objective. This way, the US troops can infiltrate the building without exposing themselves to defenders (and the T-90A) posted near the center of the depot.
The RU team should constantly watch the north side of this building to prevent such sneak attacks.
US DEPLOYMENT
Base Assets
| Name | Quantity | Respawn Time |
|---|---|---|
| Growler ITV | 2 | 20 sec. |
| AAV-7A1 AMTRAC | 1 | 30 sec. |
| M1 Abrams | 1 | 60 sec. |
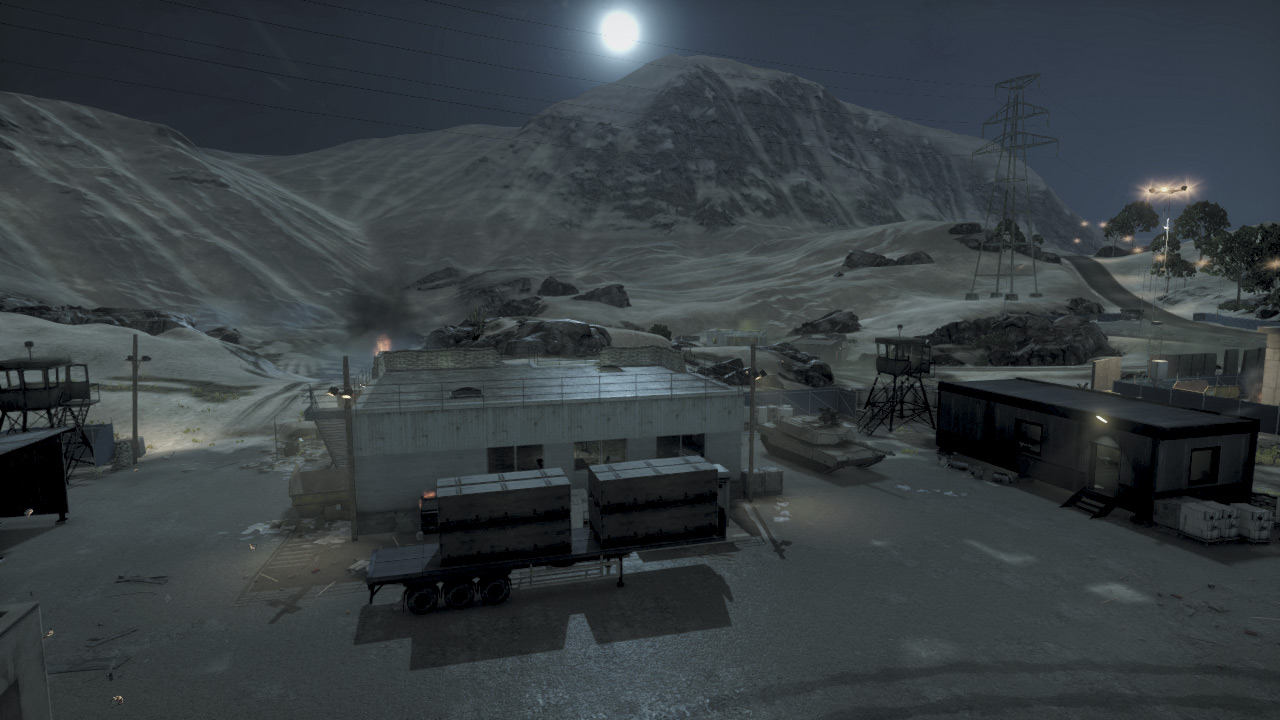
With the first set of the M-COM stations destroyed, the US team now deploys from the hilltop base in preparation for their assault on the depot to the south. There are two main approaches to the depot.
Infantry moving directly south can sneak into the depot’s north side by attacking from the hilltop. However, by moving along the high ground, you may silhouette yourself and make it easy for RU defenders below to spot you.
So stay low and utilize the large rocks for cover. Vehicles spawned here should use the road to the west to attack the depot. There is a sharp turn in the road as you descend the hill, so watch your speed.
The M1 Abrams and AMTRAC attacking along this road serve as a welcome distraction to troops descending the hill. So use the vehicles to attack from the west side of the depot while troops push in from the north.
If possible, park the AMTRAC near the northwest corner of the depot and use it to spawn troops near M-COM Station B.
RU DEPLOYMENT
Base Assets
| Name | Quantity | Respawn Time |
|---|---|---|
| T-90A | 1 | 60 sec. |
| 9M133 Kornet Launcher | 2 | 60 sec. |
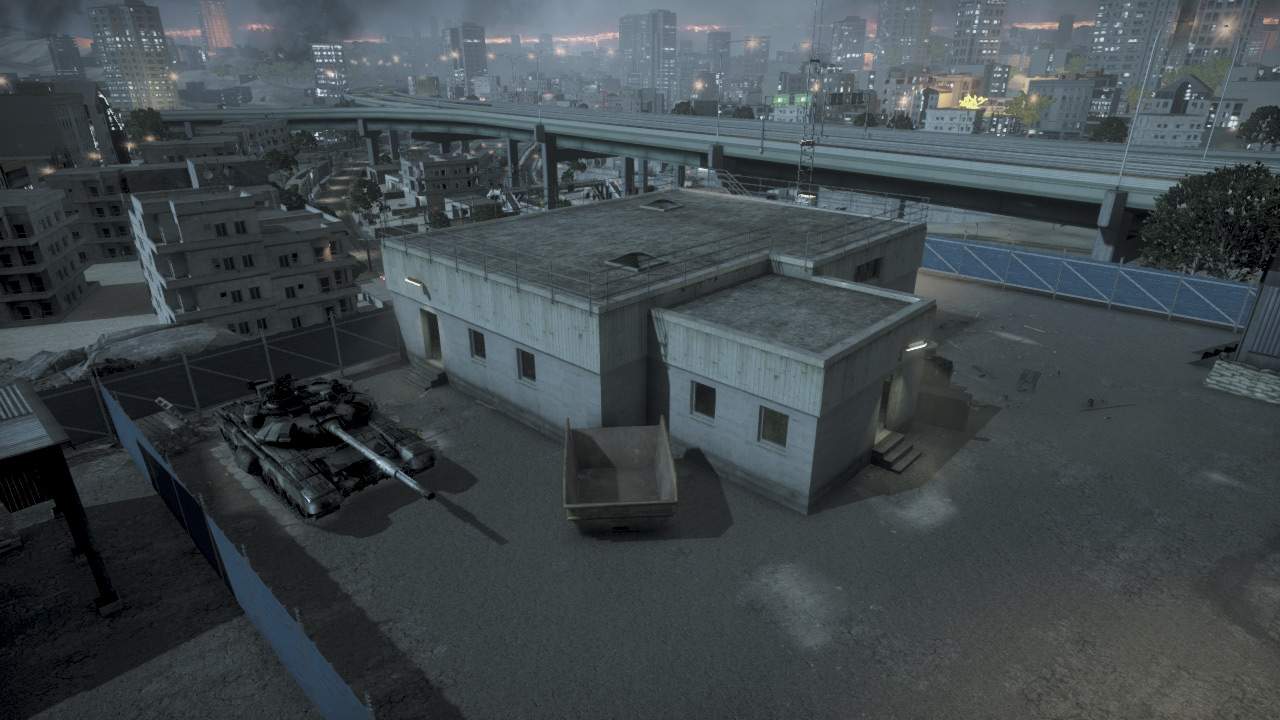
After being pushed off their hilltop base, the RU team deploys on the south side of this depot. There are only a few seconds to spare before the US team comes racing down the hill, so it’s important to secure the objectives on the north side of the depot.
Deploy the T-90A so it can counter vehicles approaching along the roads to the north and west. This is the only tank provided to the RU team here, so keep it repaired with a team of engineers.
Engineers can assist the tank by targeting incoming vehicles with rockets or by placing mines along the depot’s northwestern entry points. While the T-90A covers the roads, position infantry on the hillside to the north and east to ambush US troops rushing toward the objectives.
Expect large waves of US attackers to come charging down the hill, dropping down into the depot from the north. Constantly patrol the north side of the depot to search for attackers.
ZONE 3: HIGHWAY
M-COM STATION A
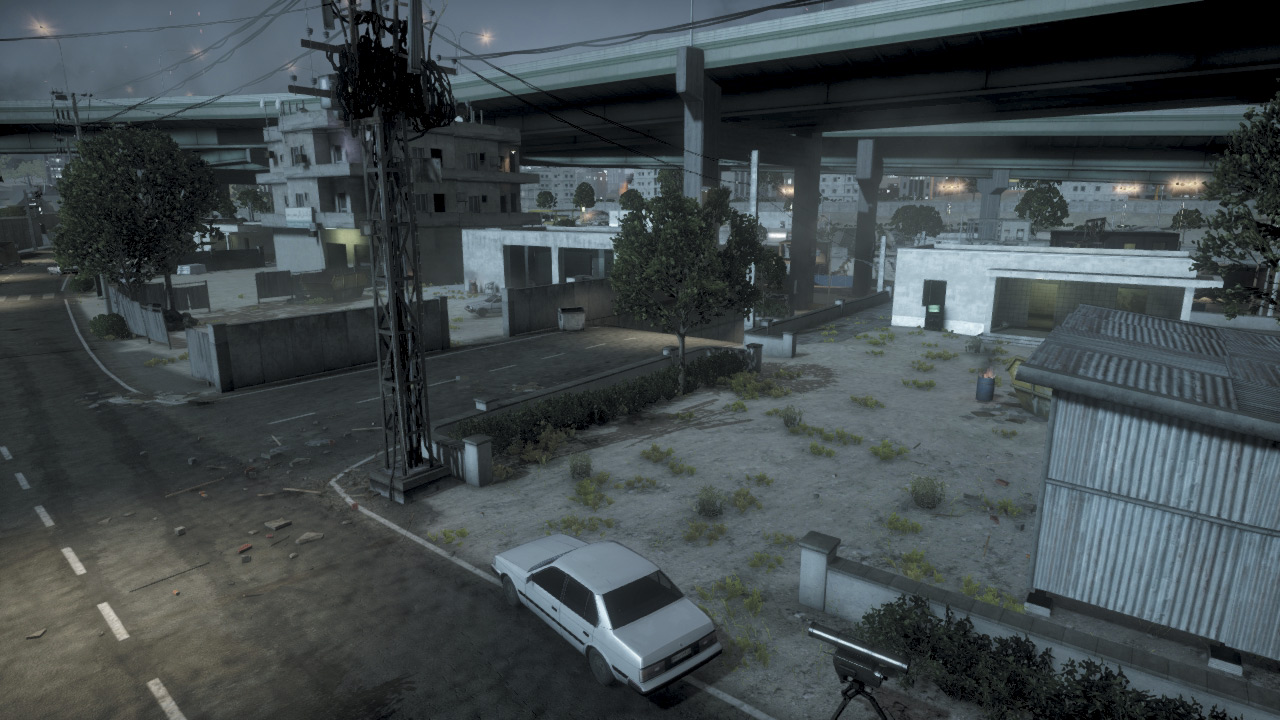
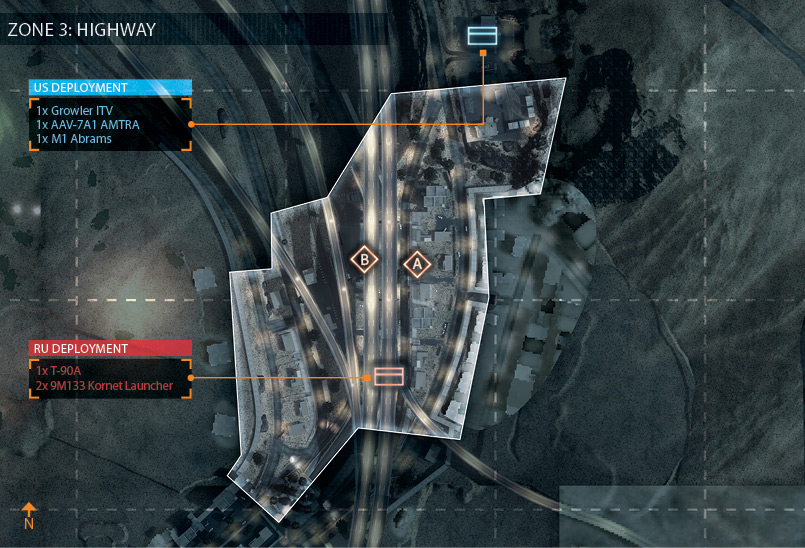
M-COM Station A is located in the neighborhood on the east side of the highway, sitting outside a small concrete building. The street to the east of the objective is directly connected to the depot to the north, giving US attackers easy access to this location from their deployment area.
Therefore, the RU defenders must gather around this objective to prevent rush attacks. The Kornet launcher here has a clear view of the northern approach and is ideal for targeting incoming vehicles.
But attacking infantry may push through the neighboring buildings to the north as well, avoiding the long sight lines of the eastern street. This is the preferred method of attack when approaching this objective on foot.
When possible, try to occupy the building directly west of the objective. From inside, you can blow a hole in the wall just behind the objective and access the M-COM station from the rear to plant a charge.
This is a great way to avoid exposing yourself to defenders positioned in the courtyard and street to the east.
M-COM STATION B
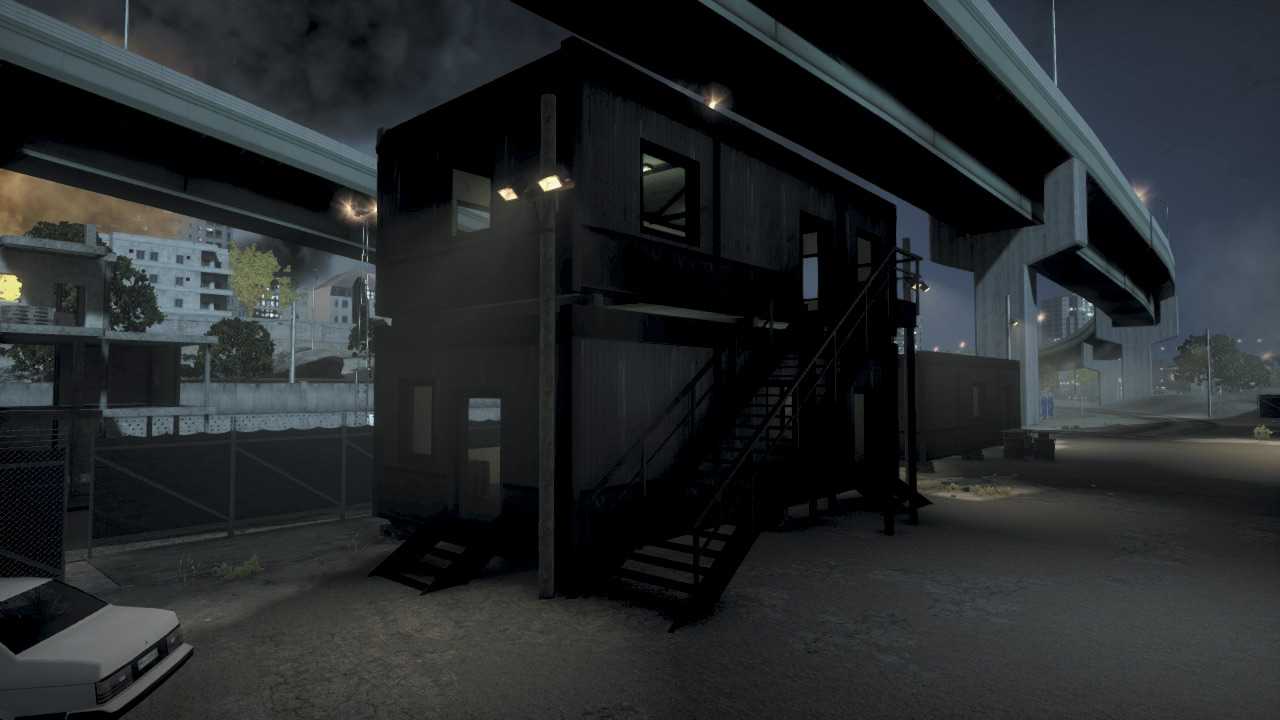
This objective is located on the west side of the highway, within a trailer by the Construction Site. The street to the east is the most popular avenue of attack, so defenders should watch this approach at all times. The Kornet launcher here is well positioned to target vehicles approaching from the north. The RU team may also want to consider parking their T-90A along this street to counter vehicle and infantry attacks. While the eastern street offers the quickest path to the objective for the attackers, it is not the safest. Instead, try to flank the objective from the west. There’s a short flight of steps on this side of the trailer that infantry can use to sneak up on the objective. If you prefer a more direct assault, use the M1 Abrams and AMTRAC to aggressively attack the area around the trailer. This is a great way to distract the surrounding defenders, allowing infantry to infiltrate the trailer and set a charge on the M-COM station.