Unit
1st Marine Tank Battalion
Callsign
Sgt. Jonathan Miller
Location
Near Tehran, Iran
Date
October 31st
Time
0915hrs Zulu Time
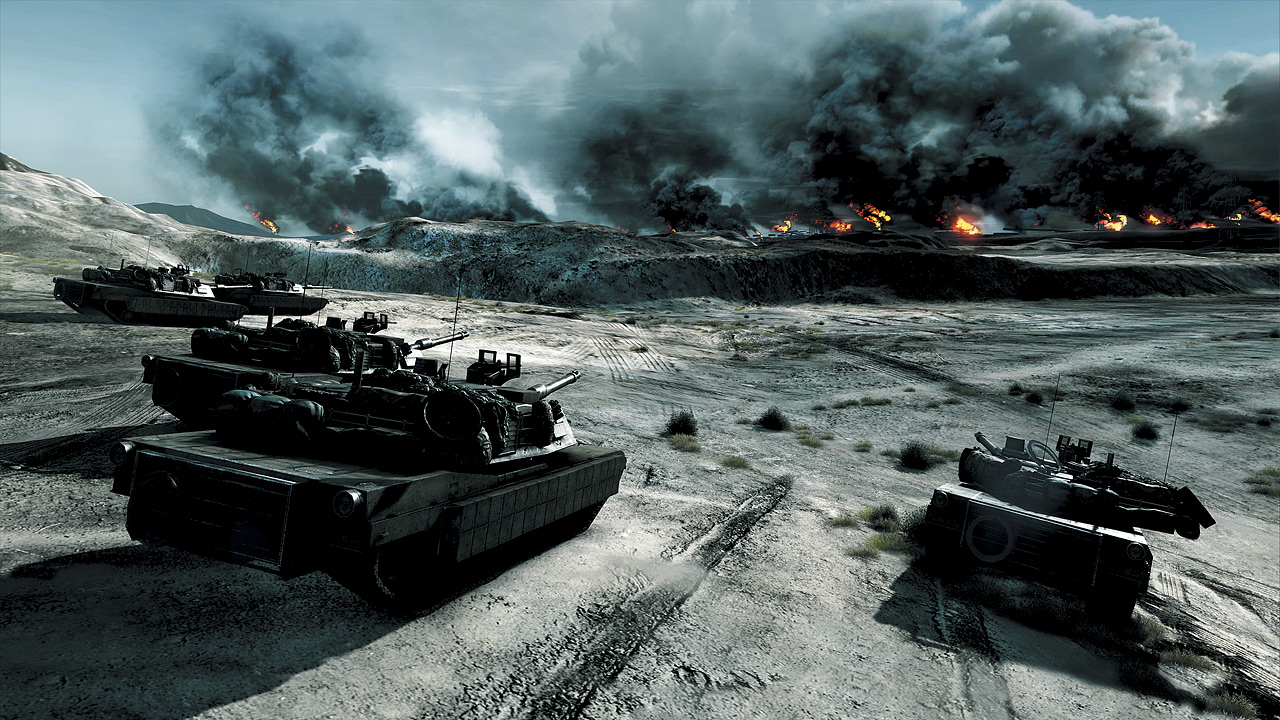
Jumping back in time a little, Jonathan Miller’s tank mission takes place before the events of Operation Guillotine, outside of Tehran. The tank battalion is charged with first clearing a path toward, and then into Tehran itself when a distress call from a certain Sgt. Blackburn changes things dramatically...
ENGAGE AND DESTROY THE ENEMY TANKS
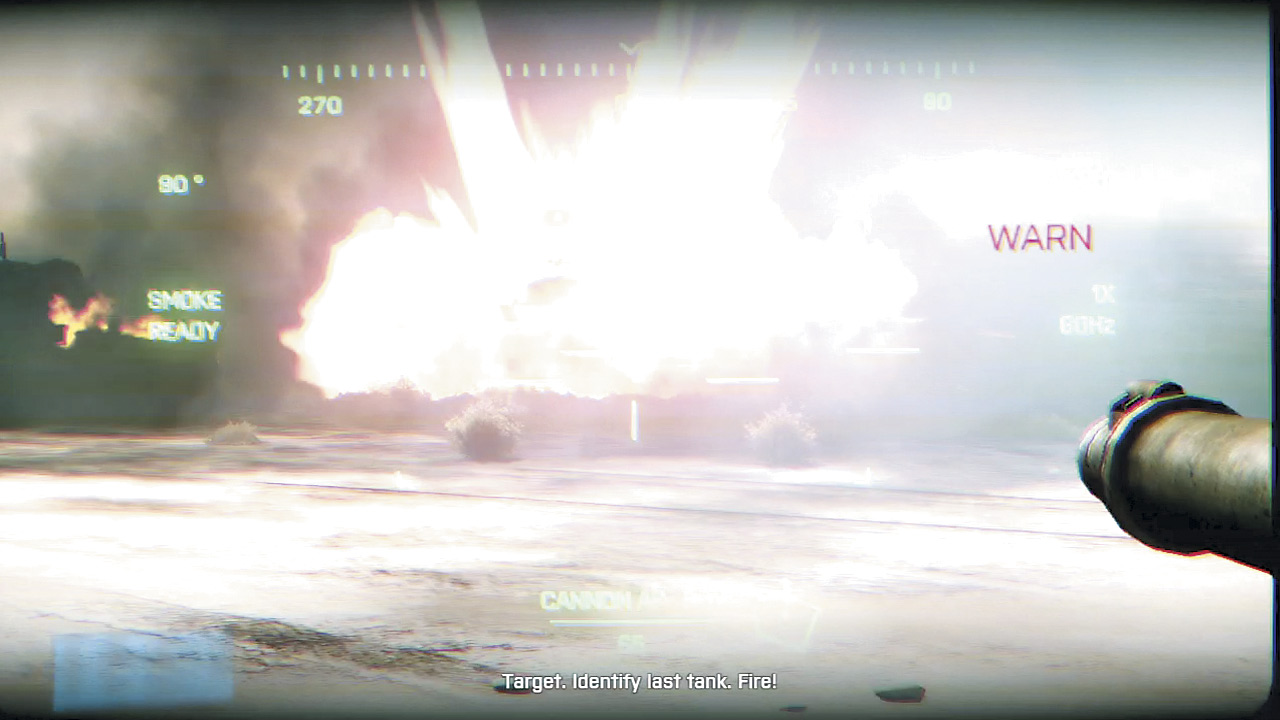
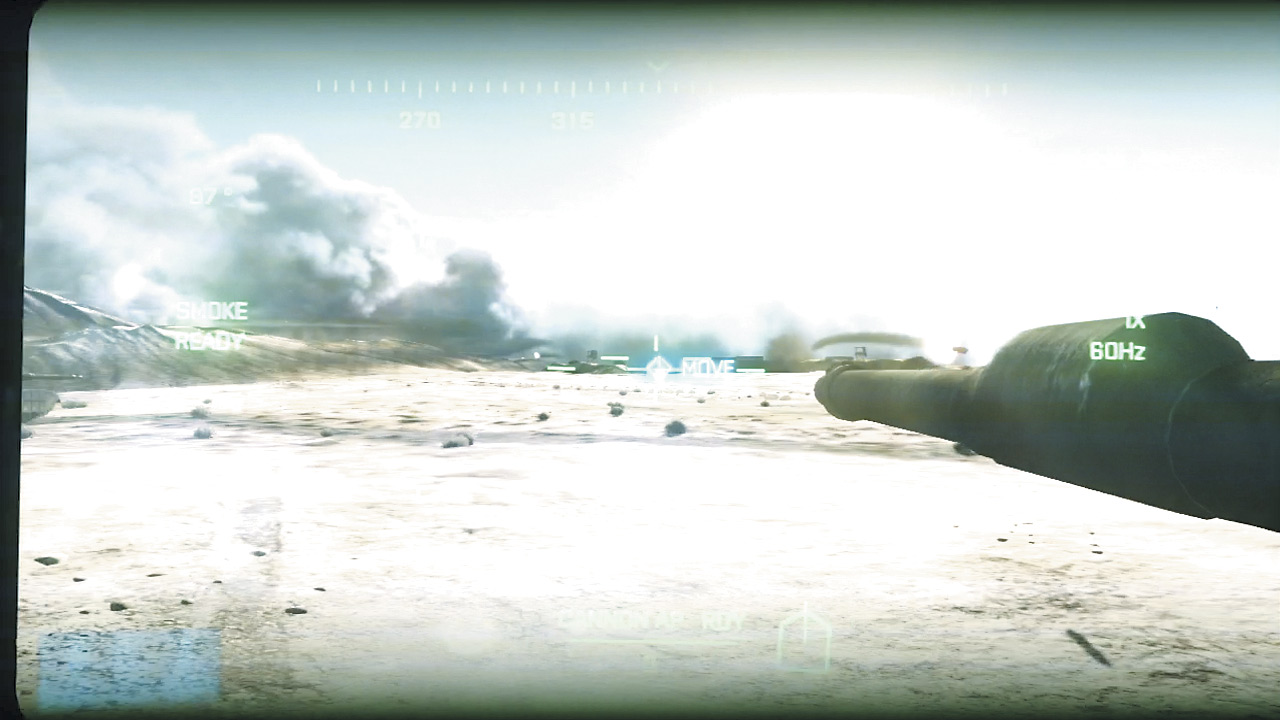
The tank directly to the left of Miller’s is hit by a surprise blast, revealing an enemy battalion of no less than six rival tanks heavily armed and bearing down on the Marines’ position.
Time to return fire and show these rolling hunks of metal how the USMC deals with enemy armor.
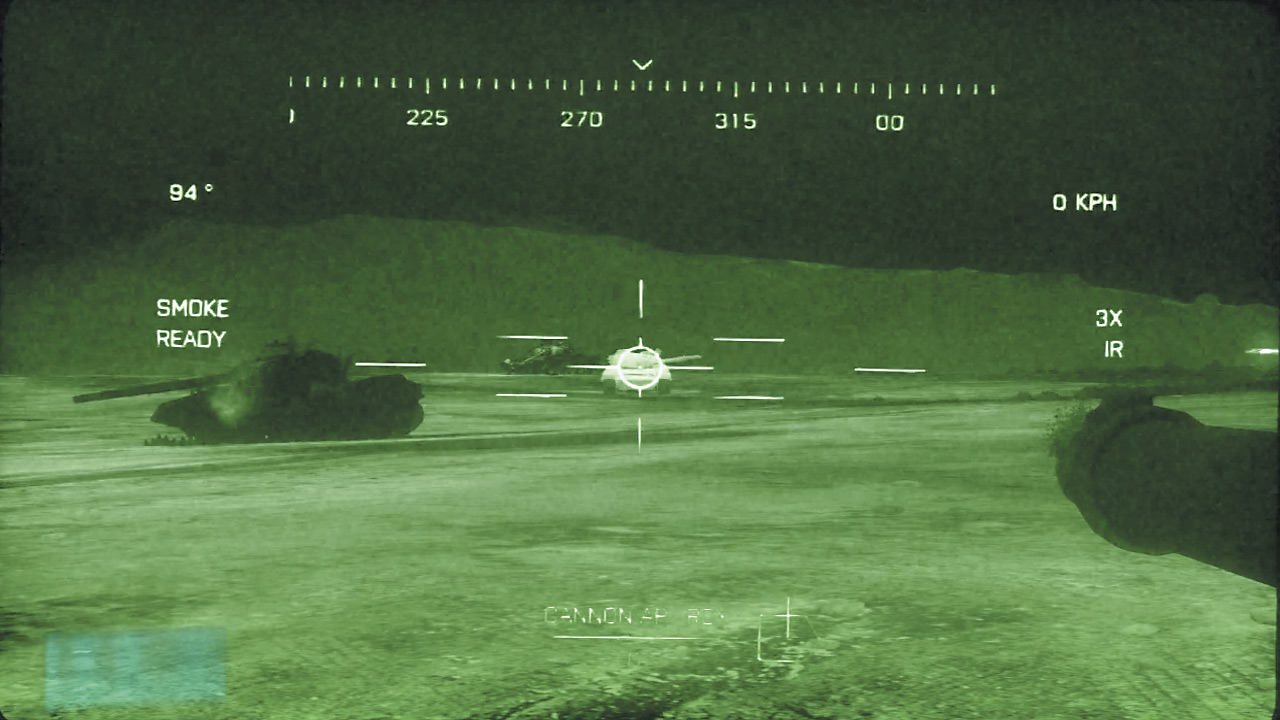
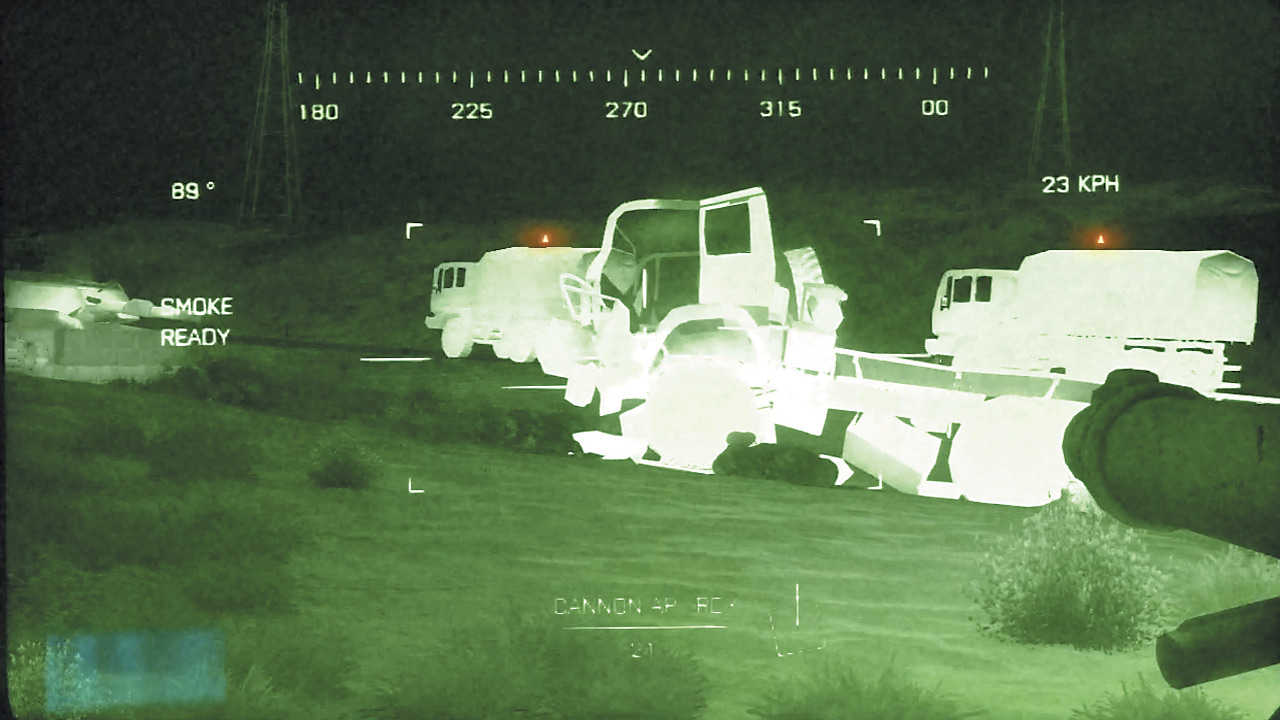
After polishing off a half-dozen enemy tanks, radio communication is cut short by a pair of T-72 tanks. Follow the on-screen prompts to switch over to thermal view to counter these tanks’ camouflage paint jobs offer and take them out quickly.
As the battalion prepares to resume their original run toward Anvil Actual’s commanded objective, things suddenly get a bit more complicated.
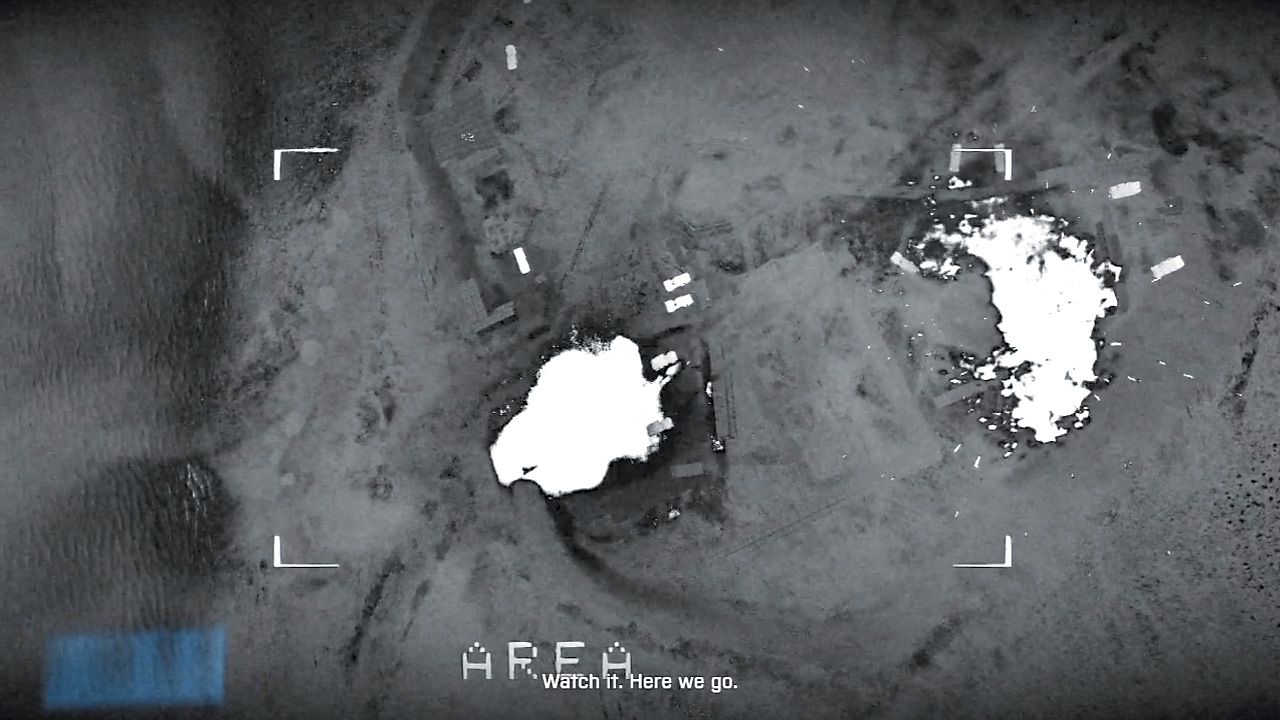
A nearby camp is laying down a considerable amount of explosive rocket deterrence in the battalion’s path, forcing the tanks to stop for a moment while the eyes in the sky are able to take a look at things.
An umanned aerial vehicle above allows Miller in his tank to take a peek the rocket battery, allowing him to lase the rockets for a gun run by close air support. After a little infrared-tinted feedback, it’s obvious those rockets aren’t going to be causing any present danger. Time to push forward and into the enemy camp.
The crew inside Miller’s tank gears up for the oncoming wave by loading in new ammo and spooling up the machine gun turret mounted in parallel to the barrel. Aiming through the sights, Miller can contend with both ground forces and enemy armor without breaking a sweat, easily alternating between cannon rounds and rapid turret fire. The enemy camp won’t know what hit them.
ASSAULT THE DESERT ENCAMPMENT
Push hard and fast toward the camp. Multiple incoming RPG fire will make it difficult, but remember that tanks were literally made to handle explosives impacts to their front.
The M1 Abrams tanks Miller’s unit uses are capable of laying the hammer down to boost their normal cruising speed a bit higher at the expense of valuable fuel. Punch up the speed to spill over the berm protecting the encampment.
Make note of the controls for swapping between the main cannon and a machine gun, as both will be needed in the upcoming breach. An air strike thankfully takes care of the forward RPG threat, but there’s sure to be more inside.
The single biggest threat in this choked series of roads is RPG teams. The main cannon is quite adept at turning their positions into craters, but opening up the 7.62 mm machine gun provides excellent suppression fire to make them think twice about popping out.
Deal with RPG teams to the right of the entry point with whatever weapon feels right, then roll around to the left to unload on the rocket batteries themselves. With the ground forces scattering, move on to the next objective dead ahead.
As the battalion surges across the open plains, they come across a mysterious dust cloud—an almost sure sign that there are enemy vehicles nearby. Just seconds later, a T-72 is spotted, followed by a friend, rolling across the horizon at high speed. Time for a bit more tank hunting.
CHARGE THE RIDGE
The enemy tanks’ seemingly erratic behavior is soon explained when four new threats make themselves known directly on the Marines’ left flank. Engage and destroy all six tanks using the same techniques as earlier; lead far off targets more than close ones, turn into incoming fire as needed and punch as many rounds as possible in to the sides or rear of the tanks.
The entire enemy battalion will quickly disappear over a ridge, sending Miller and his battalion in pursuit. Keep in mind that a tank cresting a hill is at a disadvantage since its main cannons will be pointing skyward for a second, leaving the vehicle open to attacks without fear of retaliation.
A smarter strategy is to roll over the hill at an angle, quickly getting the tank onto the downward slope to re-acquire targets with speed and precision.
DESTROY THE TRUCK COLUMN
A small convoy worms its way across the desert ahead, and orders come down to destroy them. Do so at range, switching to infrared and waiting for the convoy to eventually stop and spill out a anti-tank team heavy with RPGs.
They are backed by a trio of enemy tanks that should be dealt with quickly before tending to the ground troops. Using the directional buttons, switch to the tank’s 7.62 mm machine gun and take out the RPG crew as they sprint from one vehicle to the next to set up for rocket volleys.
When they’re gone, the remaining individual vehicles of the convoy can each be destroyed with a single shot from that 120 mm main cannon with ease.
FOLLOW 3-4 ONTO THE HIGHWAY
After that succession of attacks, the Marines finally get something of a break as they discover a surprisingly smooth main road for travel. Follow the rest of the tank convoy, admiring the scenery until further orders come in.
FOLLOW 3-4 TO HIGHWAY OVERPASS “ALTER”
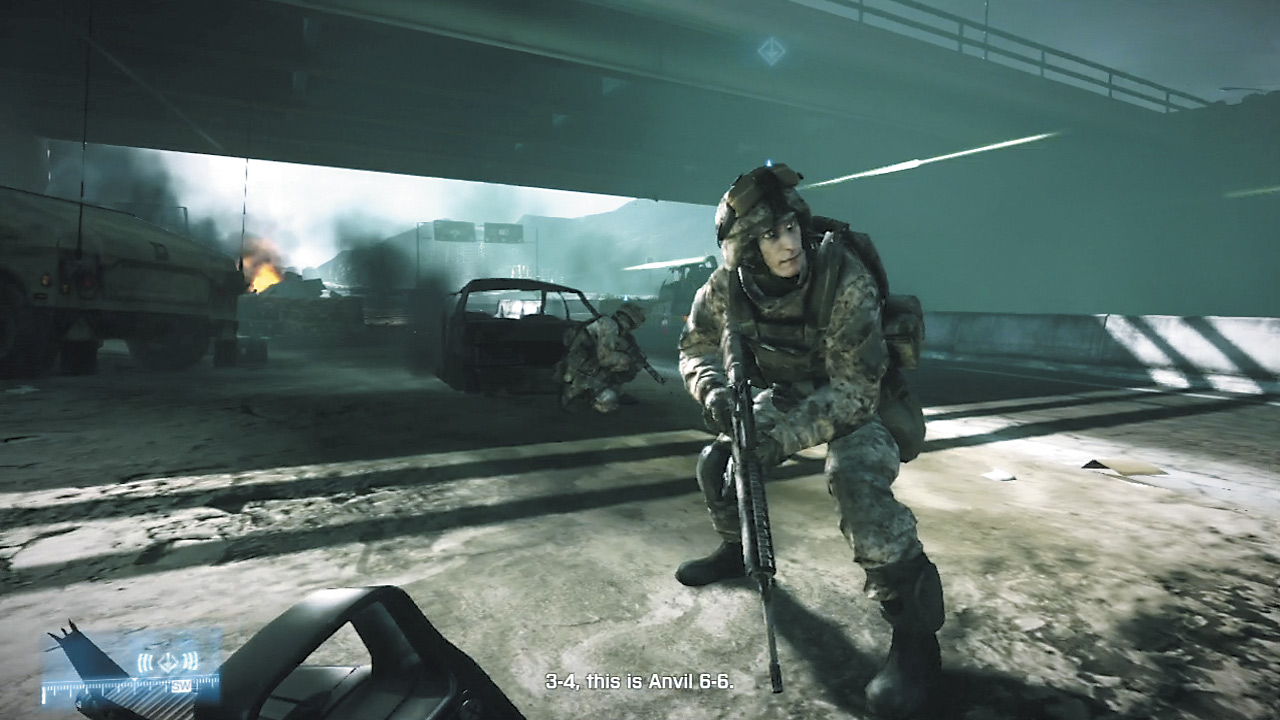
The scope of the conflict’s destructive repercussions is made readily apparent as the Marines finally link up with the main highway. Burning, twisted messes of metal litter the road. Continue on mission, following the convoy to Alter.
When the convoy comes upon an overpass where heightened activity has been observed, Miller is ordered to move on ahead to investigate.
Push forward until Miller automatically hops out, then charge forward to meet up with an engineer from Hatchet Company to get the SITREP. Apparently, the unit was ambushed by PLR before they could properly detonate explosives planted farther up the road.
It falls to Miller to brave intensive crossfire to retrieve the trigger mechanism.
PICK UP THE TRIGGER
Thankfully, Miller can take cover behind his tank escort for a short distance. It can’t move up all that far, however, so eventually you’ll have to sprint from behind the tank to a bit of burning rubble.
Sprint speedily from there to another burning Humvee to find the abandoned trigger sitting on a structure just to the left. After pressing the Action Button when near to pick it up, retrace your steps and sprint back, using the same pieces of cover to protect from incoming fire.