
Battlefield 3 Premium Guide Multiplayer Co-Op Mission 5: Drop 'em Like Liquid
Drop 'em Like Liquid
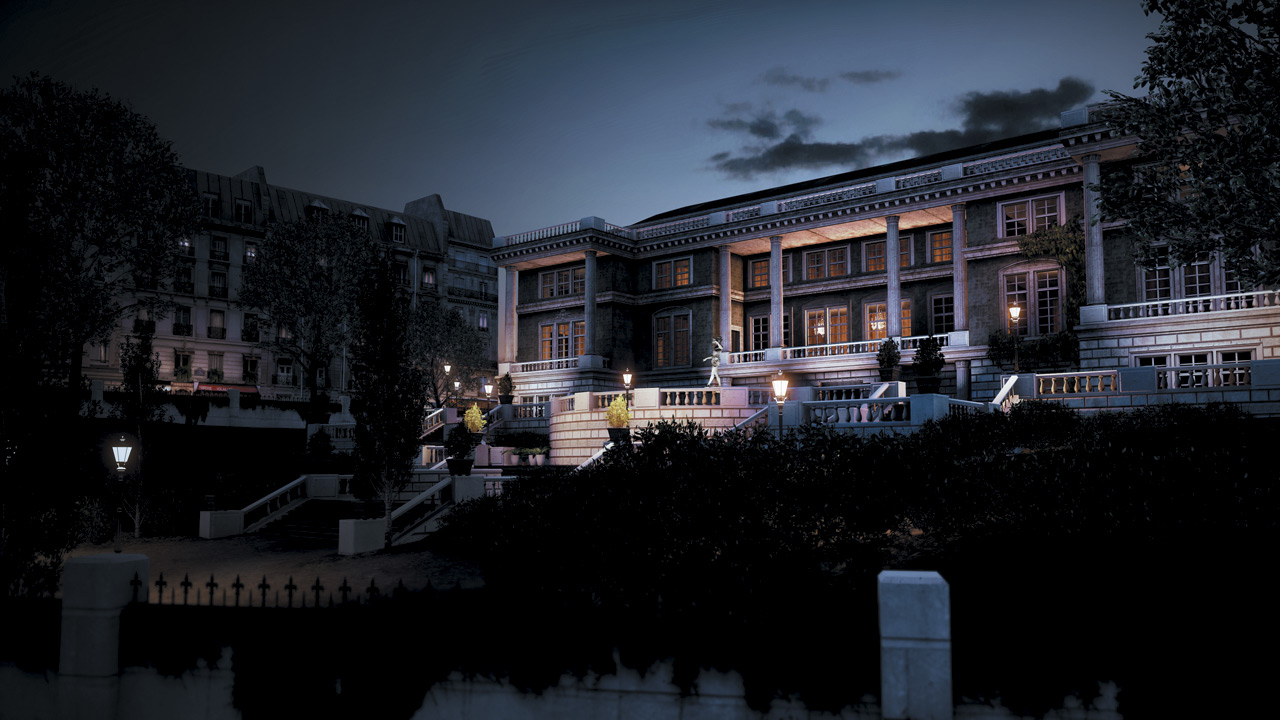
A hostage situation has developed in Paris. It’s confirmed that Abu Muhammad is on site orchestrating the operation. French Police has requested out help. We are sending you in to assist.
You need to provide sniper support, free the hostages and neutralize Abu Muhammad.
With the intel received in the last mission, the French police are doing there best to wrangle up most of the terrorists. Those still at large have taken hostages all over the city, including several buses and the embassy where we suspect Abu Muhammad himself is running the show.
The sniper team is going to dropped on the other side of the the engagement zone and they can provide the strike team with long range support and scouting.
REACH THE APARTMENT
The mission begins on a street where the French police have apprehended some of the terrorist forces. Pass through the scene, moving south down the street to enter the manhole ahead.
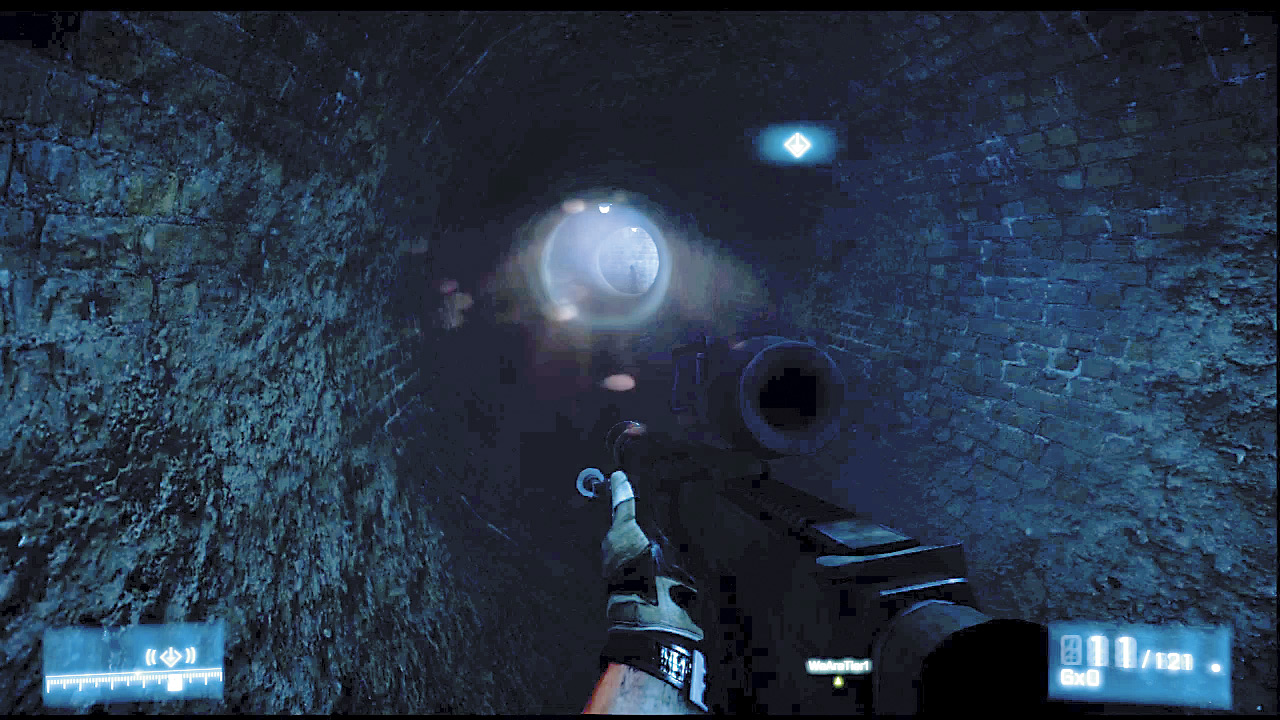
Climb down the ladder into the sewer system to sneak right under the terrorist forces and reach an optimal sniper position. Head down the grimy tunnel and slow down before reaching the single terrorist pacing the end of it.
Scope out the lonely terrorist through your scope and deliver the coup de grace.
[ ACHIEVEMENT | TROPHY ]
Bullseye
Reaching the apartment without alerting any of the enemies requires a steady rifle arm, but a successfully executing a stealth run to the vantage point earns you the Bullseye Achievement/Trophy. As the long range support in this operation, maintaining a low profile is the best way you can help out your team.
Remember that the sniper rifle is equipped with a tripod that can keep your sights steady longer than holding your breath alone. The tripod is equipped while in the prone position or when a stable surface, like a window sill, is the proper height while crouched.
Each terrorist post is manned by several guards and the team has to coordinate simultaneous strikes in order to proceed silently. As you go for the headshot, be prepared for certain guards to fidget or sway. No one ever said guard duty was fun.
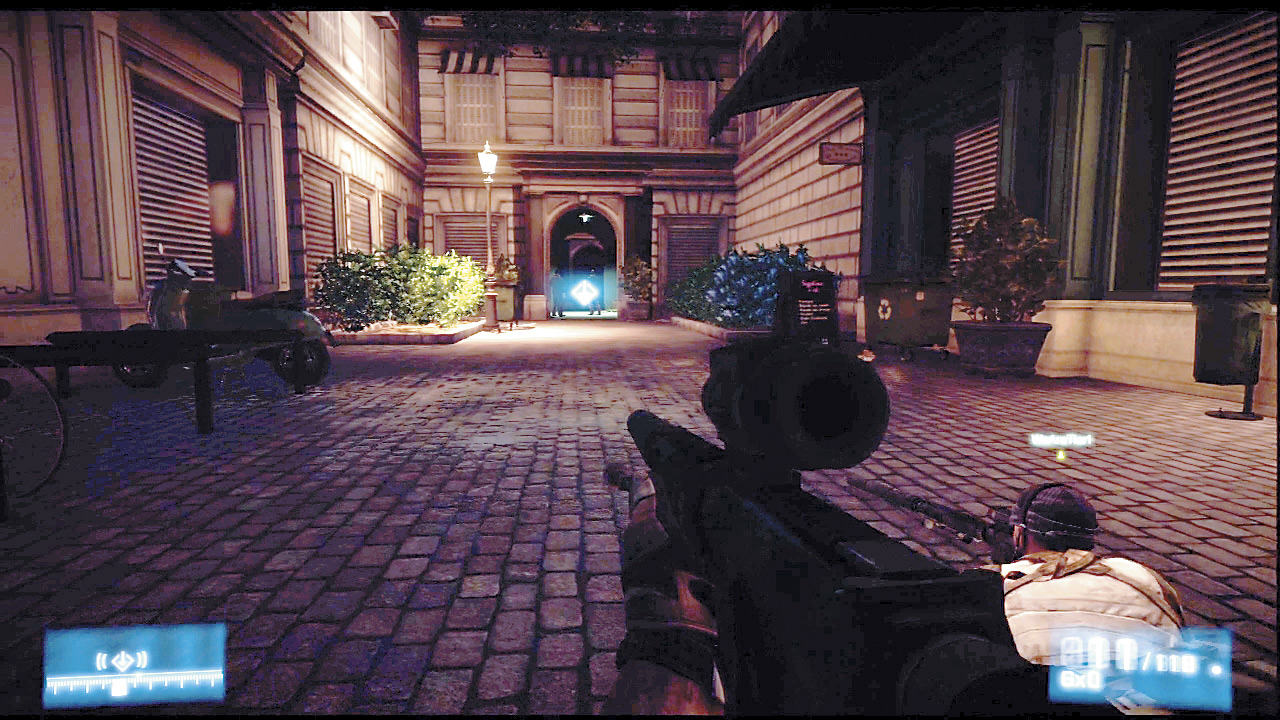
At the end of the sewer tunnel, take the ladder back up to the street level. The team is a short distance from the apartment’s location, but there are several hostiles keeping watch over the streets.
Two hostiles wait on the street a couple of feet from the team’s position. Sneak over to the top of stairs southwest of the manhole to get an overview of your targets. While prone, each team member should select a guard and aim for the kill.
After taking out those two guards, move down the stairs into the street and secure their former positions. Once again go prone and swing your sights west to another pair of guards at the other end of the street, inside an archway.
Repeat the same sniper tactics on this duo and run down the street, under the archway into the following street that brings the team in front of the apartment’s entrance.
Pick a spot, look straight at the entryway, and scope out two more guards stationed at the entrance. Swiftly dispatch them and move into the building. Take the stairs up to the designated apartment.
Open the apartment door and quickly eliminate the last two guards inside. While one person opens the door the other covers it as it swings open. Permanently relieve the enemy guards from active duty and take a moment to replenish the sniper rifle rounds.
LOCATE AND SUPPORT ALPHA TEAM
Pick a window and survey the tense hostage situation taking place across the river. Look over to the south east section of the canal (to the right of the ferry boat) to see the strike team. Operating under the call sign “Alpha”, they emerge from the tunnel and hold position there.
The Alpha team is tasked with getting to each bus without alerting the terrorists watching over the hostages inside. There are several guards roaming around the bus site and its up to the sniper team to quietly eliminate those targets, allowing the strike team to close in on the buses.
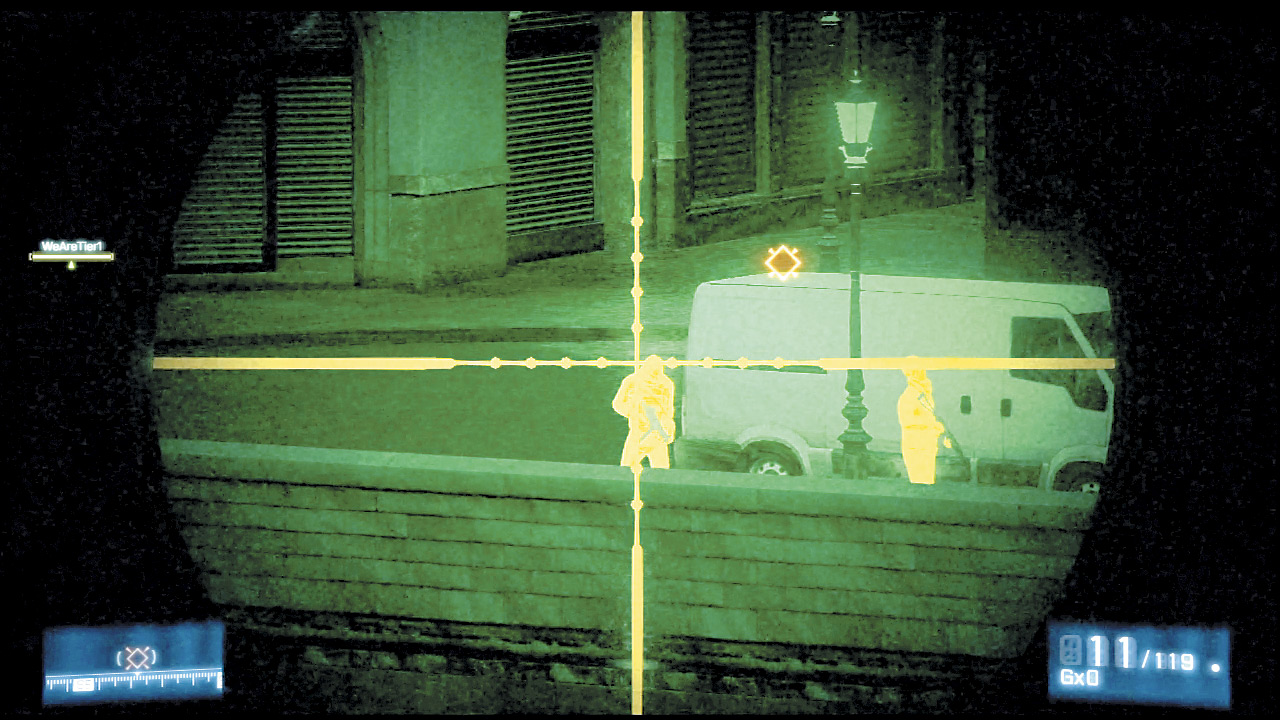
The first set of terrorists stroll out into view from the southeast end of the canal, a short distance to the left of Alpha Team. Wait for the pair to stop moving, pick out a target and coordinate the kill shots.
As the Alpha team moves up the stairs into the street above, survey the van directly ahead of them to the left of the buses. Another enemy patrol reveals themselves from behind the van. Steady your scope and wait until the targets stop moving before taking the shot.
With that patrol down, Alpha team is clear to move in on the buses undetected.
RESCUE THE HOSTAGES
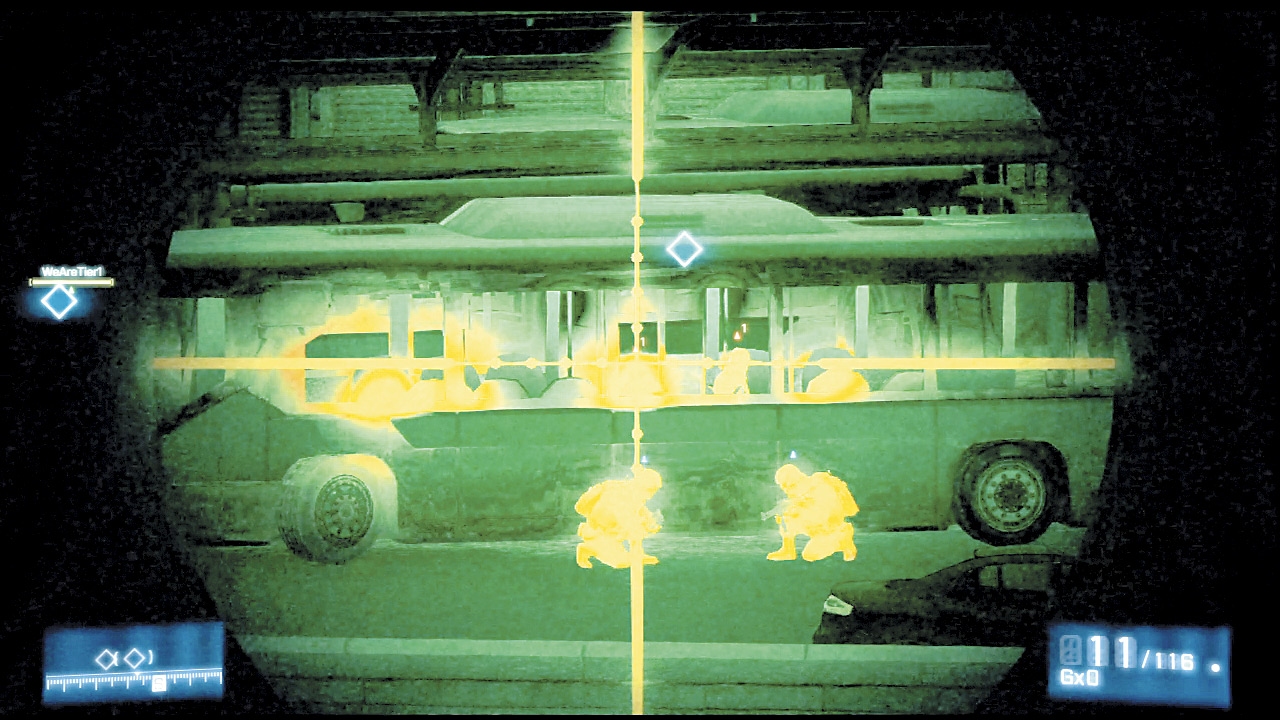
The strike team secure themselves in a low a hidden spot next to the bus. Upon receiving your team’s signal, they toss flashbang grenades into each bus. Before your team hits the action button and begins the rescue operation, plan out the attack in advance.
Each team member should choose one of the buses (Charlie or Delta) to cover. Spot the two terrorists watching over the hostages inside each bus to mark them on everyone’s HUD. When your team is ready, signal Alpha team to toss the flashbangs.
The second they go off, swiftly and systematically shoot down each terrorist while they are distracted. Remember that this rescue mission ends in failure if a terrorist executes a hostage.
MOVE OUT
The bus is clear of terrorists, but there are more hostages in the embassy down the street west of Alpha team’s position. Exit the apartment, go down into the street, and follow the strike team as they advance down the street parallel to yours.
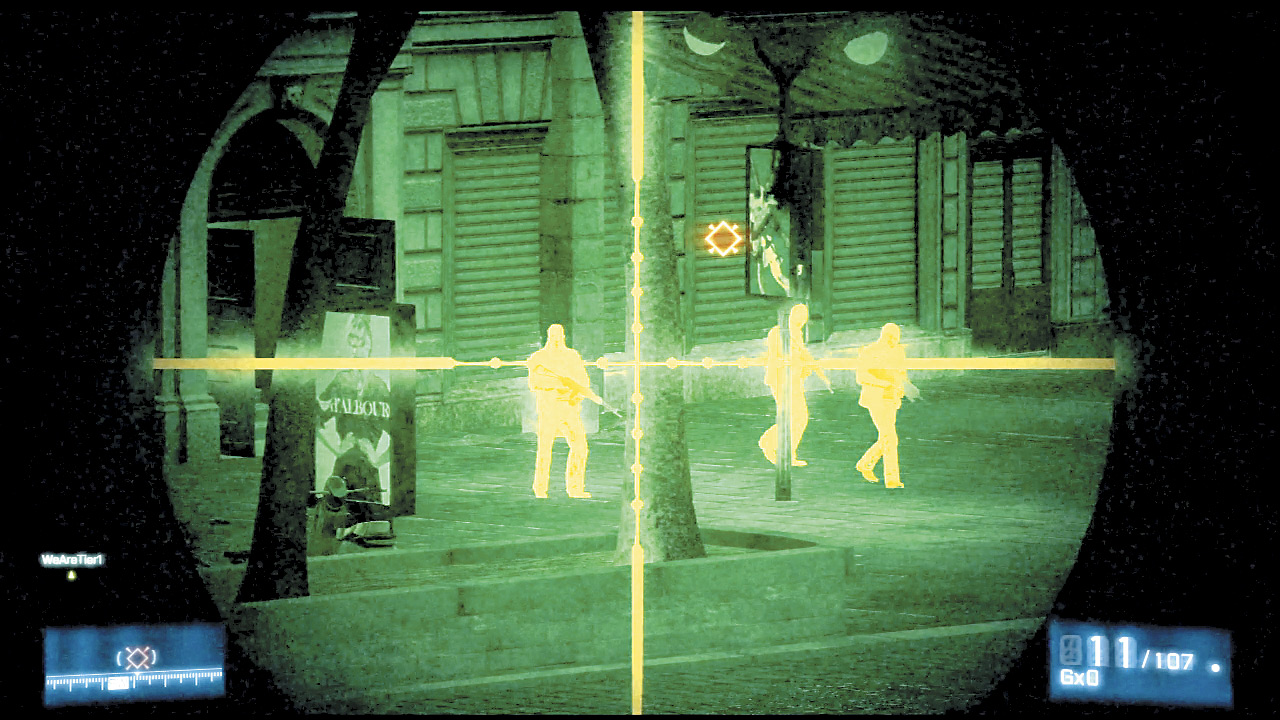
Stay alert to any movement on both streets and position yourself in front of the bridge railing. The strike team stops moving when they spot two patrols—one directly west of their position and the other in a standing in front of a railing directly above them.
With this section of the street cleared of terrorist threats, resume following the westward bound strike team down the street until they stop at a plaza.
Both snipers should take position on the opposite ends of the street because the enemy troops are now fully aware of your presence and surround Alpha team as they reach the center of the plaza.
Three patrol squads (in groups of three) move in from multiple areas including: from the east end coming down a long set of stairs next to a large Hotel sign, from the southwest street above the plaza down the stairs and straight into the group, and from the west end of the street.
After dispatching the patrol groups watch out for any rival snipers camping out in the buildings directly south of the strike team’s position.
The Alpha team is ready to continue to the embassy, a short distance from the plaza. Head back down the street and follow it as it curves north. Before moving up to the balcony, be prepared to fight some terrorists that have already secured the spot.
They arne’t about to give it up without a fight. They run down the stairs and take cover among the cars scattered on the street level. Split up, find adequate cover and pick off the targets from a distance before heading up the long staircase to the final sniper’s nest.
SUPPORT ALPHA TEAM
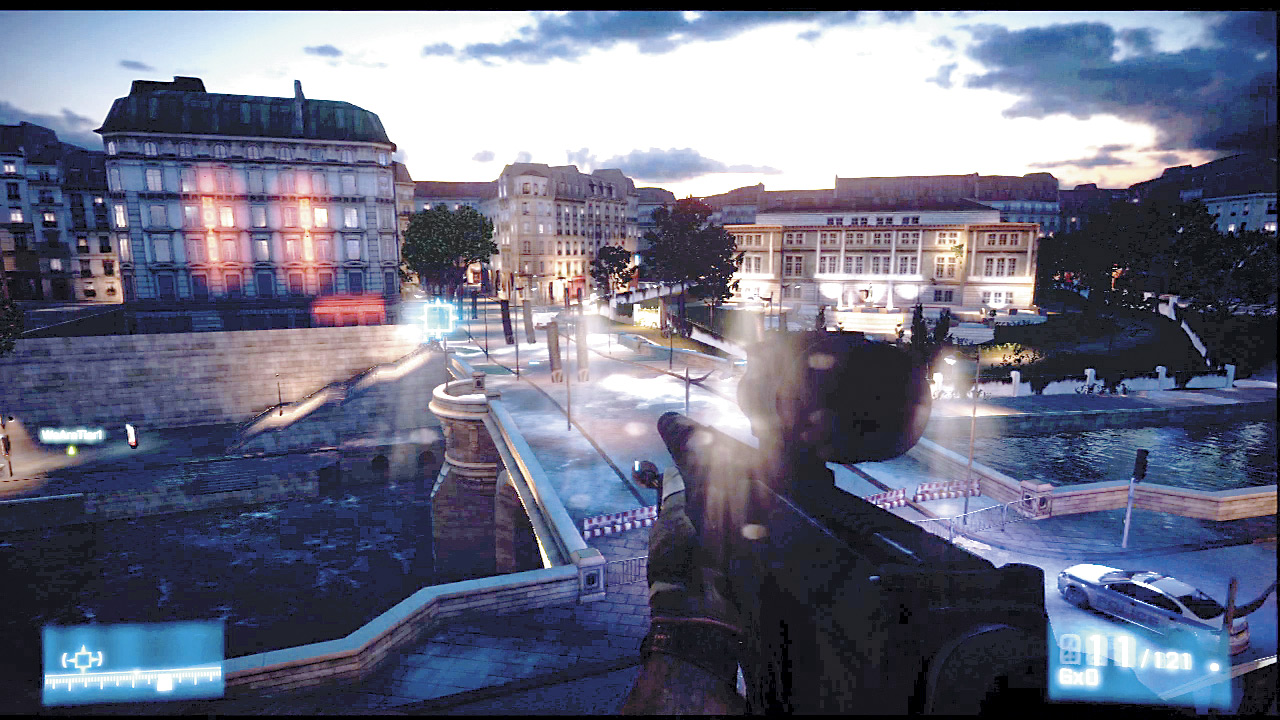
Resupply the team from the Ammo Crate before taking positions on the west end of the balcony. Alpha team plans to move in on the embassy from the south end through the garden entrance.
Two guards block the stone gate to the embassy garden. Aim, coordinate and take them both out so the team can press on. As the team marches into the main stairway located west (directly in front of your position), a pair of enemy soldiers walk down the northern lawn toward the stairs.
Wait for them to stop at the base of the stairs, line them up on your scopes and take them down. The stairs are free and Alpha team go up toward the front of the building, but stop when three guards emerge from the center entrance behind the fountain.
Use the same tactics employed on the last trio you team encountered—assign a target to each sniper and then converge your sights on the last terrorist.
The remaining terrorists are still inside the embassy, and the ring leader can be seen in the large window on the second floor of the building. Before Alpha team can get up there, shoot through the window at the two guards on the first floor to the left of the fountain.
The strike team enters the embassy at last, moving into an attack position just outside the large window. While they secure their position, press the spot button to label the terrorist targets, who are gathering the hostages into one area.
There are four terrorists total—three of them are standing still, while the fourth is pacing the room. When you decide which targets to take out first, prioritize the pacing guard because he is harder to hit when the action begins.
When everyone’s ready, hit the action button to signal the Alpha team to throw the flashbangs through the window and disorient the enemy. Quickly shoot down all the targets while the Alpha team moves in to secure the hostages.
KILL THE HTV
Abu Muhammad escapes Alpha team’s siege and runs out of the embassy through the first floor window next to the fountain. Ignore the multiple hostiles that exit the building and focus exclusively on tracking the leader down.
Take him out with precision fire before he leaves the compound. It only takes a few rounds before Muhammad gets wise to the sniper fire and occasionally ducks into cover. Be patient and tag him when he is out in the open.
Once your team has brought him down the mission is over with zero civilian casualties. Well done.
A hostage situation has developed in Paris. It’s confirmed that Abu Muhammad is on site orchestrating the operation. French Police has requested out help. We are sending you in to assist. You need to provide sniper support, free the hostages and neutralize Abu Muhammad.