
Battlefield 3 Premium Guide Battlefields Conquest
Epicenter
Conquest
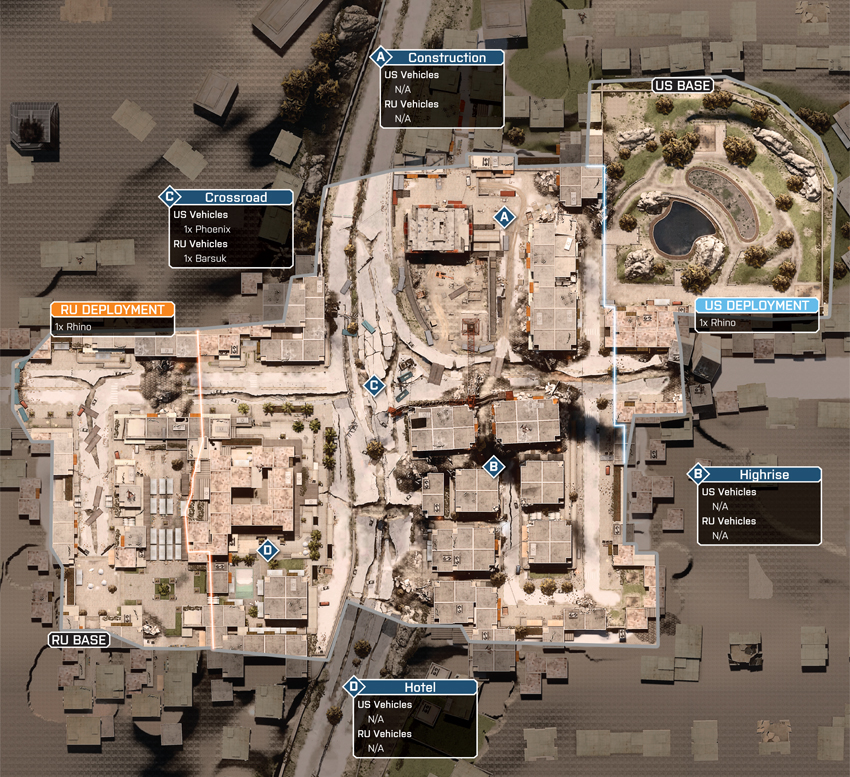
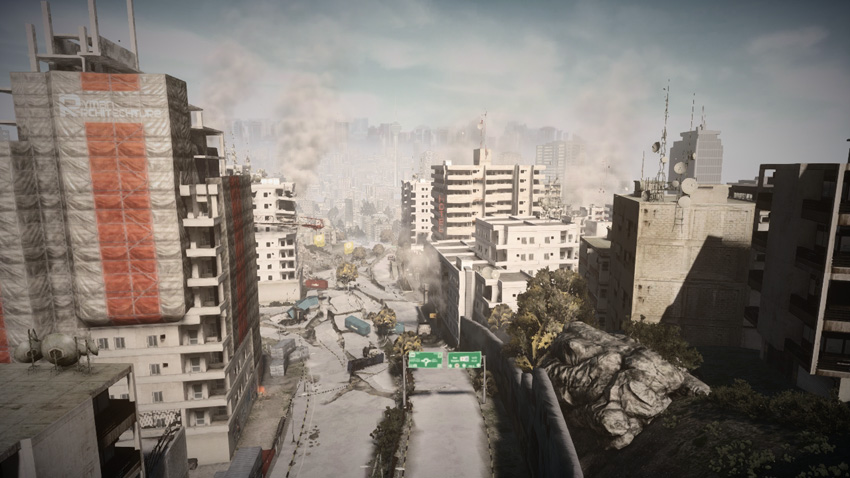
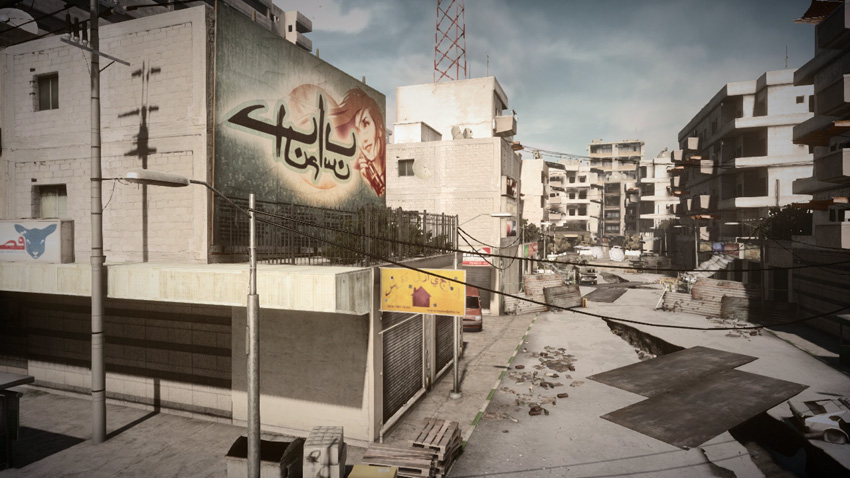
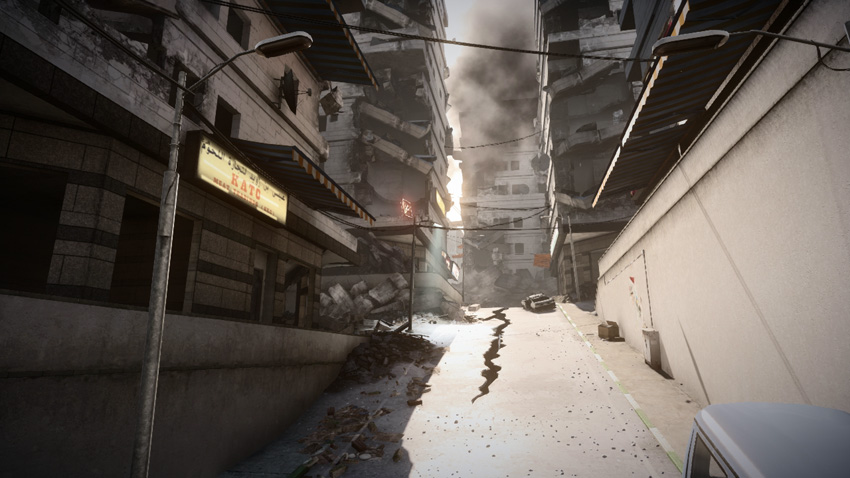
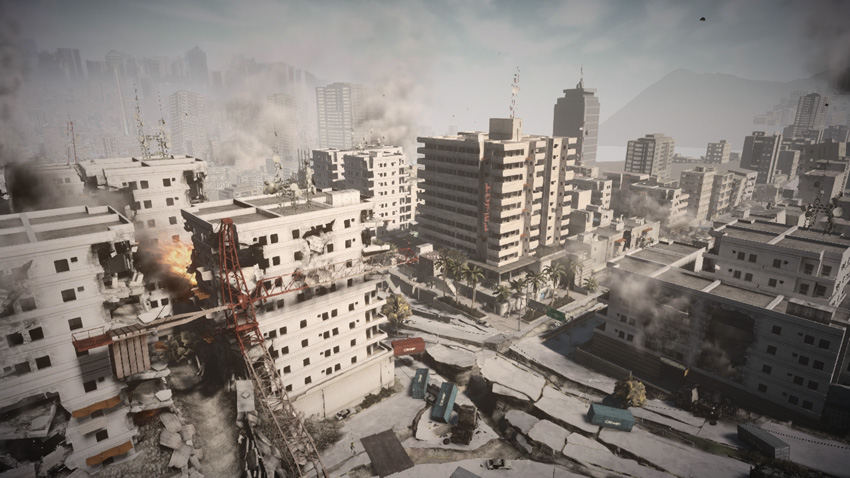
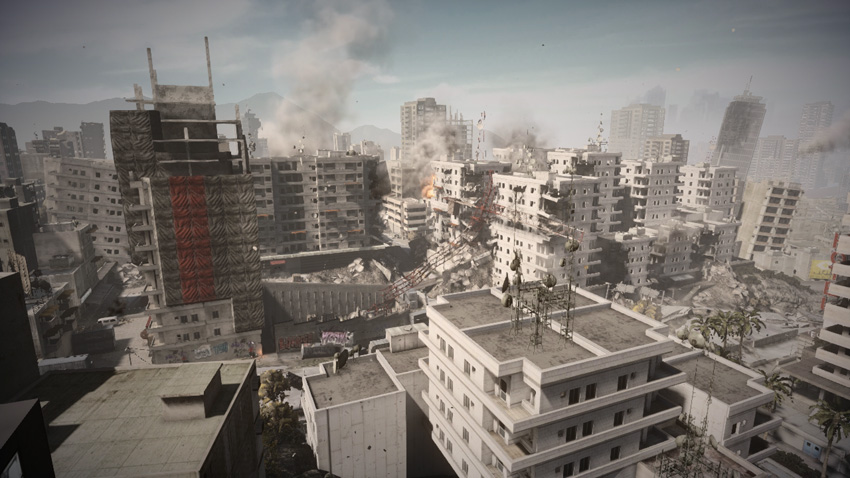
With only four flags up for grabs in this earthquake-devastated urban landscape, both teams need to move out fast to secure their respective sides of the battlefield. For the US team it means rushing troops to the nearby Construction (A) control point while using the Rhino to secure the Highrise (B). On the opposite side of the map, the RU team needs to rush infantry to the Hotel (D) while their own Rhino transports troops to the Crossroad (C). With each team controlling two flags, the battle becomes a stalemate, resulting in the draining of no tickets. So to bleed the opposing team’s ticket count, both teams must look for opportunities to secure at least a third flag. The Construction (A) and Hotel (D) control points are usually out of play, given their close proximity to each team’s base. So that often leads to heavy fighting over the Highrise (B) and Crossroad (C) control points. If your squad simply shuttles between these two points, you can greatly increase your team’s chance of securing a victory.
US Base
Base Assets
| Name | Quantity | Respawn Time |
|---|---|---|
| Rhino | 1 | 30 sec. |
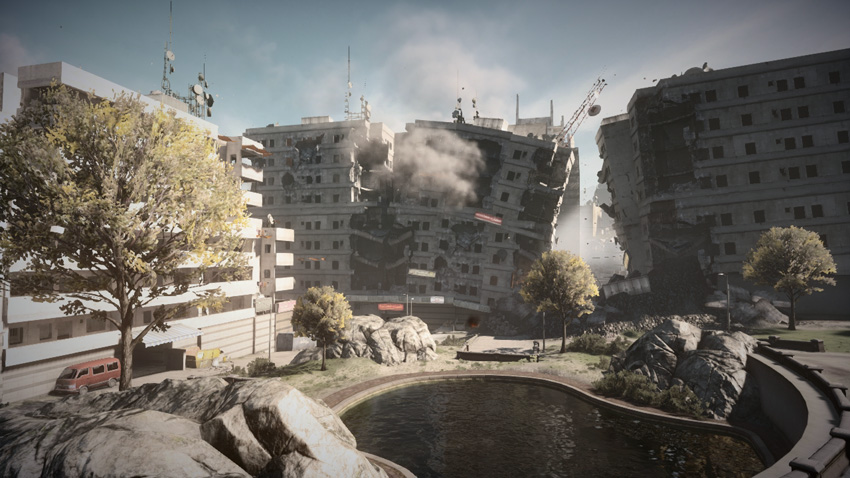
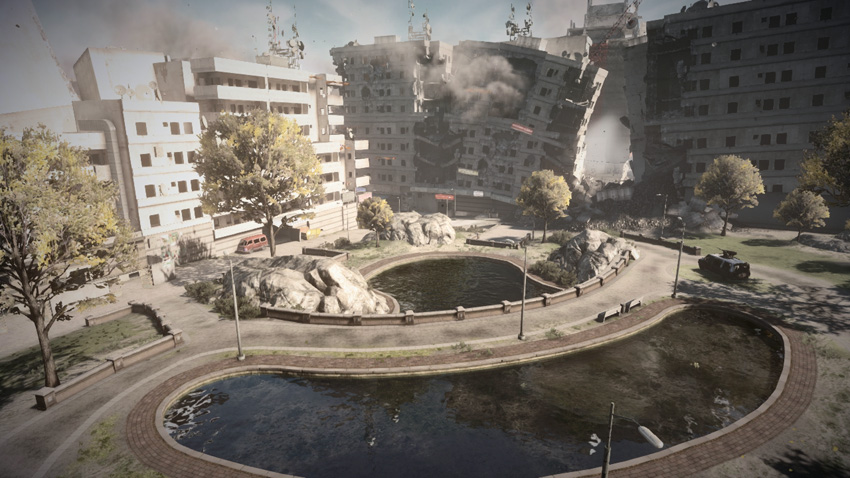
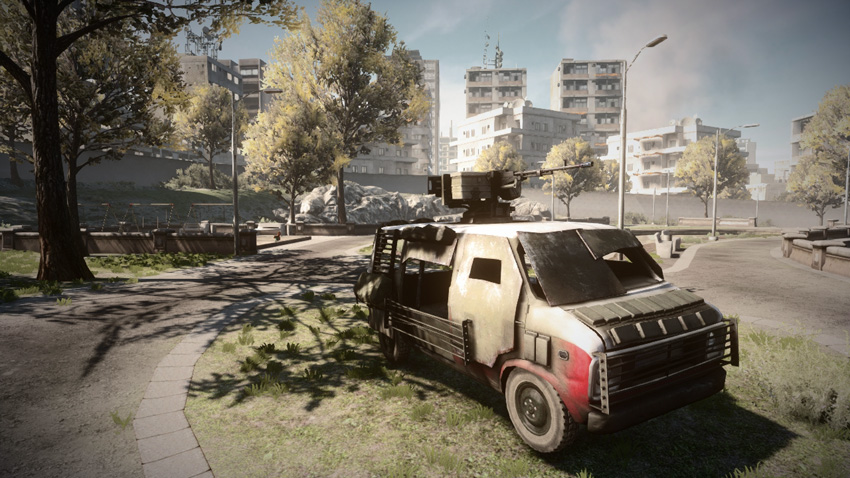
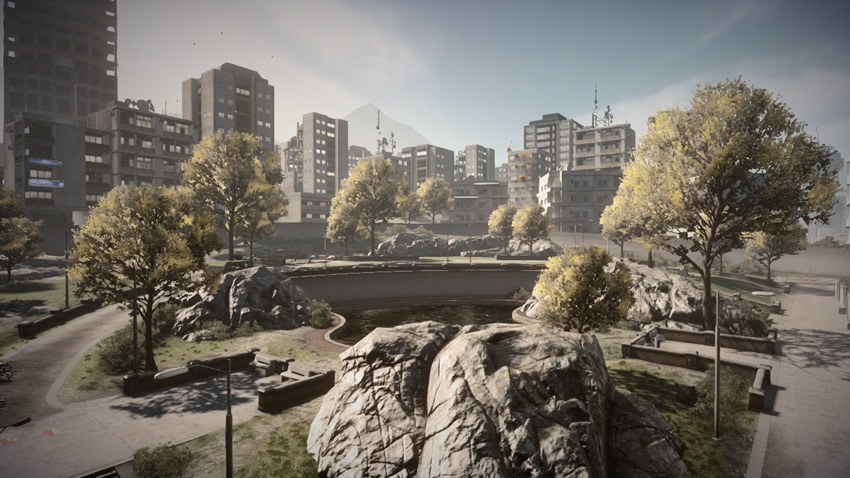
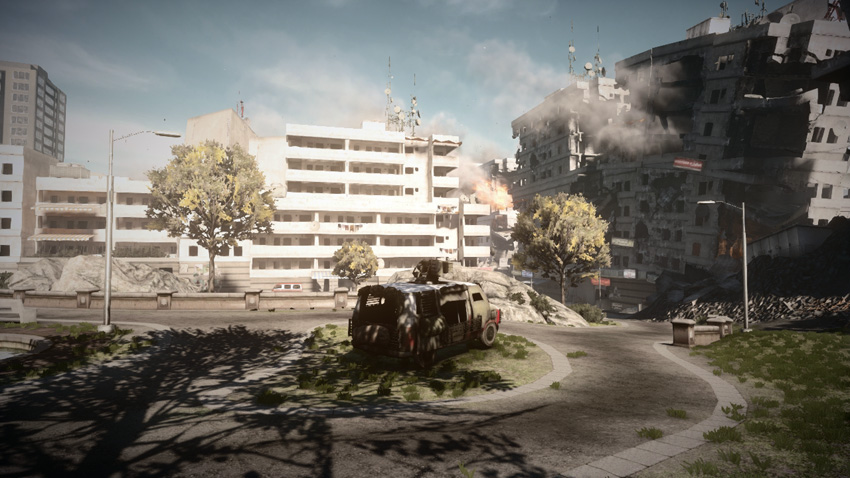
The US team deploys from the park on the northeast edge of the map, not far from the nearby Construction (A) control point. The serene ponds and quaint playground stand in stark contrast to the surrounding destruction. But don’t spend much time enjoying the scenery here—there’s a battle to win! While the team has one Rhino at their disposal, most of the team will be stuck hoofing it through the heavily damaged city. If you find yourself in the driver seat of the Rhino, make the most of this vehicle by racing to a distant control point like the Crossroad (C)—just watch your speed because the debris-littered streets are filled with obstacles that could potentially flip the van. Securing this central flag early on during a match can help give your team the upper hand, as well as an extra vehicle. While the Rhino and its crew head for the Crossroad (C), the rest of the team should sprint to the Construction (A) and Highrise (B) control points. If your team acts fast in a coordinated fashion, you stand a good chance of securing three out of the four control points on the map, thereby forcing the RU team to incur a drain on their ticket count.
RU Base
Base Assets
| Name | Quantity | Respawn Time |
|---|---|---|
| Rhino | 1 | 30 sec. |
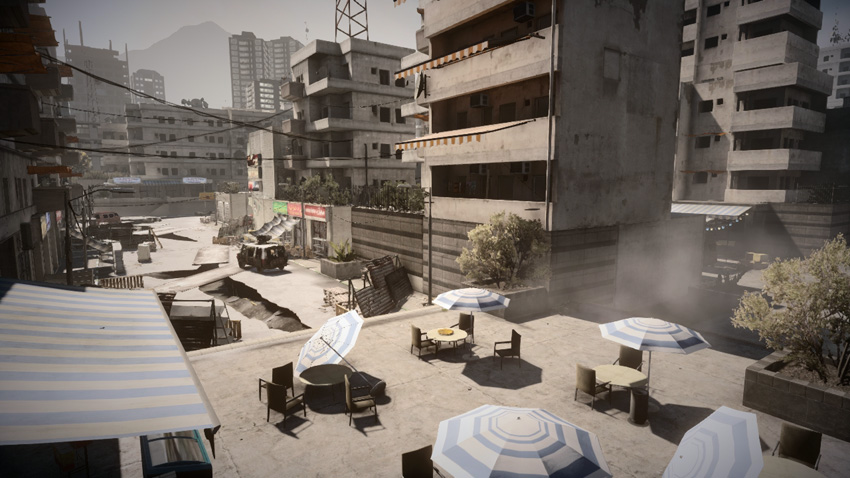
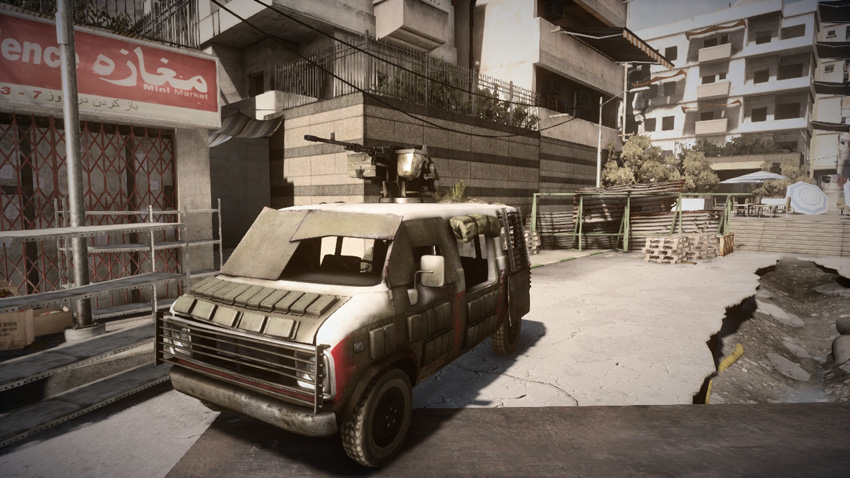
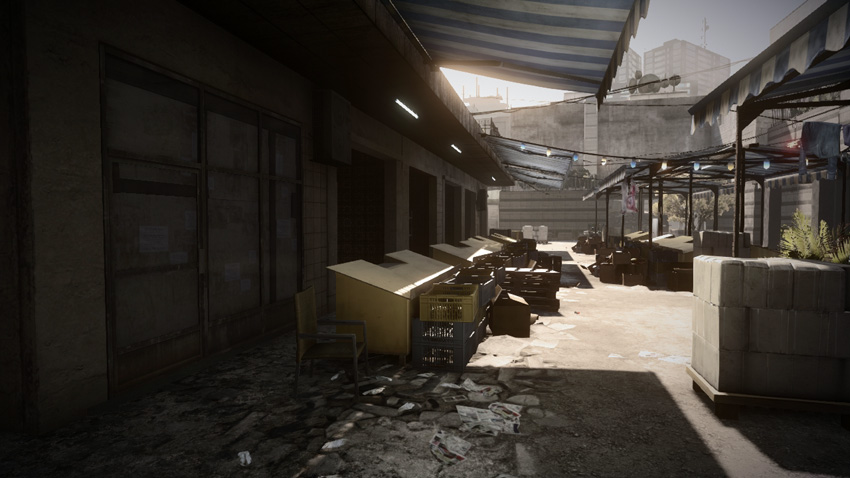
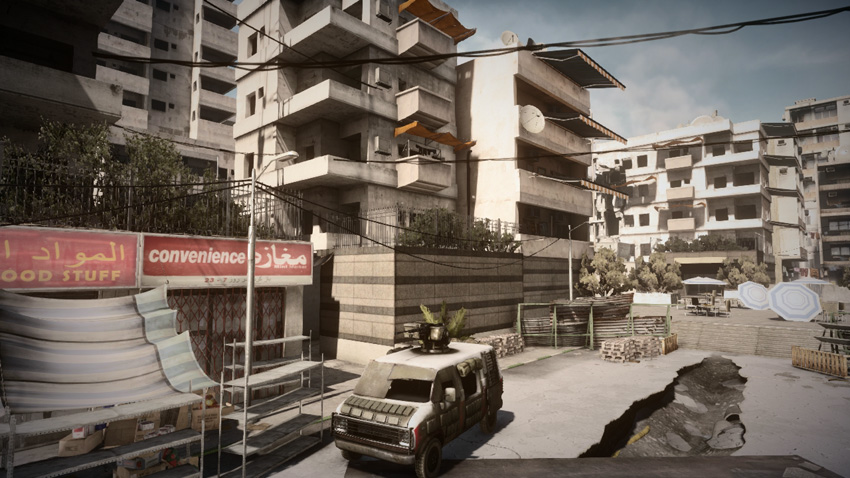
Deploying from the streets and alleys in the southwest corner of the map, the RU team has the best chance of securing the Hotel (D) before pushing deeper into the rubble-filled city. Like the US team, the RU team has only one Rhino at their disposal, which leaves most of the team on foot. When driving the Rhino, fill the vehicle to capacity before racing into the city so that you can transport as many troops as possible to the contentious control points in the middle of the map. The Rhino is the RU team’s best chance of reaching and capturing the Crossroad (C) control point before the US team arrives early during a match. Whether riding in the Rhino or moving out on foot, securing the Hotel (D) and Crossroad (C) is the primary goal of troops spawning at the RU Base. Although it serves as a form of transportation, don’t underestimate the effectiveness of the Rhino’s weapons. When parked in the street west of the Crossroad (C), the Rhino is an ideal weapons platform that’s perfect for targeting US troops rushing in from the east.
A: Construction
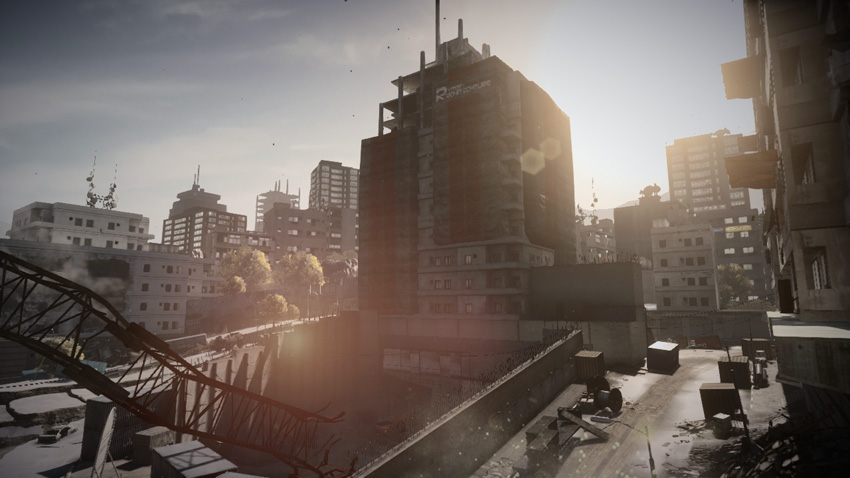
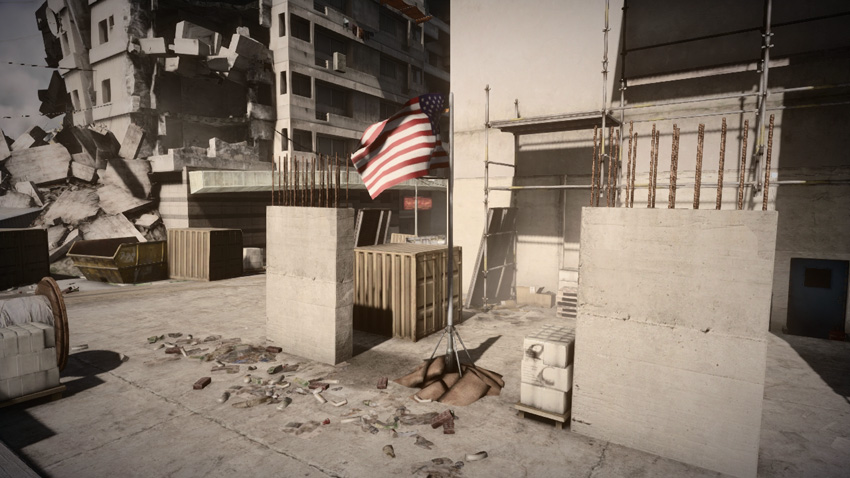
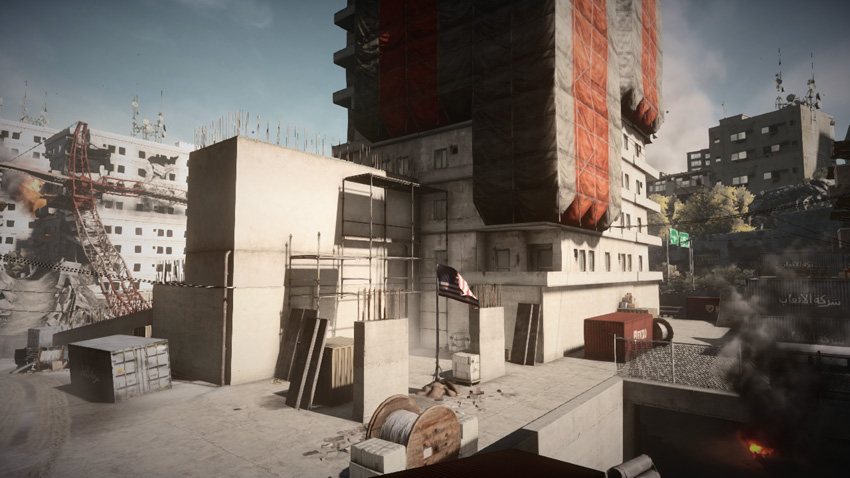
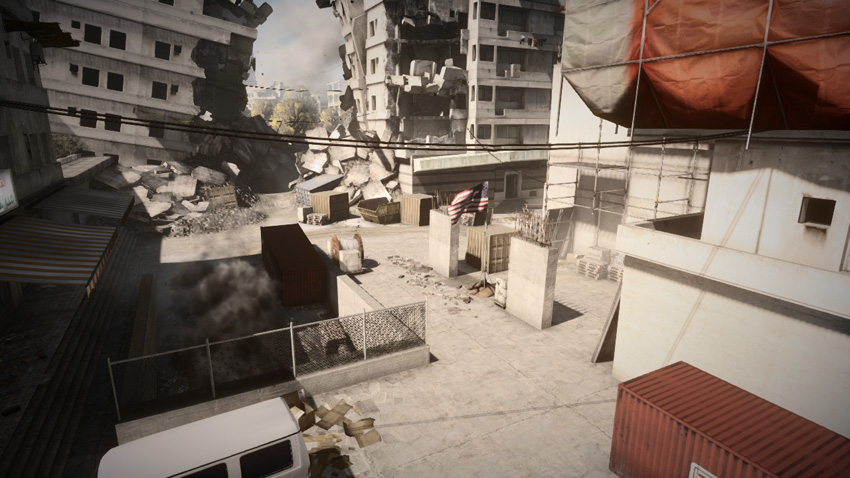
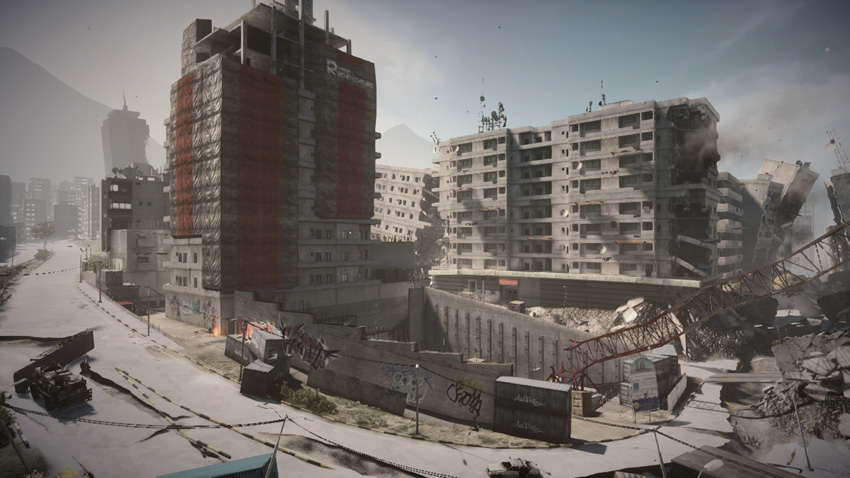
Located only a few meters from the US Base, the Construction (A) control point is a likely early-round capture for the US team. But that doesn’t mean the RU team should write off this control point completely. This control point is rarely defended, which makes it relatively easy to capture for RU troops approaching from the east. The flag here is positioned on the north side of a partially constructed skyscraper. There is ample cover available within the flag’s capture radius, giving attackers and defenders plenty of safe hiding spots from which to capture or contest this point. Two choke points adjacent to this flag are worth noting. One is the narrow alley cut through the piles of rubble to the east. This is a popular route often utilized by US troops attacking from their nearby base. The RU team can score some easy kills here by ambushing US foot traffic passing through this cramped kill zone. The second notable choke point is the tunnel that runs beneath the skyscraper. While the tunnel is a great way to sneak up on the flag from the south, the darkness makes it easy for defenders to hide booby traps such as mines, Claymores, and C4 charges here.
B: Highrise
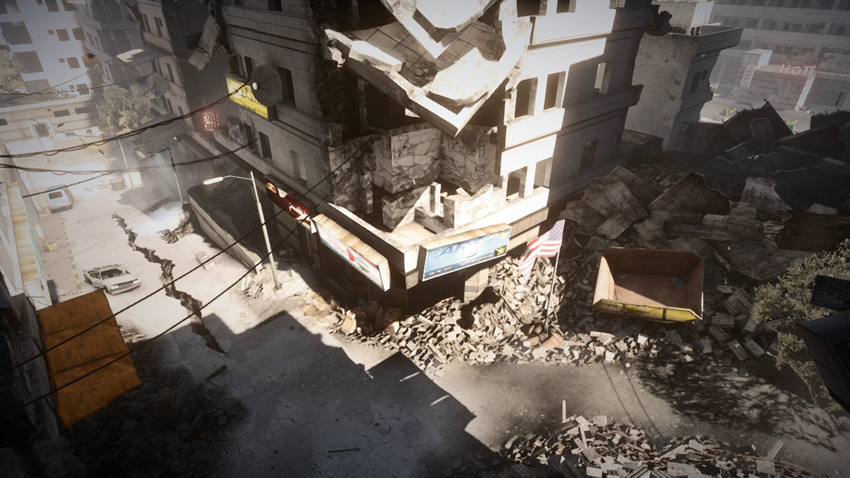
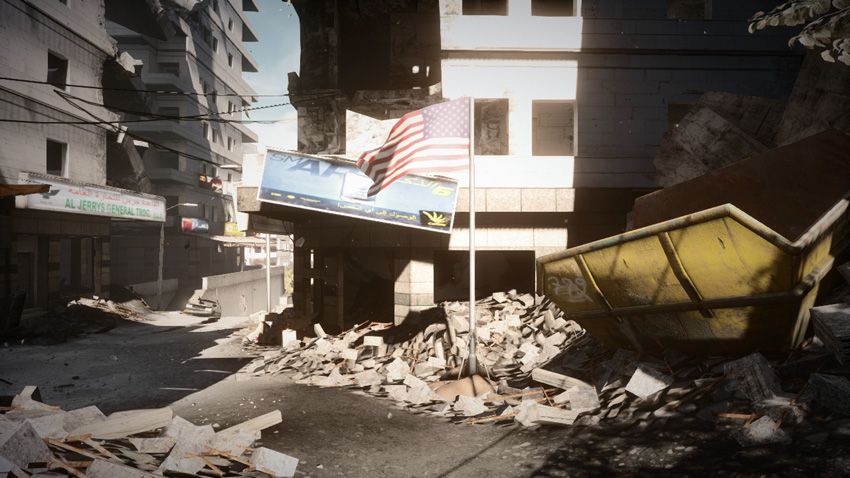
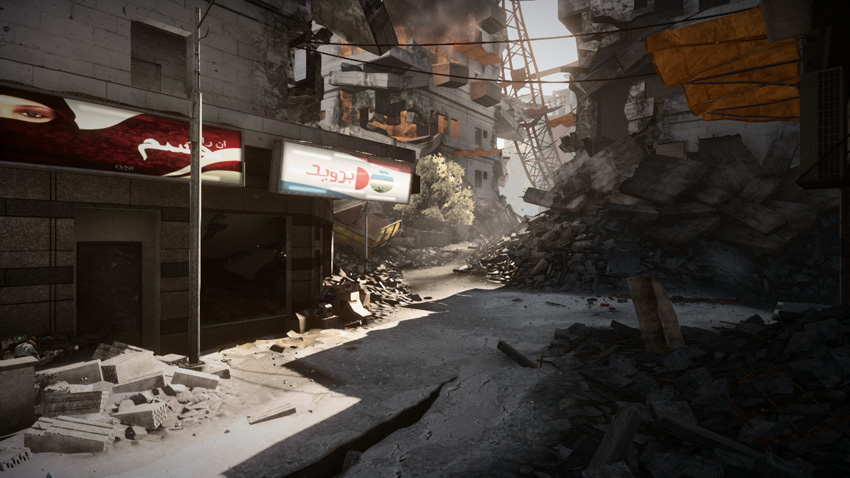
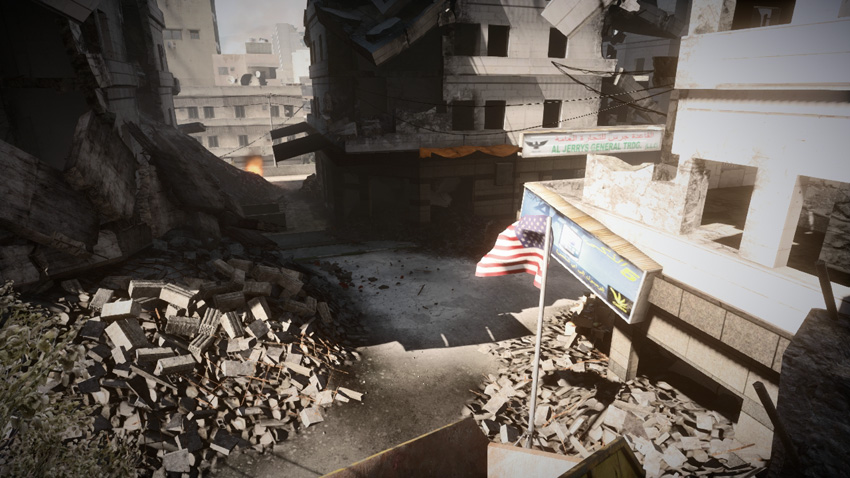
Located only a few meters from the Construction (A) and Crossroad (C) control points, this flag is likely to see heavy action during every match. The flag here is situated in a narrow street lined with rubble. While the flag can be captured and contested by infantry and vehicles alike, the cramped surroundings make driving here difficult and potentially dangerous given the likelihood of encountering booby traps and opponents hiding in the nearby storefronts. It’s best to approach this control point on foot. While the flag can be accessed from all directions, the northern and western approaches are the most heavily traveled as troops rush between this location and the Construction (A) and Crossroad (C) control points. These narrow, high-traffic passages can become deadly choke points, particularly if defended by a determined squad. Explosives are very effective in these tight quarters. When attacking here, consider flanking from the south or east in an attempt to circumvent these potential kill zones.
C: Crossroad
Control Point Assets
| US Control | RU Control | Respawn Time |
|---|---|---|
| Phoenix (1) | Barsuk (1) | 50 sec. |
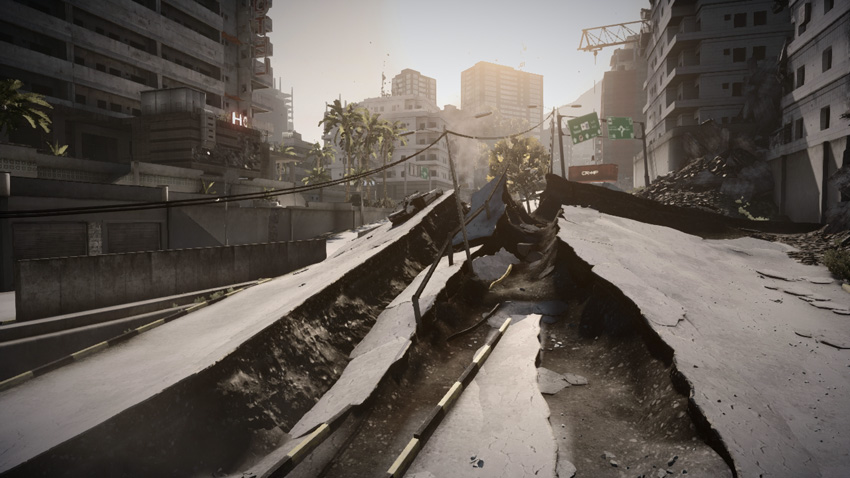
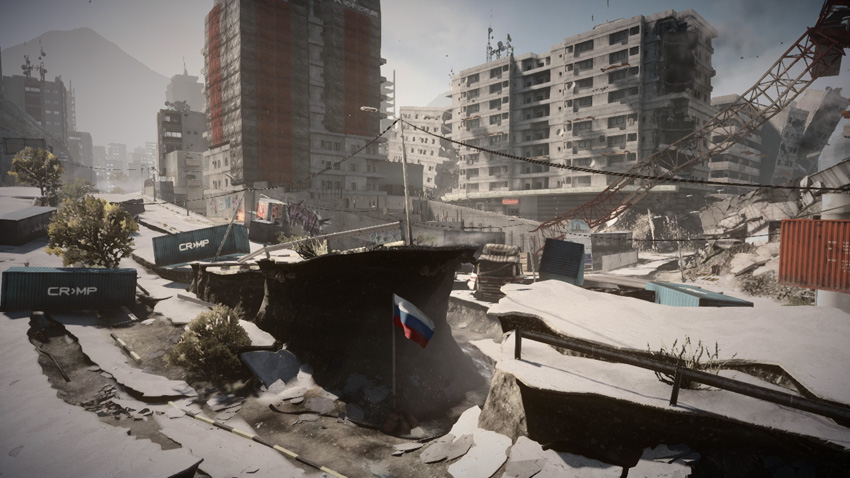
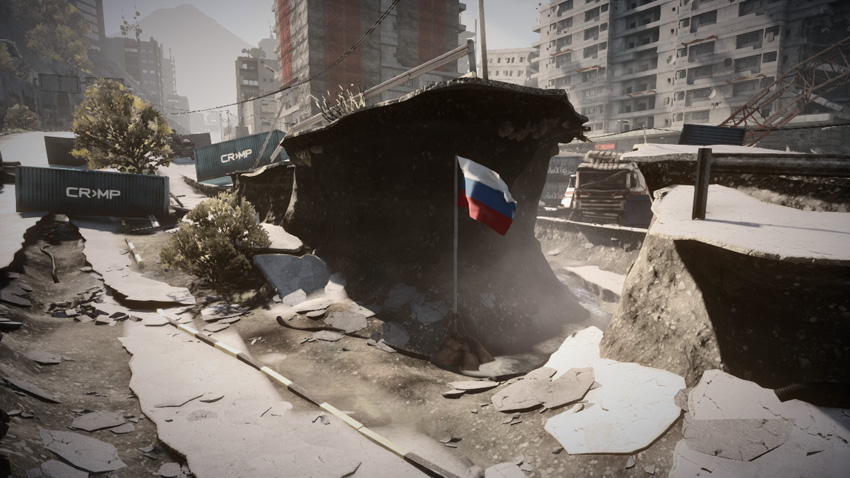
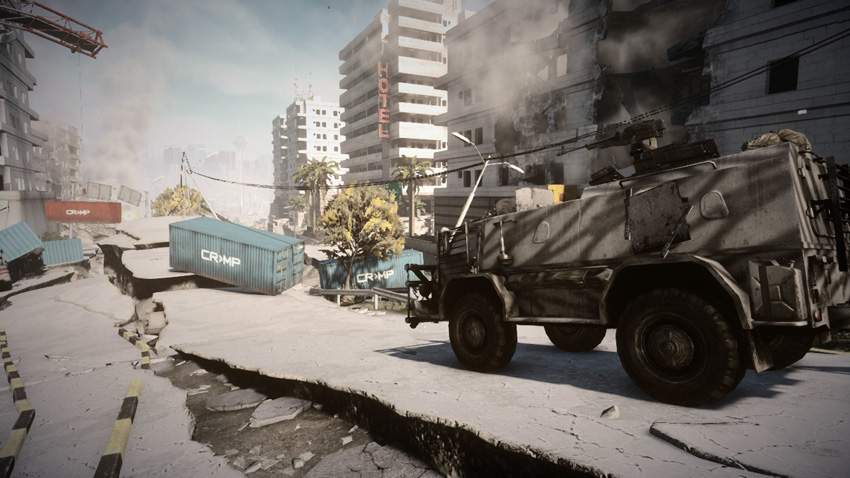
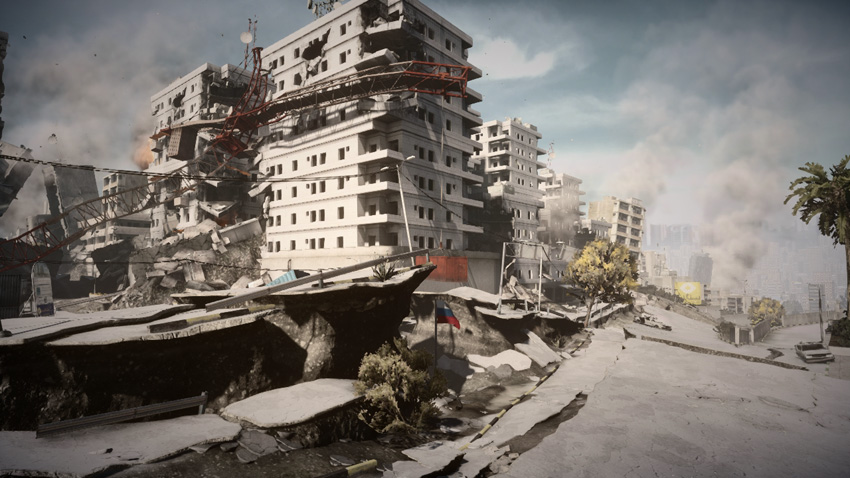
The recent seismic activity has absolutely rippled this once straight and level stretch of road that was a major north-south thoroughfare. What was once a street now resembles a jagged wall cutting through the center of the map and greatly inhibiting vehicle traffic. The flag here is located in the bottom of a shallow sinkhole, flanked by two portions of the uplifted street. This flag is best captured and contested by infantry hiding among the rubble—driving a vehicle into this hole is not advised. As the only control point that produces a vehicle for each team, the Crossroad (C) is usually the most contested flag on the map. The Phoenix or Barsuk spawns on the street to the north, where it is already well-positioned to engage the cross traffic between the nearby control points. Instead of using it as a transport, consider using this vehicle to defend the flag from a distance—the RU team can benefit by parking it in the street to the west. Defenders can also keep an eye on this flag by taking up elevated positions near the Hotel (D) and firing down on opponents in the sinkhole.
D: Hotel
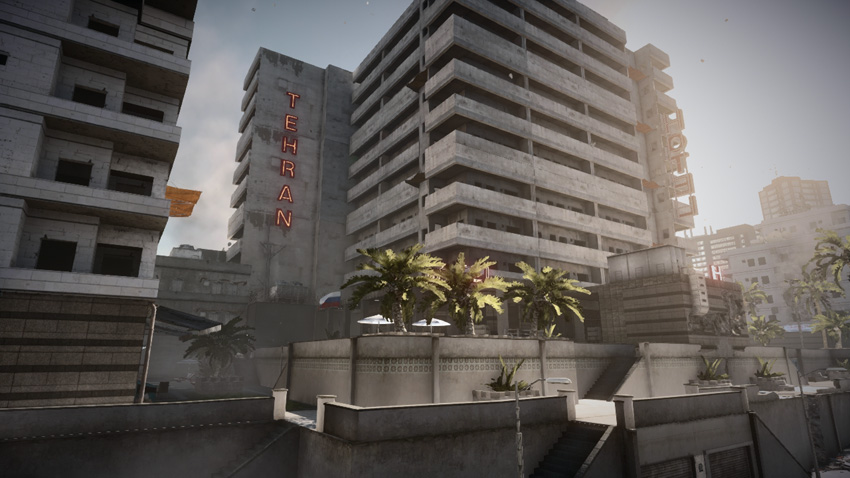
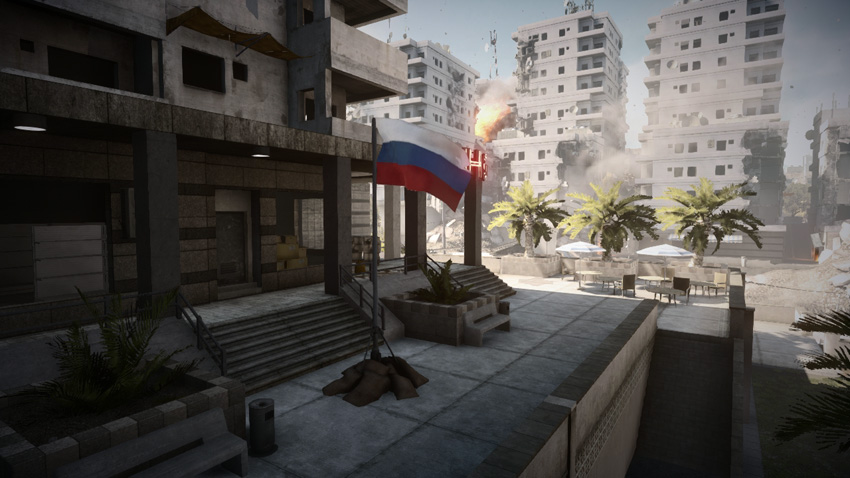
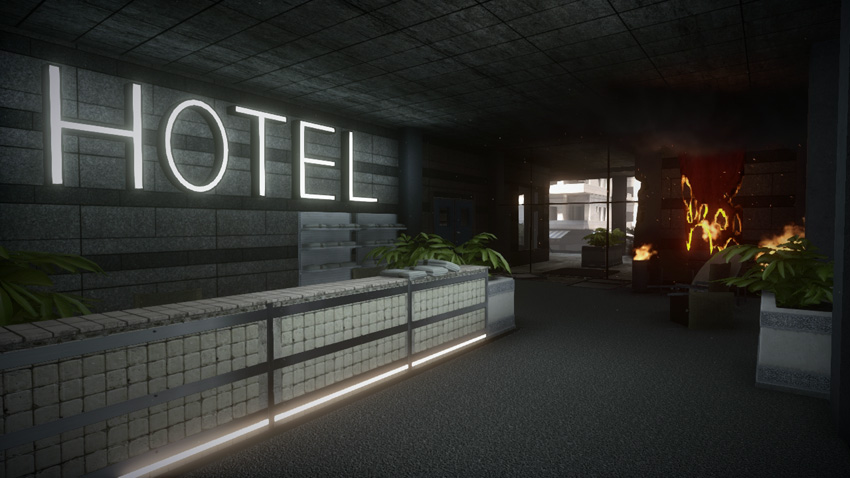
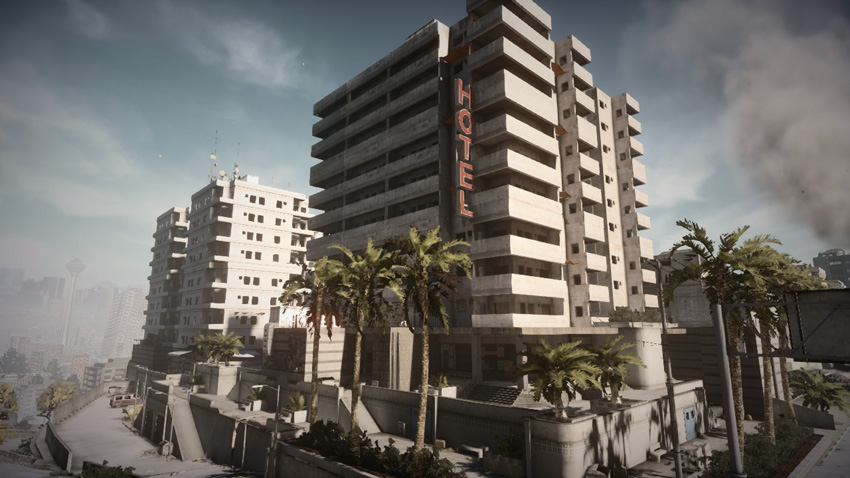
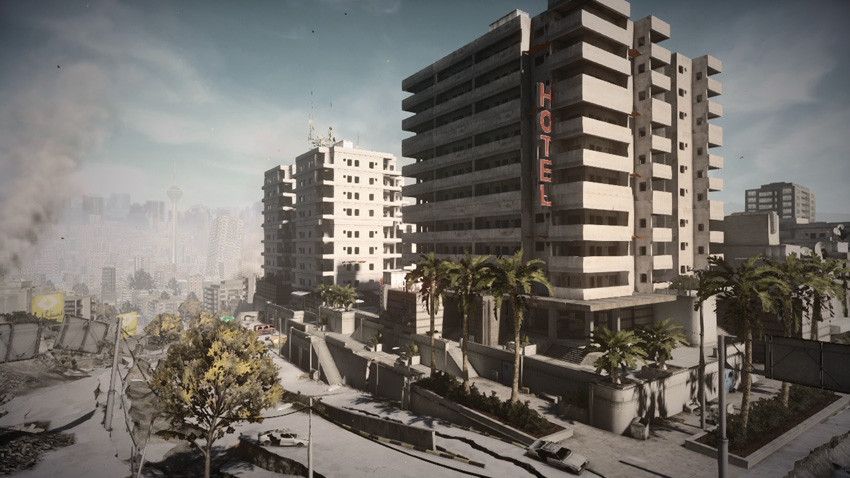
Unlike its neighbors, this landmark modern structure survived the earthquake relatively unscathed, having suffered only minor damage. Given its close proximity to the RU Base, the RU team is likely to capture this control point early during the match—enter through the western passage to access the lobby. The flag is positioned on the south side of the structure, on an exterior walkway just outside the lobby. There is no vehicle access to the flag, so it is up to infantry to capture and hold this position. This often leads to close-quarter duels given the flag’s relatively sheltered location—PDWs and shotguns work well here. While attacks usually come from the east and south sides, defenders should also prepare for attackers approaching from the lobby. The lobby is easily accessed via two blue maintenance doors on the north and east sides of the structure—the blue maintenance doors can be destroyed by shooting the adjacent red gas canisters. The maintenance tunnel beyond these doors connect to the lobby, allowing for flanking attacks from within the building’s interior. When not attacking or defending the flag, the upper-level walkway on the structure’s northeast corner is ideal for engaging opponents near the Crossroad (C) control point to the east.