
Battlefield 3 Premium Guide Battlefields Squad Rush
Bandar Desert
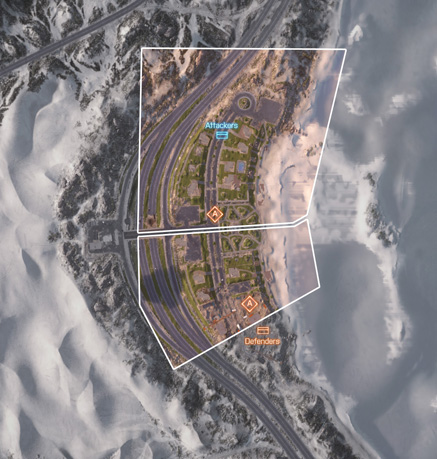
This Squad Rush battle is centered around the village center and construction site, an area ideal for infantry combat. Due to the urban environment, gathering intel on the opposing squad can be tricky. Both squads can take advantage of the buildings in this area, making it difficult to spot opponents when using a MAV. T-UGS motion sensors are still effective for spotting opponents within a limited radius, but these mostly favor the defenders, particularly when placed near each objective. Not knowing where your opponents are can make the fighting here intense, leading to timid advances by the attackers. This makes utilizing cover extremely important. And when cover is sparse, use smoke to conceal your squad’s movements. In the first zone, engagements can occur at any range, so consider bringing along assault rifles or carbines for greater versatility. When the fight moves to the construction site, shotguns and PDWs are very effective for firefights within the building where the second objective is located.
Zone 1: Village Center
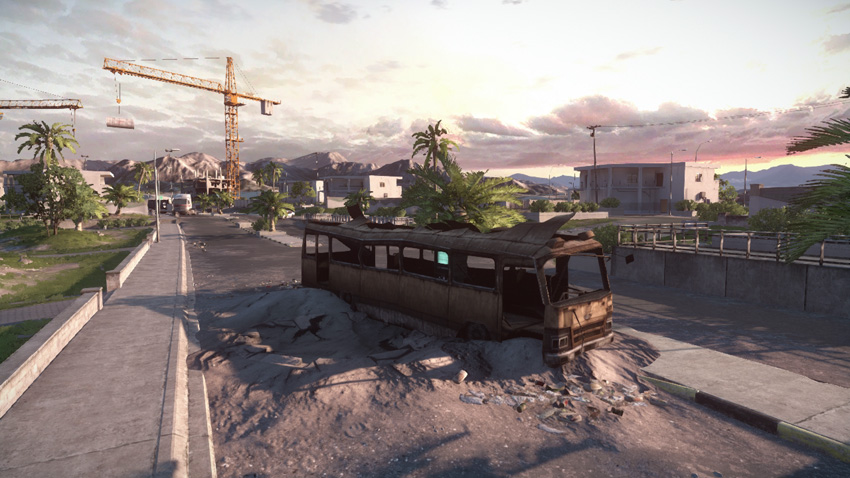
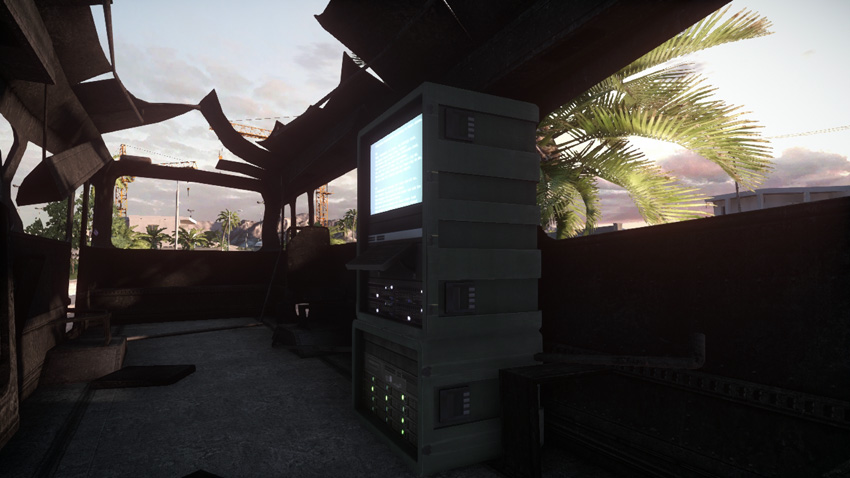
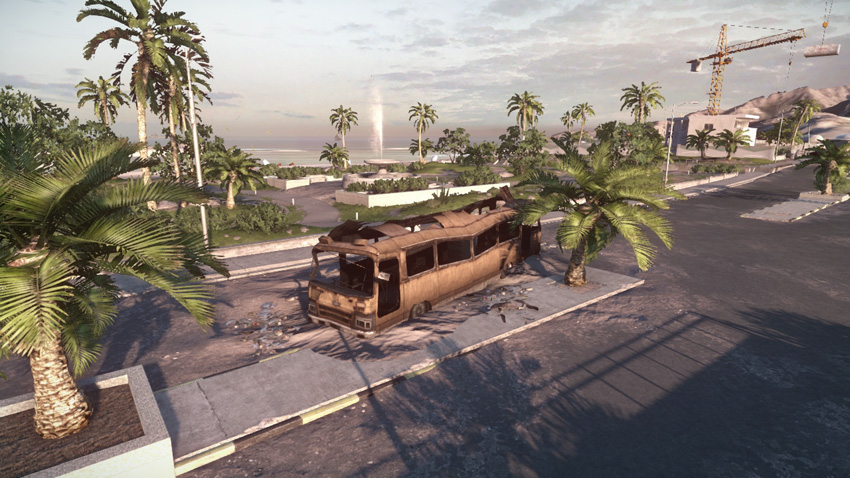
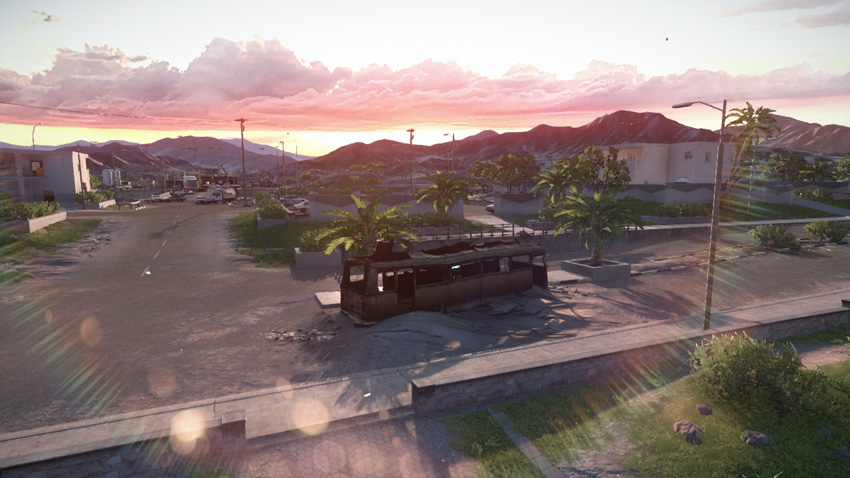
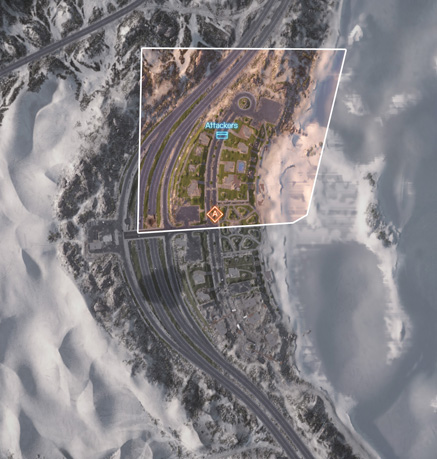
The first M-COM station is inside the burnt-out bus not far from the village center. The bus sits in the middle of the street, offering very little cover or concealment. Instead of conducting a frontal assault along the street from the north, the attacking squad should attempt to flank from the east or west, where they can use the buildings and low walls for cover and concealment. The lack of cover around the bus is equally problematic for the defending squad. While it’s a good idea to booby-trap the interior of the bus, hiding in the bus isn’t wise. Instead, look for overwatch positions within the nearby buildings that offer good sight lines through the bus’s large windows. Whether arming or disarming the charge, always drop prone before interacting with the M-COM station. Opponents positioned on the perimeter can easily hit anyone standing or crouching near the objective. To provide some extra concealment, consider popping smoke on the bus before entry.
Zone 2: Construction Site
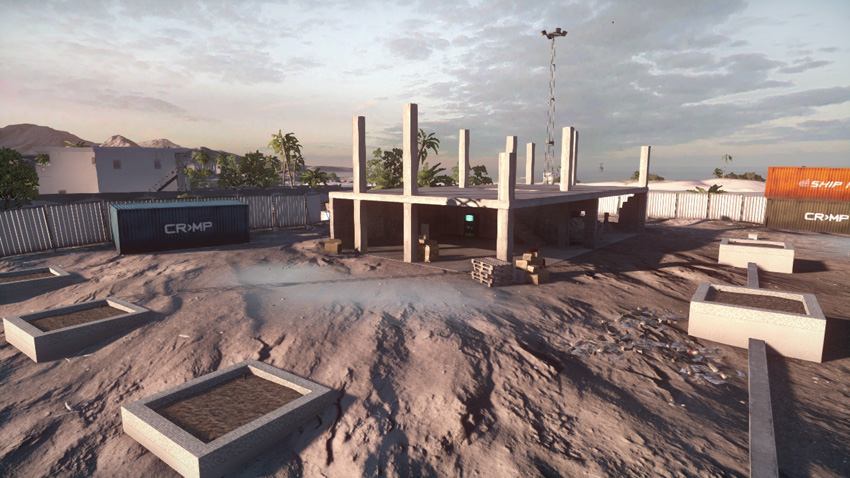
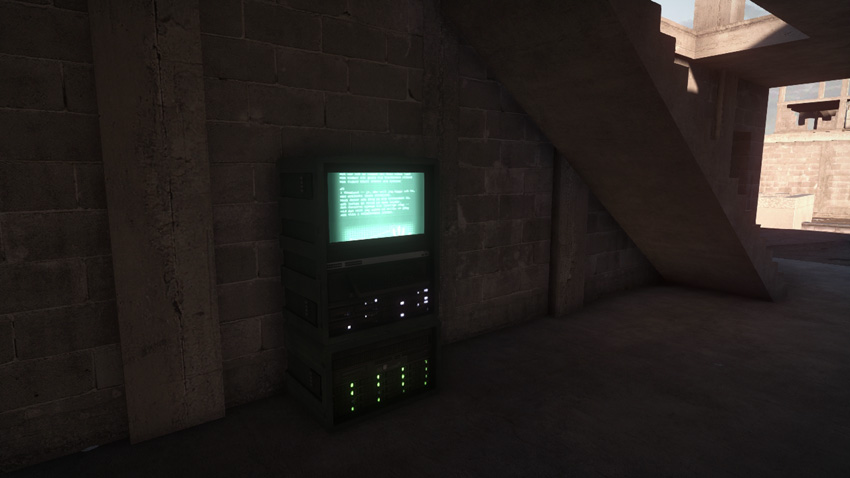
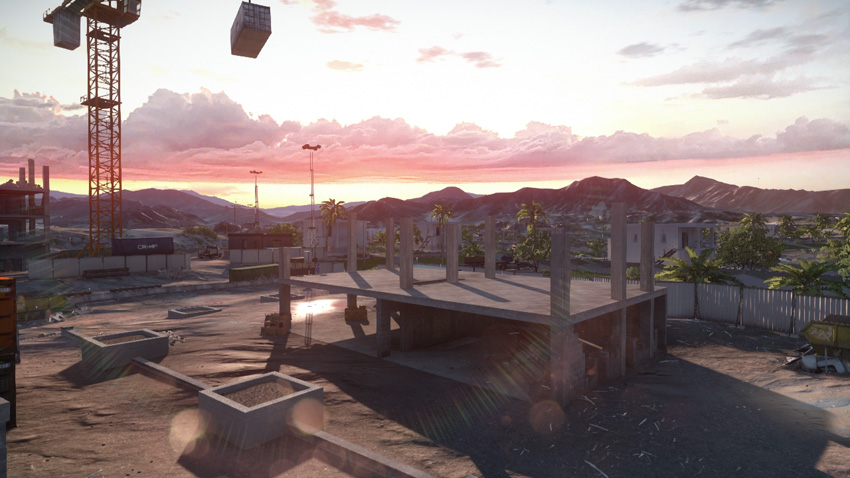
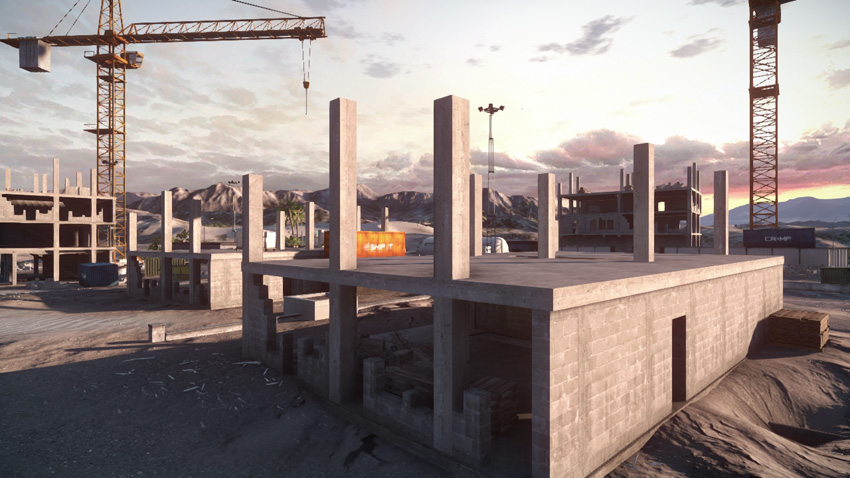
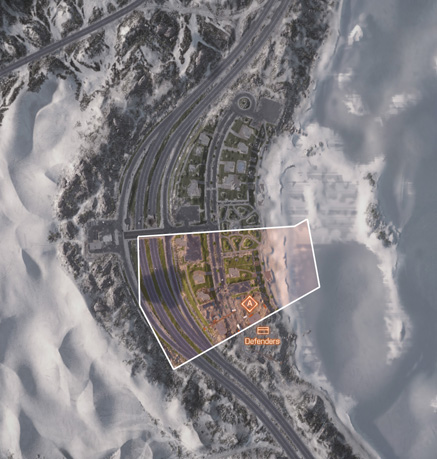
After the first objective in the bus is destroyed, the fighting moves to the construction site to the south, where the next M-COM station is housed within the first floor of a partially constructed building. This zone offers much cover and concealment for both teams, often leading to close-quarters combat, particularly inside the building. Defenders must fight the urge to climb to the top of the nearby cranes. In the time it takes to climb one of these massive cranes, the attackers can easily plant a charge on the objective. It’s best to keep your entire squad close to the objective at all times. It’s important for the attackers to also stay close to the objective at all times. Consider taking refuge in the two-story building on the north side of the construction site’s parking lot. This is a great place to plant a radio beacon, providing the squad with a spawn point closer to the objective.