
Battlefield 3 Premium Guide Battlefields Rush
Grand Bazaar
As in the Conquest modes, this is primarily an infantry fight as the US conducts raid after raid on the RU team’s M-COM stations.
There are four zones on this map, beginning in the northeast corner and proceeding around the edge of the map in a clockwise fashion.
The action starts in the Eastern Street, then transitions to the Market, Junction, and Square. While the streets provide the most obvious way to get around, the map is filled with narrow alleyways that offer safe shortcuts for infantry to advance through.
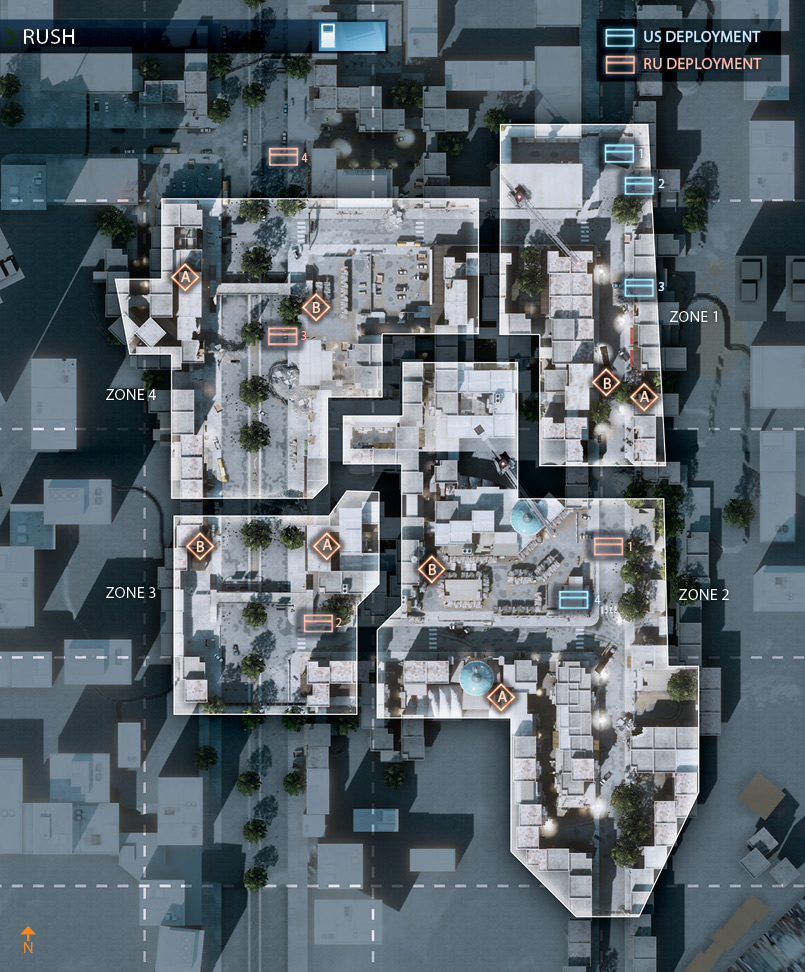
This mostly works in the US team’s favor, allowing them to sneak up on objectives from various directions. However, this is one map where the shortest path from one area to the next is not always the safest path.
So constantly experiment with different routes instead of grinding against areas that are well defended.
ZONE 1: EASTERN STREET
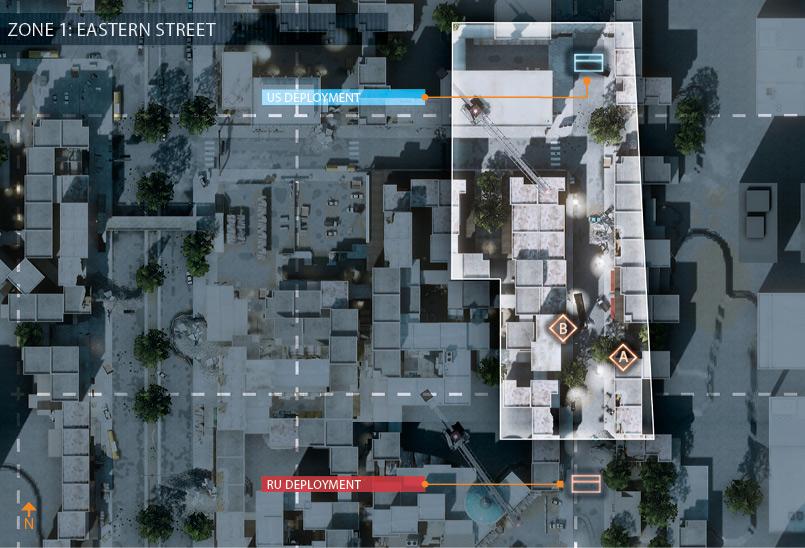
M-COM Station A
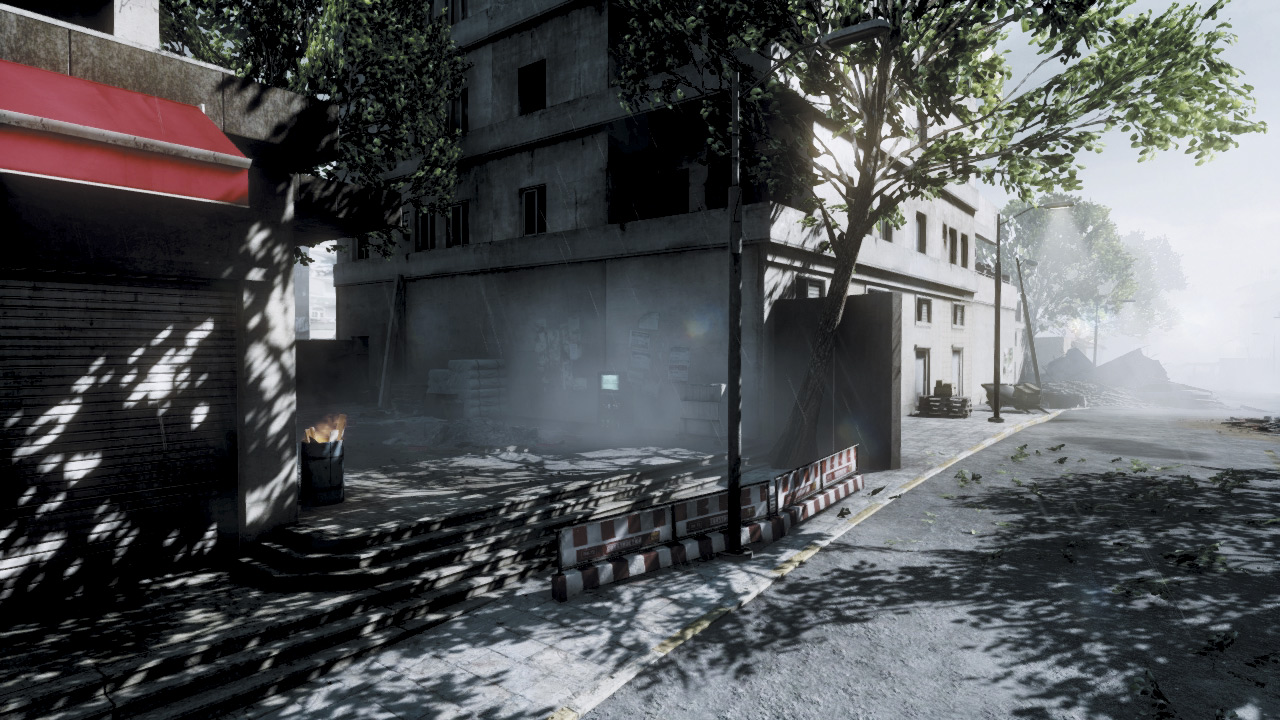
M-COM Station A sits on the east side of the street in a small, shaded courtyard. There are only two approaches to this objective: from the street and from the narrow alley to the north.
This makes the location relatively easy for RU defenders to lock down, assuming they can reach the area before the attackers do. The street is best covered by recon and support troops positioned to the south.
A squad of defenders posted near the M-COM station can ambush enemy troops rushing through the alley. For the US team, it’s vital to reach this objective before the defenders can lock it down.
An early rush utilizing the alley is the best option. Set the charge while teammates pick off defenders sprinting up the street.
M-COM Station B
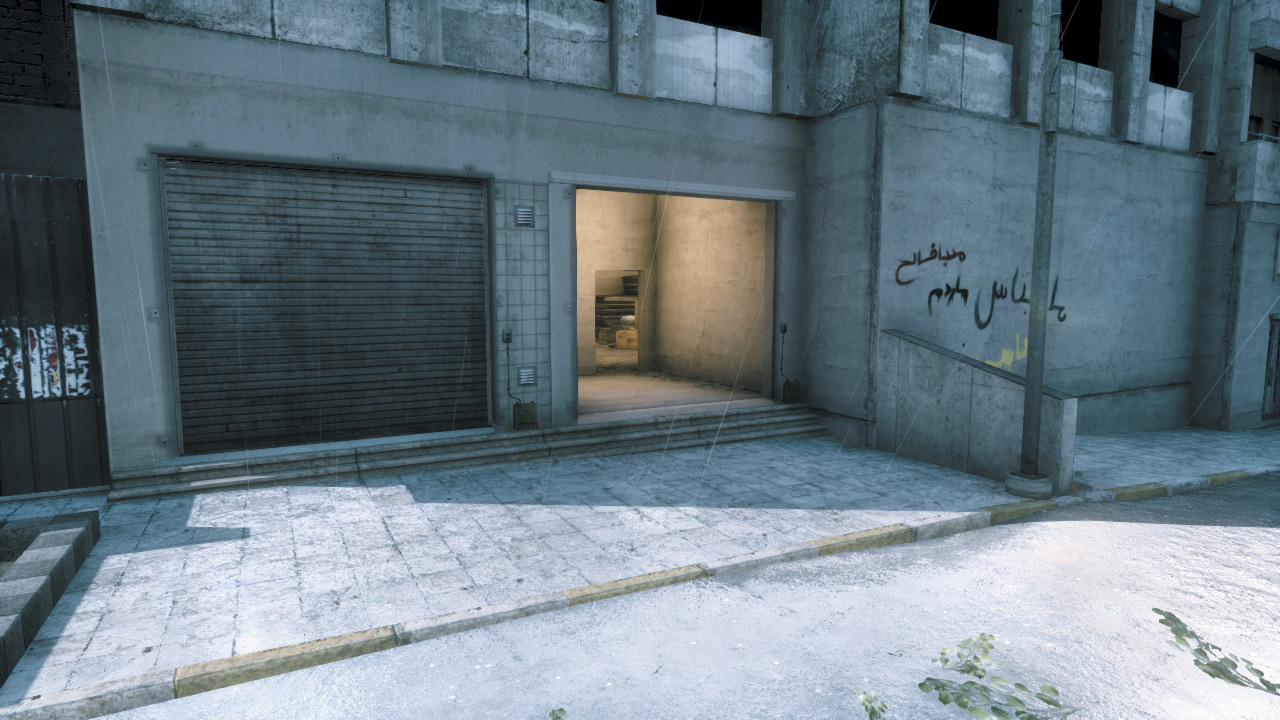
This objective, M-COM Station B, is slightly more secure, as it is located within a storeroom on the west side of the street. This storeroom can be entered from the street or from an alley to the west.
Therefore defenders need to prepare for attacks coming from each direction. Covering the entry points is preferable to defending the room where the M-COM station is located.
The storeroom is relatively small and make defenders vulnerable to grenade attacks. The US team should utilize the western alley when attacking this objective, avoiding the high potential for carnage in the street.
However, always be prepared to battle defenders at close range. Always toss grenades into the room before entering, then rush the room, blasting any survivors prior to setting the charge.
US Deployment
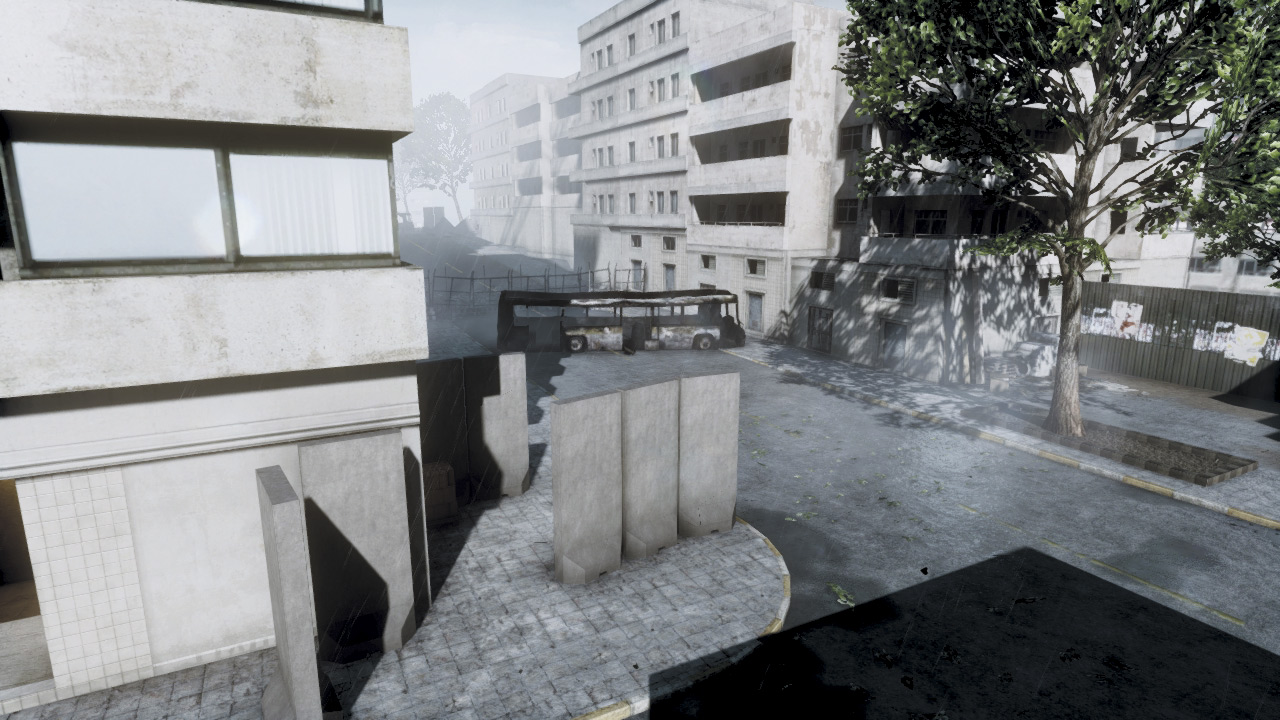
The US team begins this fight with no vehicles. So it’s purely up to infantry to secure the area around each M-COM station and set the charges.
The US deployment area is located in the northeastern corner of the map, a few meters north of the first set of objectives. The street directly to the south is likely to be watched by RU defenders, so avoid the street entirely.
There are side alleys on the east and west sides of the street that allow a more covert approach to each M-COM station. Smoke is also effective for limiting the RU team’s line of sight.
However, if the US team moves out quickly at the start of the round, they have a good chance of reaching the objectives before the RU defenders have a chance to establish a perimeter. After all, there is a reason why this game mode is called Rush.
RU Deployment
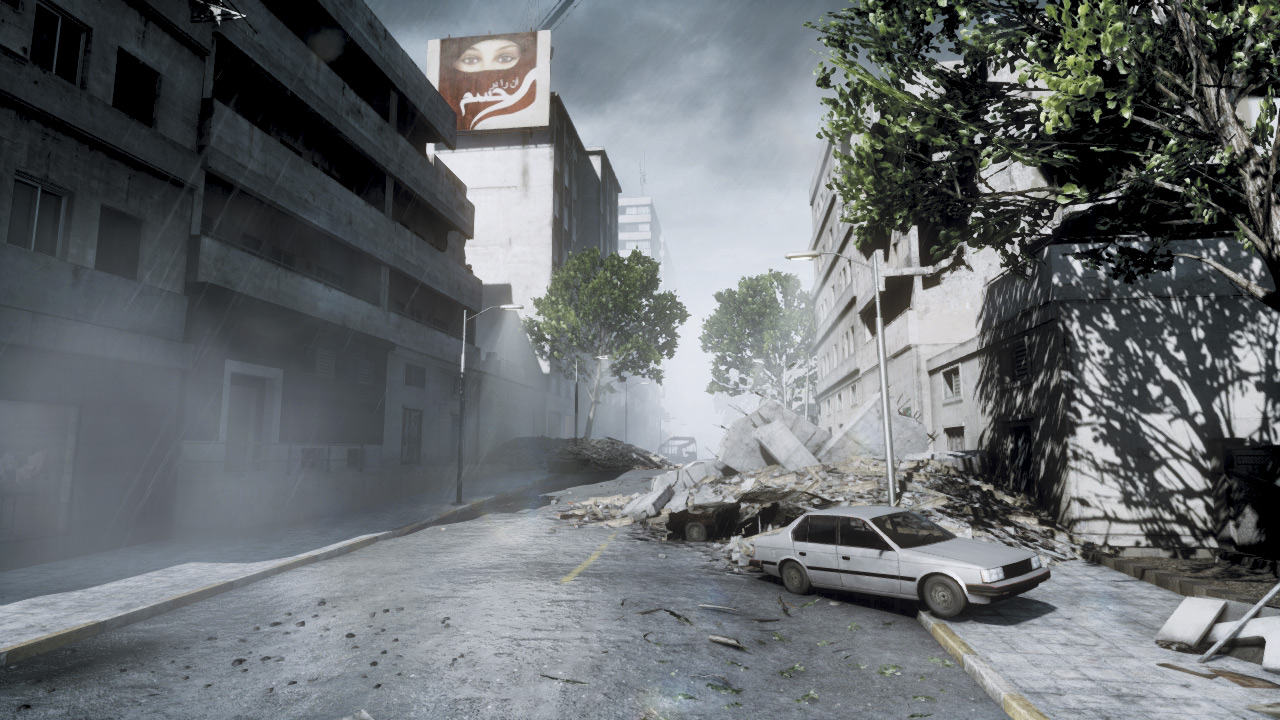
Like the US attackers, the RU team gets no vehicles during this first stage of the match. So instead of searching the deployment area for vehicles that don’t exist, run (don’t walk) toward the objectives to the north.
The street is the most obvious avenue of attack and is likely to be used by the majority of US attackers, especially early in the match.
Recon sharpshooters and support troops armed with light machine guns can effectively shut down the street, But the street isn’t the only approach that must be covered.
Be sure to focus defensive efforts around each objective. Each M-COM station can be attacked from alleys running parallel to the street, so make sure these narrow passages are covered as well.
Speed is essential early on, so get into position before the attackers can set charges on the objectives.
ZONE 2: MARKET
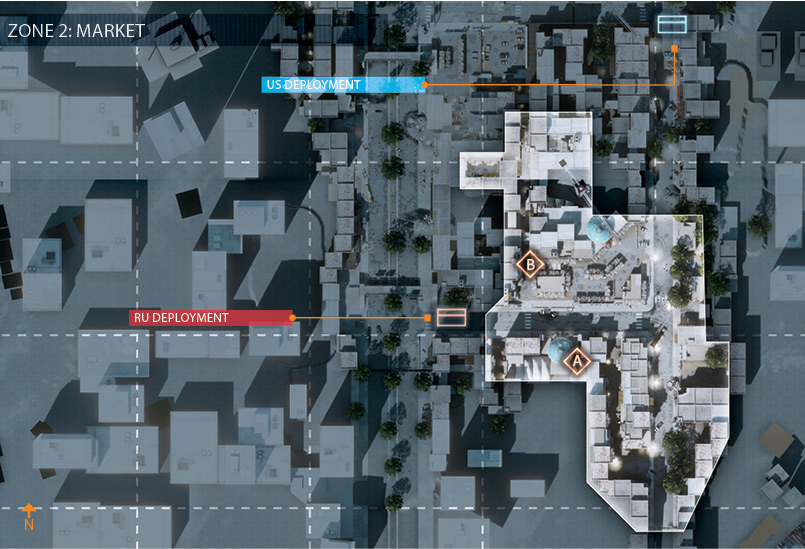
M-COM Station A
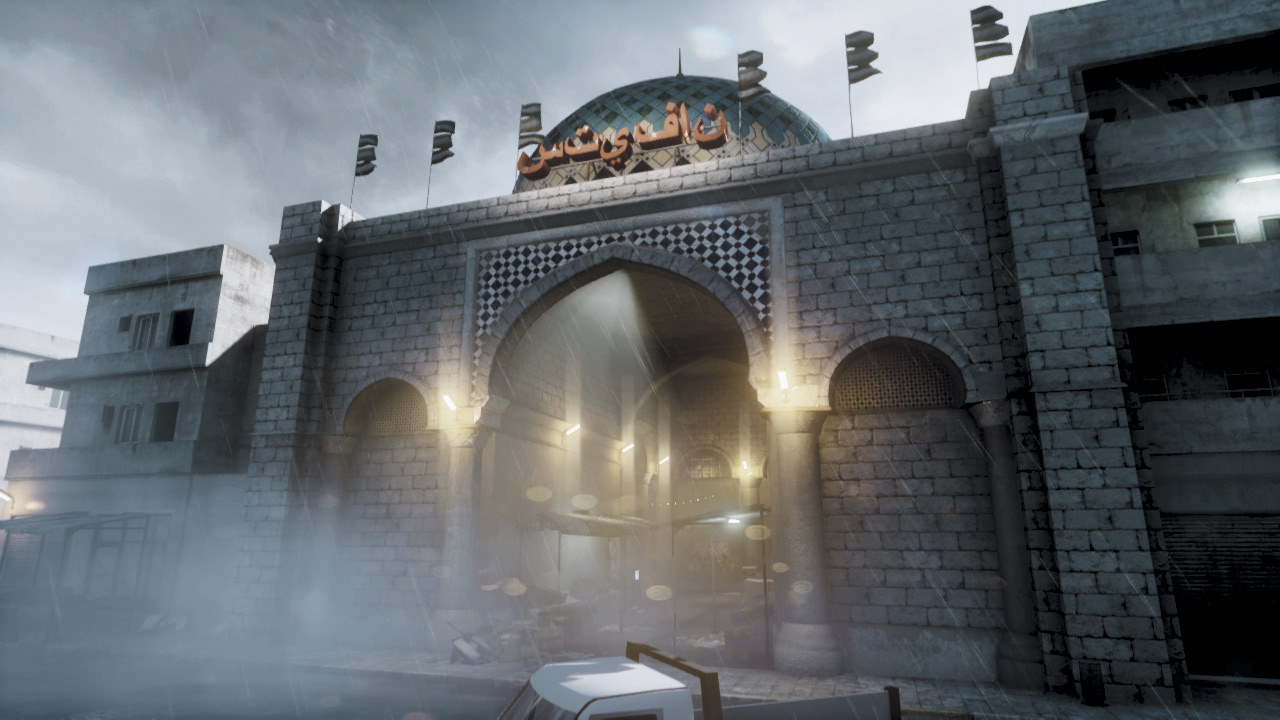
This objective is located in a souk on the south side of the map. The M-COM station is nestled amongst abandoned stalls near the souk’s T-intersection.
The main entrance to the souk is accessible from the southern street. However, there are two side entrances located to the east and west.
Defenders positioned at the western entrance can cover the M-COM station as well as the eastern approach, a path commonly used by attackers.
Since the defenders have plenty of time to set up ambushes here, the US attackers should use smoke to conceal their entry while preparing for some close-quarters firefights around the objective.
Defender counterattacks from the northern and western souk entrances are all but guaranteed, so position your team accordingly.
M-COM Station B
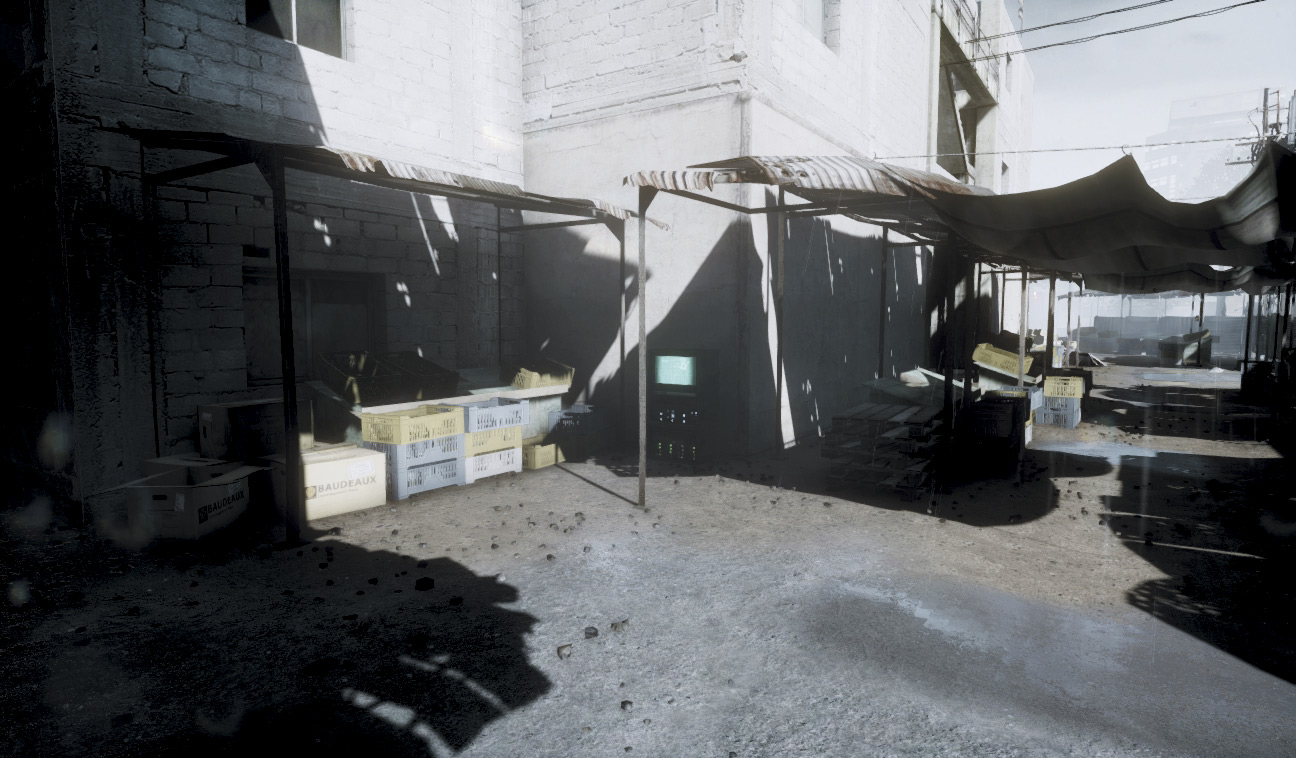
M-COM Station B is on the northern side of the Market, directly across the street from the souk. US attackers usually approach this objective from the adjacent alley to the north.
If left undefended, this alleyway is by far the quickest path to the objective. However, only a handful of defenders can effectively lock down this passage and pepper attackers with automatic fire and hand grenades.
Attacks from the Market or nearby street are a possibility as well, particularly if the alleyway has been shut down. The Market offers plenty of cover and hiding spots that are ideal for both attackers and defenders.
Due to the close quarters, neither side gets a distinct advantage here, so it often comes down to the team with the most skilled players in the fight.
However, the balcony overlooking the Market to the north can be a handy cover point and a great place to deploy a Radio Beacon.
US Deployment
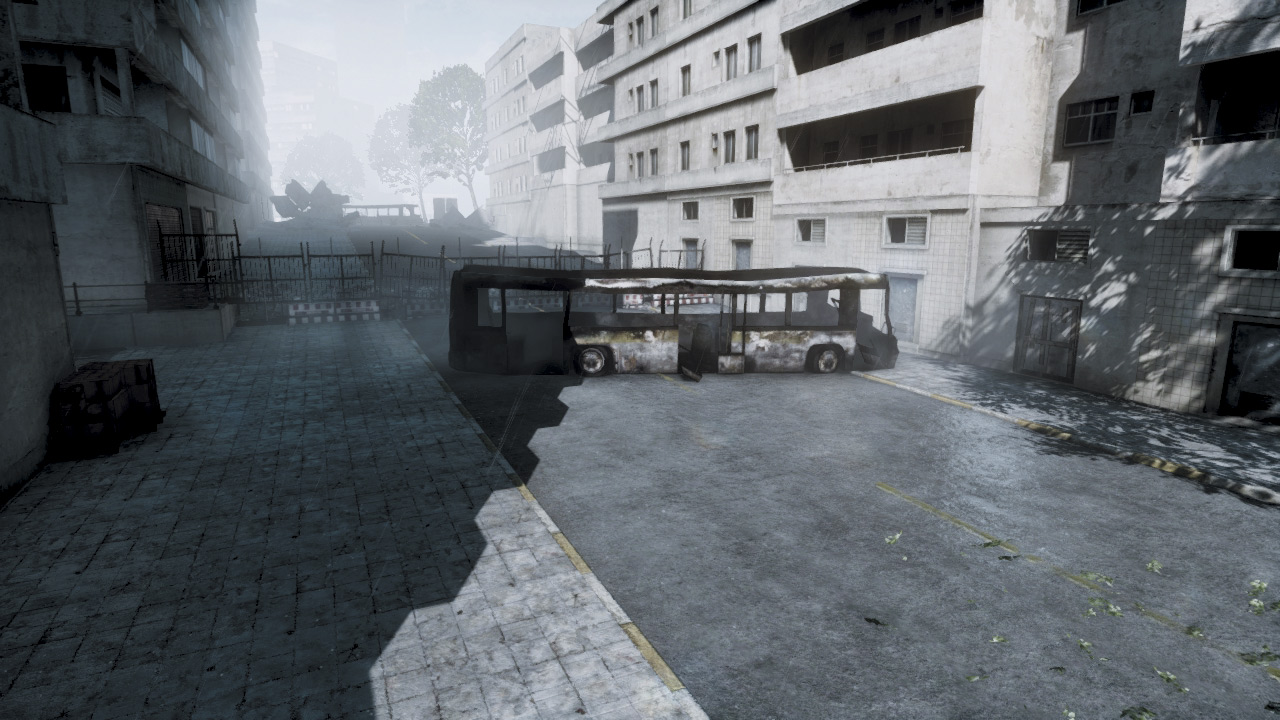
Despite taking out both objectives in the previous zone, the US team still deploys in approximately the same area located in the northeastern corner of the map.
This puts them a great distance from the next set of M-COM stations centered around the Market to the south. The US still has no vehicles, so prepare for another advance on foot.
To avoid getting gunned down in the street, use the alleyways to the west and east while pressing toward the Market. Use the western alleys when attacking M-COM Station B and the eastern alleys when advancing on M-COM Station A.
However, be prepared for dug-in defenders around each objective.
RU Deployment
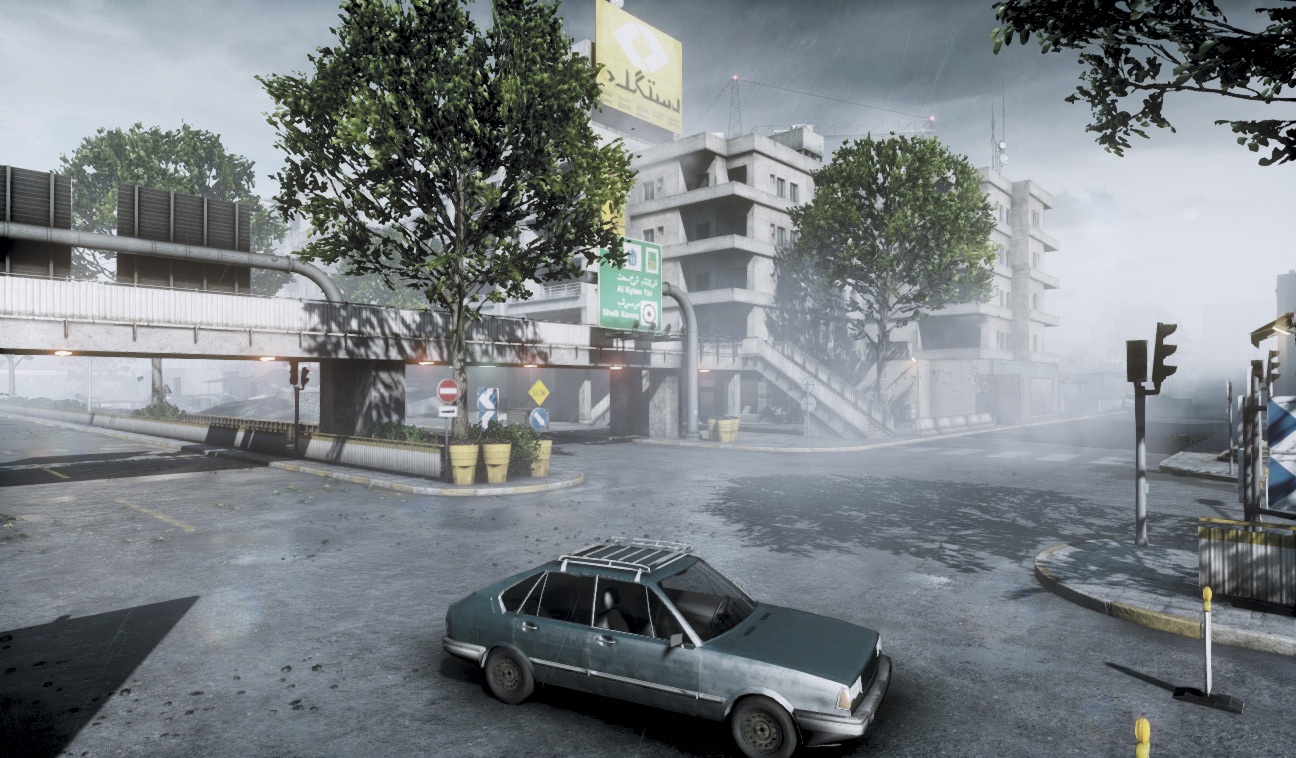
In the second phase of this conflict, the RU team deploys near the southwestern intersection, by the Junction footbridge. This puts them within relatively close proximity to both objectives, particularly M-COM Station B.
The RU team still has no vehicles, so it’s solely up to infantry to stop the latest wave of US attackers. Some attacks are likely to come from the street to the east, so don’t forget to post sharpshooters here to counter this threat.
But expect most attackers to utilize the alleys flanking the street. Post defenders in and around these alleyways and ambush the US team as they attempt to reach the objectives.
ZONE 3: HIGHWAY
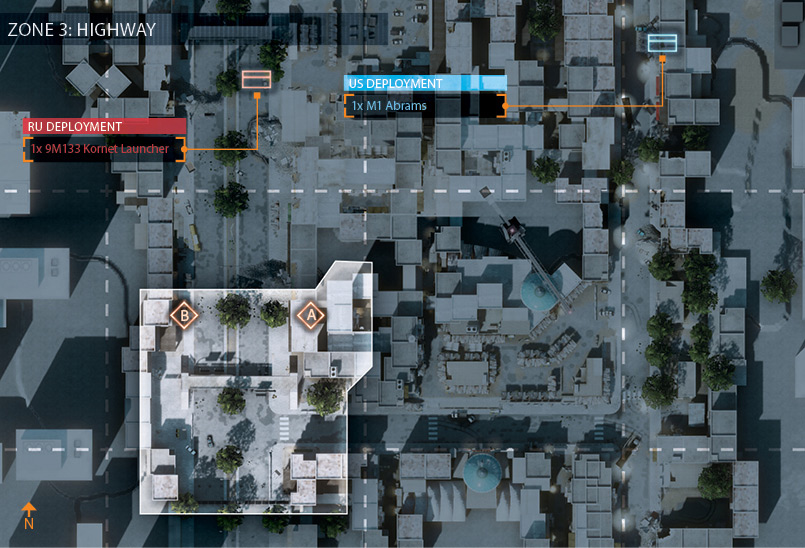
M-COM Station A
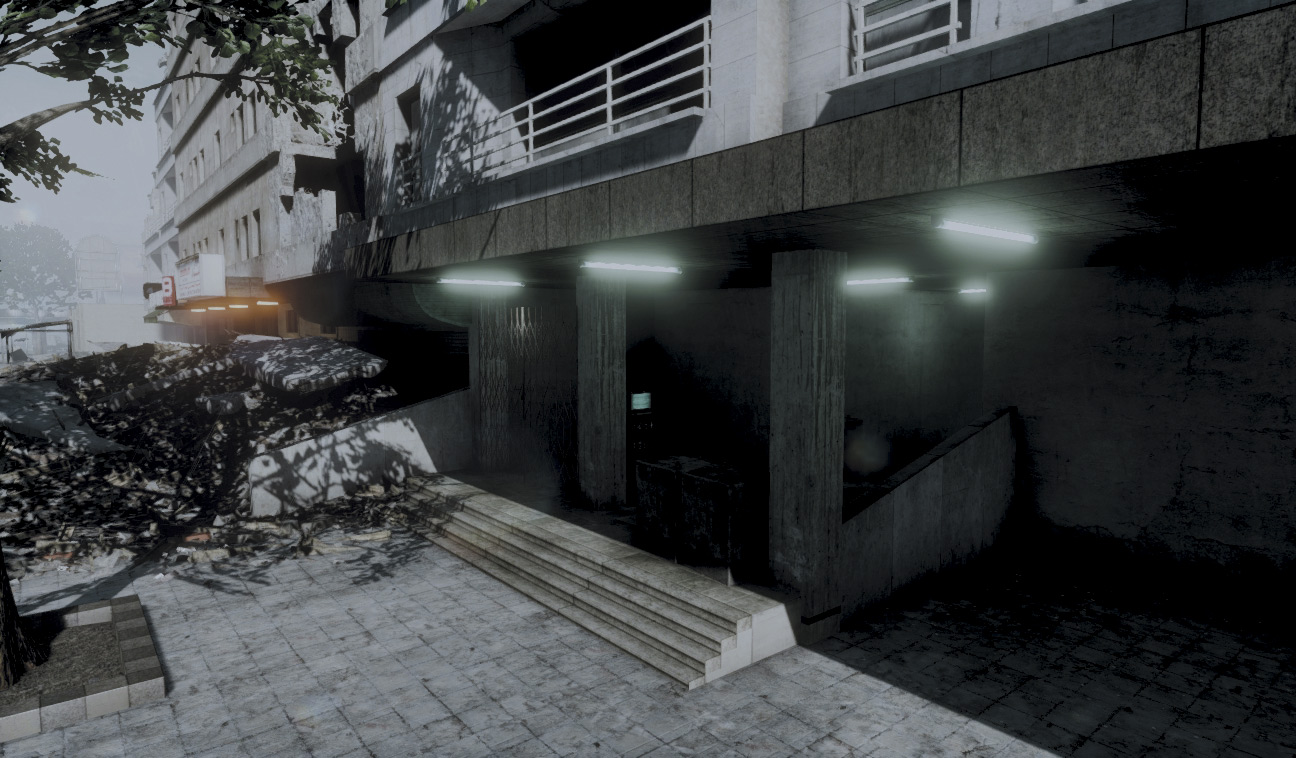
This objective is located in a small alcove on the east side the street. While the street offers the most direct access to this M-COM station, it’s not the only way to approach it.
The corridor to the east connects to the street to the south as well as the central alley to the west. With so many possible approaches, the defenders are best served by keeping an eye on the M-COM station itself.
Defenders positioned to the west, on the opposite side of the street, have a relatively clear view of the objective and can fire through the gate to hit anyone tampering with the M-COM station.
Booby traps like C4 and Claymores also work well here. The US team can benefit from their tank by having it clear out nearby defenders and provide security while infantry set the charge.
If the tank isn’t available, obscure the objective in smoke before attempting to set the charge. Also, consider planting a Radio Beacon in the alley to the west to maintain a nearby spawn point.
M-COM Station B
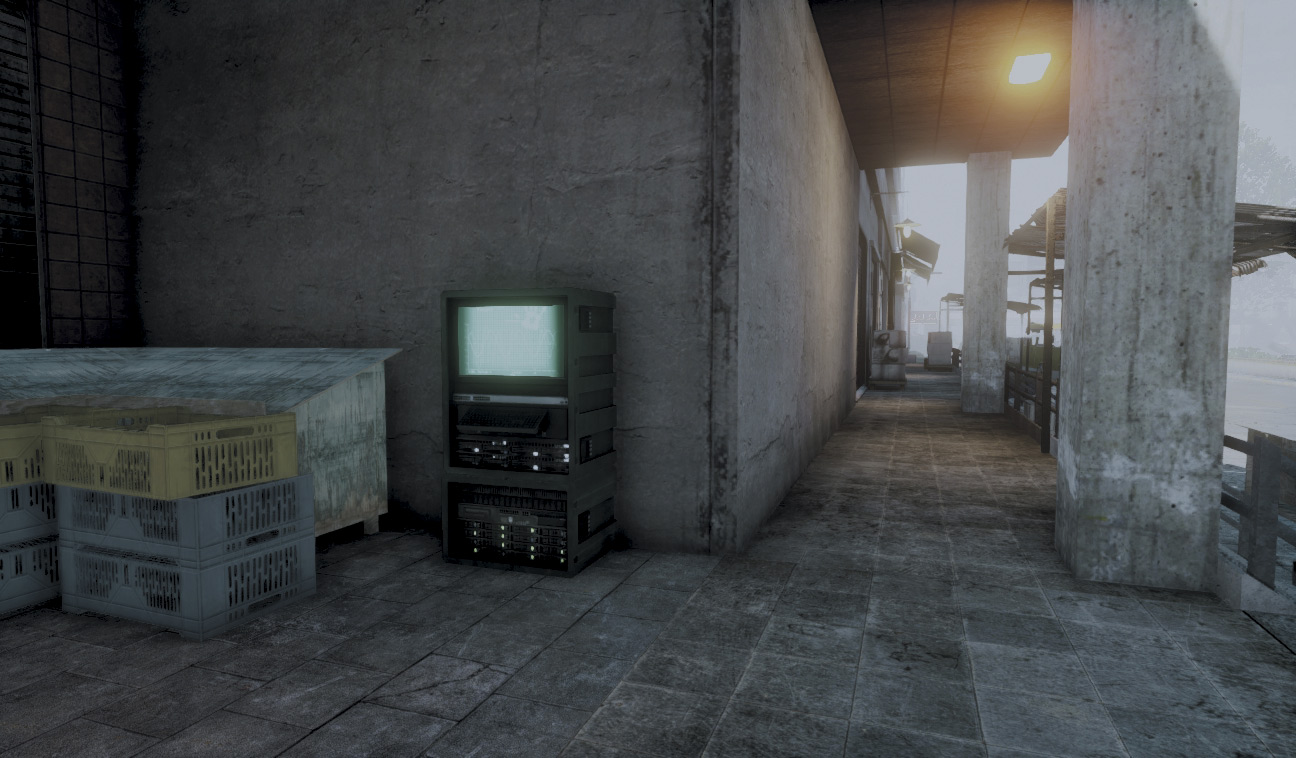
M-COM station B is directly across the street from the other objective, which makes it relatively easy for defenders posted on the nearby footbridge to keep an eye on both.
This objective is relatively exposed so it is difficult for infantry from both teams to arm or disarm a charge without getting shot in the back. The US M1 Abrams can be used to partially shield the objective, thereby allowing friendly infantry to set a charge.
If the US team is successful in setting the charge, the RU team will have a difficult time reaching it from their distant deployment area. Therefore, the RU team should strongly consider placing Radio Beacons in the intersection to the south.
This gives them a much better chance to respond to charges being set on either objective. Spawning in the southwest corner of the map is also likely to catch the attackers off-guard.
US Deployment
Deployment Area Assets
| Name | Quantity | Respawn Time |
|---|---|---|
| M1 Abrams | 1 | 60 sec. |
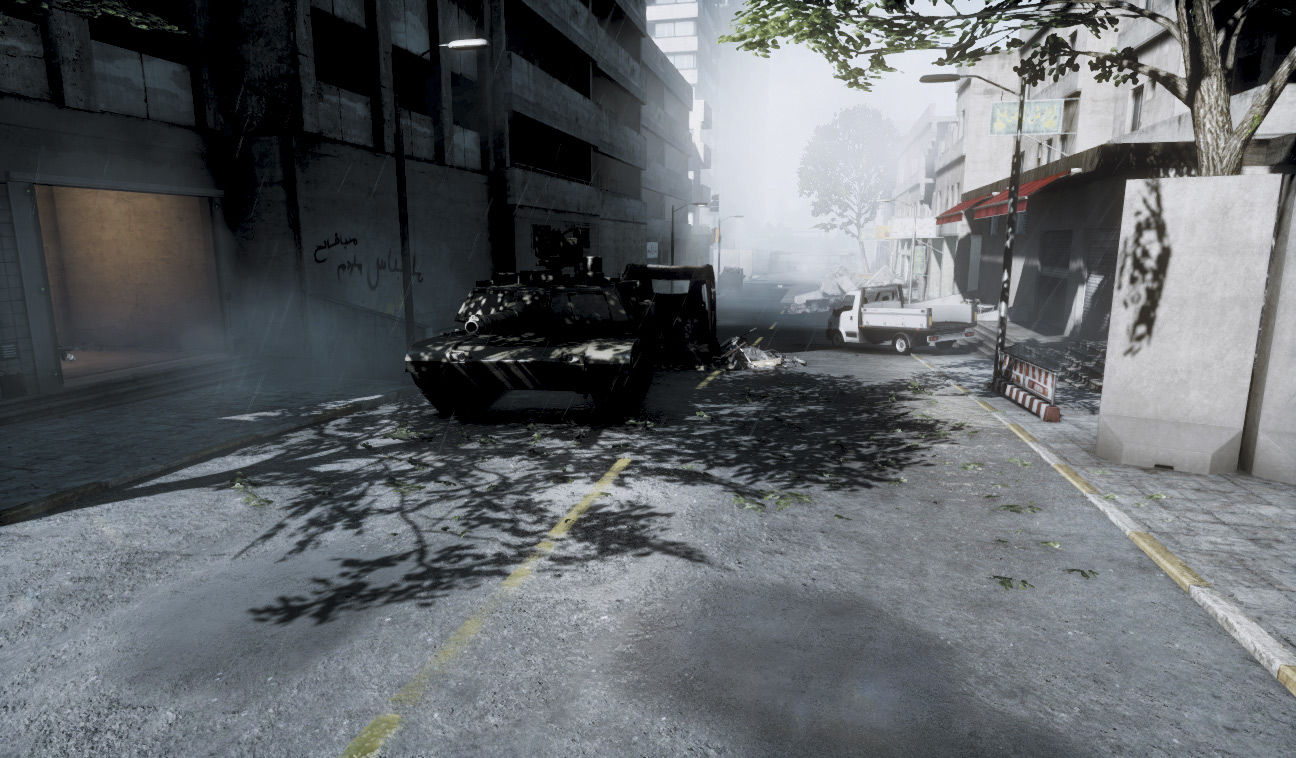
The US team finally gets a tank in this stage of the battle; it spawns in the eastern street, not far from the destroyed objectives of the first stage.
As in the previous stage, the US team spawns far away from the next set of objectives to the west. Once again, this gives the defenders a chance to establish a perimeter around the two objectives to the southwest.
US infantry should head directly west from the deployment area, cutting through the nearby alleys in an effort to reach the objectives. Meanwhile, the M1 Abrams can provide fire support from a distance.
Position the M1 near the southwest intersection and use its weapons to suppress the defenders in the western street. Shutting down the street to enemy foot traffic goes a long way in hampering the RU team’s defensive efforts around the objectives.
RU DEPLOYMENT
Deployment Area Assets
| Name | Quantity | Respawn Time |
|---|---|---|
| 9M133 Kornet Launcher | 2 | 30 sec. |
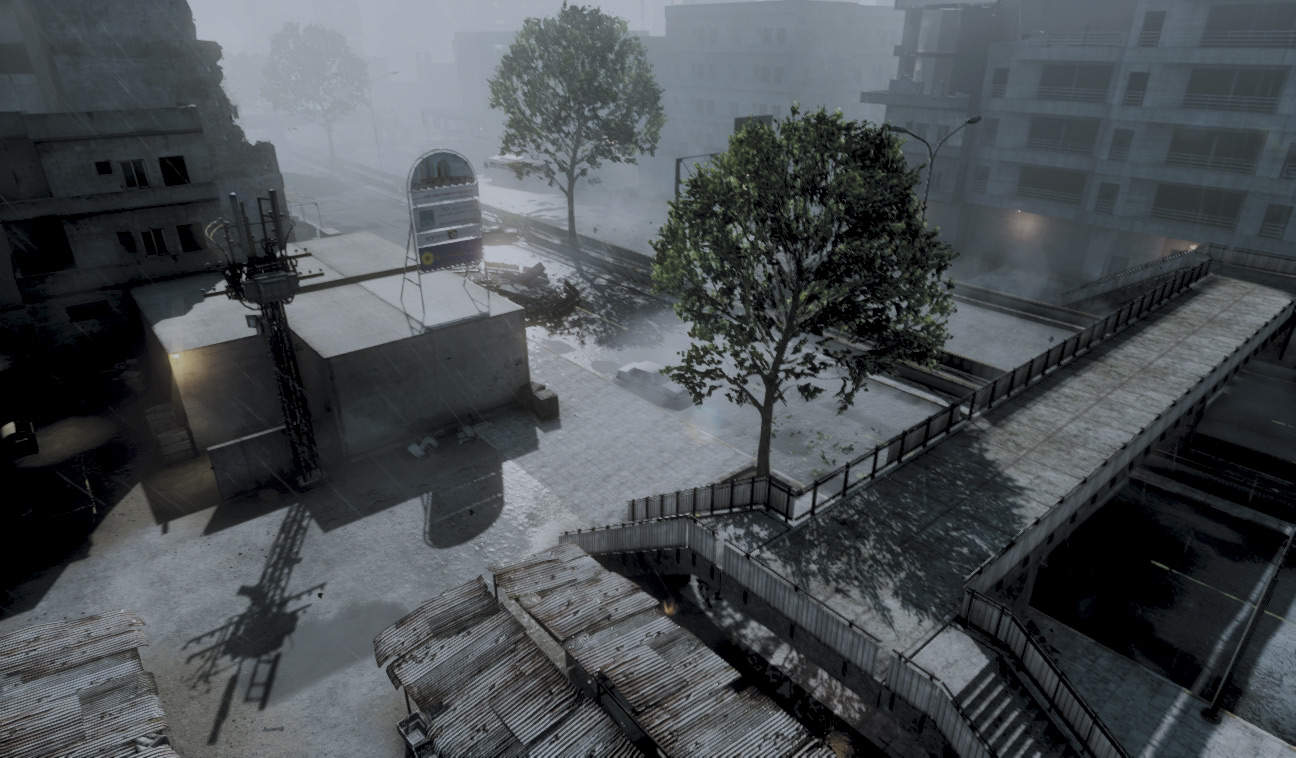
The RU team deploys in the western street, by the Square, just north of the latest set of objectives. While the US team gains a tank in this stage, the RU team must do their best to counter this threat using two Kornet launchers and any anti-tank weapons deployed by the team’s engineers.
Attack the US tank aggressively and knock it out of commission as quickly as possible—mines are very effective. If allowed to survive, the M1 Abrams can pose a serious threat to the RU team’s defense of the M-COM stations.
Recon and support troops are very effective at suppressing US infantry advances along the street. However, position more troops in the alleys to the east to prevent the attackers from sneaking up on M-COM Station A.
ZONE 4: SQUARE
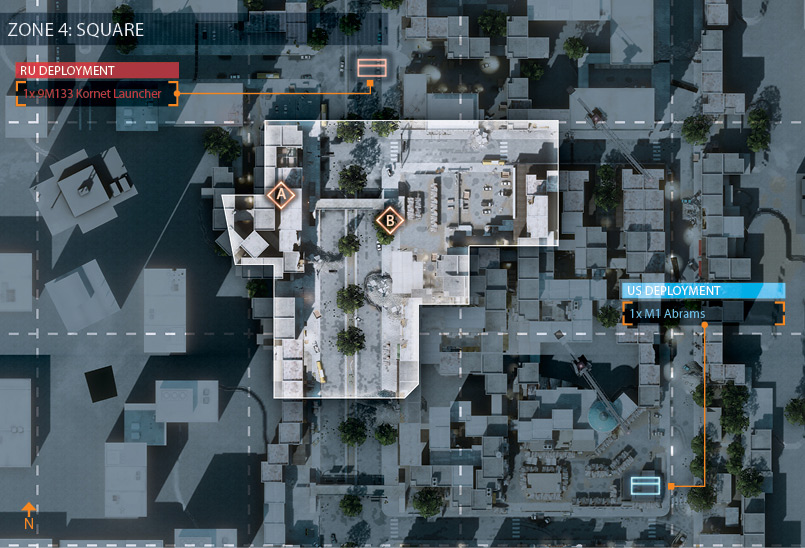
M-COM Station A
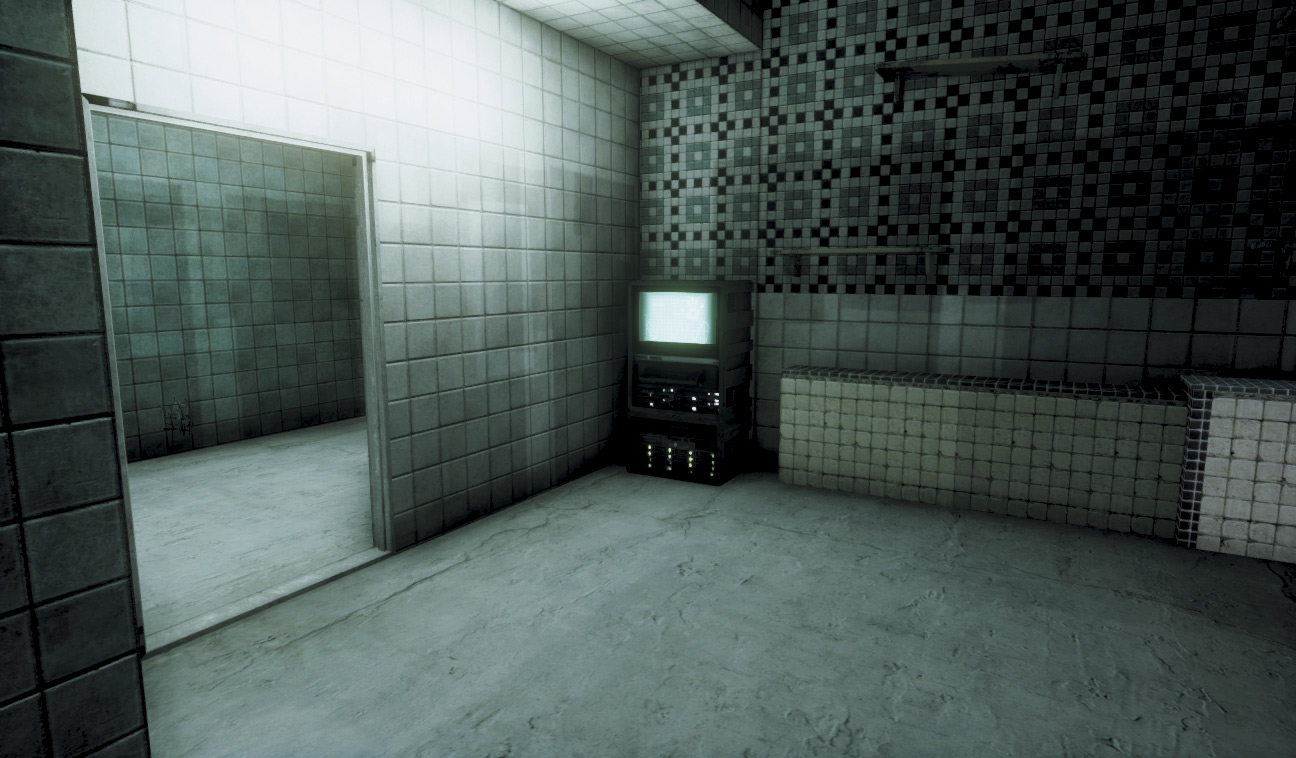
This objective sits in a relatively isolated storefront on the west side of the street near the northwestern footbridge. Two entry points lead to this M-COM station.
The most common approach is from the street through the storefront’s main entrance. There’s also a back entrance that connects to the alley running behind the store to the west.
The alley approach is the safest option, especially if there’s heavy fighting going on in the street. Once inside, the store is cramped, which means it’s ideal for shotguns, PDWs, and grenades.
The M-COM station itself sits in a corner of the store so it is tough to cover from the exterior. So defenders may want to find a hiding spot inside the store to cover the objective directly.
Otherwise, both entry points must be covered, a task that may require a full squad. US attackers should expect to face stiff resistance inside the store—always begin entry by tossing in a few grenades.
M-COM Station B
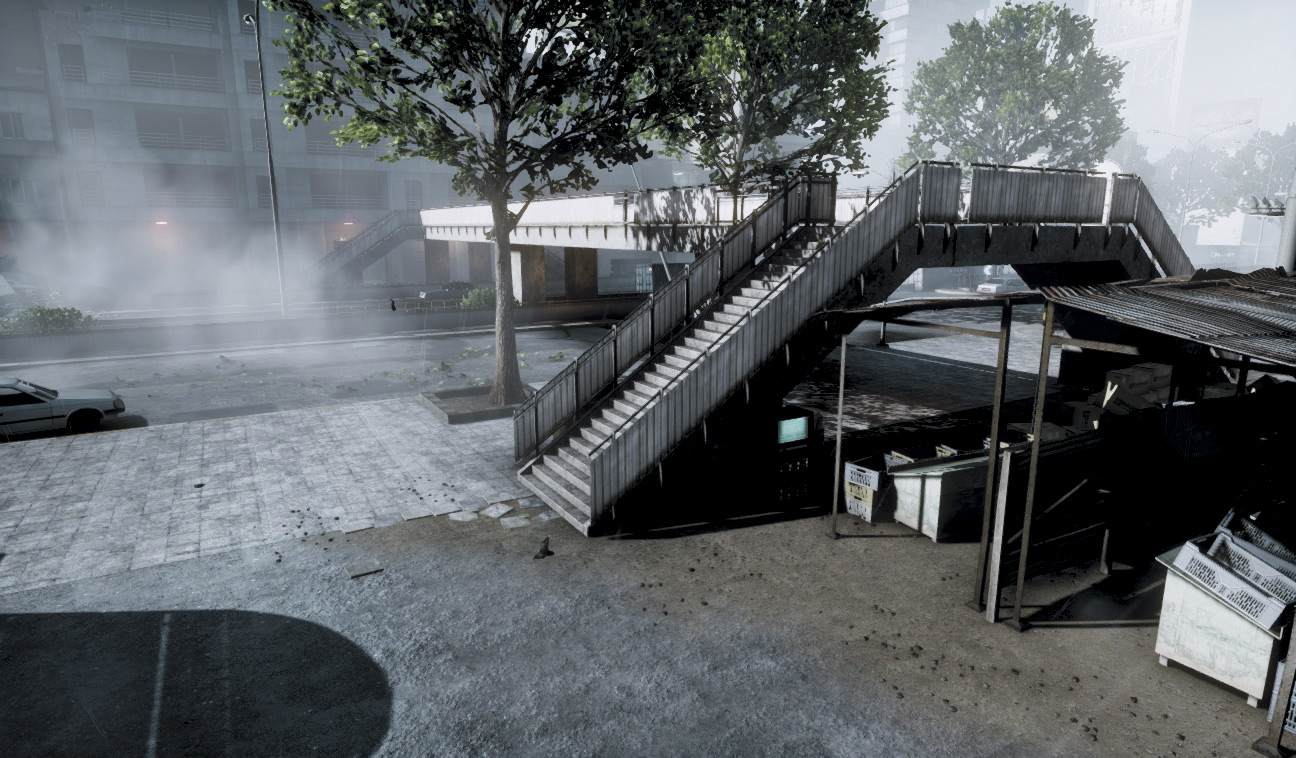
M-COM Station B is beneath the eastern staircase of the footbridge near the Square. This objective is much more exposed than M-COM Station A, and therefore it requires a cautious approach by attackers.
This is one instance where having the M1 Abrams nearby to suppress and distract defenders can make a big difference. Otherwise the attackers must rely on smoke and careful covering tactics to set a charge on the objective.
When possible, attack from the Square to the east, eliminating defenders hiding among the nearby produce stalls before moving in on the objective.
For the defenders, securing the street and central alley are the keys to locking down this position. In addition to covering the most likely avenues of attack, it’s also important to keep defenders next to the M-COM station.
There are plenty of sneaky hiding spots next to the objective that are ideal for ambushing the attackers when they are at close to intermediate range.
US DEPLOYMENT
Deployment Area Assets
| Name | Quantity | Respawn Time |
|---|---|---|
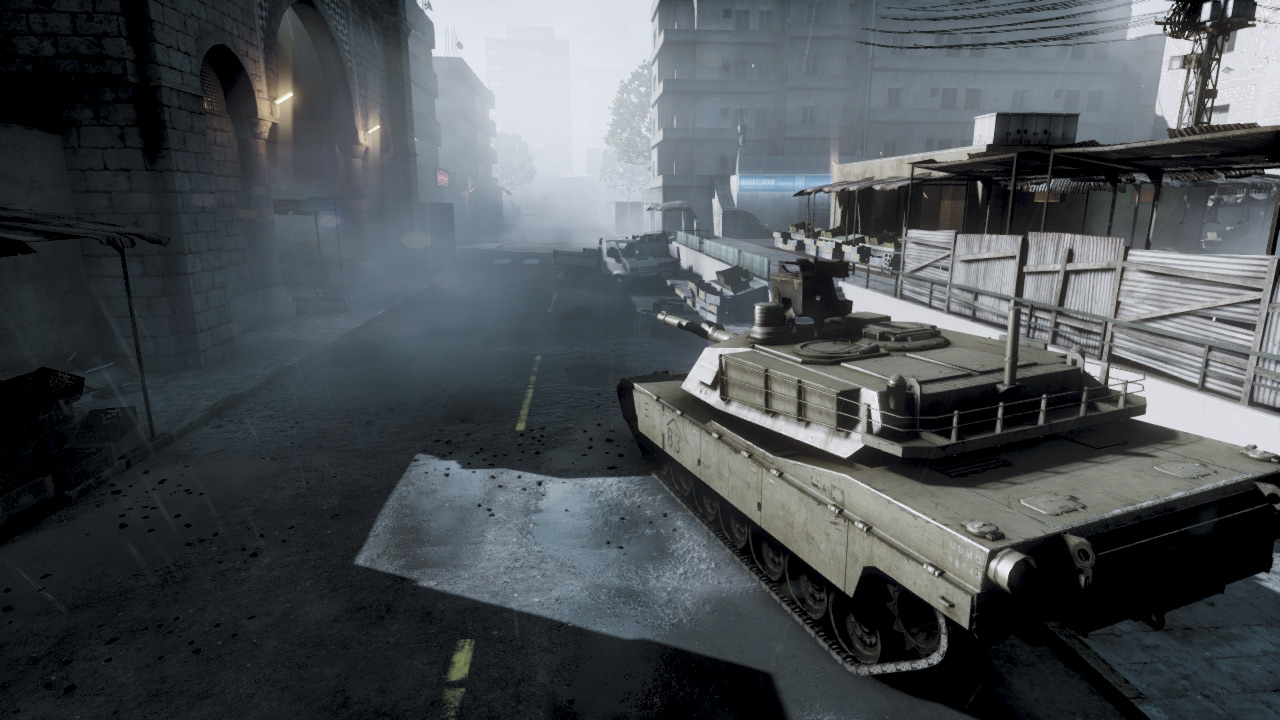
| M1 Abrams | 1 | 60 sec. |
In the final stage, the US deployment area finally moves up a significant distance to the Market. However, it’s still far from the new objectives located near the Square in the northwest corner of the map.
The US team maintains their M1 Abrams, an asset essential for dominating the western street. While the M1 must stick to the streets to reach the objectives, infantry can snake through the nearby alleys to attack the objectives from the east.
Although the RU defenders still lack vehicles, US infantry should still avoid the city streets to avoid falling victim to sniper fire. Advance through the alley to the north of the Market and establish a foothold in the Square, deploying Radio Beacons to keep you team close to the action.
RU DEPLOYMENT
Deployment Area Assets
| Name | Quantity | Respawn Time |
|---|---|---|
| 9M133 Kornet Launcher | 2 | 30 sec. |
Still lacking vehicle support, the RU defenders must make their stand near the Square and prevent the US from destroying the final two objectives.
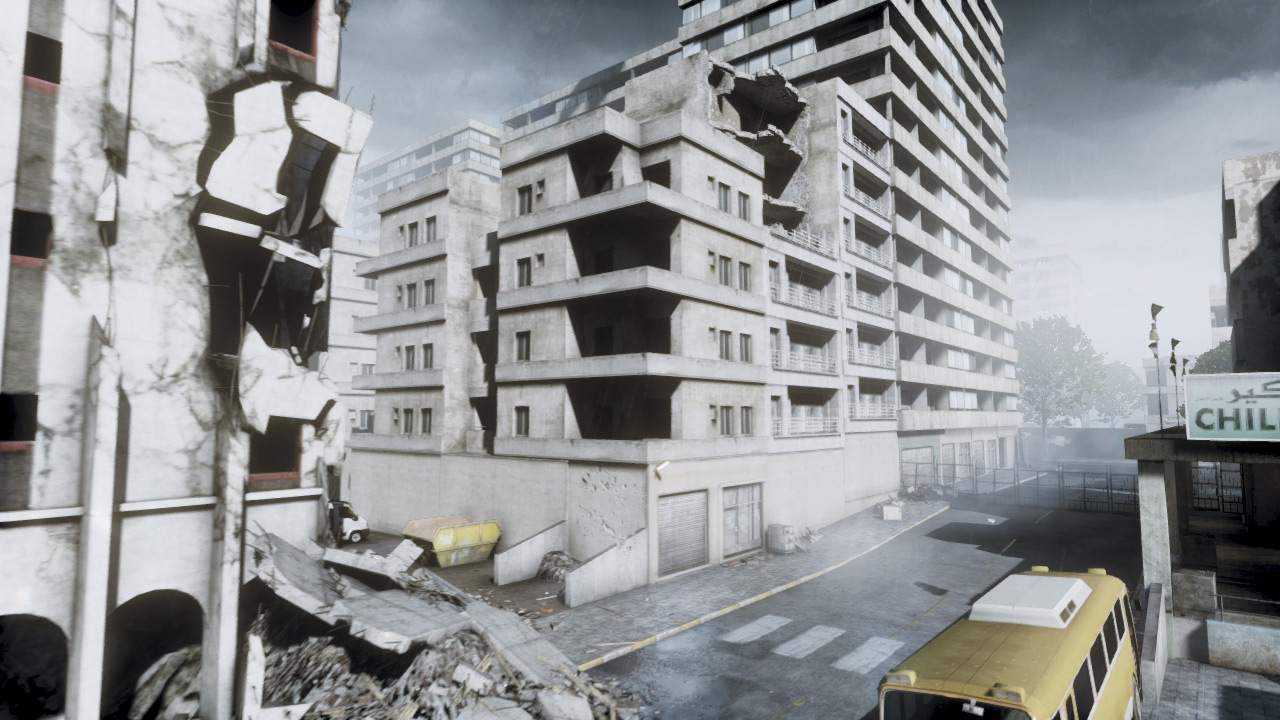
During this stage, the RU team deploys near the large hotel north of the Square. From here the defenders can easily branch out and establish perimeters around the two M-COM stations to the south.
Of the two objectives, focus early efforts on covering M-COM Station B located near the footbridge just west of the Square. The US team is likely to attack this objective first, as it’s closest to their deployment area and can be reached quickly through the central alleyway.
As in the last stage, deny the attackers their tank as quickly as possible by slamming it with the Kornet Launchers and engineer anti-tank weaponry. Knocking out the US tank evens the playing field, making it much easier to hold out here.