
Battlefield 3 Premium Guide Campaign Mission 6: Comrades
Comrades
Unit
GRU
Callsign
Dimitri “Dima” Mayakovsky
Location
Paris, France
Date
November 13
Time
1320hrs Zulu Time
With precious little time before Solomon puts his nuclear plans into effect and Russia is blamed for the incident, Dima and his cohorts from the GRU must find the nuke and recapture it before it can be detonated.
This is a mission that must succeed at any cost—even if that means the lives of French police officers.
GAIN ENTRY TO THE EURONEXT BUILDING
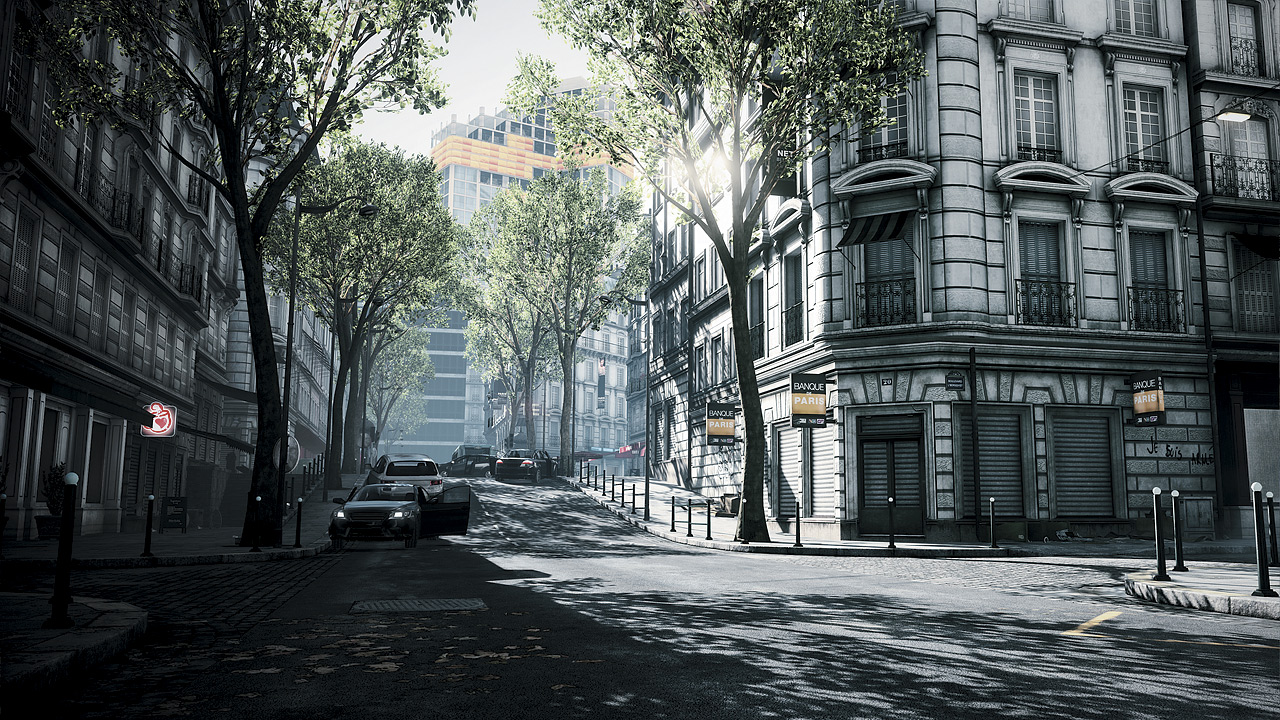
Nothing like a leisurely drive through the claustrophobic streets of Paris to help hit home just how bad a nuclear blast in a densely populated capital would be.
Dima and his fellow GRU agents discuss the threat as they steel themselves for the fight to come. They power-up a signal jammer to remove the possibility of remote detonation and prepare to infiltrate the Euronext exchange to take down
Solomon and retrieve the suitcase nuke.
After plowing through an already-occupied front gate, the trio cuts the power to the parking garage and heads down into the depths of the Parisian version of Wall Street.
A pair of masked enemies stands near a parked car on the far right side of the parking garage. Move up to the white van, crouch, and wait for orders to take down the terrorists with a pair of carefully (but quickly) executed bursts to their center mass.
The whole garage turns into a flurry of gunfire, with Dima’s friends sweeping to the right side columns. Do the opposite: run to the left and apply fire toward any masked enemies that may try to push back.
Scoot along the left wall, using available columns and cars as shielding to close the distance to the enemies on the left side. With luck, they’ll be too distracted by the two other Russians shooting at their friends to the right to notice you.
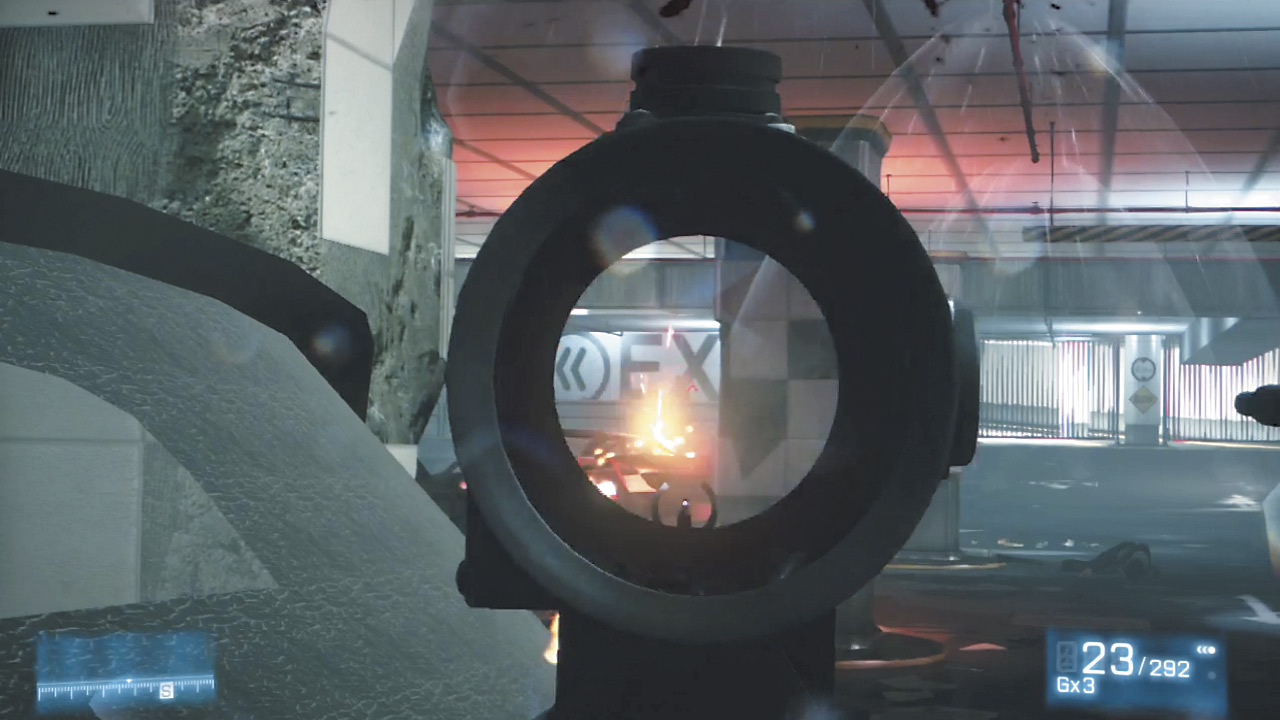
Flank the enemy wherever possible without creeping too far forward. Moving past the first column is a bad idea; instead, stick to this position and take your time, whittling away at the enemies in the middle and left sides before attempting to help out with the rightmost enemies.
After the first few have been taken out, more masked menaces will join the party and should be dispatched in the same way. Keep in mind that Dima has multiple grenades that can be used to detonate the nearby cars to help clear out enemies.
Use the limited grenade supply sparingly, as this will be one of the most protracted battles yet. When the floor is clear, the trio can proceed down to Floor B to continue the assault.
Floor B seems deserted as the GRU proceed onward, only to have a machine gun open fire on the group. Thankfully, the van and cars nearby form a nice shield.
Pop the headlights to get a clearer view ofthe gunner between two cars in the back-right. He can be sniped from between your vehicular shield’s crack if you’re quick and precise about it.After he’s taken care of, follow your teammates down farther into the garage.
A sudden RPG strike against a stationary vehicle forces the team to sprint past the burning wreckage to the leftmost column similarly to the first shootout.
Unlike the first shootout, there are quite a few more exposed angles here—just popping out to fire shots at enemies down range on the left can leave Dima open to hits from the right.
Deal with these enemies on the right first, looking for muzzle flashes when they pop out of cover. Then swing your aim back to the left to catch enemies taking cover near the back columns and cars closer to your position.
After clearing out the first wave, more will pour in from the back corner of the room, largely protected by a waist-height wall. Most of the enemies will dash toward cover near the columns on the left and middle parts of the garage.
However, a few eagle-eyed masked men stay put at the back of the room to take pot shots near the giant EXIT sign. Deal with the closer threats first to avoid being shot at while aiming at the longer-range targets, then pop them with a couple carefully-placed headshots.
Push on toward the exit and into the exchange.
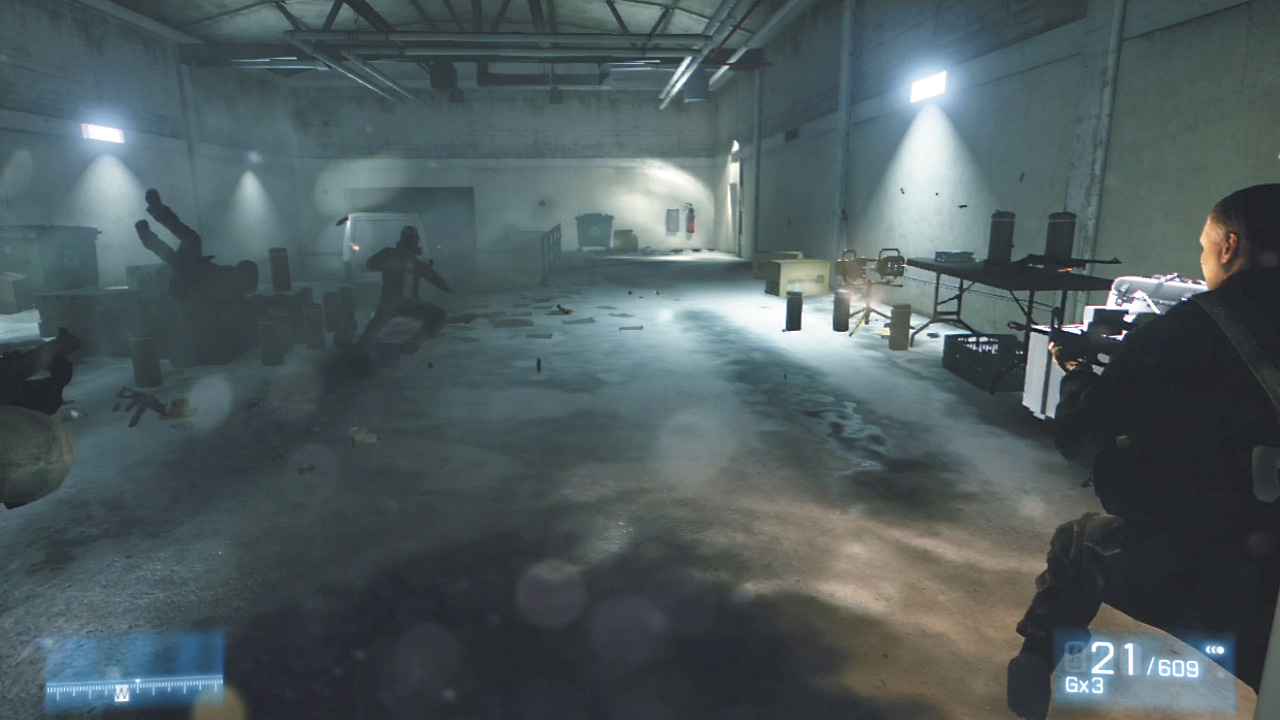
Threading through the pipe work and right angles of the garage’s exit, the trio finally comes to a closed door at the end of a long hallway. It falls to Dima to breach, and the other two quickly swoop in to take down the unsuspecting goons inside.
Almost instantly, they realize the area is choked with gas and all three don their gas masks. The restricted field of vision creates a tense atmosphere that can cause you to miss a handy Ammo Crate along the right wall.
Stock up on ammo and consider switching to a more close-quarters weapon like the extremely quick AKS-74u that serves as the default secondary weapon. It may not have the scope of the AK-47M, but it makes up for it with little recoil and plenty of precision.
MAKE YOUR WAY TO SECOND FLOOR
Ascend out of the basement via a series of stairs, taking point when ordered. Before Dima can enter the doorway, a masked fighter starts a fistfight. Bad idea. Follow the single prompt after slamming his head into the wall to offer a one-way ticket back down from whence you came before pushing on into the exchange itself.
This office has become a tomb for the poor employees that used to work here. After navigating the walkway, hostiles appear when the trio makes its way to the first junction.
Let your comrades deal with the enemies on the left and swing right, taking out a tango before he can draw a bead.
More enemies will join the fray, pouring in from the adjacent room ahead. Severalfind cover among the cubicles near the windows to the right.
Be patient here, waiting for them to show their heads, then send a few carefully-placed bullets to their final resting place in your foes’ noggins.
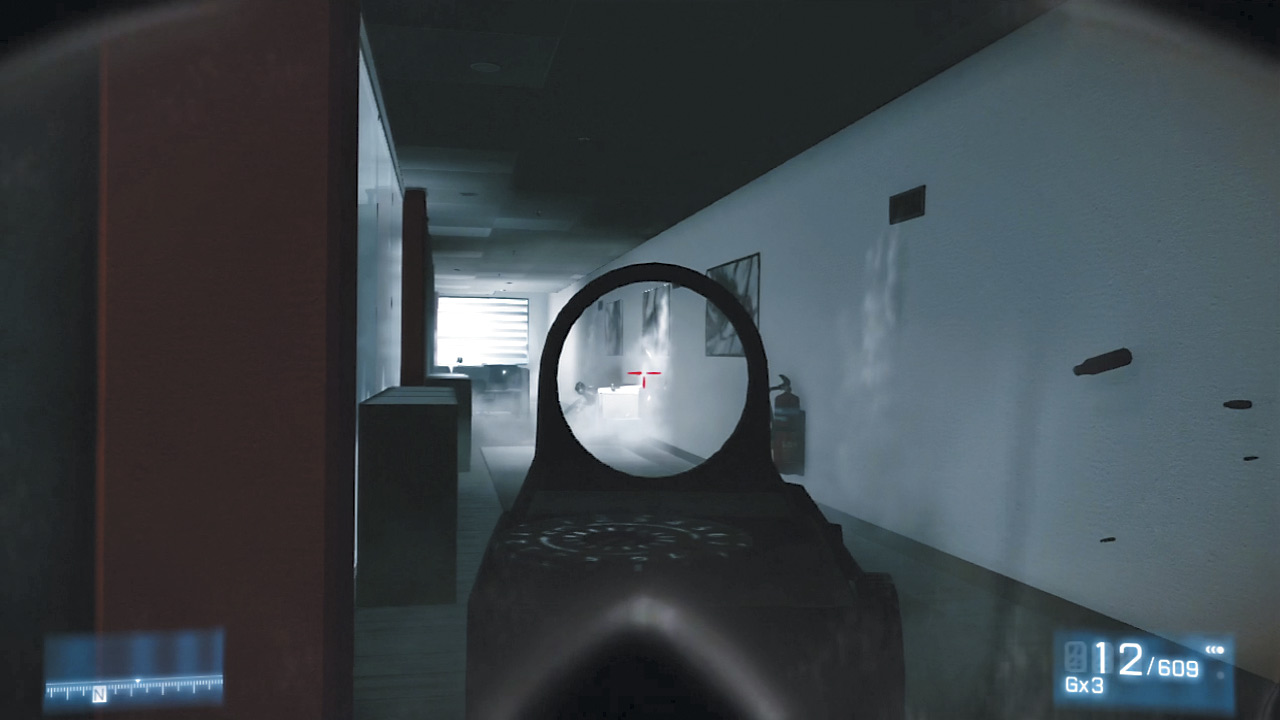
Keep pushing forward as enemies are taken out, sweeping right to hug the windowed wall where light is pouring in as your teammates edge into another part of the office.
The wall emblazoned with MB is a great place to take cover from the enemies firing down from the upper ledge at the far end of the room. Keep an eye out for a few more tangos that will try to ambush and flank the team from the rooms on the other side of the cubicles.
Deal with them before the enemies in the elevated positions, and then edge ever closer to the main target by dashing through a doorway on the far side of the room.
Another set of stairs and another door that must be breached. Stack up to the left of the door, allowing Kiril to kick it down and into—you guessed it—another shootout.
LOCATE DEVICE
Things quickly turn hairy as soon as the trio makes their way to another set of desks. Take the same approach as last time, splitting off from the main assault group. While Kiril and Vladimir proceed down the right corridor, get the drop on enemies from the left.
Cover here is rather flimsy and thus fleeting. Be quick with your shots, capitalizing on the distraction that your teammates create as they move deeper into the gas-choked office.
Enemies will swarm in from a lower floor, but this shouldn’t change your strategy. Continue hugging the leftmost path, getting the drop on enemies distracted by your buddies.
After clearing out any remaining threats, head down the stairs into a sun-drenched lobby toward the main trading floor. The nuclear device is located here, accompanied by a heavily-armed security detail.
Don’t expect the fight to secure it will be easy. Check your mags, be ready to grab cover as needed, and get that friggin’ nuke!
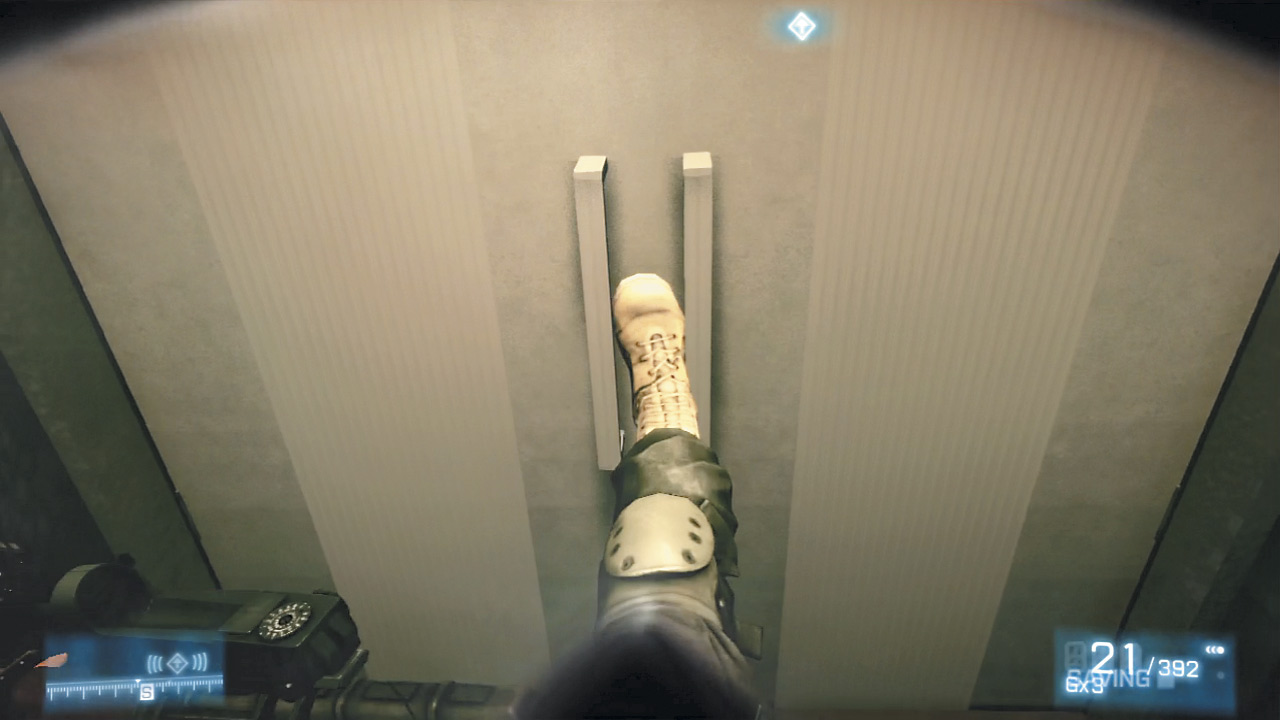
Stack up with Kiril and Vladimir, breach the door to the main floor and get ready for a serious firefight.
CAPTURE NUKE CARRIER ALIVE
The nuke carrier doesn’t hesitate to flee the scene, covering his escape with a flashbang. While he makes his escape, scads of enemies swarm the trio. Quickly drop into a crouch and use the desks on the trading floor as cover while sweeping your sights to the right.
Plenty of enemies will try to use the columns in this room for cover, so make sure they’re dealt with quickly. If you can sprint over to the back-right column and go prone, you can catch enemies off-guard as they try to use this column for cover while they’re distracted by your friends.
Slide out and take a few shots at the enemies that seem to stream in endlessly, picking them off as they take refuge behind the upturned desks. Eventually, the reinforcements will subside, and the trio can proceed through the exit where all the enemies originated from.
In an unlucky turn of events, the signal jammer begins to run out of batteries. No time to waste here, then. The nuke carrier will take a couple wild shots at his pursuers as he flees, but the real threat here is waiting in one of the elevators to the right.
The hostile within bursts out in a misguided attempt to stop Dima. Follow the on-screen prompts to give him a little taste of his own medicine. Continue the chase down into the lobby of the exchange, taking out a pair of guards while the rest of the masked men flee behind them.
They arrive to discover a scene of utter chaos: the French police and the terrorists are embroiled in an all-out street shootout, meaning there are now two sets of hostile forces that must be considered. This is going to take some careful planning...
CAPTURE NUKE CARRIER ALIVE
[ ACHIEVEMENT | TROPHY ]
The Professional
There’s no sugar-coating this: to earn The Professional bragging rights, you’ll have to make your way through this chaotic warzone in under two and a half minutes and do it in a single run.
No dying, no second chances. The time limit is tough, but it’s more important to protect Dima from incoming fire by mitigating the number of threats he’s going to face. Wait for Kiril and Vladimir to move up first and take out a cop across the street.
As you follow, let them take the right flank while you grab cover behind the white van on the left side of the street. Take out two policemen directly down range, provided your teammates don’t get them first.
One hides near the mess of cars by the bus and the other can be found near a table on the right side where your buddies are moving up.
Move up slowly, sticking to the most solid pieces of cover you can find while avoiding the flimsy bus stops and signage. Once all the cops have been cleared from near the bus, use that as the next forward position.
Take out cops coming out of the left alleyway and stay low to avoid a patrol that marches down the middle of the street. Farther up, obscured by a burning car, waits another set of enemies that can be extremely dangerous.
Cross the street and head up the right side. Avoid the incoming fire by laying low and sprinting toward the nuke carrier as he dashes out of the nearby bus. Just as the trio is about to catch the carrier, an RPG smacks into the bus, making for an unfortunate and bittersweet end for one of the trio.
With no time to waste, the chase must continue or the city of Paris will meet a far worse fate.
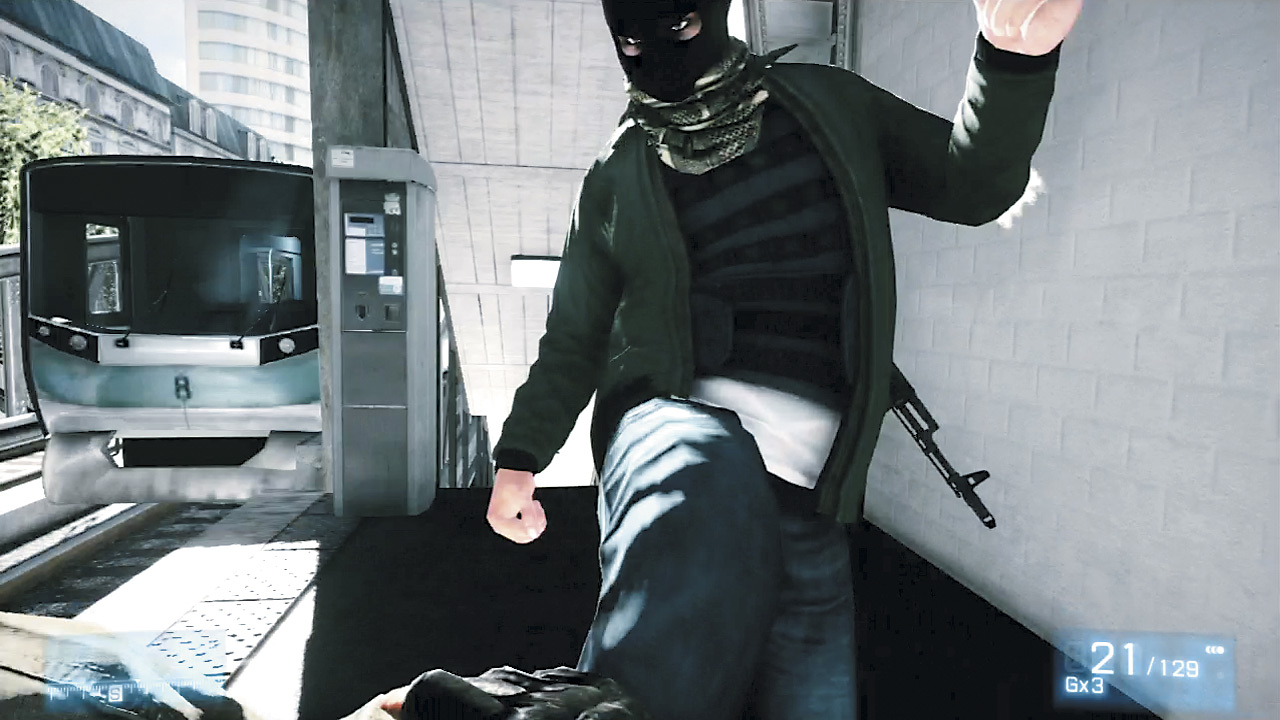
Follow Kiril as he jumps over a railing and continues through a few back alleys. There’s no point in engaging any hostiles along the way; the nuke carrier has gained valuable distance and must be stopped at all costs.
Dash through the warzone, shrugging off crossfire and a few explosions as you tail the terrorist. After vaulting over a low cluster of wood, the duo finally catches sight of the carrier crossing a street to the train station.
Again, avoid confrontation here; the nuke is the target. Sprint across the street and up the stairs. As they reach the top, a surprise Quick Time Event puts it all on the line. Watch for the familiar prompts and put an end to this chase once and for all before making a tragic discovery.