
Battlefield 3 Premium Guide Battlefields Rush
Kiasar Railroad
The Rush battle of Kiasar Railroad follows the northern road, moving south along the lake into the Lumber Yard before concluding at the hillside base in the southeast. The placement of M-COM Stations in each stage of this battle forces teams to engage in open conflict as the landscape offers opportunities to flank and overwhelm the opposition. While attackers are afforded the benefit of the ASRAD and dirtbikes throughout the battle, the defenders’ MI-28 Havoc, in the hands of an experienced pilot, will provide a firm resistance to attacks. An essential tactic is to use the elevated positions of the terrain to gain the advantage through each stage in the battle. For attackers, the greatest threat on this map comes from a defending team that is well versed in the use of MAVs to reveal the positions of attackers and coordinate the placement of booby traps to disable their vehicles.
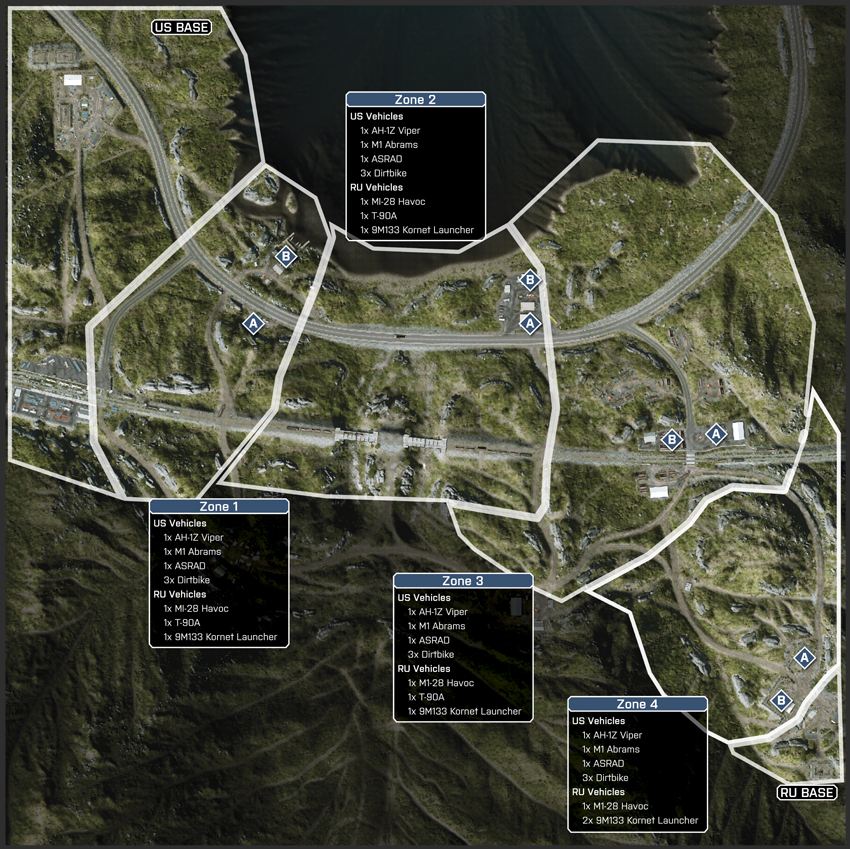
Zone 1: Canoe Center
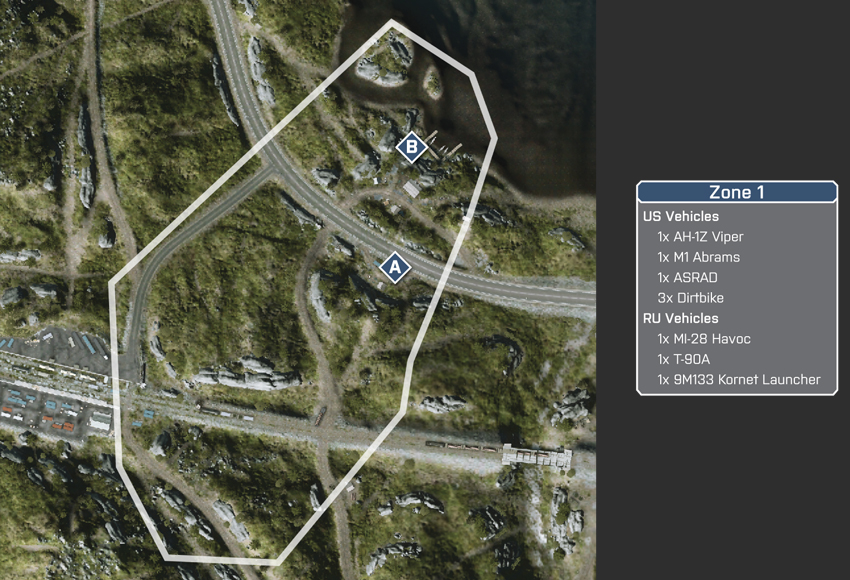
US Deployment
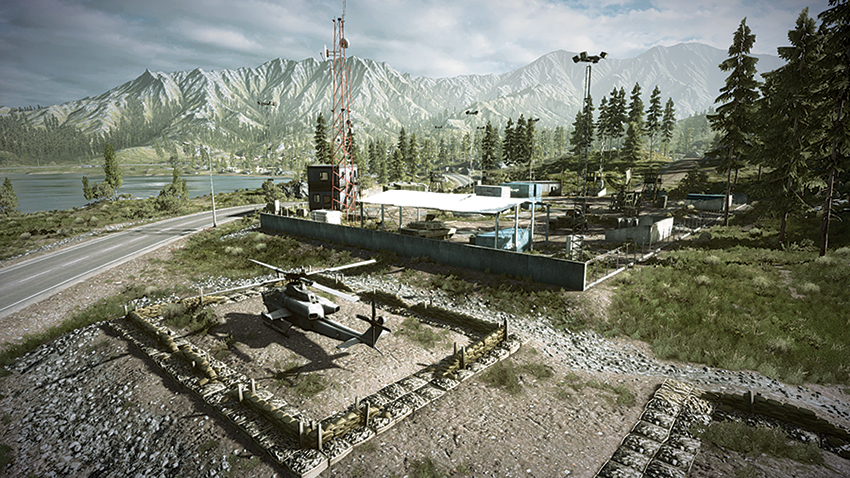
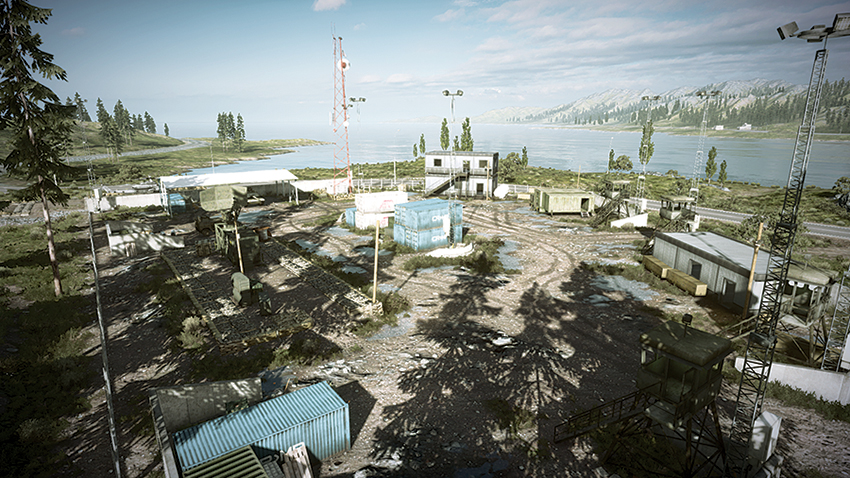
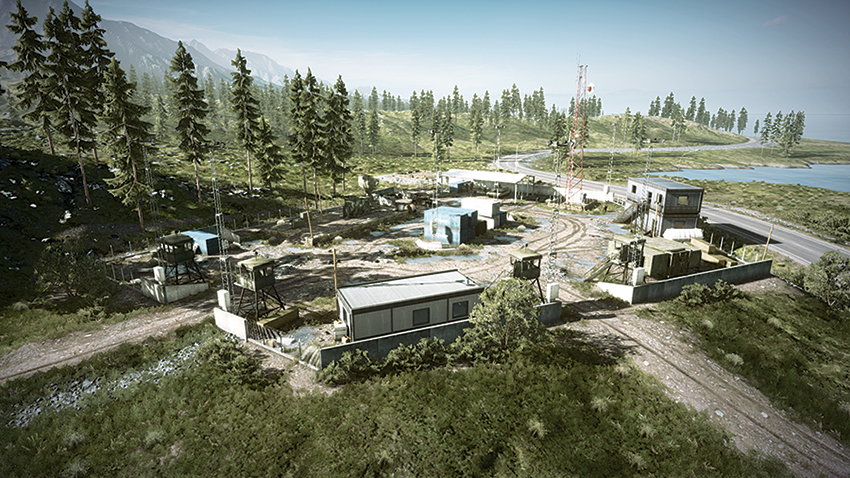
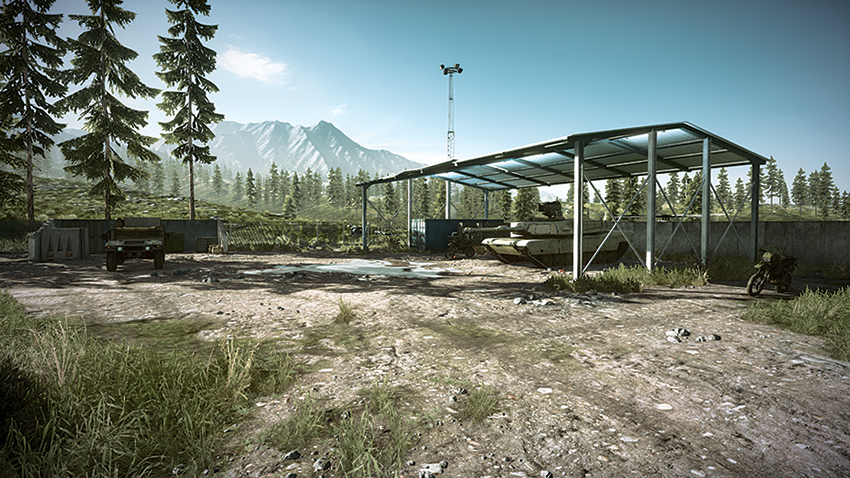
Deploying from their base to the northwest, the US team has the advantage of using the road to advance the M1 Abrams and ASRAD to the objectives quickly. This is overshadowed, however, by the 9M133 Kornet Launcher at the Canoe Center, which the defenders will use to push back the armored assault. While these vehicles approach the objective site, the AH-1Z Viper should be in the air above the Canoe Center to clear the area of defenders while infantry units descend upon the area. Attackers on dirtbikes would be wise to follow the lakeshore as they make their approach on the objective, avoiding the defenders that are descending on the area from the southeast. This approach from the north allows dirtbikes to drop off their passengers to plant a charge on the objectives and continue their path east, drawing enemy fire away from the objective area.
RU Deployment
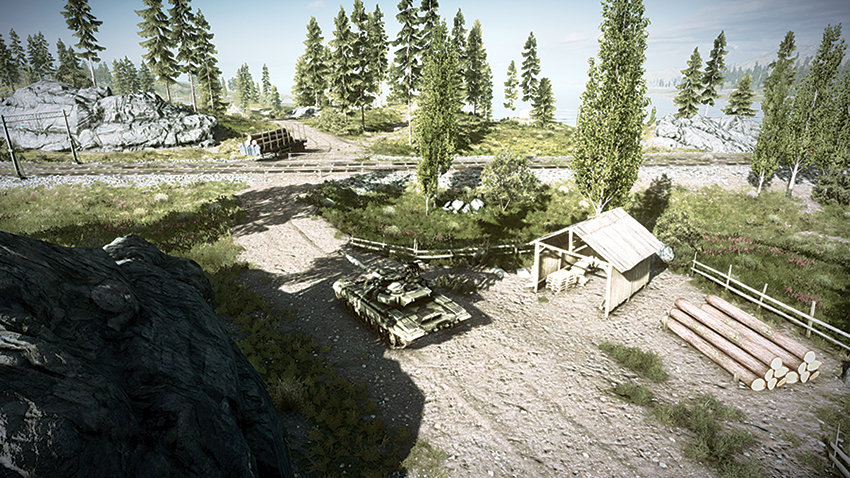
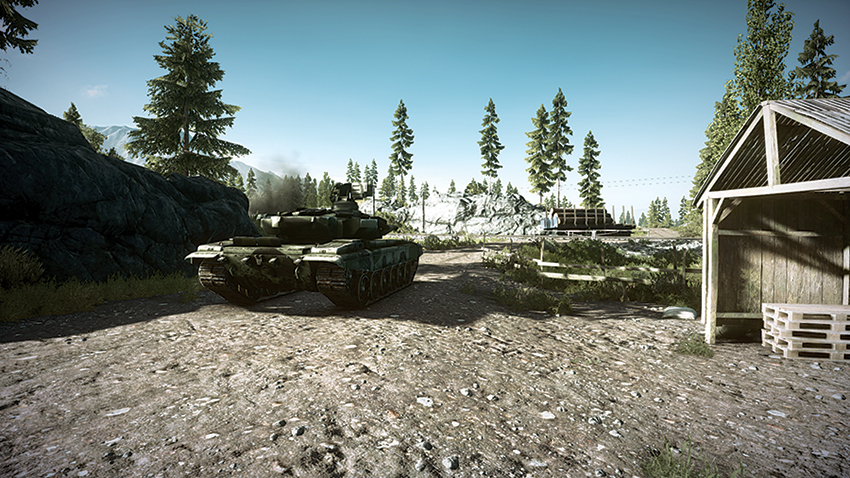
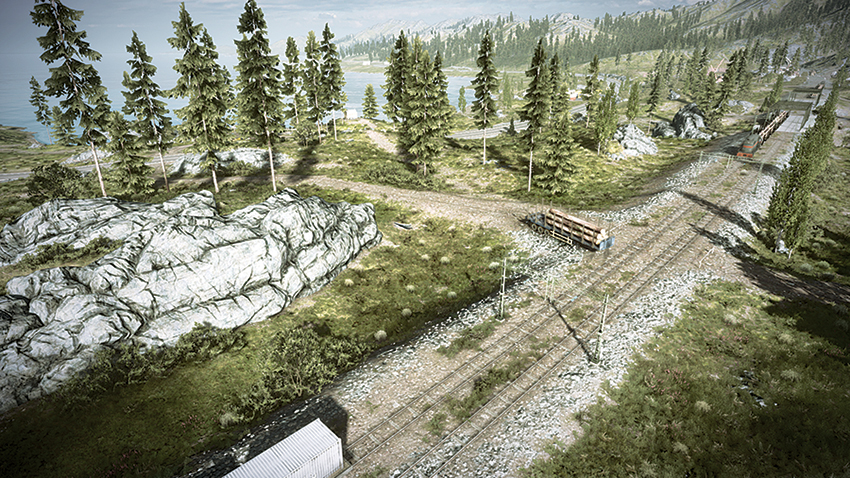
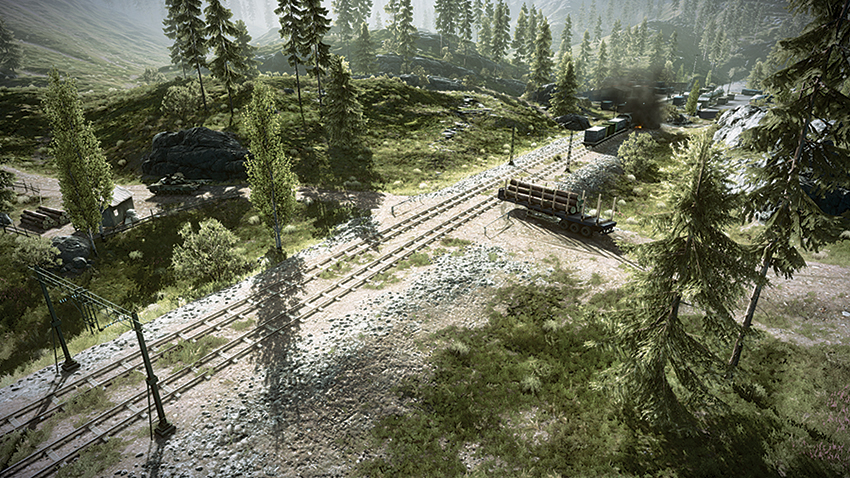
Deploying from the hills southeast of the Canoe Center, the defending team can quickly fortify the hill south of the road with a squad while other team members move north to entrench themselves at the Canoe Center. Because the T-90A deploys south of the objective, it can be placed on the hill overlooking the objective and fire upon attackers’ vehicles as they move into the area from the northwest. Once in the air, the MI-28 Havoc should focus on patrolling the road leading northwest from the Canoe Center. As attackers approach from this direction, the MI-28 Havoc is more than capable of pushing back armored resistance moving from the US team’s deployment area. Through coordinated efforts of the MI-28 Havoc and the T-90A to keep the attackers’ vehicles at bay, defenders can force the attackers into a stalemate early on.
M-COM Station A
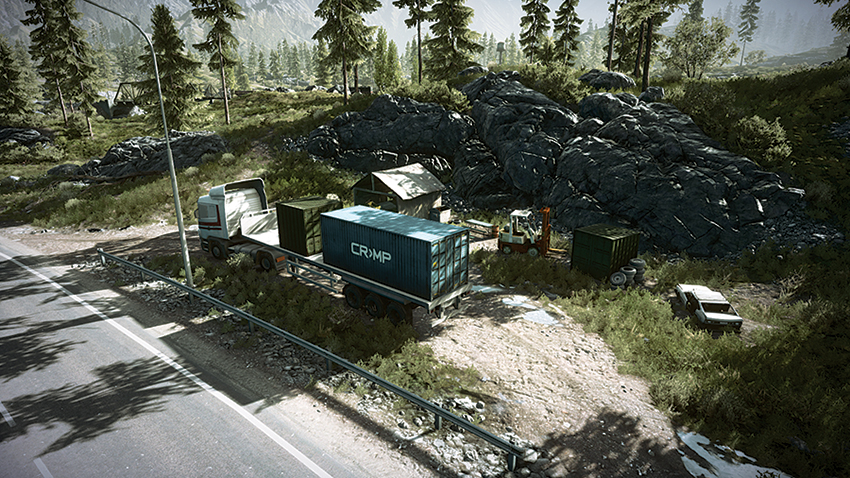
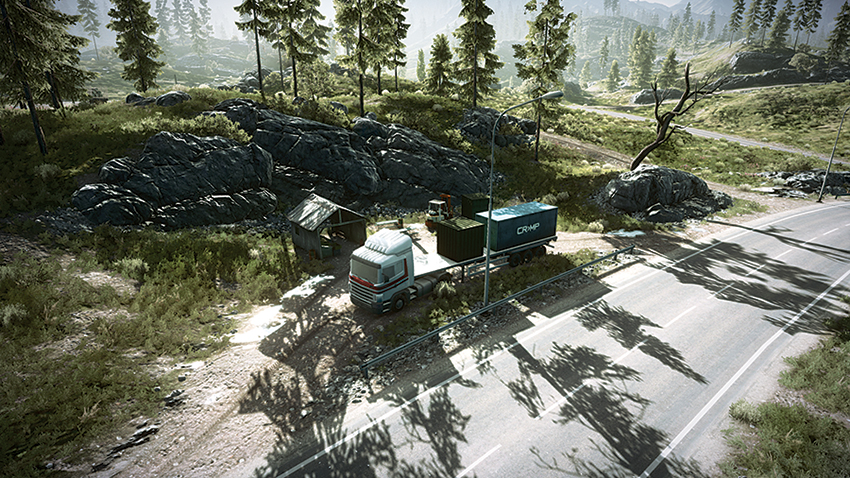
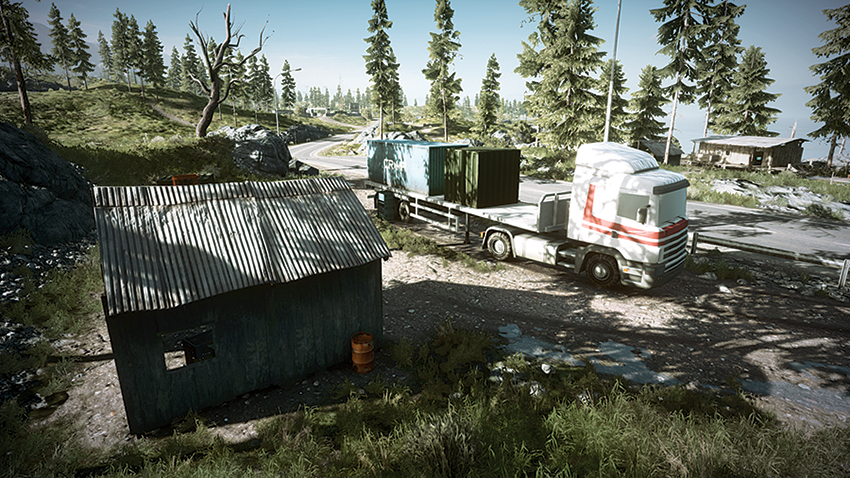
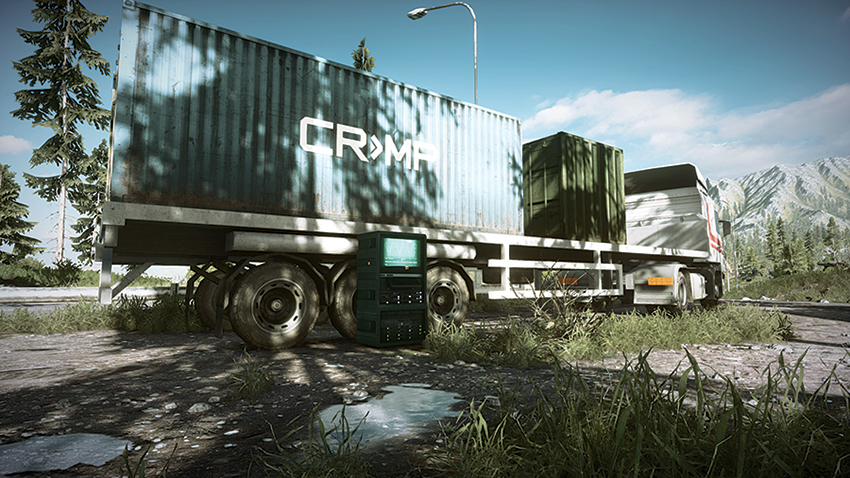
Positioned south of the Canoe Center, M-COM Station A is exposed on the south side of the parked semi-trailer here. For attackers, the difficulty in approaching the objective comes from the tendency for defenders to camp within the wooden shack nearby. Defenders making use of this tactic to defend the objective should be ready to retreat if the attackers’ helicopter discovers them, as the wooden shack does not provide much cover against explosive weapons. Not only should attackers be wary of the shack when approaching the objective, but also the hill to the south, which serves as a sniper perch. Sight lines on this objective are limited, though, so defending this objective will require vigilance by helicopter and infantry set atop the nearby rocky ledge. Defenders and attackers would both benefit by deploying a MAV to survey this area before infantry approach the objective.
M-COM Station B
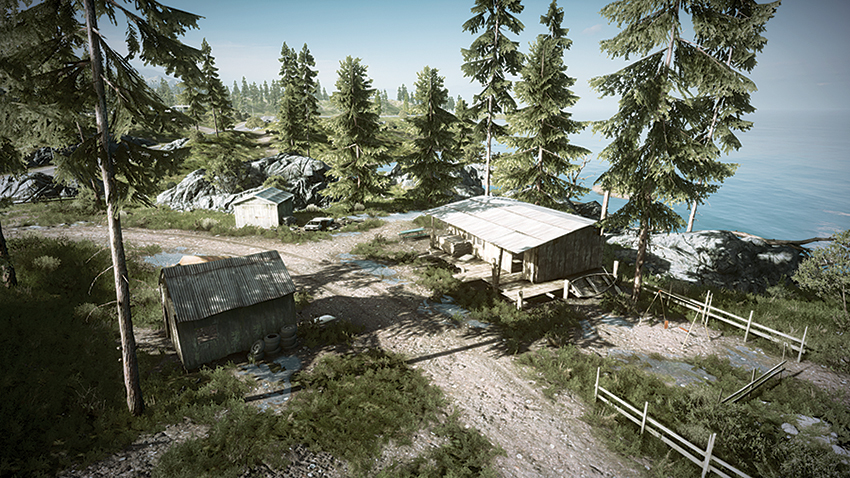
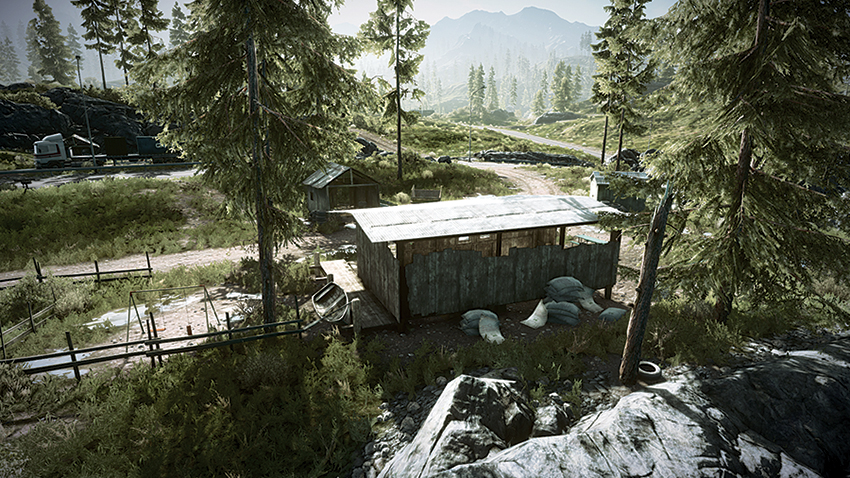
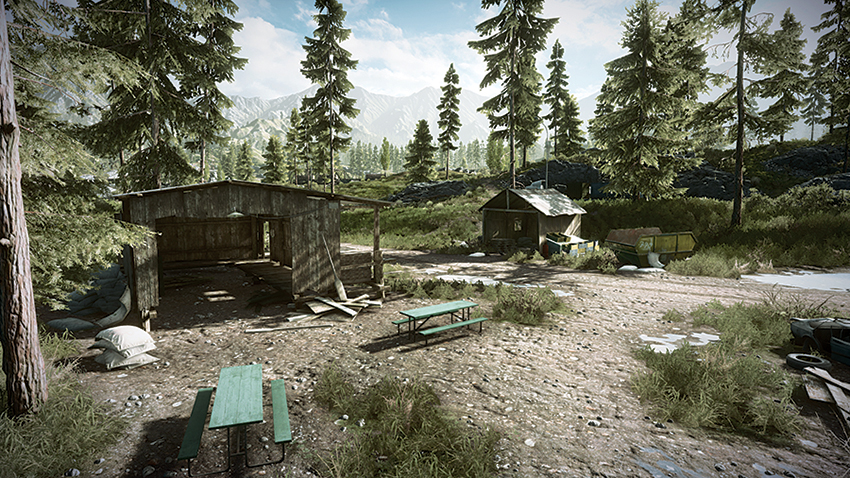
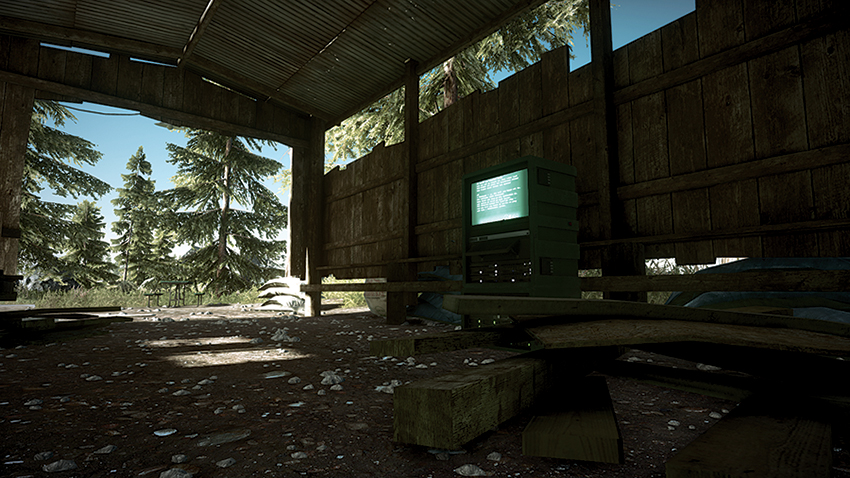
Located within the northern building at the Canoe Center at the lakeshore, M-COM Station B is a difficult prospect for attackers attempting to enter the area by the road to the south. Attackers on dirtbikes should make their move on this site by following the lakeshore southeast from their deployment. While the other attackers advance on the site by way of the road, stealthy attackers can approach the objective unseen while defenders are spread thin protecting M-COM Station A to the south from their armored vehicles. Defenders looking to protect the objective should place claymores inside of the building that houses it, and lie in wait near the shack west of the objective for attackers to cross their path. While it is possible to survey the area by helicopter, the nearby trees conceal the movements of infantry as they move around the objective and the buildings here.
Zone 2: Gas Station
US Deployment
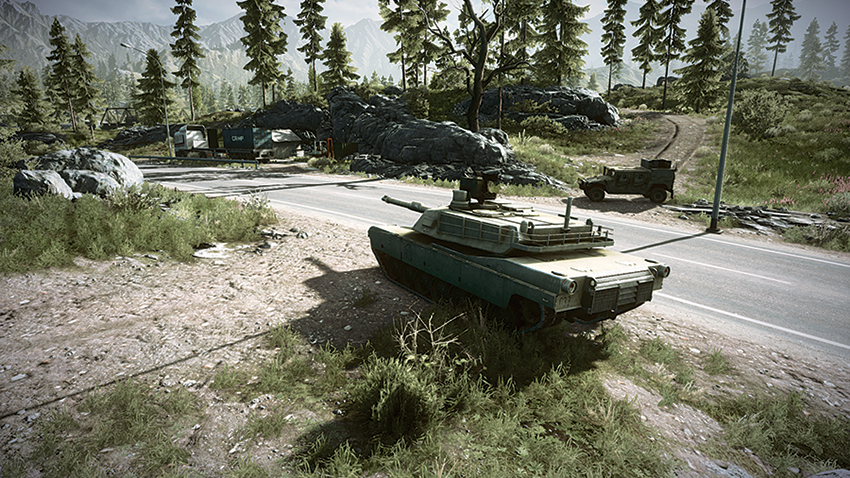
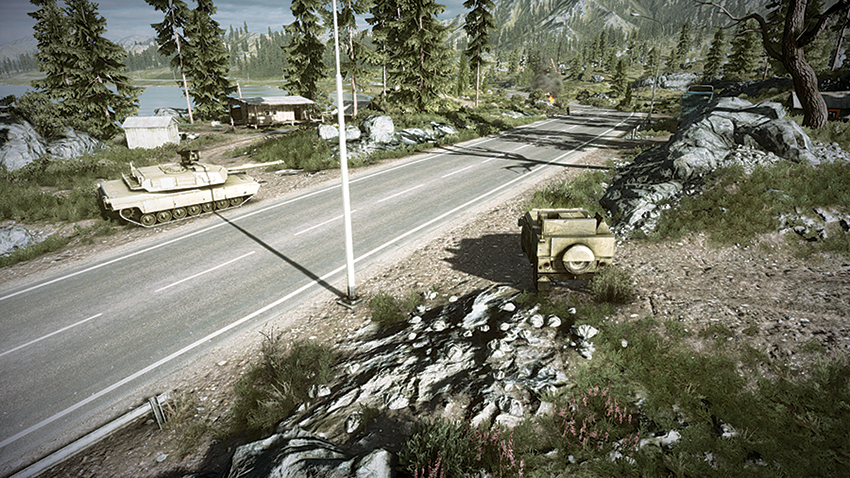
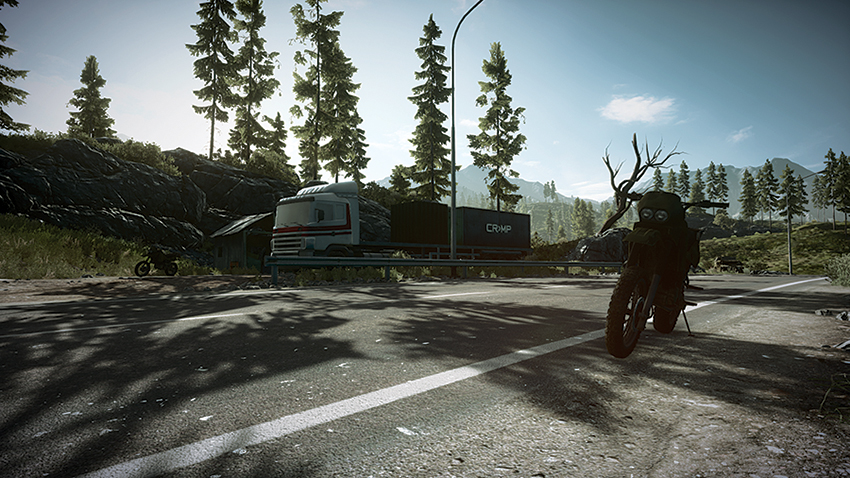
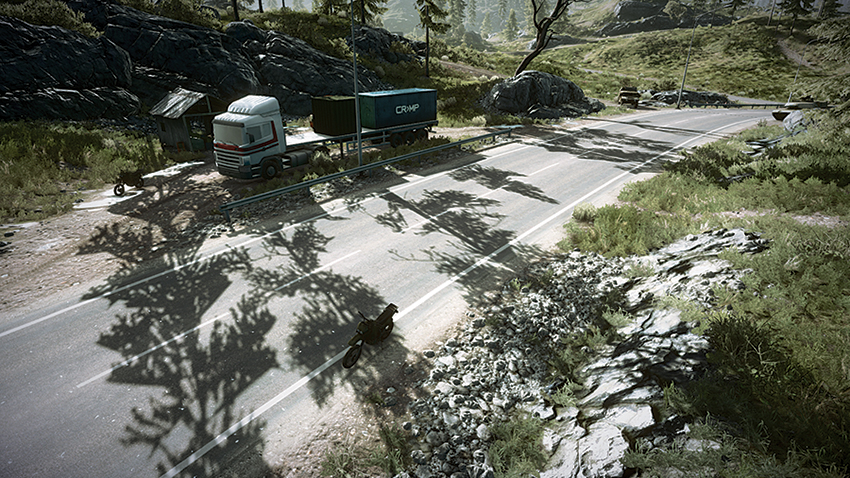
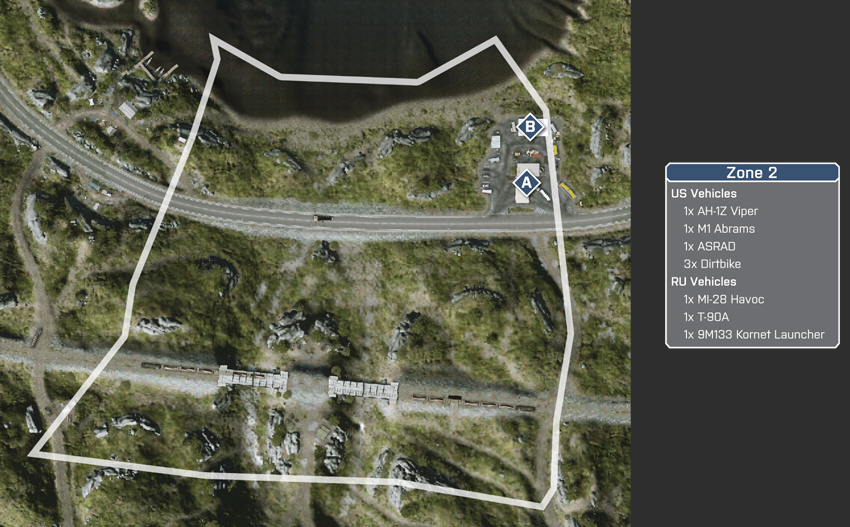
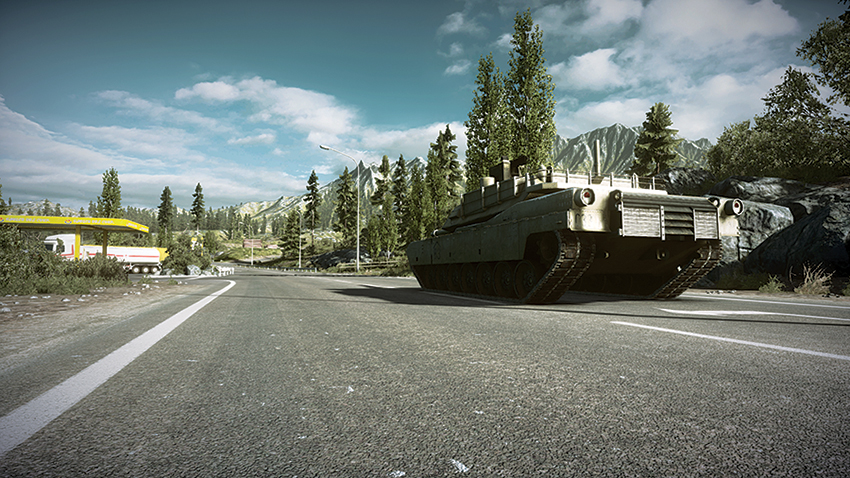
Deploying from the Canoe Center, the US team will have to proceed east to reach the objectives. As in Zone 1, this stage of the battle sees attackers using the road to advance to the Gas Station. While this is the most direct way to approach the area, it is possible for the M1 Abrams and ASRAD to traverse the lakeshore to the north of the road. By traveling along the lakeshore, it is possible to flank the objective area by moving through the Gas Station’s north side. Dividing up the heavy vehicles is a good tactic to take the defenders by surprise, with the M1 Abrams moving to the objective by way of the road and the ASRAD cutting through the rear of the Gas Station and using its cannons’ secondary fire to bombard the objective area during approach. Throughout the course of the battle, the AH-1Z Viper should take to the skies and patrol the area surrounding the Gas Station for defenders moving in from the east of the station and attempting to cut off attacking troops moving between the two objectives found there..
RU Deployment
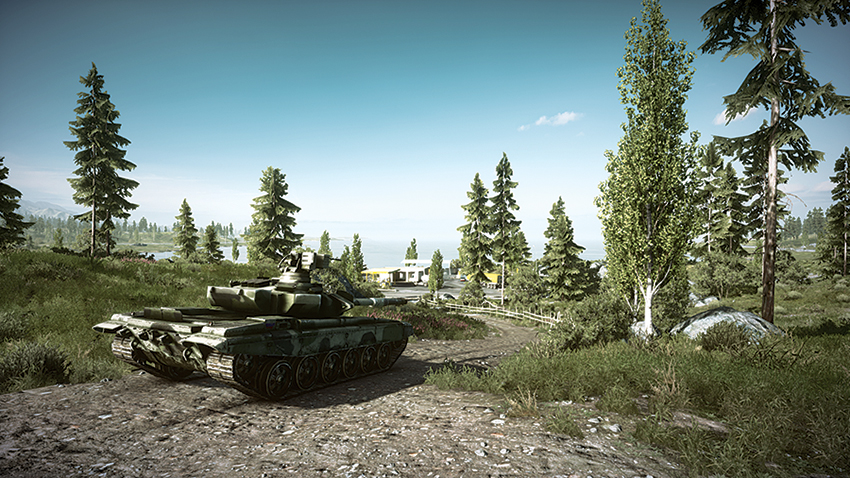
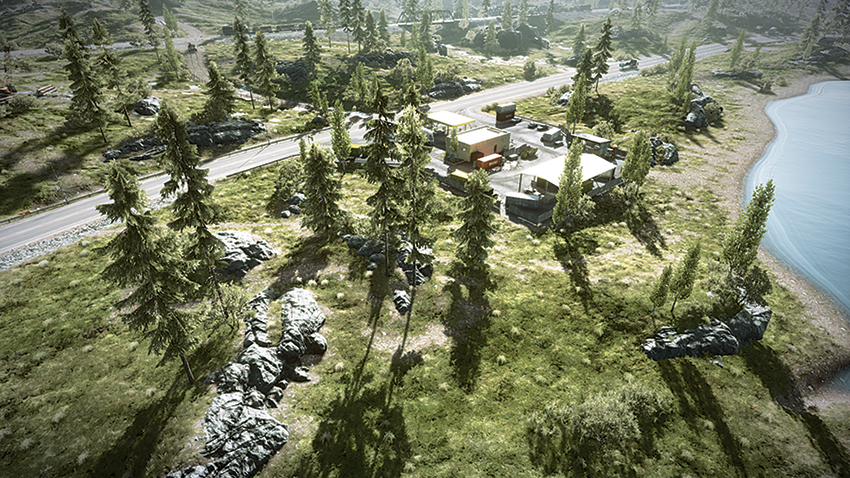
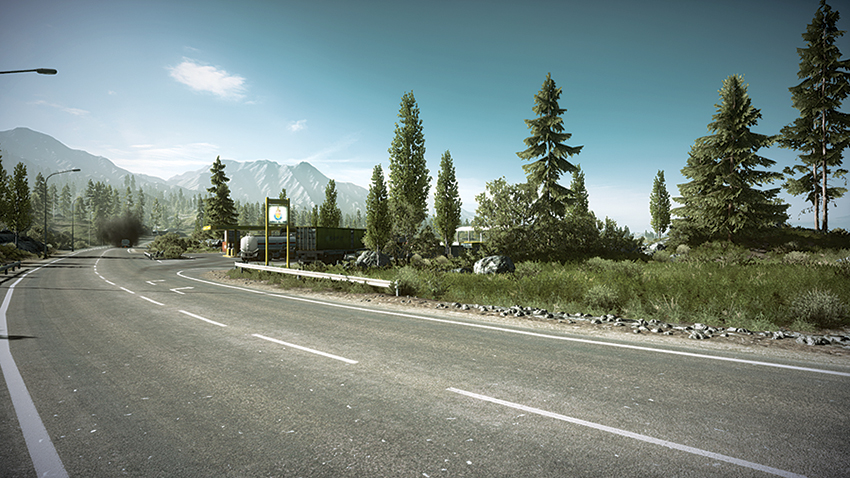
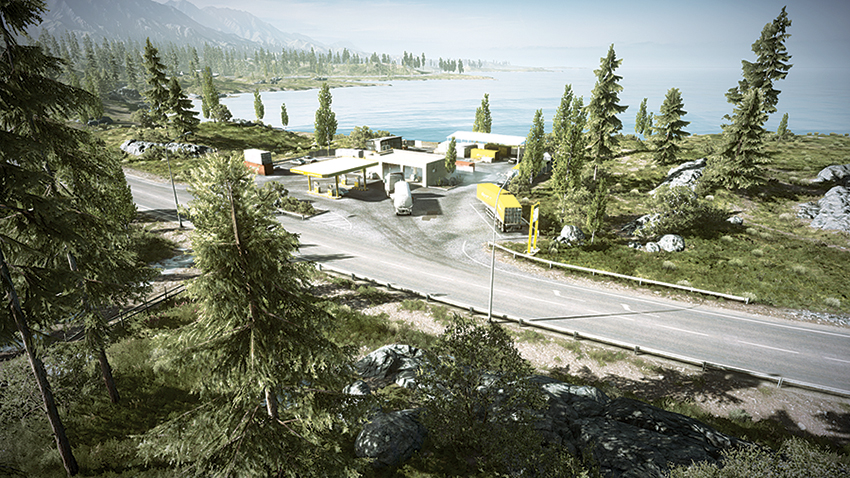
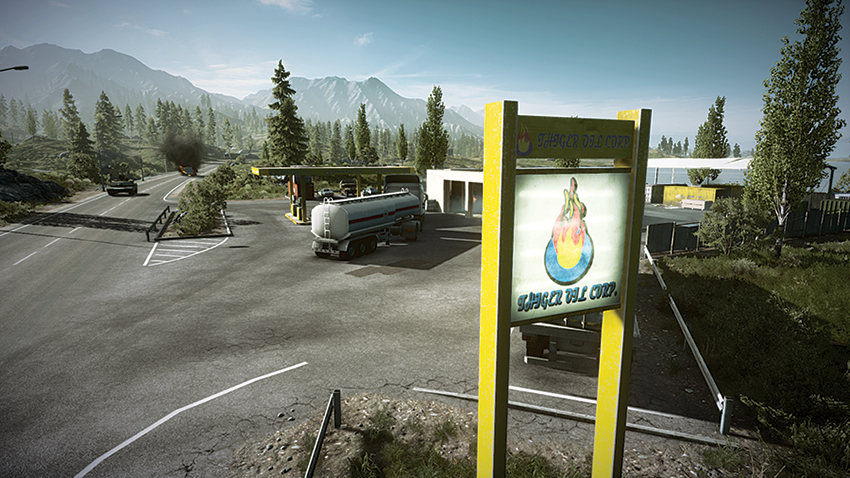
Deploying from the east near the lakeshore, the RU team is able to quickly fortify the Gas Station objectives early on. Defenders should place snipers on the roof of the Gas Station to pick off attackers as they approach from the west. Setting a T-UGS motion sensor on the north side of the Gas Station lot is useful to monitor the activity around the station. . While this motion sensor can alert of attackers as they pass through, a MAV is an even better choice for detecting hostile troop movements because you can relocate the device easily. Once the MI-28 Havoc is in the air, the vehicle should proceed to the west of the Gas Station to cut off the attackers’ tank and AA jeep as they approach and prevent these heavy-hitting vehicles from establishing a foothold at the Gas Station. With the MI-28 Havoc doing the heavy lifting outside of the Gas Station’s vicinity, the T-90A can remain at the Gas Station to eliminate dirtbike and infantry units that enter the area.
M-COM Station A
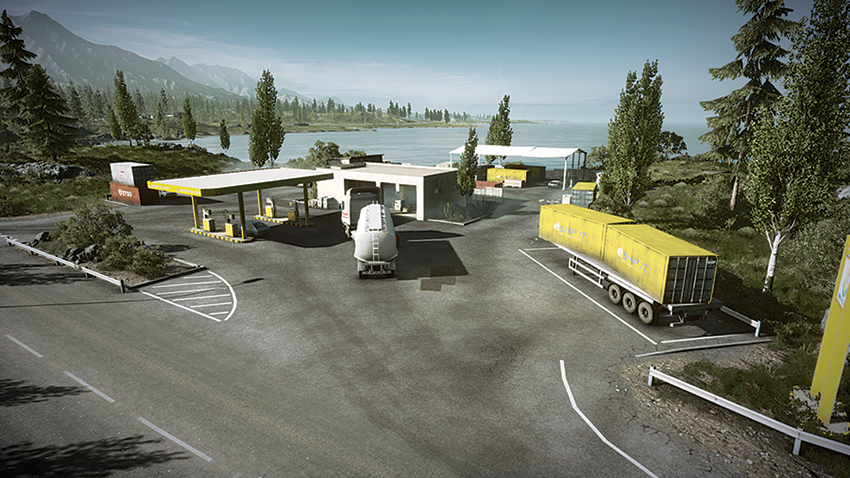
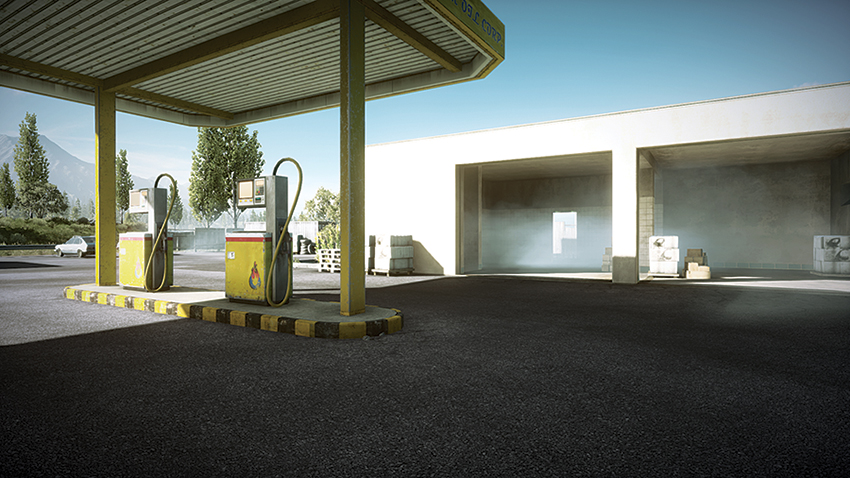
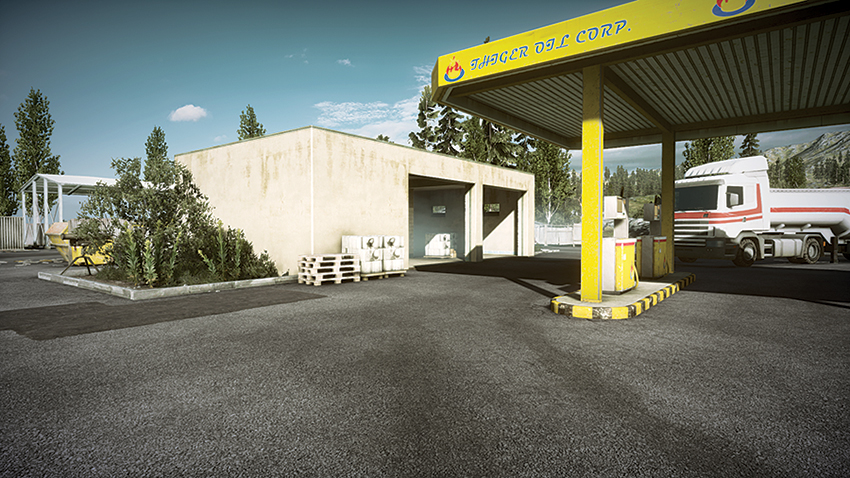
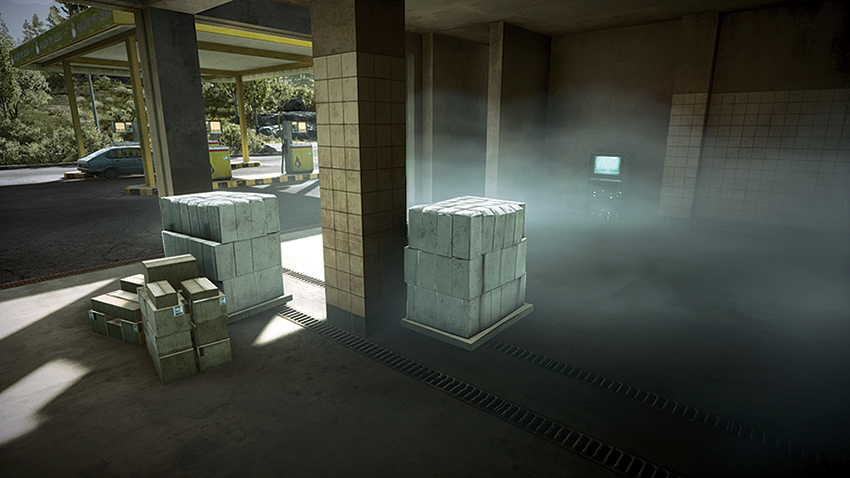
M-COM Station A is inside the garage building at the Gas Station. Attackers should approach by flanking the building to reduce their number of casualties. Dirtbikes should approach the building from the north and the south, and drop off their passengers as they continue past to draw fire away from teammates that are planting the charge. Defenders looking to maintain a presence near this objective should place claymores within the building and take positions on the rooftop. There are very few sight lines to directly monitor the objective and they usually require camping beside the nearby semi-trailer or going prone near the end of the Gas Station lot to the east. Attackers should deploy a MAV as they advance from the west to observe the building’s rooftop, as well as get an overview of the Gas Station’s east side.
M-COM Station B
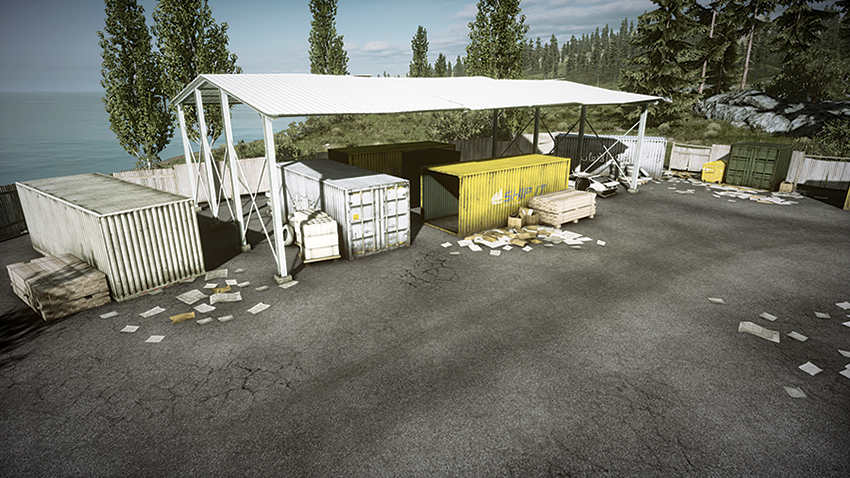
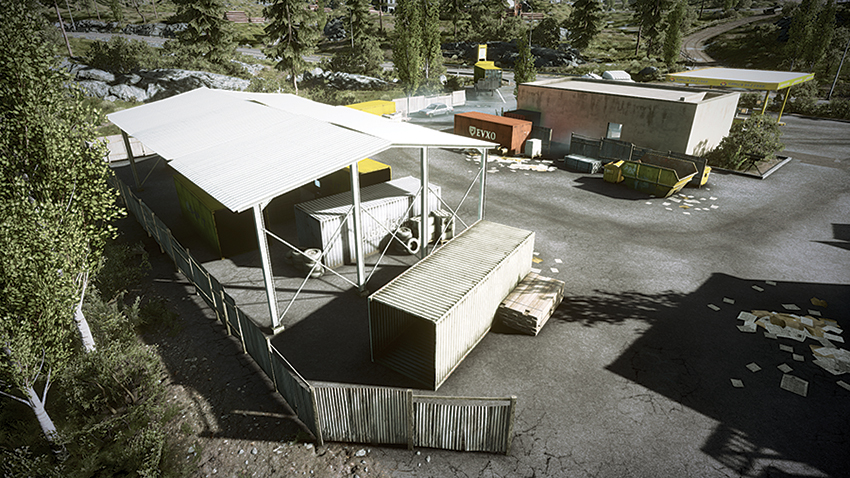
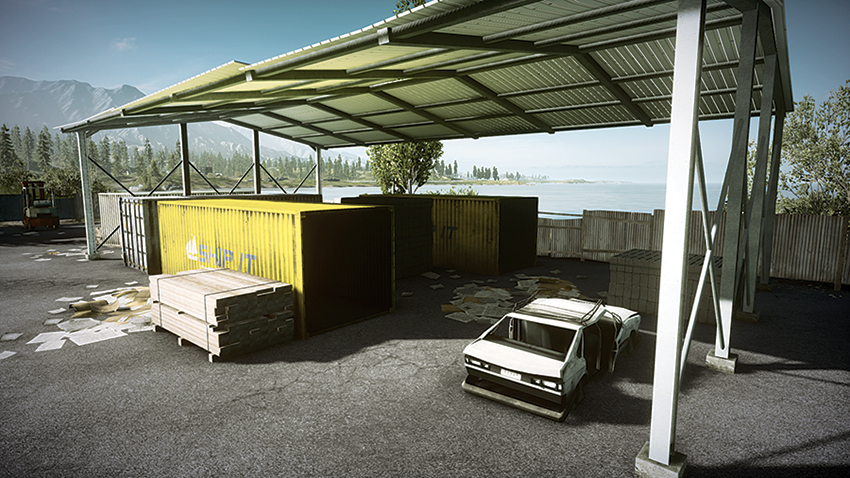
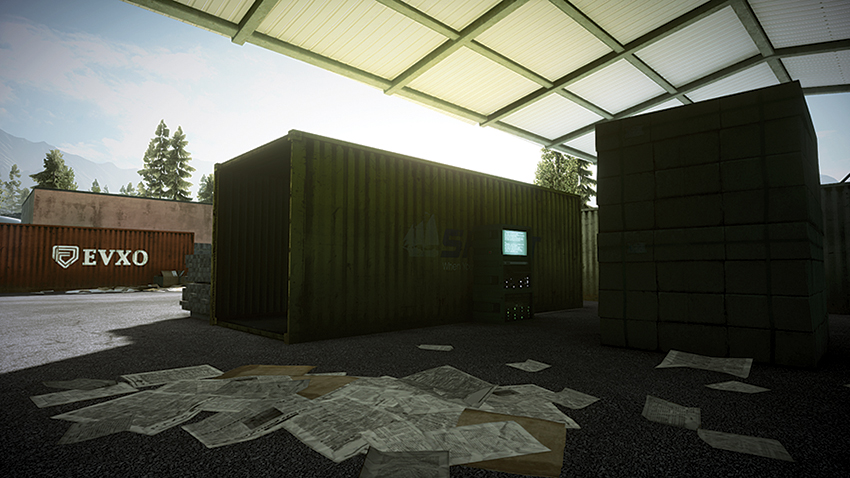
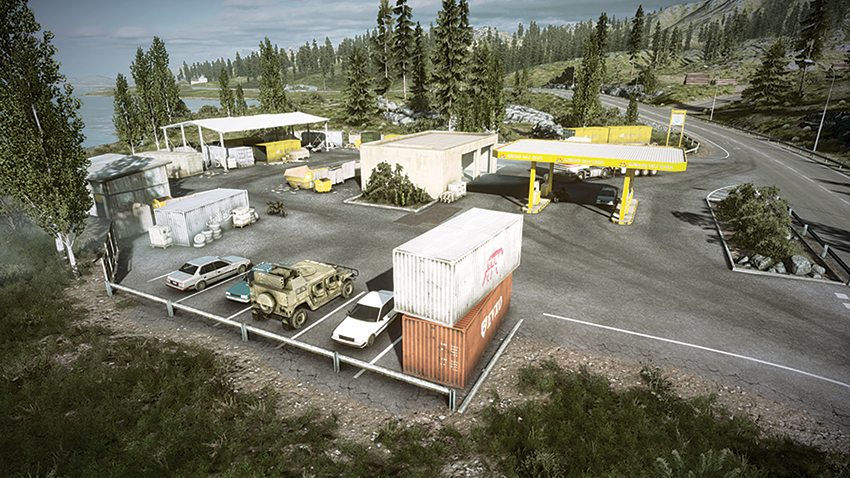
Located beneath a storage area between two yellow shipping containers on the north side of the Gas Station, M-COM Station B does not offer sight lines to observe the activity around it. While MAVs work great for monitoring the activity that occurs on the Gas Station property, MAVs have difficulty seeing soldiers that are concealed under the roof of the storage area. This means defenders must make use of T-UGS motion sensors—usually placed within the shipping containers themselves—to monitor the activity of the objective area. Given the confines of the area, attackers and defenders alike will not be able to approach the M-COM Station with a vehicle. Instead, defenders and attackers alike will be passing tanks through the north side of the Gas Station lot in an attempt to control this objective. Tank commanders that want to establish a presence here should remain on the grassy area to the north and the east after destroying the fence line to offer at least some visibility. By remaining off the pavement, tanks can avoid the mines that are littered around the Gas Station.
Zone 3: Lumber Yard
US Deployment
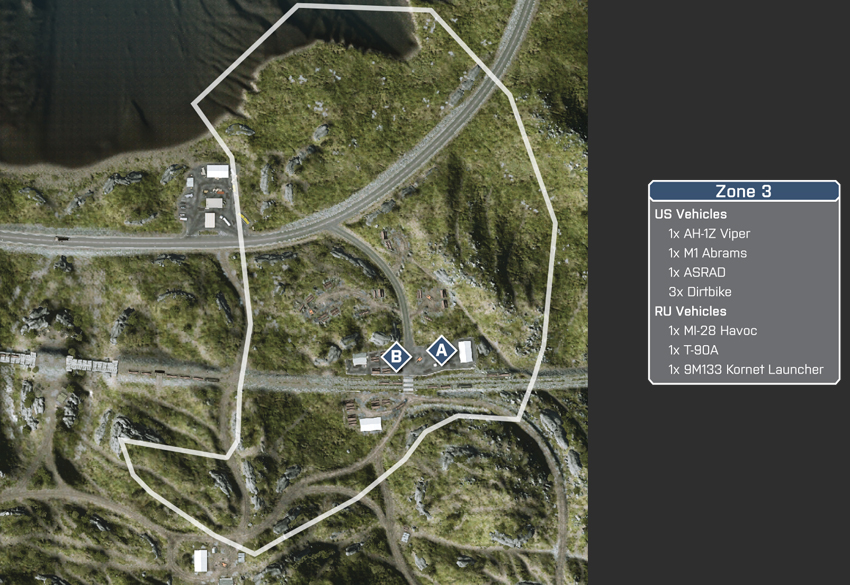
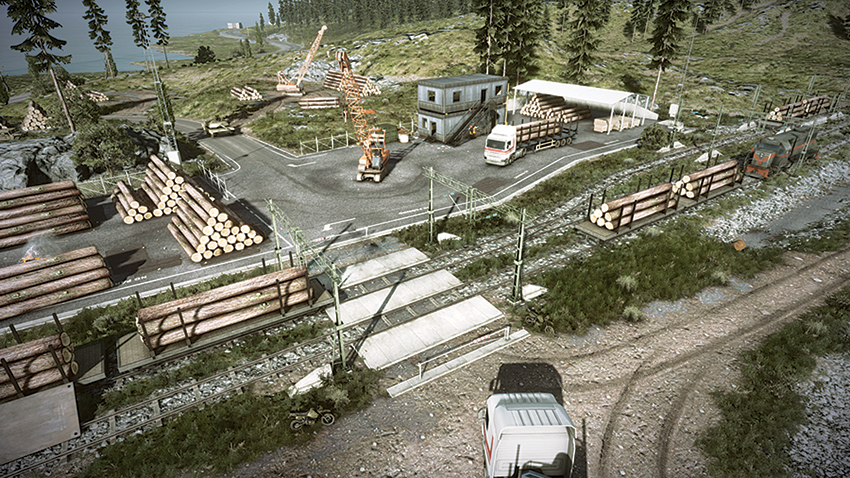
Deploying from the Gas Station, the US team will have to work their way uphill and to the south to approach the objectives. While the team can approach the Lumber Yard relatively unnoticed, securing the objectives will require a coordinated effort by both the armored vehicles and infantry units. When attacking the objectives, infantry should focus on flanking from the west and the east sides of the yard, while the heavily armed M1 Abrams and ASRAD take up positions in the center of the area to focus their firepower on the defenders that are deploying from the south. While this chaos ensues, the AH-1Z Viper can proceed south and approach the Lumber Yard from behind the defenders’ deployment to eliminate threats en route to the yard. The team should focus its attention on one objective at a time to keep from being spread too thin between the objectives.
RU Deployment
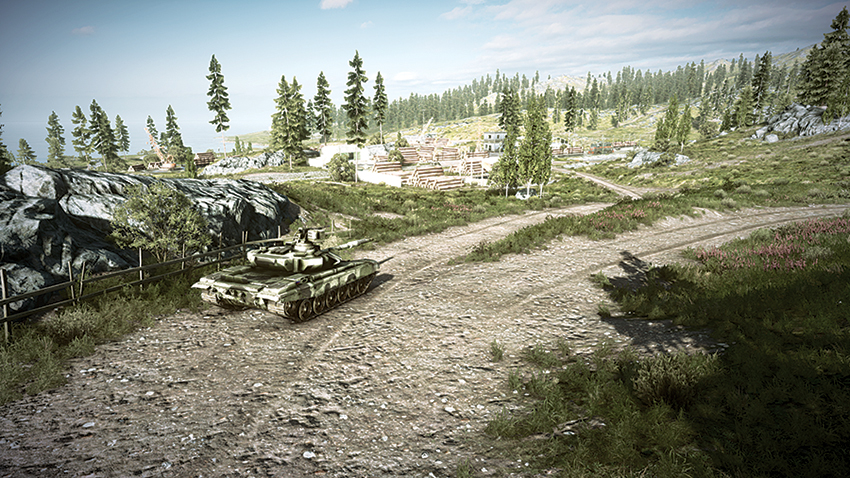
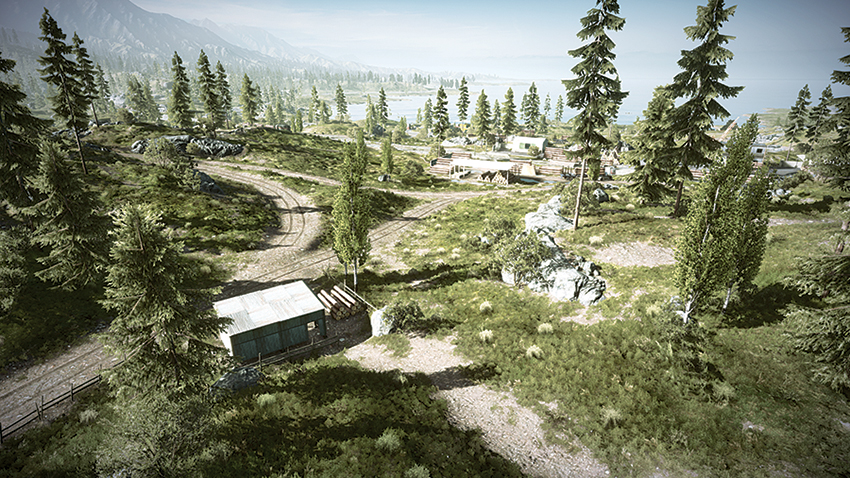
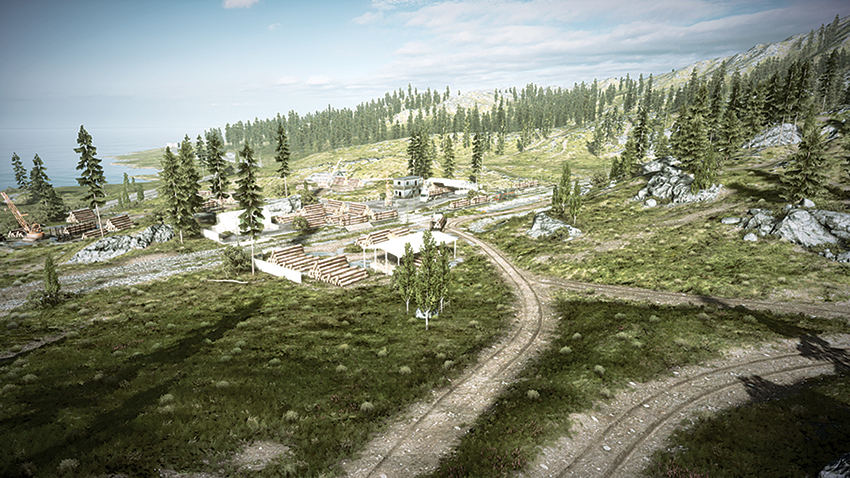
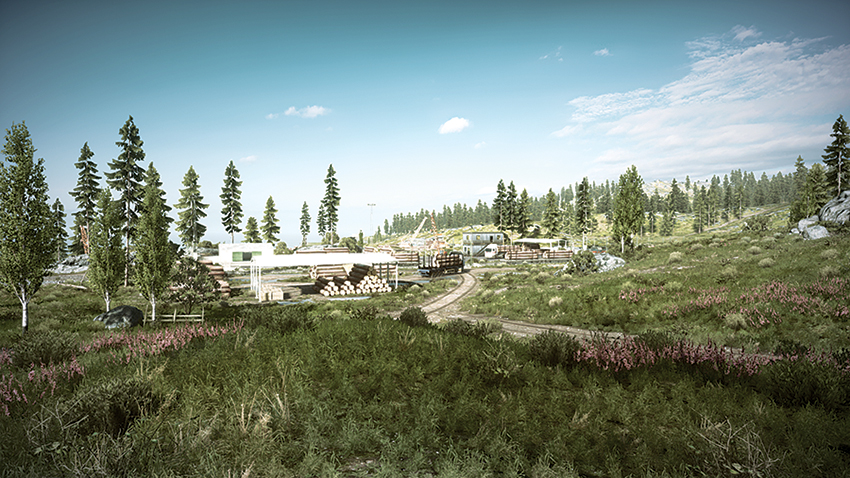
Deploying south of the Lumber Yard, the RU team can advance and quickly take up positions throughout the yard. Fortifying the yard is essential when defending the objectives here. One opportunity to secure the area is from within the two-story office building on the east side of the yard. From the second floor, defender snipers can cover the west side of the yard and attack hostiles that are approaching the timber piles there, as well as observe movements slightly to the north. The MI-28 Havoc should monitor the approach of vehicles from the north and alert infantry units if heavy vehicles attempt to flank the yard by keeping off the road to the north. The lumber piles to the west side of the yard can be destroyed by the heavy weapons found on tanks and AA jeeps. These large piles form good cover for the attacking forces and should be destroyed to allow for greater visibility of enemy movements.
M-COM Station A
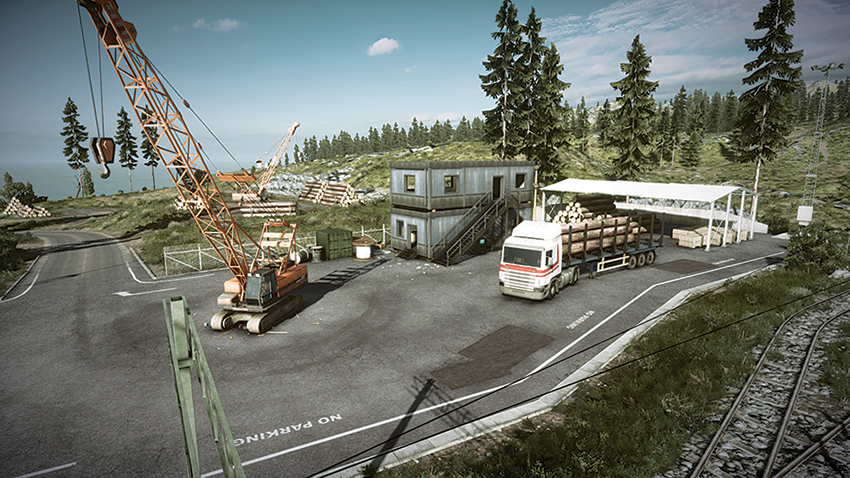
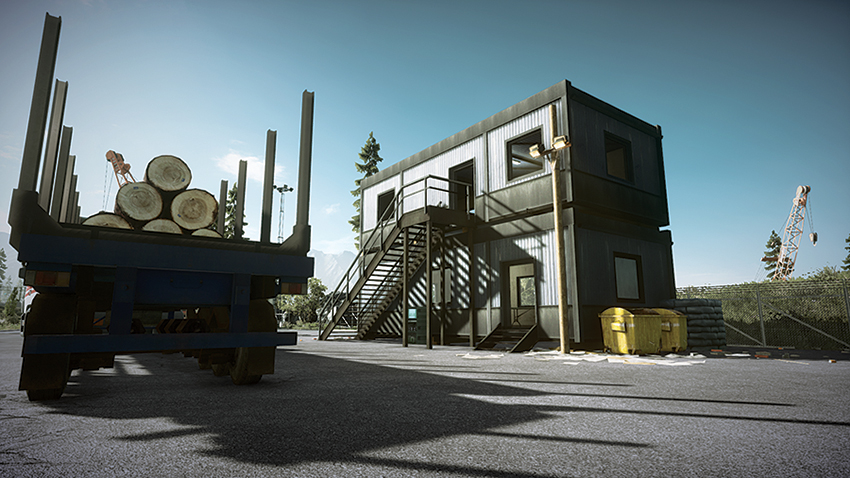
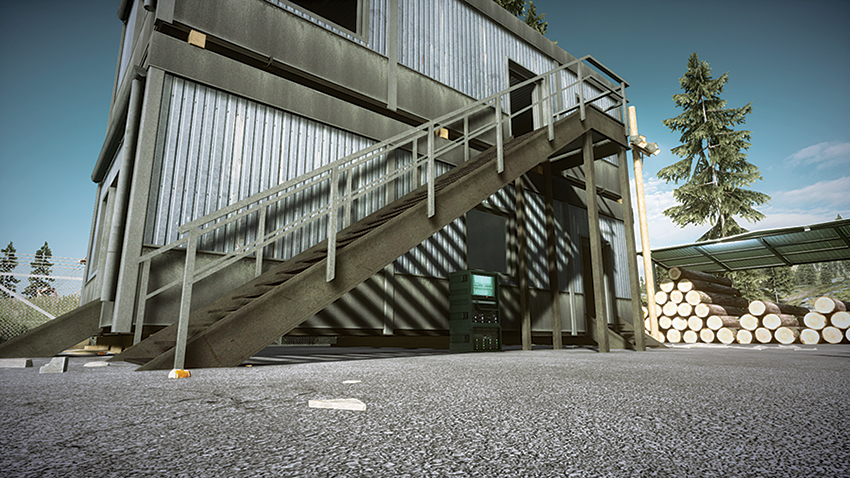
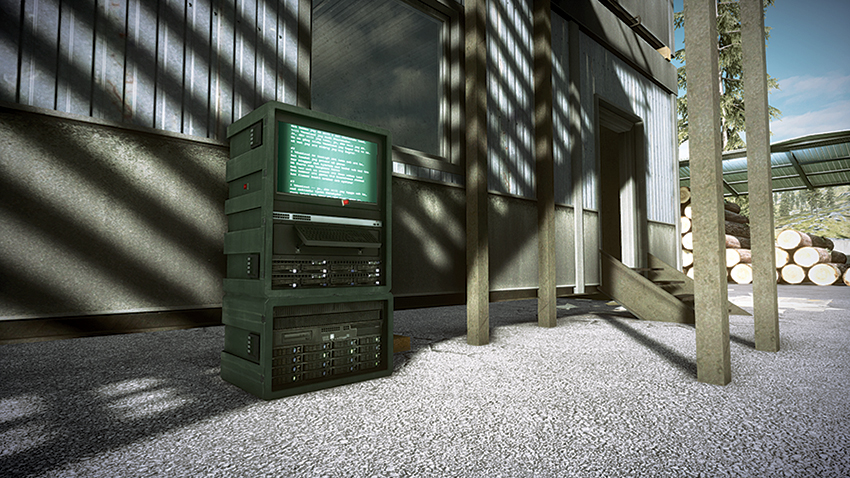
M-COM Station A is positioned below the stairs leading to the second floor of the office building on the east side of the Lumber Yard. The objective is exposed, so attackers should use care when attempting to plant a charge. Defenders looking to keep the objective in their view can take position on the rocky hill to the southeast of the objective. Although not concealed while here, a skilled sniper can eliminate threats that approach the objective and then relocate before being spotted. Attackers should also clear the first floor of the office building while their teammates are planting the charge, as the building is a home for camping defenders. Defenders looking to protect the objective can use the covered storage area on the east side of the yard to maintain cover while firing on the objective area.
M-COM Station B
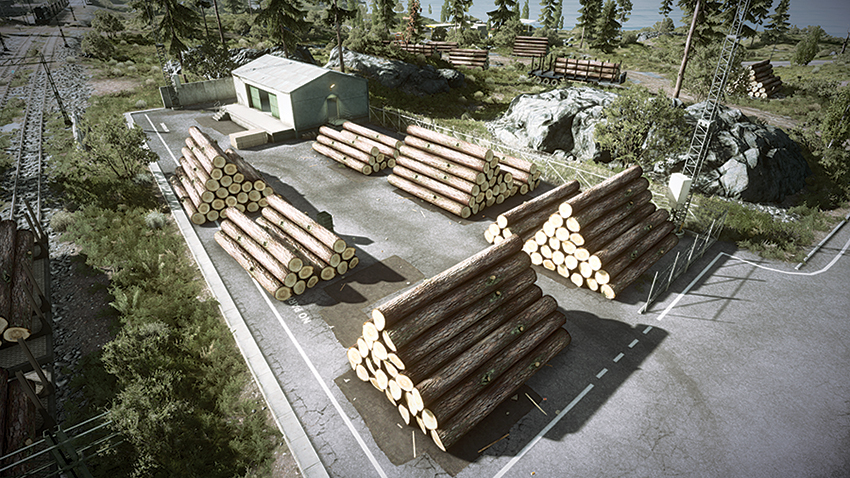
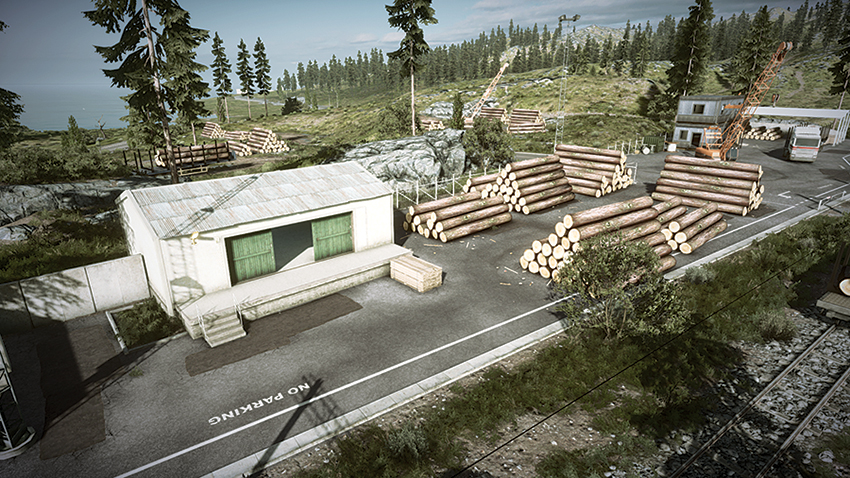
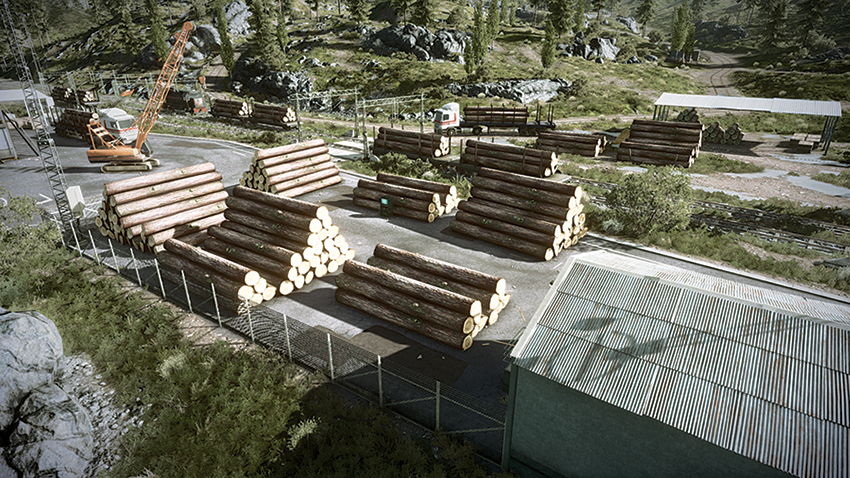
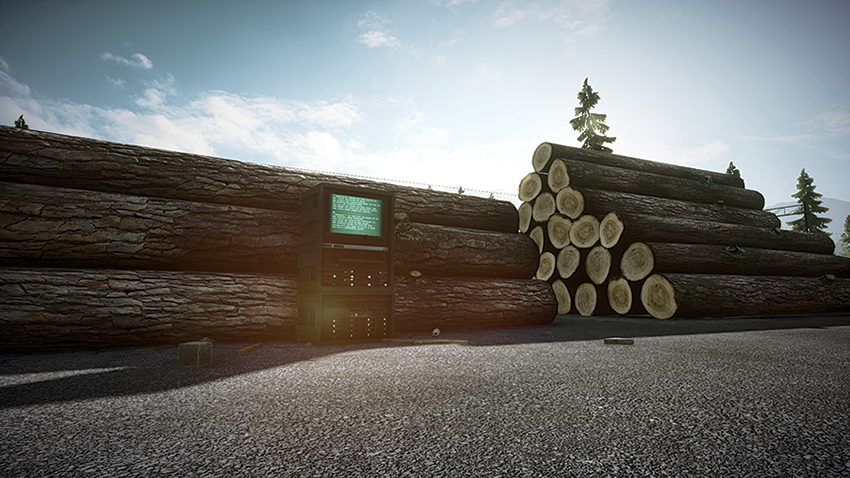
Located among piles of timber on the Lumber Yard’s west side, M-COM Station B is open to attack from the north. Attackers looking to approach the objective should break through the chain-link fence north of the lumber piles to avoid the attention of defenders that will be focusing on the M1 Abrams and ASRAD as they enter the Lumber Yard. Defenders should use the T-90A to blow apart the timber piles and remove some of the potential cover so that it can’t be exploited by attackers. The defenders’ narrow sight line requires a sniper to be within the building on the west side of the yard and peer out from the large double doors toward the objective. Helicopters from both teams will be circling this objective, so engineers should be focused on destroying these prying eyes as their teammates make their approach.
Zone 4: Hillside Base
US Deployment
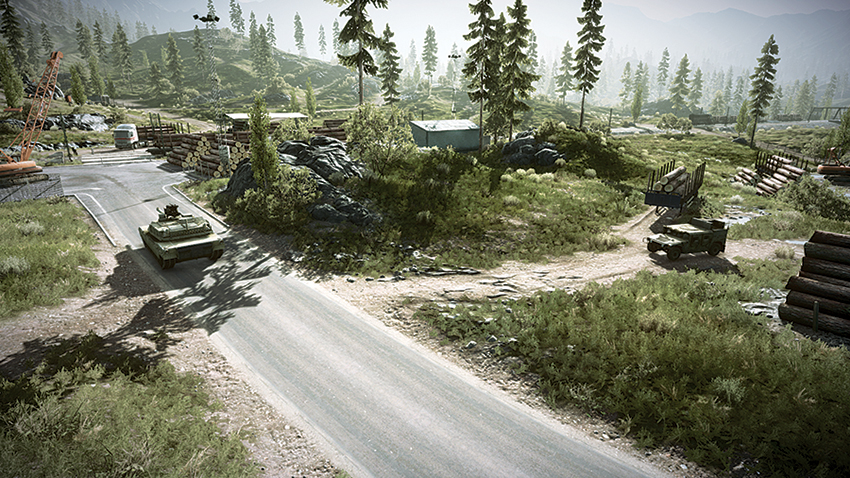
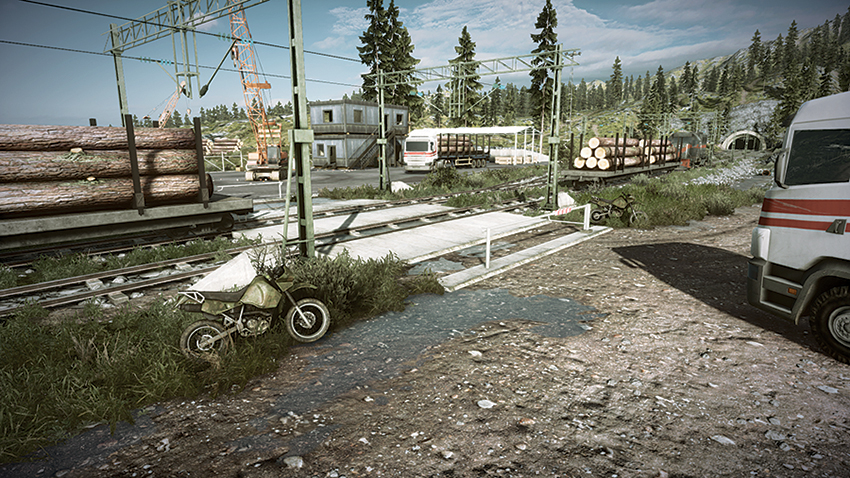
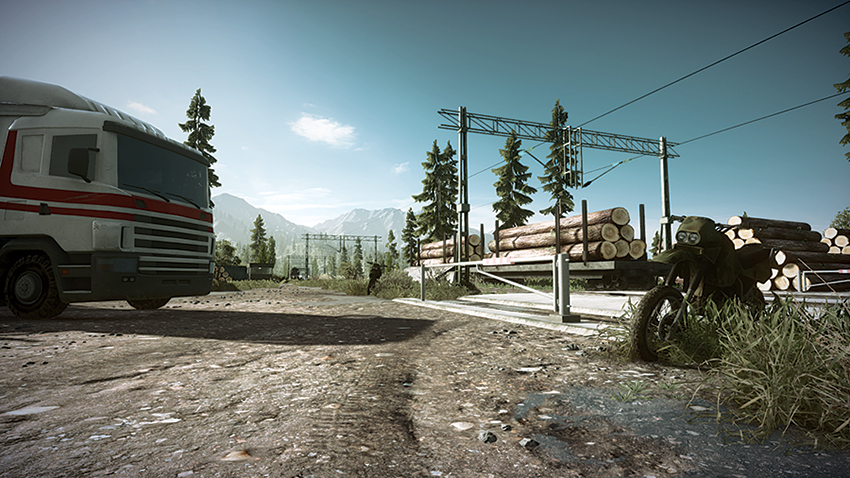
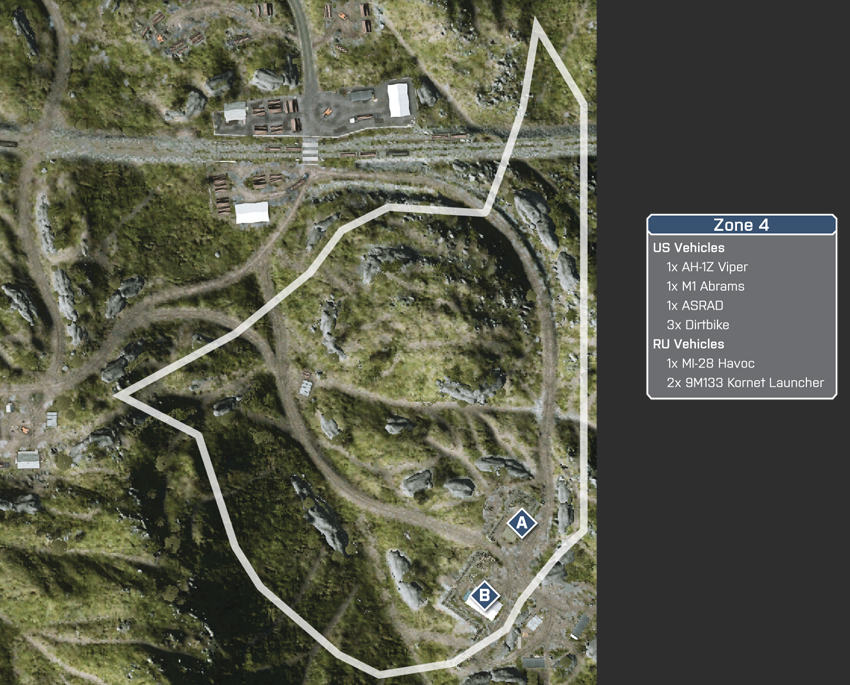
This final stage of the battle sees the US team deploying from the Lumber Yard. With the objectives located at the hillside base to the southeast, the attackers will have to make their way uphill as they move southeast to engage their target. While two roads lead to the base from the Lumber Yard, it would be wise to keep the M1 Abrams and ASRAD off them with and move directly south to approach the objectives from the west, flanking defenders in the process. If the AH-1Z Viper can eliminate the MI-28 Havoc and keep it out of the skies, the US team will have only infantry units to contend against. By making use of the M1 Abrams and ASRAD, the attackers can overpower and maintain a firm presence at the hillside base throughout this final stage of the battle.
RU Deployment
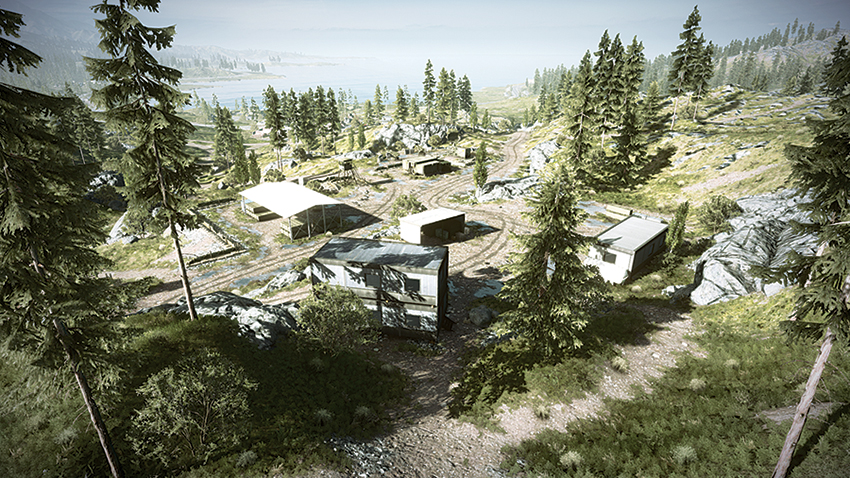
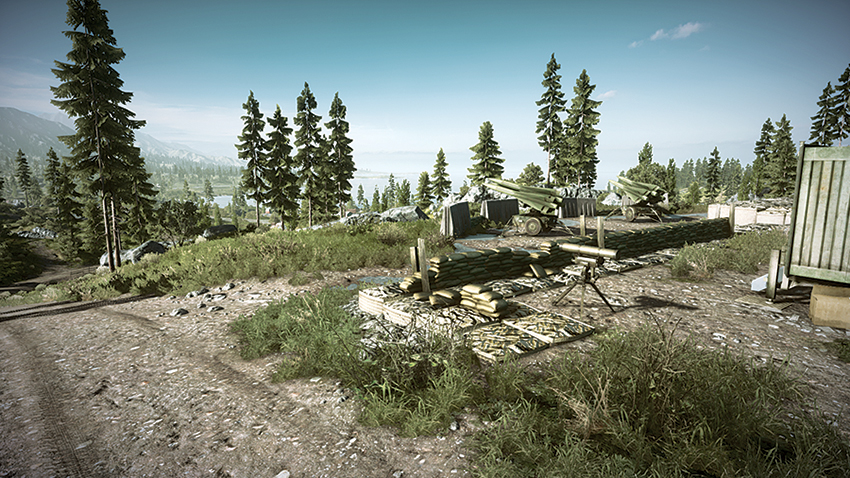
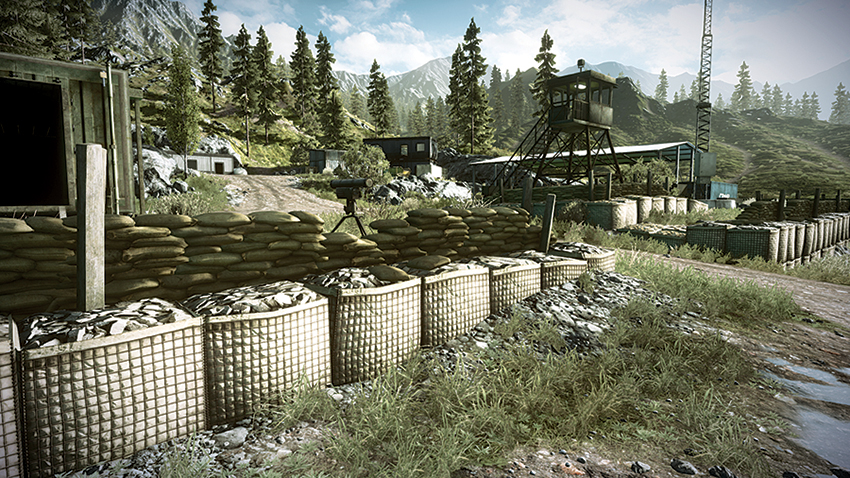
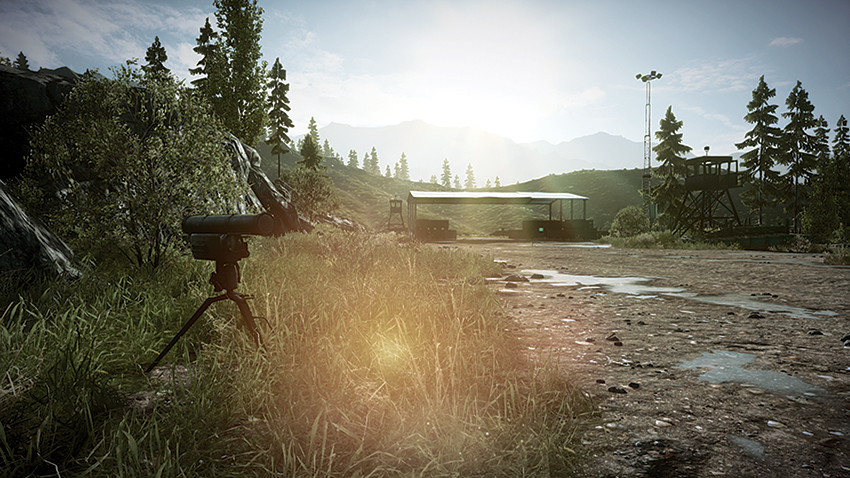
At this stage of the battle, the RU team is at a great disadvantage. With only the MI-28 Havoc and two 9M133 Kornet Launchers to provide defense, the team will have to coordinate their movements to prevent the attackers from making their way uphill from the north. Defending engineers should focus their attention on destroying the AH-1Z Viper and free up the skies for their MI-28 Havoc to handle the task of eliminating the threat presented by the opponents’ tank and AA jeep. To control the flow of dirtbikes into the area, mines should be placed within the central area of the base. The south side of the base provides a watchtower and a two-story office for sight lines of the objective areas. These can both be used to pick off attackers as they approach to plant their charges.
M-COM Station A
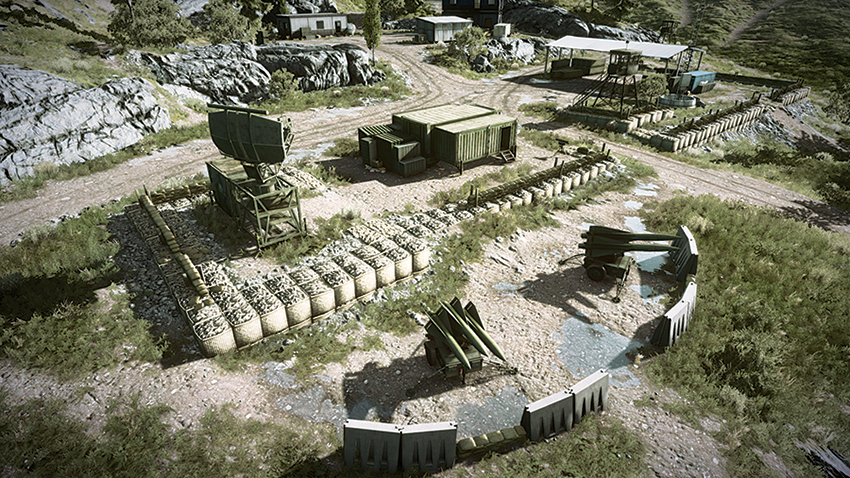
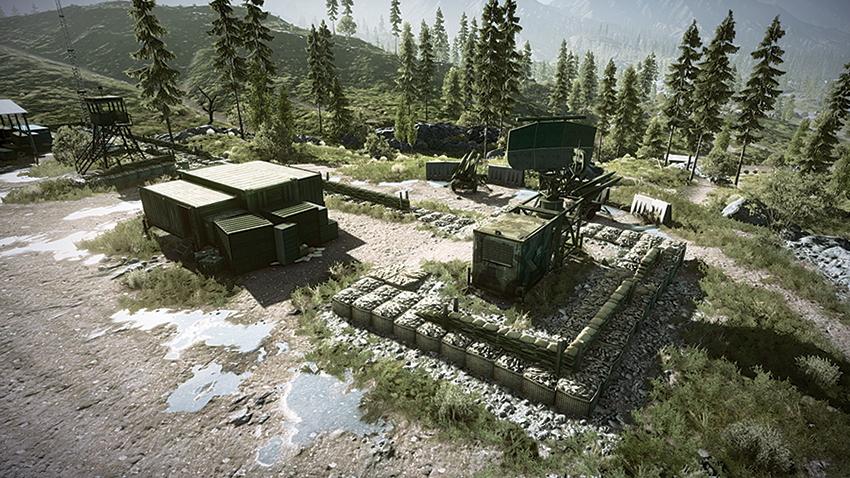
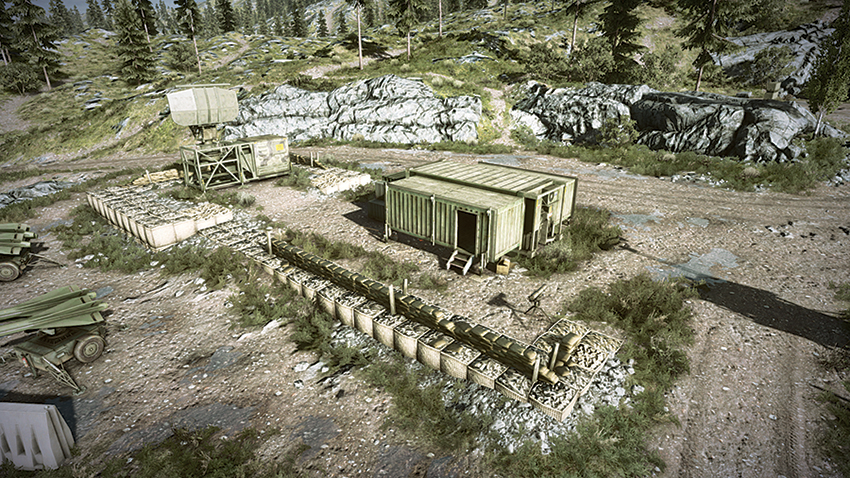
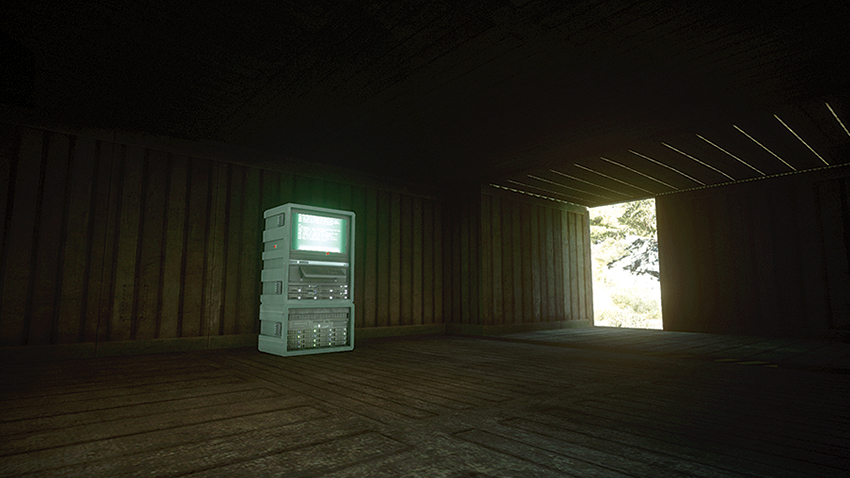
Located within a makeshift bunker of the north side of the base, M-COM Station A has only one possible sight line. This sight line requires taking position atop a rocky hill due east of the bunker. Even though the objective can not be easily observed, the area surrounding the bunker lacks any real opportunity to approach undetected. For attackers, this means that planting the charge will result in a high number of casualties unless defenders can be kept away from the objective by using a helicopter or by heavy weapons fire from vehicles. Defenders will try to camp this location, so attackers should throw in a grenade to flush out any threats prior to entering. The same can be said about attackers, who will remain within the bunker after planting the charge. Defenders will have to clear the room before entering to safely disarm the charge. Defenders would be wise to place C4 within the bunker and wait for an attacking squad to enter before detonating to maximize the potential of this booby trap.
M-COM Station B
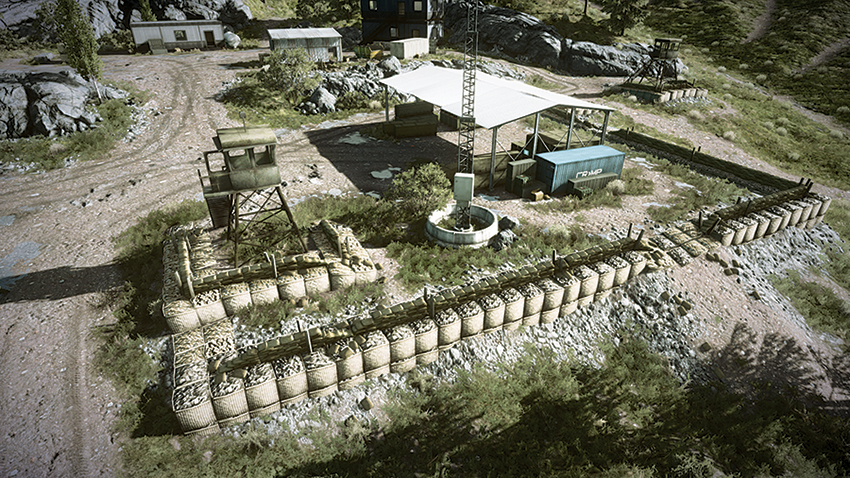
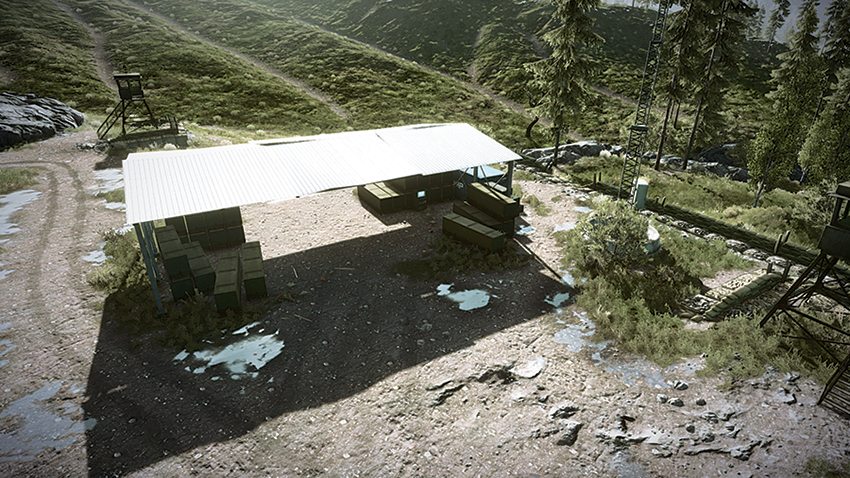
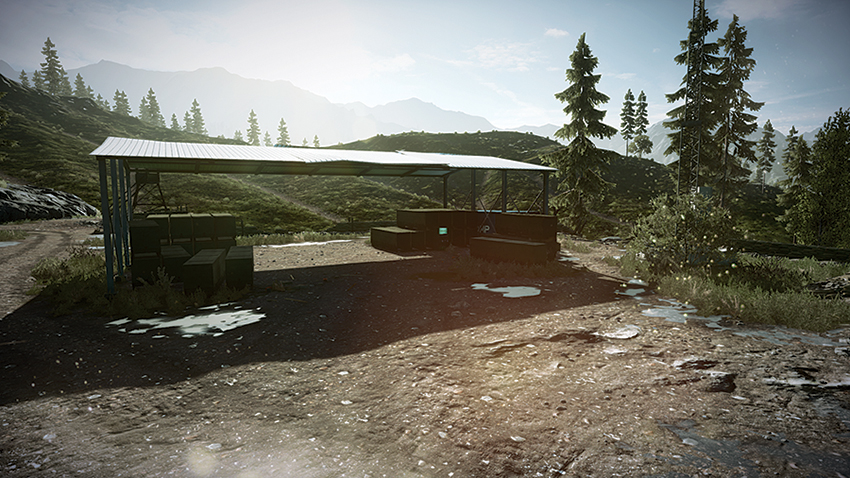
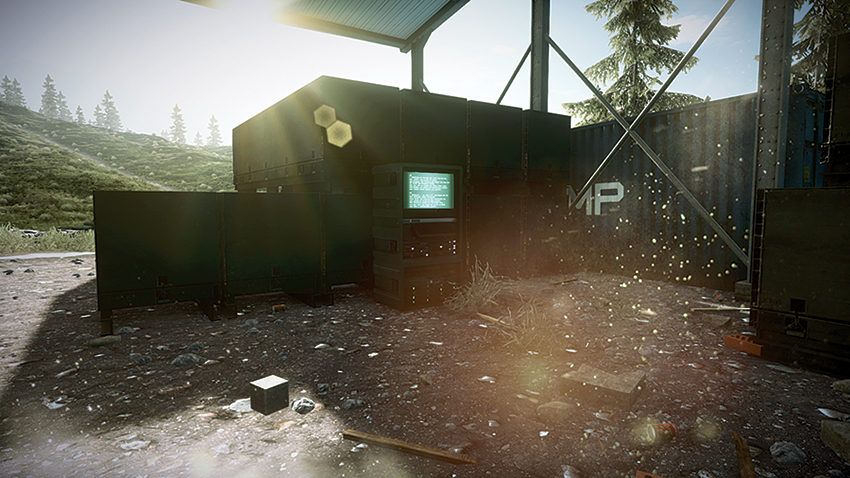
Located beside weapons crates under a covered area on the south side of the base, M-COM Station B cannot be observed easily. However, you can observe units approaching this area by taking position atop the watchtower or the second story of the building on the base’s south side. Attackers attempting to arm a charge on this objective should approach from the west and climb over the sandbags there. Defenders benefit from having their helicopter maintain a presence west of the base, guarding against the approach of vehicles from the north and bombarding enemy infantry as they approach. Engineers should be in place to target and destroy the attackers’ helicopter when it comes to threaten the MI-28 Havoc. Attackers should bring their ASRAD in close from the north and use its secondary fire option to fire upon the objective site and suppress defenders that are encamped there and in the building on the south side of the base.