
Battlefield 3 Premium Guide Battlefields Squad Rush
Alborz Mountains
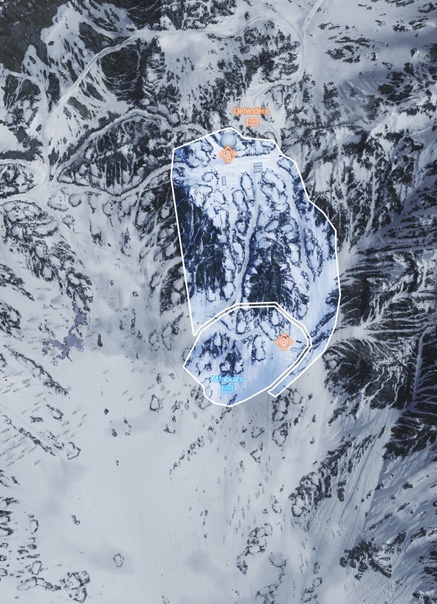
This battle takes place in the high elevation of the mountain range, with objectives located at the communication station and radar station. The terrain here is rocky, with very few trees to serve as cover or concealment. As a result, most engagements occur at intermediate to long range. Choose your equipment accordingly before spawning into the match. While sniper rifles can be effective, the bulk of your squad (whether attacking or defending) should bring along assault rifles. Reconnaissance is equally important, so make sure at least one member of your squad spawns in as a recon soldier and is equipped with a MAV. Having an eye in the sky pays off in spades, allowing your squad to hunt down the opposing team one by one. The defenders may also want to bring along a radio beacon so they can maintain a spawn point near the objective. The attackers should rely primarily on squad spawns to keep up the pressure in each zone.
Zone 1: Communication Station
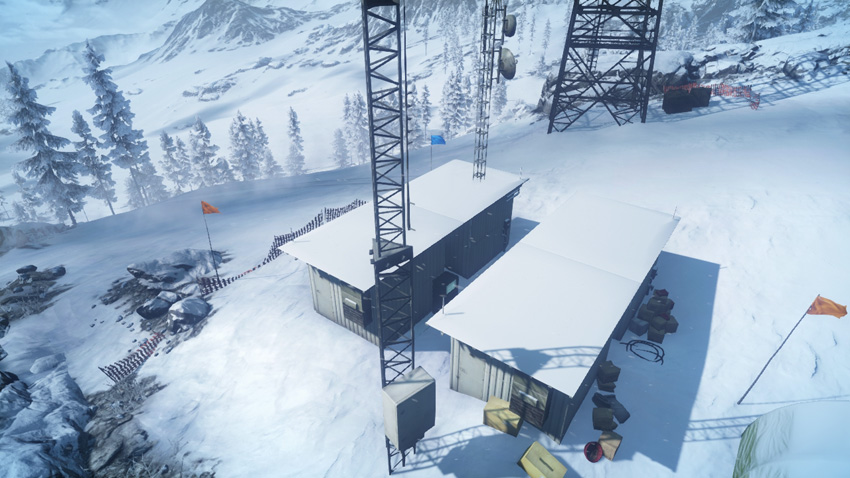
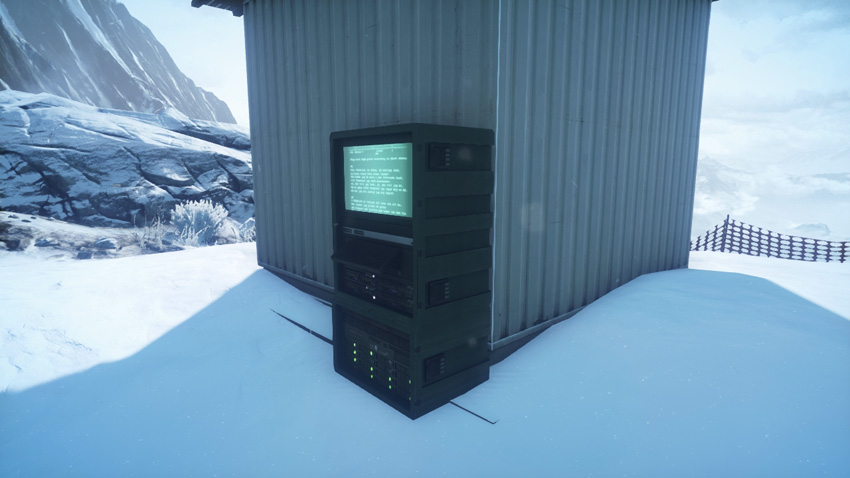
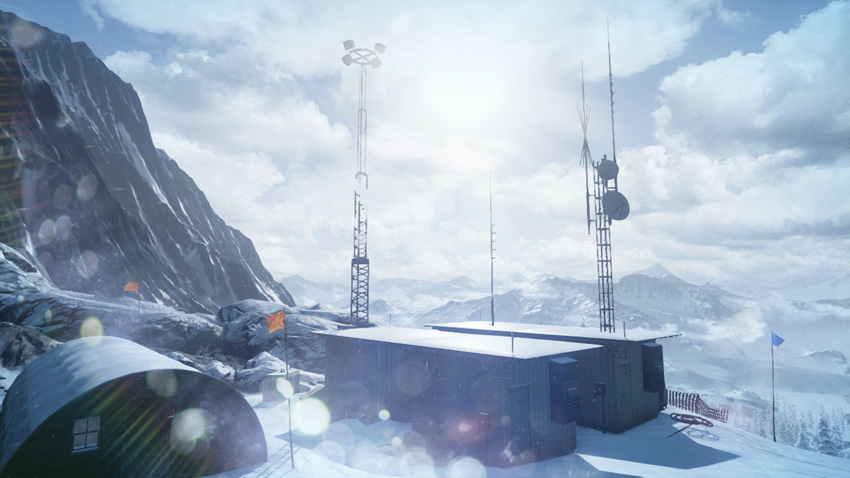
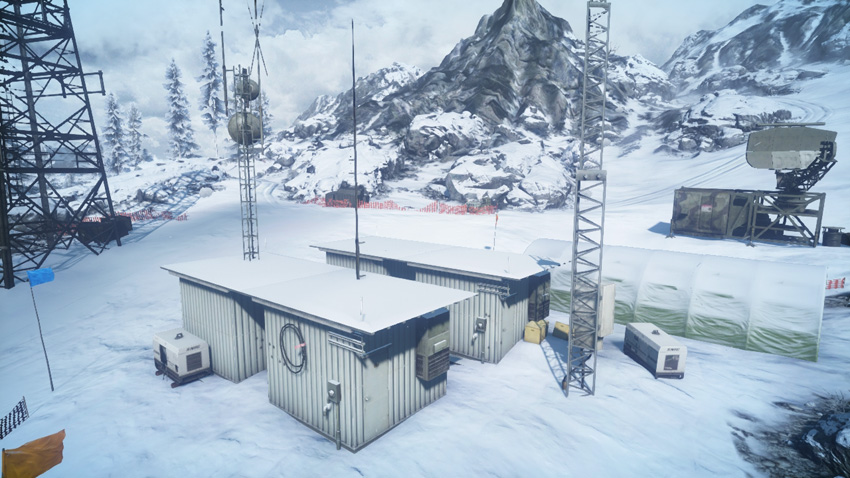
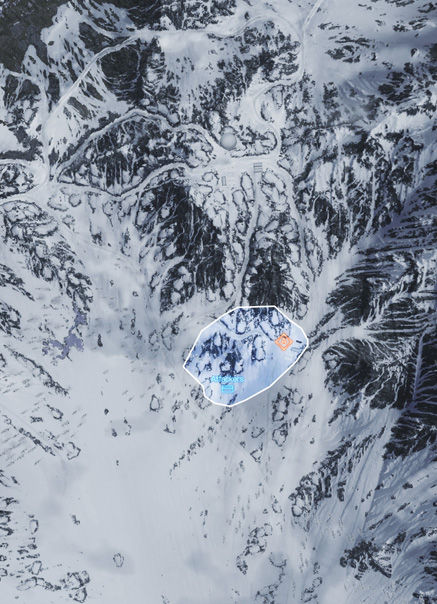
The first objective is located at the communication station, tucked between a cluster of small structures. Early in the round the defenders should deploy claymores and a T-UGS motion sensor near the objective in an effort to prevent a quick attack. Both teams can benefit from the deployment of a MAV. Given the lack of overhead cover, MAVs are very effective for identifying the locations of your opponents. Although the terrain is rather open in this area, fighting near the M-COM station takes place at close range. As a result, consider bringing along a compact assault rifle or carbine for greater versatility when engaging targets at various ranges. If carrying a larger weapon, switching to a pistol with a high-capacity magazine (like the G18 or 93R) can make close-quarters firefights around the objective much easier. Instead of rushing the objective from the south, the attacking team should take their time moving in, preferably flanking from the west where there’s more cover and concealment among the rocks.
Zone 2: Radar Station
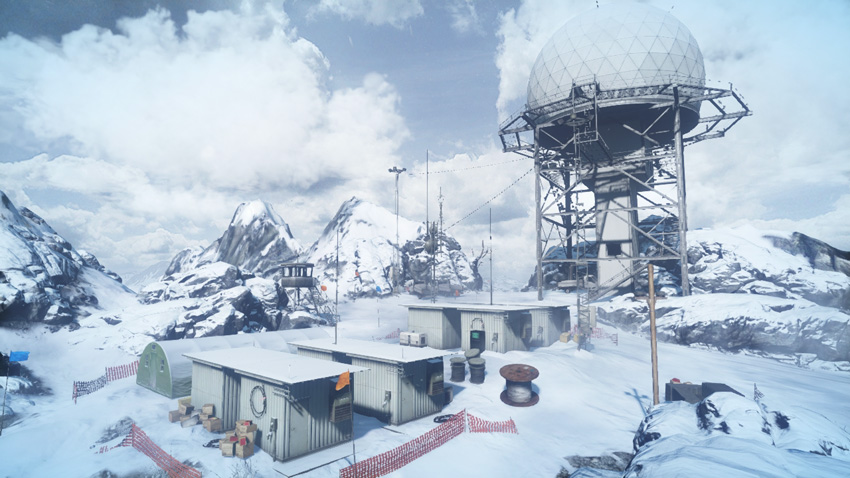
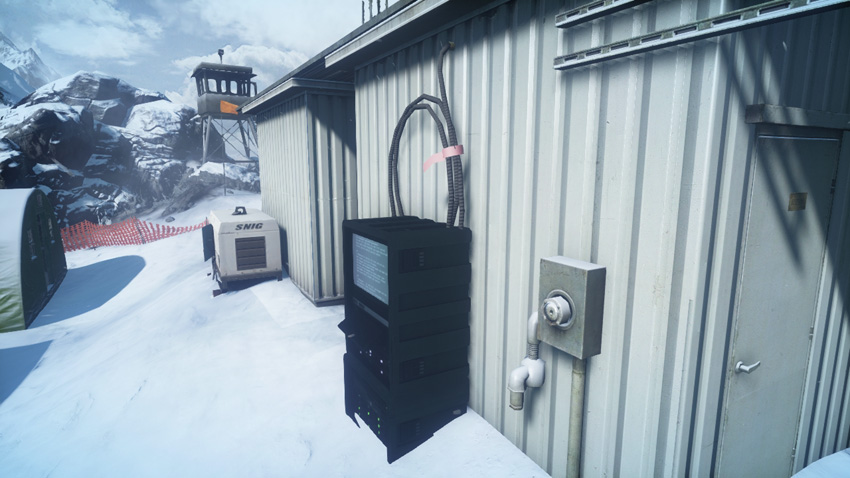
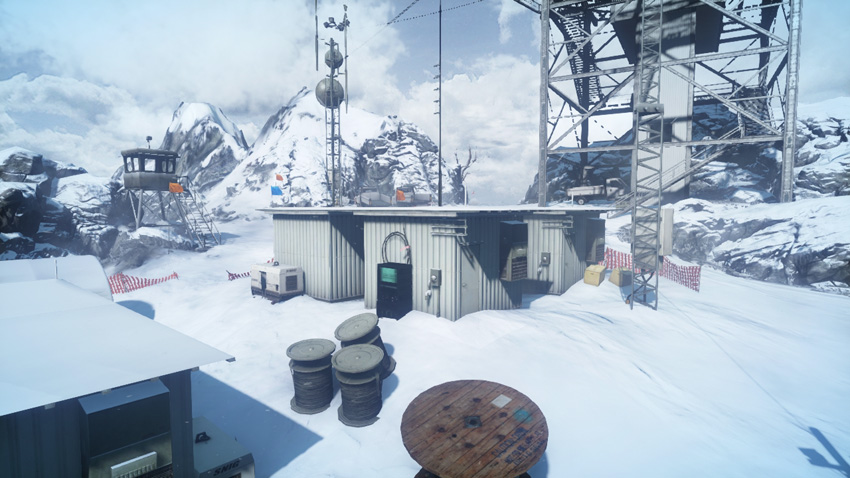
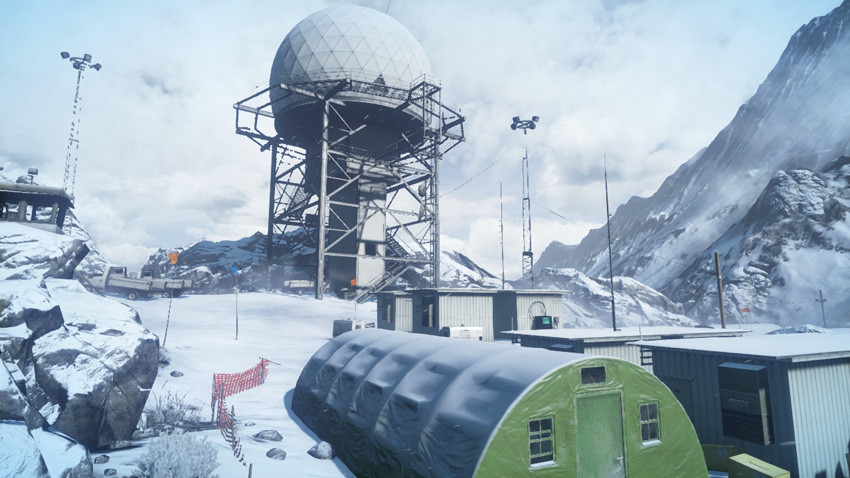
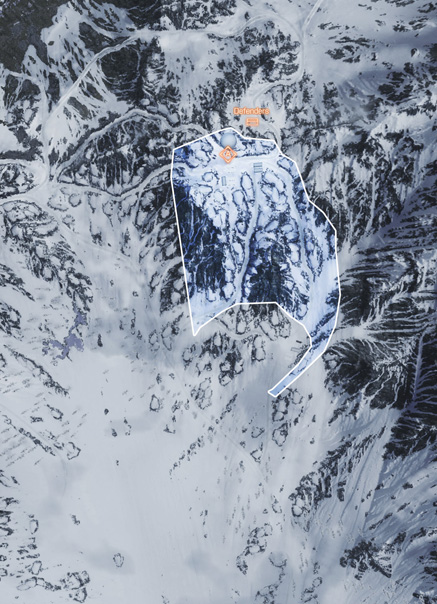
The defenders have the advantage of the high ground in this final phase of the battle. While it may seem tempting to climb to the top of the radar tower and snipe the incoming attackers, no more than one squad member should be posted on this tower—from this elevated position it’s impossible to see or hit anyone tampering with the objective. The rest of the defending squad should scatter out around the objective, and maybe even ambush the attackers as they climb the slope to the south. Once again, MAVs are very effective for both teams when it comes to gathering intel on enemy positions. The objective is pressed against the exterior of a small structure not far from the base of the radar tower. The guard tower to the west offers a good view of the M-COM station, making it an ideal overwatch position for both the attackers and defenders. For the attackers, a cautious approach is best, particularly while negotiating the rocky slope to the south. When possible, try to flank the radar station from the east or west.