
Battlefield 3 Premium Guide Battlefields Conquest
Damavand Park
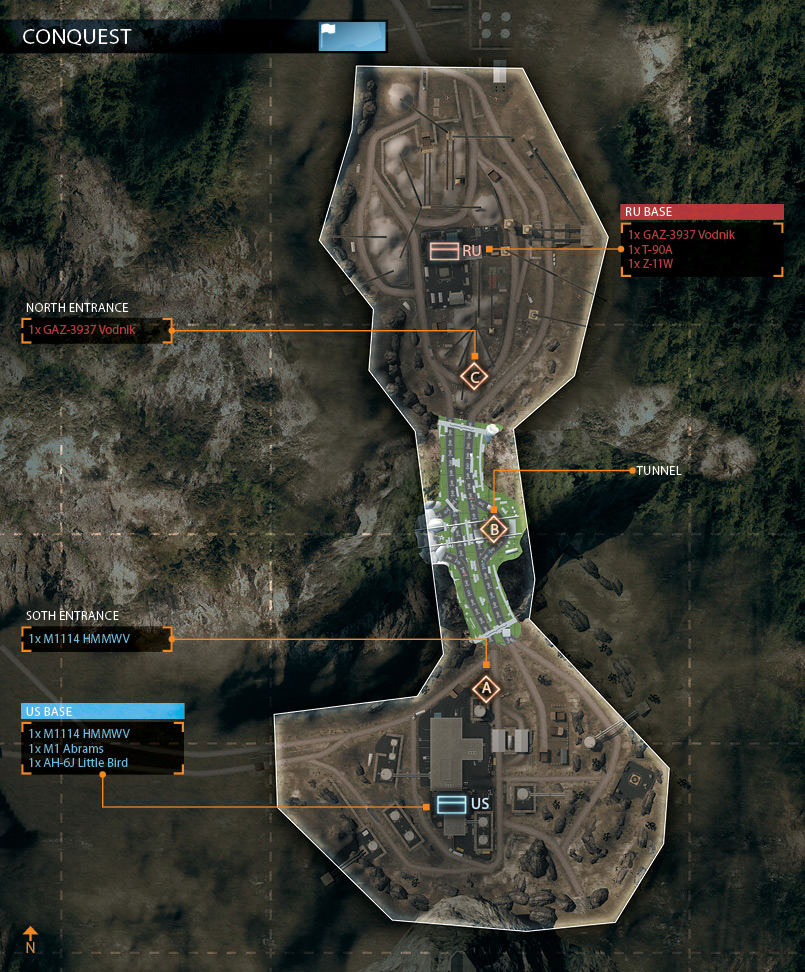
A rugged, mountainous area around Damavand Peak will play a major role in deciding whether Russian or American troops are successful in combat operations throughout the sector, as the area is home to key radar installations.
On orders from CentCom, a specially trained unit of US Marines is leading a mountain assault on a uranium mine in North Khorassan Province.
The once-abandoned area is now heavily defended by Russian forces stretching from the processing area through access tunnels that run up to a network of radar control stations used to warn the garrison of attacks.
With only three control points up for grabs, this is a relatively small-scale Conquest match, where defense is often more important than offense.
The US team starts in the south while the RU team starts in the north. Between these two bases are three control points. The US team should focus on capturing and maintaining control of the South Entrance (A) and Tunnel (B) to initiate a ticket drain on the RU team.
The RU team is best served by controlling the North Entrance (C) and Tunnel (B) to begin bleeding the US team’s ticket count. Unless the opportunity arises, there’s no need for either team to try to capture all three flags.
It’s much better to consolidate your forces around two control points and set up a solid line of defense within the Tunnel. The team that manages to hold the two control points nearest their base for the duration of the match stands the best chance of winning.
US BASE
Base Assets
| Name | Quantity | Respawn Time |
|---|---|---|
| M1114 HMMWV | 1 | 15 sec. |
| M1 Abrams | 1 | 30 sec. |
| AH-6J Little Bird | 1 | 90 sec. |
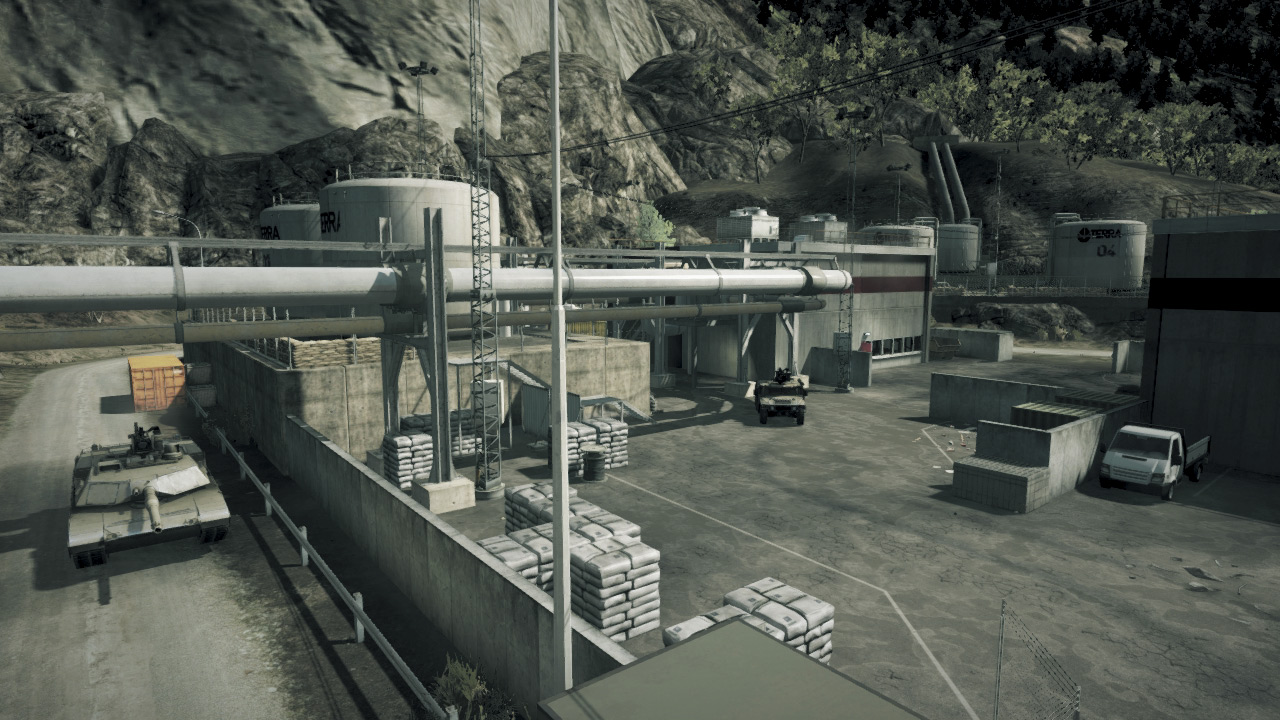
In this Conquest match, the US team starts out on the south end of the map, spawning at the Factory Valley. This puts the US team within a few meters of the South Entrance (A) control point, making it relatively easy for them to hold for the duration of the match.
Use the M114 HMMWV to get to the nearby control point as quickly as possible at the start of the match, and reinforce the position with an M1 Abrams tank.
The US Base is off-limits to RU ground units, but be prepared to defend against attacks by their Z-11W scout helicopter. It’s easiest to shoot this chopper down with the engineer’s FIM-92 Stinger.
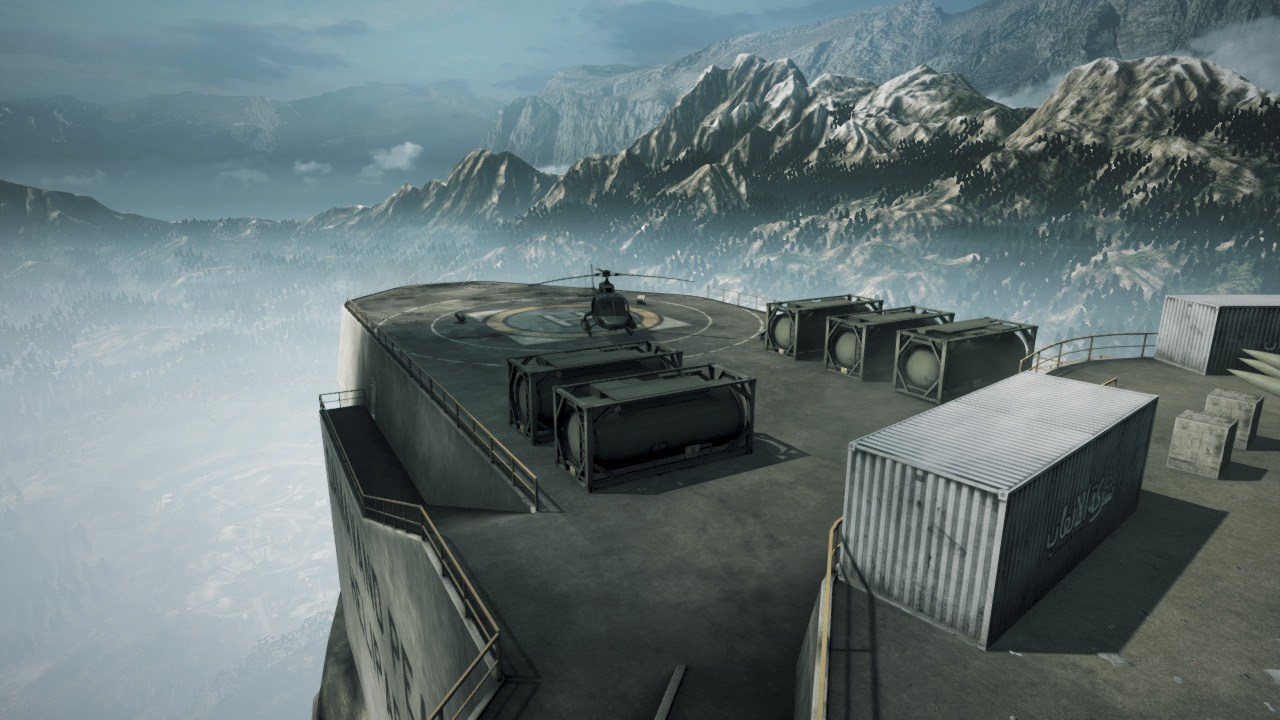
The US team’s own scout helicopter, the AH-6J Little Bird, spawns on the helipad to the east. Spawn directly into the helicopter when it’s available.
RU BASE
Base Assets
| Name | Quantity | Respawn Time |
|---|---|---|
| GAZ-3937 Vodnik | 1 | 15 sec. |
| T-90A | 1 | 30 sec. |
| Z-11W | 1 | 90 sec. |
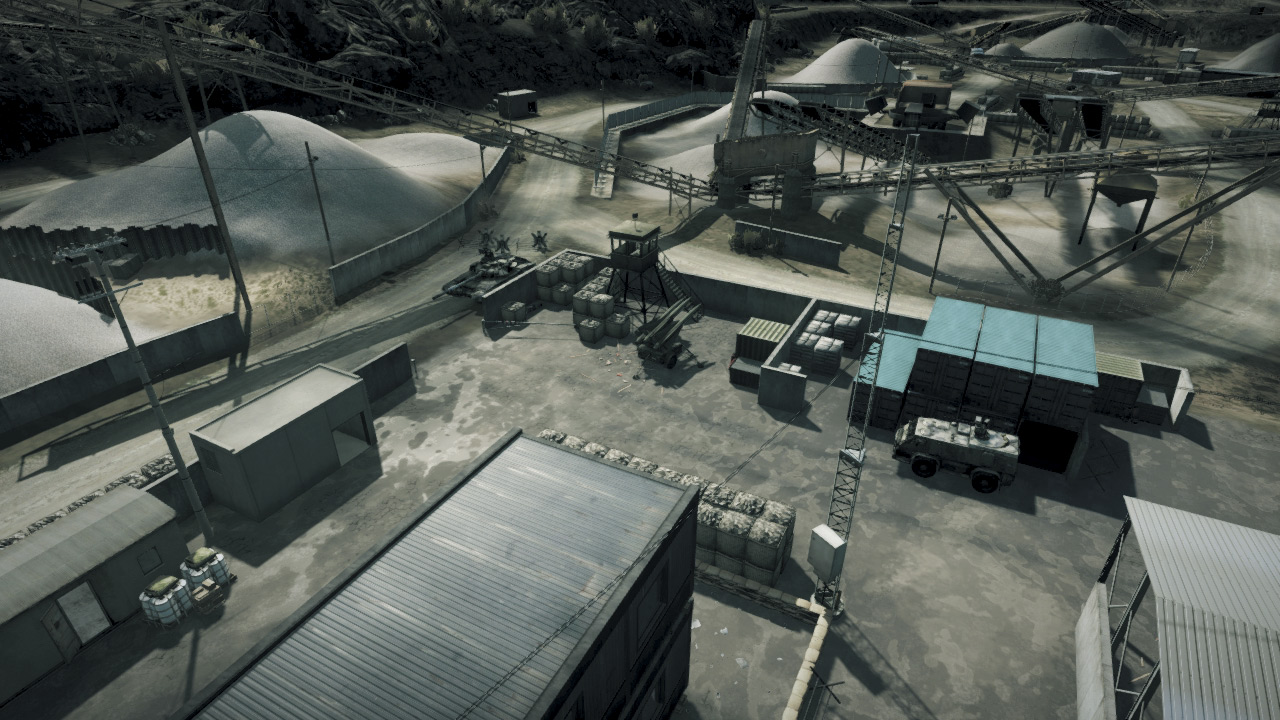
The RU Base is located at the opposite end of the map, within the Mining Area to the north, spawning only a few meters away from the North Entrance (C) control point.
Using a GAZ-3937 Vodnik, the RU team has no problem capturing this nearby control point early on before advancing toward the Tunnel (B).
While the two ground vehicles spawn around the Mining Area, the RU team’s Z-11W scout helicopter appears to the northwest and benefits from its own on-board spawn point.
So if you want to take a ride in the helicopter, spawn directly into it instead of hiking to where it appears. Be prepared to confront the US team’s own scout helicopter buzzing over the RU Base and shoot it down with the engineer’s SA-18 IGLA.
In a pinch, the machine gun turrets on the Vodnik and T-90A serve as good deterrents to air attacks.
A: SOUTH ENTRANCE
Control Point Assets
| US Control | RU Control | Respawn Time |
|---|---|---|
| M1114 HMMWV (1) | — | 20 sec. |
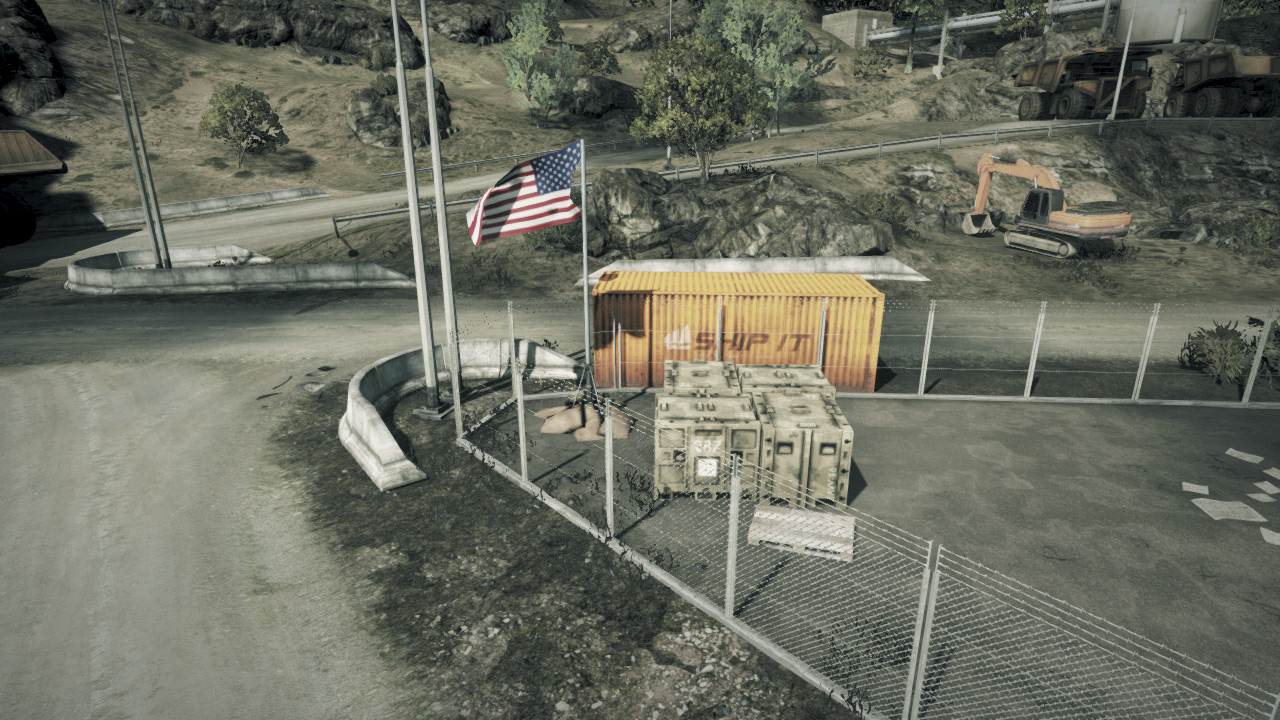
The South Entrance (A) is definitely within the US team’s sphere of influence given its proximity to the US Base. The US team should use this control point as a first line of defense in the event the RU team takes the Tunnel (B) control point.
From this location, it’s easy to pick off enemy troops and vehicles emerging from the dark Tunnel cutting through the large mountain to the north. Use the turret on an HMMWV to suppress and cut down an RU troops that come rushing out of the Tunnel.
The flag here is located near a fork in the road by the Tunnel’s entrance, making it easy for both infantry and vehicles to capture. The chain-link fence surrounding the flag can be easily cut with a knife.
So if you find yourself standing on the road, slice your way through the fence and seek cover near one of the shipping containers south of the flagpole while capturing or contesting this point.
B: TUNNEL
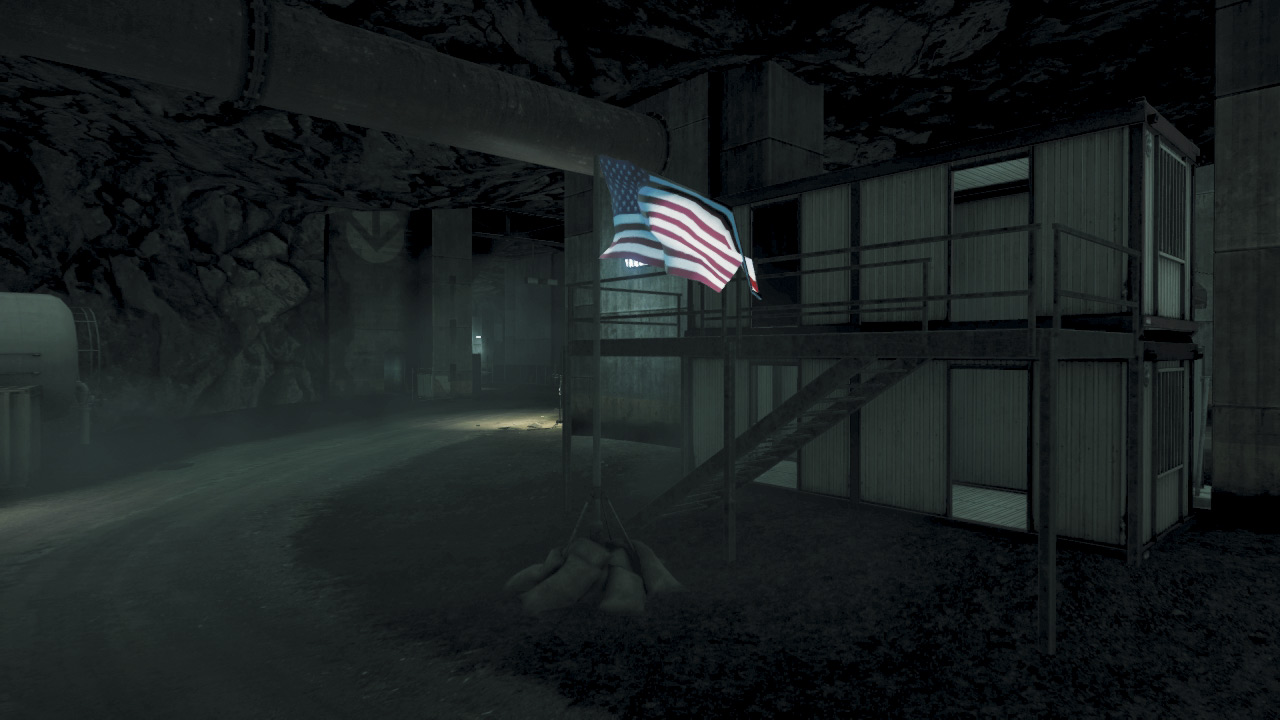
The Tunnel control point (B) supplies no vehicles to either team, but it remains the most crucial point on the map. Since there’s only three control points on this map, whichever team controls the Tunnel has a good chance of bleeding the opposing team’s ticket count, which all but guarantees a victory.
The flag here is located along a side road on the east side of the Tunnel, and can be captured or contested from within the nearby buildings.
While the main Tunnel entrances to the south and north are the only approaches for vehicles, infantry can utilize the narrow side passages on the eastern edge of the Tunnel to access this area directly.
This is the preferred method of advancing on this area while on foot because it allows infantry to detour heated vehicle battles on the main road. This area is very dark, so make use of Tactical Lights and Laser Sights to blind your opponents.
The IRNV (IR 1x) scope and Flash Suppressor are also useful here if you wish to avoid detection. This is particularly useful for defenders—find a nice corner with a good view of the flag, and pick off any attackers that move into view.
C: NORTH ENTRANCE
Control Point Assets
| US Control | RU Control | Respawn Time |
|---|---|---|
| — |
GAZ-3937
Vodnik (1) |
20 sec. |
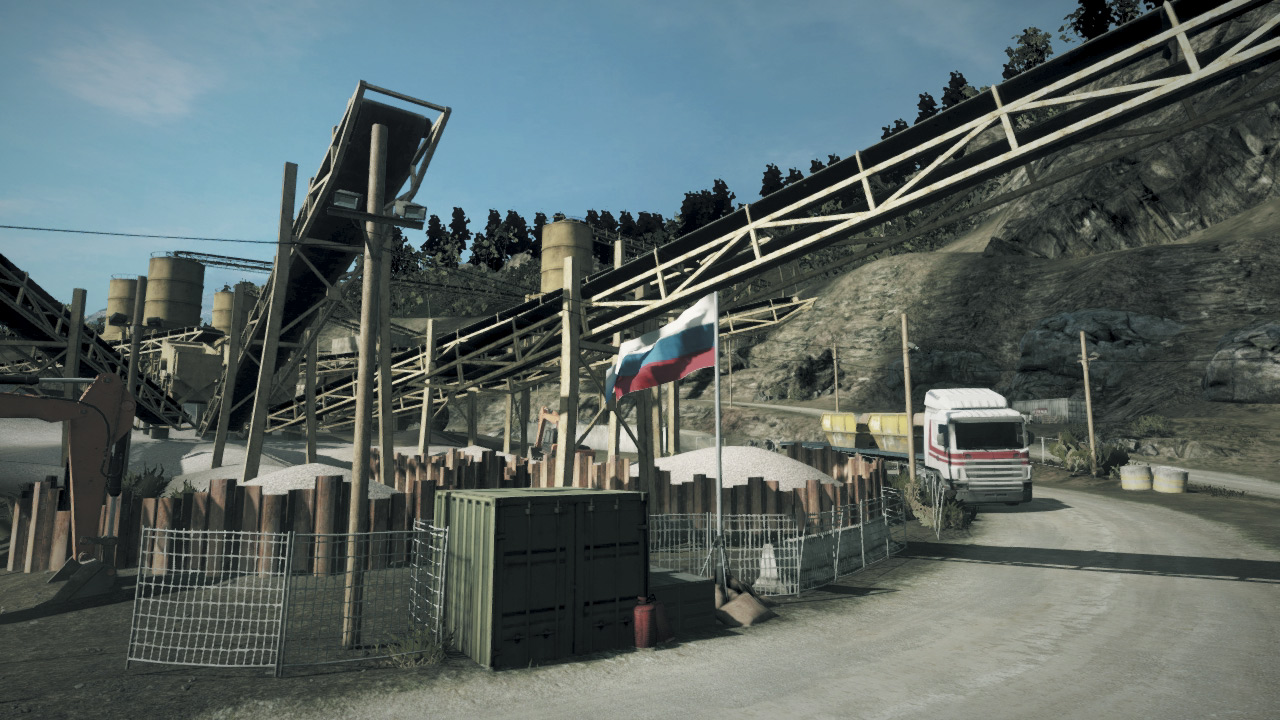
The North Entrance (C) serves as a forward base for the RU team, providing a spawn point near the Tunnel (B). Located only a few meters from the RU Base, the RU team should have little problem maintaining control of this location throughout the duration of the match.
But if the US team holds the South Entrance (A) and Tunnel (B), RU troops should be prepared to fend off attackers here. Like at the South Entrance (A), the North Entrance flag is located right next to the road outside the Tunnel, and can be captured by either vehicles or infantry.
The lack of cover along the road makes it safer for infantry to slice through the nearby fence and seek cover among the rusty metal retaining walls to the north.
However, there are plenty of hiding spots for attackers and defenders alike, so it may require a thorough patrol of the area before you can eliminate opposing forces within the flag’s capture radius.