
Battlefield 3 Premium Guide Battlefields Conquest
Markaz Monolith
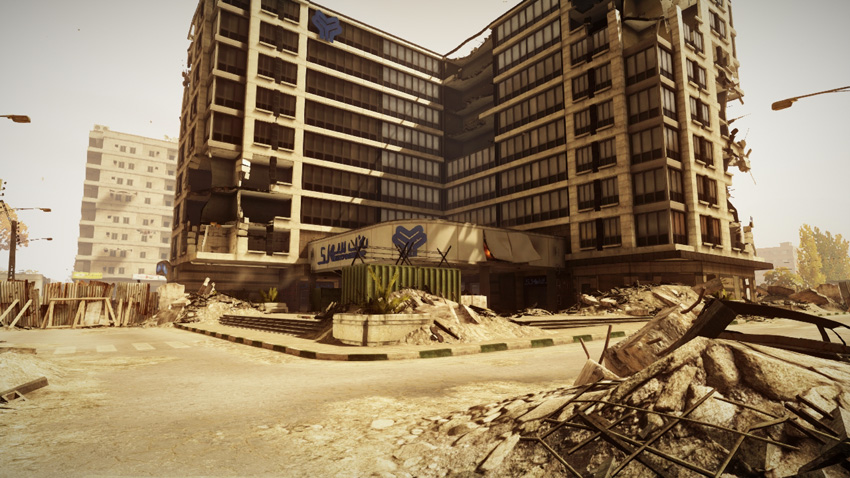
Conquest
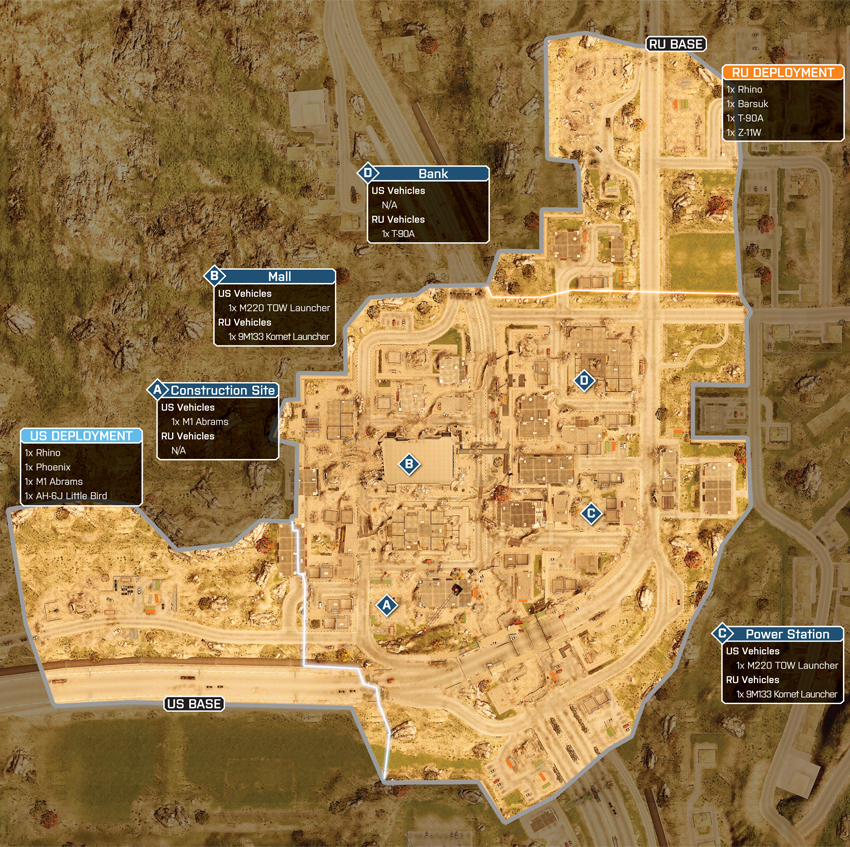
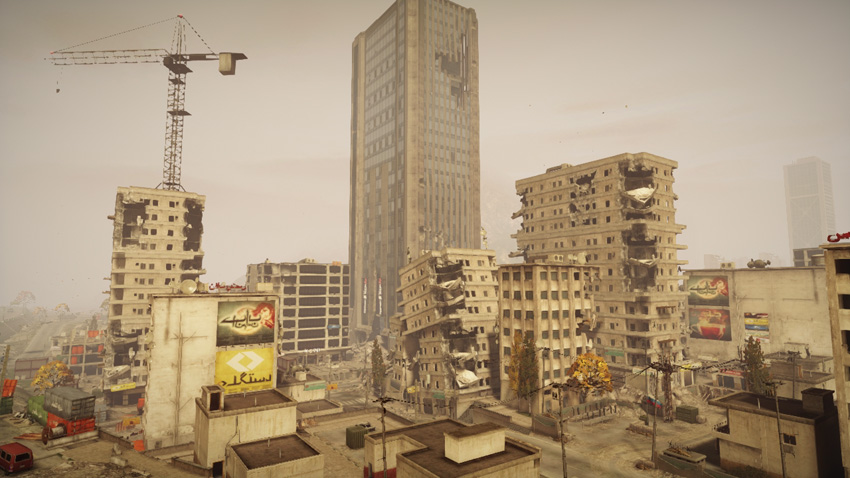
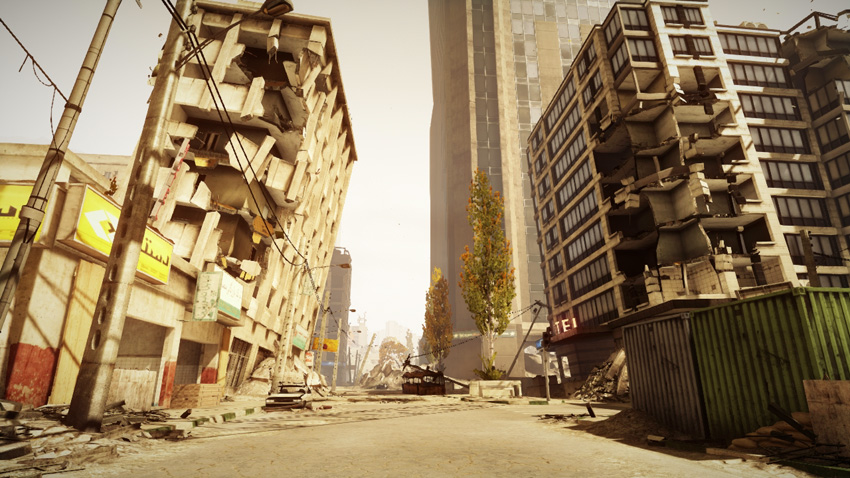
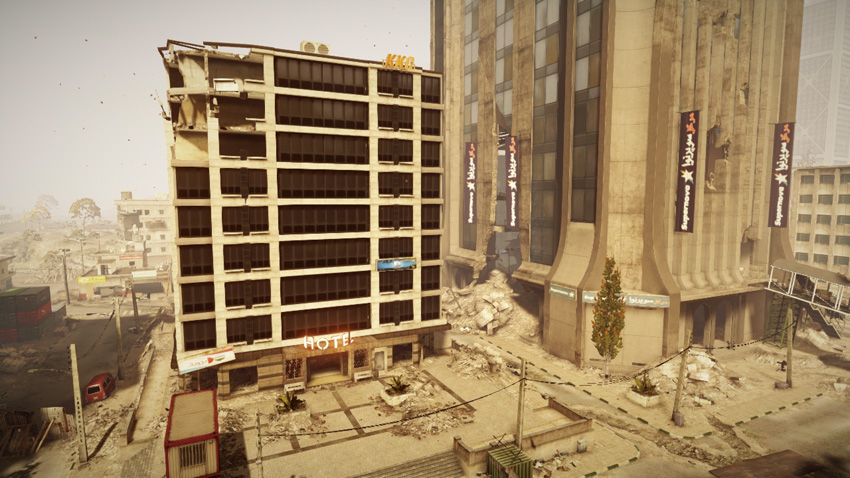
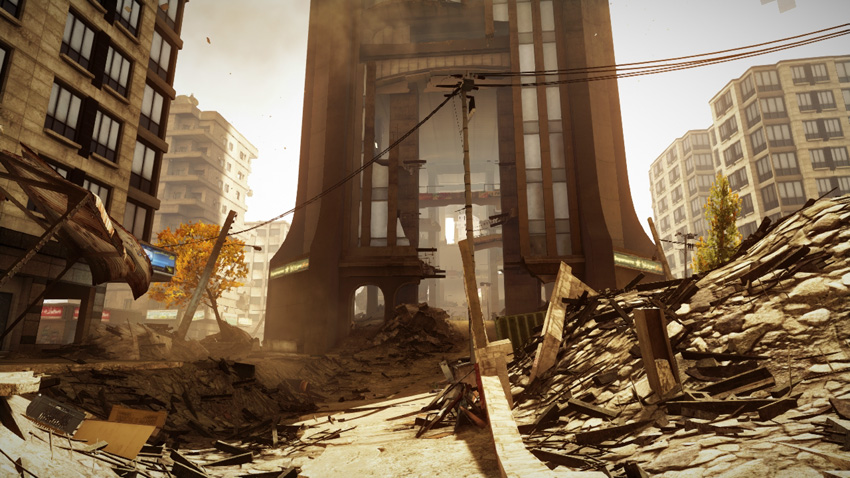
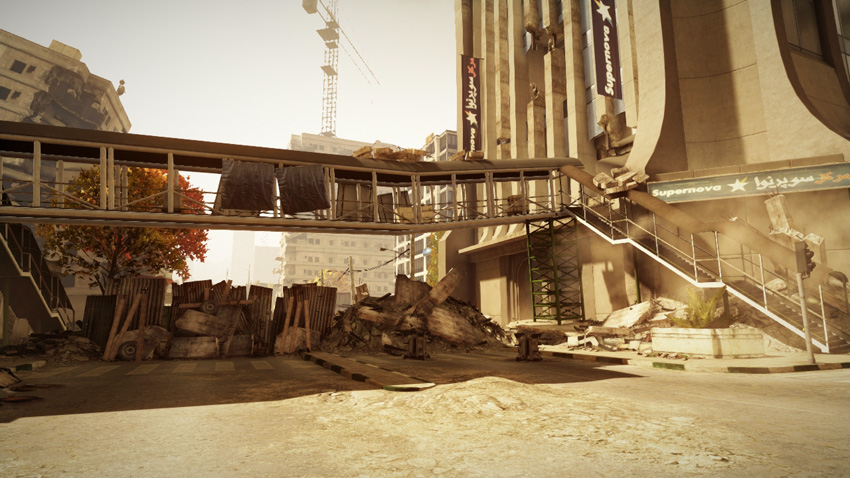
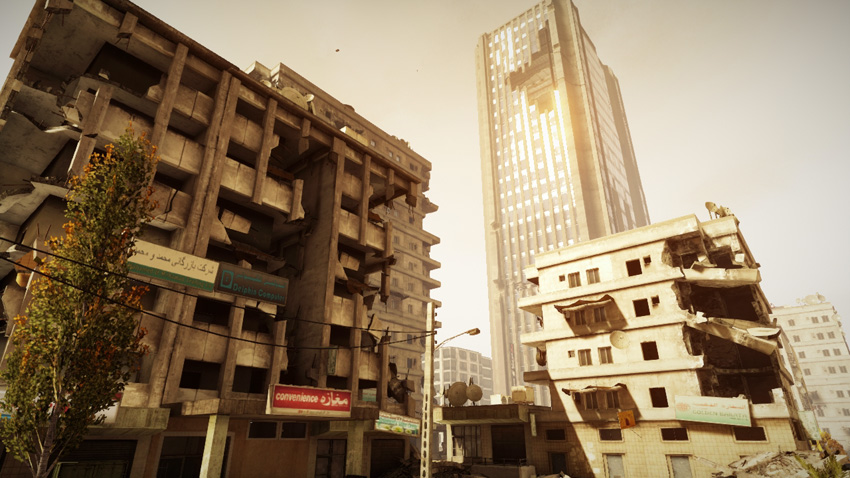
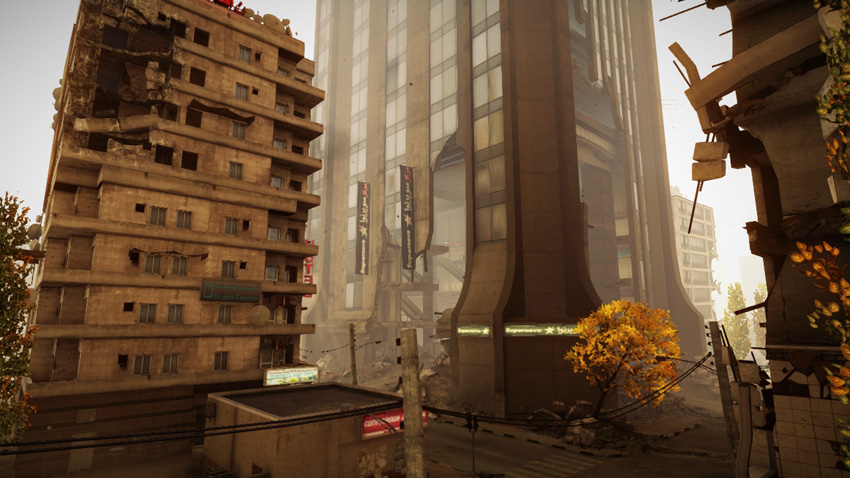
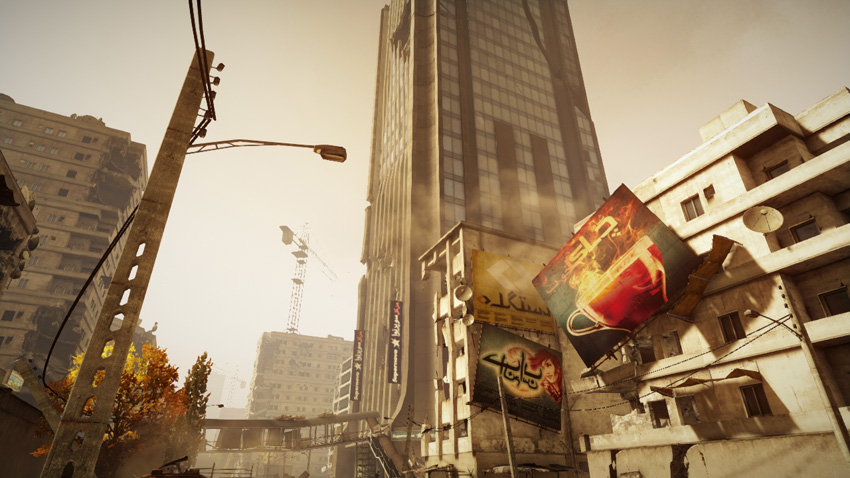
This once-bustling commercial district is now the site of an intense conflict, with the US team pushing in from the southwest while the RU team advances from the northeast. With only four flags up for grabs, the battle can sometimes result in a stalemate, with the US controlling the Construction Site (A) and Mall (B) on the west side and the RU team holding the Power Station (C) and Bank (D) on the east side. To avoid a grinding battle of attrition, both sides should attempt to capture and hold a minimum of three flags to initiate a drain on the opposing team’s ticket count. While there are plenty vehicles available on this map, the heavy lifting is usually accomplished by infantry given the flag placement and difficult, urban terrain. At any given time there can be up to four tanks roaming these city streets, so squads from both sides should field a few engineers to counter these threats. The scout helicopters are most effective as troop transports, particularly during the opening moments of the match. But these helicopters can also help knock out enemy tanks, particularly if armed with Guided Missiles.
US Base
Base Assets
| Name | Quantity | Respawn Time |
|---|---|---|
| Rhino | 1 | 20 sec. |
| Phoenix | 1 | 20 sec. |
| M1 Abrams | 1 | 40 sec. |
| AH-6J Little Bird | 1 | 50 sec. |
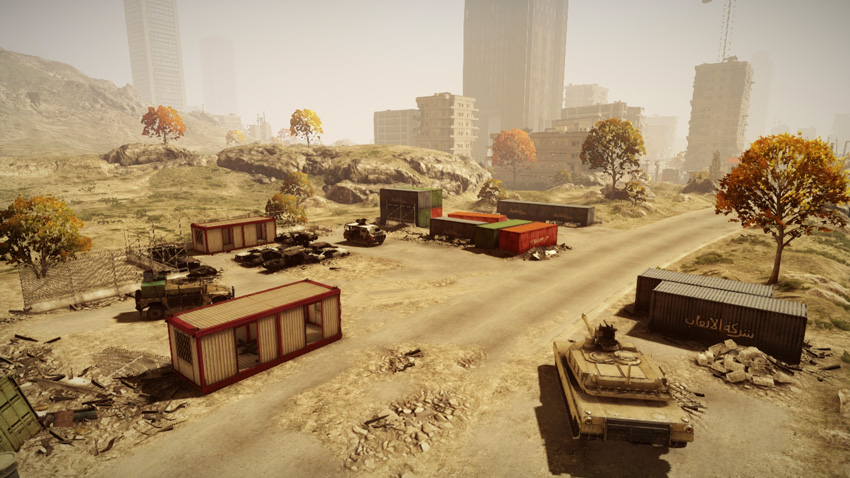
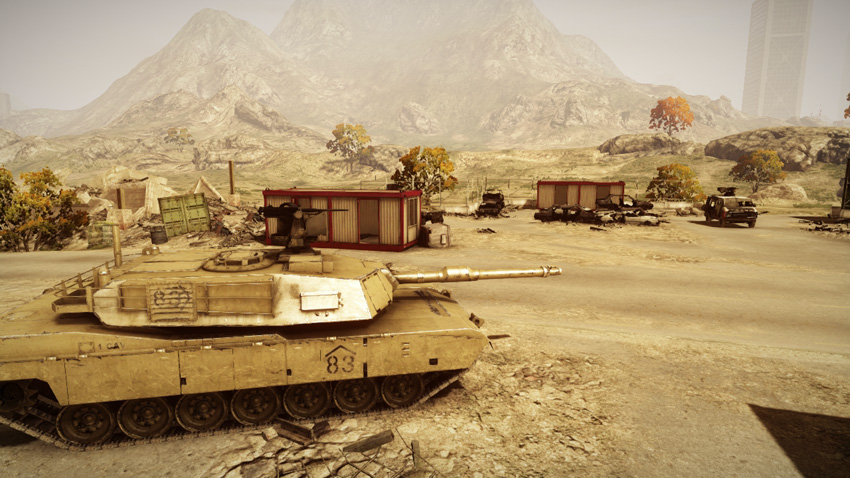
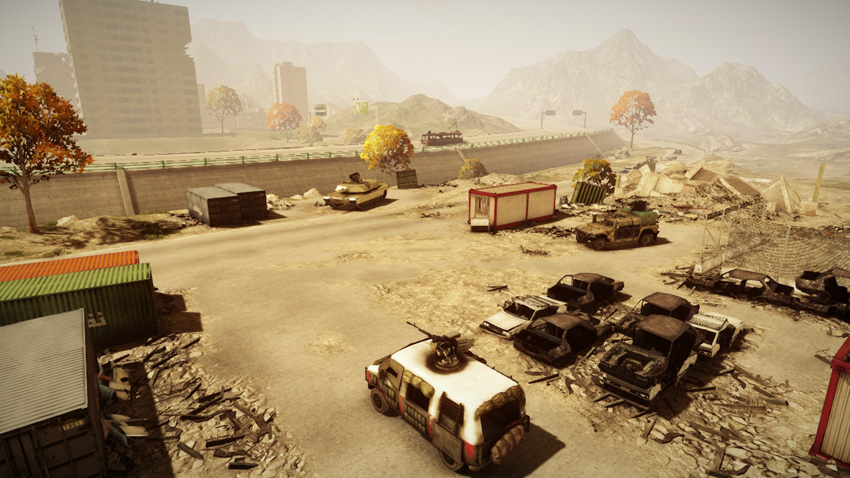
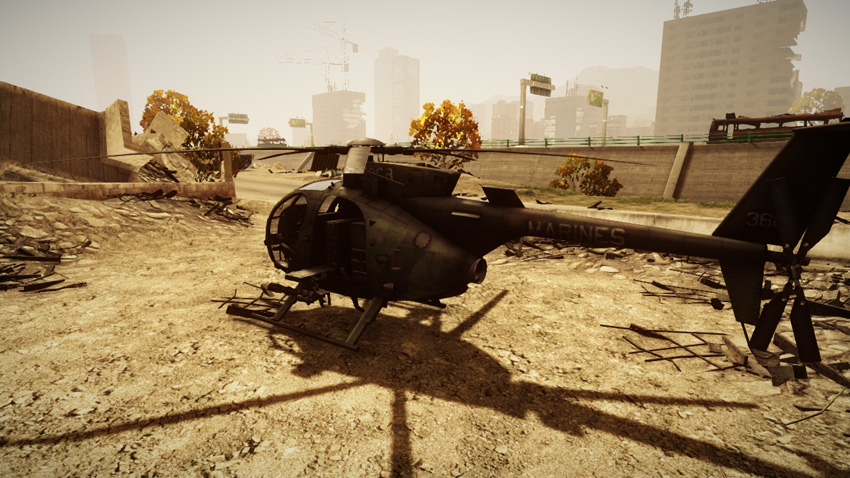
The US team deploys from the southwest corner of the map, on the city’s outskirts. When starting the match here, utilize every passenger seat in the four vehicles to transport troops into the city’s center. Use the Rhino and Phoenix to rush the Construction Site (A) and Mall (B) while the AH-6J flies troops to the distant Power Station (C). If your team can lock down three control points at the start of the battle, you can assume a defensive posture and simply guard those flags for the remainder of the match while bleeding the RU team’s ticket count. While the US Base is off limits to the RU team’s ground forces, watch for attacks by their Z-11W scout helicopter. This location spawns the bulk of the US team’s vehicles making them tempting strafing targets for enemy pilots. The machine guns mounted on the Phoenix, Rhino, and M1 Abrams are all capable of dishing out some damage against these airborne threats. But engineers armed with Stinger missiles are even more effective for deterring such attacks.
RU Base
Base Assets
| Name | Quantity | Respawn Time |
|---|---|---|
| Rhino | 1 | 20 sec. |
| Barsuk | 1 | 20 sec. |
| T-90A | 1 | 40 sec. |
| Z-11W | 1 | 50 sec. |
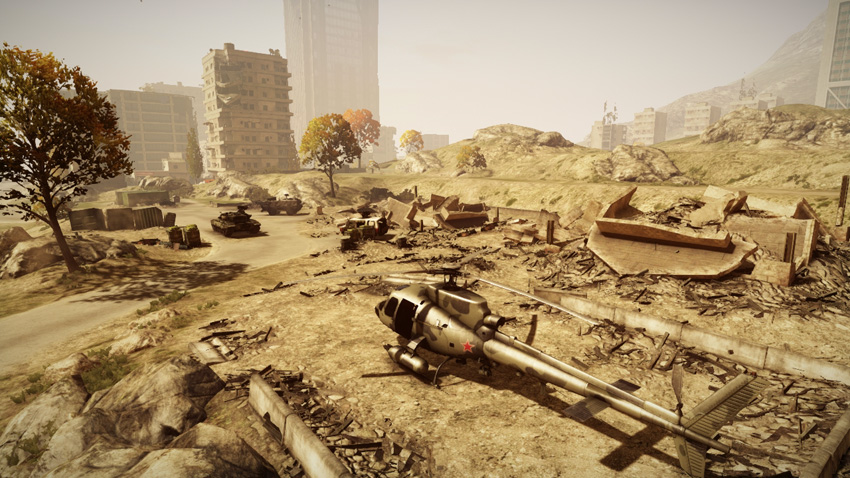
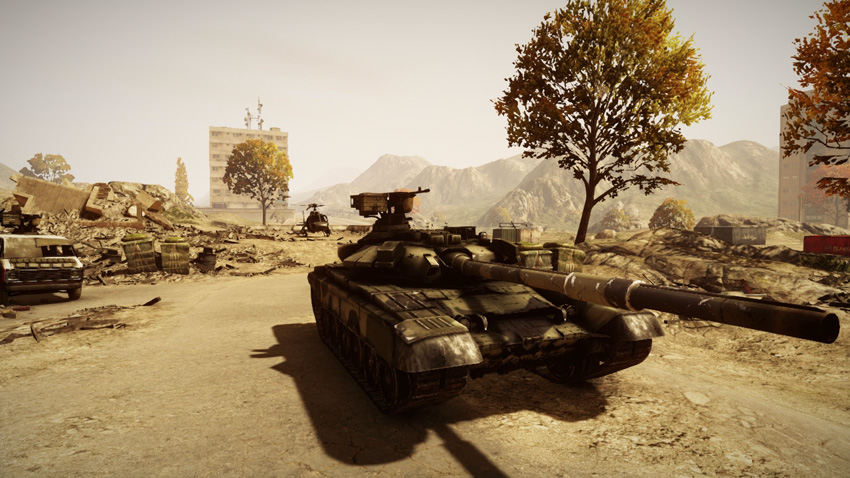
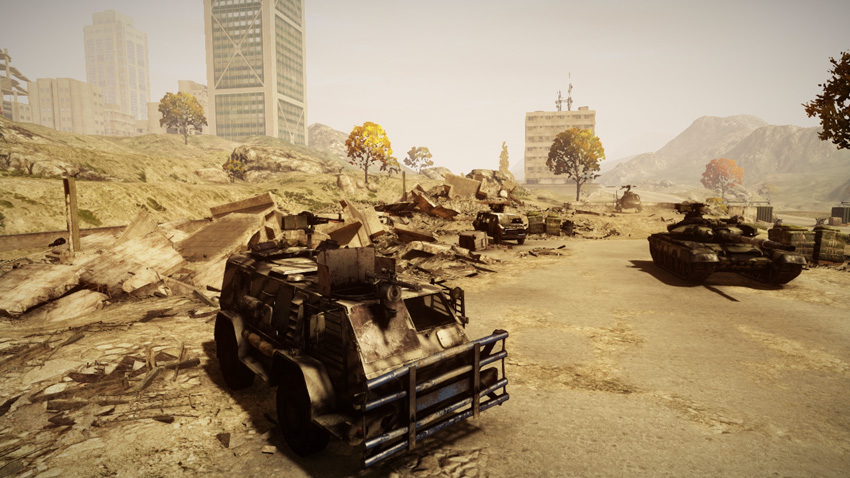
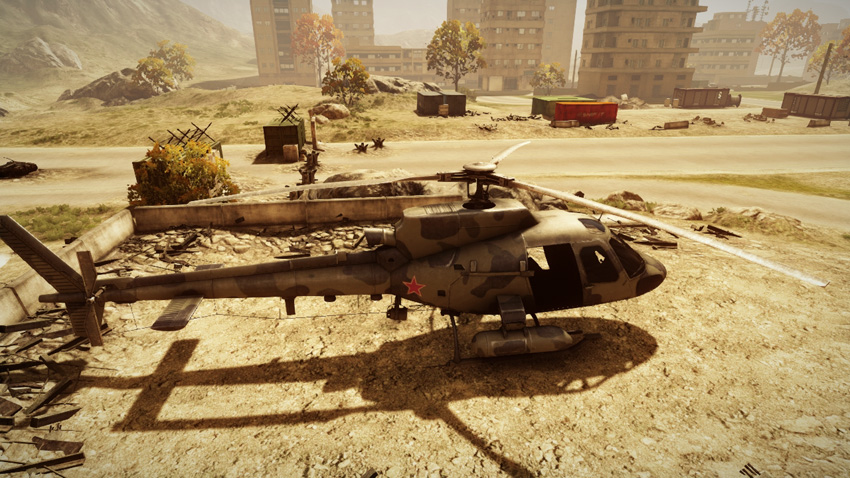
The RU team’s base is located in the northeast corner of the map and spawns a wide mix of vehicles that are ideal for rushing neutral control points at the start of the match. Like the US team, the RU team must make the most of their vehicle occupancies to transport the team into the city. So don’t race off into the city until all the seats in your vehicle are filled. The Rhino and Barsuk are perfect for moving troops to the Bank (D) and Power Station (C). Meanwhile, load the Z-11W scout helicopter with infantry and drop them off at the Mall (B) before the US team can take control of this critical control point. Given the large number of vehicles spawned at the RU Base, it’s a potential target for US helicopter pilots. While it’s not worthwhile to post defenders here full-time, be prepared for the possibility of strafing attacks when spawning here. Even with this looming threat, it’s still important to deploy here so you can transport vehicles into the city, such as the T-90A. These vehicles won’t do your team any good collecting dust back at your base, so make an effort to spawn here and move them to the front lines.
A: Construction Site
Control Point Assets
| US Control | RU Control | Respawn Time |
|---|---|---|
| M1 Abrams (1) | — | 50 sec. |
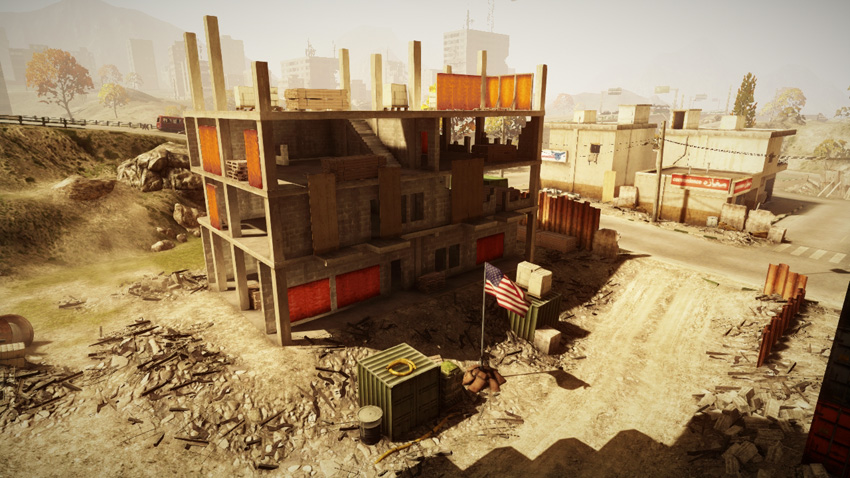
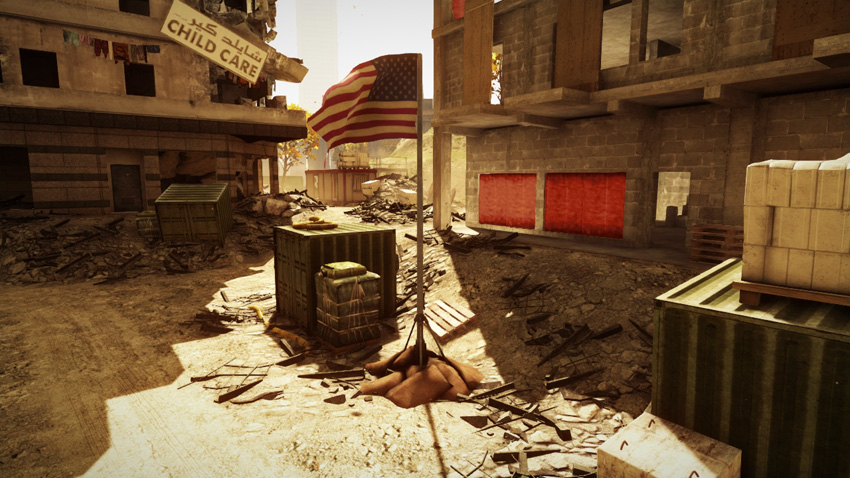
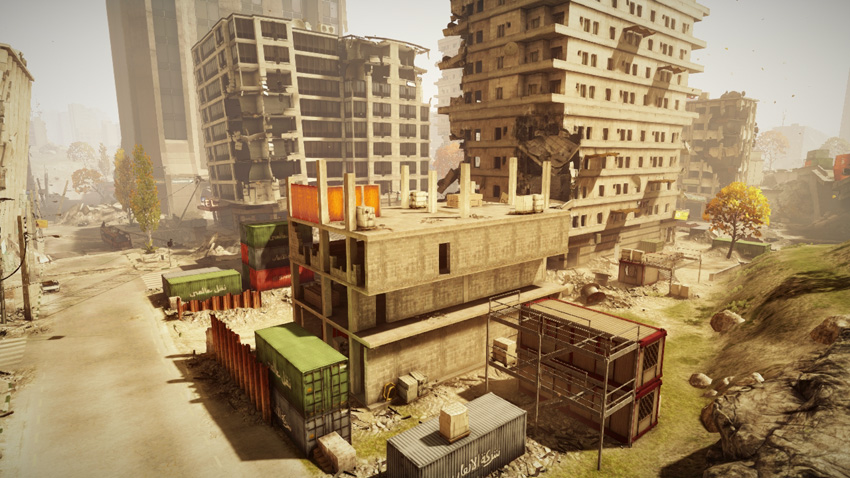
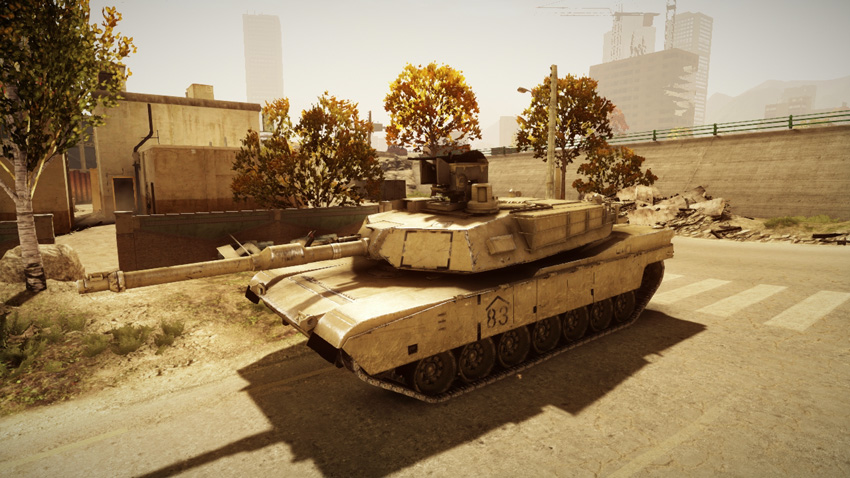
Located only a few meters from the US Base on the west side of the map, the Construction Site (A) serves as a gateway into the city for the US team. Given its close proximity to the US Base, this control point is likely to be captured and controlled by the US team throughout the battle. But the US team shouldn’t take this flag for granted since it produces an extra M1 Abrams that spawns in the street to the west—the control point produces no vehicles for the RU team. The flag here is positioned along a dirt road that cuts through the site, so it’s easy for both infantry and vehicles to capture. The green, cube-shaped shipping containers flanking the flag offer plenty of cover for infantry. However, the partially constructed building on the south side of the flag is a popular hiding spot for defenders. So when attacking here, consider making a quick sweep of this structure before attempting to convert the flag. Recon troops should consider dropping a Radio Beacon inside this building in an effort to maintain a presence at this location, even if the flag falls into enemy hands.
B: Mall
Control Point Assets
| US Control | RU Control | Respawn Time |
|---|---|---|
| M220 TOW Launcher (1) | 9M133 Kornet Launcher (1) | 10 sec. |
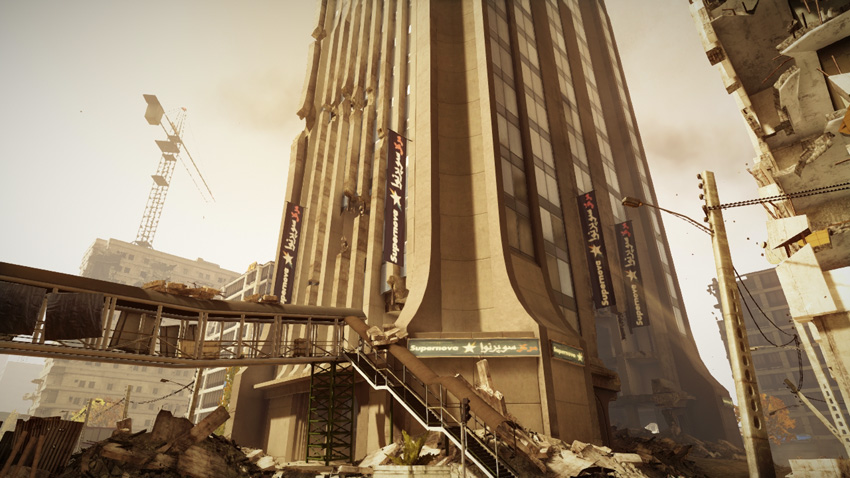
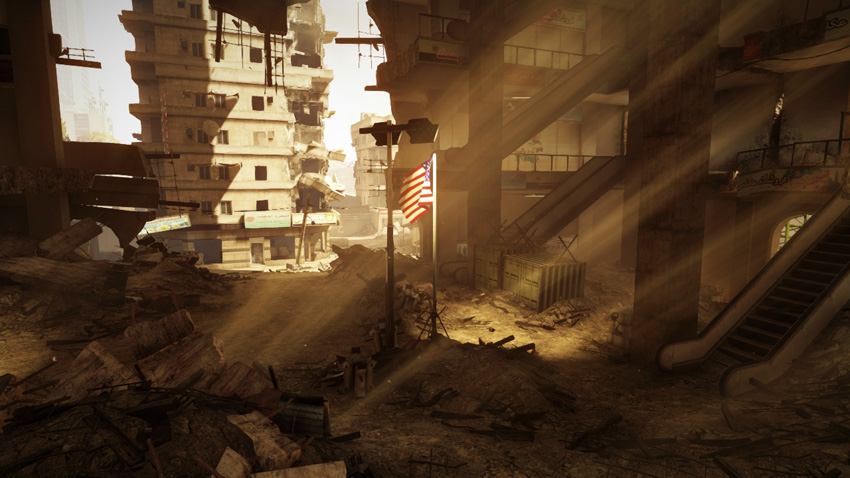
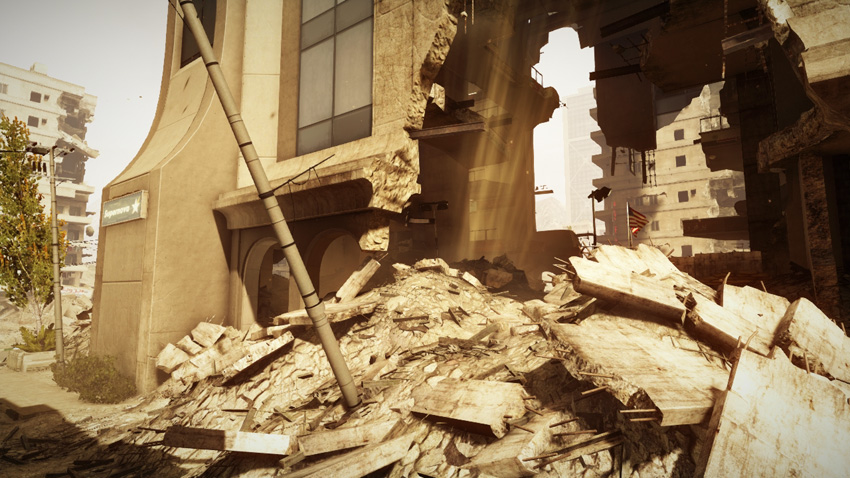
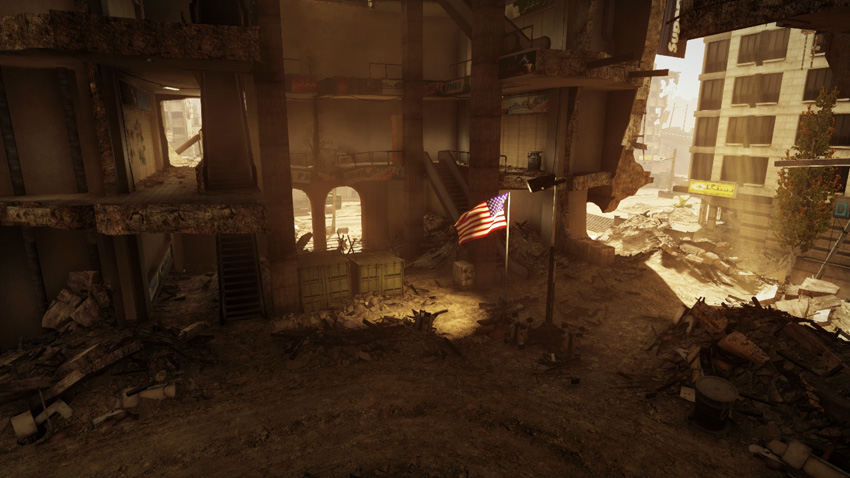
The map gets its name for this monolithic shopping mall on the city’s west side. This structure dwarfs all other buildings in the neighborhood, so it’s easy to spot no matter where you are on the map. Unfortunately, the earthquake has heavily damaged this source of local pride, leaving gaping holes in each of the four perimeter walls. This makes it possible to access the building’s interior from any direction. A makeshift dirt road has also been carved through the center of the building and it allows vehicle access from the north and west sides. With so many entry points, the flag, located on the ground floor, is easily accessed by infantry and vehicles. The capture radius of the flag is quite large, and even allows troops on the second floor promenade to capture and contest it. The second, third, and fourth floors of the structure are accessible to infantry. But damage to these floors restricts movement to the east side. Still, these elevated perches are ideal for monitoring enemy traffic around the flag below. So when attacking here, consider approaching from the exterior sky bridge on the east side of the building. The sky bridge leads directly to the second floor, allowing you to capture the flag without stepping onto the ground floor. In this mode, the Mall (B) produces only an anti-tank launcher located on the east side.
C: Power Station
Control Point Assets
| US Control | RU Control | Respawn Time |
|---|---|---|
| M220 TOW Launcher (1) | 9M133 Kornet Launcher (1) | 10 sec. |
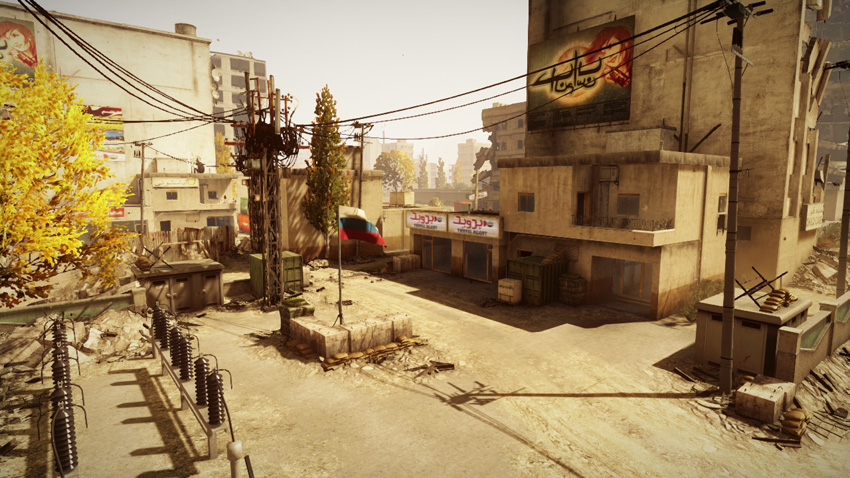
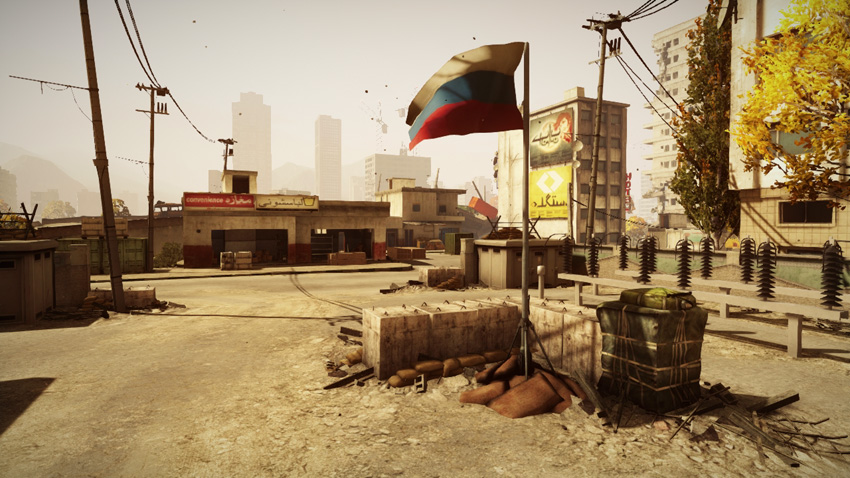
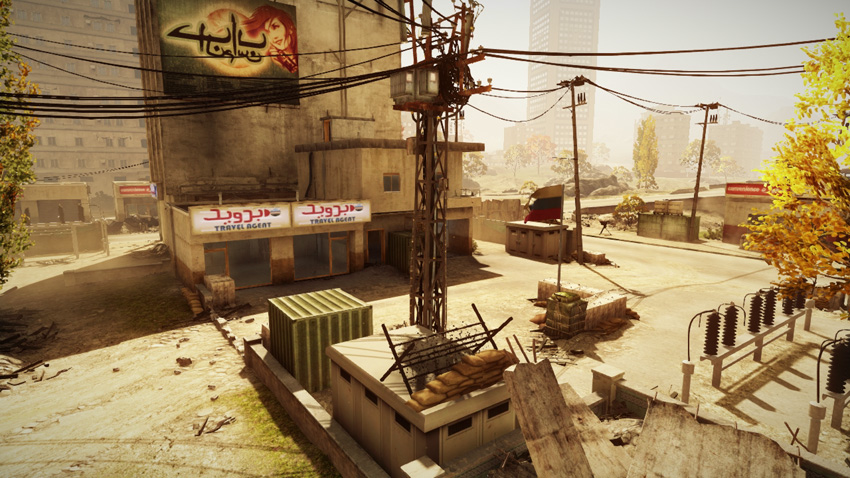
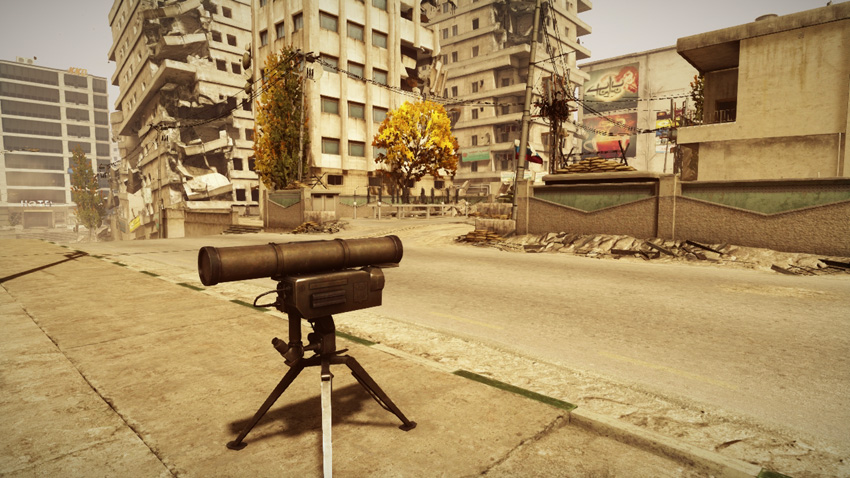
This makeshift electrical substation is located in the parking lot of an abandoned travel agency, along with the control point’s flag. Only producing an anti-tank missile launcher for each team, this control point is sometimes overlooked. But with only four flags on the map, the Power Station (C) is always worth capturing and defending. The flag is somewhat exposed in the center of the parking lot, but the adjacent concrete blocks offer some cover for infantry—just stay low. The travel agency building on the east side of the parking lot offers even more protection for defenders monitoring the flag—consider hiding a Radio Beacon inside this building to give your squad a spawn point within the city’s center. While infantry attacks can trickle in from all directions, vehicles can only access the flag from the southern street. To deter vehicle attacks, defending engineers should place mines on the south side of the parking lot. The TOW or Kornet launcher, located to the south, is also well positioned to counter vehicle attacks.
D: Bank
Control Point Assets
| US Control | RU Control | Respawn Time |
|---|---|---|
| — | T-90A | 50 sec. |
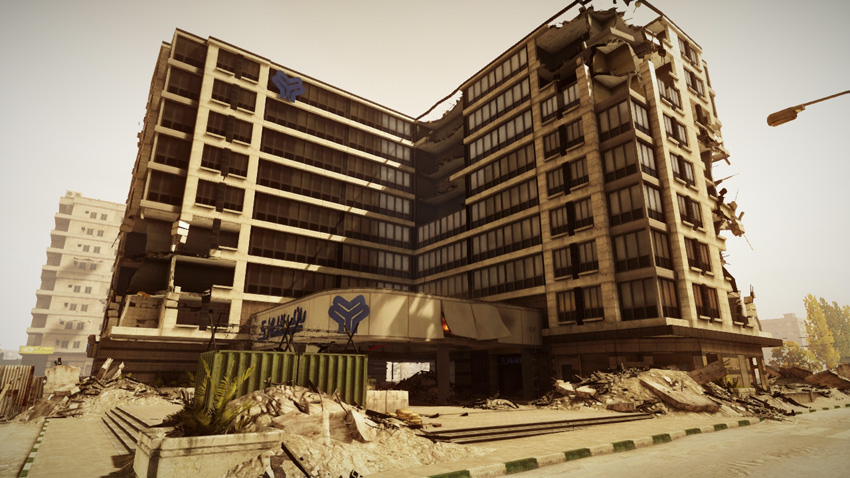
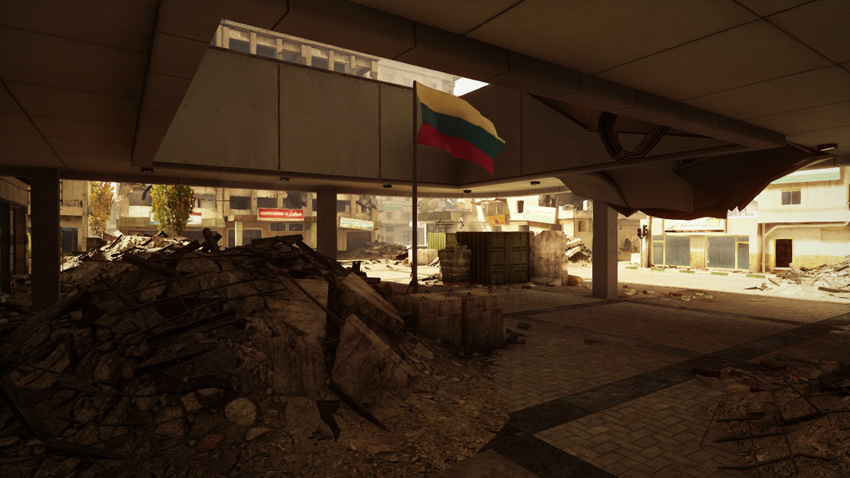
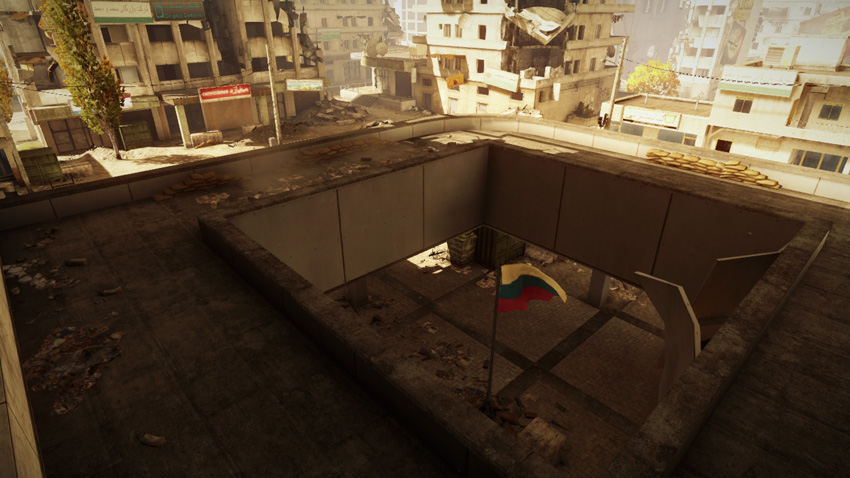
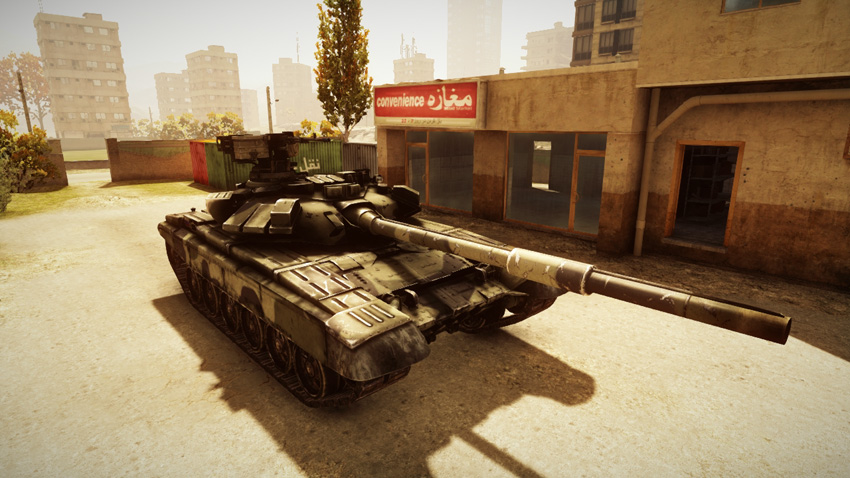
Directly south of the RU Base, the Bank (D) is always within the RU team’s reach. As a result, the RU team is likely to capture and control this flag throughout the match. But the RU team can’t be complacent and leave this control point undefended. The Bank (D) produces a T-90A tank (that spawns to the north) for the RU team, providing them with some heavy firepower that is ideal for locking down this location or assaulting nearby control points. The US team gains no assets by holding this control point. The flag is located in a covered entryway on the building’s southwest corner. While it’s possible for vehicles to drive into the cramped entryway, this flag is best captured by infantry. However, before rushing toward the flag, watch for defenders posted on the ring-like rooftop above. This small rooftop area can be accessed via ladders on the west and south sides. From this elevated position its possible to fire down on enemies gathered near the flag. This rooftop position is also an ideal sniper perch for recon troops monitoring the western and southern approaches.