
Battlefield 3 Premium Guide Battlefields Conquest 64
Seine Crossing
In this epic urban combat brawl, controlling the flow of traffic at the river is often the key to victory. With two control points on the north side of the river and two control points on the south side, the East Bridge (C) is the prize for both teams.
This means the US team should attempt to control the Garden Alleyway (A), Canal Courtyard (B), and East Bridge (C) to give them a lock on the map’s south side.
Meanwhile, the RU team should try holding the Back Streets (E), Market Avenue (D), and East Bridge (C) to lock down the north side. Consolidating your team’s forces around three control points is much better than spreading your team thin at four or five flags.
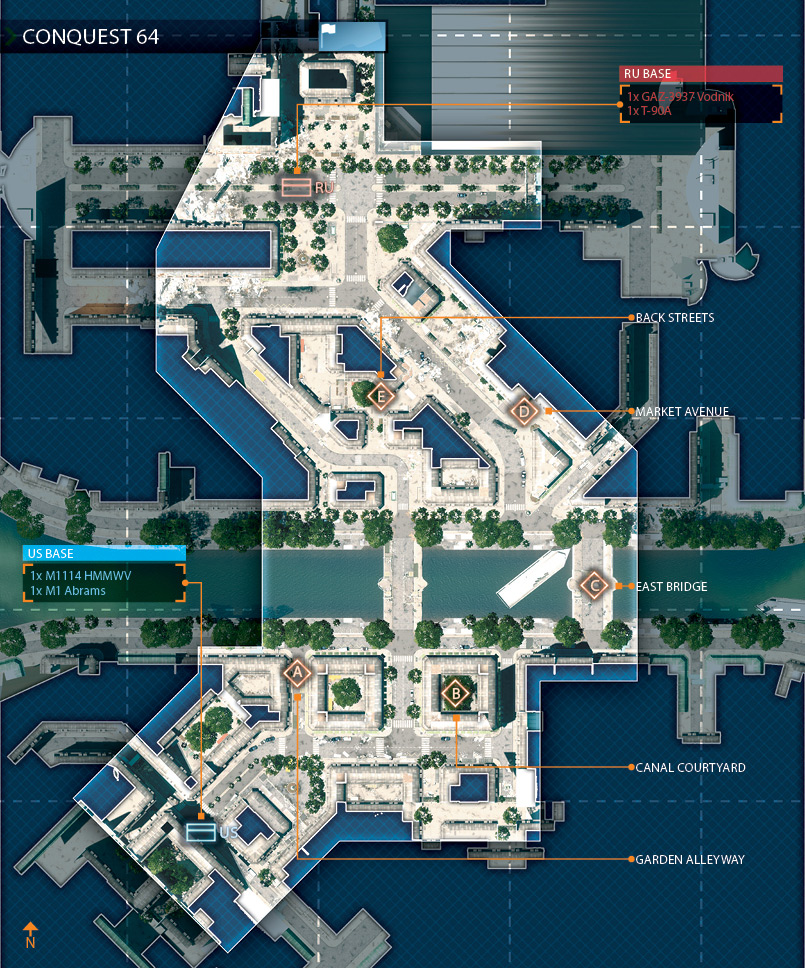
In addition to holding the East Bridge (C), each team should attempt to lock down the western bridge to prevent flanking attacks on their rear control points. If defenses at the East Bridge (C) fail or prove too costly to hold, look for other control points to snatch up.
With five control points on the map, your team must hold at least three to begin bleeding the opposing team’s ticket count. Or, if you’re team is feeling confident, grab all five flags and lay siege to the opposing team’s base.
US BASE
Base Assets
| Name | Quantity | Respawn Time |
|---|---|---|
| M1114 HMMWV | 1 | 45 sec. |
| M1 Abrams | 1 | 90 sec. |
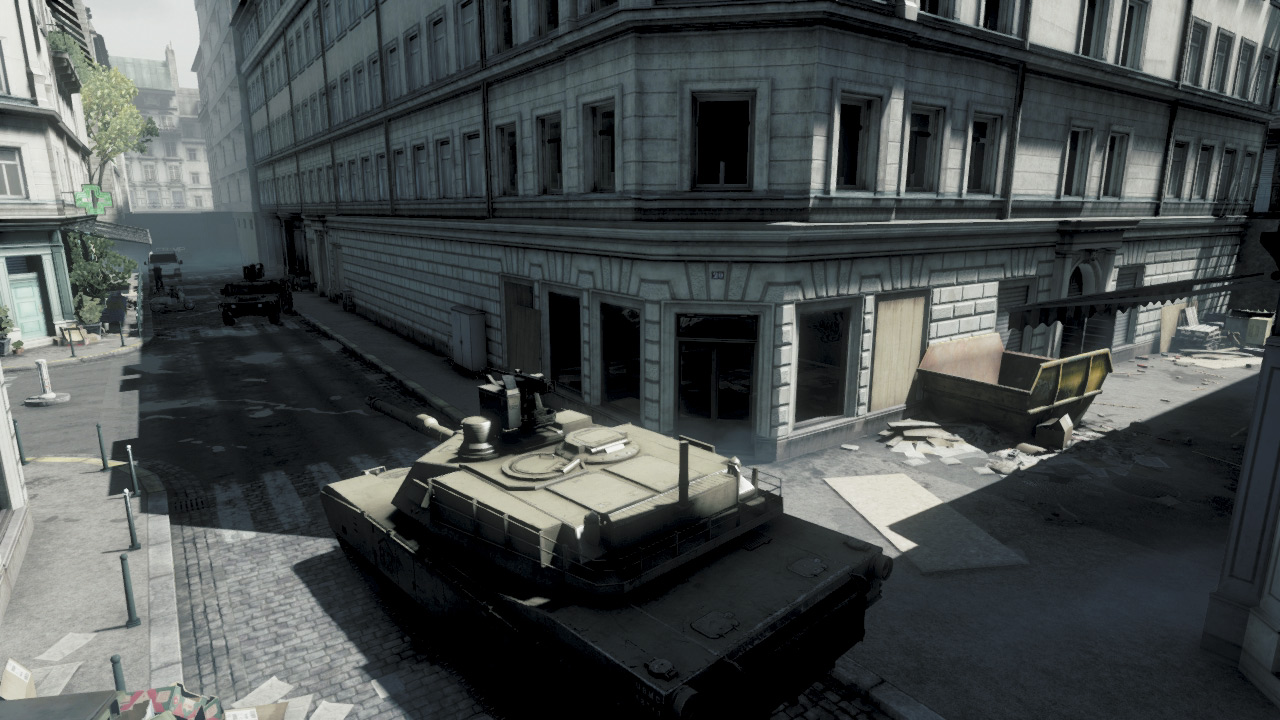
Located on the south side of the map, the US Base supplies the US team with only a couple of vehicles. Therefore, it’s important to put these vehicles to good use, particularly in the opening moments of a round.
While infantry sprint toward the Garden Alleyway (A) and Canal Courtyard (B) control points, the HMMWV and M1 should make a beeline for the critical East Bridge (C) control point.
Securing these three control points early on can make a huge difference in the battle and allow the US to initiate a drain on the RU team’s ticket count. If the US team successfully holds these three flags, there’s no need to advance to the north side of the map.
So instead of spreading your team thin, focus on defending the three southernmost control points and hold out for a victory. The M1 Abrams is critical for fending off attacks at the two bridges, so surround it with engineers to keep it repaired.
RU BASE
Base Assets
| Name | Quantity | Respawn Time |
|---|---|---|
| GAZ-3937 Vodnik | 1 | 45 sec. |
| T-90A | 1 | 90 sec. |
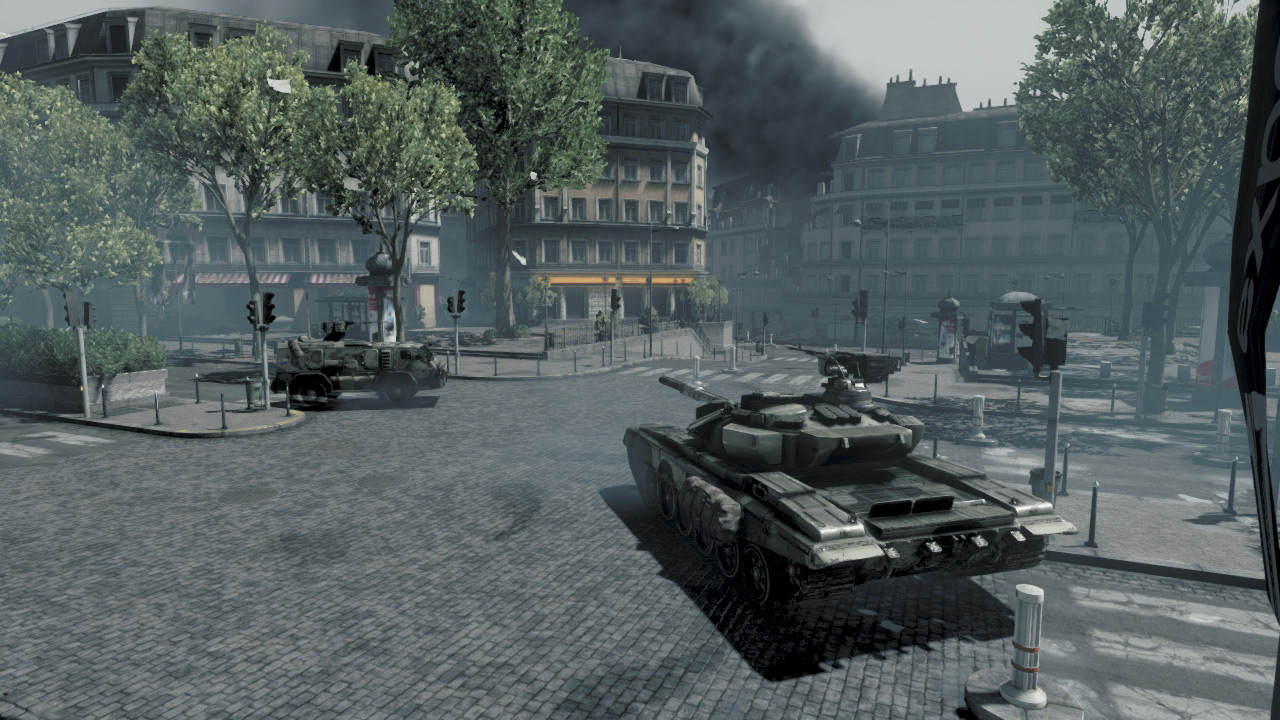
The RU team deploys from their base on the north side of the map, near the large bank building. The opening moments of the battle are extremely critical when it comes to securing control points so don’t waste a second.
The first priority is to get the Vodnik and T-90 to the East Bridge (C). While the vehicles attempt to capture the East Bridge (C), RU troops should race for the nearby Back Streets (D) and Market Avenue (E) control points.
Leave one squad behind to cover both of the two northern control points while the rest of the team (and vehicles) focus on holding the East Bridge (C) as well as the bridge to the west.
These two bridges serve as critical choke points, allowing the RU team to contain the US to the south banks of the Seine. However, breakout attacks by the US are likely, so never leave the Back Streets (D) and Market Avenue (E) control points undefended.
If the US gains a foothold on the north side of the river, the strategy falls to pieces quickly. However, instead of pushing to the south side of the river, keep your forces consolidated around the East Bridge (C) and the two northern control points.
A: GARDEN ALLEYWAY
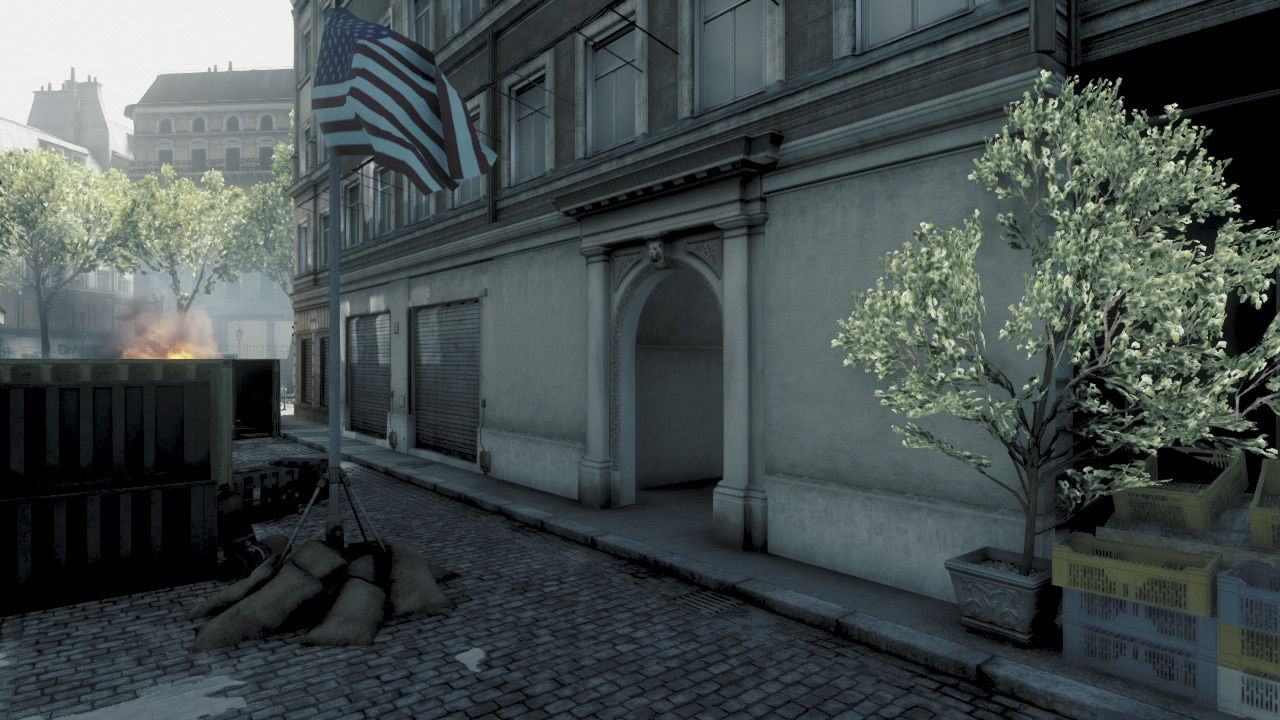
As the control point closest to the US Base, the Garden Alleyway (A) is likely to be controlled by the US team throughout the match.
This gives the US team a spawn point near the western bridge, which is ideal for launching flanking attacks on the control points to the north.
But troops spawning here are equally effective serving as defenders of the western bridge to preventing the RU team from pushing across the river.
The flag here is located in the middle of a narrow alley. With long sight lines to the north and south, it’s best to hide in the western archway while capturing or contesting this flag.
The green shipping container on the south side of the alley provides a great cover point for defenders watching the northern approach; it’s ideal for US recon troops protecting the flag against RU attackers.
B: CANAL COURTYARD
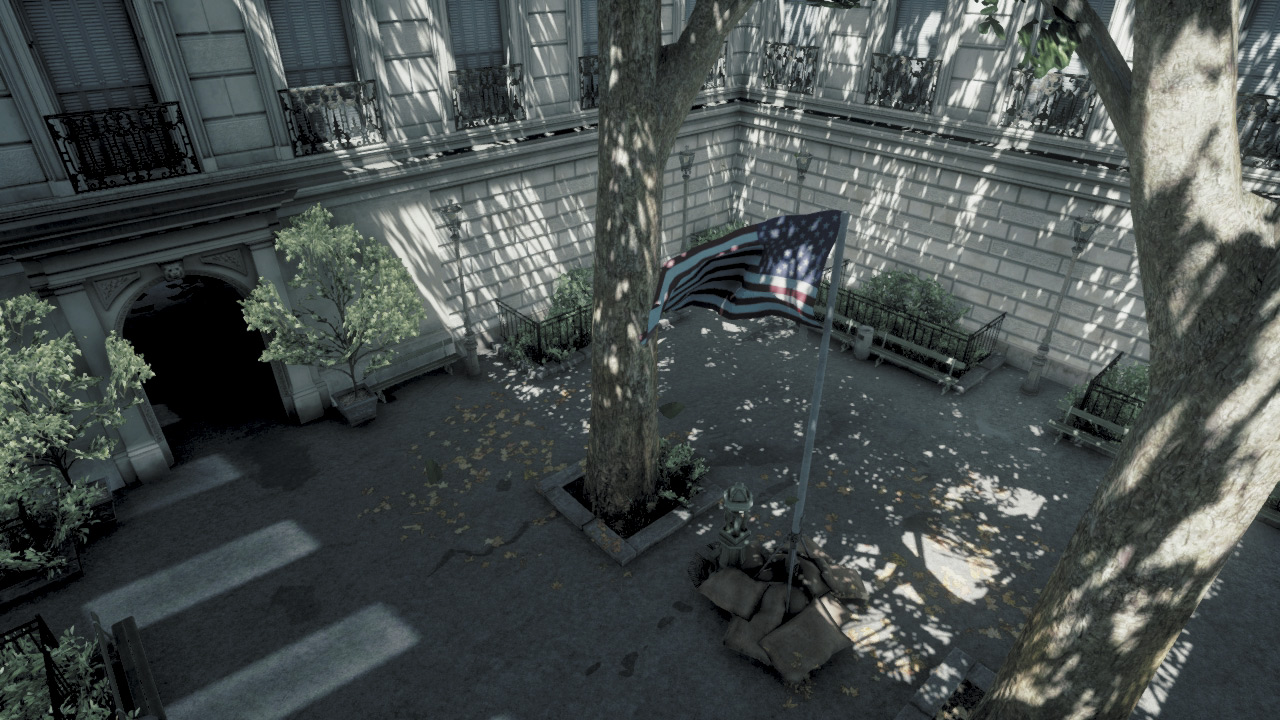
Like the Garden Alleyway (A), the Canal Courtyard (B) is located on the south side of the river and is likely to remain in US hands throughout the match. However, the US should never take this control point for granted.
It serves as a vital spawn point near the East Bridge (C) and is ideal for supplying reinforcements. The flag is positioned in the center of this small courtyard, inaccessible by vehicles.
The only entry points are three narrow archways to the north, west, and south. Defenders posted along the east side of the courtyard can cover all the entry points, making it tough for attackers to gain a foothold within the flag’s capture radius.
The narrow archways are also good spots for booby traps likes Claymores and C4, should the control point come under fierce attack by the enemy.
C: EAST BRIDGE
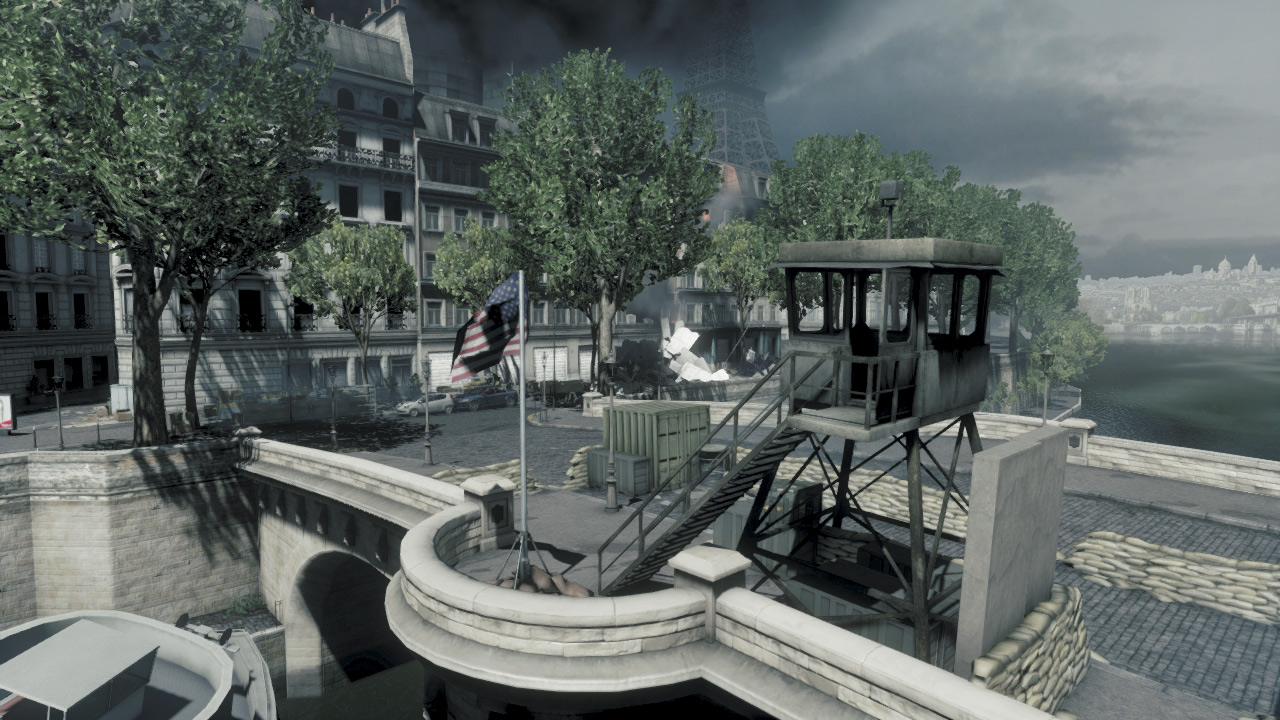
The East Bridge (C) is the most hotly contested flag on the map; it’s likely to be the focal point the heaviest action.
Strategically, the flag here is of vital importance to both teams, often giving them the majority of the control points necessary to bleed the opposing team’s ticket count.
At the start of the round, each team should race to this location with their vehicles in an attempt to gain control. But an early capture is the easy part.
Defending the bridge from constant attack is a challenge. The flag is located on the west side of the bridge, surrounded by a low sandbag wall. The sandbags provide great protection while capturing or converting the flag, as long as you remain prone.
Vehicles parked nearby can also enter the flag’s capture radius. But vehicles are likely to take heavy fire when positioned here. Consider parking your vehicles on the north or south side of the river and provide fire support while infantry move in to perform the capture.
There is a guard tower next to the flag, but don’t bother getting inside—you’ll only silhouette yourself and be an easy target for snipers. It’s much better to stay low, using the sandbags and bridge’s stone guardrails for cover.
Smoke is also a huge asset here, particularly when attacking. So use mortars or grenade launchers to saturate the bridge with smoke before attempting to rush the flag.
D: MARKET AVENUE
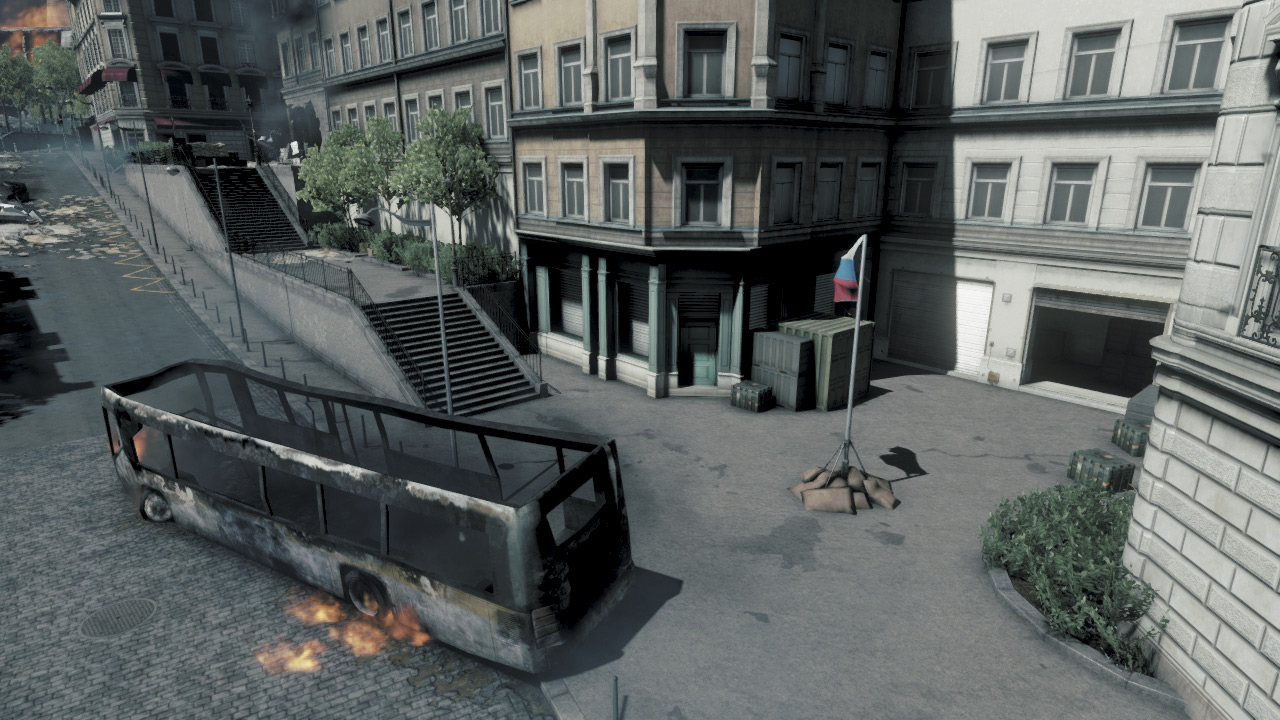
The Market Avenue (D) control point is located on the north side of the river, not far from the East Bridge (C). This makes it a critical backup spawn point for the RU team when they are attempting to form a defensive line at the river to the south.
The flag is located on the east side of the street, near an alleyway. While on foot, avoid the street to avoid getting hit by snipers and other opponents watching the flag from a distance.
The alley to the west offers the safest approach to the flag. The nearby crates and garage offer excellent cover, allowing you to contest or capture the flag without being spotted by long-range threats.
Vehicles can also capture this flag by approaching from the street. But given the heavy traffic, this isn’t a safe location to park a vehicle for long stretches, especially if you’re in a Vodnik or HMMWV.
Consider parking your ride and seek cover among the crates or in the garage while capturing the flag.
E: BACK STREETS
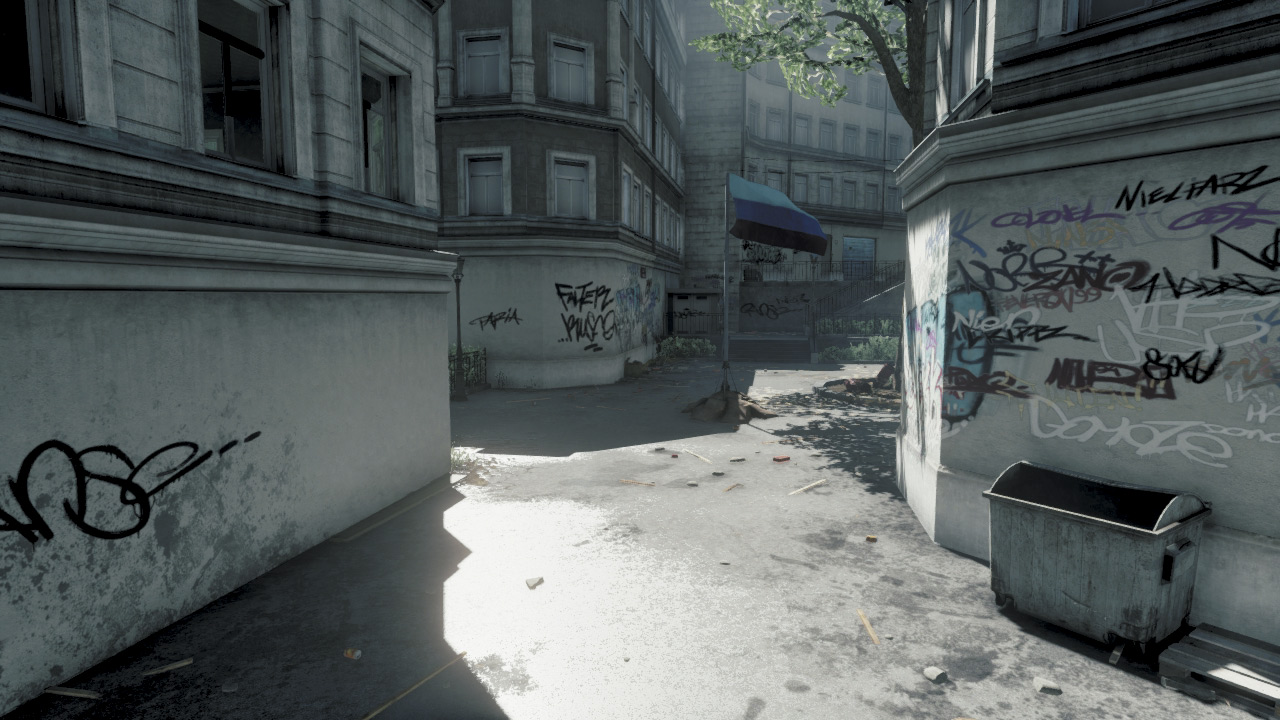
This control point is closest to the RU Base and thus is likely to remain under the RU team’s control throughout the match, especially if they lock down the bridges to the south and prevent the US team from accessing the north side of the map.
However, breakouts are likely to occur, meaning the RU team should prepare for attacks on the Back Streets (E). Located in a wide alley, the flag can be approached from multiple directions, but only on foot—vehicles cannot access this area.
The red shipping container north of the flag is a popular hiding spot for attackers attempting to convert the flag. So if the flag is being contested, fire a rocket or toss a grenade into the shipping container to root out attackers.
The steps to the west provide an elevated view of the flag, ideal for RU defenders approaching from the RU Base. Hold here to gun down enemies approaching from the river or the Market Avenue (D) control point.