Prima Games eGuides
primagames.com Browse Redeem a code Help
Battlefield 3 Premium eGuide
Sign in My Guides

Sign in or create an account

We'll email you a link. No password needed, and if you don't have an account yet, the link makes one.

By creating an account or signing in, you agree to our Terms of Service and Privacy Policy.

Have a password?

Had an account on the old eGuides site, or a code from a printed guide? Help and troubleshooting

Sign in with a password

By signing in, you agree to our Terms of Service and Privacy Policy.

Check your email

A sign-in link is on its way. It works once and expires in 15 minutes. Open it and you're in, with an account if you didn't already have one.

Contents

  • Battlefields
    • Conquest
      • Alborz Mountains
      • Armored Shield
      • Azadi Palace
      • Bandar Desert
      • Caspian Border
      • Damavand Park
      • Death Valley
      • Epicenter
      • Grand Bazaar
      • Gulf of Oman
      • Kharg Island
      • Kiasar Railroad
      • Markaz Monolith
      • Nebandan Flats
      • Noshahr Canals
      • Operation Firestorm
      • Operation Métro
      • Operation Riverside
      • Sabalan Pipeline
      • Seine Crossing
      • Sharqi Peninsula
      • Strike at Karkand
      • Talah Market
      • Tehran Highway
      • Wake Island
    • Conquest 64
      • Alborz Mountains
      • Armored Shield
      • Azadi Palace
      • Bandar Desert
      • Caspian Border
      • Damavand Park
      • Death Valley
      • Epicenter
      • Grand Bazaar
      • Gulf of Oman
      • Kharg Island
      • Kiasar Railroad
      • Markaz Monolith
      • Nebandan Flats
      • Noshahr Canals
      • Operation Firestorm
      • Operation Métro
      • Operation Riverside
      • Sabalan Pipeline
      • Seine Crossing
      • Sharqi Peninsula
      • Strike at Karkand
      • Tehran Highway
      • Wake Island
    • Rush
      • Alborz Mountains
      • Armored Shield
      • Azadi Palace
      • Bandar Desert
      • Caspian Border
      • Damavand Park
      • Death Valley
      • Epicenter
      • Grand Bazaar
      • Gulf of Oman
      • Kharg Island
      • Kiasar Railroad
      • Markaz Monolith
      • Nebandan Flats
      • Noshahr Canals
      • Operation Firestorm
      • Operation Métro
      • Operation Riverside
      • Sabalan Pipeline
      • Seine Crossing
      • Sharqi Peninsula
      • Strike at Karkand
      • Talah Market
      • Tehran Highway
      • Wake Island
    • Squad Rush
      • Alborz Mountains
      • Armored Shield
      • Azadi Palace
      • Bandar Desert
      • Caspian Border
      • Damavand Park
      • Death Valley
      • Epicenter
      • Grand Bazaar
      • Gulf of Oman
      • Kharg Island
      • Kiasar Railroad
      • Markaz Monolith
      • Nebandan Flats
      • Noshahr Canals
      • Operation Firestorm
      • Operation Métro
      • Operation Riverside
      • Sabalan Pipeline
      • Seine Crossing
      • Sharqi Peninsula
      • Strike at Karkand
      • Talah Market
      • Tehran Highway
      • Wake Island
    • Squad Deathmatch
      • Alborz Mountains
      • Armored Shield
      • Azadi Palace
      • Bandar Desert
      • Caspian Border
      • Damavand Park
      • Death Valley
      • Epicenter
      • Grand Bazaar
      • Gulf of Oman
      • Kharg Island
      • Kiasar Railroad
      • Markaz Monolith
      • Nebandan Flats
      • Noshahr Canals
      • Operation Firestorm
      • Operation Métro
      • Operation Riverside
      • Sabalan Pipeline
      • Seine Crossing
      • Sharqi Peninsula
      • Strike at Karkand
      • Talah Market
      • Tehran Highway
      • Wake Island
    • Team Deathmatch
      • Alborz Mountains
      • Armored Shield
      • Azadi Palace
      • Bandar Desert
      • Caspian Border
      • Damavand Park
      • Death Valley
      • Epicenter
      • Grand Bazaar
      • Gulf of Oman
      • Kharg Island
      • Kiasar Railroad
      • Markaz Monolith
      • Nebandan Flats
      • Noshahr Canals
      • Operation Firestorm
      • Operation Métro
      • Operation Riverside
      • Sabalan Pipeline
      • Seine Crossing
      • Sharqi Peninsula
      • Strike at Karkand
      • Talah Market
      • Tehran Highway
      • Wake Island
    • Scavenger
      • Aftermath - Azadi Palace
      • Aftermath - Epicenter
      • Aftermath - Markaz Monolith
      • Aftermath - Talah Market
    • Close Quarters/Gun Master
      • Close Quarters - Donya Fortress
      • Close Quarters - Operation 925
      • Close Quarters - Scrapmetal
      • Close Quarters - Ziba Tower
      • Aftermath - Azadi Palace
      • Aftermath - Epicenter
      • Aftermath - Markaz Monolith
      • Aftermath - Talah Market
    • Capture the Flag
      • Operation Riverside
      • Nebandan Flats
      • Kiasar Railroad
      • Sabalan Pipeline
    • Tank Superiority
      • Alborz Mountains
      • Armored Shield
      • Bandar Desert
      • Death Valley
    • Air Superiority
      • Operation Riverside
      • Nebandan Flats
      • Kiasar Railroad
      • Sabalan Pipeline
  • Essentials
    • Primer
      • What's New in Battlefield 3?
      • What's New in Close Quarters?
      • What's New in Armored Kill?
      • What's New in Aftermath?
      • What's New in End Game?
    • Basics
      • Introduction and Interface
      • Spawn Screen
      • Movement and Fundementals
      • Combat
      • Game Modes
      • Squad Play
      • Multiplayer Tactics
      • Persistance System
      • Battlelog
      • Specilizations
      • Camo Patterns
    • Classes
      • Introduction
      • Assault
      • Engineer
      • Support
      • Recon
    • Weapons
      • Introduction & Accessory Index
      • Assault Rifles
      • Carbines
      • Light Machine Guns
      • Sniper Rifles
      • Personal Defense Weapons (PDWs)
      • Shotguns
      • Pistols
      • Crossbow
    • Vehicles
      • Vehicle Customization
      • Light Vehicles
      • Infantry Fighting Vehicles (IFVs)
      • Mobile AA
      • Main Battle Tanks (MBT)
      • Attack Helicopters
      • Scout Helicopters
      • Transport Helicopters
      • Jets
      • Stationery Anti-Vehicle Weapons
  • Campaign
    • Mission 1: Semper Fidelis
      • Semper Fidelis
    • Mission 2: Operation Swordbreaker
      • Operation Swordbreaker
    • Mission 3: Uprising
      • Uprising
    • Mission 4: Going Hunting
      • Going Hunting
    • Mission 5: Operation Guillotine
      • Operation Guillotine
    • Mission 6: Comrades
      • Comrades
    • Mission 7: Thunder Run
      • Thunder Run
    • Mission 8: Fear No Evil
      • Fear No Evil
    • Mission 9: Night Shift
      • Night Shift
    • Mission 10: Rock and a Hard Place
      • Rock and a Hard Place
    • Mission 11: Kaffarov
      • Kaffarov
    • Mission 12: The Great Destroyer
      • The Great Destroyer
  • Multiplayer
    • Crash Course in Co-operative Play
      • Crash Course in Co-operative Play
    • Co-Op Mission 1: Operation Exodus
      • Operation Exodus
    • Co-Op Mission 2: Fire from the Sky
      • Fire from the Sky
    • Co-Op Mission 3: Exfiltration
      • Exfiltration
    • Co-Op Mission 4: Hit and Run
      • Hit and Run
    • Co-Op Mission 5: Drop 'em Like Liquid
      • Drop 'em Like Liquid
    • Co-Op Mission 6: The Eleventh Hour
      • The Eleventh Hour
  • Compendium
    • Multiplayer Scoring
      • Multiplayer Scoring
    • Assignments
      • Assignments
    • Achievements and Trophies
      • Achievements and Trophies
    • Dog Tags
      • Dog Tags
    • Ranks
      • Ranks
    • Camo Patterns
      • Camo Patterns
    • Ribbons
      • Ribbons
    • Medals
      • Medals

Battlefield 3 Premium Guide › Campaign › Mission 8: Fear No Evil

Fear No Evil

Unit 1st Marine Tank Battalion
Callsign Sgt. Jonathan Miller
Location Tehran, Iran
Date October 31st
Time 1045hrs Zulu Time
As Miller and his fellow Marines make their way into Tehran, Blackburn and his squad are already there, deeply entrenched in the bank where they’ve made a grave discovery.

If Black and company are to survive, they’re going to need some serious help from Miller’s battalion, which is precisely why Miller is heeding the distress signal and heading straight for the bank.

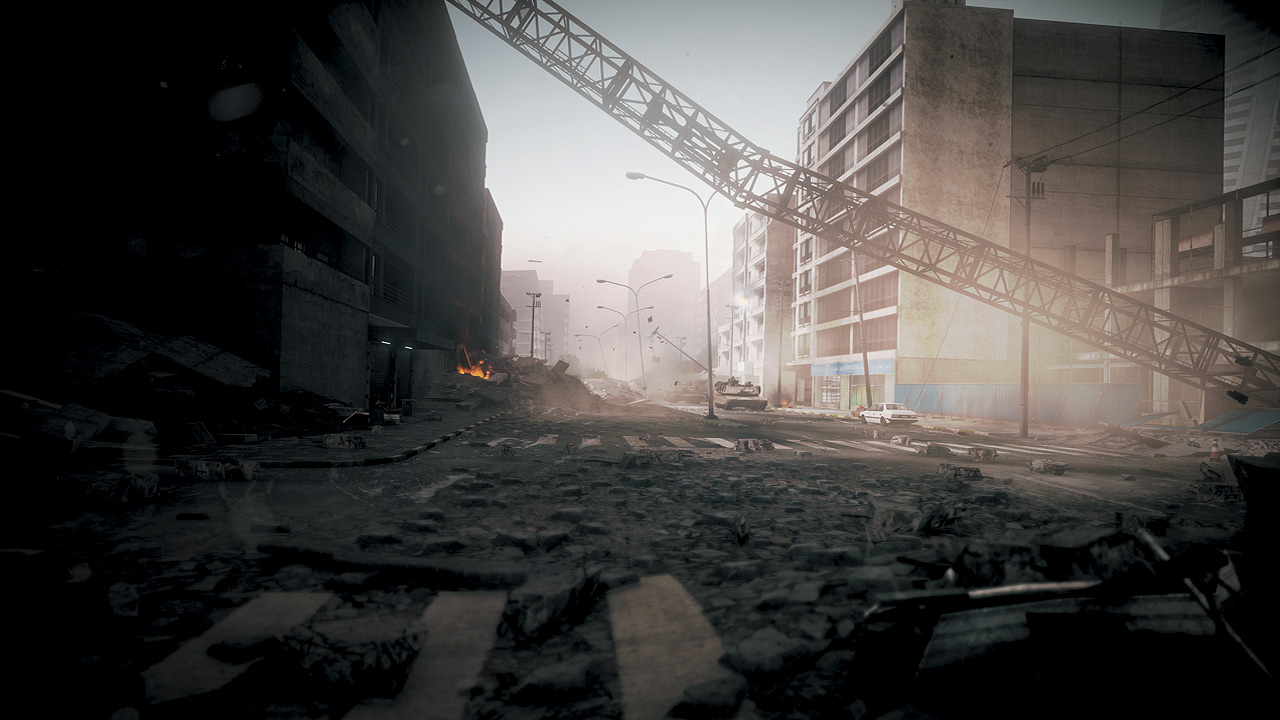
There’s little to do as the battalion cruises through the heart of downtown besides drinking in the sheer level of destructive force a combined PLR coup and a massive earthquake have wreaked.

It’s not a pretty sight, but Blackburn and his Marines are in trouble, and a pair of tanks are just what the doctor ordered. Once the tanks move through a choked alleyway,

Miller ducks down to avoid sniper fire and steer operation of the tank from the safety of the enclosed interior below.
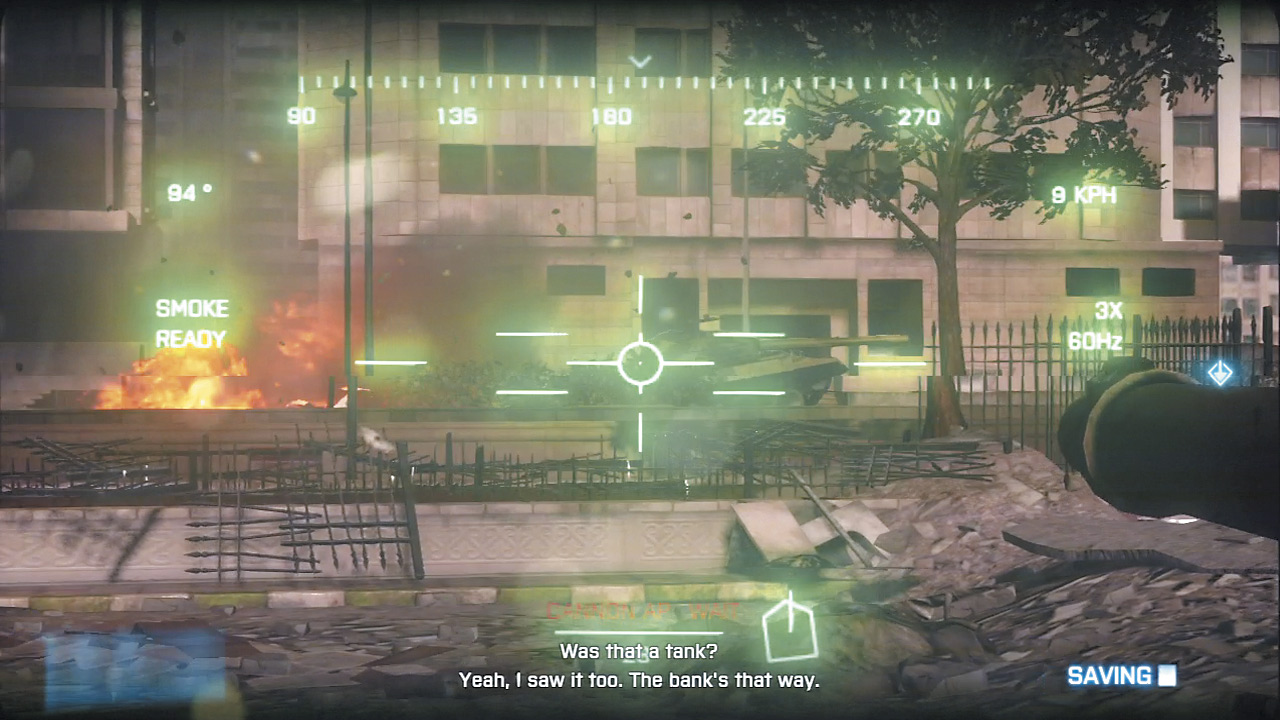
FOLLOW FRIENDLY TANK

Keep fairly close to the tank ahead as the convoy turns left, then left again, coming under fire from RPG-equipped PLR. One group spills out to the right of your tank buddy ahead, while another emerges from the rubble to the left.

MOVE OUT OF AMBUSH

Another group waits just ahead near the shops to the right. Bypass them by simply turning right and charging through those shops to find  the main drag to the plaza and bank directly to the right.

Though there are troops here, they don’t pose a significant threat as long as you keep moving. However, the hostile tank near the bank across the street can. Tag it before it reaches its destination, it will make this fight a bit easier.
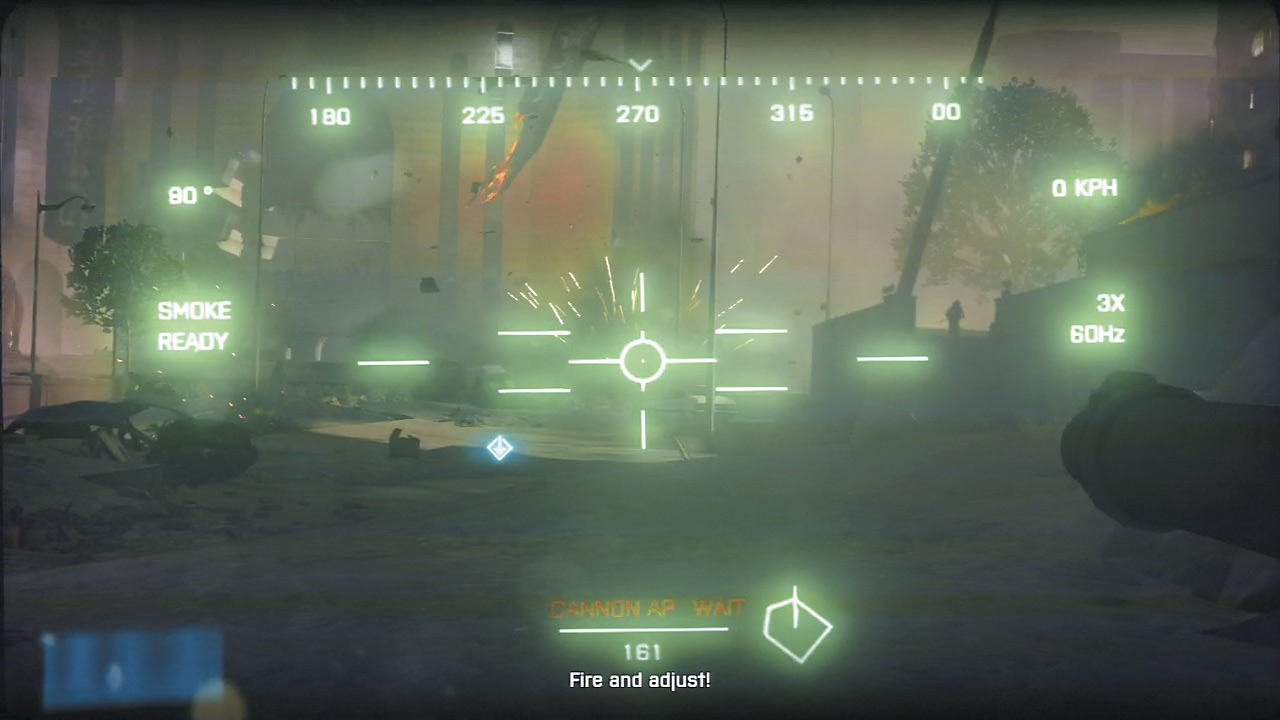
Switch to infrared to get a better picture of what the PLR armor situation ahead looks like. Aside from the aforementionedtank that was coming up the left, there’s another sitting on the right side of the main plaza.

As you inch forward, another tank is revealed on the main roadway in front of the plaza. Take all three out as quickly as possible, then push forward toward the bank and up into the familiar plaza setting.
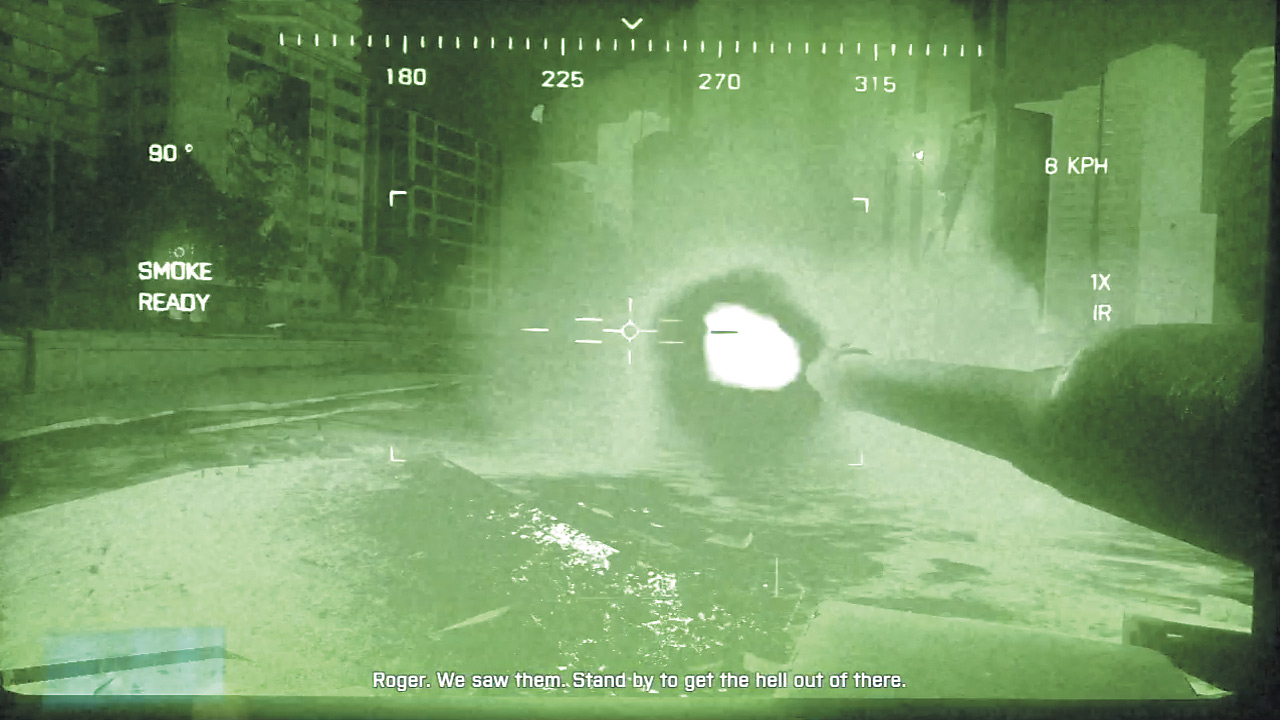
Though the lighting conditions may be a little different, this indeed the same area seen at the conclusion to Operation Guillotine, and Black needs the Marines’ tank support badly.

As the tank rumbles up the steps, it’s hit by something with far more oomph than a normal RPG, crippling the engines. Miller and his crew must fend off the converging PLR with the .50 cal. Get topside and start searching for targets; this plaza isn’t going to stay calm for long.

DEFEND BLACKBURN

Things seem calm initially. Miller and Black have a little conversation on a private channel about the nuke that makes the gravity of what they found in the bank vault that much more obvious.

The Marines have called for a helicopter evacuation, but it’s going to take time. There’s nothing to do now but stay put, keep your eyes open for enemies, and take them out with extreme prejudice.

As the heli evac’s radio chatter makes obvious, there are plenty of enemies closing in on this position to re-secure the nuke. Continue to lay down fire toward the left near a set of sandbags, to the middle (also near sandbags), and to the right near the stairs.
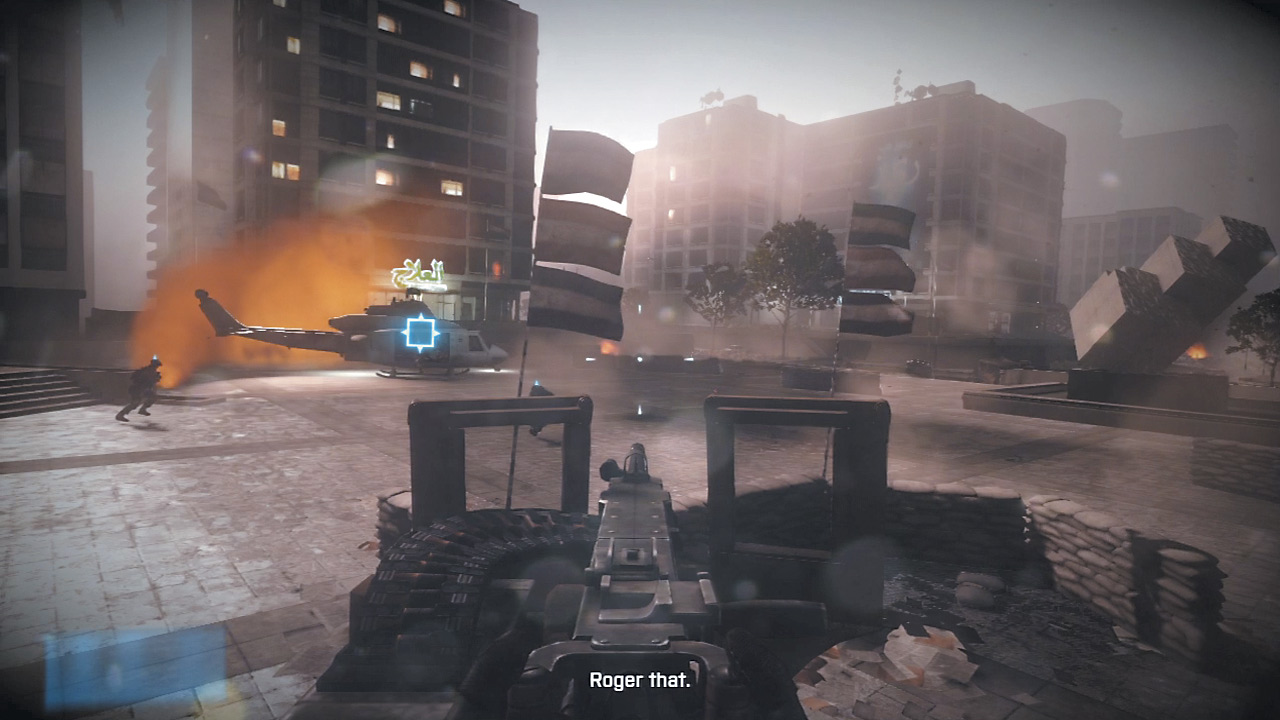
DEFEND EXTRACTION HELICOPTER

More PLR swarm the plaza in hopes of stopping the helicopter. Given that Miller and his crew are stuck without working hydraulics, they have no choice but to continue to push back the enemy from their static position.

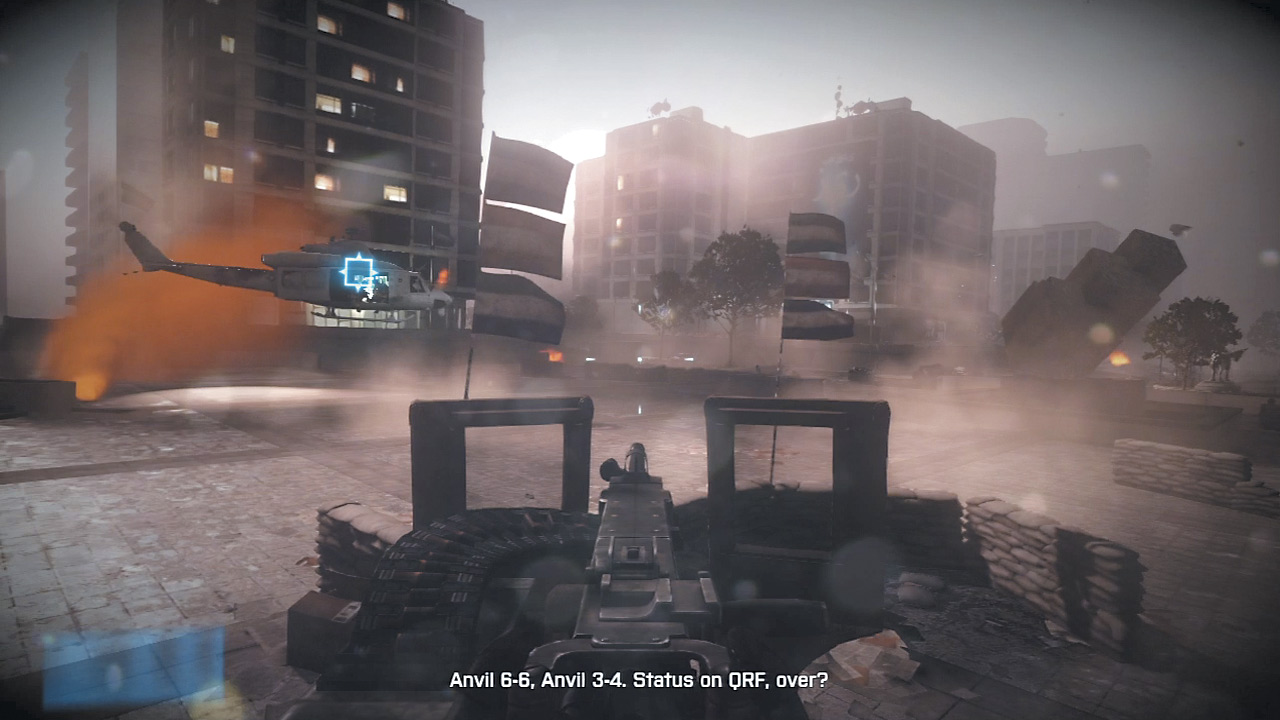
PLR continue to advance from the same positions as before, forcing Miller to keep the .50 cal trained on those locations to hold them off for 15 minutes until help can arrive.
Jargon

QRF
A Quick Reaction Force is a unit designed exclusively for mobilization at a moment’s notice, and are capable of everything from medical to engineering to bomb disposal and more.

Except during times of intense fighting, QRFs may be kept at a lower REDCON level to reduce the resource burn of being at constant REDCON-1.

However, QRFs still operate on the idea that they can respond in minutes—in this case, a rather harrowing 15 minutes. If Miller and company can just hold out long enough, the tank will be back up and running and they will be mobile soon.

HOLD OUT UNTIL QRF ARRIVAL

With no means to move out and heavy resistance, a call is made to check on support’s estimated time of arrival, but it’s not looking good. Continue to pour on the .50 cal diplomacy while holding out for support. Miller and his fellow Marines are literally sitting ducks here, so keep that turret hot. Eventually, the conflict will resolve itself in a surprising—but hardly welcome—way...

Keep reading with a free account

The first 3 sections of Battlefield 3 Premium are open to everyone. An account opens the rest of it, and every other guide in the archive. It's free, and there's nothing to buy.

Bought guides on the old Prima Games site? Your account and every guide you own moved here, so there's nothing to buy again. Sign in.

Create a free account Or browse our free guides

PreviousThunder Run NextNight Shift