
Battlefield 3 Premium Guide Battlefields Conquest
Bandar Desert
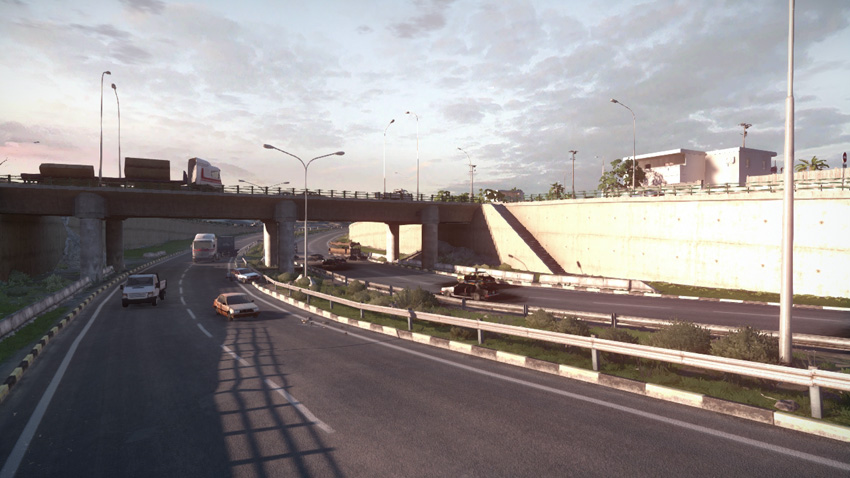
Conquest
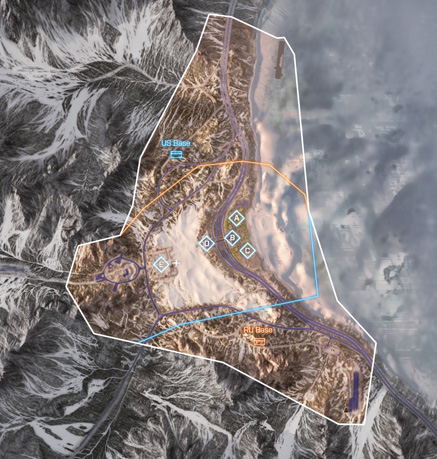
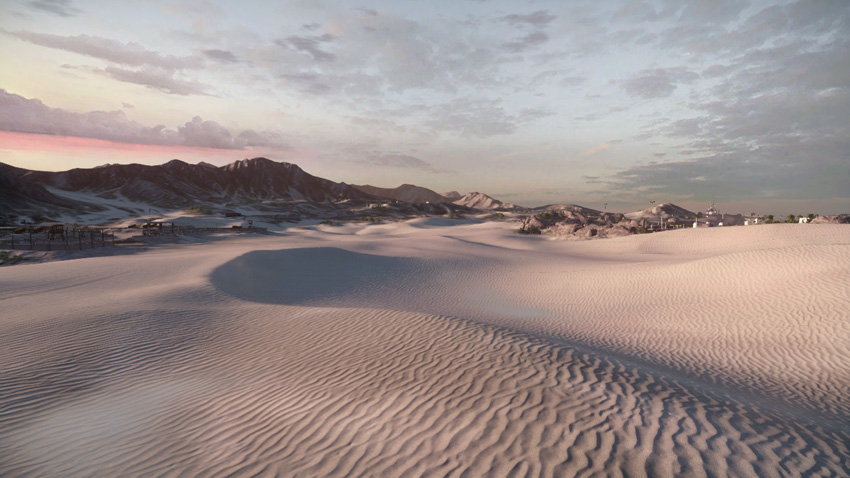
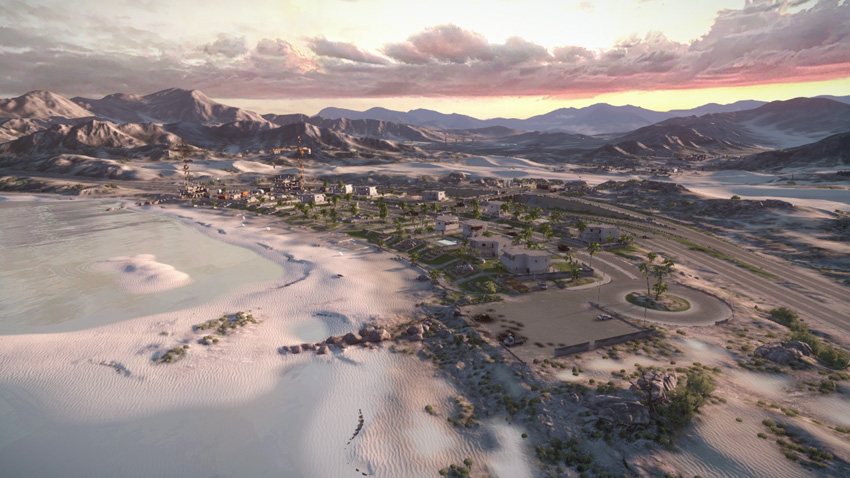
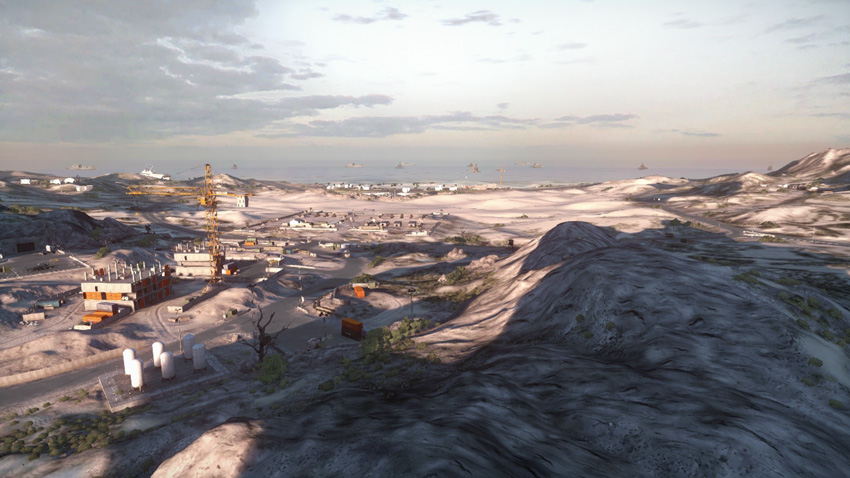
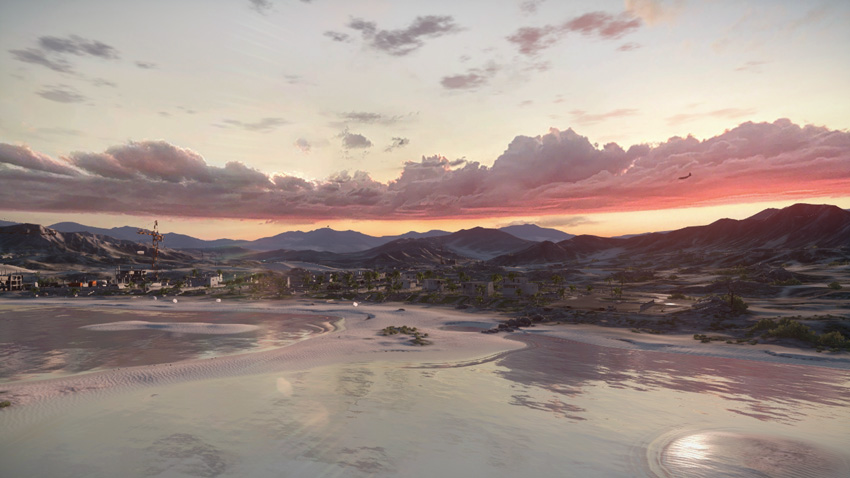
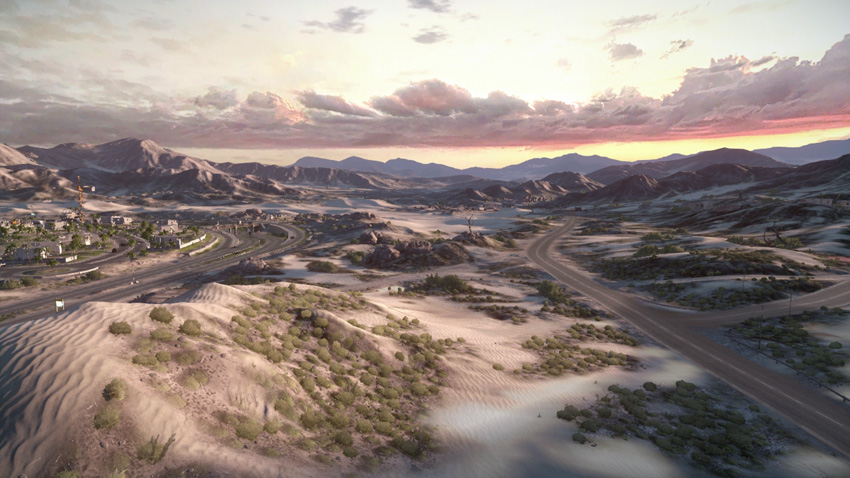
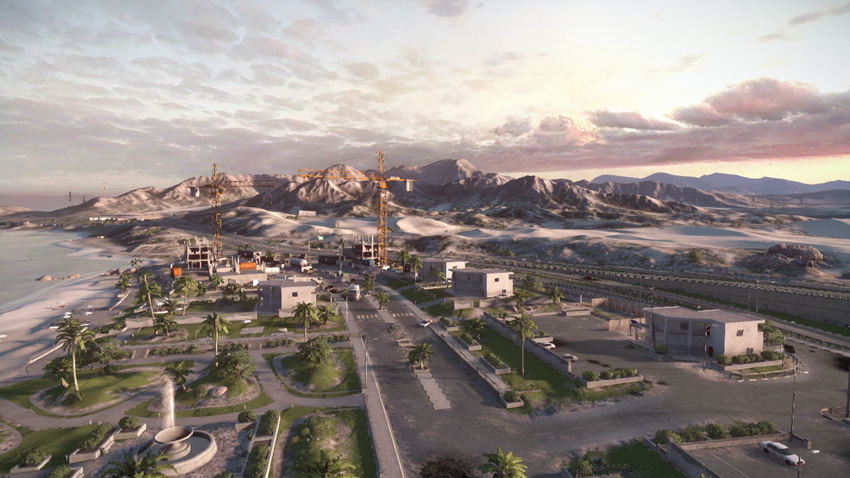
This desert battle offers a unique balance of ground and air combat as both teams fight for control of this sprawling region. With five flags up for grabs, each team should attempt to capture and hold a minimum of three control points. However, the uneven layout of the flags can make it difficult to draw a cohesive battle line. The artillery base (E) on the west side of the map grants access to the gunship, making it the most popular flag on the map. Both teams should attempt to capture and hold this flag so they can put the gunship’s powerful weapons to use. The remaining four control points are all on the east side of the map. These control points produce very few vehicles, often leading to heavy infantry combat in this area. Most of the vehicles are produced at each team’s base. So if either team wants to gain the upper hand, they’ll need to consistently spawn back at their base and drive these vehicles to the front lines. Each side also has access to an attack helicopter and two jets. In most cases, their air assets offset each other as they streak across the sky locked in white-knuckle dogfights. But if one team can establish air superiority, these aircraft can make a big impact on the ground battle. In the desert, there are few places for ground vehicles to hide, making them particularly vulnerable to strafing runs.
US Base
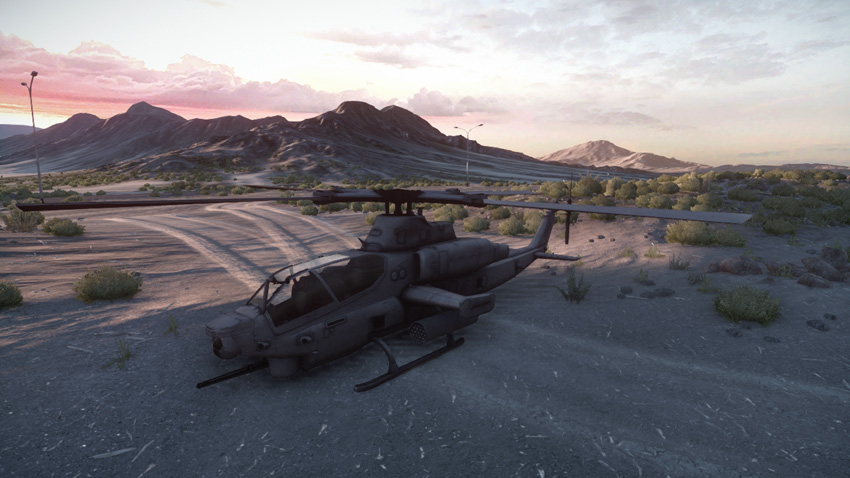
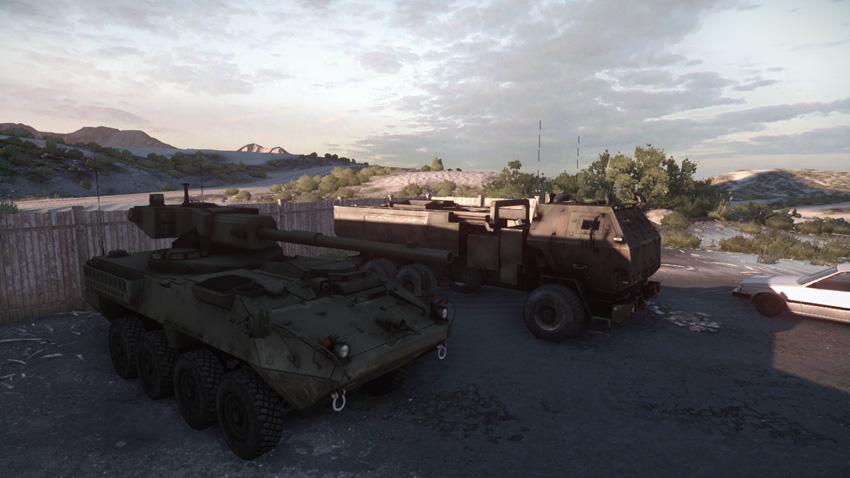
Base Assets
| Name | Quantity | Respawn Time |
|---|---|---|
| Quad Bike | 2 | 5 sec. |
| M1128 | 2 | 20 sec. |
| M142 | 1 | 60 sec. |
| AH-1Z Viper | 1 | 60 sec. |
| F/A-18E Super Hornet | 2 | 40 sec. |
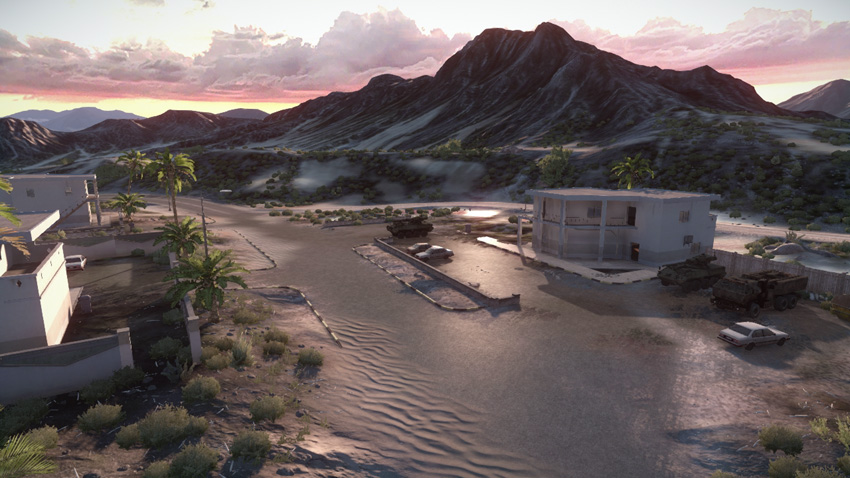
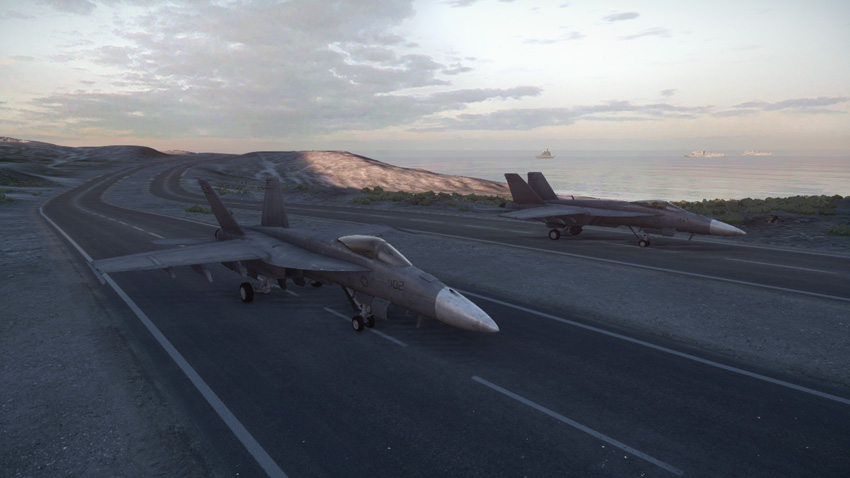
The US team deploys from the north side of the map. Infantry and vehicles spawn at the mountain village while air assets spawn farther north, along the highway. The early moments of the round are very important, leaving little time to waste. The fastest ground vehicles available here are the quad bikes, ideal for rushing the distant artillery base (E), where the gunship is accessed. While troops on quad bikes secure the artillery base (E), send the M1128 tank destroyers toward the gas station (D) and village south (A). Securing three control points early on is the best way to gain the upper hand in the battle, forcing a drain on the RU team’s ticket count. While the ground units capture and hold control points, use the AH-1Z Viper and F/A-18E Super Hornets to establish air superiority. The RU team’s jets and helicopters pose a constant threat to your ground forces, so act quickly to shoot down these aircraft. When the air is clear of hostile units, use the Viper and Super Hornets in a close air support role, strafing enemy tanks and tank destroyers.
RU Base
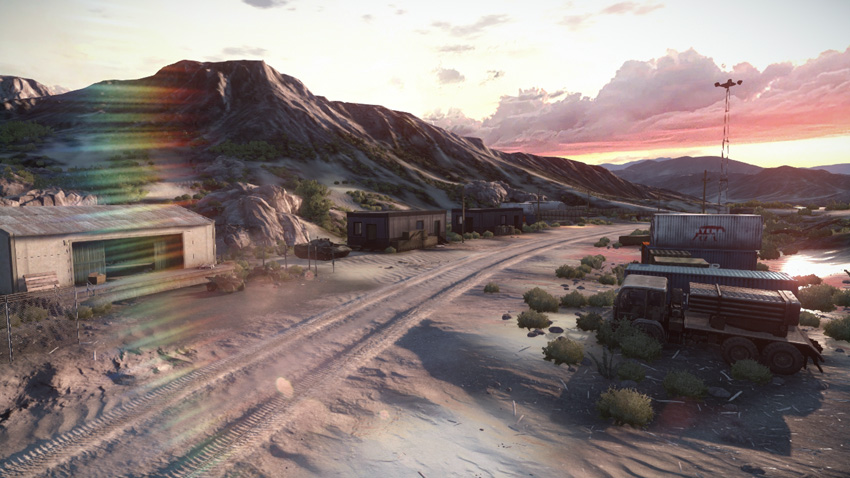
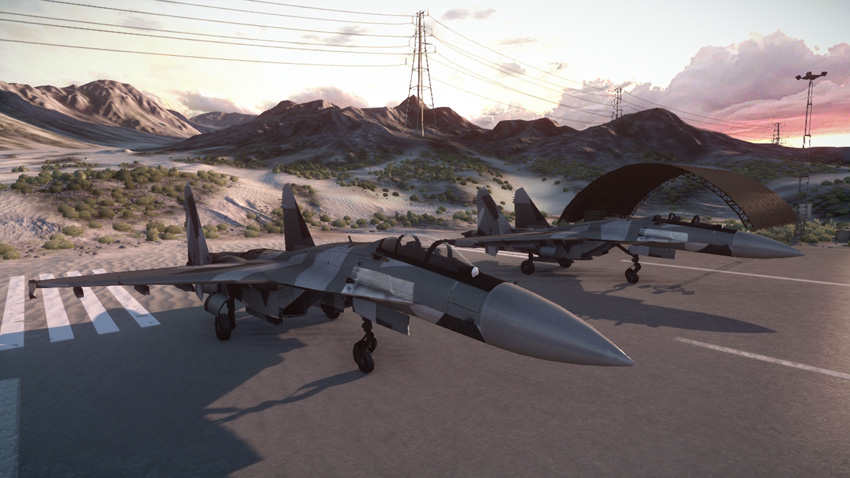
Base Assets
| Name | Quantity | Respawn Time |
|---|---|---|
| Quad Bike | 2 | 5 sec. |
| SPRUT-SD | 2 | 20 sec. |
| BM-23 | 1 | 60 sec. |
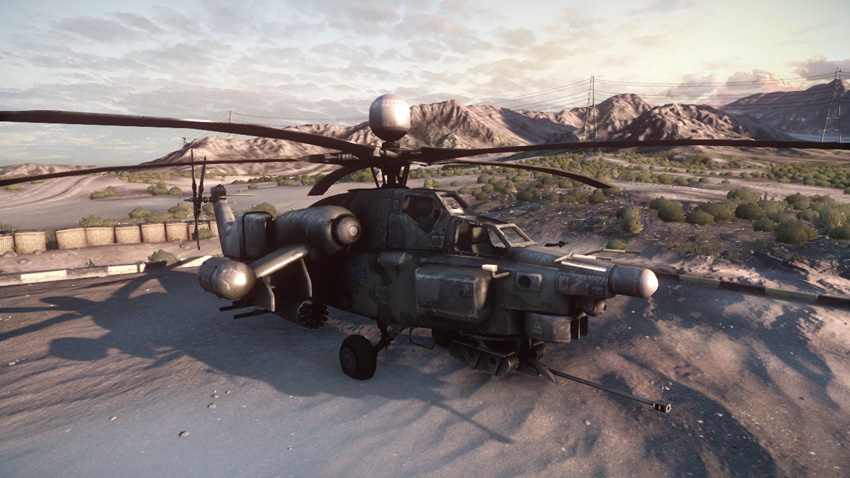
| Mi-28 Havoc | 1 | 60 sec. |
| SU-35BM Flanker-E | 2 | 40 sec. |
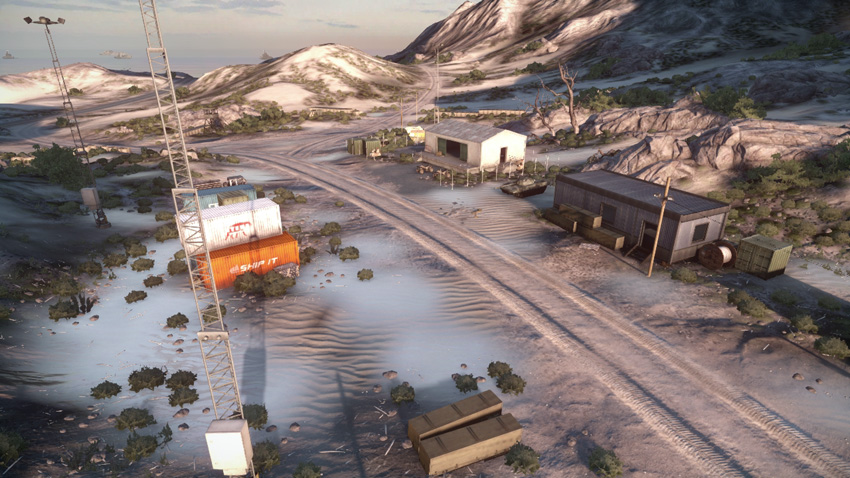
The RU team deploys on the south side of the map, with the majority of vehicles spawning at the mountain outpost. All air vehicles spawn at the airfield to the southeast. It’s important to make an early push to secure at least three flags. Start by sending quad bikes to the artillery base (E) in an effort to gain access to the gunship. Meanwhile, roll out the SPRUT-SD tank destroyers toward the central control points, securing the gas station (D) and construction site (C). While the ground units roll out, get the SU-35BM jets and Mi-28 attack helicopter in the air to guard against US air strikes. Neutralizing the US jets and helicopter should be the primary responsibility of the RU team’s air assets. This includes shooting down the gunship if the US team manages to capture the artillery base (E). With the US air assets eliminated, the RU team’s aircraft can begin conducting strafing runs on enemy ground units. But always watch for new US aircraft taking off. Break off any ground attacks to focus on achieving air superiority.
A: Village South
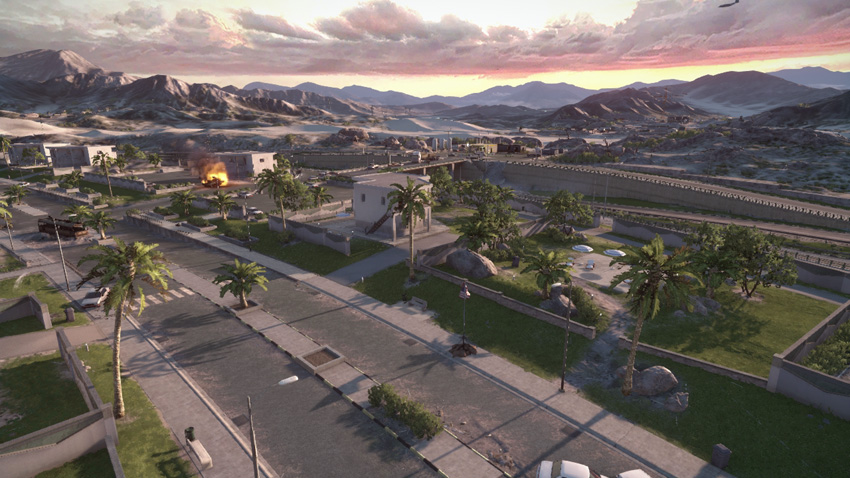
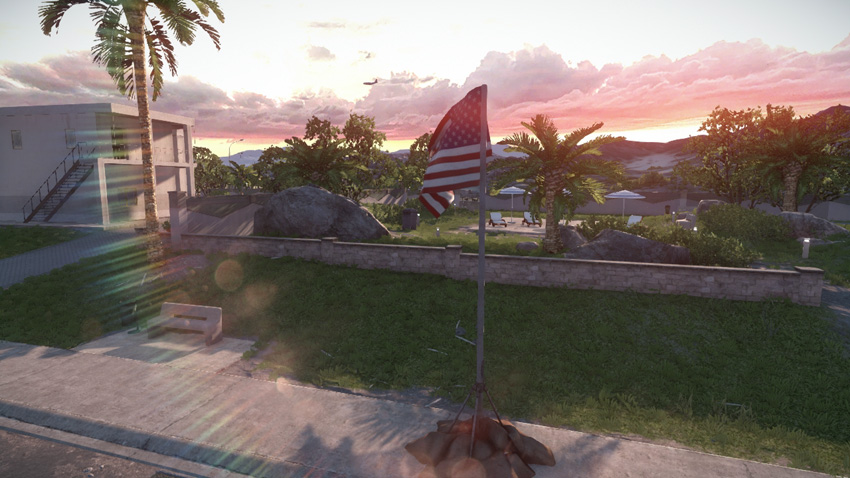
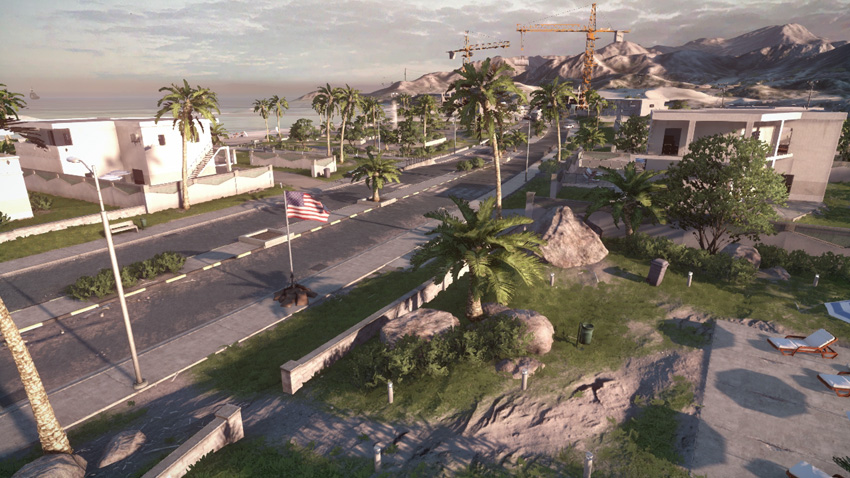
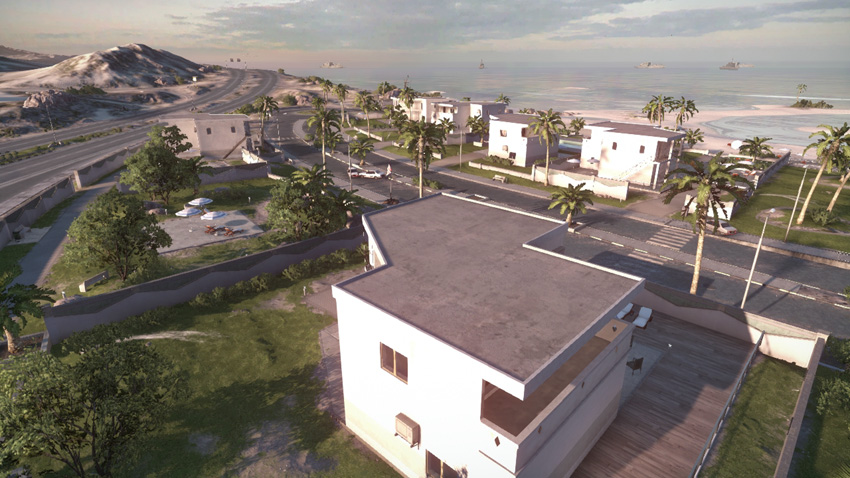
The village south (A) control point produces no vehicles for either team. But don’t let that deter you from capturing and defending this flag. With only five flags up for grabs, every control point is worth fighting for, especially in a close match. For the US team, simply having a spawn point in the center of the map is a big benefit, allowing for attacks on the nearby village center (B) or gas station (D). The flagpole is planted on a sidewalk along the main street cutting through the seaside village. Given the lack of cover, this flag is best captured from within the safe confines of an armored vehicle. If you’re on foot, take cover along the low wall to the west of the flag or hide in vegetation on the median to the east. Given its proximity to the street, this flag is often rushed by vehicles approaching from the north or south. Defenders should consider placing mines on this road or packing the flag’s capture radius with C4. The surrounding two-story buildings provide excellent overwatch positions for attackers and defenders alike. But the walls of these concrete buildings won’t withstand heavy fire, so be ready to move out if you’ve been spotted by an enemy tank destroyer.
B: Village Center
Control Point Assets
| US Control | RU Control | Respawn Time |
|---|---|---|
| Quad Bike (1) | Quad Bike (1) | 5 sec. |
| M1128 (1) | SPRUT-SD (1) | 20 sec. |
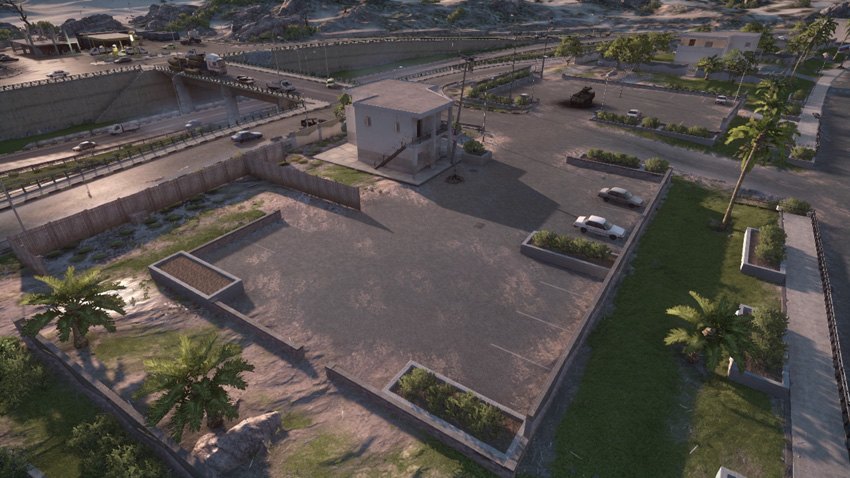
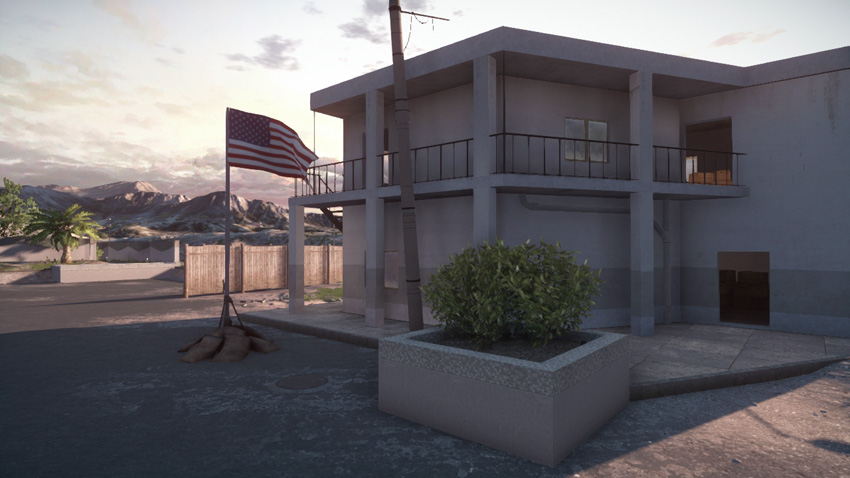
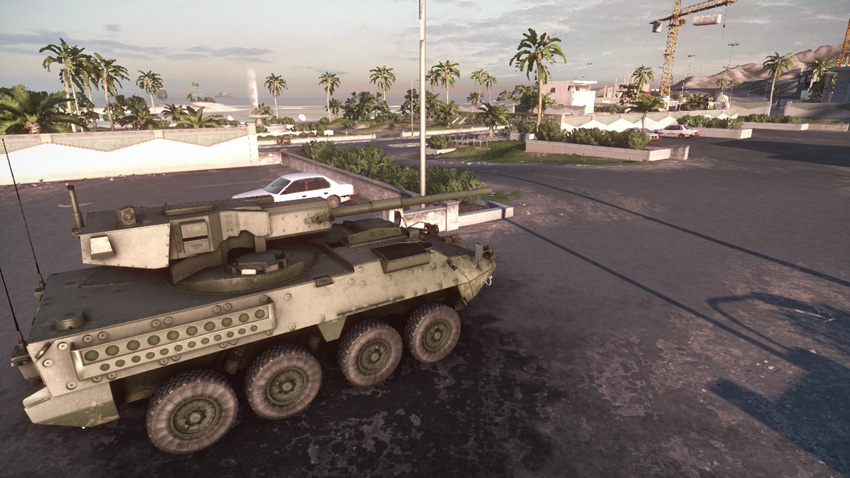
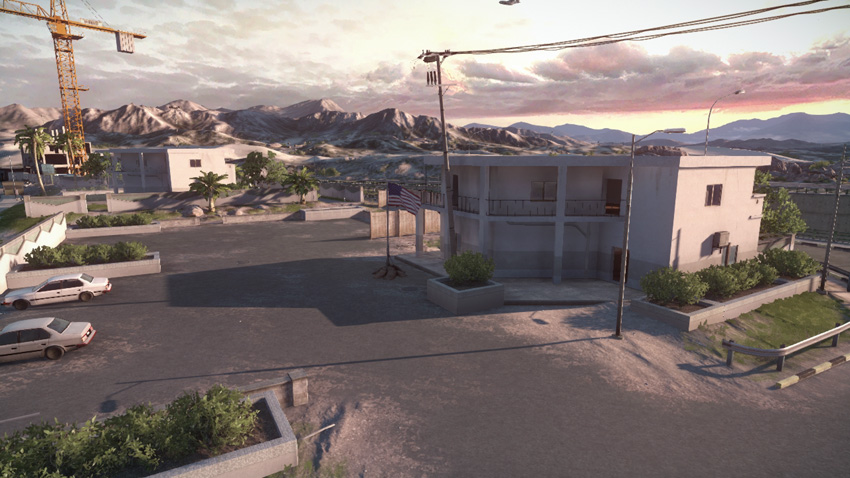
The village center (B) is one of the most valuable control points on the map, producing a quad bike and tank destroyer for each team. In matches where opponents fail to spawn at their base and field ground vehicles, gaining a tank destroyer in the center of the map can make a huge difference when attacking the four surrounding control points. The flag is located in a large parking lot next to a concrete two-story house. If you’re on foot, hide inside the house to convert or contest the flag. While the house’s exterior walls won’t hold up to heavy bombardment, they provide adequate protection from small-arms fire. Given this control point’s central location, it’s likely to change hands many times during the course of a battle. But gaining access to a tank destroyer spawn point makes this a flag worth fighting for, so don’t leave it undefended. Those left behind on guard duty will see more than their fair share of action. Engineers and support troops are capable of dealing with a variety of threats, but they can greatly benefit from keeping the tank destroyer nearby.
C: Construction Site
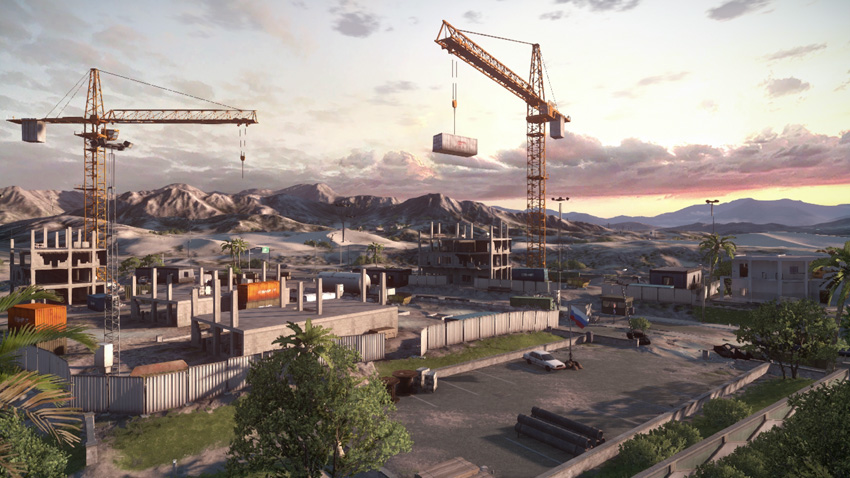
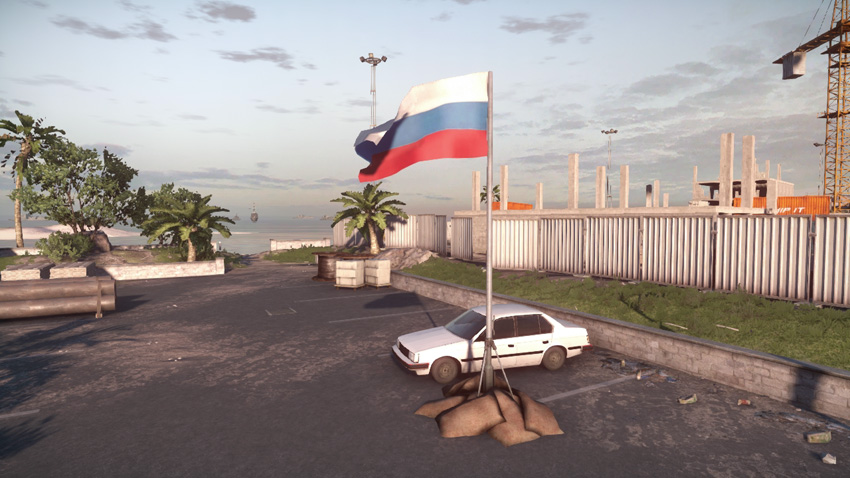
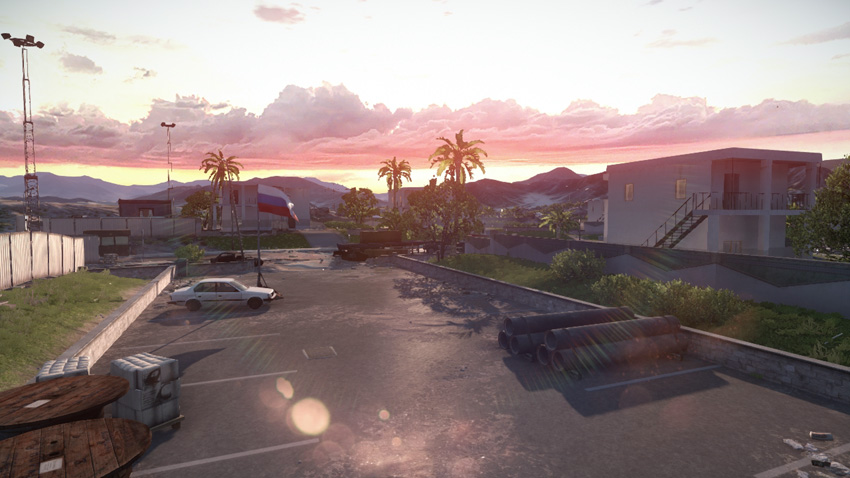
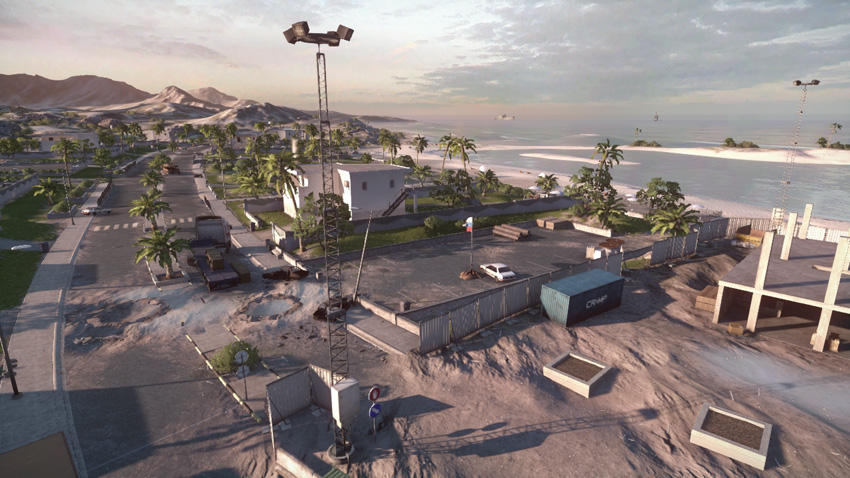
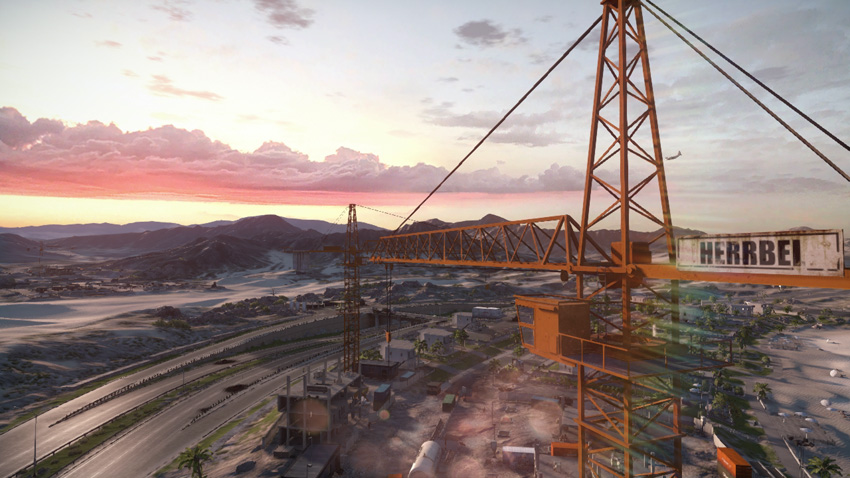
Like the village south (A), the construction site (C) produces no vehicles for either team. Still, it’s a control point worth holding onto, if for nothing other than maintaining a spawn point in the center of the map. The flag itself is in a small parking lot on the north side of the facility. Except for cars and a low perimeter wall, there isn’t much cover within the flag’s capture radius. As a result, it’s safest to capture this control point from within an armored vehicle. However, watch for mines and other booby traps before driving toward the flag. The nearby construction cranes are popular sniper perches for recon troops eager to score long-range kills. From the cranes, recon troops can easily cover the flags at the village south (A), village center (B), and gas station (D). So even if the construction site (C) is in your team’s possession, the cranes may be occupied by enemy snipers. Strafe the tops of these cranes regularly using your team’s attack helicopter or gunship in an effort to clear out enemy sharpshooters. It’s also possible to cover the flag and cranes from the house on the north edge of the parking lot. If necessary, blow a hole in the southern upstairs wall to make a bigger window.
D: Gas Station
Control Point Assets
| US Control | RU Control | Respawn Time |
|---|---|---|
| Quad Bike (1) | Quad Bike (1) | 5 sec. |
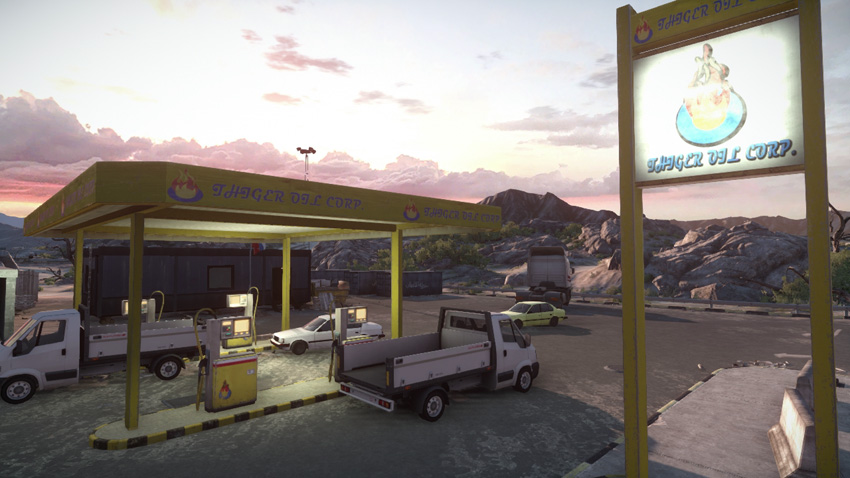
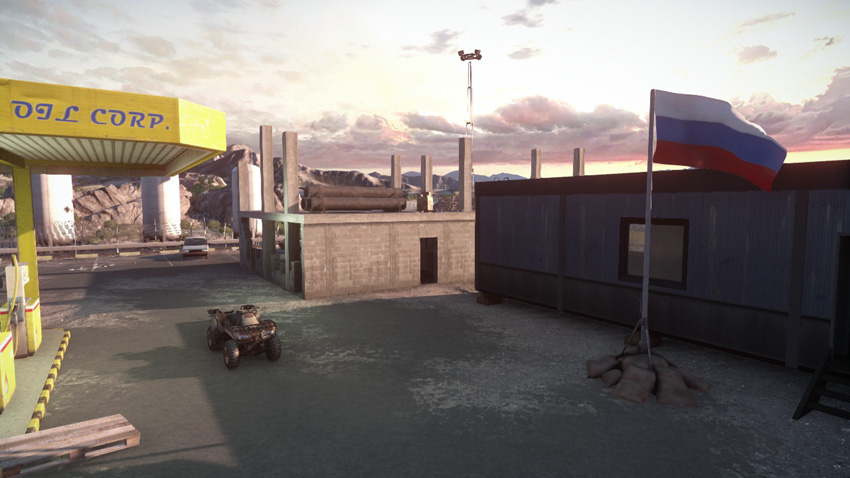
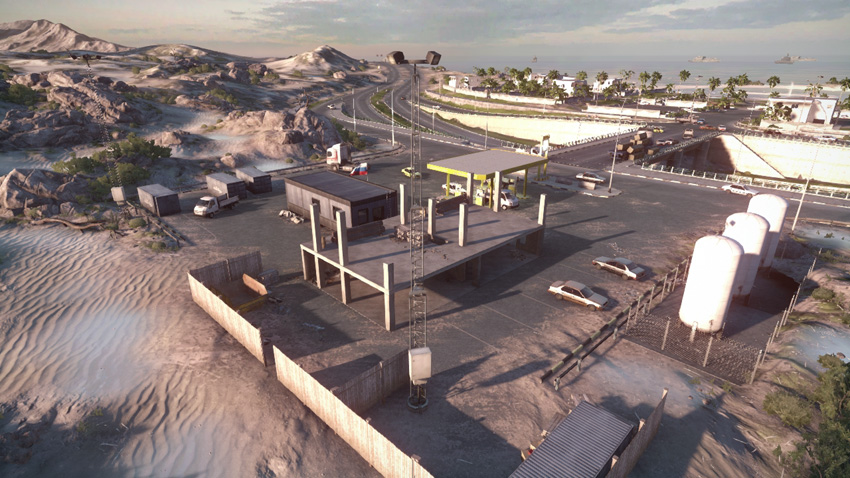
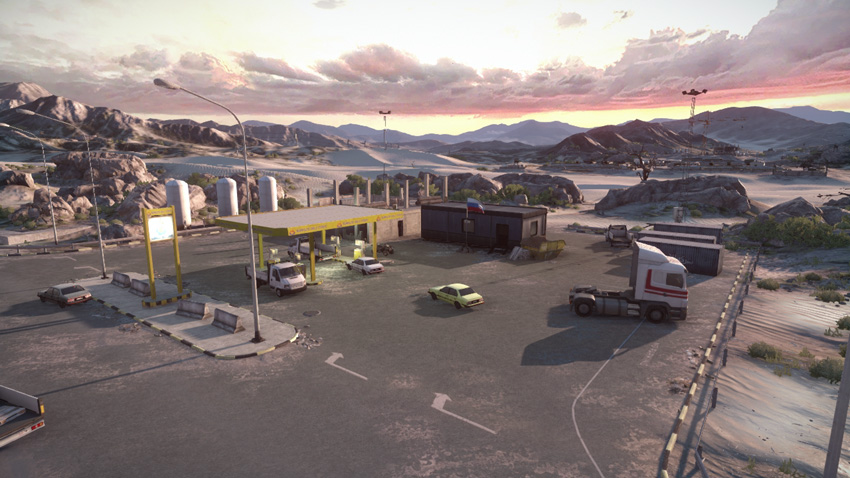
The gas station (D) is along the west side of the highway, between the village center (B) and artillery base (E). As the midway point between these two crucial control points, the gas station (D) sees plenty of traffic throughout the course of the battle. Before arriving, target the gas pumps. It’s better to knock out these highly explosive objects before you get too close—otherwise you run the risk of getting caught in a large explosion. Once the gas pumps have been set ablaze, the smoke offers some welcome concealment. The flag is next to a flimsy prefabricated office. If you’re on foot, always hide in this office while attempting to capture the flag. But when defending here, consider hiding in the partially constructed building to the south. The control point produces a quad bike for each team, ideal for racing to nearby flags. Use the highway overpass to the east to reach the nearby control points. This overpass can also serve as a choke point for defenders attempting to stop intrusions from the village center (B).
E: Artillery Base
Control Point Assets
| US Control | RU Control | Respawn Time |
|---|---|---|
| Quad Bike (2) | Quad Bike (2) | 5 sec. |
| Gunship (1) | Gunship (1) | 60 sec. |
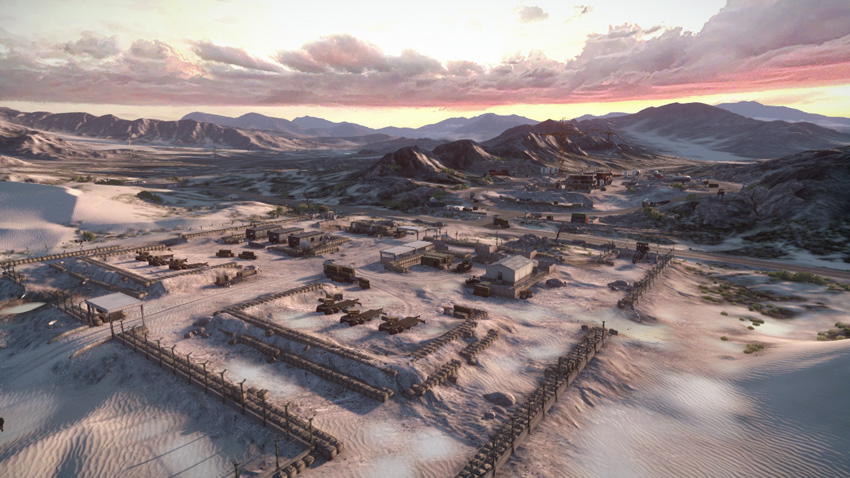
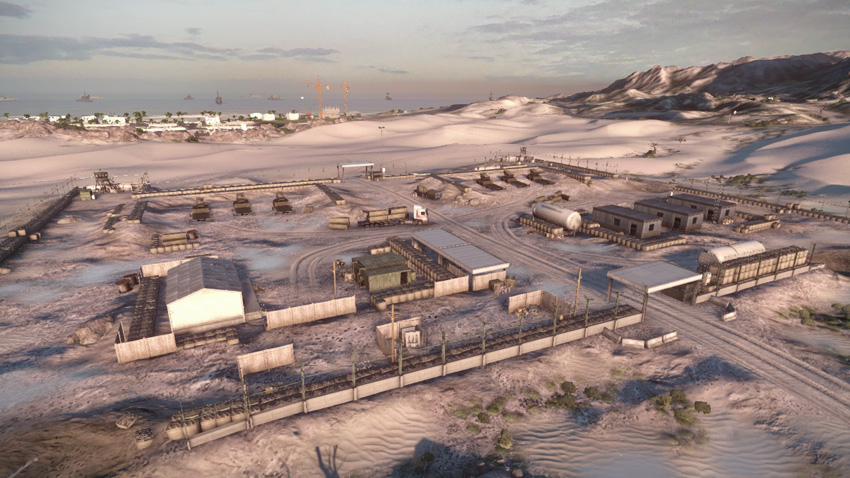
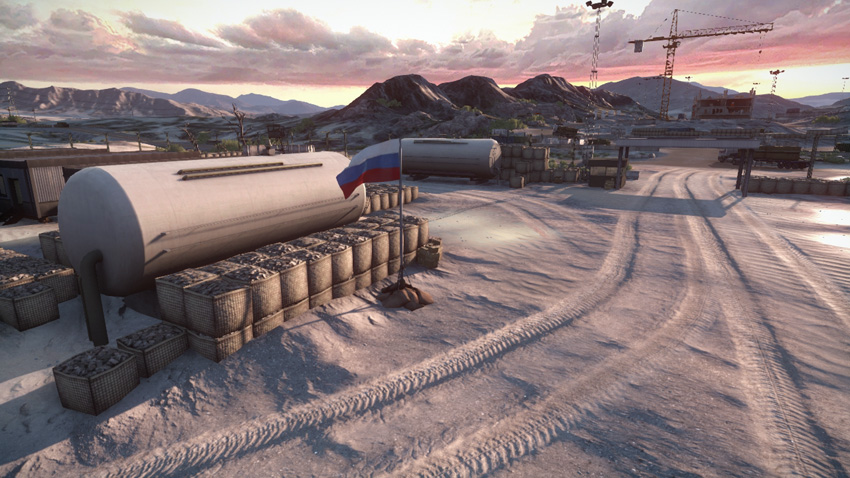
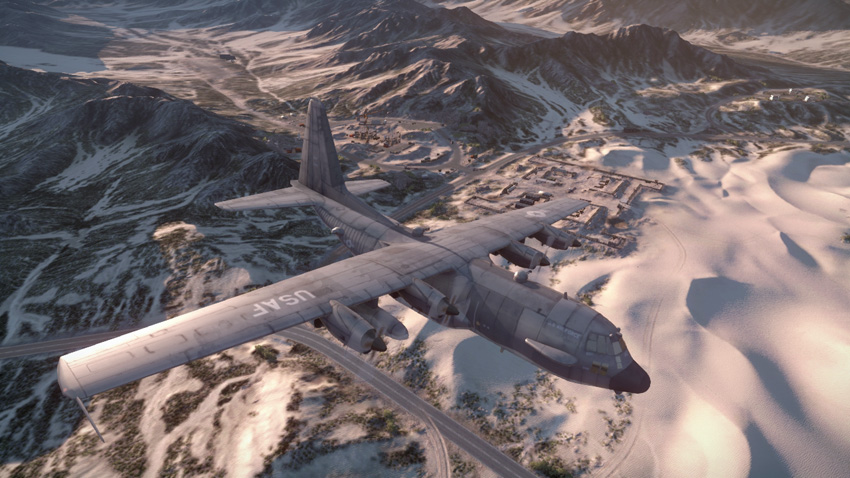
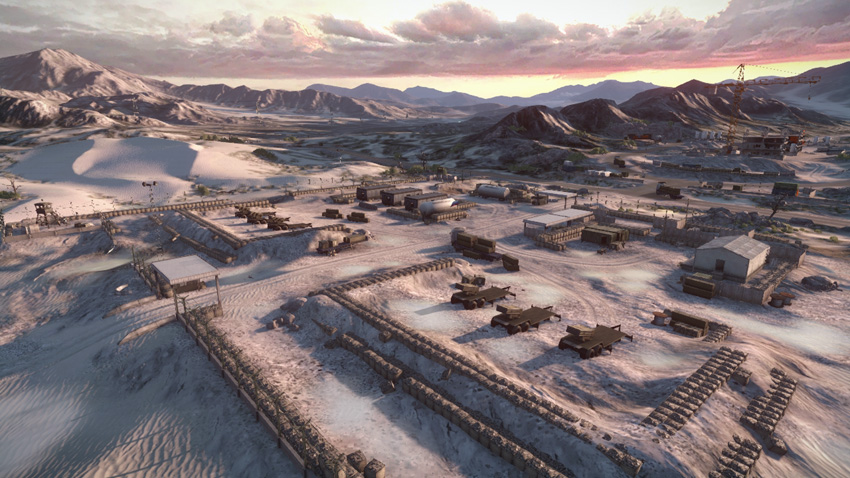
The artillery base (E) is a fortified military installation on the western edge of the map. The team that manages to capture and control this flag gains access to the gunship orbiting above the battlefield. As a result, this is one of the most contentious points on the map. This sprawling facility is surrounded by a perimeter fence and contains multiple structures capable of serving as overwatch positions for defenders. Four official gates offer access into the facility, but the weak perimeter fence can be breached at virtually any point by vehicles or infantry. The flag is near the center of the base, near a large white fuel tank—consider blowing up this tank before you get too close. Given the size and its porous perimeter fence, don’t bother trying to lock down this base. Instead, focus defensive efforts around the flag. Placing mines near the flag or simply parking a tank destroyer nearby serves as a good deterrent. Keep at least one squad here at all times to secure this flag. Even if the defending squad is wiped out, they can maintain a presence in the base by placing a radio beacon in one of the nearby structures.