
Battlefield 3 Premium Guide Battlefields Conquest
Operation Métro
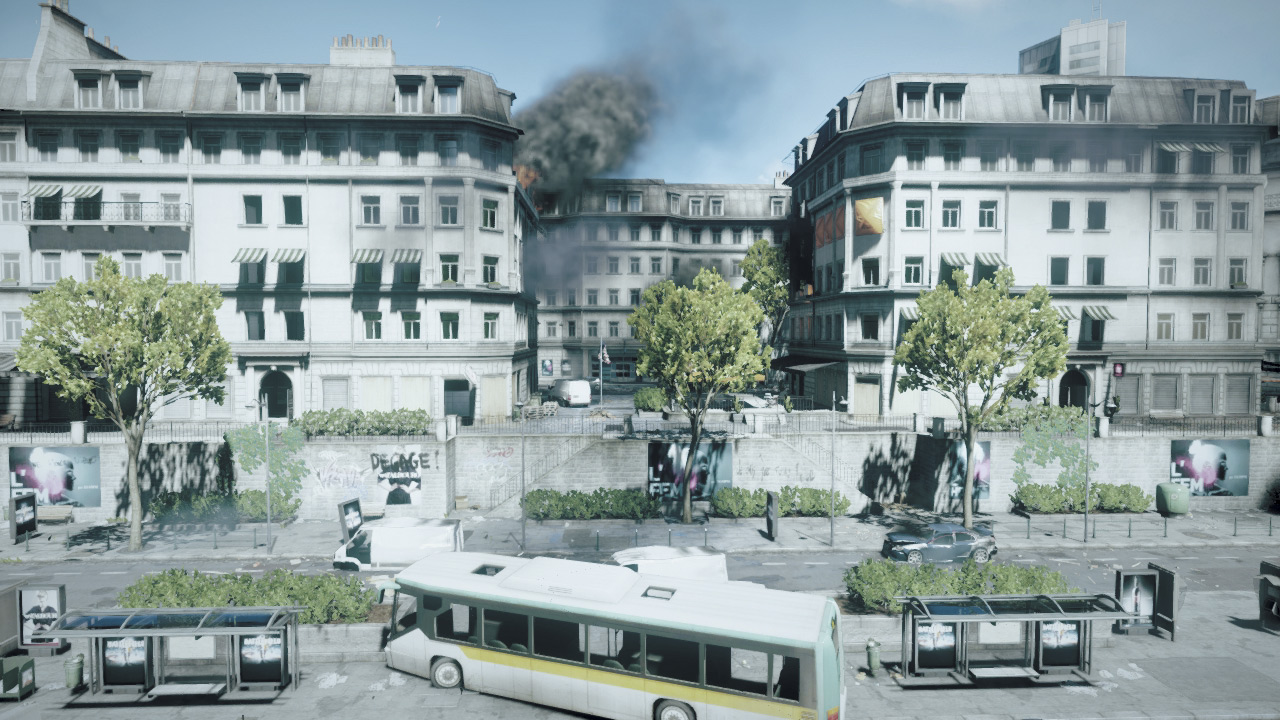
As part of a bigger US invasion force, your mission is to help the French to retake Paris. Your attacking platoon is supporting a French paratrooper force that will try to surprise the Russians by air-dropping behind enemy lines.
Reports indicate the French Air Force is suffering heavy casualties due to a series of anti-air batteries around Chardonnay Park. With limited air support, the French are having a hard time mobilizing enough forces into the central districts of Paris.
Heavy fighting is expected as US forces push to secure the financial district in central Paris. Russian anti-air emplacements in the outskirts of the park are likely to be the first target as US Marines attempt to gain control of the airspace ahead of the main ground assault.
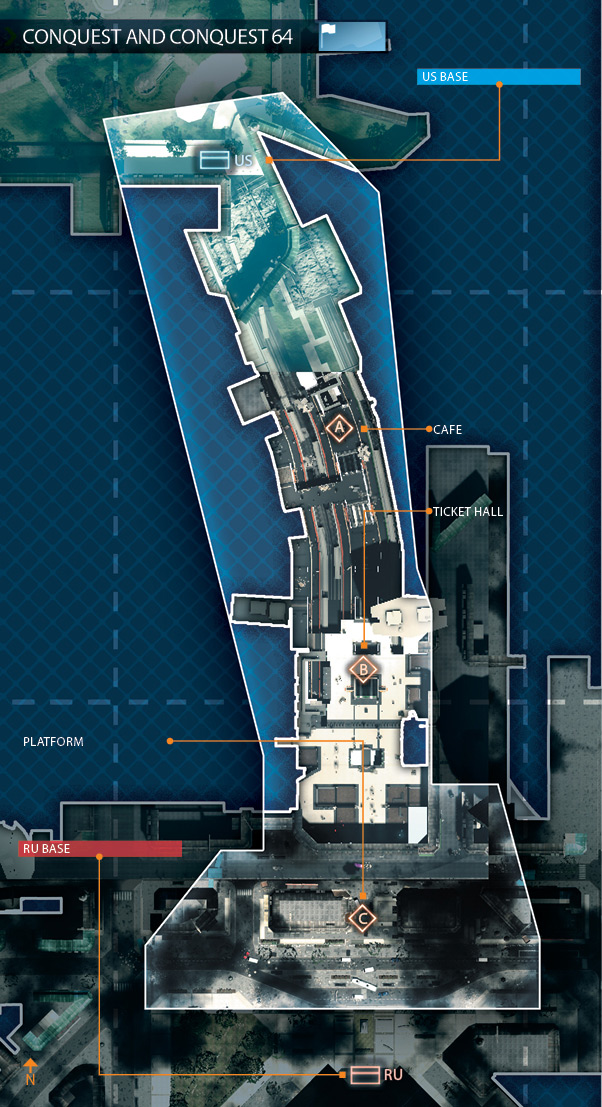
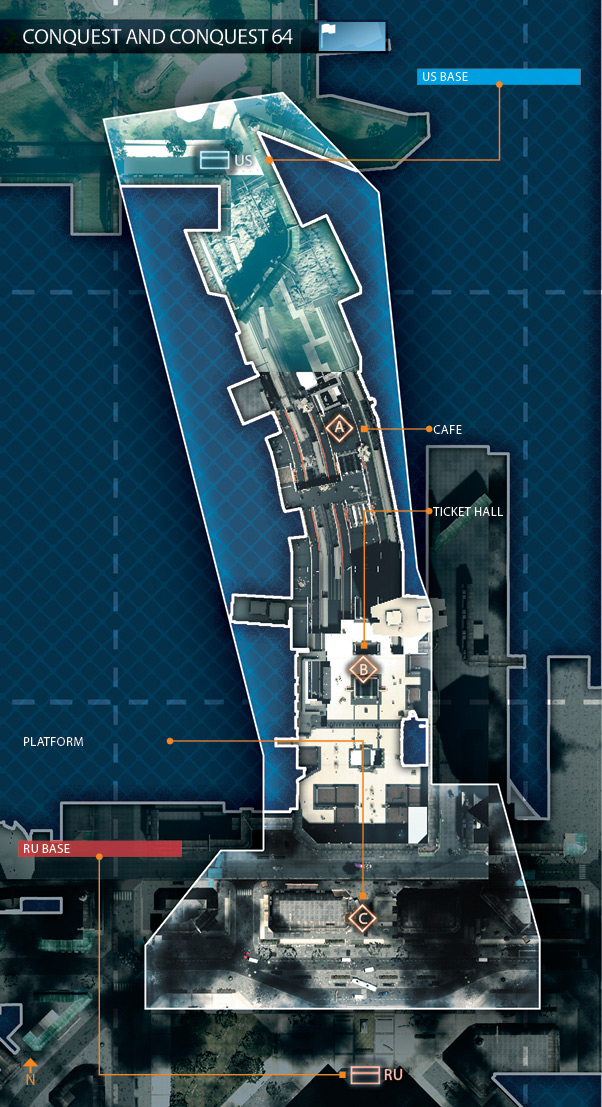
The Conquest and Conquest 64 maps are identical in Operation Métro, with the same control point layout. The only difference between these game modes is the number of players allowed on the map.
This is a linear tug-of-war style Conquest match, with three control points lined up from north to south. With only three flags up for grabs, your team must capture and hold at least two control points to drain the opposing team’s ticket count.
The US team should try to hold the Platform (C) and Ticket Hall (B). By building up a line of defense at the Ticket Hall (B), the US team can lock down the entire métro station by covering the three entry points to the south, all while bleeding the RU team’s tickets.
The RU team is best served by capturing all three control points, and forming their line of defense at the Platform (C). This allows them to ambush US troops in the dark tunnels north of the Platform (C).
But even if the Platform (C) falls to the US, the RU team can establish a solid defense at the Ticket Hall (B) to hold out for the win. Regardless of which team you’re on, prepare for a mix of close-quarters and intermediate-range infantry combat.
So make sure your squad has a wide mix of weapons to engage opponents in a variety of environments. As in any Conquest match, your team’s ticket count is crucial, and in a tight match, assault troops equipped with defibrillators can make all the difference.
US BASE
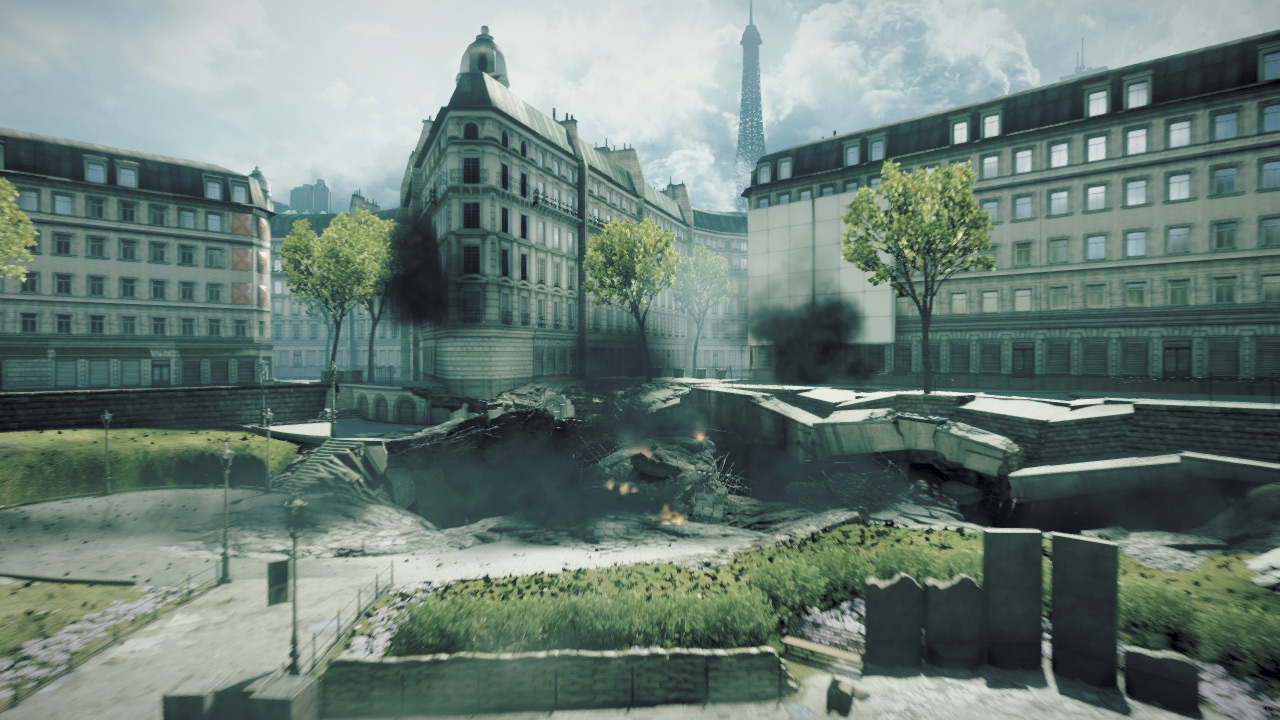
In both variants of Conquest, the US team starts the match in the tunnels near the park. There are two tunnels running parallel to each other, both leading toward the nearby Platform (C) control point.
The eastern tunnel is the widest, offering quick, direct access to the Platform (C). There are plywood barriers on the southern end of the eastern tunnel that can be destroyed.
However, it’s best to keep these sheets of plywood in place to deny the RU team long sight lines down this tunnel. The western tunnel is a narrow maintenance shaft that drops down onto the western subway tracks.
This is offers a sneakier way to reach the Platform (C), but it can also be a popular spot for opponents looking for an easy ambush. So always proceed with caution when dropping down onto the tracks—smoke can help conceal your squad’s descent from the maintenance shaft.
Within each tunnel are a variety of side passages that are useful for avoiding snipers and other opponents posted to the south. Despite the multiple paths, the US team should work hard to avoid spawning here.
If the RU team takes control of all three control points, they have an easy time locking down both tunnels, denying the US access to other spawn points.
Therefore it’s extremely important that US team captures and holds the Platform (C) throughout the course of the match. Otherwise the advance through the tunnels can turn into a bloodbath favoring the RU team.
RU BASE
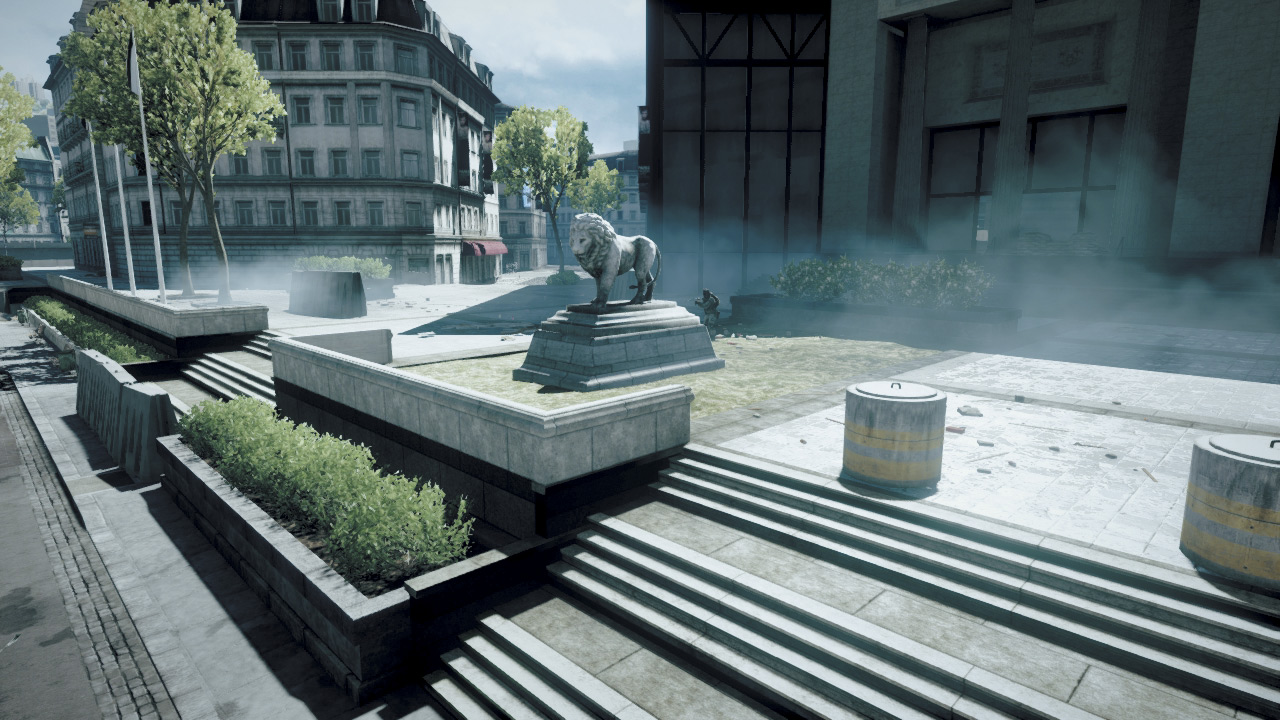
The RU team deploys from their base in the Finance Ministry building on the south end of the map. If you spawn inside the building, don’t feel bad about shooting out the windows to escape.
With the Cafe (A) control point located directly across the street to the north, the RU team has no problem securing their first control point. But capturing one control point isn’t enough.
The RU team must continue pushing north into the métro station to secure the Ticket Hall (B) before they can go on the defensive. If the Ticket Hall (B) falls to the US, they’ll have an easy time locking down the entire station by covering the three entry points.
In addition to the Ticket Hall (B), the Cafe (A) should always be defended, too.
If the US manages to capture all three control points, the RU team will have a tough time simply getting out of the Finance Ministry building without getting gunned down by US troops positioned in the buildings to the north surrounding the Cafe (A).
If your team does find itself under siege by the US at the RU Base, instead of grinding against the Cafe (A), sneak around the streets to the east or west to try to secure a control point in the métro station.
Although the layout of this map is rather linear, there are always flanking paths available that are less likely to be covered by opponents.
A: CAFE
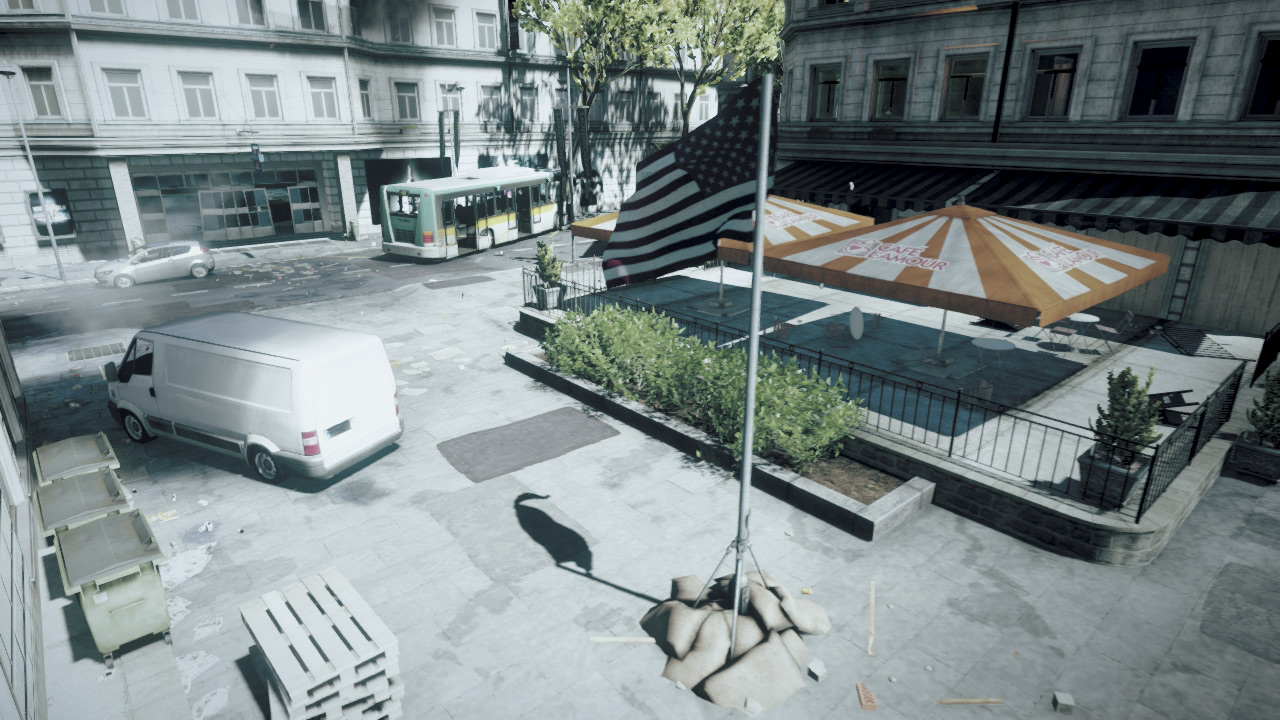
The Cafe (A) control point is sandwiched between the RU Base and the métro station’s southern entrance. This becomes a high-traffic area whenever the US team holds the Ticket Hall (B) and the RU team holds the Cafe (A).
Given the close proximity to their base, the RU team stands the best chance of holding onto this control point throughout the battle. But the chance to lay siege to the RU Base may prove tempting to the US team, so the RU team should never take this control point for granted.
The flagpole is relatively unprotected, standing as it does between two large buildings to the east and west. But the flag’s capture radius is very large, so it can be captured and contested from within the surrounding buildings.
As a result, the buildings are a great place for attackers and defenders to hide. Consider deploying a Radio Beacon in one of these buildings to give your squad a spawn point near the flag, regardless of which team controls the Cafe (A).
Both buildings offer access to multiple floors. So use the upper floor windows to keep an eye on the flag as well as the approaches from the RU Base and métro station.
B: TICKET HALL
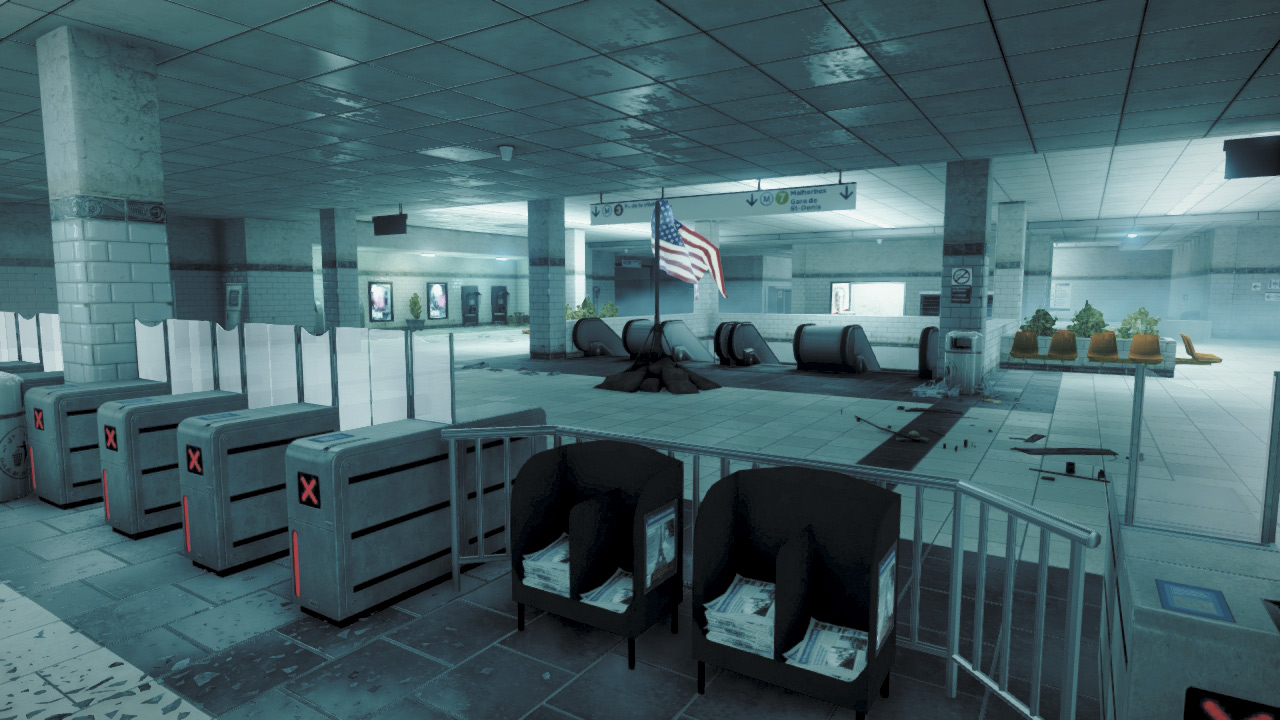
In the center of the map, the Ticket Hall (B) is the most hotly contested control point in this battle, requiring constant attention by both teams. In the footrace to reach the flag at the start of the match, the RU team has a slight advantage.
But players on both teams should perform a continuous sprint to reach this location before the opposing team takes control.
Even if you reach this spot first, your opponents won’t be far behind, so drop prone and find a good cover position within the flag’s wide capture radius.
Regardless of which team captures the flag first, it’s likely to change hands several times. When defending here, seek cover along the perimeter, preferably on the eastern and western sides of the flag.
If the opposing team is advancing from the north, it’s strongly advised to defend all the escalators and the stairway to the northwest—these are the only access points to the station’s upper level and serve as great choke points.
When defending attacks from the south, utilize the métro station entry points. There are three entrances into the station to the south, east, and west.
By locking down each of these entrances, you can prevent the opposing team from even gaining a foothold within the station, effectively blocking access to the Ticket Hall (B) and Platform (C).
C: PLATFORM
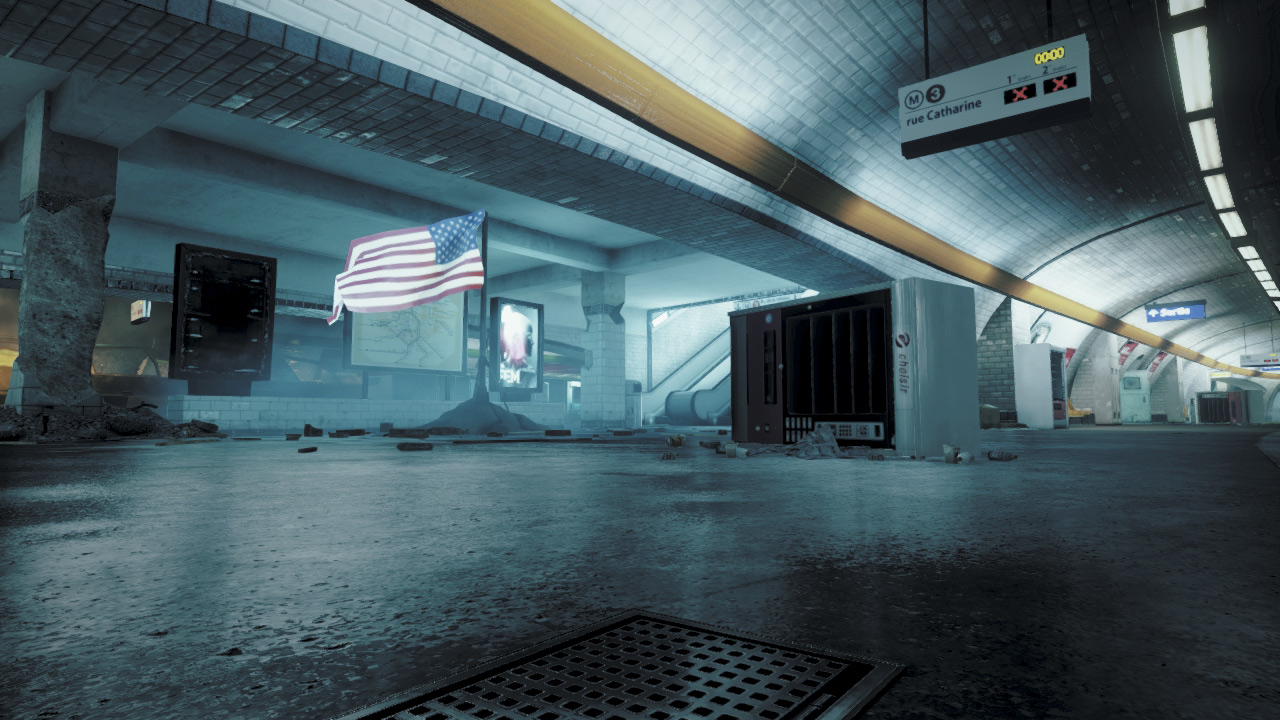
Although the Platform (C) is relatively close to the US Base, it’s not necessarily safe from capture by the RU team.
By holding this flag, the RU team not only blocks access to the other control points, but they can also lay siege to the US Base and ambush advancing troops as they move through the dark tunnels to the north.
For this reason alone, the US team must work to capture and secure this control point throughout the match. The flag here is positioned in the middle of the station platform.
When attempting to capture or contest the flag, instead of gathering at the base of the flagpole, spread out and hide in the nearby maintenance passage to the north or within the subway cars to the east and west.
Given the flag’s wide capture radius, there are plenty of hiding spots for both attackers and defenders. So pay close attention to the circular flag status icon on the HUD to determine whether enemy troops are present.