
Battlefield 3 Premium Guide Battlefields Squad Rush
Noshahr Canals
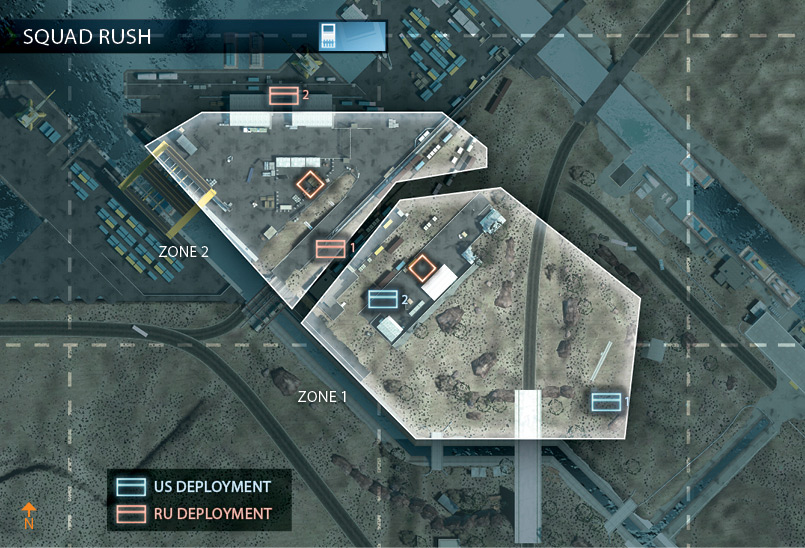
In this Squad Rush variant, the direction of attack is reversed as the US team approaches from the east, hitting the Train Yard before moving onto the Dry Dock.
In this small-scale battle, prepare for a mix of intermediate- and close-range combat. Assault troops are very effective here, thanks to their ability to revive squad mates as well as deploy smoke.
Each squad should consider bringing along a recon soldier to deploy a Radio Beacon near each objective to guarantee a nearby spawn point. Attacking recon troops can also benefit from a MAV to spot the locations of defenders hiding around each objective.
ZONE 1: TRAIN YARD
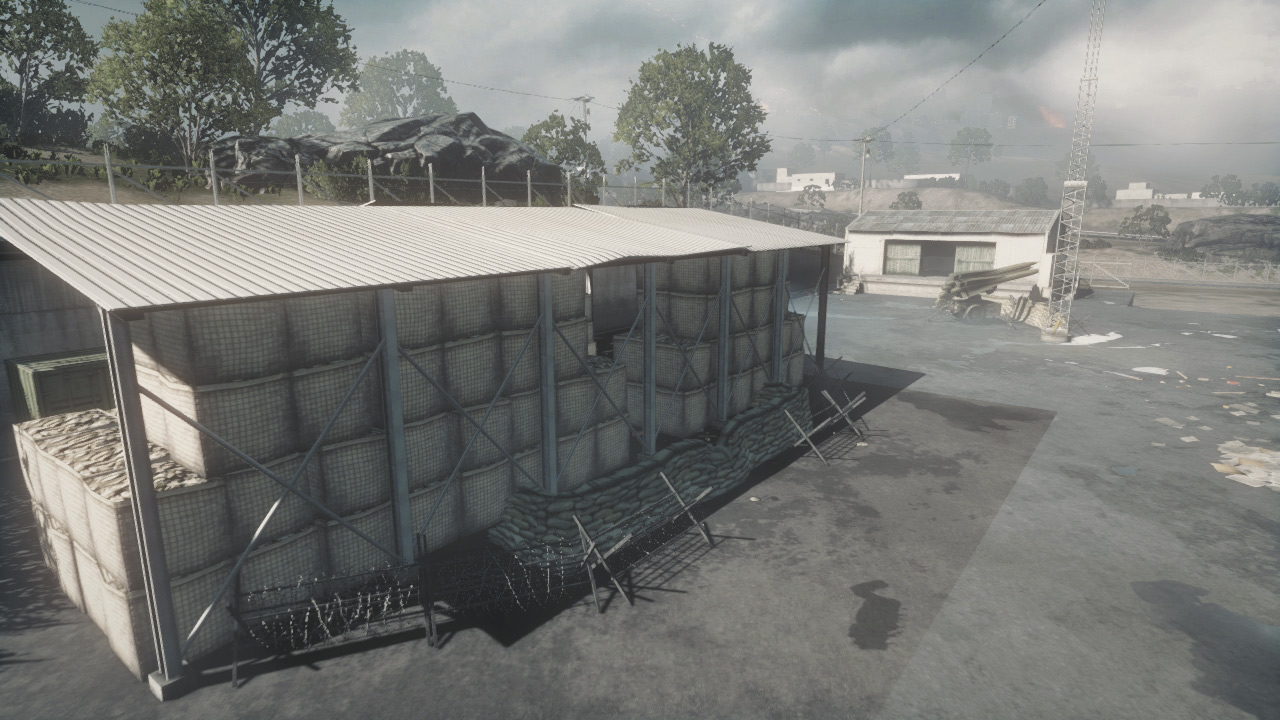
The first objective is located beneath this steel equipment shelter on the Train Yard loading platform. Barricades restrict access to this shed only allowing for access from the east and west.
When defending this location as the RU team, it’s a good idea to split up and have a couple of squad mates defend the shelter from the exterior with sniper or assault riles, while the rest of the squad camps the objective with shotguns and submachine guns.
When playing as the attackers, assume the objective is well covered by the defenders. Instead of rushing the M-COM station, carefully sweep the Train Yard, picking off as many defenders as possible.
After killing two or three opponents in quick succession, make an aggressive push for the M-COM station, plant the charge, and then go on defense until the objective is destroyed.
ZONE 2: DRY DOCK
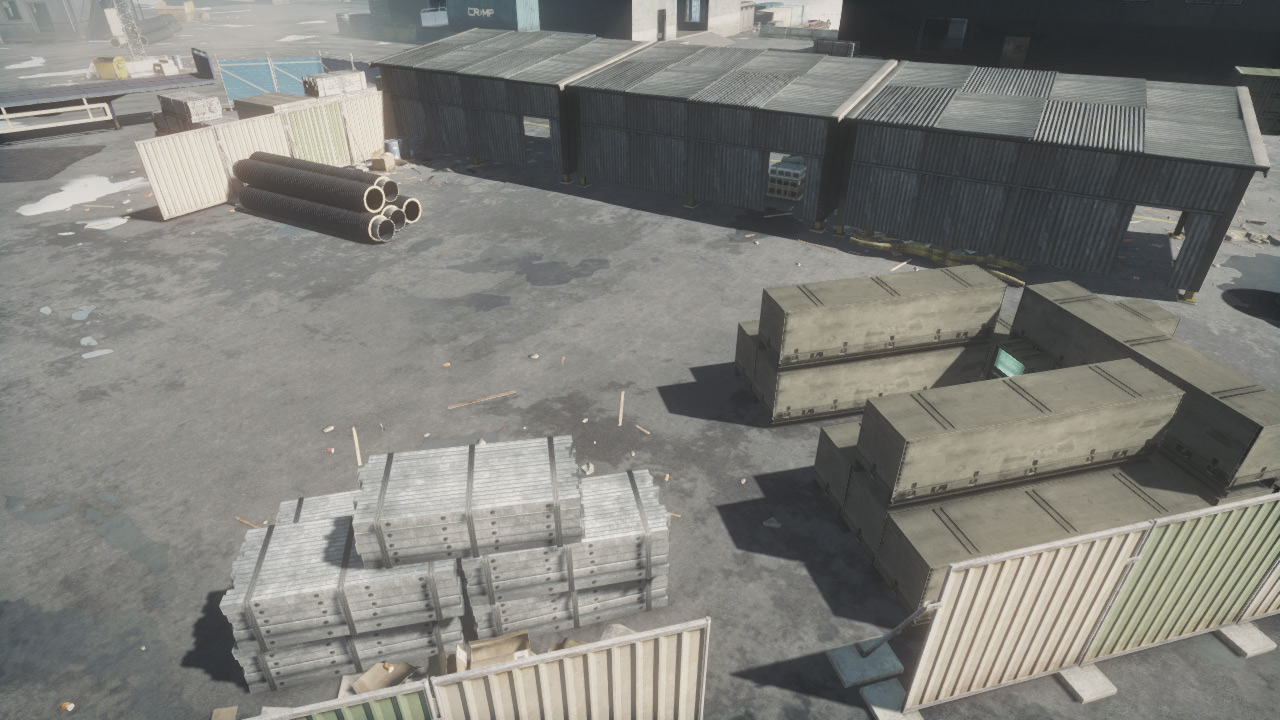
This final objective is crammed between several crates in a storage area of the Dry Dock. The configuration of the crates allows access only from the southwest.
While the crates provide some excellent cover for anyone arming or disarming a charge on the M-COM station, it leaves their back completely exposed.
So before even approaching the objective, scour the area to the southwest for well-hidden defenders. Consider circling around the entire storage area to hunt for defenders hiding along the perimeter.
Even then, deploying smoke on the objective is strongly advised, whether you’re attempting to arm or disarm a charge on the M-COM station.