
Battlefield 3 Premium Guide Battlefields Rush
Operation Firestorm
The Operation Firestorm Rush map offers a variety of action, including heated tank duels, tense dogfights, and frantic close-quarters infantry engagements. With only three zones to defend, the RU team has their work cut out for them.
Their best chance is to deny the US team entry into the refinery facility by blocking them at the Filling Station.
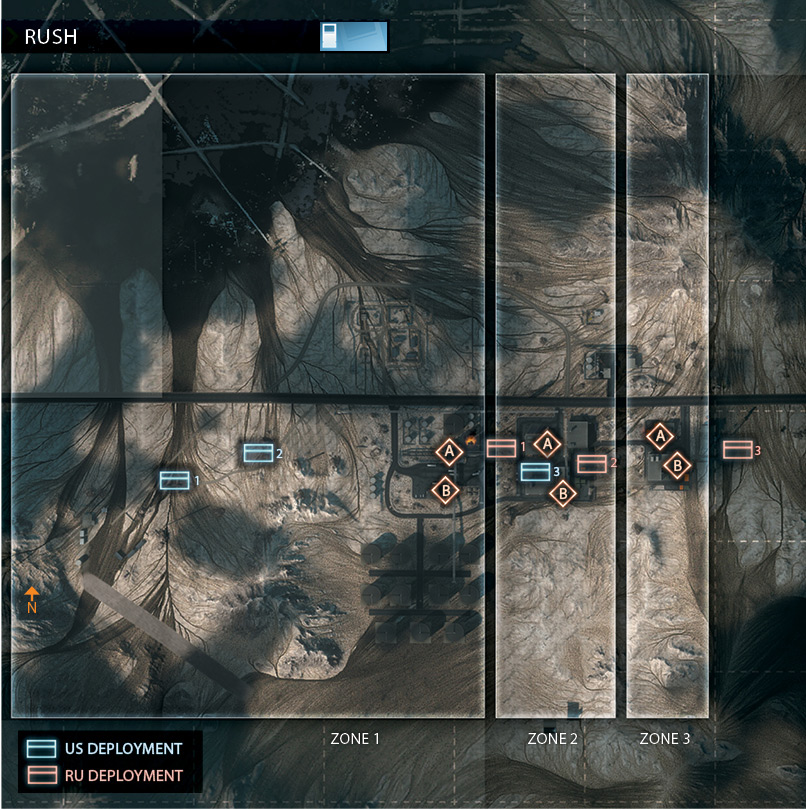
The desert to the west is the perfect kill zone for tanks and jets loaded with air-to-ground ordnance. Therefore the US must rely on speed and flanking maneuvers to establish a presence near the first two objectives.
As the action moves to the Warehouses and Construction Site, both teams must adapt their tactics, relying more on infantry than vehicles to attack and defend the remaining M-COM stations.
ZONE 1: FILLING STATION
M-COM Station A
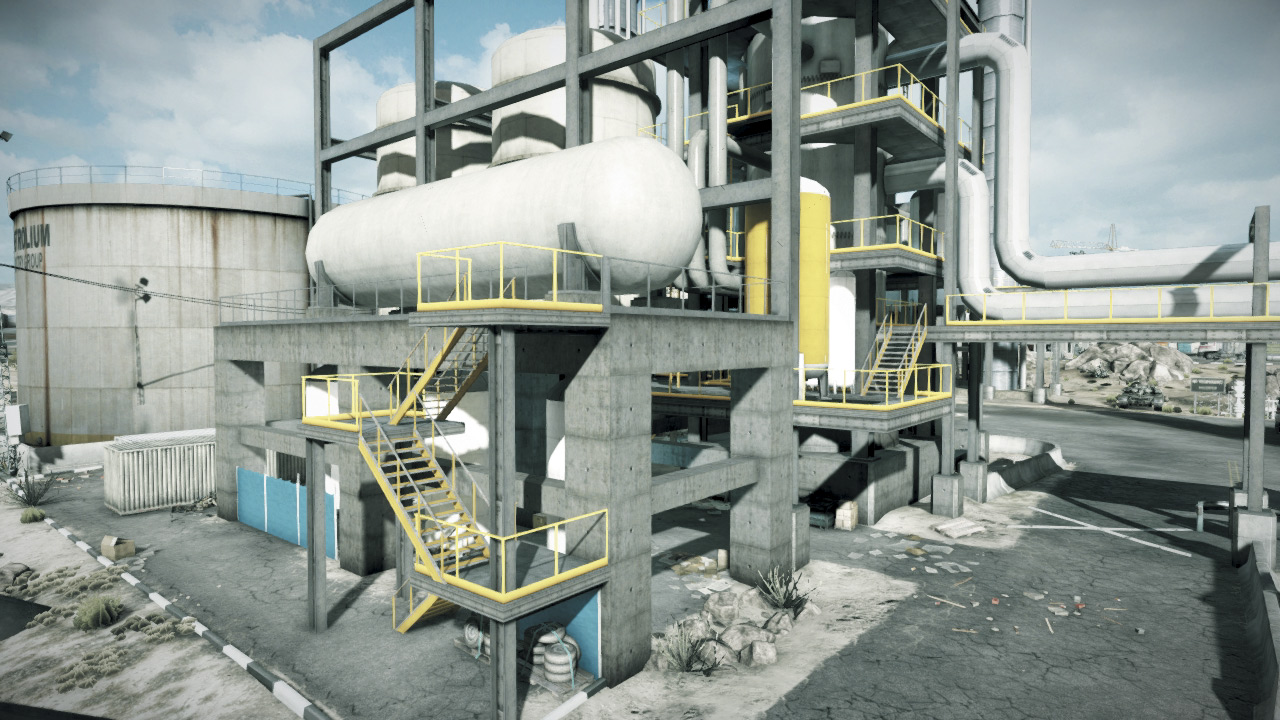
M-COM Station A is located beneath the large refinery structure and can only be accessed by infantry. The tight quarters and multiple entry points make this a tough objective to attack and defend.
In addition to defending the perimeter of the structure, the RU team must constantly post troops down here to fend off sneaky attacks. Unless defenders keep eyes on the objective, the US has a relatively easy time sneaking in here and planting a charge.
But a dedicated squad of defenders scattered around the objective has an easy time ambushing attackers—consider placing a Radio Beacon here to maintain a constant presence. Regardless of which team you’re on, prepare for close-quarters combat.
Shotguns, submachine guns, grenades, Claymores, and C4 are very effective here. The attacking team may also want to deploy smoke around the objective before attempting to the plant the charge.
The nearby staircase is a popular overwatch position, so be sure to sweep it for enemies before approaching the objective.
M-COM Station B
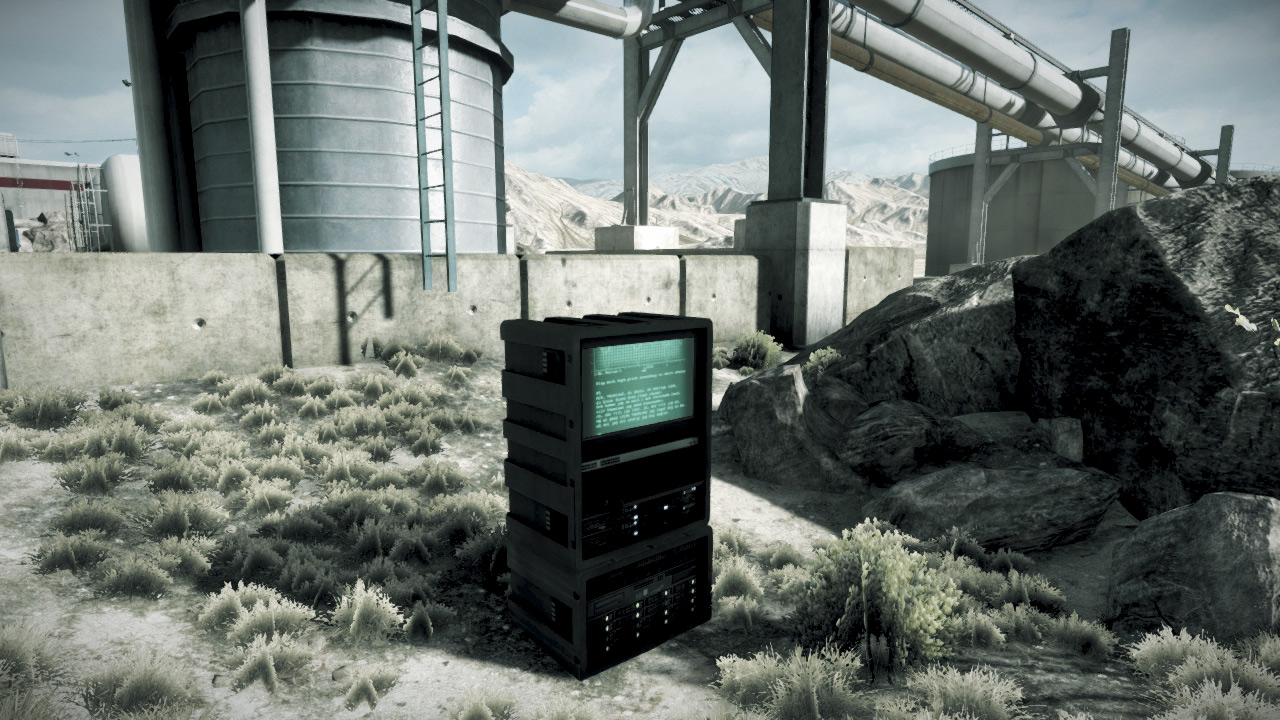
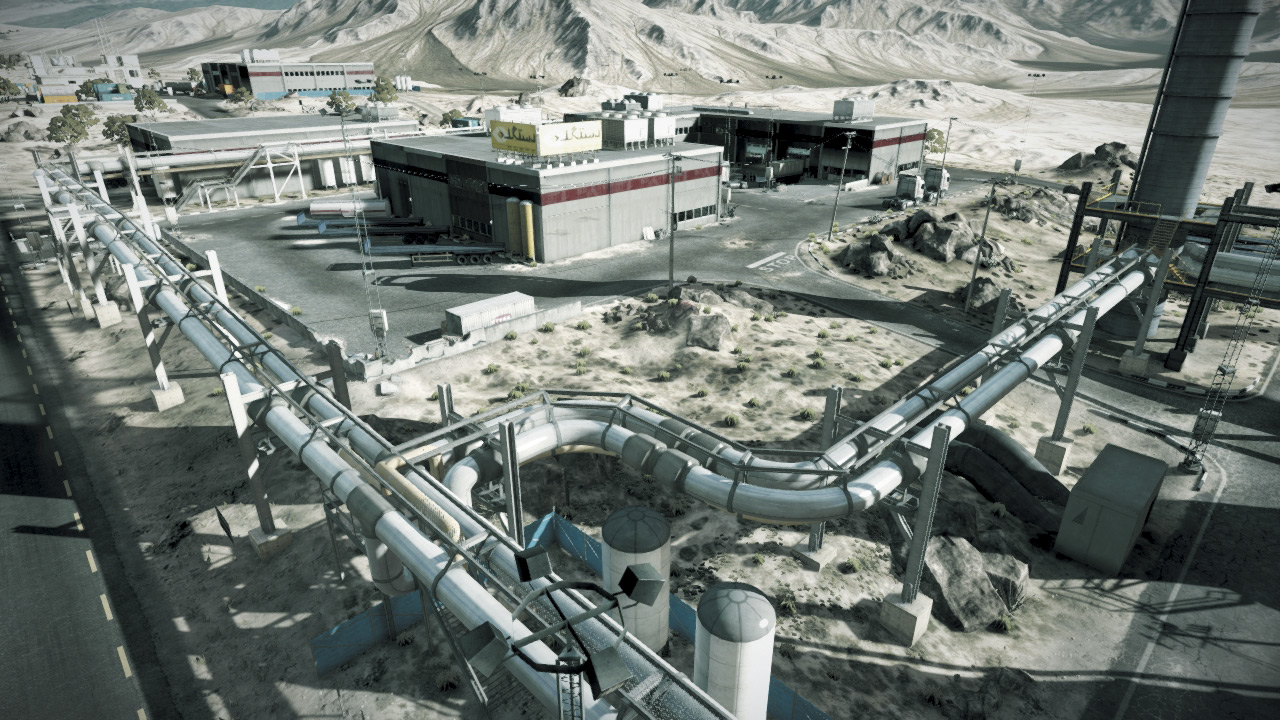
This objective sits out in the open on the south side of the Filling Station and it is surrounded by catwalks and other elevated vantage points that defenders can utilize to spot and engage attackers.
Of the two objectives, the RU team has the easiest time locking down M-COM Station B. If well defended, the RU team can hold out here indefinitely.
In addition to posting infantry around the Filling Station’s upper levels, defenders should also rely on their tanks to lend their devastating firepower to this defensive effort.
As a result, the US attackers should prepare for an absolute war. Vehicle support is essential here, so get the M1 Abrams tanks near the objective in an effort suppress the RU tanks and infantry.
Meanwhile, move troops into the concrete building west of the objective. This structure serves as a great staging area for attacks on the M-COM station.
But the building can be destroyed, so be ready to find a new staging area if the structure collapses. While the tanks suppress and distract enemy units, pop smoke on the objective and plant a charge.
US DEPLOYMENT
| Name | Quantity | Respawn Time |
|---|---|---|
| Growler ITV | 2 | 20 sec. |
| M1 Abrams | 2 | 30 sec. |
| A-10 Thunderbolt | 1 | 40 sec. |
Base Assets
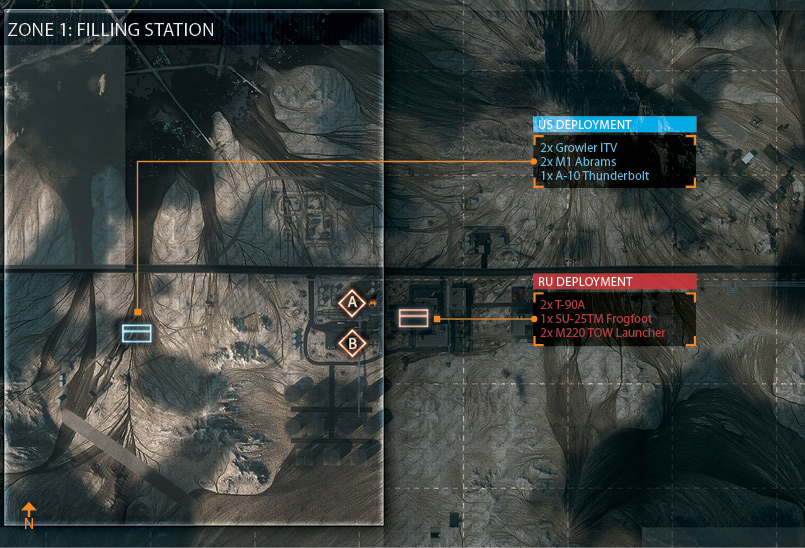
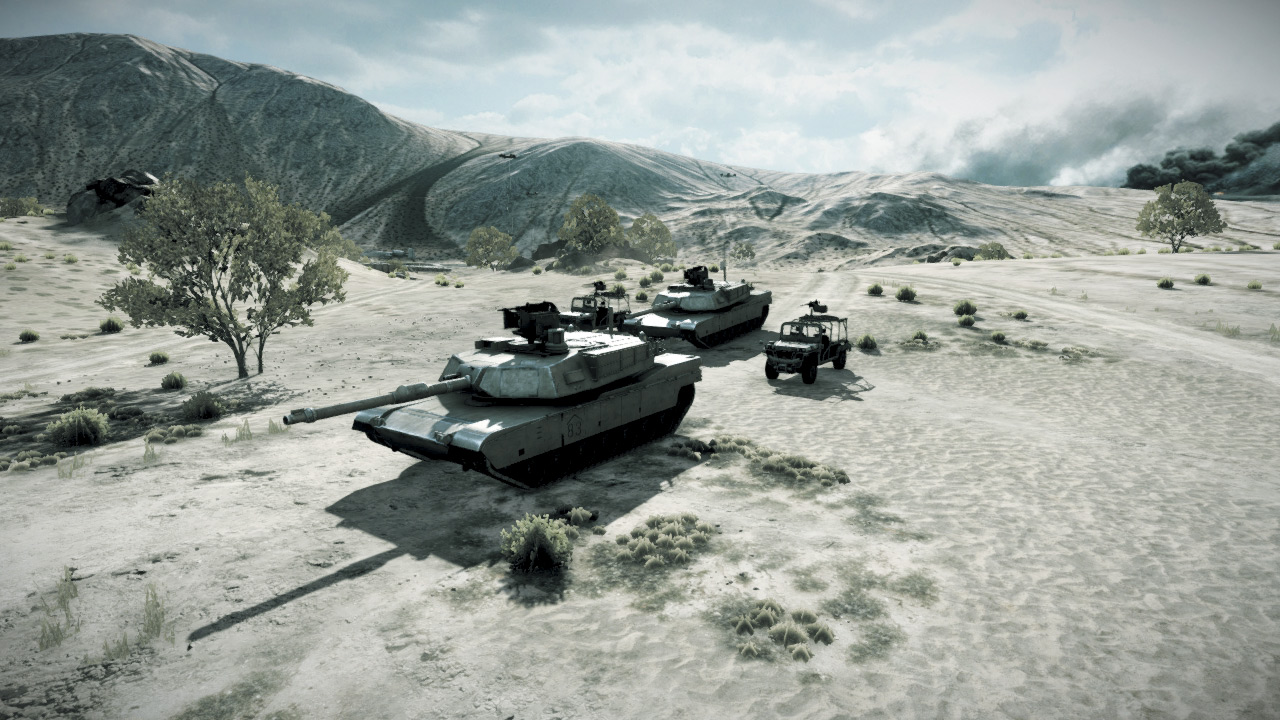
The US ground forces start their assault from the desert on the west side of the map. This is where the Growler ITVs and M1 Abrams tanks spawn, along with infantry. The A-10 Thunderbolt spawns on the runway to the south.
So if you want to fly the Thunderbolt, spawn directly into the pilot’s seat from the spawn screen instead wasting a vehicle by driving south to the runway.
Given the open terrain, the US deployment area is vulnerable to strafing attacks by the RU team’s SU-25TM. So either post engineers armed with Stinger missiles nearby or use the A-10 (armed with heat-seeking missiles) to counter attacks on the team’s ground units.
The A-10 is also needed to target the RU team’s T-90A tanks at the Filling Station. But the M1 Abrams tanks remain the spearhead of this assault, so keep them healthy by repairing them frequently, even if it means temporarily halting the advance.
The fast-moving Growler ITVs are great for flanking attacks approaching from the north or south of the Filling Station—this is the fastest way to sneak troops inside the facility.
Once at the Filling Station, deploy a Radio Beacon to give your squad a spawn point near the objectives.
RU DEPLOYMENT
Base Assets
| Name | Quantity | Respawn Time |
|---|---|---|
| T-90A | 2 | 90 sec. |
| SU-25TM Frogfoot | 1 | 40 sec. |
| M220 TOW Launcher | 2 | 30 sec. |
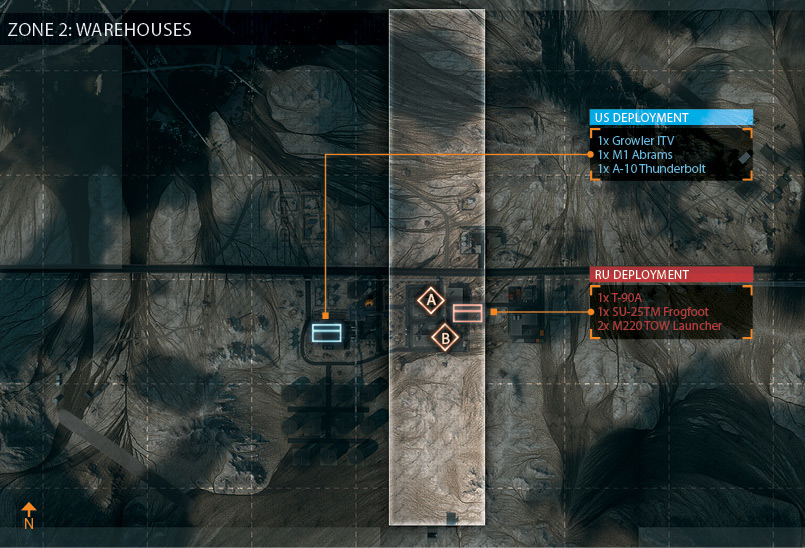
The RU team deploys on the east side of the Filling Station, near the Warehouses. But there’s little time to spare at the start of the round, so move the T-90A tanks toward the objectives.
The SU-25TM spawns at the airstrip to the far east, so get it in the air and commence strafing runs on the approaching US tanks. The US usually attacks from the open desert to the west.
This allows for some long-range tank duels. So keep your tanks healthy by surrounding them with engineers. The spawn time on the US tanks is considerably less than the spawn time for RU tanks, so it’s extremely important to keep the T-90As fully repaired.
But tanks alone cannot defend the objectives. So scatter troops around the Filling Station, making use of the various catwalks and other elevated positions to gain vantage points on the M-COM stations.
Watch out for US troops performing quick raids on the objectives using their Growler ITVs. Be sure to spot incoming vehicles and do your best to hunt down the occupants before they can establish a presence at the Filling Station
ZONE 2: WAREHOUSES
M-COM Station A
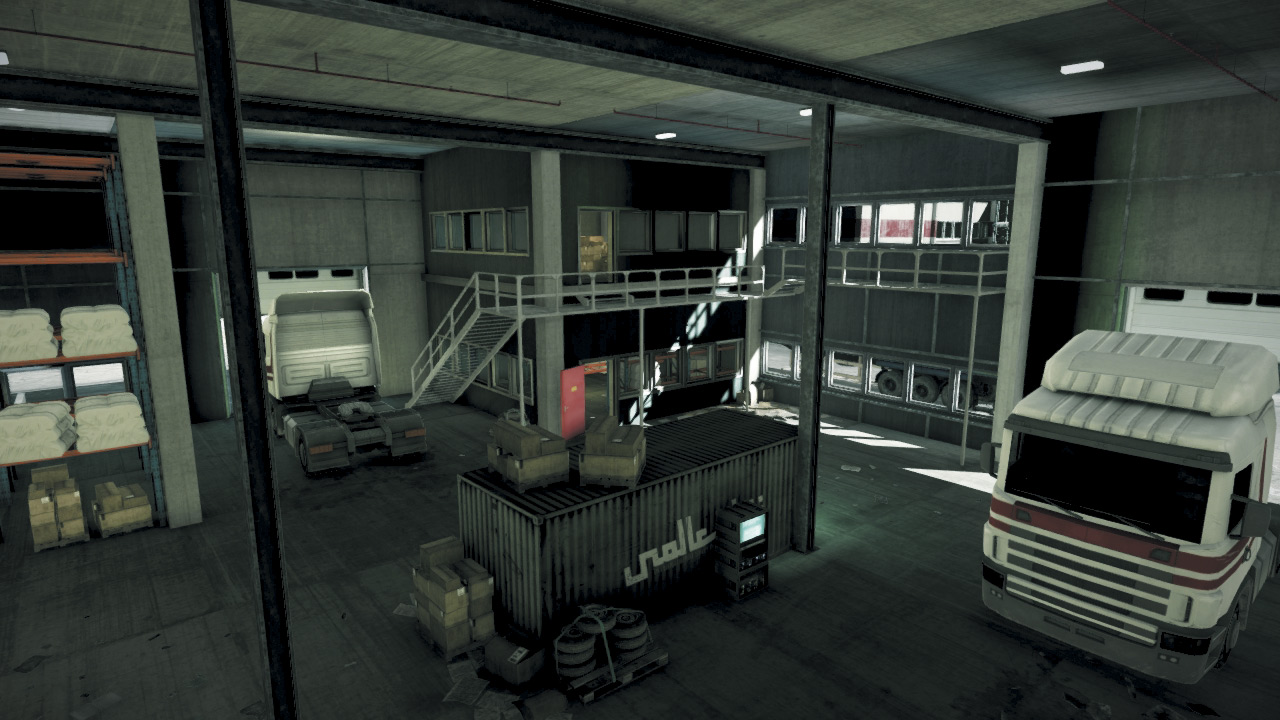
M-COM Station A is located on the floor of the northwestern warehouse. The surrounding offices, stairways, and catwalks offer excellent cover positions for defenders and attackers alike.
However, it’s the RU defenders who stand the best chance of reaching this location first and securing it. Given the large size of this building, it takes at least two full squads to defend the interior.
This is preferable to guarding the exterior, as it allows more cover and concealment while offering a clear view of the objective.
This is a tough nut to crack for the US attackers, who must rely on the element of surprise and brute force to destroy this M-COM station. Blast holes in the warehouse’s exterior walls to make your own entrances in an attempt to catch the defenders off guard.
If manpower allows, perform a thorough sweep of the warehouse before planting the charge. In any case, always deploy smoke on the M-COM station to conceal the assault.
M-COM Station B
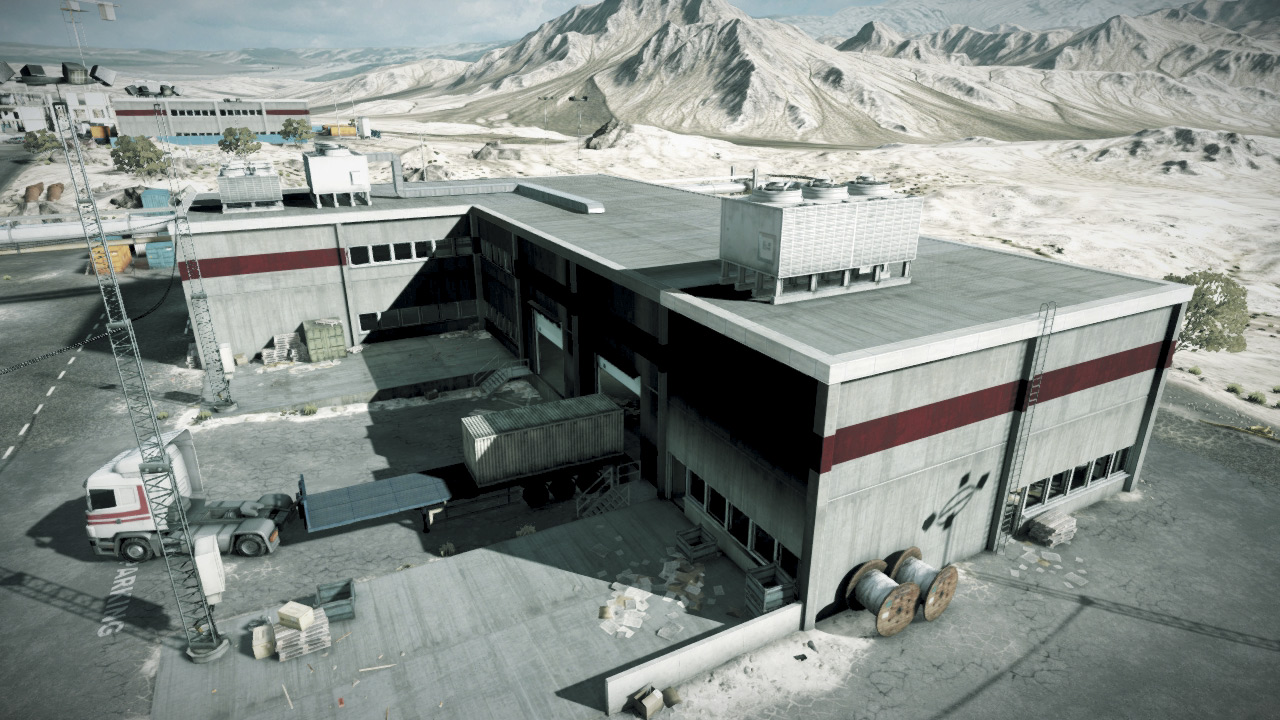
This objective is located on the ground floor of the southern warehouse and it provides the RU team with a second chance to halt the US attack.
However, due to the M-COM station’s position near the southern exterior wall, the US team has a slightly easier time of reaching this objective.
Instead of attacking through the warehouse, the US team should approach from the south and blast holes in exterior walls near the objective.
This allows them to gain quick access to the M-COM station and plant a charge. For this reason, defenders should cover the interior as well as the exterior.
If this is the last objective standing, the RU team should park the T-90A on the south side of the warehouse to deter such flanking attacks.
This also allows the tank to cover the M-COM station directly by firing through the warehouse windows or existing holes in the exterior wall.
US DEPLOYMENT
Base Assets
| Name | Quantity | Respawn Time |
|---|---|---|
| Growler ITV | 1 | 20 sec. |
| M1 Abrams | 1 | 30 sec. |
| A-10 Thunderbolt | 1 | 40 sec. |
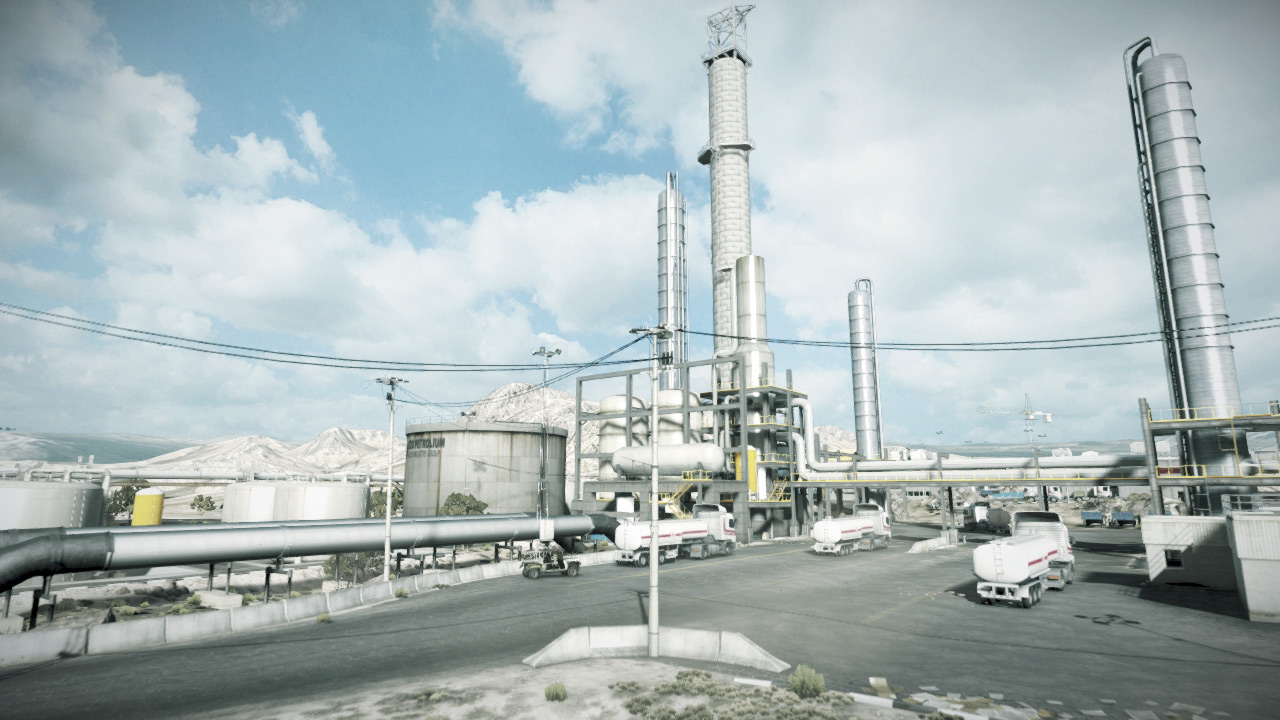
Having established a foothold on the refinery facility, the US team deploys from the Filling Station in this phase of the battle.
The attack on the objectives at the Warehouses to the west requires a greater reliance on infantry tactics since the M-COM stations are located inside buildings.
However, the vehicles still play a supporting role, particularly during the advance. Use the M1 and A-10 to attack the RU team’s T-90A, while infantry rush west to infiltrate the two Warehouses.
When advancing toward the objectives, look for opportunities to flank and enter the Warehouses from the north and south instead of performing a predictable frontal assault from the west.
The Growler ITV is great for launching quick flanking attacks that allow you to evade the RU team’s tank and secure a foothold near or inside one of the warehouses.
RU DEPLOYMENT
Base Assets
| Name | Quantity | Respawn Time |
|---|---|---|
| T-90A | 1 | 60 sec. |
| SU-25TM Frogfoot | 1 | 40 sec. |
| 9M133 Kornet Launcher | 2 | 30 sec. |
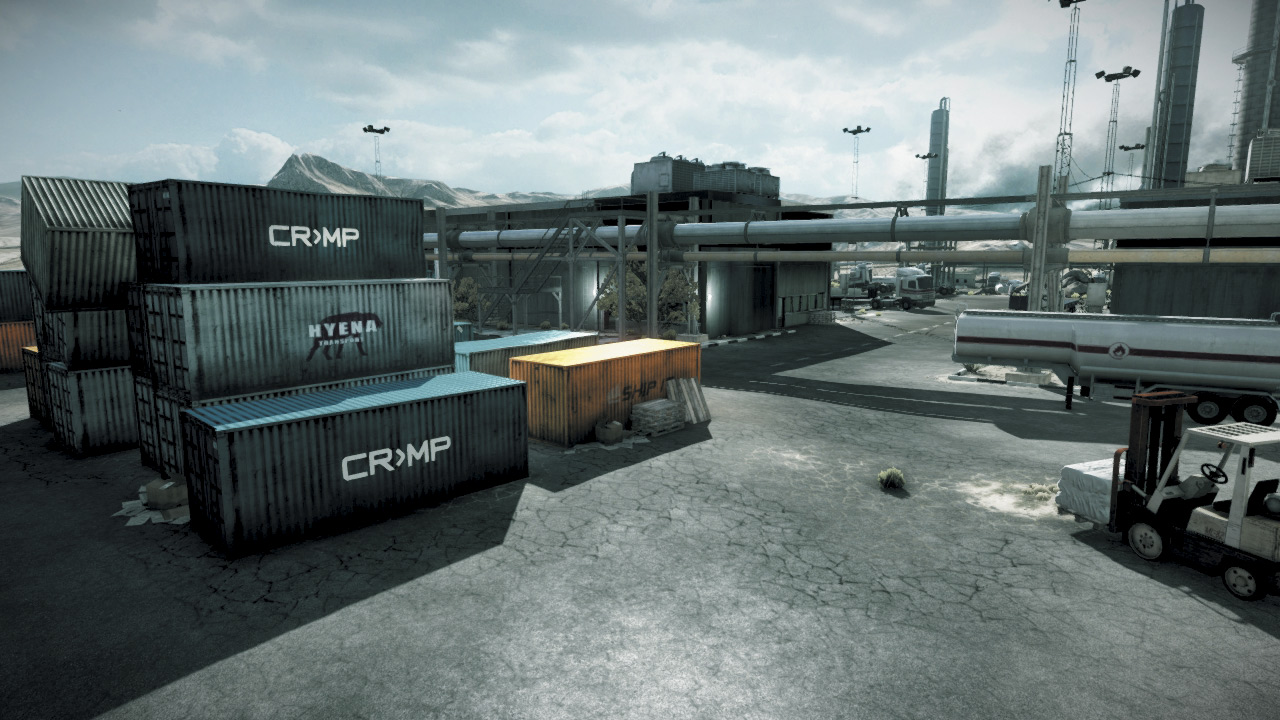
The objectives here are located inside the large warehouses, giving the RU team a significant advantage. However, it takes at least two squads to secure the interiors of these massive structures.
While a majority of the team should focus on defending the Warehouse interiors, the rest of the team should cover the approach from the Filling Station.
Given the large number of buildings and structures, performing ground attacks here is difficult for the SU-25TM. So in this stage, use the jet to primarily counter the US A-10, shooting it down with heat-seeking missiles.
Meanwhile, use the T-90A to halt advances by the M1 and Growler ITV. While the M1 poses the most direct threat, the Growler ITV serves as an effective transport for the US team.
Fortunately it can’t sustain much damage, so blast it as soon as you see it racing toward the Warehouses.
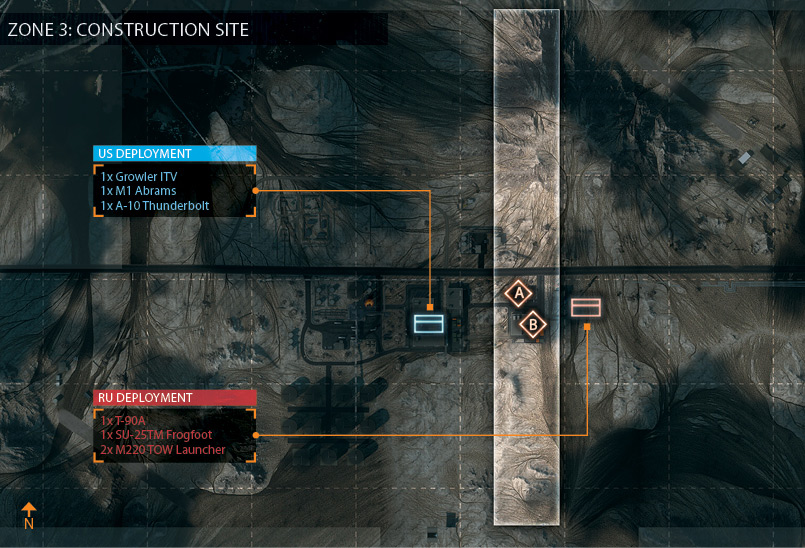
ZONE 3: CONSTRUCTION SITE
M-COM Station A
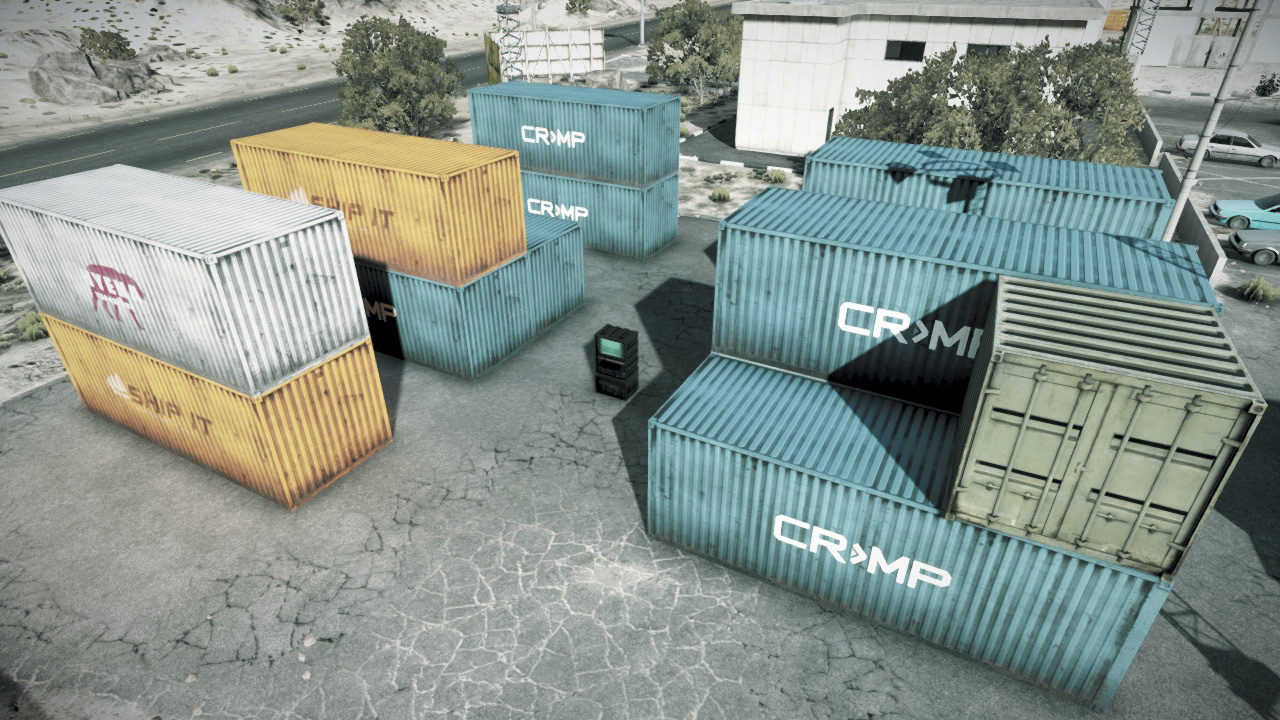
M-COM Station A is likely the first objective to come under attack. However, the US team is better off attacking this objective after M-COM Station B has been destroyed.
Located farthest from the RU deployment area, it’s much tougher for the defenders to reinforce this location than it is the warehouse to the south.
Surrounded by stacks of shipping containers, this objective offers plenty of cover for attackers and defenders. Therefore, the RU team should work hard to prevent the attackers from infiltrating this area.
Establish a perimeter covering the western, northern, and southern approaches, even if it means hiding among the containers. The two-story building to the east offers a great view of the M-COM station; sharpshooters can pick-off attackers from long range.
Since the objective is completely exposed from the east and west, attackers should always deploy smoke before attempting to plant a charge.
Each team’s tanks can play a big supporting role in securing this location, so don’t forget to move your team’s tank forward to assist in this battle.
M-COM Station B
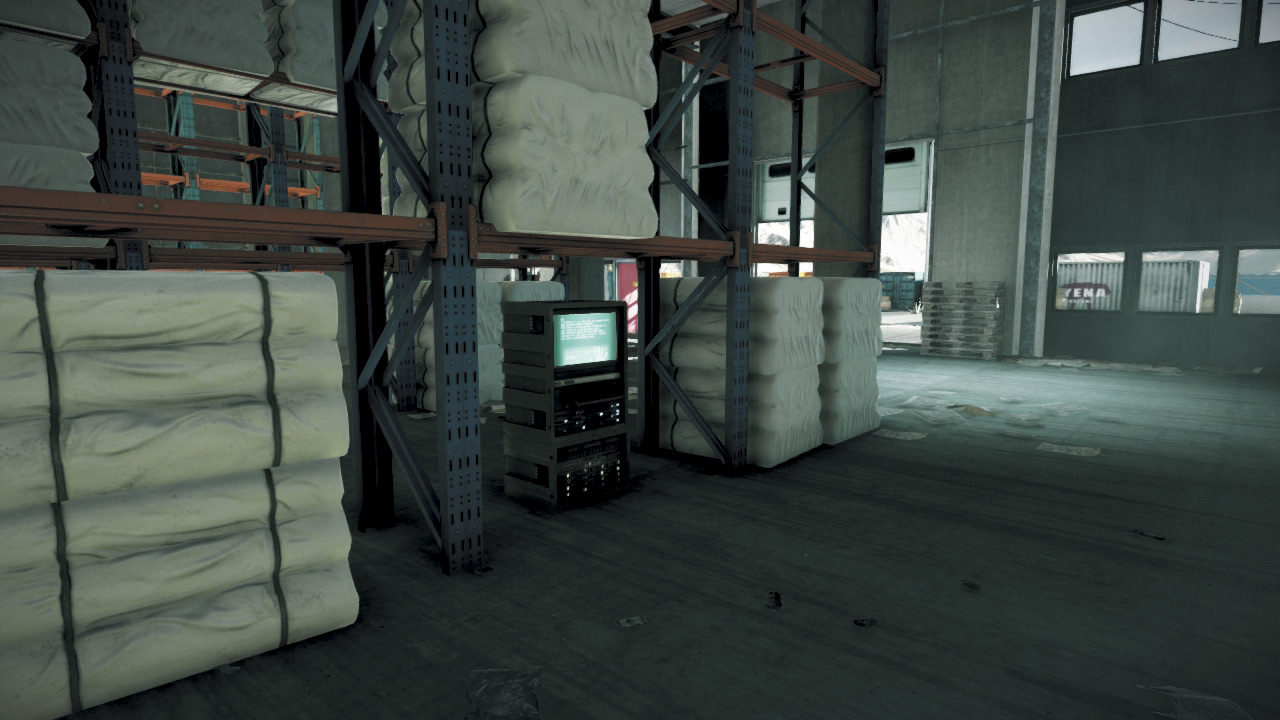
Housed within the large warehouse to the south, M-COM Station B offers the RU team one last chance to improve their close-quarters combat skills.
Spawning only meters away, the RU team should have no problem securing this warehouse for the duration of the match. Two squads posted inside the warehouse should have little problem dealing with attackers.
Fortify the exterior of the warehouse, too. Consider parking the T-90A on the north side of the warehouse so it can adequately cover both objectives.
While the M-COM station is easily accessible through the large doorway on the north side, attackers are better off infiltrating the warehouse from the south, hopefully catching the defenders by surprise.
With infantry pushing from the south and the M1 attacking from the north, the US team has a good chance of locking down the warehouse and planting the charge on the objective.
But reinforcements from the nearby RU deployment area always pose a threat, so move quickly to prevent the RU team from retaking the warehouse.
US DEPLOYMENT
Base Assets
| Name | Quantity | Respawn Time |
|---|---|---|
| M1 Abrams | 1 | 30 sec. |
| A-10 Thunderbolt | 1 | 40 sec. |
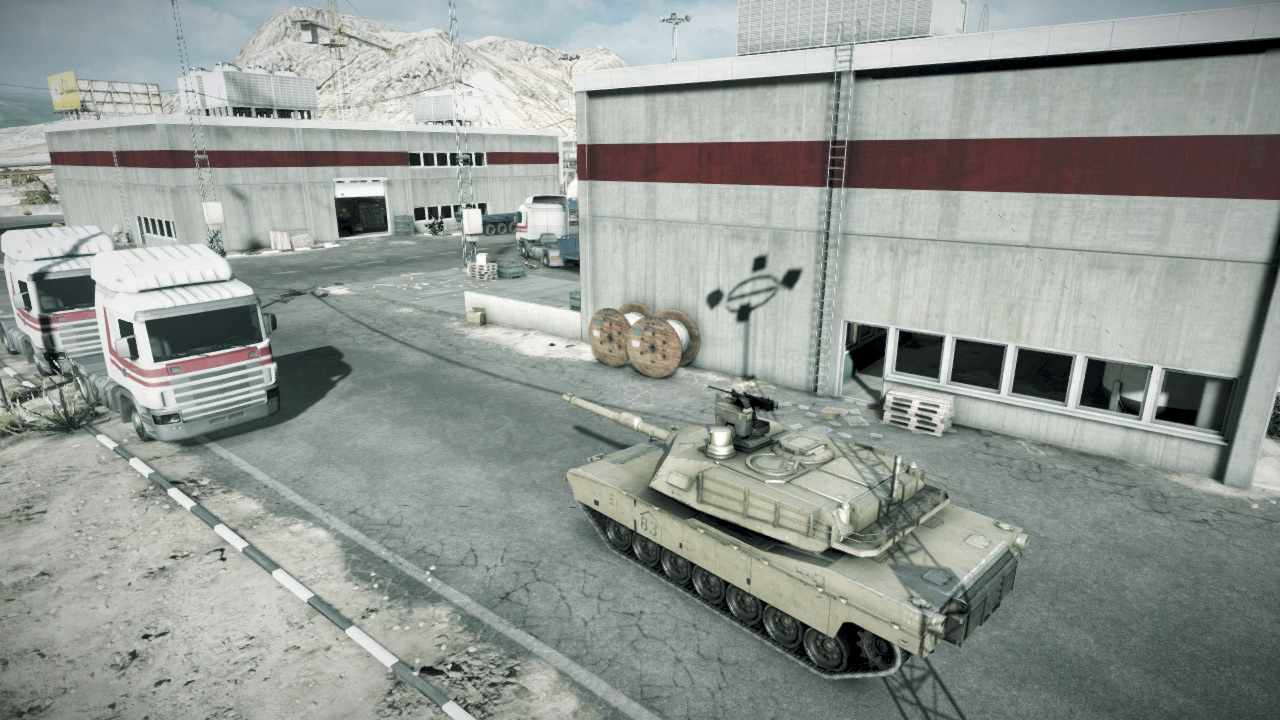
The Warehouses serve as the final deployment area for the US team. With only one tank and an A-10, the US team must advance on the Construction Site and destroy the last two M-COM stations.
As in the previous stage, the vehicles play more of a supporting role in this zone; they help secure the area around each objective so infantry can plant charges.
Unfortunately, no transportation vehicles are provided, so US infantry must cross the sparse no-man’s-land between the Warehouses and the Construction Site.
During this advance, the M1 and A-10 serve as excellent distractions that help pin and draw fire from the defenders while the infantry inch their way toward the Construction Site.
Once a secure position near the objectives has been established, immediately deploy Radio Beacons to provide nearby spawn points for squad members.
RU DEPLOYMENT
Base Assets
| Name | Quantity | Respawn Time |
|---|---|---|
| T-90A | 1 | 60 sec. |
| SU-25TM Frogfoot | 1 | 40 sec. |
| 9M133 Kornet Launcher | 2 | 30 sec. |
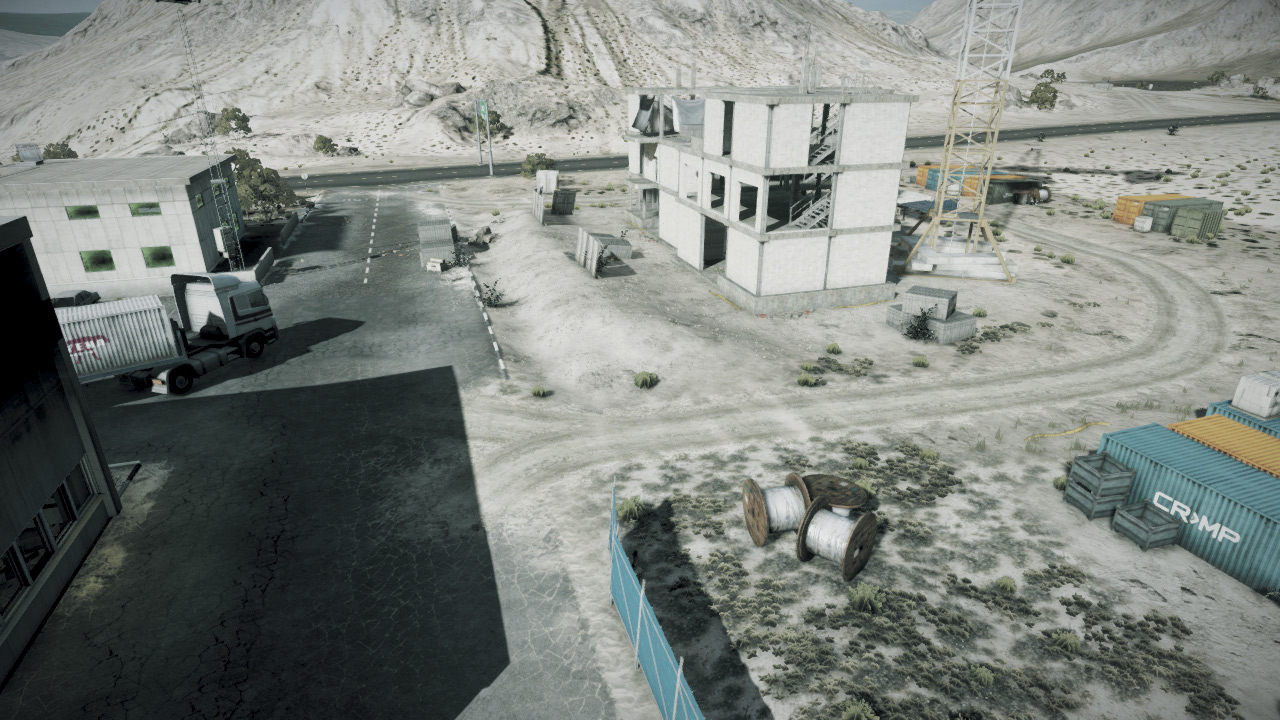
This is the end of the line for the RU team. They must defend at least one of these two M-COM stations or face defeat. Immediately following the destruction of the objectives at the Warehouses, move into action to defend the final M-COM stations.
Post at least one squad around each objective while the rest of the team forms a defensive line to the west. The undeveloped area to the west is a great spot to ambush advancing US troops.
Position troops along the northern and southern sides of this strip of land and flank the attackers as they sprint toward the objectives. Thanks to the lack of nearby buildings, a good SU-25TM pilot can score some easy kills here by strafing with the cannon and rockets.
Denying the attackers a foothold at the Construction Site is the best way to wear down their advance and give the RU team a better chance of holding out long enough for a victory.