
Battlefield 3 Premium Guide Battlefields Conquest
Alborz Mountains
Conquest
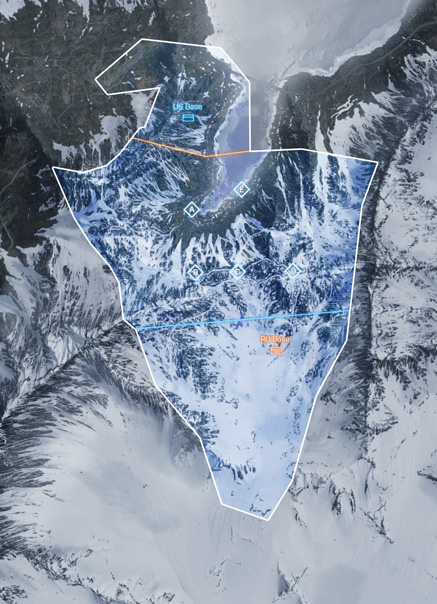
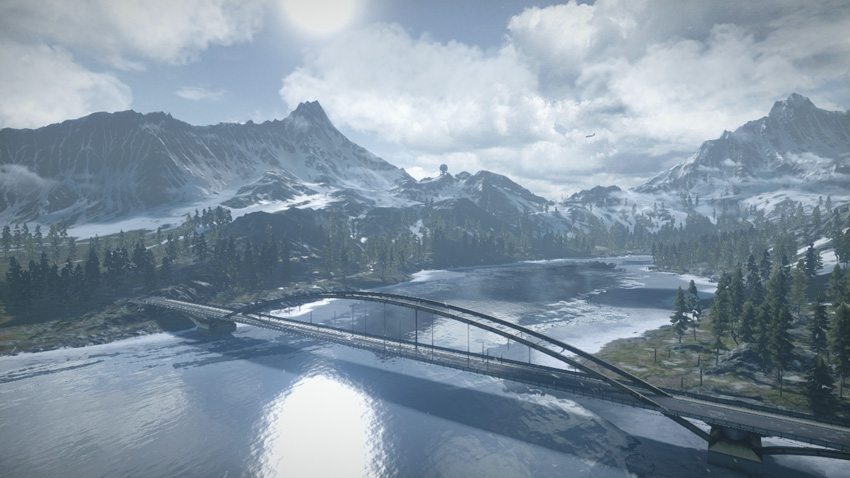
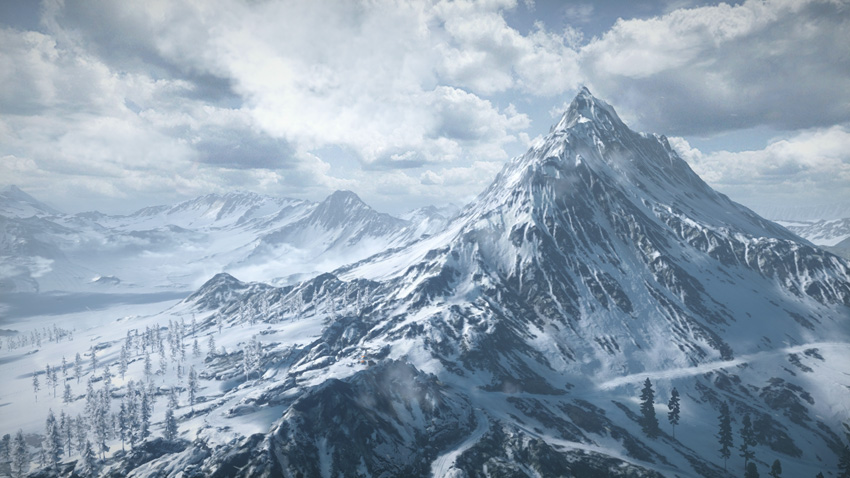
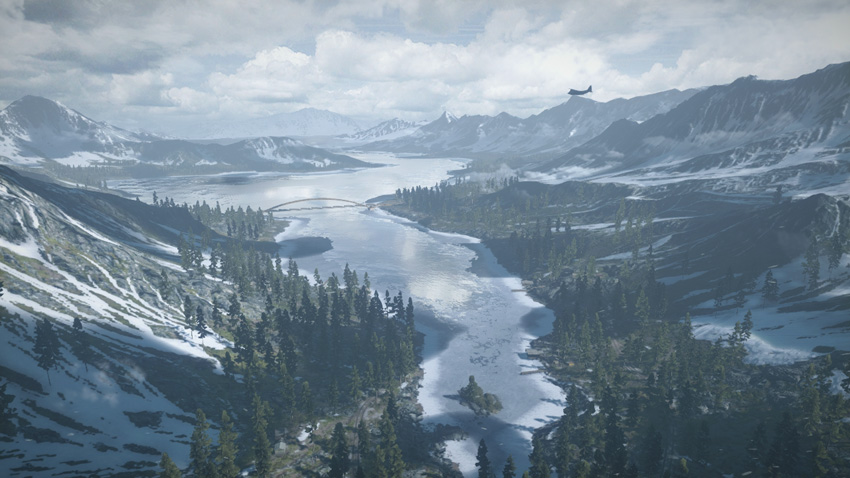
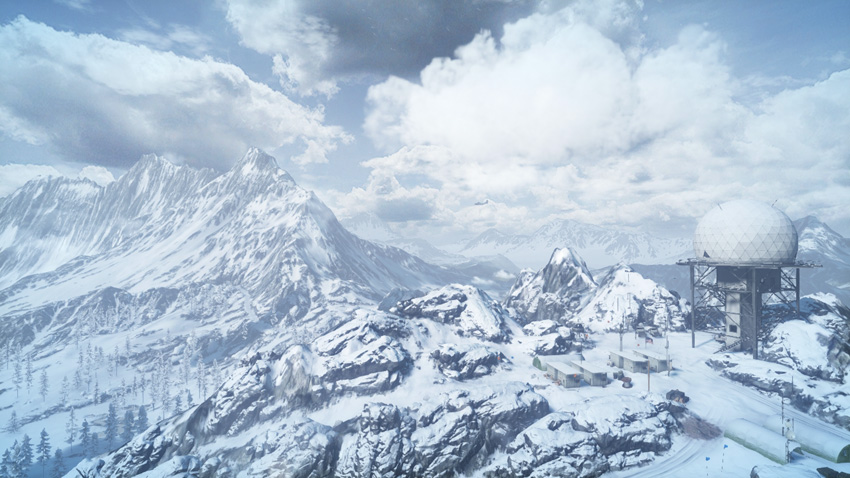
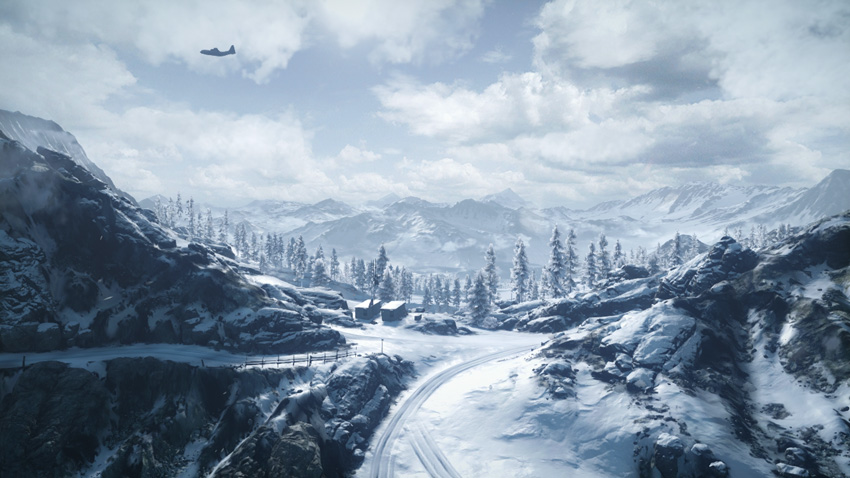
There are five flags up for grabs in this relatively large Conquest battle. As a result, your team needs to carefully plan out their movements to avoid spreading themselves too thin. As a rule, it’s best if your team consolidates their forces around the three flags closest to their base. For the US team this means capturing and holding the mountain village (A), the outskirts (E), and the radio outpost (C). Meanwhile, the RU team should focus on the base camp (B), radio outpost (C), and radar station (D). Once at least three flags are captured, the opposing team will begin losing tickets at a steady rate. If manpower allows, or when playing with more than 32 players, consider a more aggressive approach, capturing four or all five flags. Regardless of what happens during a match, both teams should always strive to hold onto the radio outpost (C) flag because it provides each team with a gunship. In a close match, the firepower afforded by the gunship can make a huge difference.
US Base
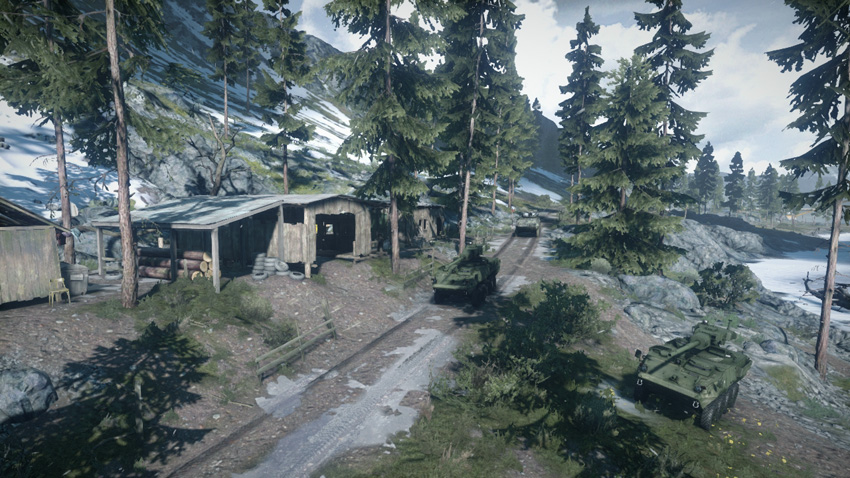
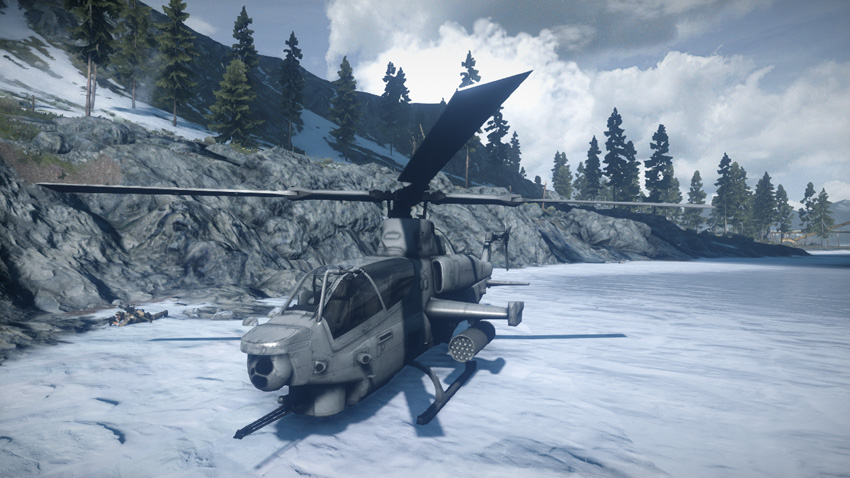
Base Assets
| Name | Quantity | Respawn Time |
|---|---|---|
| Quad Bike | 2 | 5 sec. |
| LAV-AD | 1 | 20 sec. |
| M1128 | 2 | 20 sec. |
| AH-1Z Viper | 1 | 60 sec. |
| F/A-18E Super Hornet | 2 | 40 sec. |
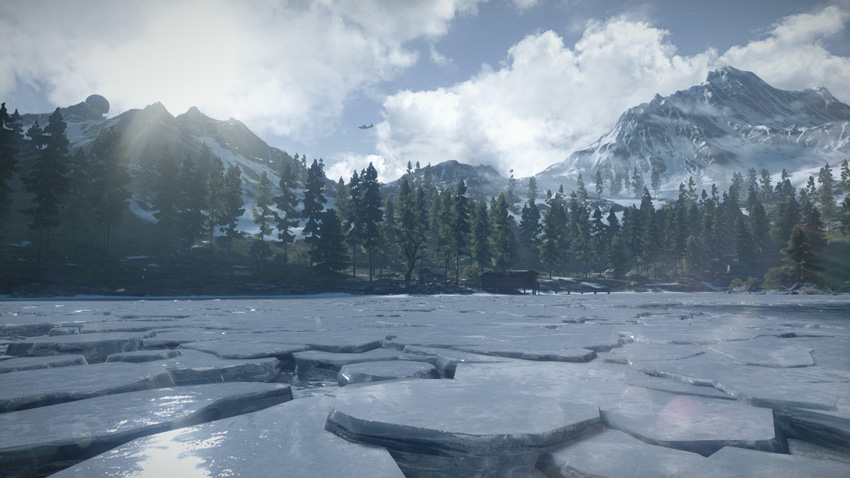
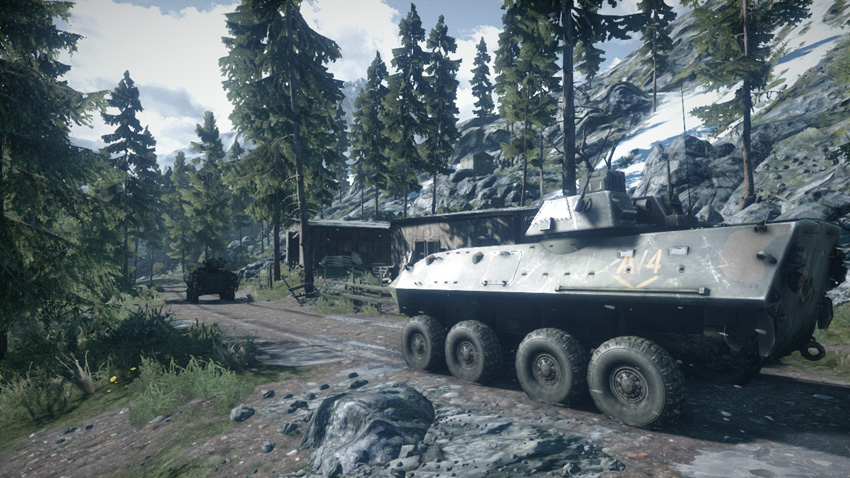
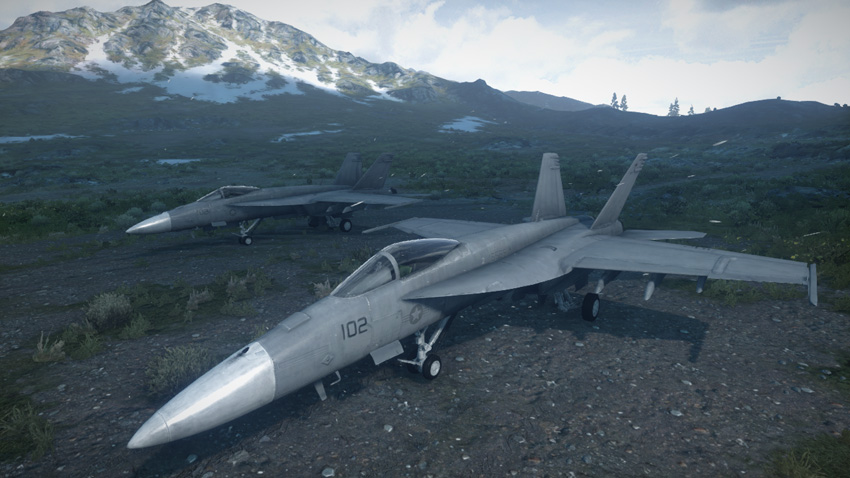
The US team deploys from the north side of the map, along the western bank of the lake. Ground units starting here have a good chance of capturing the nearby mountain village (A) to the south and outskirts (E) to the east. But it’s also important to make a move on the radio outpost (C) near the center of the map. Utilize the M1128s to secure the nearby flags while infantry on the speedy quad bikes rush toward the radio outpost (C). Securing the gunship at the radio outpost (C) early can give the US team a significant advantage. Meanwhile, utilize the AH-1Z Viper and F/A-18E Super Hornets to establish air superiority. The RU team’s Mi-28 and SU-35BMs are a constant threat, and the US team’s air assets are the best option to neutralize them. The LAV-AD spawned here can also assist in shooting down enemy aircraft. Get it to the radio outpost (C) to help defend the flag from air attacks.
RU Base
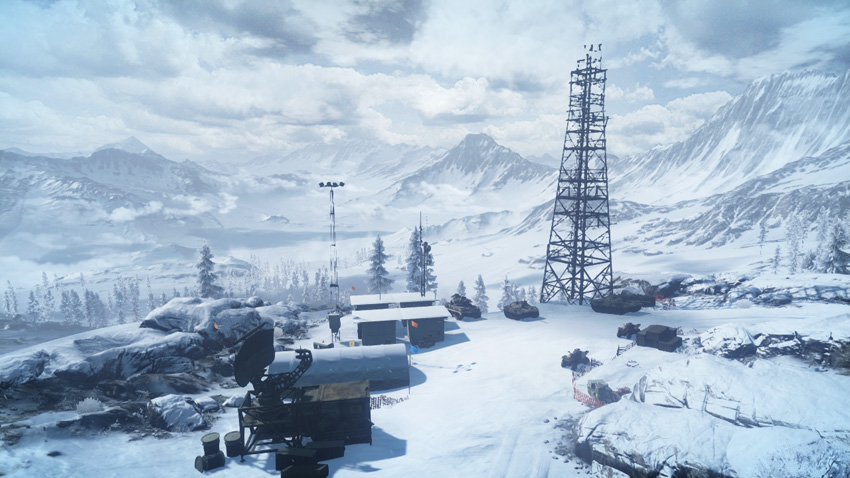
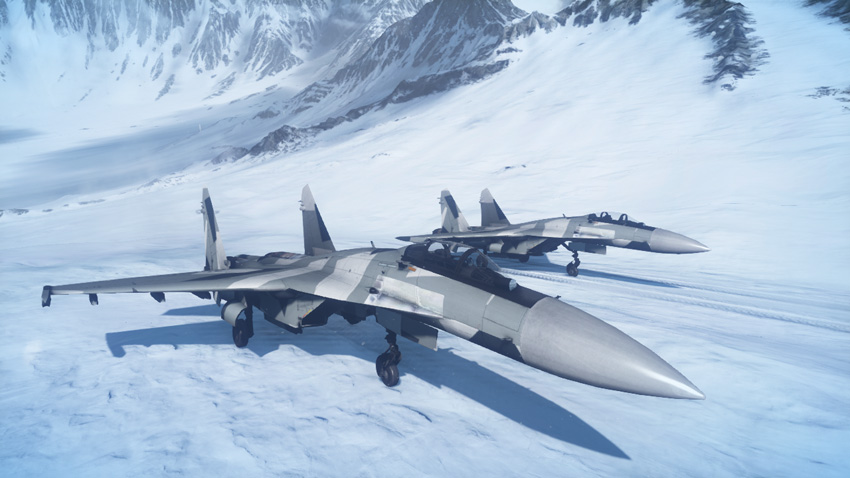
Base Assets
| Name | Quantity | Respawn Time |
|---|---|---|
| Quad Bike | 2 | 5 sec. |
| 9K22 Tunguska-M | 1 | 20 sec. |
| SPRUT-SD | 2 | 20 sec. |
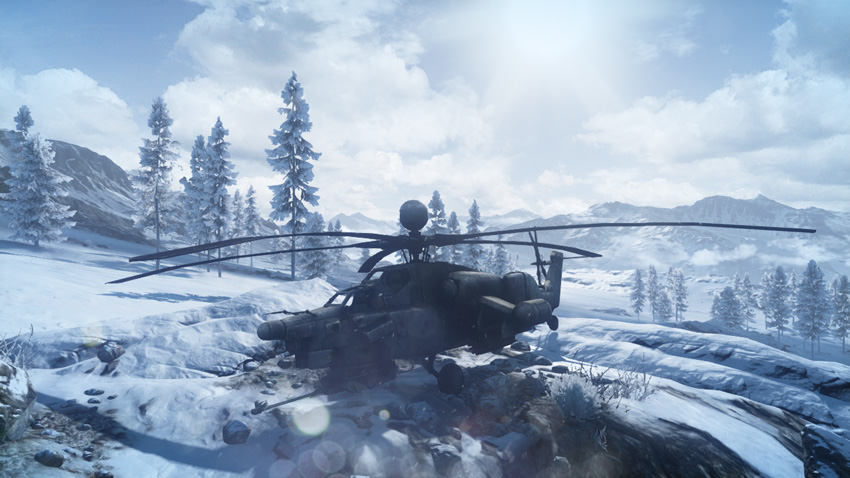
| Mi-28 Havoc | 1 | 60 sec. |
| SU-35BM Flanker-E | 2 | 40 sec. |
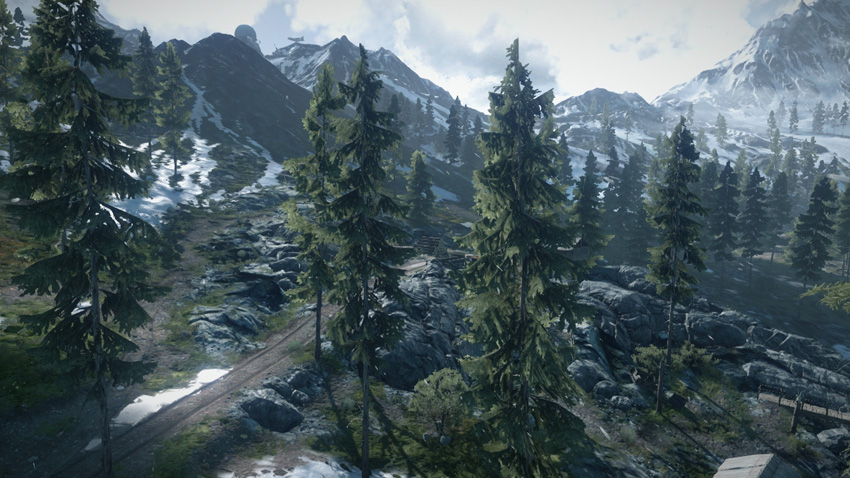
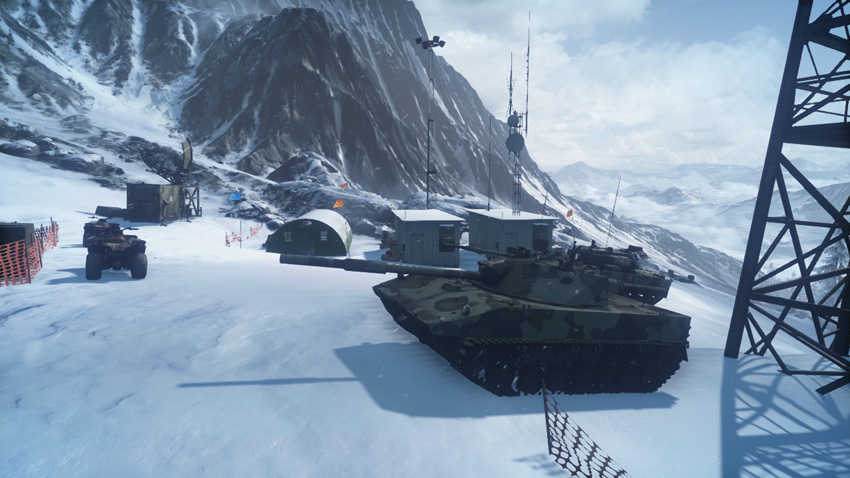
The RU team’s deployment area is on the south side of the map, amidst the rugged and snowy terrain of the mountains. Although the RU team begins relatively close to the three southern flags, the difficult terrain can make it challenging to reach them. Focus on securing the radio outpost (C) first, utilizing the quad bikes and Tunguska-M. Meanwhile, dispatch the SPRUT-SD tank destroyers toward the radar station (D) and base camp (B). When possible, always use the roads to reach these control points in an effort to avoid the steep surrounding terrain. The RU team’s air assets are necessary to suppress the US aircraft. As long as the US jets and helicopter are engaged, they won’t have time to harass the RU team’s ground units. Make an effort to capture and hold the three southern control points, then go on the defensive. There’s no need to spread your forces too thin, particularly in a close match. Concede the mountain village (A) and outskirts (E) to the US team if necessary.
A: Mountain Village
Control Point Assets
| US Control | RU Control | Respawn Time |
|---|---|---|
| Quad Bike (1) | Quad Bike (1) | 5 sec. |
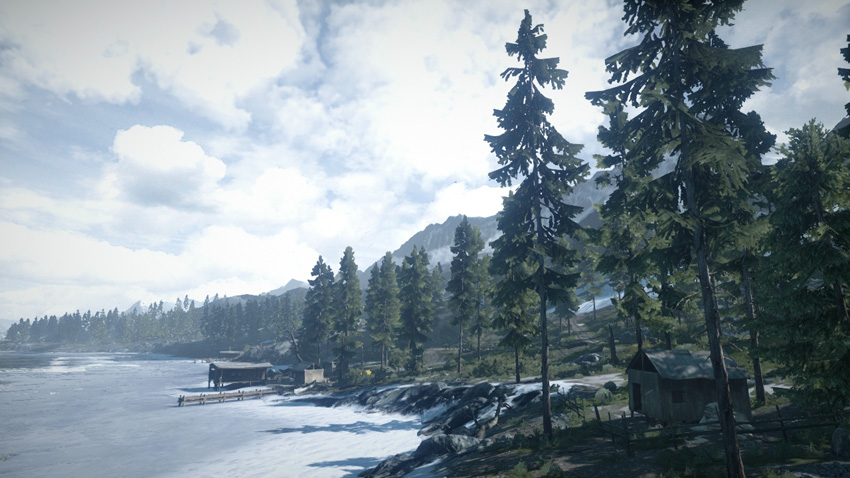
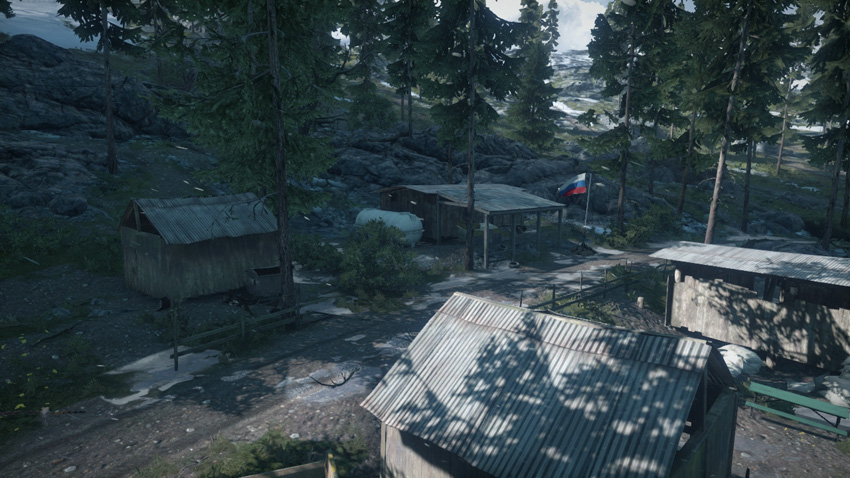
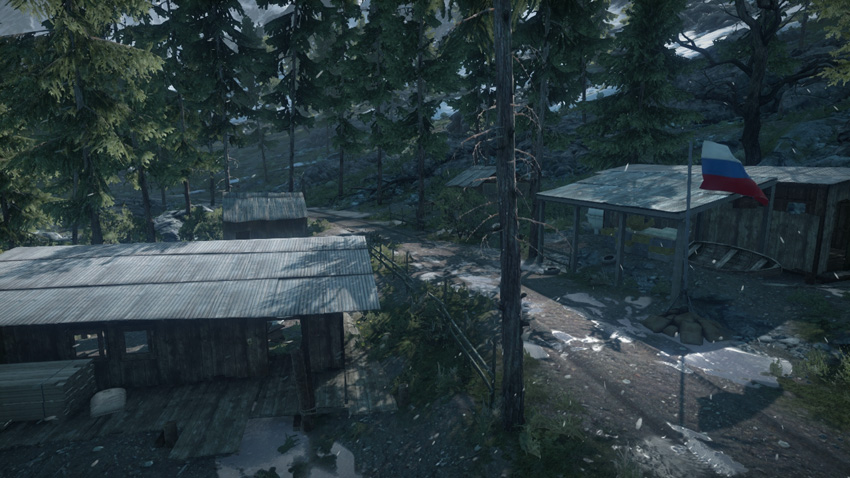
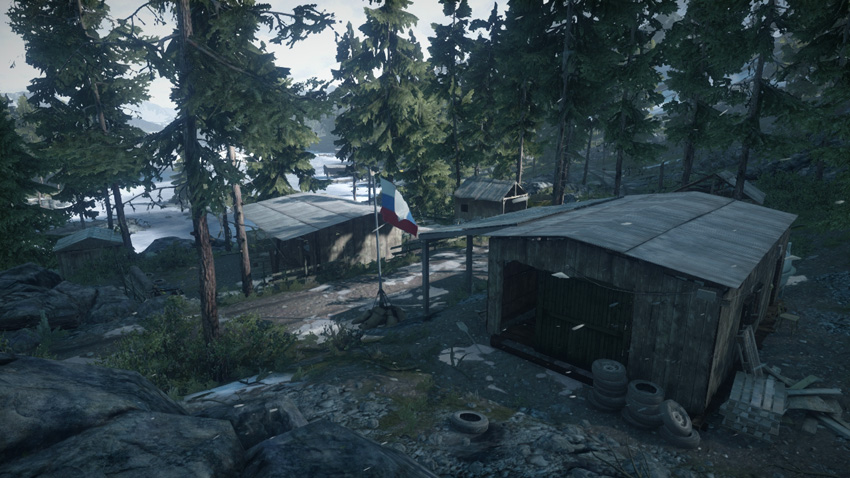
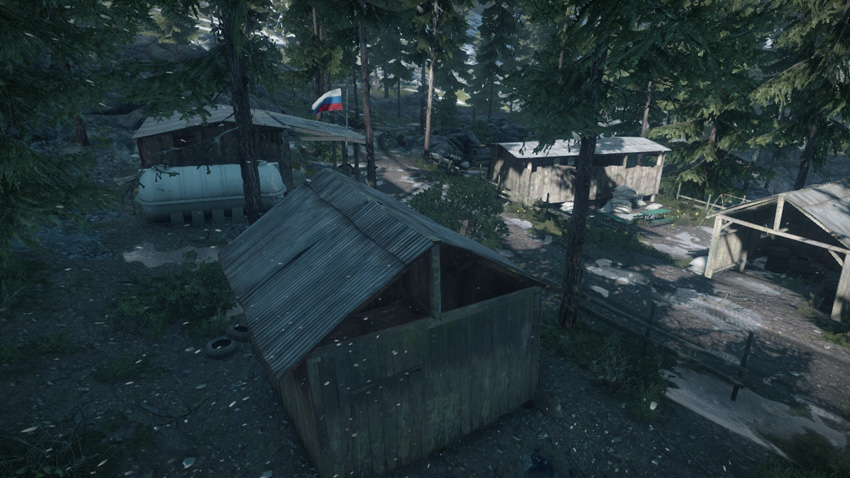
Given its close proximity to the US base, this flag is most likely to fall in the hands of the US team early on during the round. However, the RU team shouldn’t give up on this control point entirely, especially if all other flags are in friendly hands. Securing a spawn point so close to the US base allows the RU team to lay siege to their opponents. But given the lack of firepower produced by this control point, holding the flag here can be costly, as RU defenders will face an endless onslaught of US vehicles approaching from the north. For the RU team it’s often best to concede this flag to the US team rather than suffer heavy casualties trying to defend it. The wooden shacks surrounding the flag don’t offer great protection, but they still serve as good hiding spots from which to convert the flag. Using the quad bike spawned here it’s easy to reach the outskirts (E) to the northeast and the radio outpost (C) to the north.
B: Base Camp
Control Point Assets
| US Control | RU Control | Respawn Time |
|---|---|---|
| Quad Bike (1) | Quad Bike (1) | 5 sec. |
| M142 (1) | BM-23 (1) | 60 sec. |
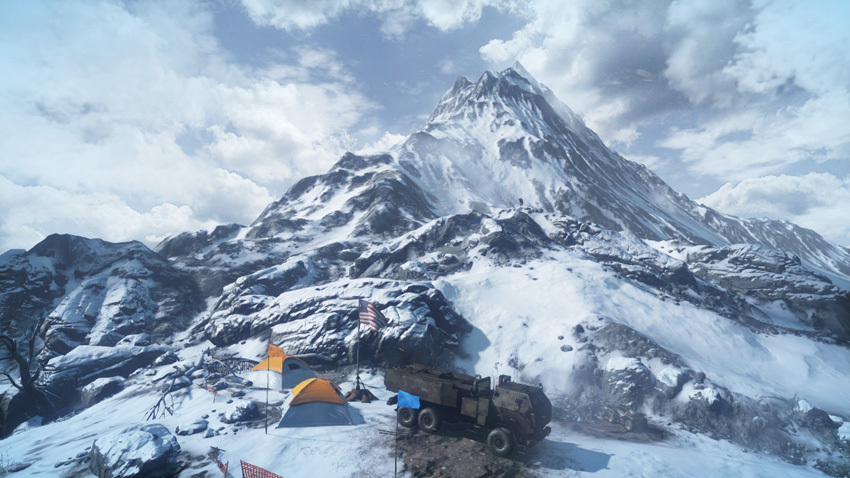
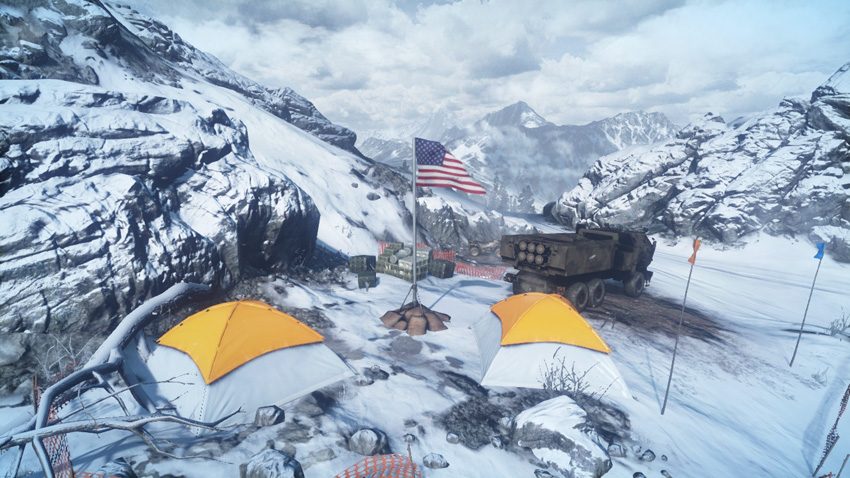
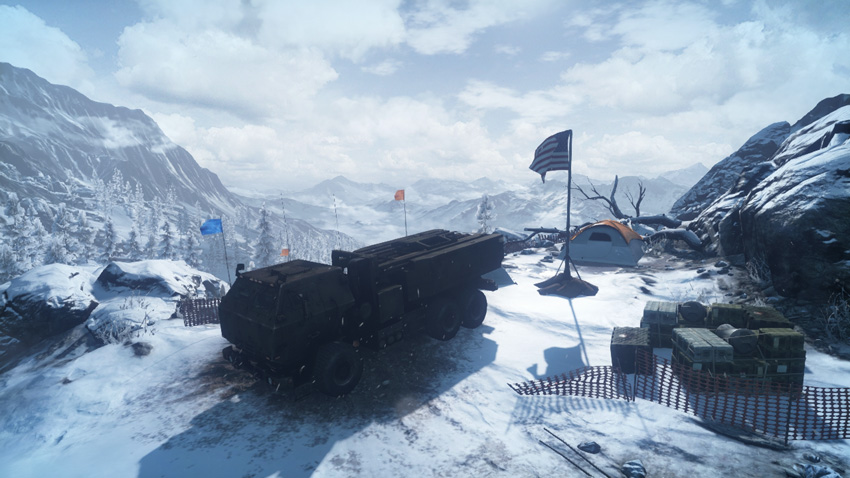
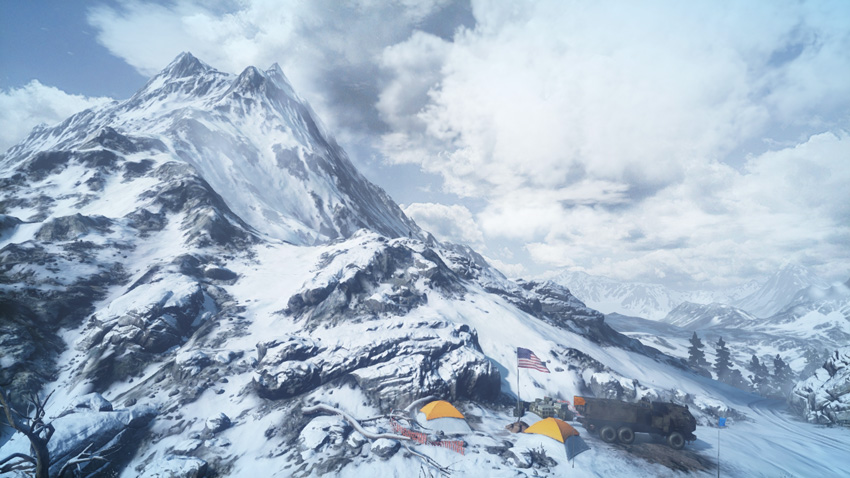
In better times, this location served as a high-altitude camp frequented by climbers seeking to scale the rocky face of the nearby mountain. But now both sides are fighting over this camp to gain a strategic foothold on the region. Since this flag spawns rocket artillery units for both teams, expect heavy fighting here. The open terrain and sparse cover make this control point relatively easy to attack but difficult to defend. There are virtually no hiding spots for defenders, making them vulnerable to bombardment by armored units and aircraft, including the gunship. As a result, a passive defense utilizing mines and C4 is preferable. Recon troops spawning here have a great line of sight on the areas to the east, including the radio outpost (C). Likewise, the M142 and BM-23 artillery units spawned here have a relatively clear view of the flags to the east, making it easy to rain down rockets on opponents from an impressive range.
C: Radio Outpost
Control Point Assets
| US Control | RU Control | Respawn Time |
|---|---|---|
| Gunship (1) | Gunship (1) | 60 sec. |
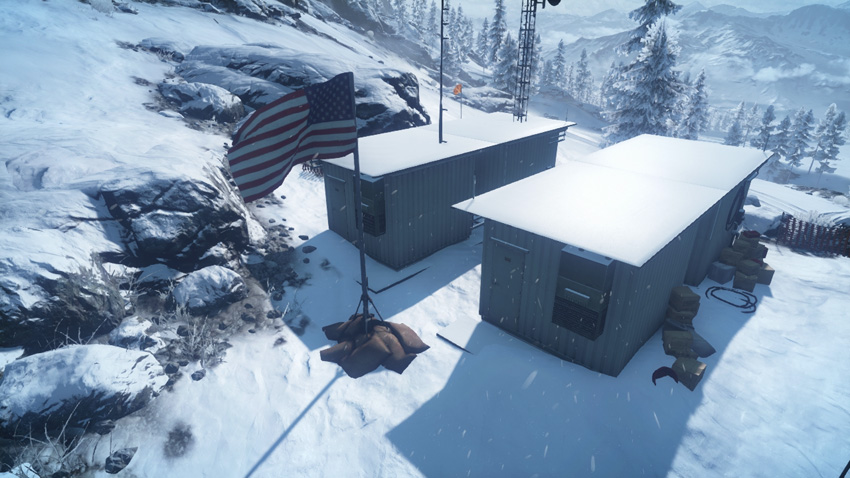
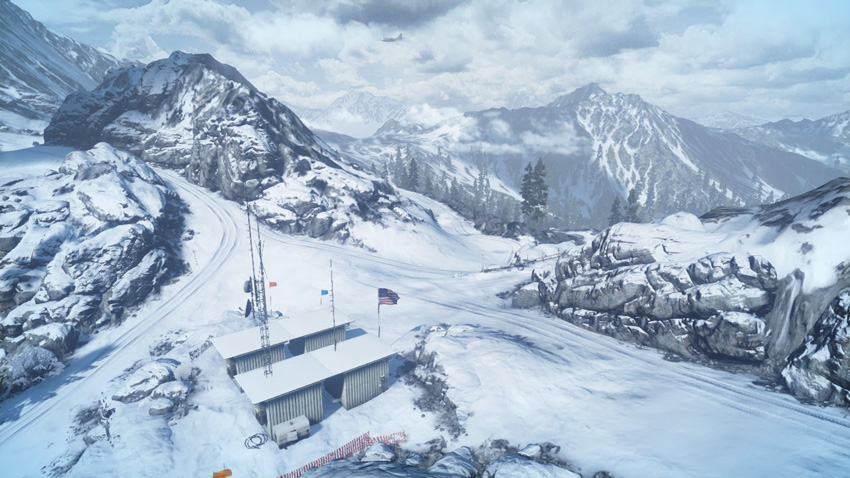
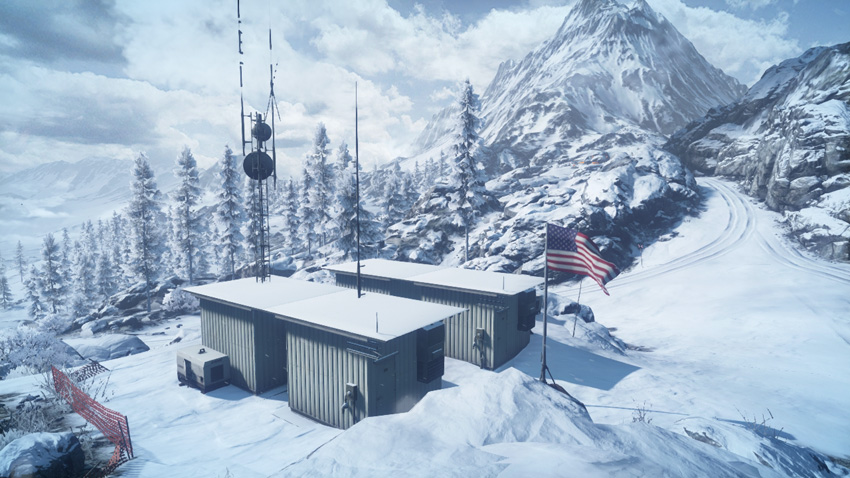
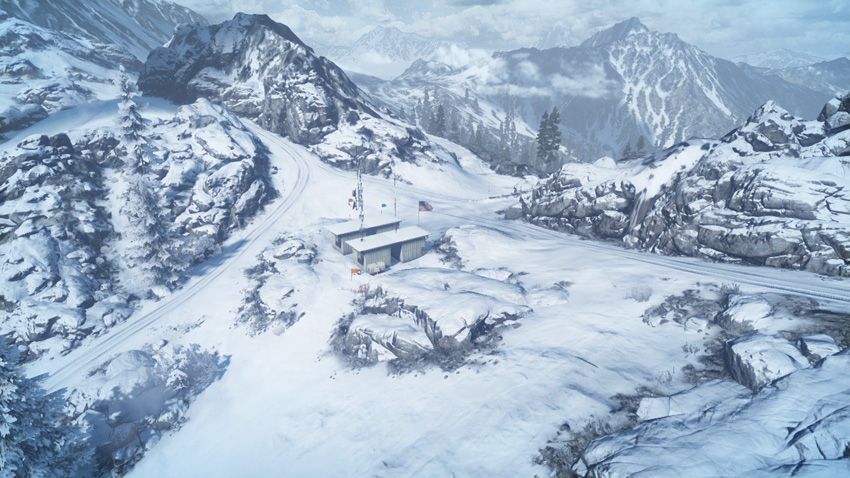
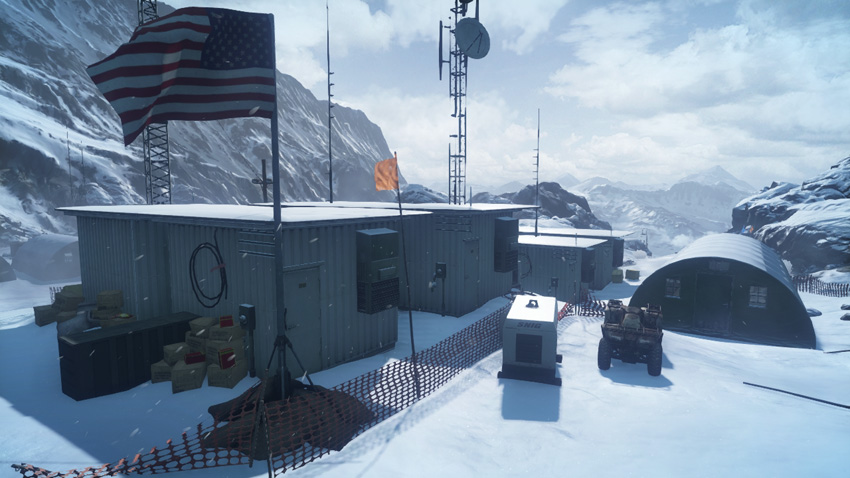
It may not look like much, but this unassuming control point in the middle of the mountain range is one of the most critical locations on the map. Whichever team controls this flag gains access to a gunship. The gunship is an extra air asset that orbits the battlefield, serving as a mobile weapons platform and infantry spawn point. Controlling the gunship can easily turn the tide of any match, so expect heavy fighting here. With the exception of two small structures near the flagpole, there isn’t much cover. Defending infantry should watch the flag from a distance, using the surrounding rocks for cover and concealment. This area is often rushed by vehicles, such as quad bikes, so don’t overlook the importance of placing mines along the connecting roads. Be ready to fend off attackers approaching from the nearby base camp (B) or radar station (D) control point.
D: Radar Station
Control Point Assets
| US Control | RU Control | Respawn Time |
|---|---|---|
| Quad Bike (1) | Quad Bike (1) | 5 sec. |
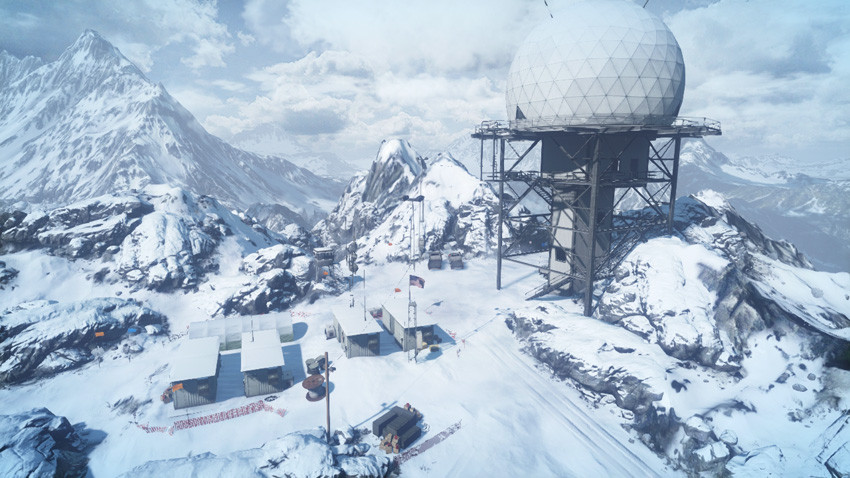
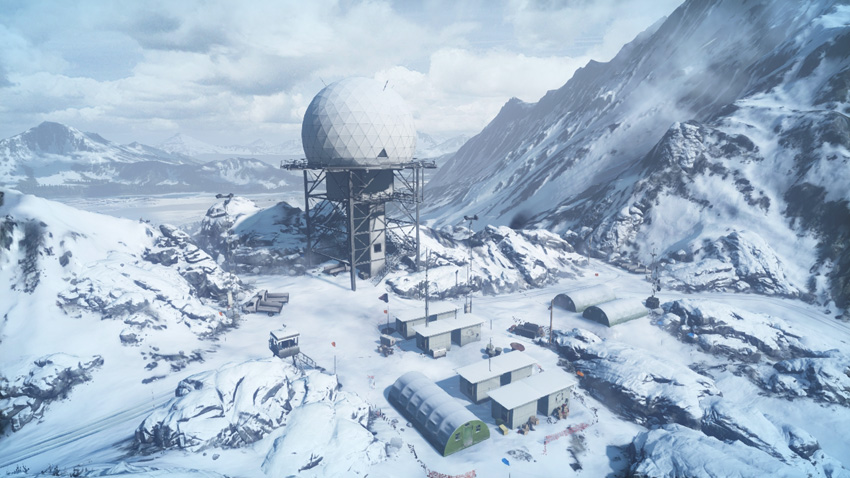
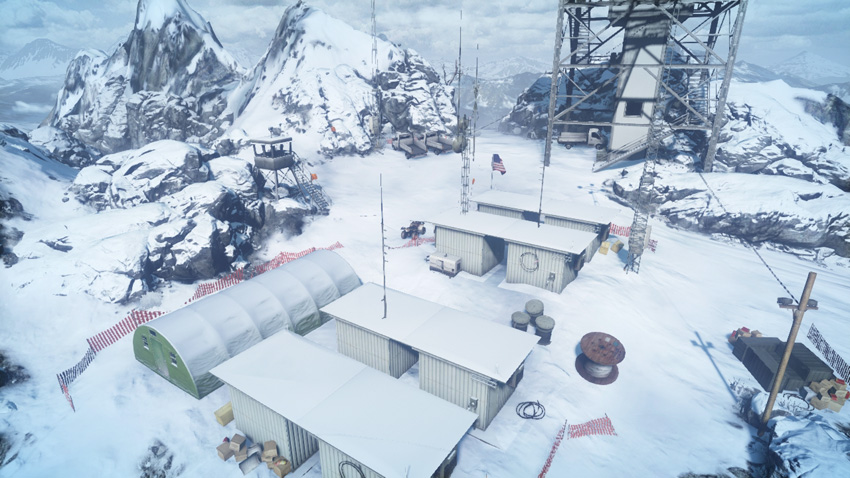
The massive, domed radar tower at this control point stands out, even amid the surrounding mountains. Sitting on the southeast side of the map, this control point is well within the RU team’s sphere of influence, situated only a few hundred meters from their base. But outside the great view offered by the radar tower, this isn’t a high-value control point, spawning only one quad bike for each team. Still, the RU team should work to maintain this control point throughout the match as it provides them with a spawn point close to the radio outpost (C) only a short distance to the west. The radar tower is a popular sniping perch for recon troops. From the tower’s upper-level catwalk it’s possible to monitor the surrounding roads as well as engage targets as far away as the base camp (B) to the west or outskirts (E) to the north. The flagpole here is surrounded by several buildings, providing plenty of hiding spots for infantry seeking to capture or contest the flag.
E: Outskirts
Control Point Assets
| US Control | RU Control | Respawn Time |
|---|---|---|
| Quad Bike (1) | Quad Bike (1) | 5 sec. |
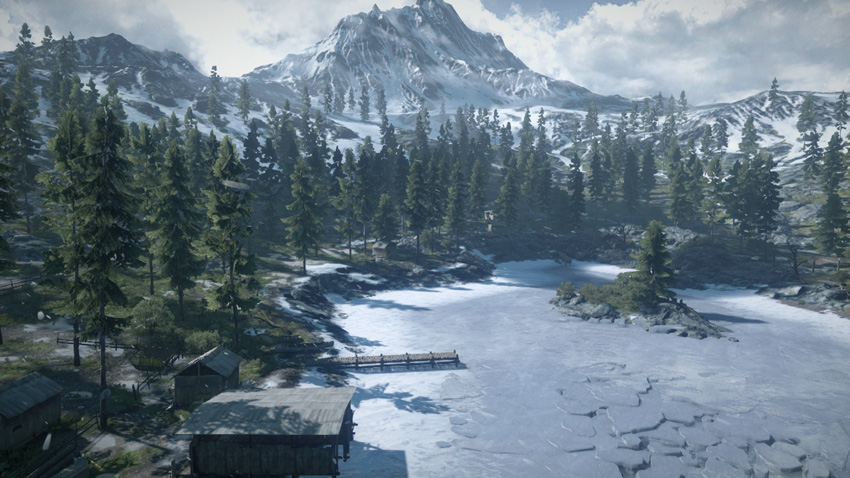
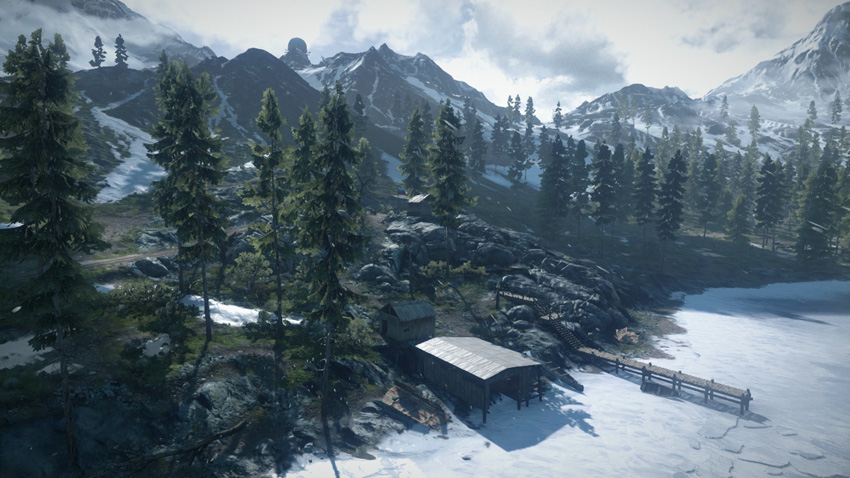
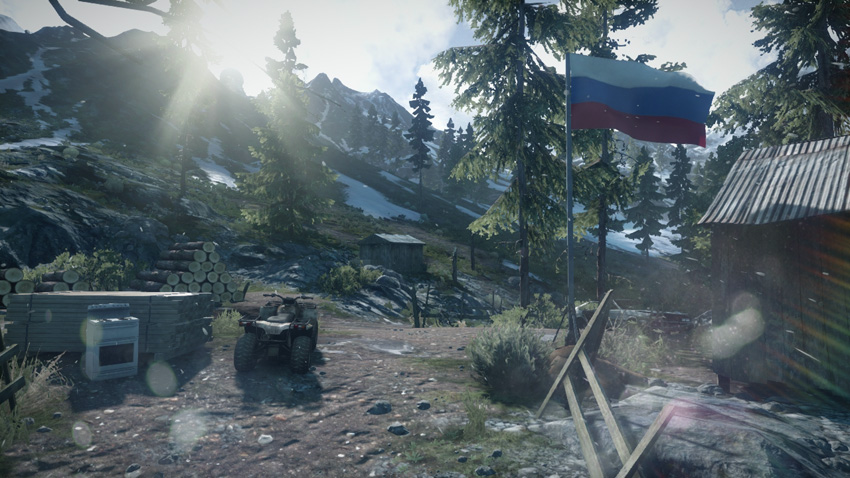
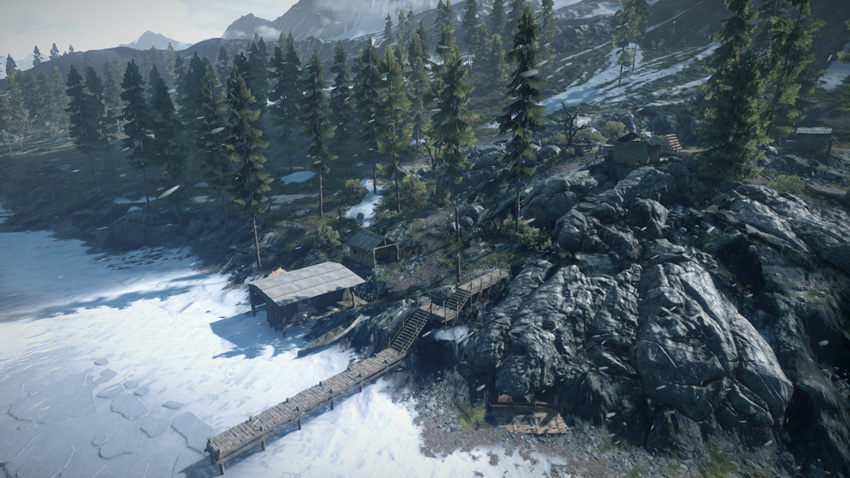
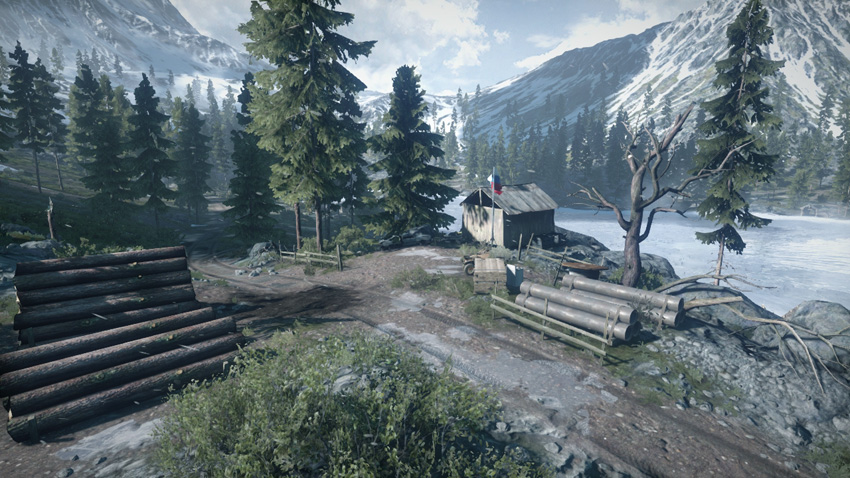
This small logging camp is directly east of the US base, on the opposite side of the frozen lake. As a result, there’s a good chance the US team will capture the outskirts (E) early during the round. But oftentimes, this control point is left undefended, making it easy for the RU team to sneak in and capture the flag. The RU team should only attempt to defend this point if they already hold the other four flags. This position makes it easy to engage US vehicles rushing across the frozen lake to the west. Given its rather isolated location, intense fighting over this flag is rare. Once it’s captured, a single squad (consisting mostly of engineers and support troops) should have no problem locking down this control point. However, watch out for enemy recon troops posted on the domed tower at the radar station (D)—utilize the nearby rocks and dense foliage to prevent getting sniped.