
Battlefield 3 Premium Guide Battlefields Close Quarters/Gun Master
Close Quarters - Scrapmetal
Points of Interest
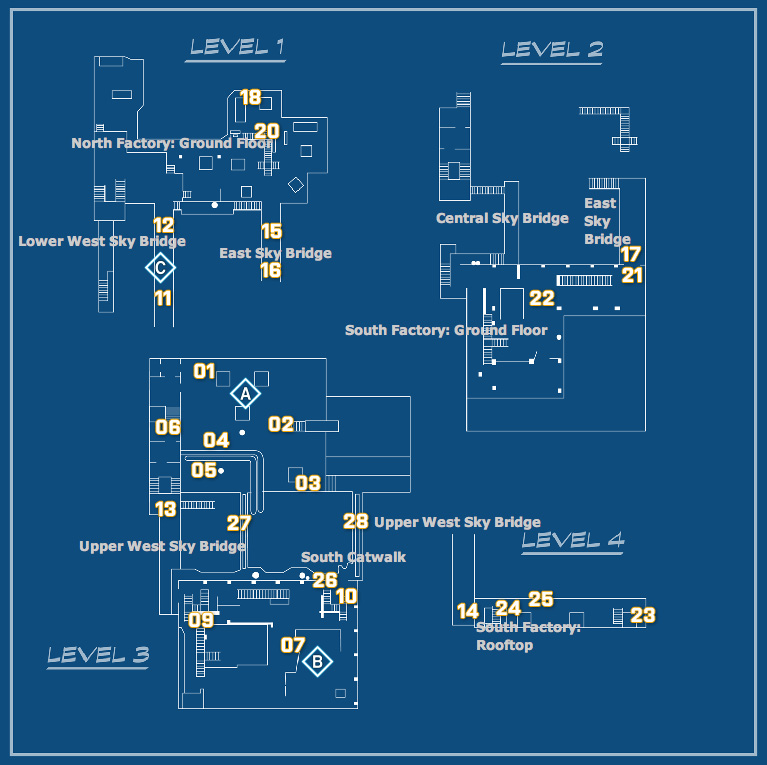
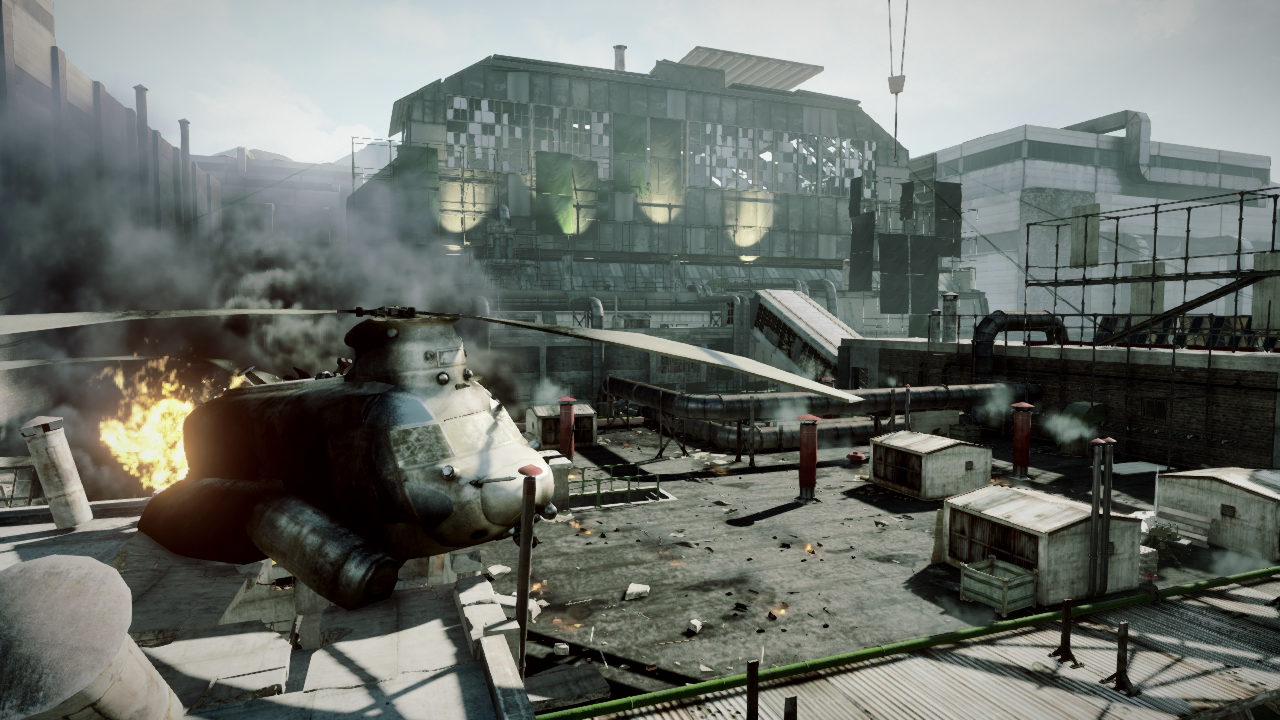
North Factory: Rooftop (Flag A)
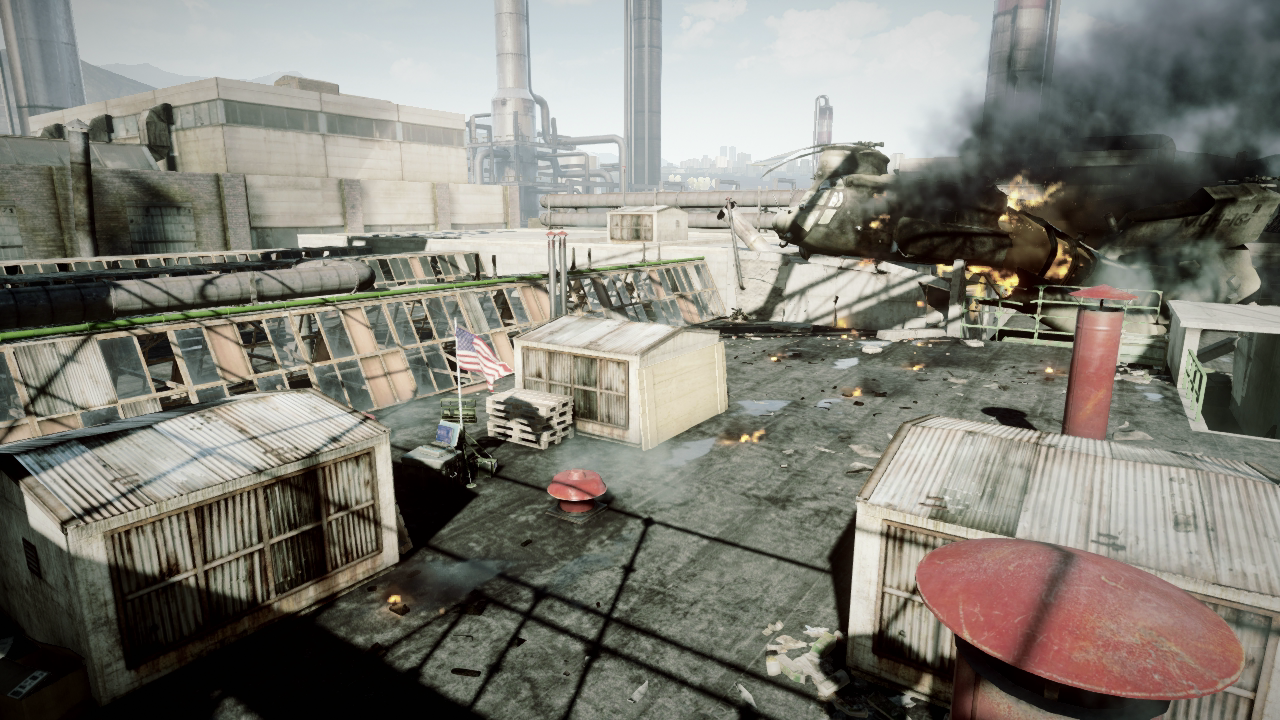
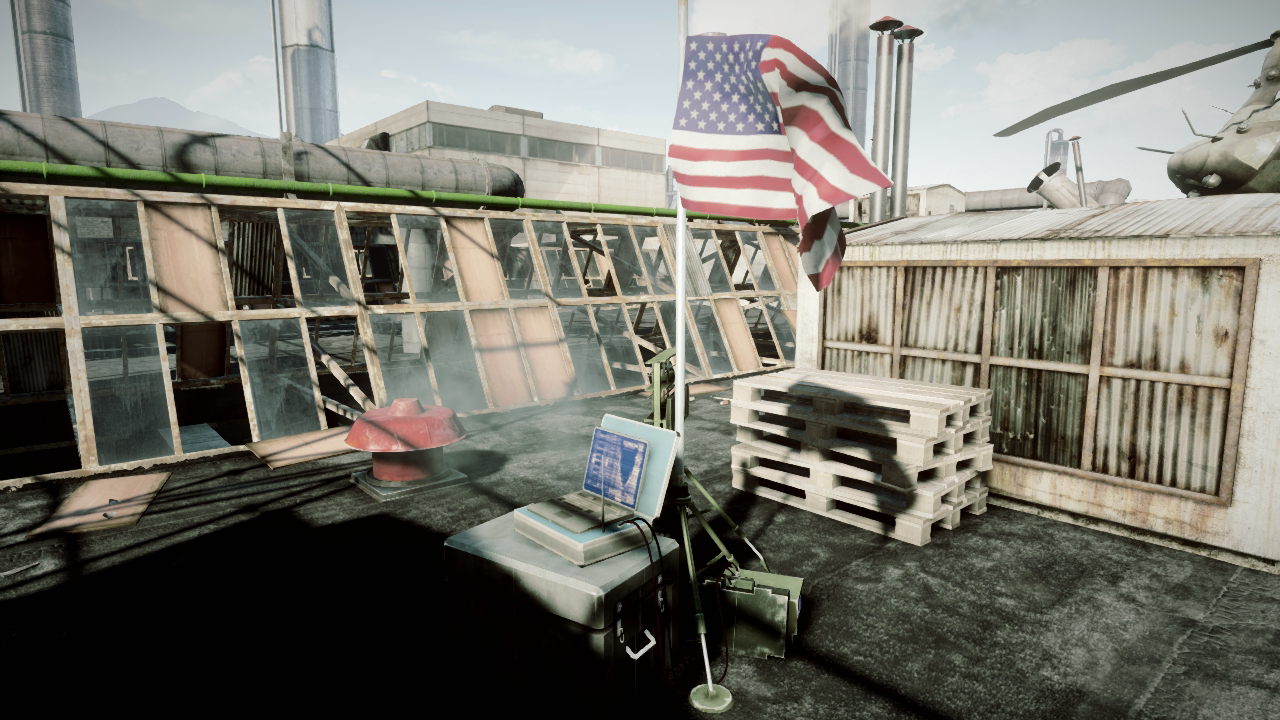
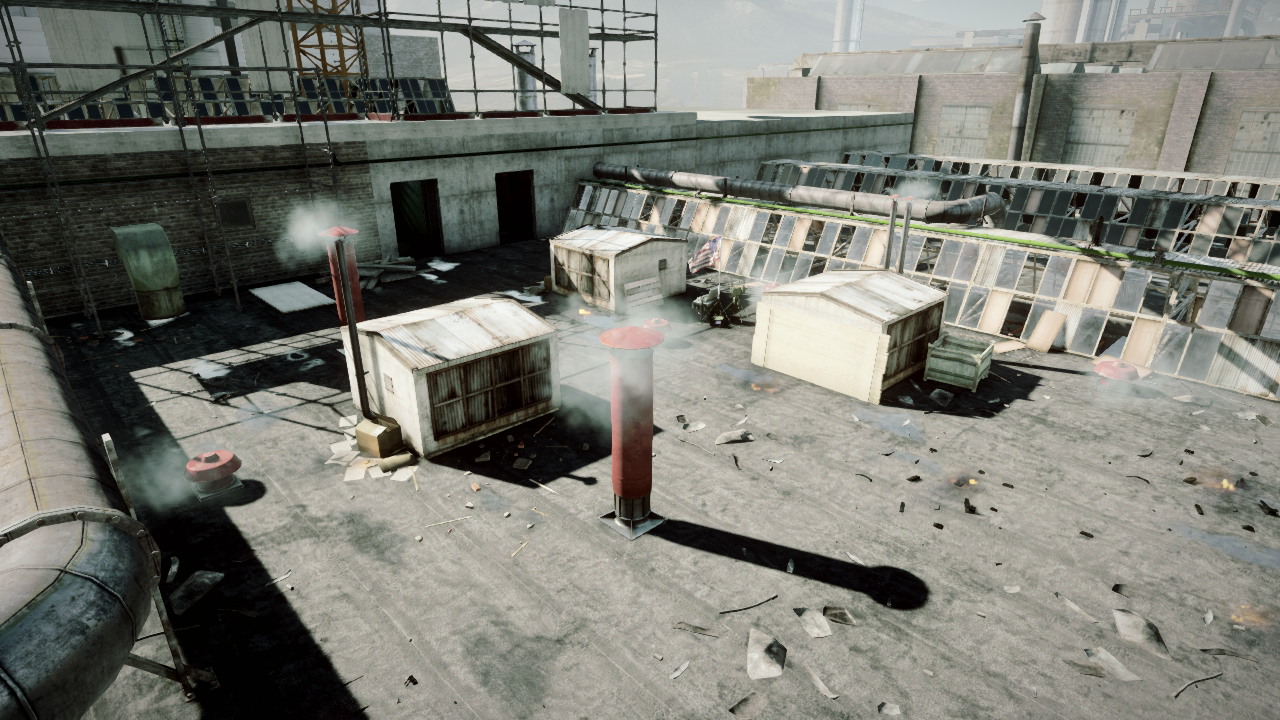
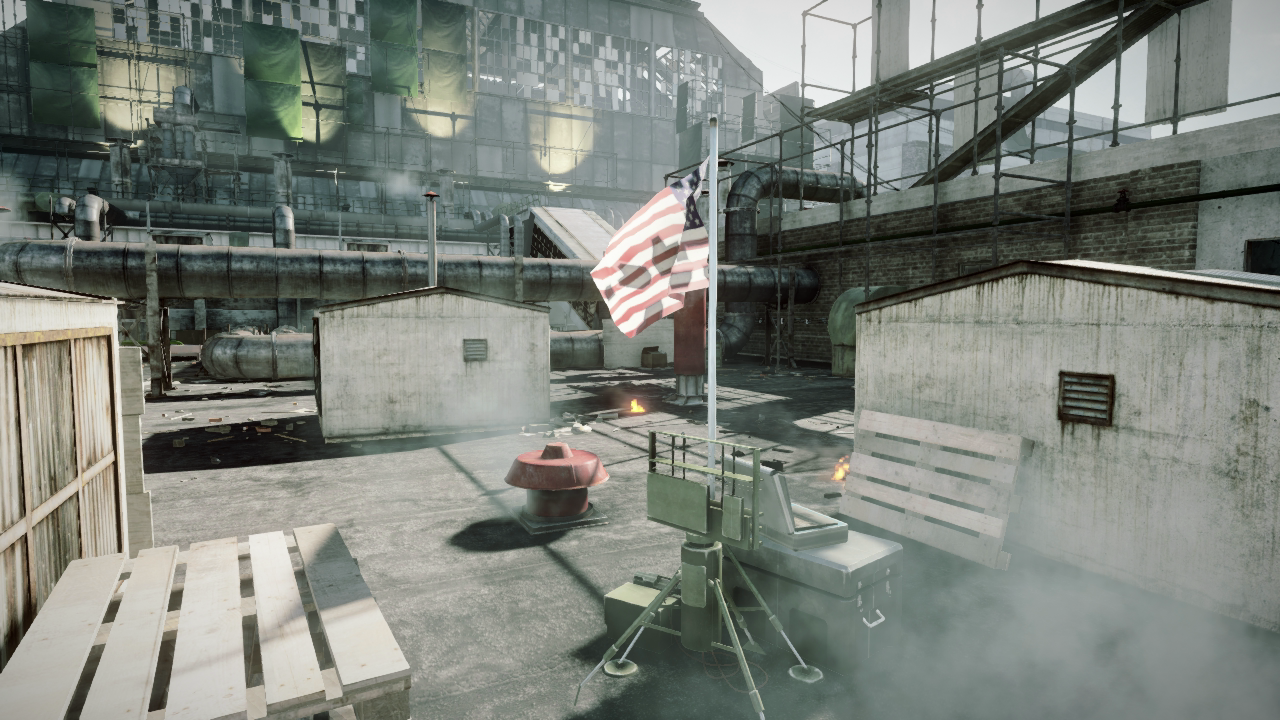
During Conquest Domination matches, the north rooftop is home to Flag A, making it a high-traffic area. If you’re attempting to convert the flag here, always seek cover, deploy smoke, or just keep moving. Sharpshooters posted on the catwalks and rooftop to the south often watch this area, looking for long-range kills. Sniper duels are common between this rooftop and the building to the south, so never pause to enjoy the view unless you’re behind a solid piece of cover.
The doors to the west and the staircase to the east are the most common approaches to this rooftop. Troops moving across the top of the sky bridges can also access this rooftop. Given the long sight lines afforded by this location, carbines, assault rifles, and sniper rifles are best suited for engagements here. Remember, opponents on this rooftop aren’t the only threat; you may also have to contend with opponents sniping from the south.
Level 3 [01]
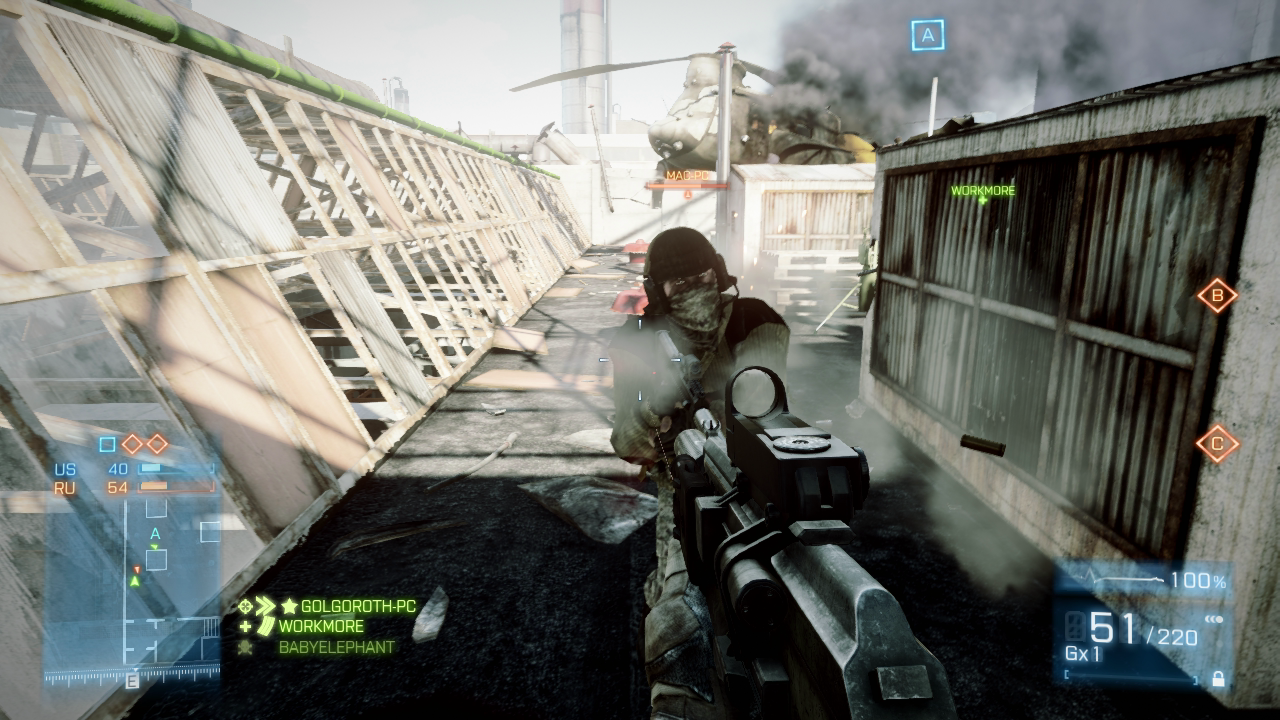
To avoid getting picked off by snipers positioned to the south, many players hide behind these structures on the roof’s north side. As a result, prepare for close-quarter engagements here, particularly during Conquest Domination matches.
Level 3 [02]
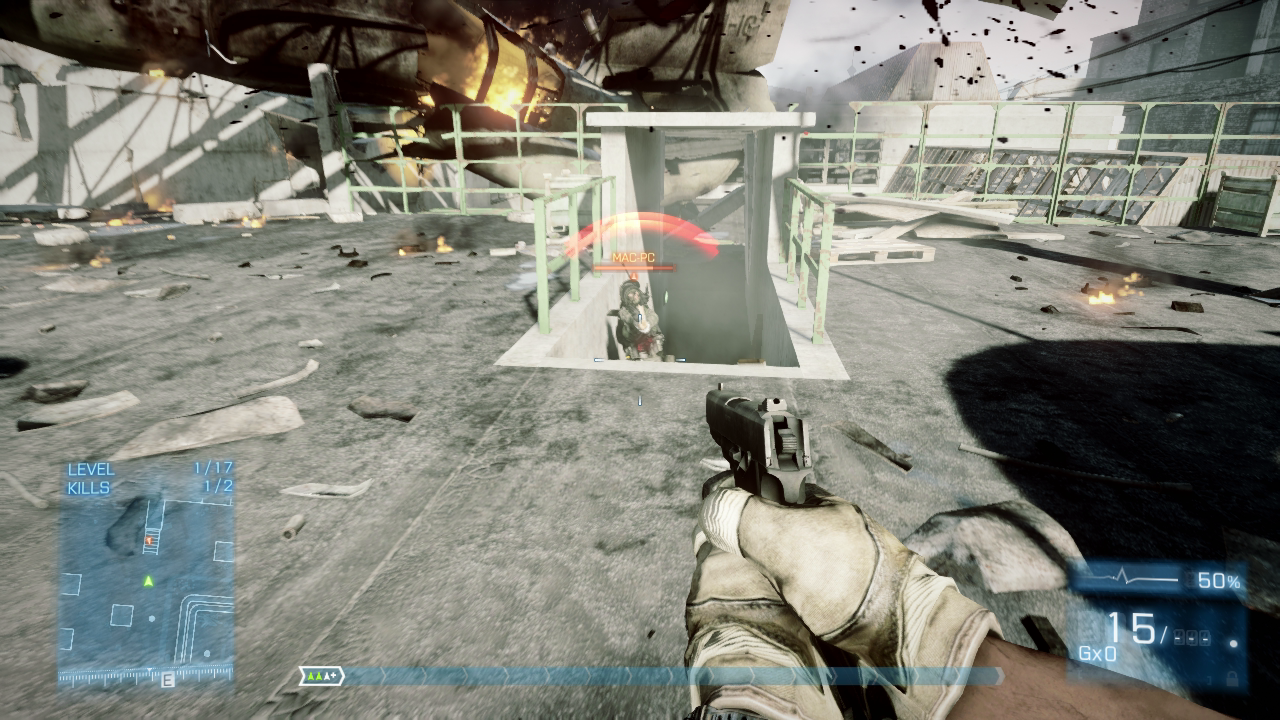
The stairway on the rooftop’s east side is a popular access point and a natural choke point. Claymores are very effective here. When firing at opponents ascending the stairway, try to finish them off before they can reach the rooftop. The narrow stairway limits lateral movement, making them an easier target.
Level 3 [03]
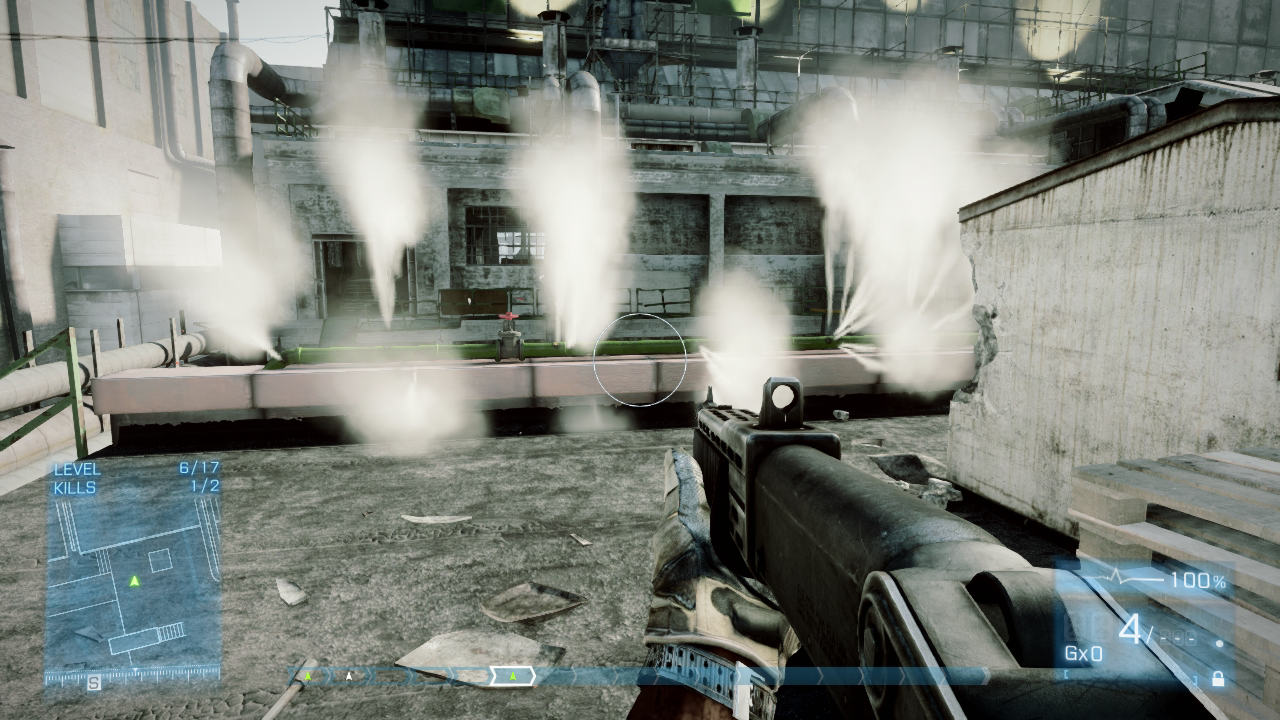
The green pipe on the roof’s southern edge emits thick clouds of steam when perforated by small-arms fire. Use these steam clouds to obscure the vision of sharpshooters posted on the south factory’s rooftop.
Level 3 [04]
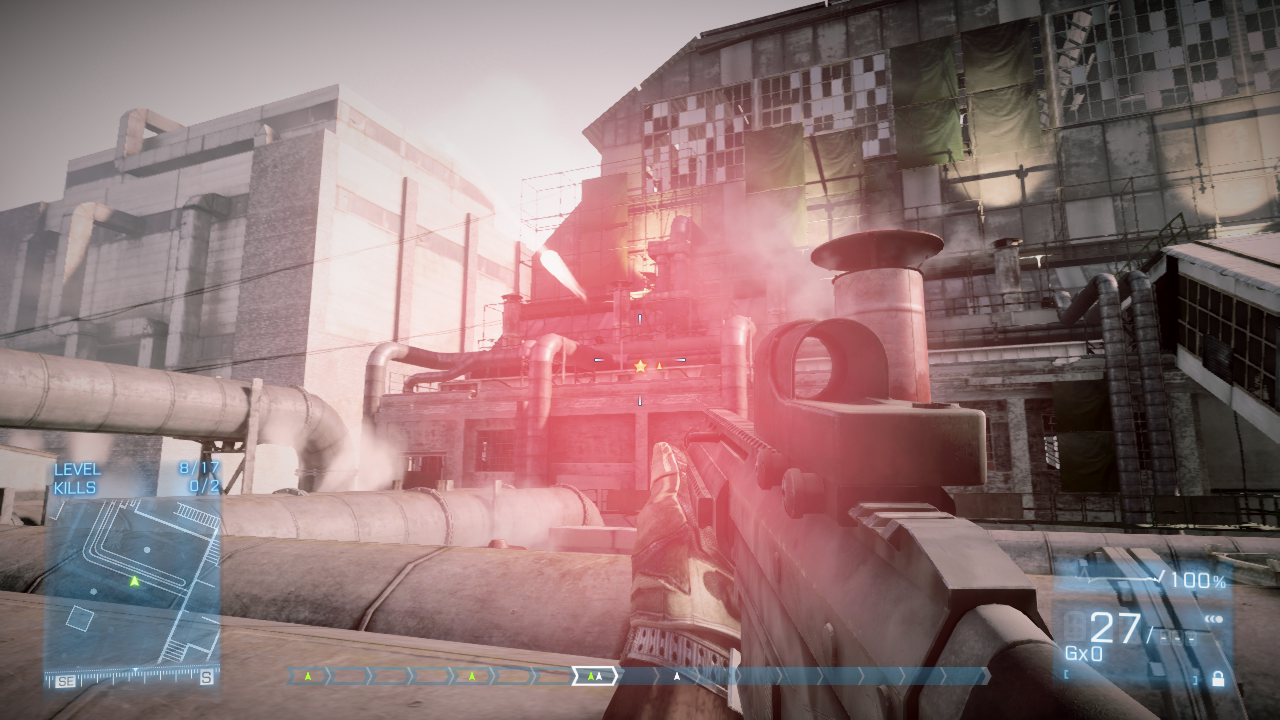
Even at this range, laser sights can give away the positions of opponents on the south factory’s rooftop or the south catwalk. When countersniping from this rooftop, always seek out cover. The large pipes on the roof’s southwest side offer decent cover and concealment while crouched.
Level 3 [05]
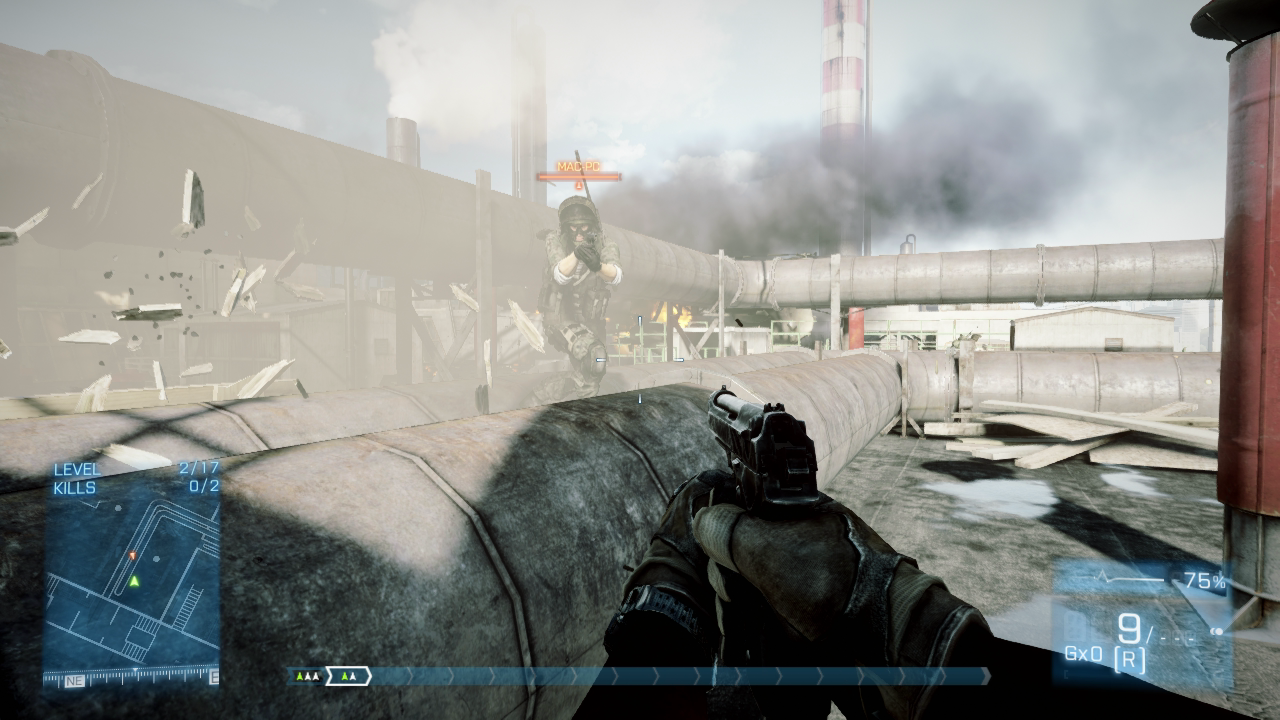
These large pipes offer decent cover, but they can also hinder your movement, requiring you to jump over them. Just be careful when leaping over these pipes because opponents may be waiting to ambush you on the other side.
Level 3 [06]
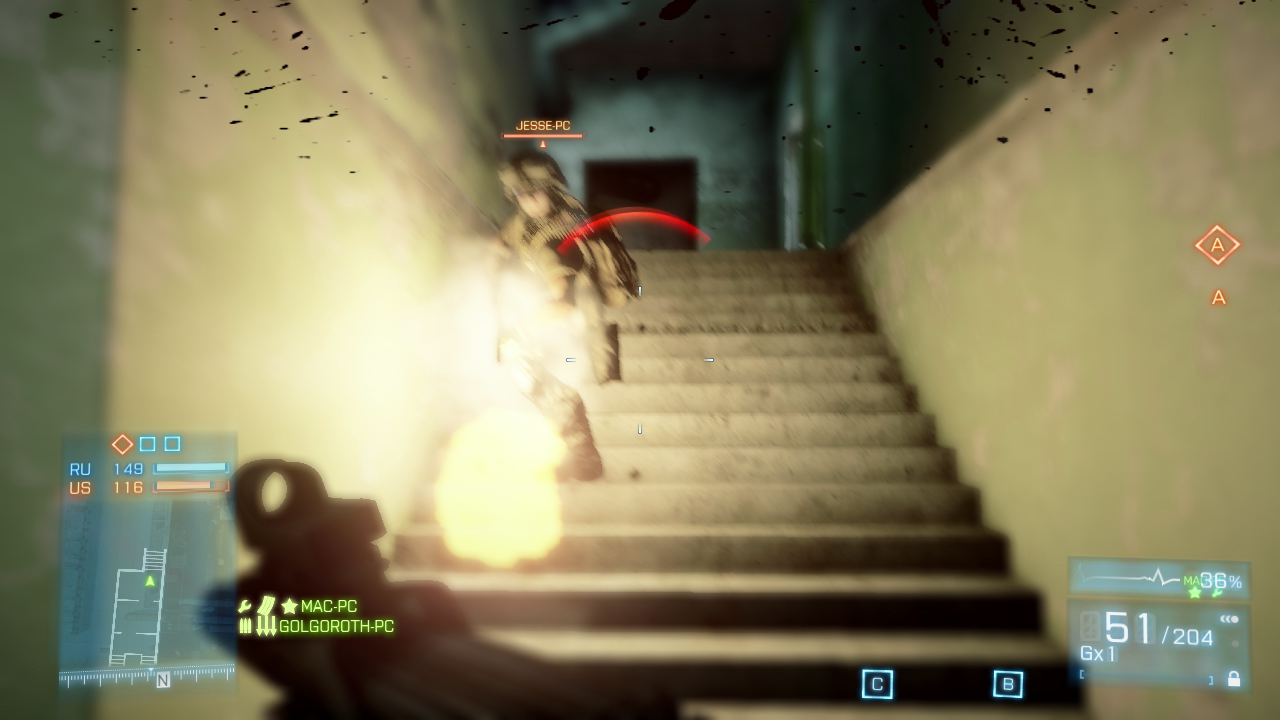
Don’t sprint while moving through the narrow stairwell on the roof’s west side. Always keep your weapon raised and ready to fire. Otherwise, all it takes is one point-blank shotgun blast to ruin your day.
South Factory: Top Floor (Flag B)
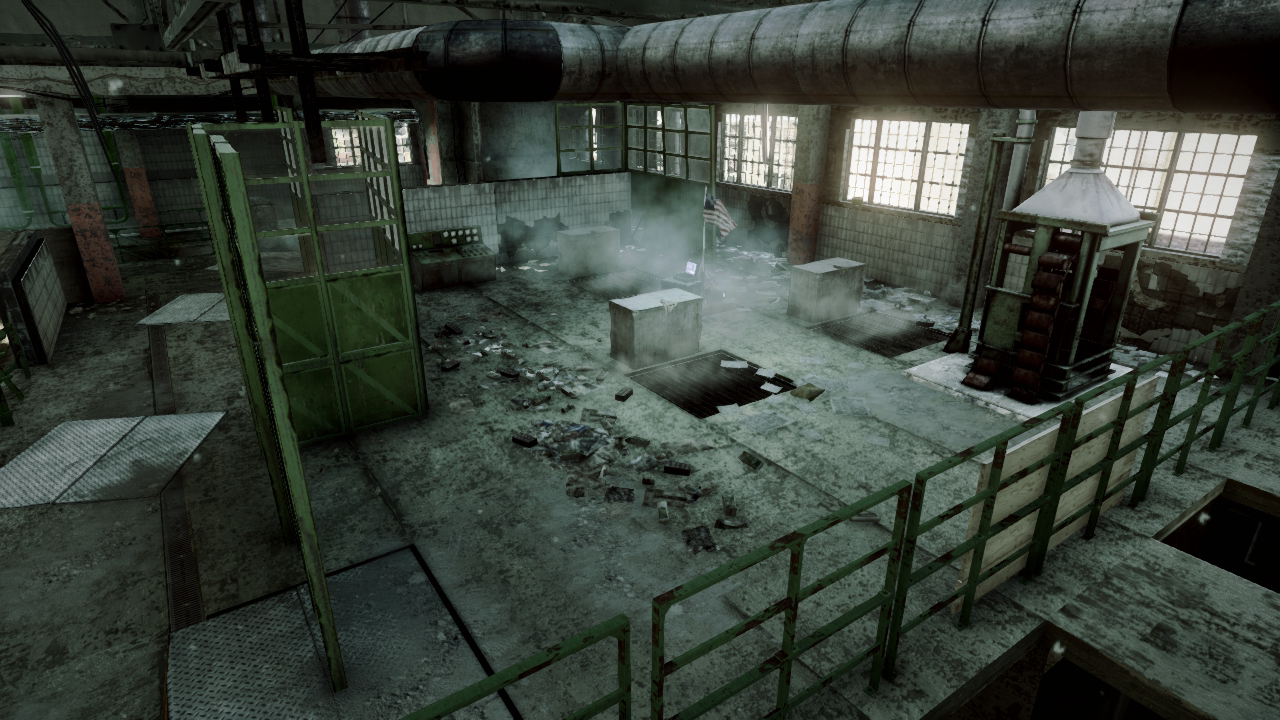
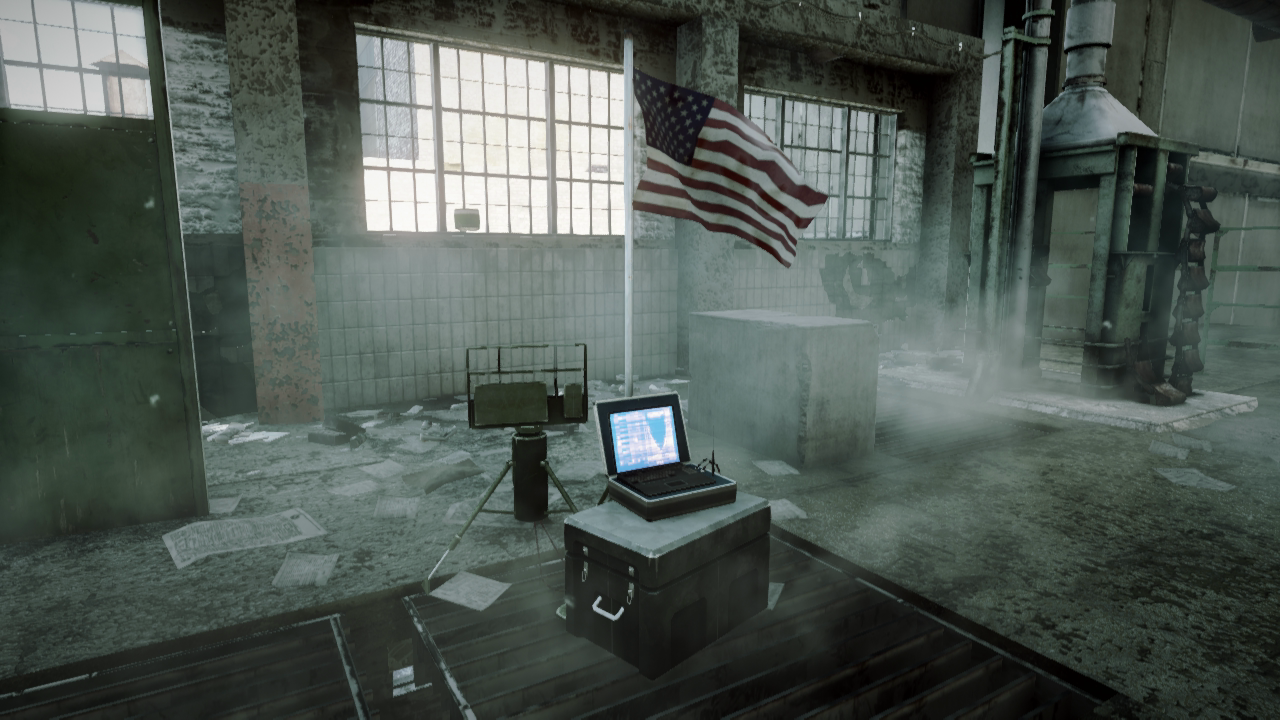
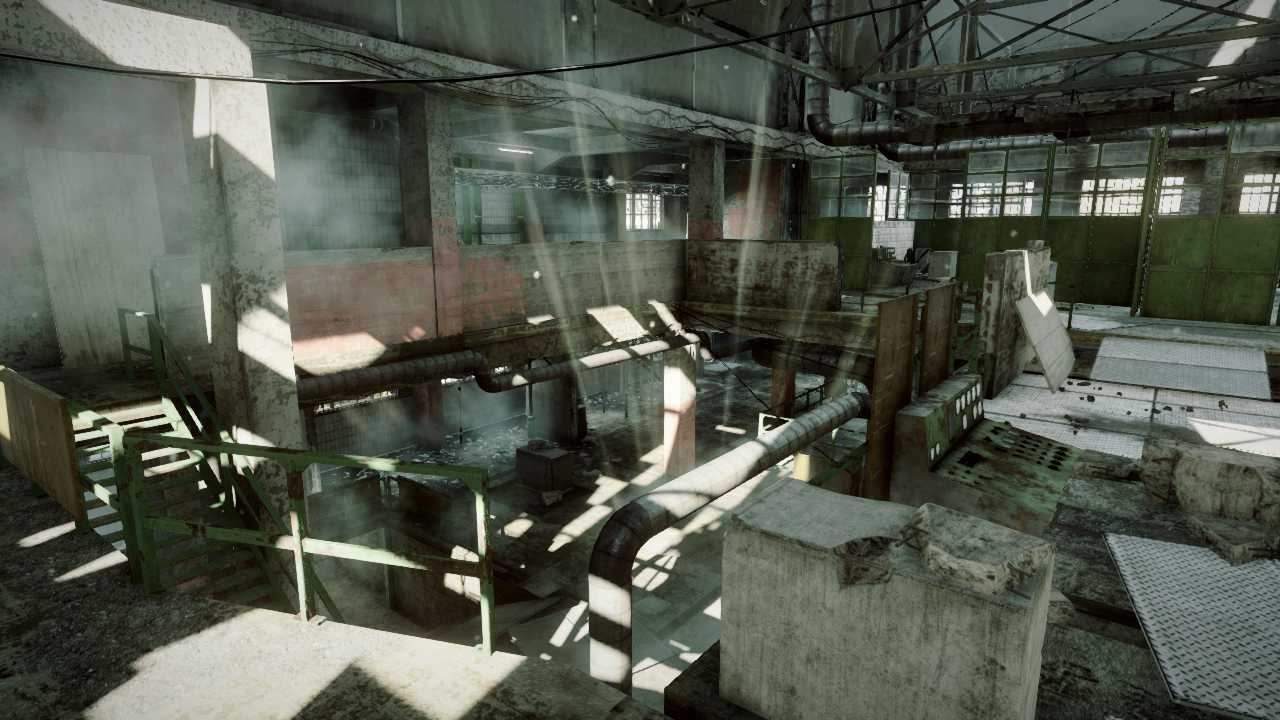
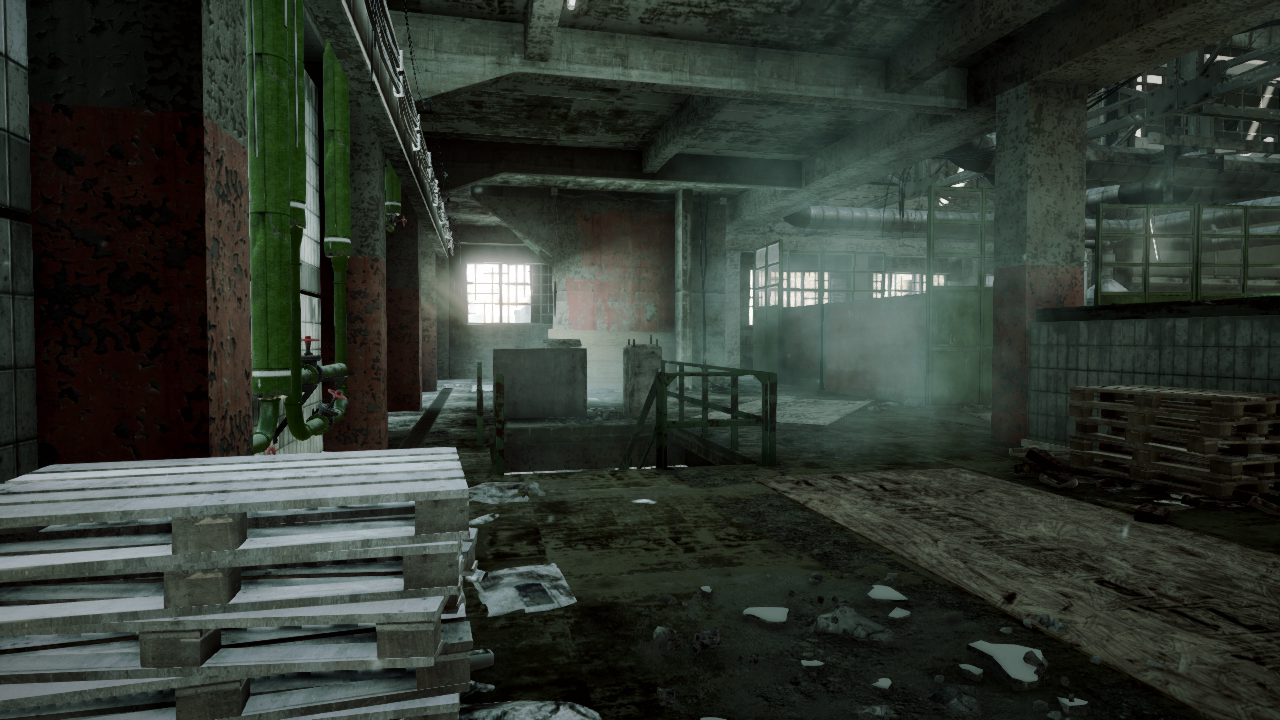
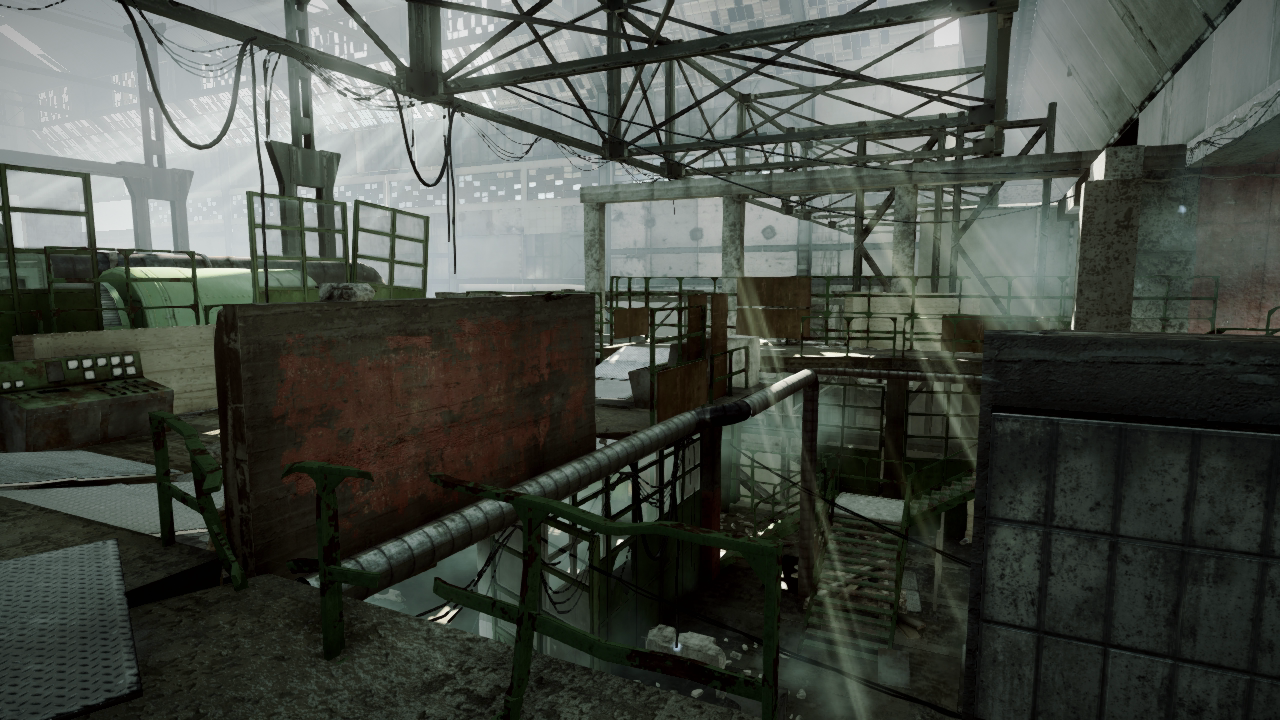
The south factory’s top floor is home to Flag B during Conquest Domination matches, making this a hotly contested location. Although this floor is rather large, it is divided by several walls and partitions. Many of the green wooden partitions can be destroyed with small-arms fire and explosives, opening up longer sight lines. In Conquest Domination matches, Flag B is located in the southeast corner of the floor, surrounded by several walls. This limits engagements around the flag to point-blank range where shotguns and PDWs dominate. There’s a large opening in the floor’s west side, providing a good view of the floor below from multiple angles. But don’t get too comfortable camping anywhere on this floor. Given the various stairways and blind corners, opponents can pop up from anywhere. Instead, stay on the move and periodically turn around to ensure no opponents are following you.
Level 3 [07]
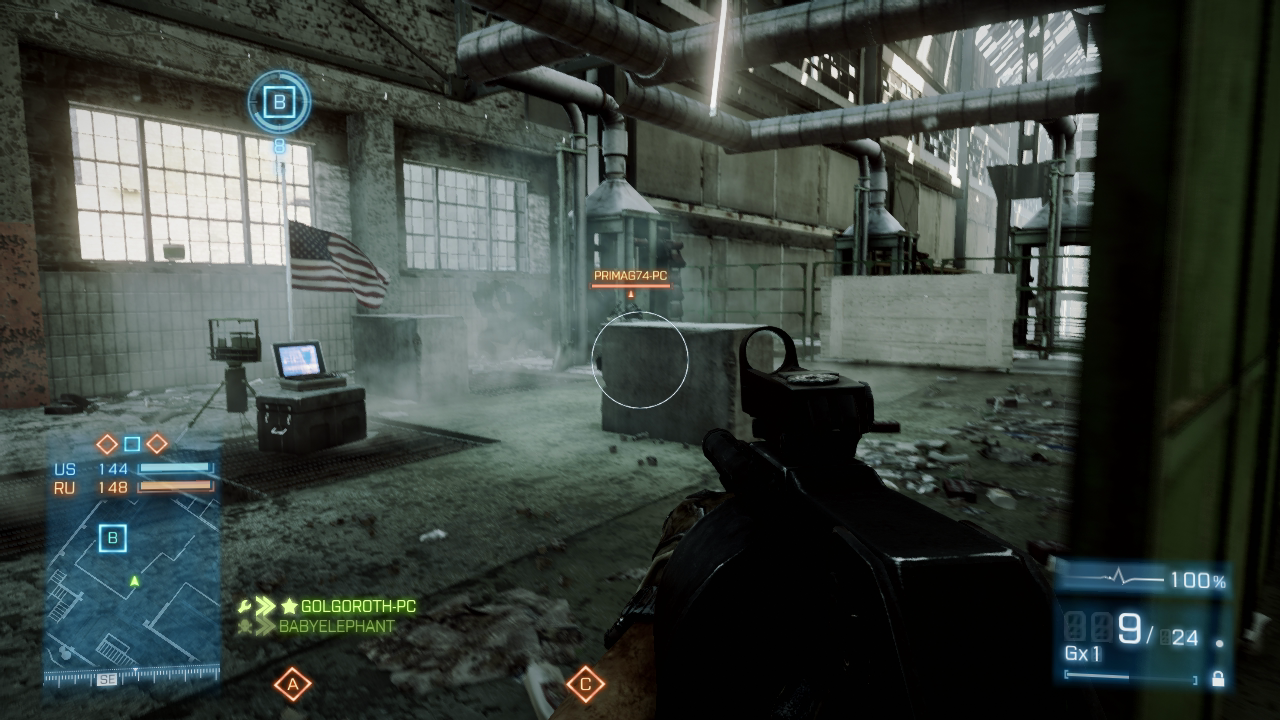
The two concrete blocks near Flag B offer excellent cover and concealment. Even while engaging opponents, standing behind these blocks makes you harder to see and hit.
Level 3 [08]
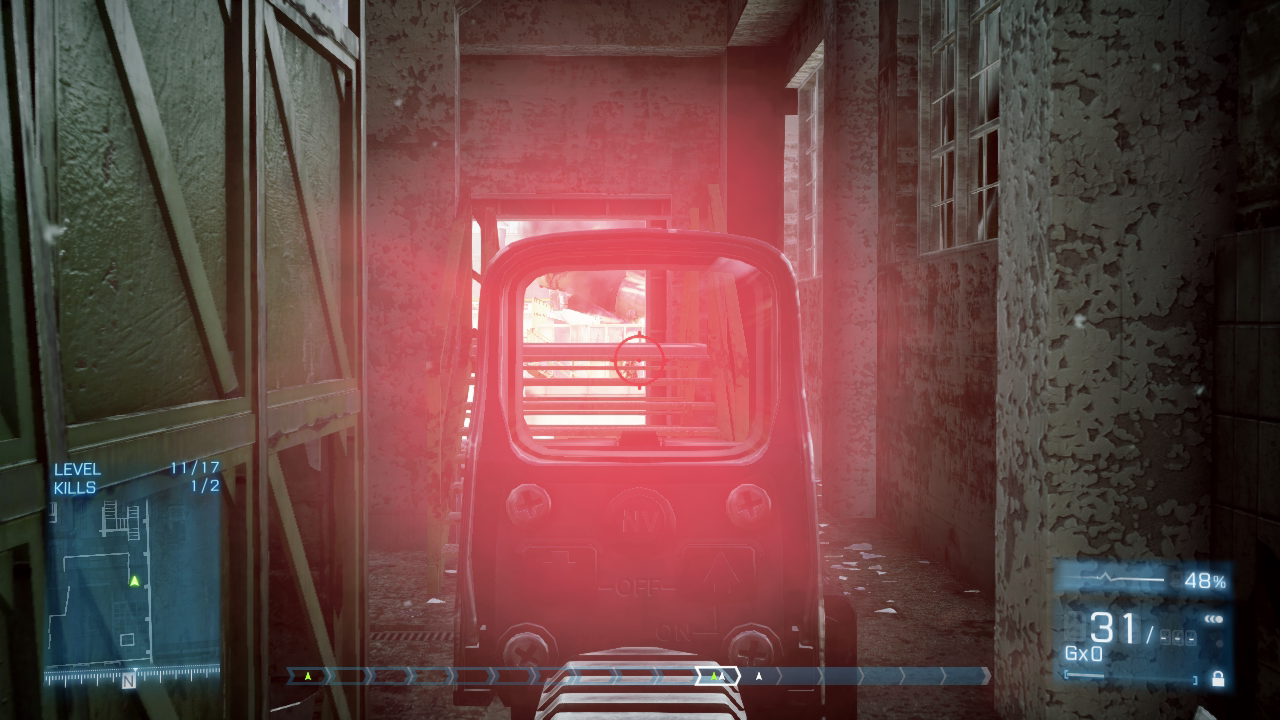
By peering between the nearby steps and through the doorway to the north, you can engage opponents on the north factory’s rooftop to score some long-range kills. But remember, if you can see them, they can see you. Always turn off any tactical lights or laser sights to avoid giving away your position.
Level 3 [09]
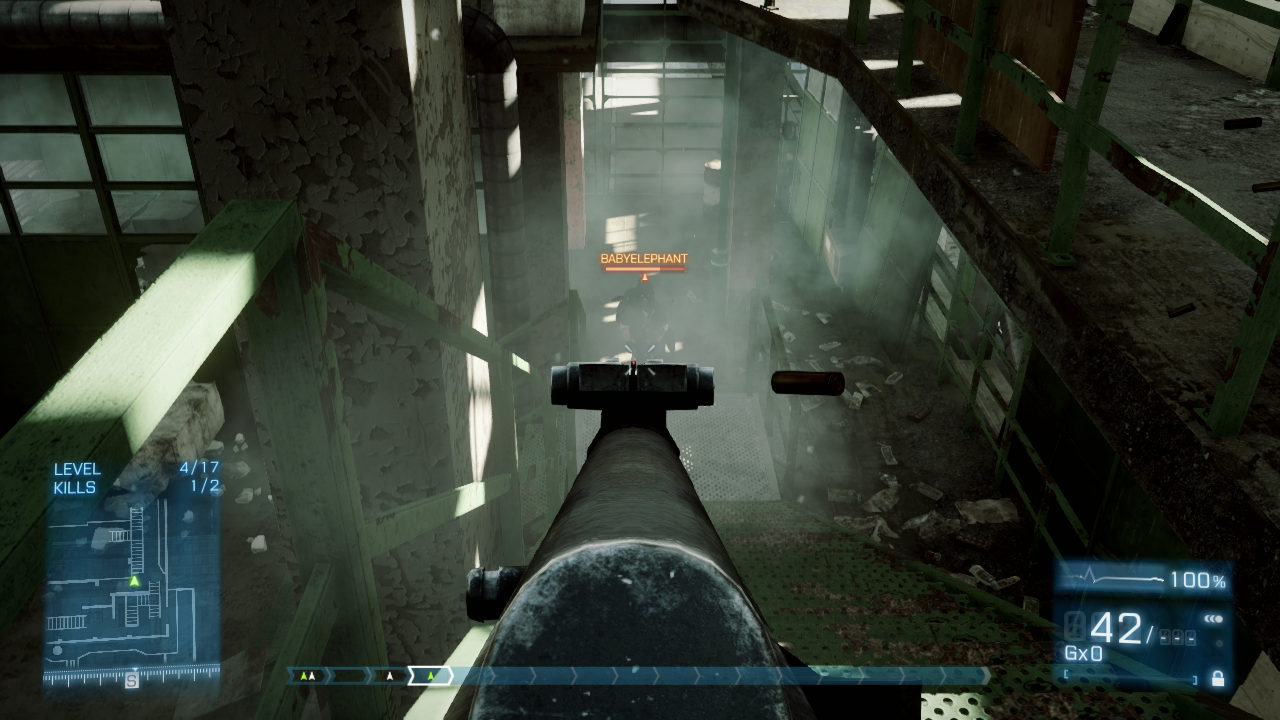
The stairway on the floor’s west side is a key choke point. From this opening in the floor, you can engage opponents on the stairs and those scurrying around on the bottom floor.
Level 3 [10]
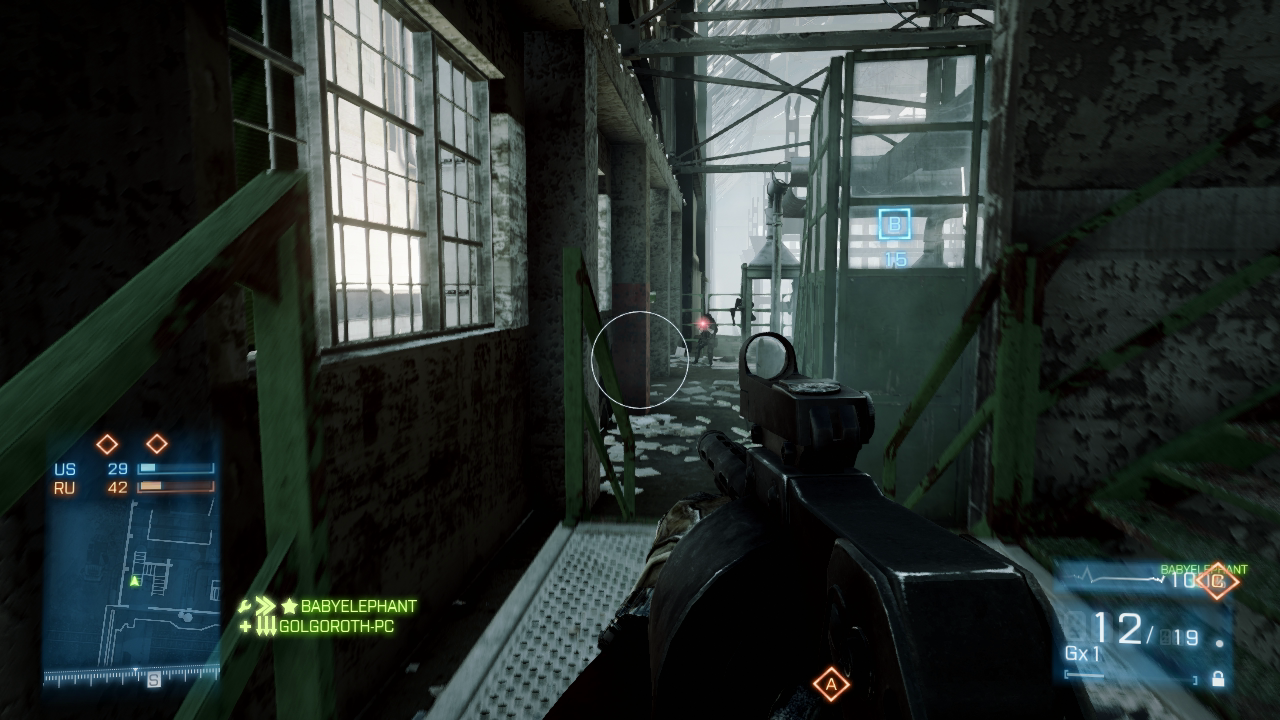
Be careful when approaching Flag B from this narrow passage on the floor’s east side during Conquest Domination matches. Opponents positioned near the flag may have you in their sights long before you can retaliate. It’s safer to approach the flag from the west side.
Central Sky Bridge (Flag C)
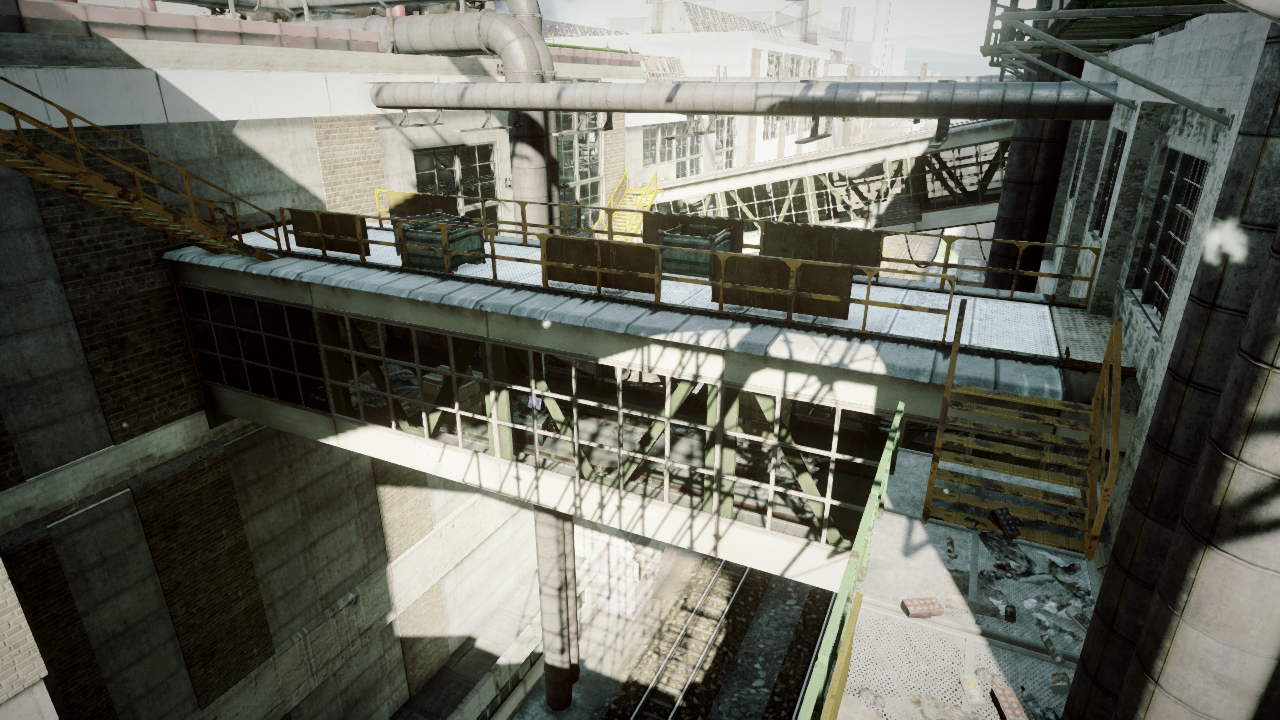
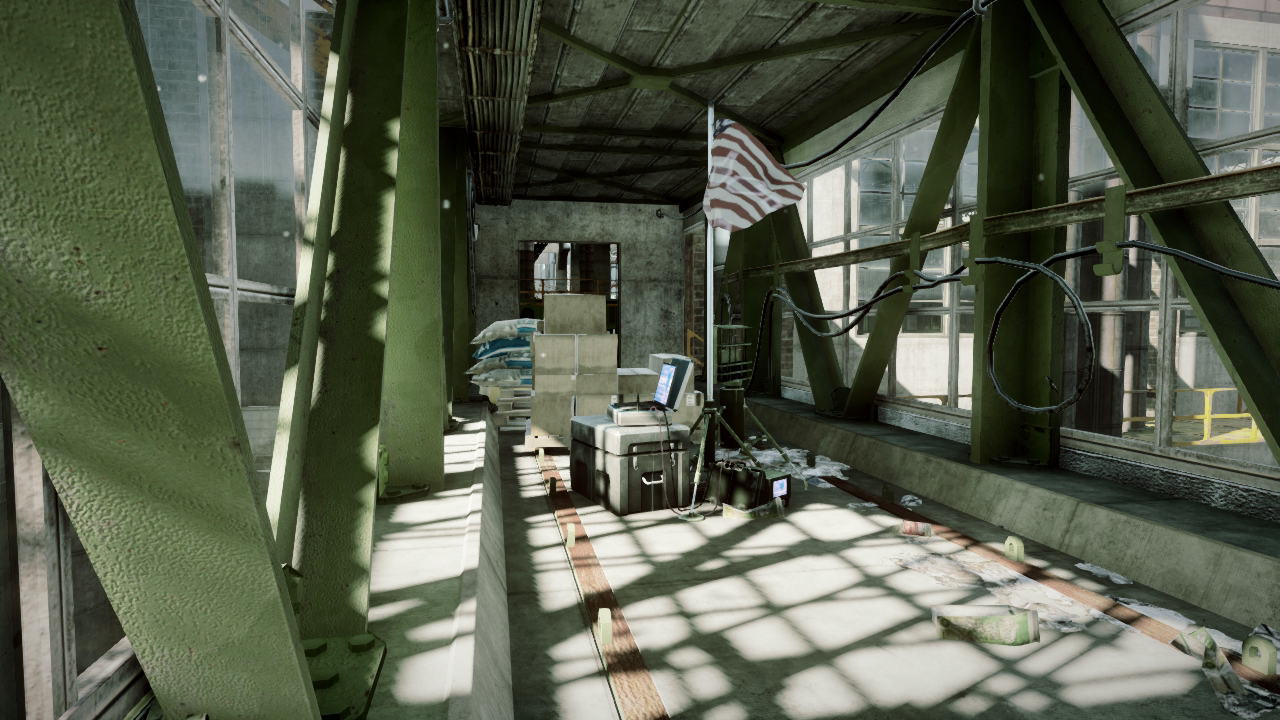
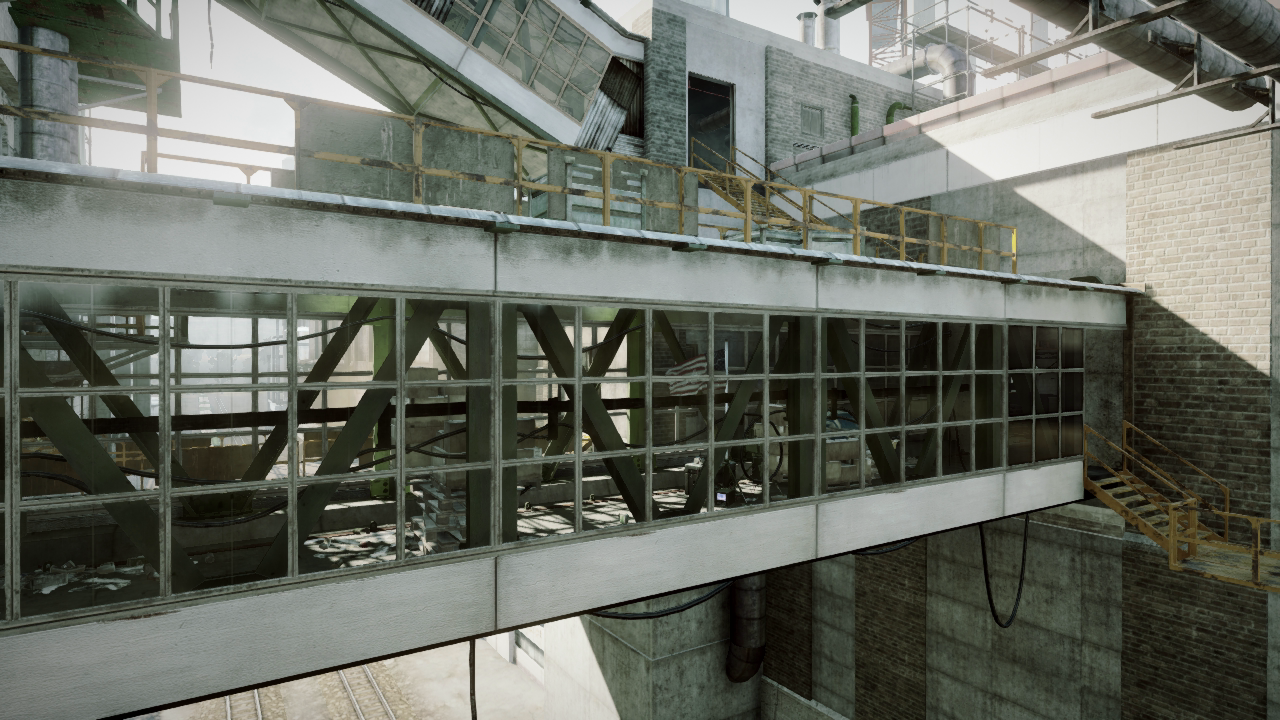

In addition to being one of the map’s major thoroughfares, the central sky bridge also hosts Flag C during Conquest Domination matches. Given its central location between the two factories, the fight for this flag is intense. A few cardboard boxes and wooden pallets positioned on each side of the flag offer the only concealment from opponents to the north or south. But the sky bridge can also be monitored from the two flanking sky bridges to the east and west. Therefore, don’t plan on spending much time here.
If you want to defend this flag, do so from the perimeter. The sky bridge connects to the bottom floors of each factory, making it a high-traffic area for north–south travel and a dangerous choke point frequently booby-trapped with claymores and C4. The roof of this sky bridge is accessible from catwalks and stairs on the north and south sides. Sometimes moving along the roof is preferable to moving within the cramped interior. Whatever your preference, move through this area fast to avoid getting caught in a cross fire between the two factories.
Level 1 [11]
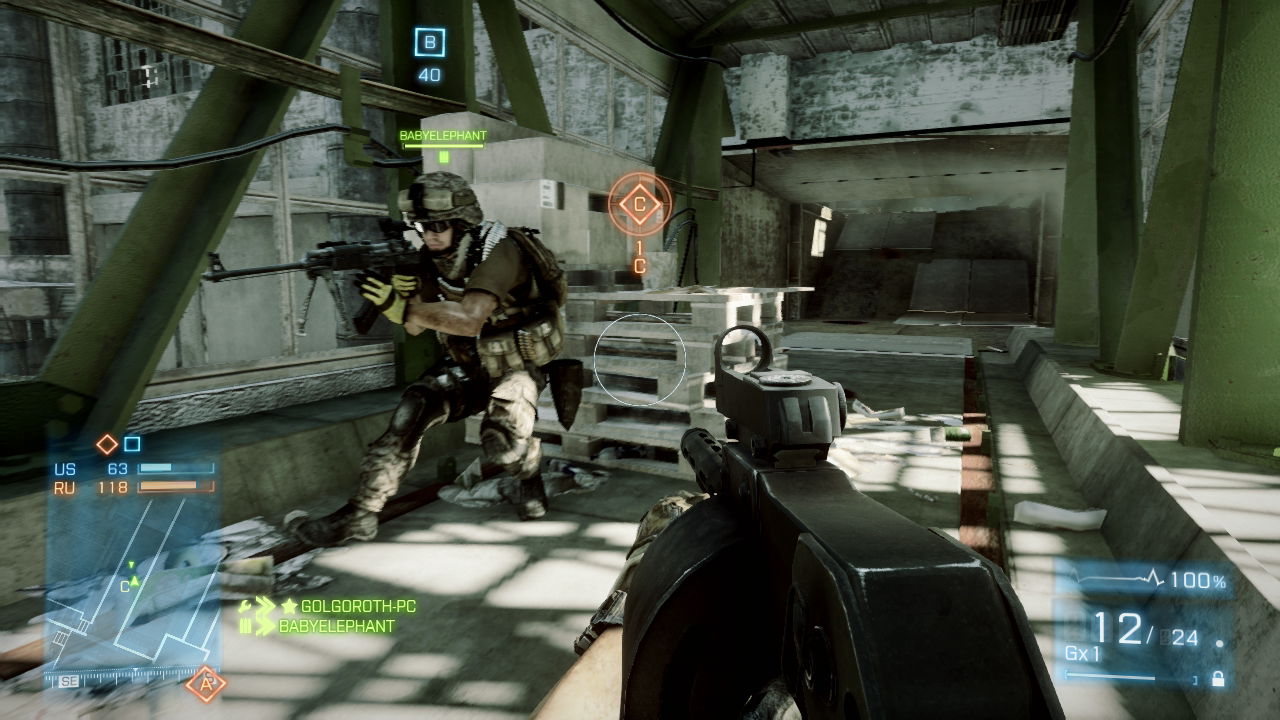
When possible, always convert Flag C with a teammate during Conquest Domination matches. You’ll need to watch both ends of the sky bridge to fend off any sudden counterattacks.
Level 1 [12]
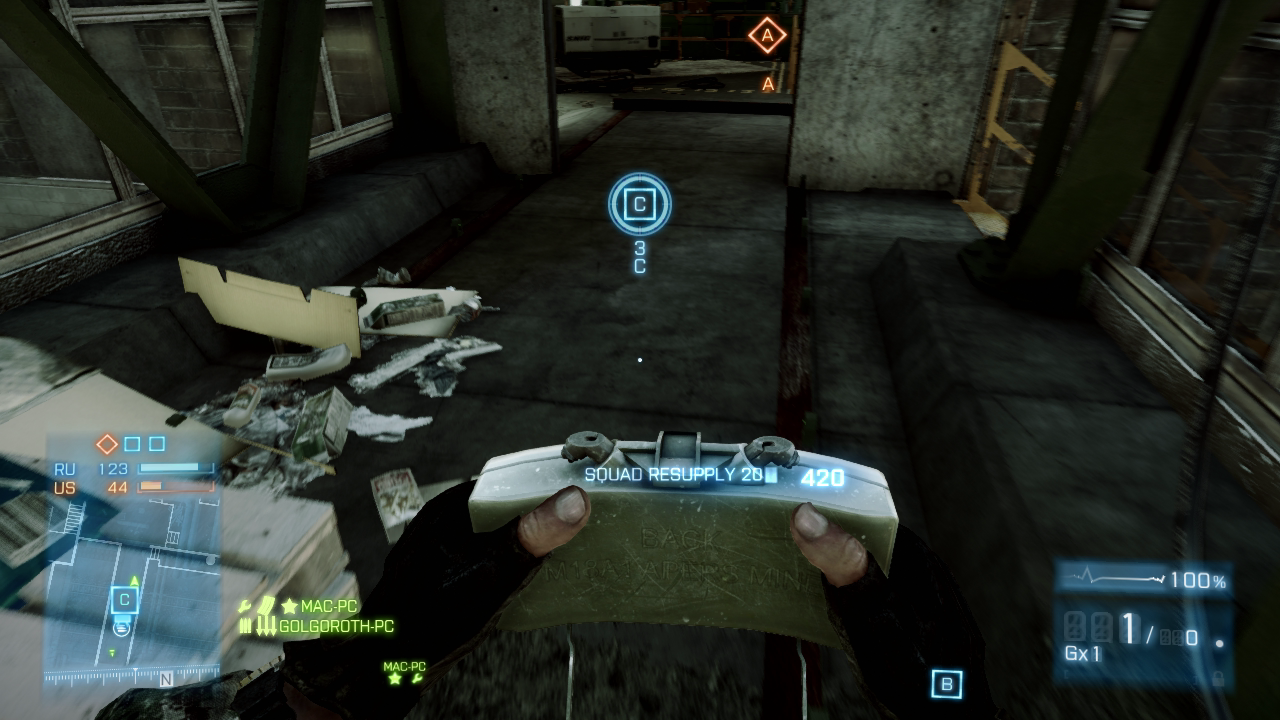
Consider hiding claymores near the wooden pallets in this sky bridge. This is a high-traffic area in all game modes, practically guaranteeing you claymore kills.
Lower West Sky Bridge
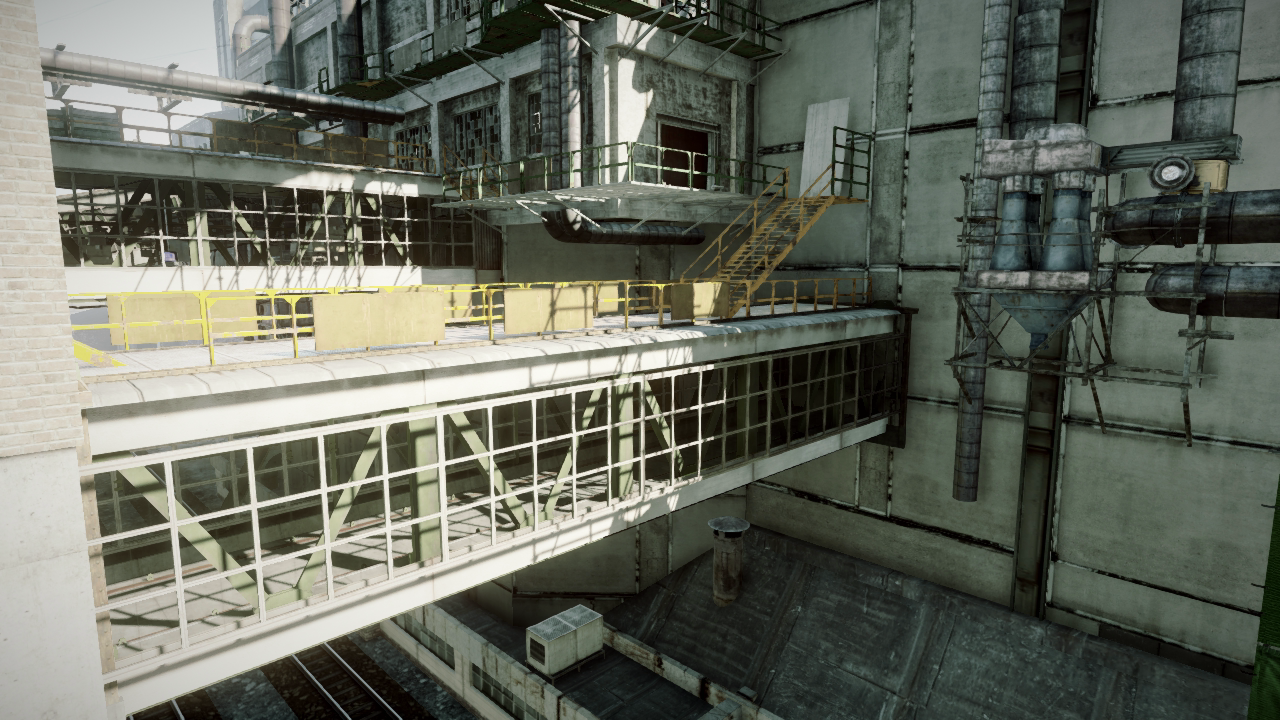
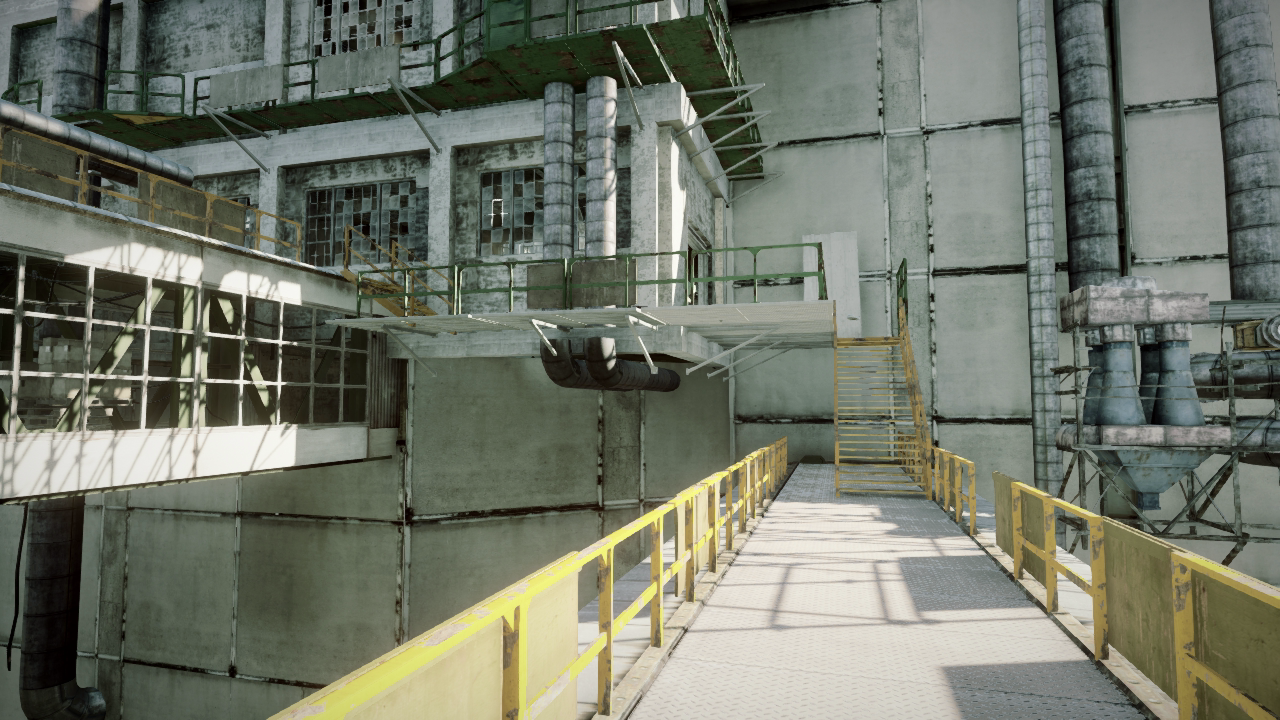
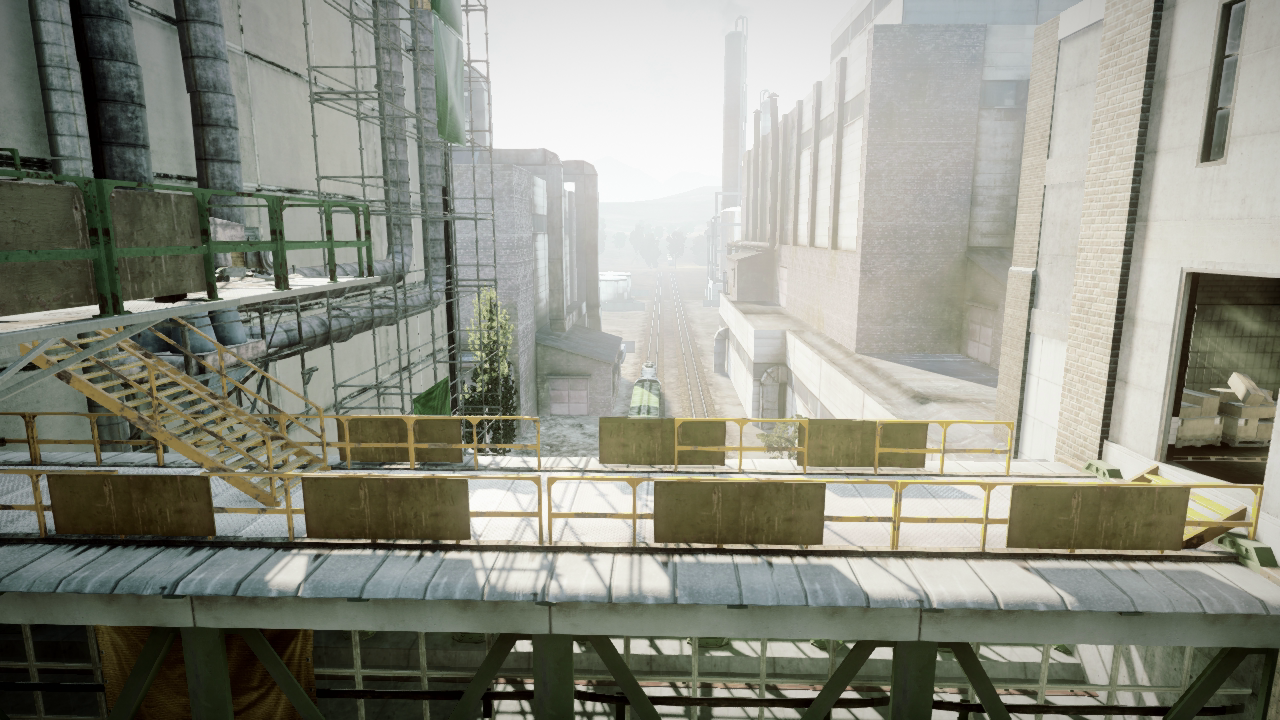
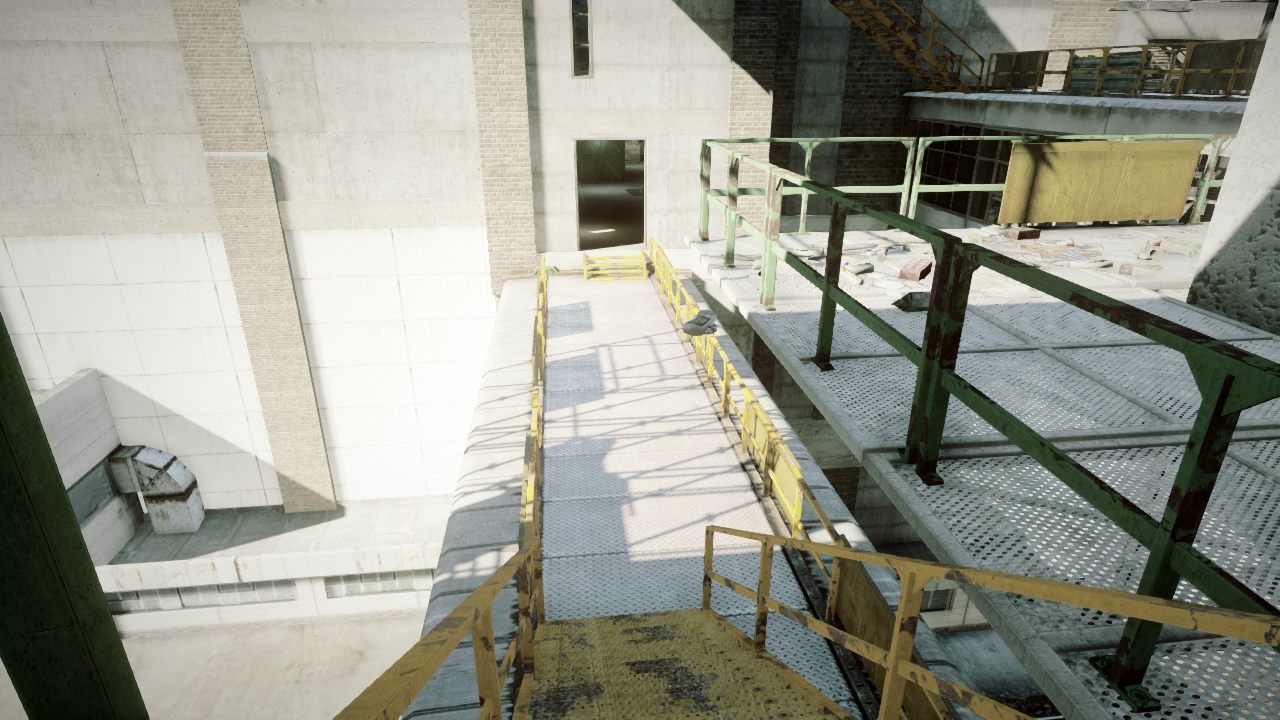
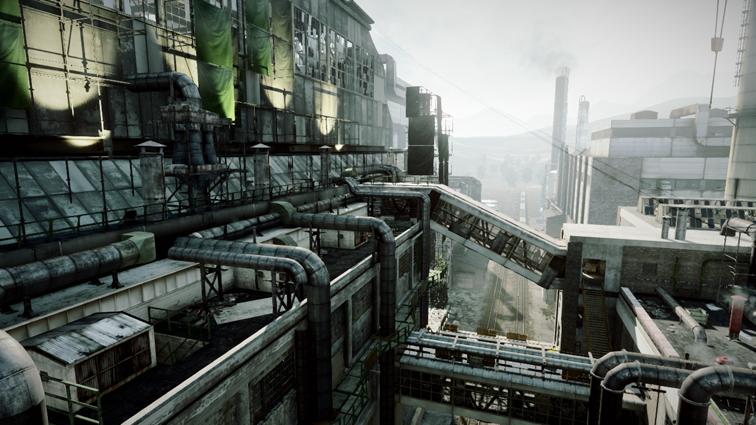
In terms of elevation, this is the lowest of the four sky bridges connecting the ground floors of the north and south factories. Only the roof of this bridge is accessible. The low elevation and lack of enclosure can make crossing this bridge extremely dangerous. So if you’re forced to cross this bridge, do so while sprinting. This may not protect you completely, but it will make you more difficult to hit. If available, consider deploying smoke to mask your advance.
On the bridge’s north end, you can race directly into the north factory for cover. But on the south end, you must first traverse an exterior staircase before you can reach the interior of the south factory. The connecting catwalk on the south end also allows access to the roof of the central sky bridge. But if you’re taking fire, it’s best to limit your exposure along these exterior pathways.
Upper West Sky Bridge
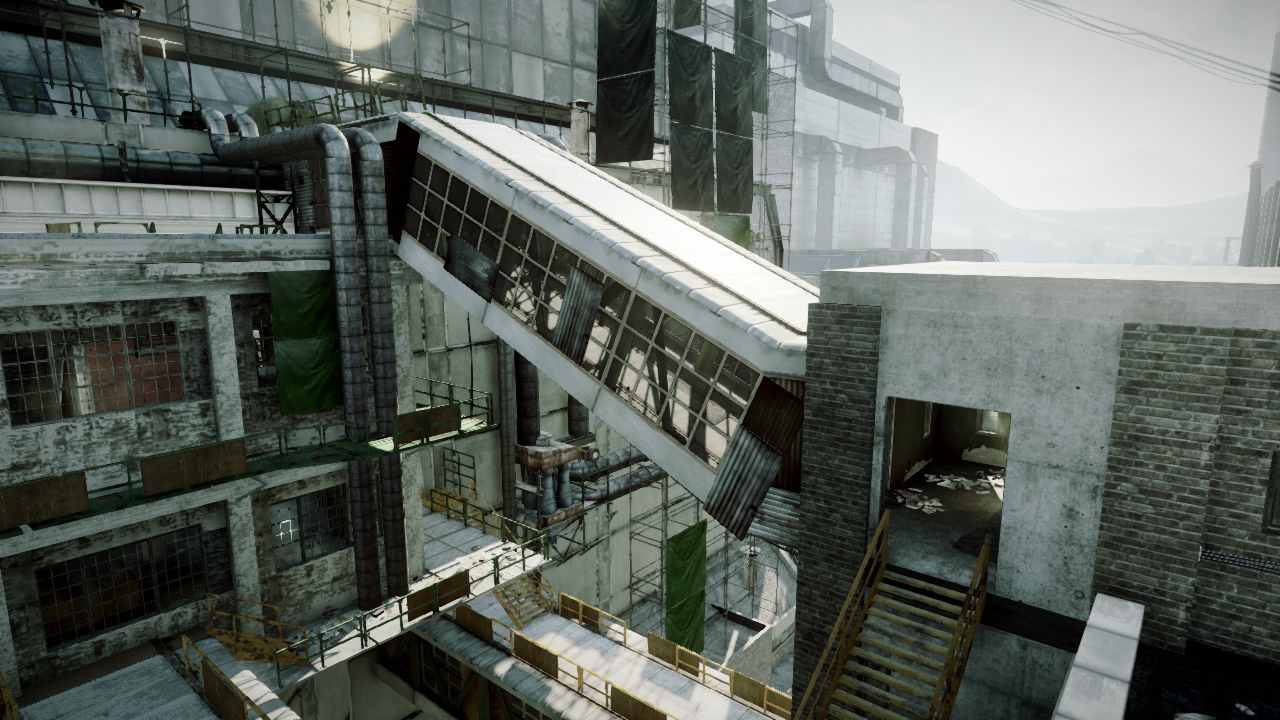
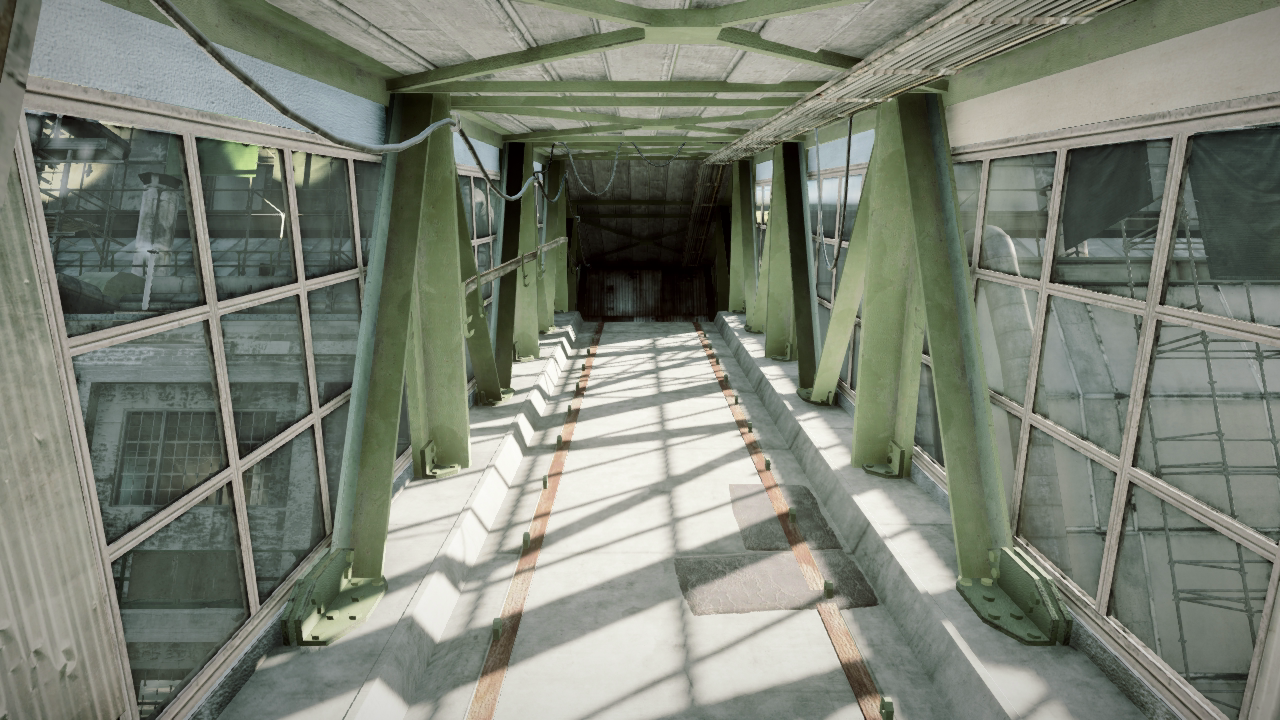
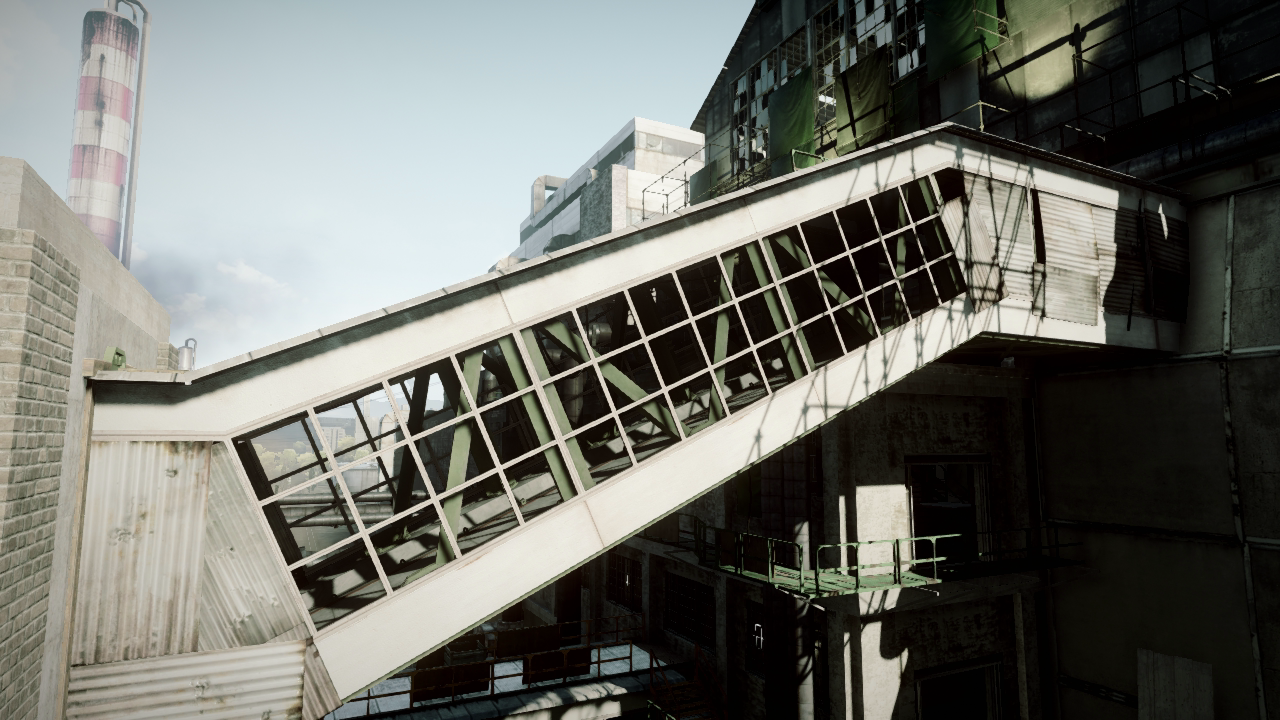
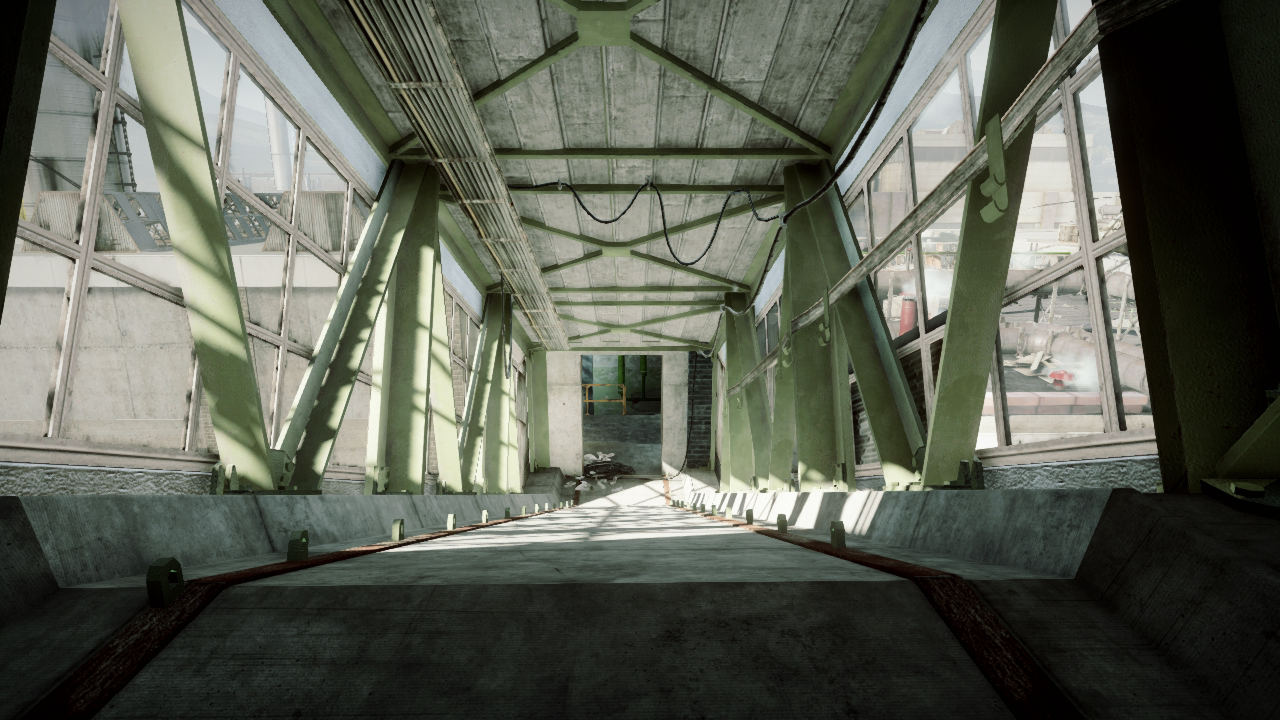
This sky bridge is located just above the lower west sky bridge and connects the rooftops of the two factories. To negotiate the elevation differences between the two rooftops, this sky bridge is sloped at a steep angle, forcing those on the north side to race uphill. When moving along this bridge, adjust your aim by either raising it or lowering it so you can spot and engage opponents at the opposite end. There is no way to access the roof of this sky bridge, so take care while moving through the interior, where there’s no cover. Firefights in this sky bridge often favor those on the south side, as it allows them to fire down at opponents on the north end. The bridge’s south side is connected directly to the south factory’s rooftop. There’s also a staircase nearby that leads down to the south factory’s top floor. On the north end, the bridge is connected to a narrow stairwell leading up to the north factory’s rooftop. Regardless of the game mode, these two rooftops are popular locations, often making this sky bridge a high-traffic thoroughfare.
Level 3 [13]
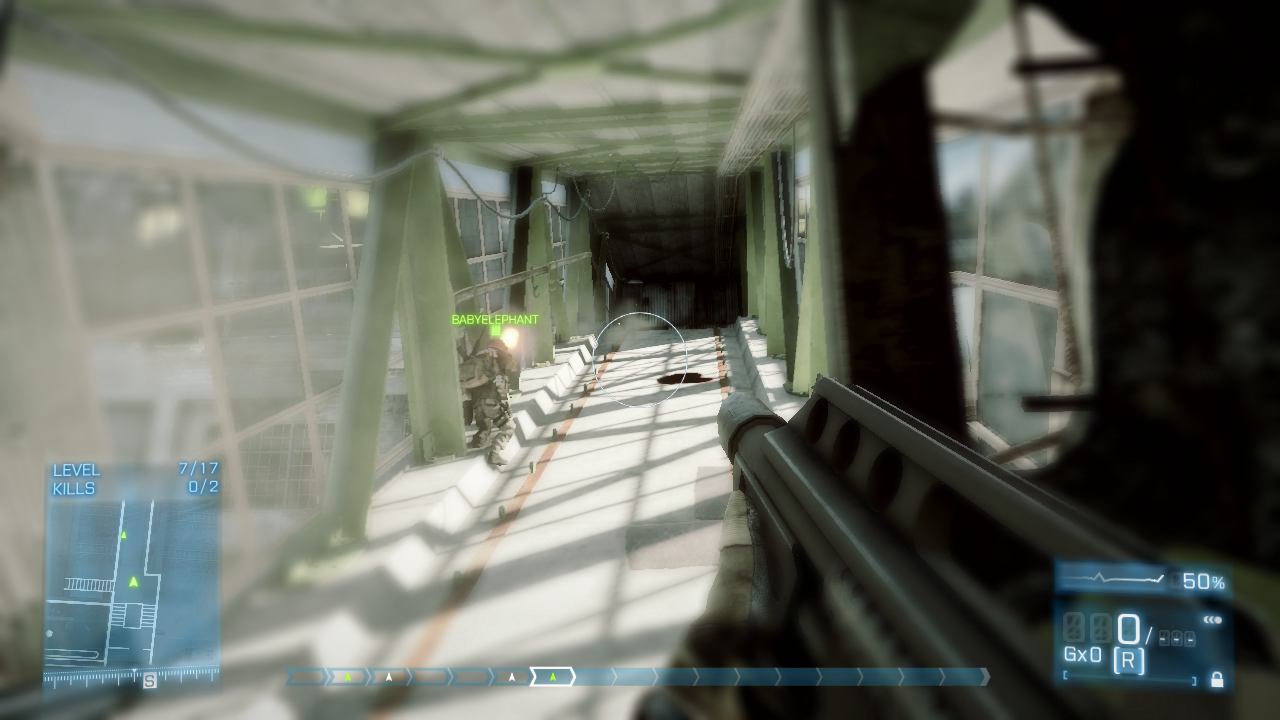
Players on the north side of this sky bridge are at a disadvantage during firefights here due to the steep slope. Watch out for incoming fire as well as grenades rolling down the floor of the sky bridge. Chunks of the wall surrounding the northern doorjamb can be shot out, so don’t feel too safe hiding here.
Level 4 [14]
Be careful rounding this corner where the sky bridge connects to the south factory’s rooftop. This is a high-traffic area, so be ready to engage opponents at point-blank range. Alternatively, there may be opponents on the rooftop covering this junction.
East Sky Bridge
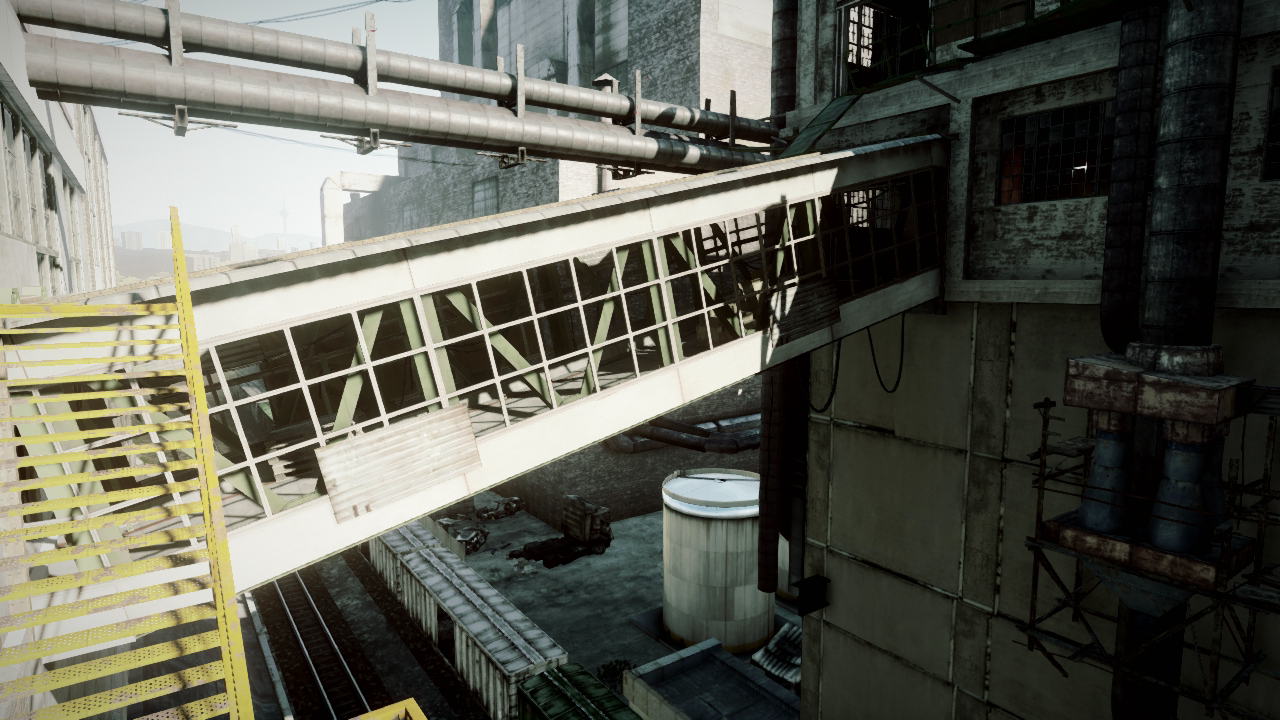
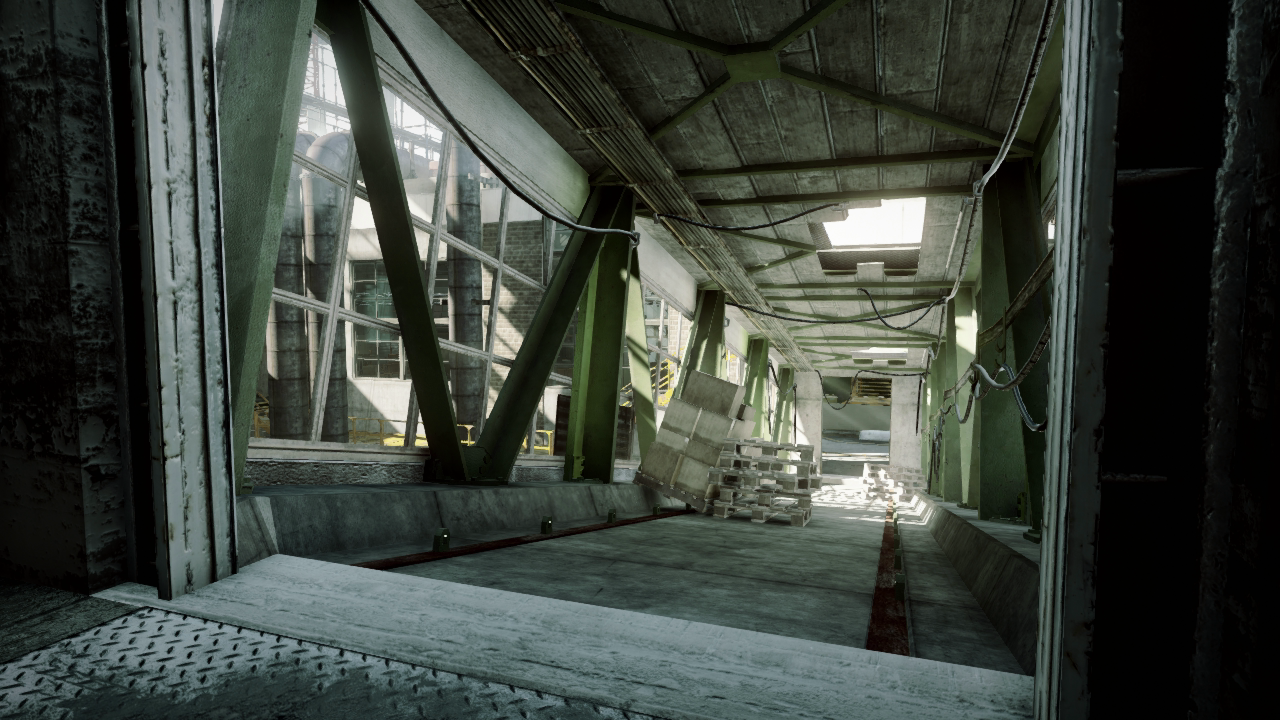
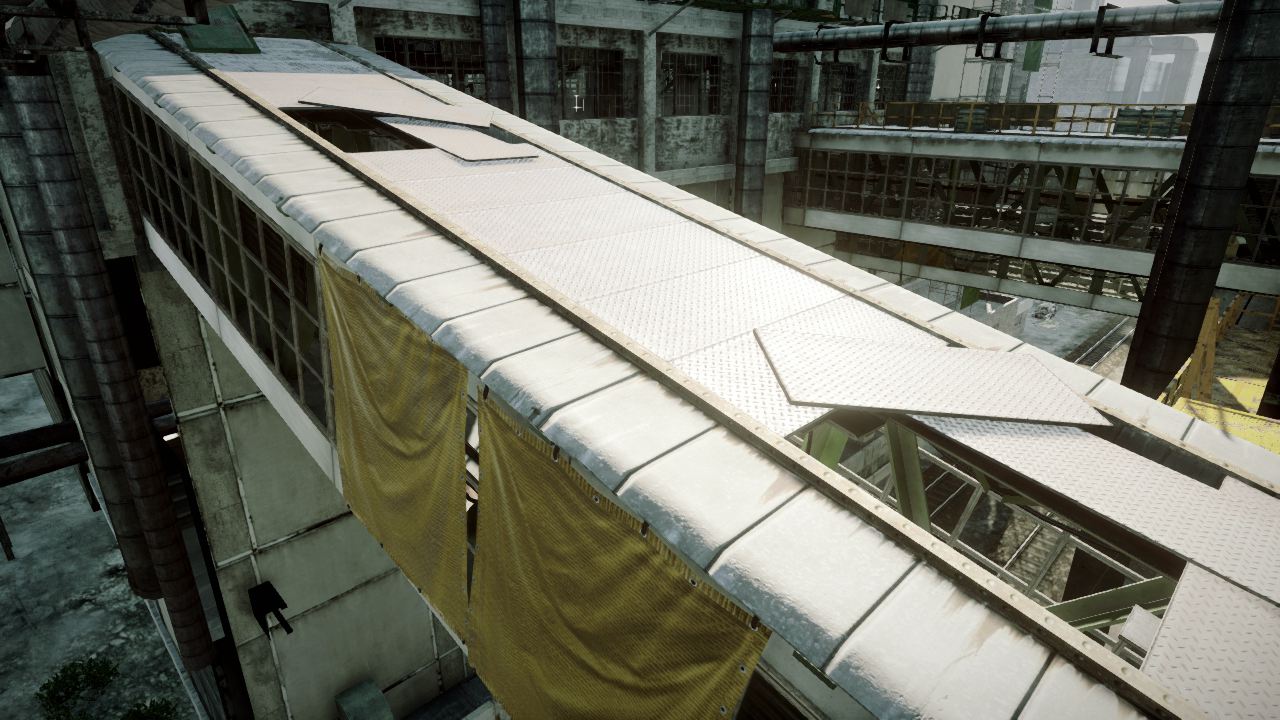
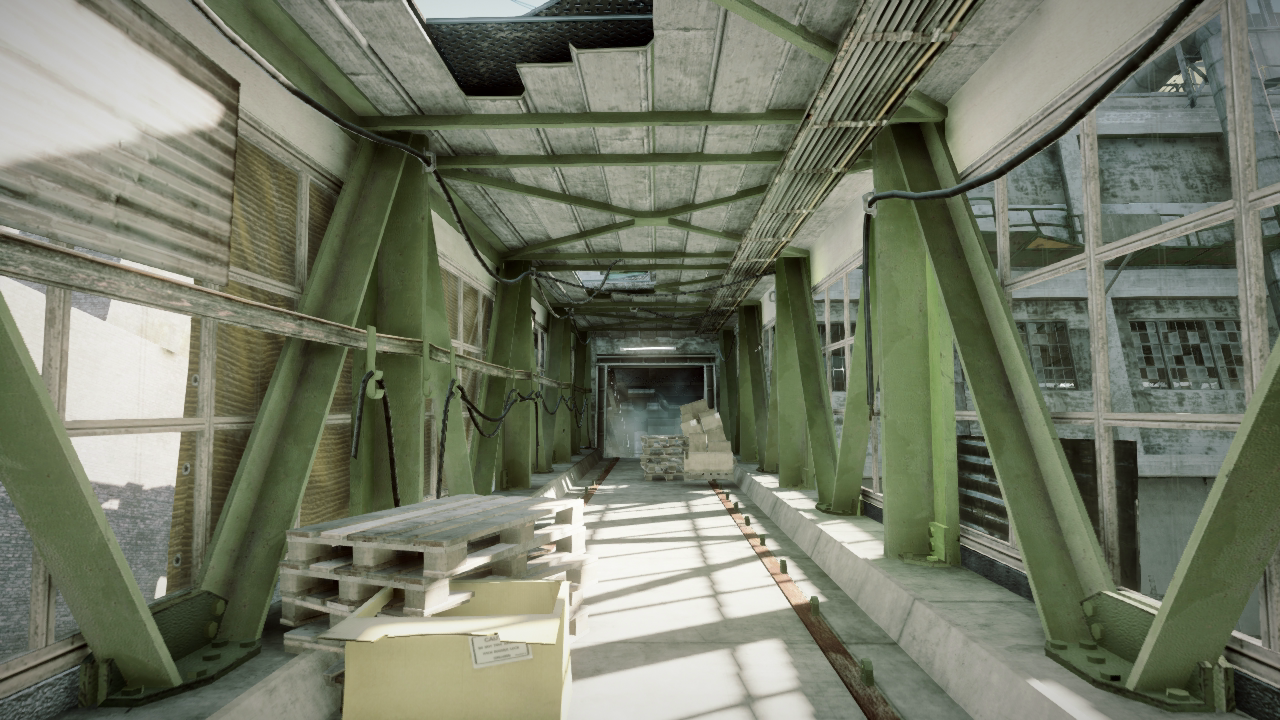
The east sky bridge directly connects the ground floors of the north and south factories. However, these two ground floors are not at the same elevation, so the sky bridge is sloped upward on the south side. The interior of the sky bridge is littered with wooden pallets and cardboard boxes. Think of these objects more as obstacles than as cover. Be ready to vault over them as you pass through this sky bridge.
The roof of the sky bridge is also accessible. On the south side, a piece of sheet metal serves as a makeshift ramp, connecting the sky bridge’s roof to the south catwalk, located directly outside the south factory’s top floor. On the north end, the sky bridge’s rooftop is connected to a yellow exterior catwalk running along the north factory’s exterior wall. But be careful when traversing this sky bridge’s rooftop. It is exposed up here, and there are two dislodged panels creating large openings. If you don’t watch your step, you may fall through one of these openings and drop into the sky bridge’s interior. Such drops aren’t fatal or even harmful, but they may put you in direct contact with opponents below.
Level 1 [15]
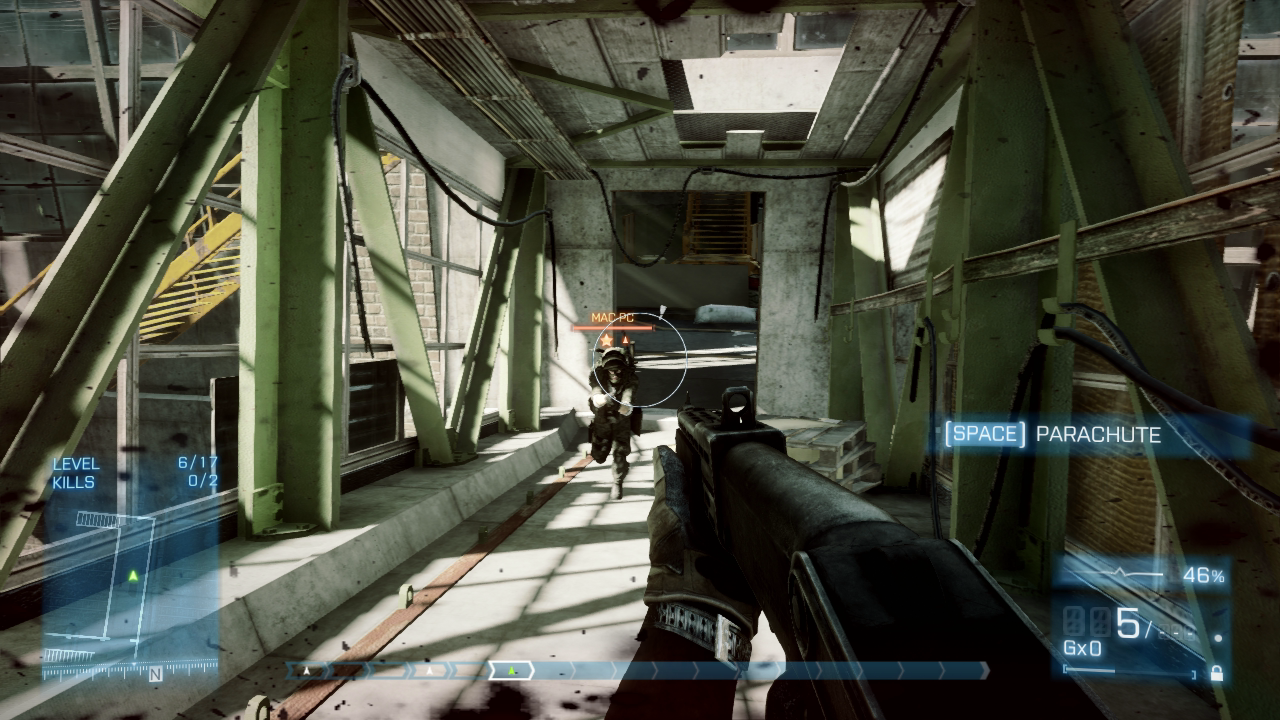
Take advantage of the holes in the sky bridge’s roof to drop down on opponents unexpectedly. Blast them head-on at point-blank range, or wait until they’ve passed. This allows you to sneak up behind them and score a knife kill. This makes it a good ambush position when trying to score the last kill during Gun Master matches.
Level 1 [16]
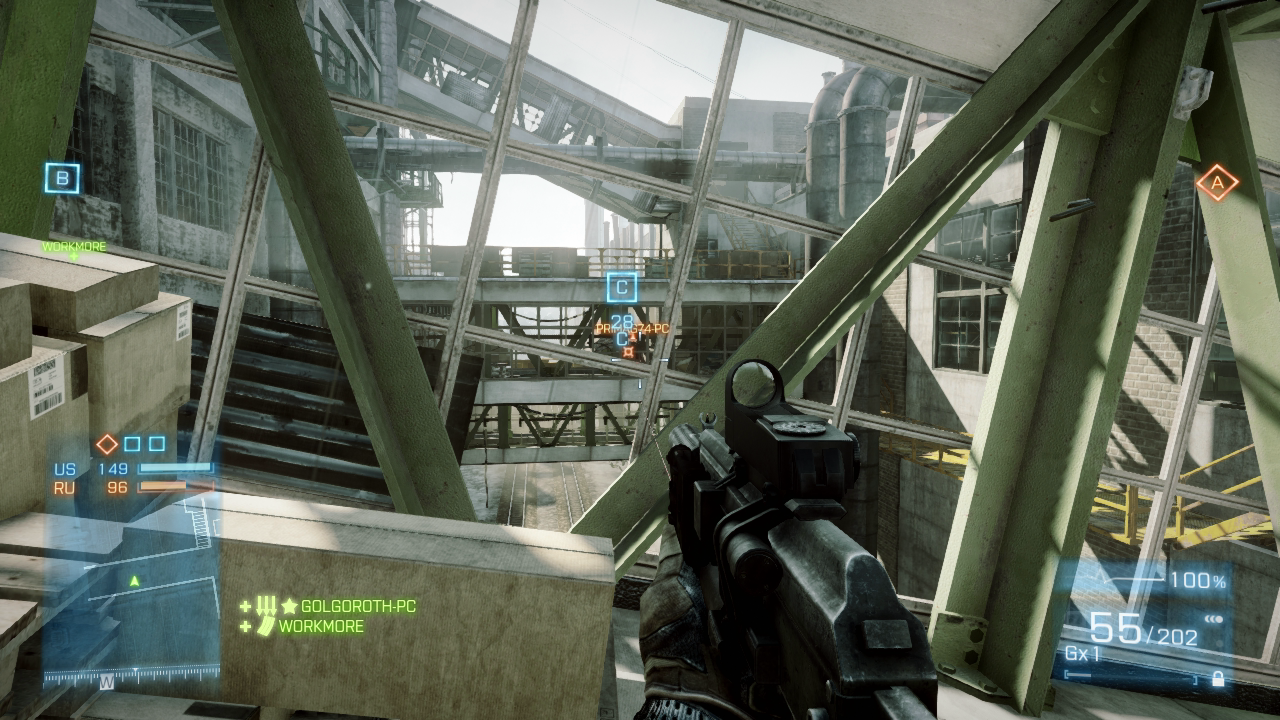
From this sky bridge, it’s possible to engage opponents in the central sky bridge to the west. This makes it easy to defend Flag C during Conquest Domination matches. But don’t make a habit of camping here very long unless you want to donate your dog tags to an opponent.
Level 2 [17]
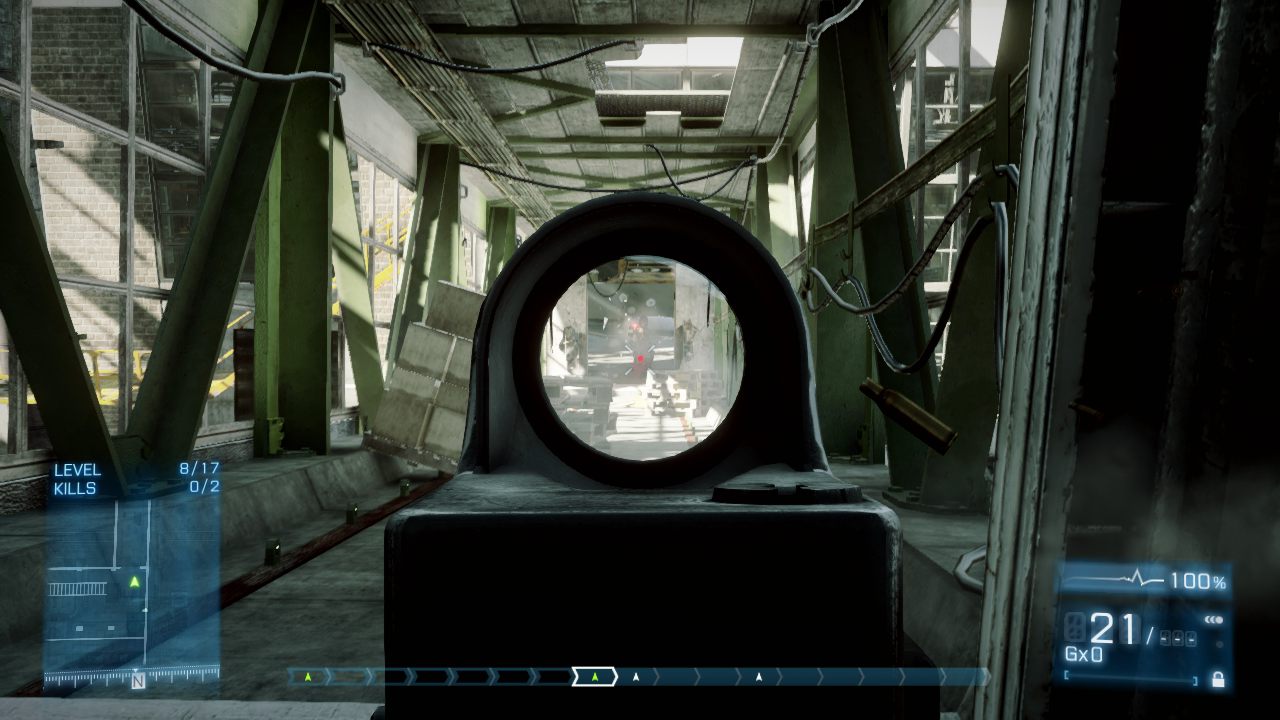
This sky bridge allows for pitched intermediate-range firefights between the ground floors of the two factories. Always use the doorjamb on either end of the sky bridge for partial cover while engaging opponents at the opposite end. At this range, aiming through scopes and iron sights significantly increases accuracy and stability.
North Factory: Ground Floor
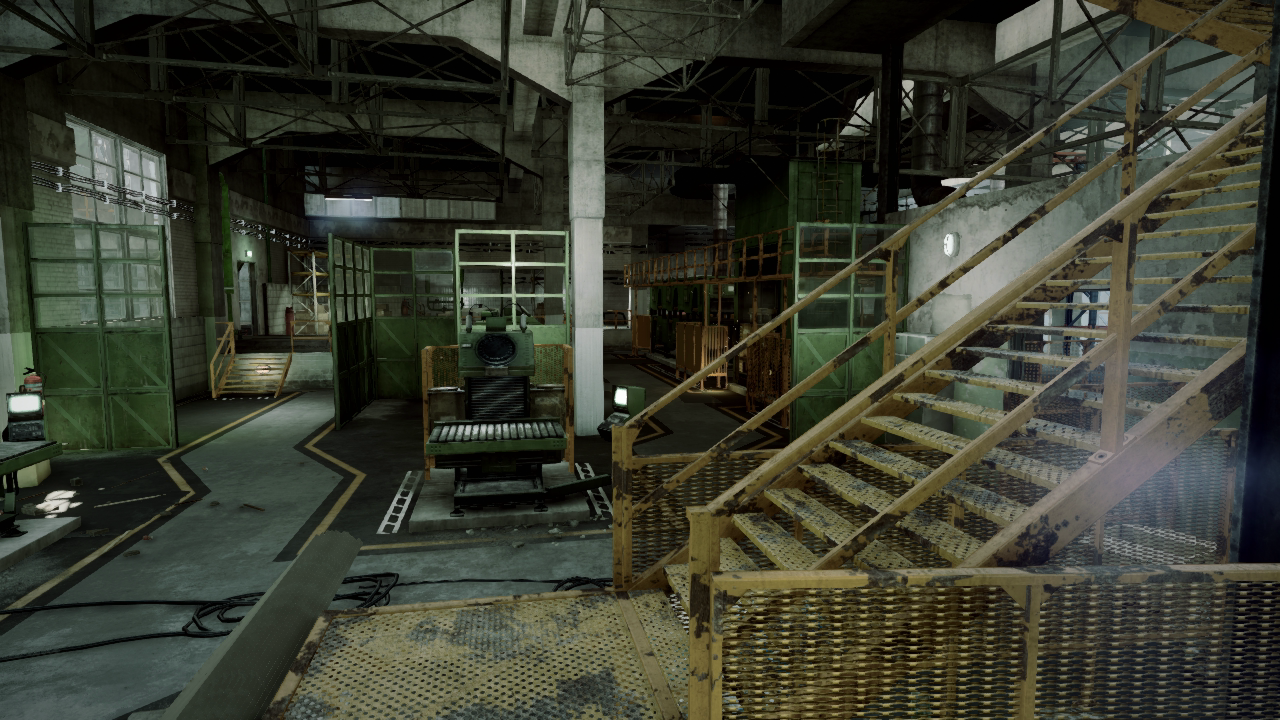
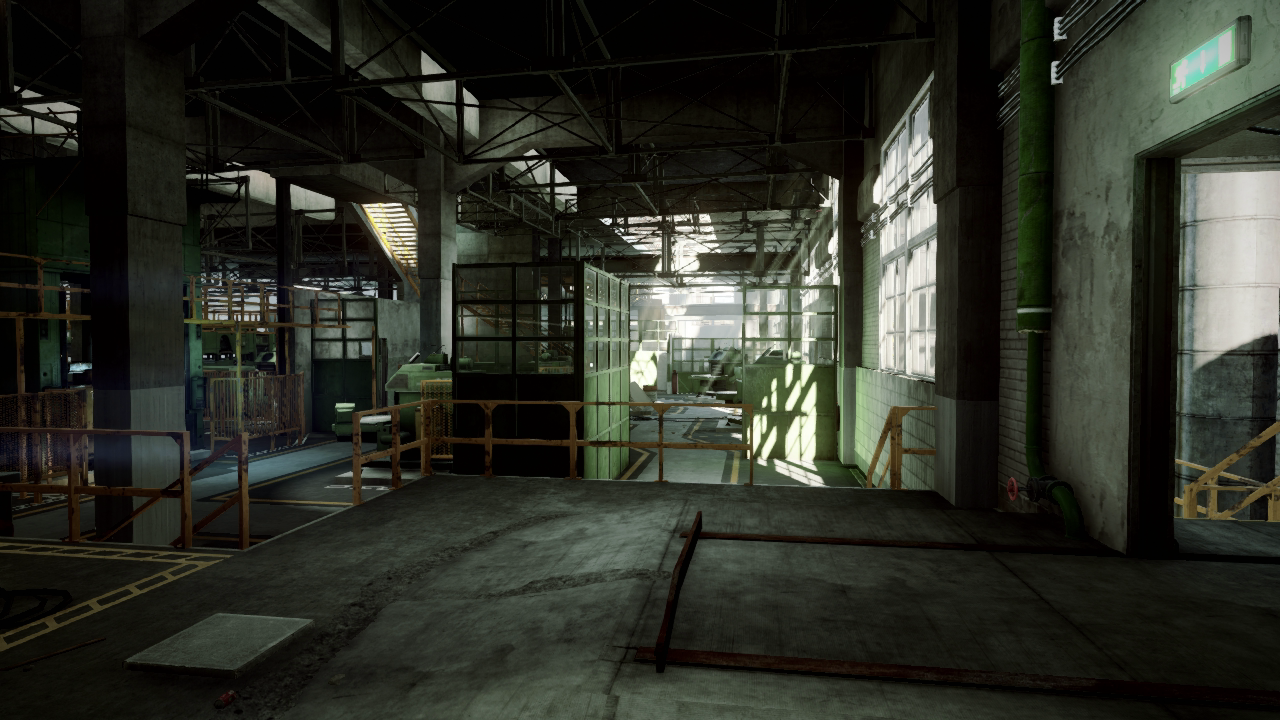
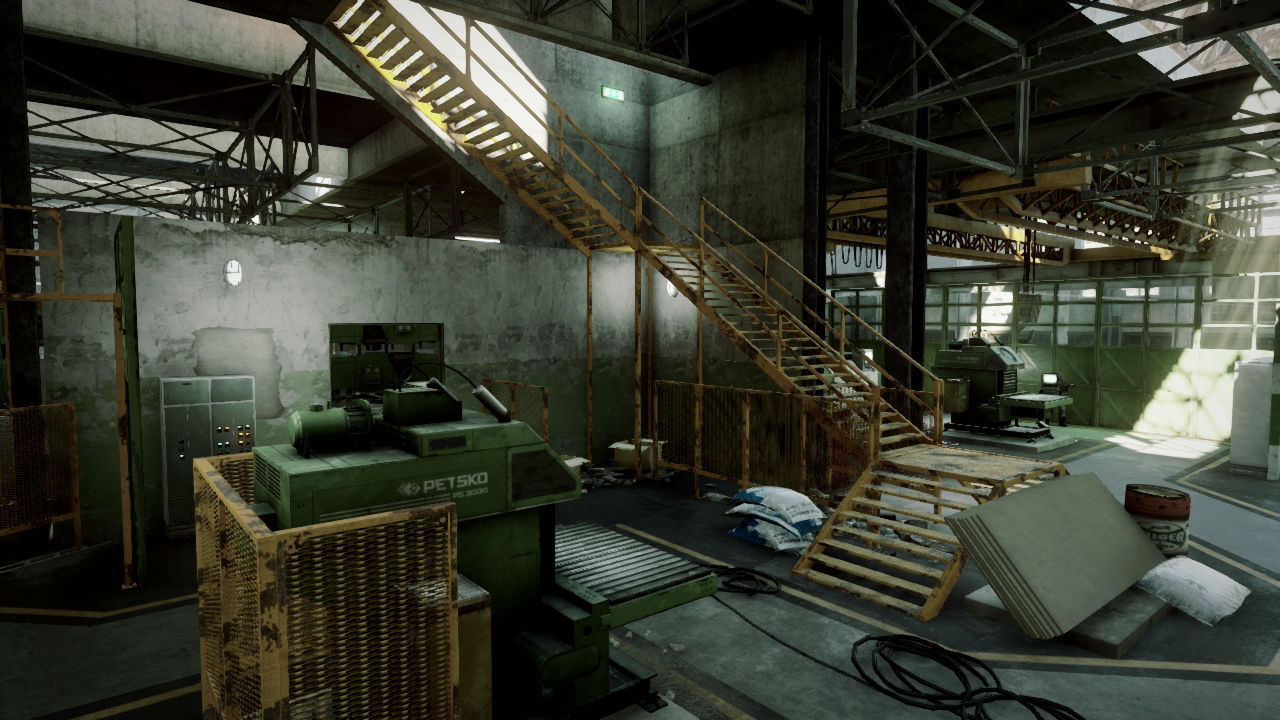
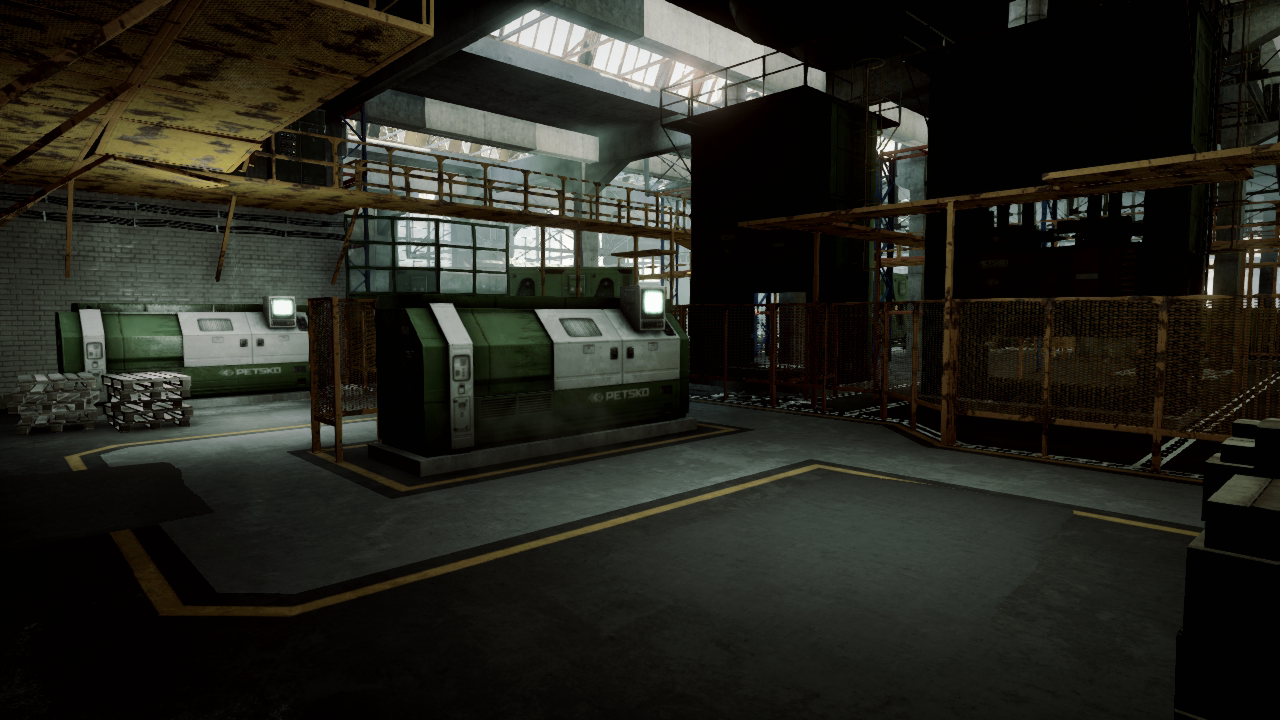
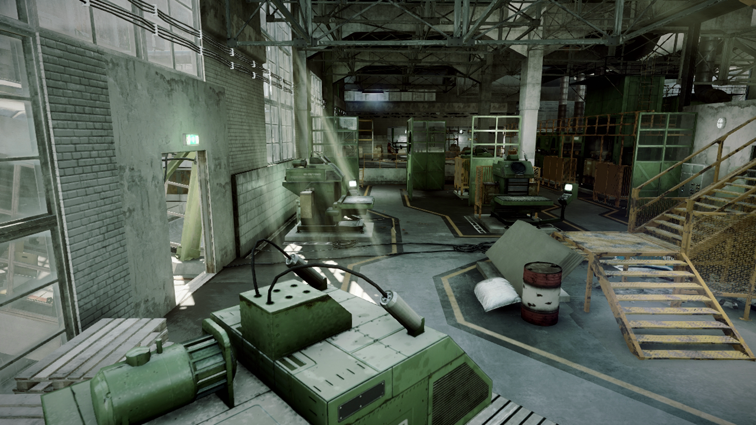
Filled with functioning industrial machinery, the north factory’s ground floor is a common spawn location in all game modes. The dead-end nooks on the floor’s north and east sides are somewhat isolated from the chaos raging elsewhere, making them ideal spawn points. So learn the layout of this floor, as you’re likely to begin many matches here. Most of the action occurs near the sky bridges to the south. The three sky bridges here all connect to the south factory’s ground floor, making the floor’s south side a high-traffic hub.
The large yellow staircase on the floor’s east side leads up to the rooftop, making it a popular route during Conquest Domination matches. The rooftop can also be accessed via the stairwell on the floor’s west side. While the constant humming of machinery isn’t loud enough to drown out the sound of chattering gunfire, it may prevent you from hearing opponents rushing up behind you. So stay on your toes and spin around occasionally to spot any knife-wielding opponents attempting to steal your dog tags.
Level 1 [18]
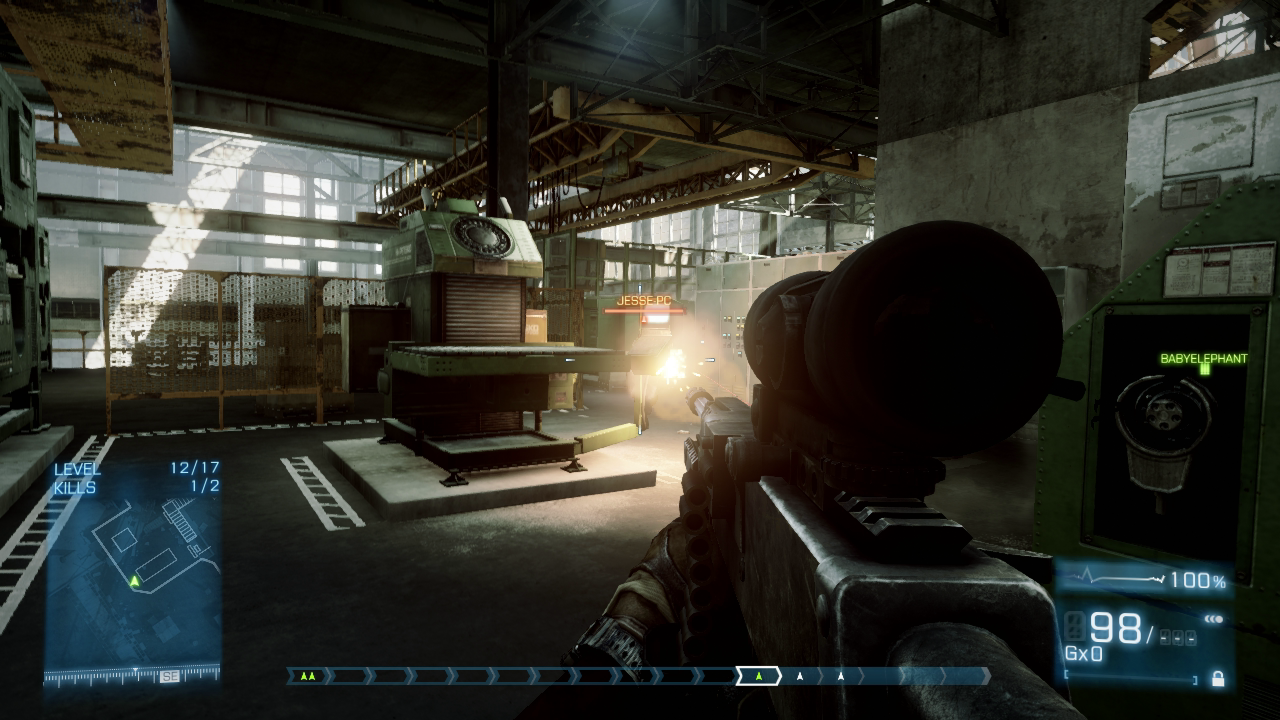
Even after spawning, be ready for combat. Opponents patrolling the floor’s north end may catch you by surprise.
Level 1 [19]
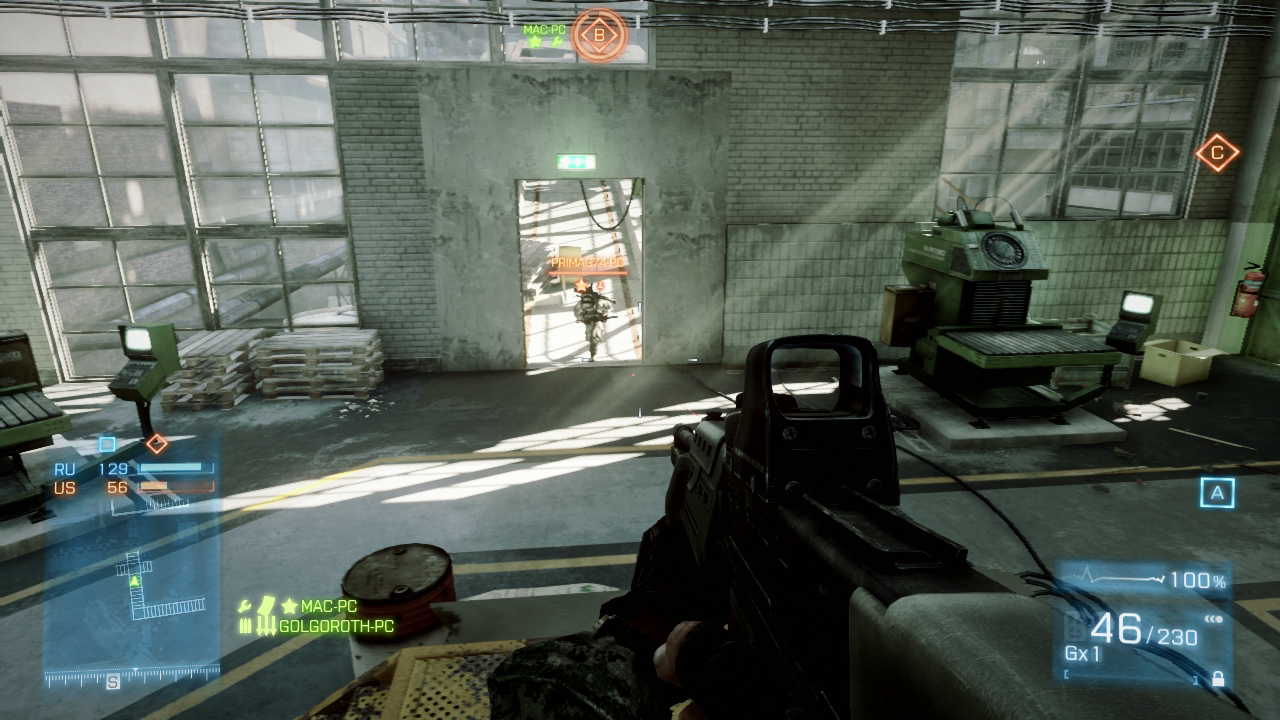
Expect heavy movement near the three sky bridges connecting to this floor on the south end. Most opponents come sprinting through these narrow passages, giving you the opportunity to mow them down before they can raise their weapon. The sky bridge entry points are also good spots for booby traps like claymores or C4.
Level 2 [20]
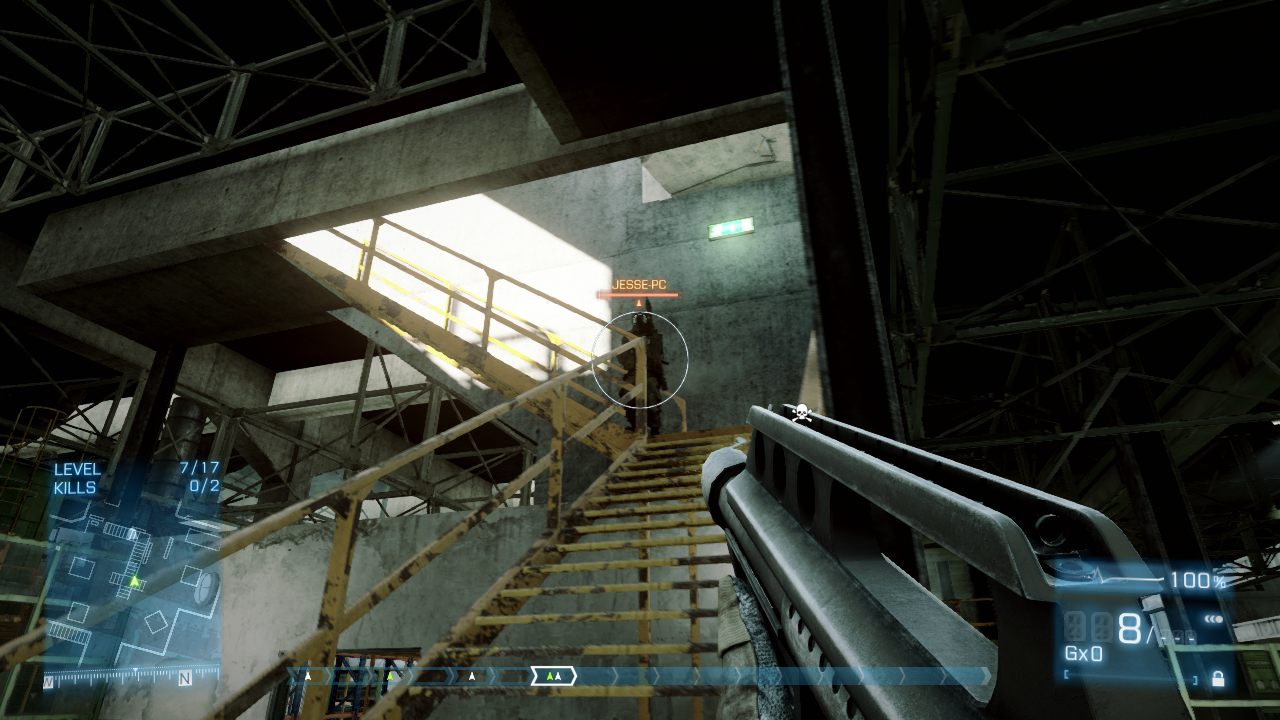
The yellow stairway on the floor’s east side is a popular route for moving between the north factory’s bottom floor and rooftop. It’s easy to target opponents traveling along this narrow stairway, as they have limited lateral movement. The stairway permits movement in only two directions, making it easy to predict your target’s path.
South Factory: Ground Floor
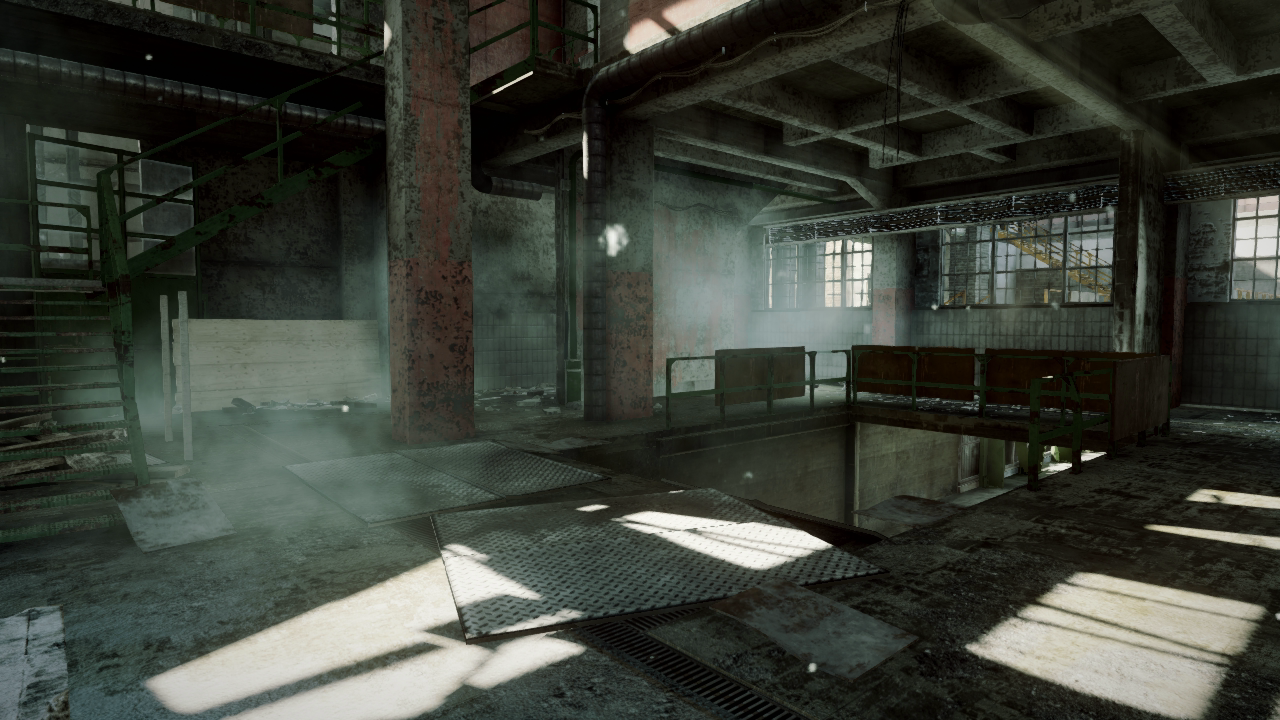
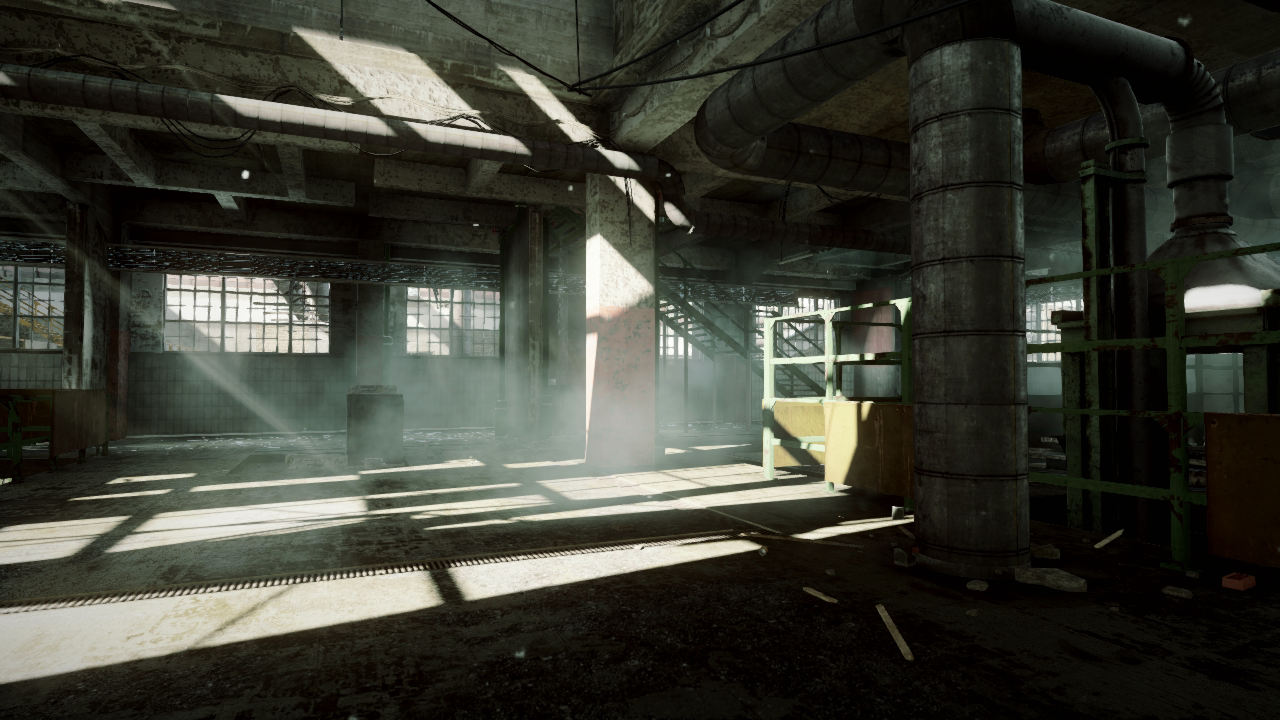
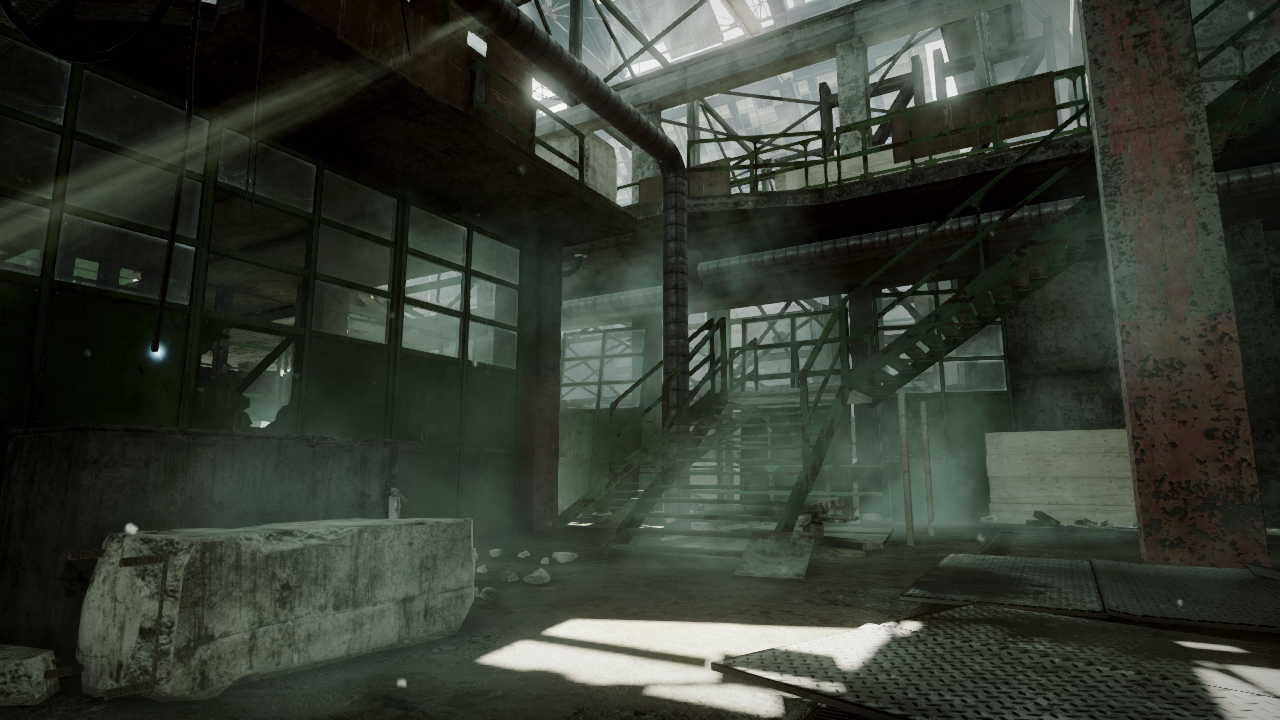
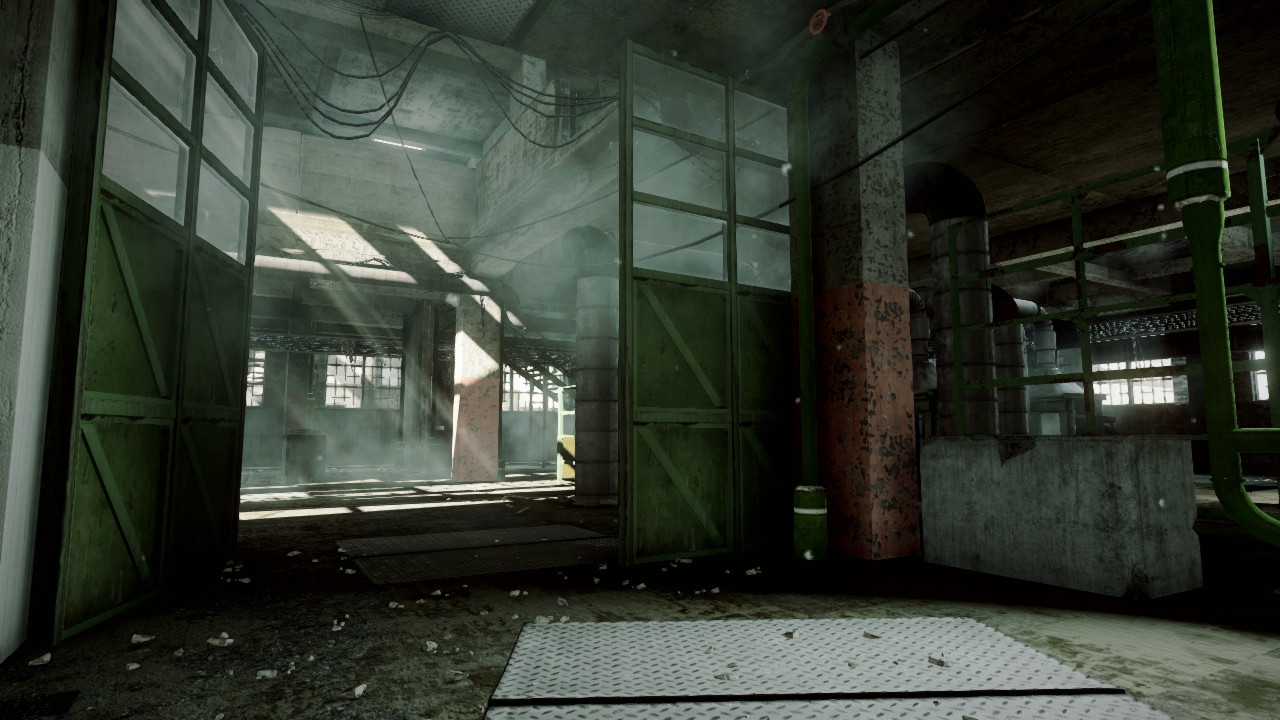
It appears this factory was abandoned some time ago. Compared to the north factory, the floor space is wide open, interrupted by just a few wooden partitions and concrete pillars. The floor is also very dark, illuminated only by sunlight pouring through the large skylight on the roof. As a result, the floor is largely bathed in shadow, offering plenty of sneaky hiding spots, particularly for those equipped with suppressors.
Like the north factory’s ground floor, this is another common spawn point in all game modes. Spawns usually occur on the floor’s south side, removed from the activity surrounding the three sky bridges to the north. The two interior staircases here lead up to the factory’s top floor. But glance upward when moving around the western staircase. Opponents posted on the floor above have a clear view of this staircase and of the ground floor. The staircase on the north side offers a safer, more direct route to the top floor. Carbines offer the best balance of range and maneuverability here as engagements can take place at various distances.
Level 2 [21]
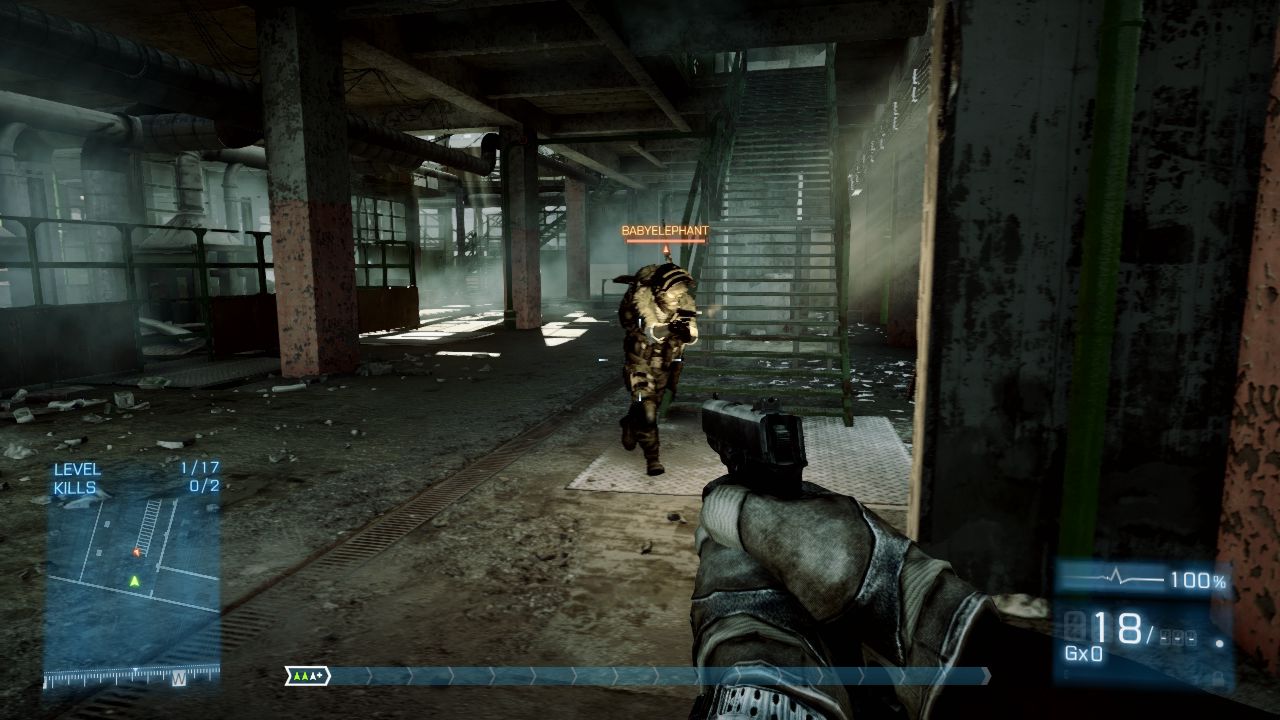
When accessing this floor from any of the sky bridges, always enter with your weapon lowered and ready to fire. If you sprint onto the floor, you may not have the chance to retaliate before an opponent fills you with bullets.
Level 2 [22]
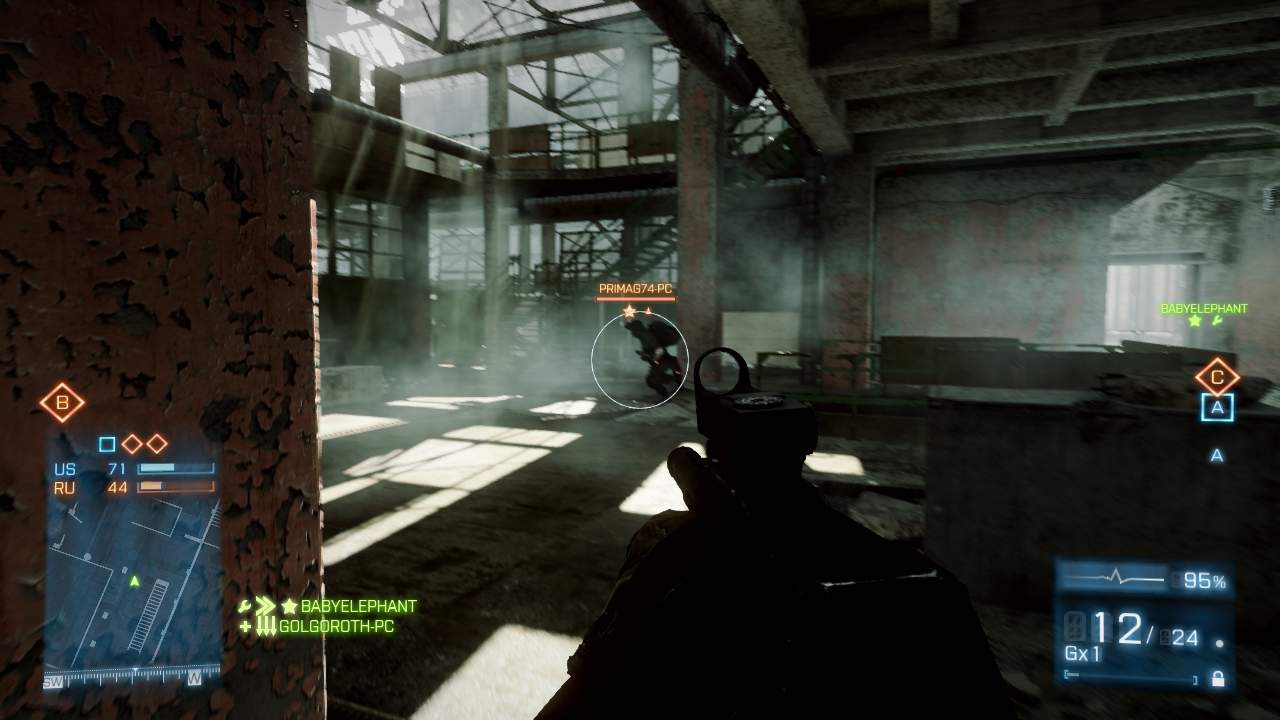
Most of the activity on this floor occurs between the central and east sky bridge entry points. You can usually flank opponents rushing out of one of the sky bridges.
South Factory: Rooftop
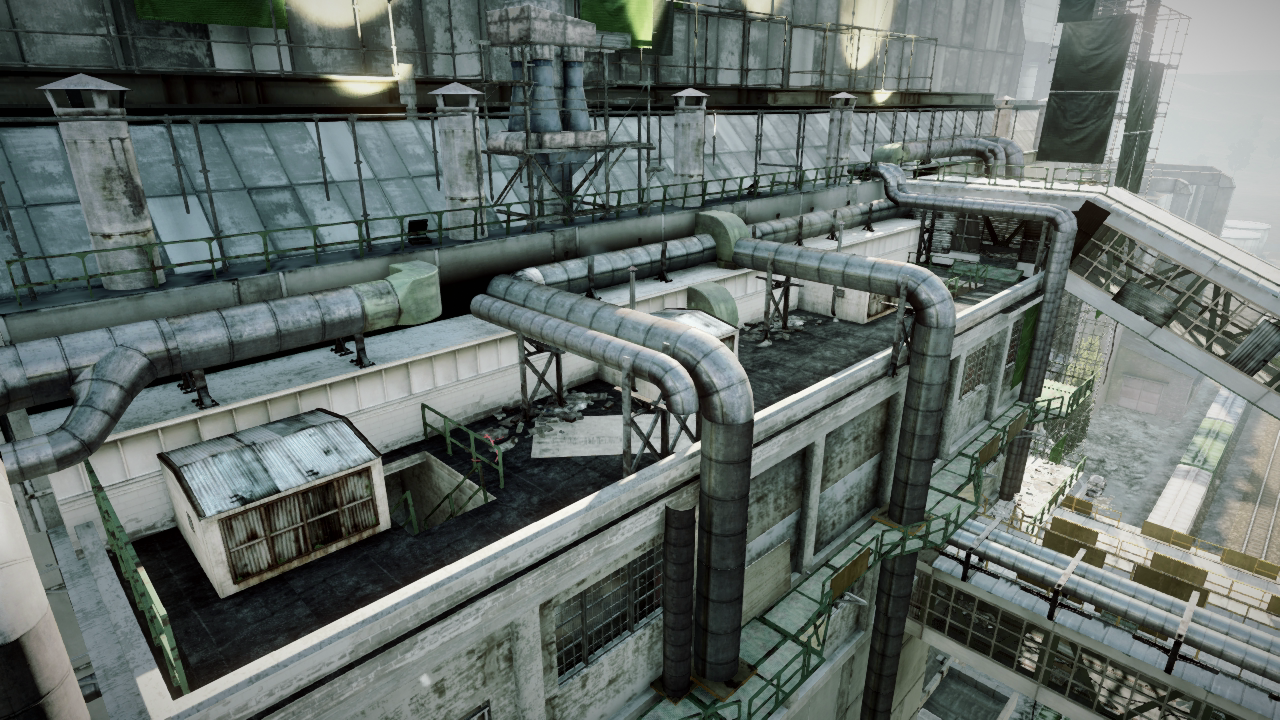
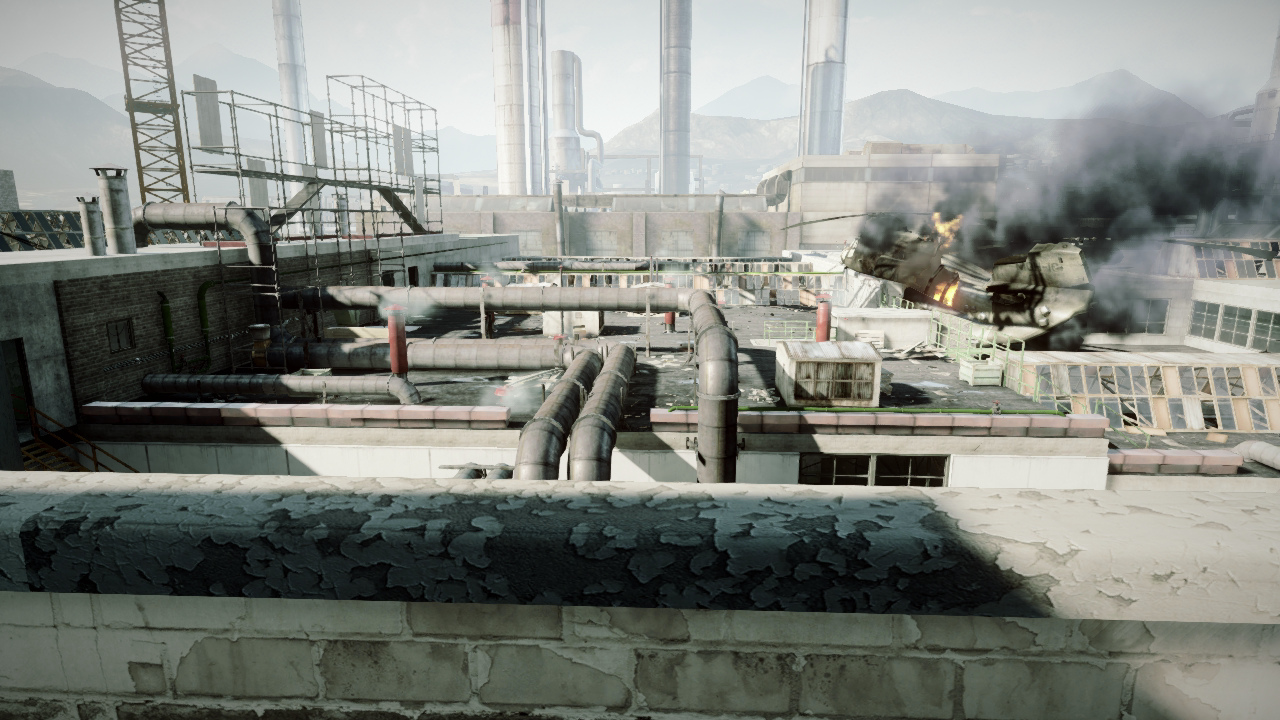
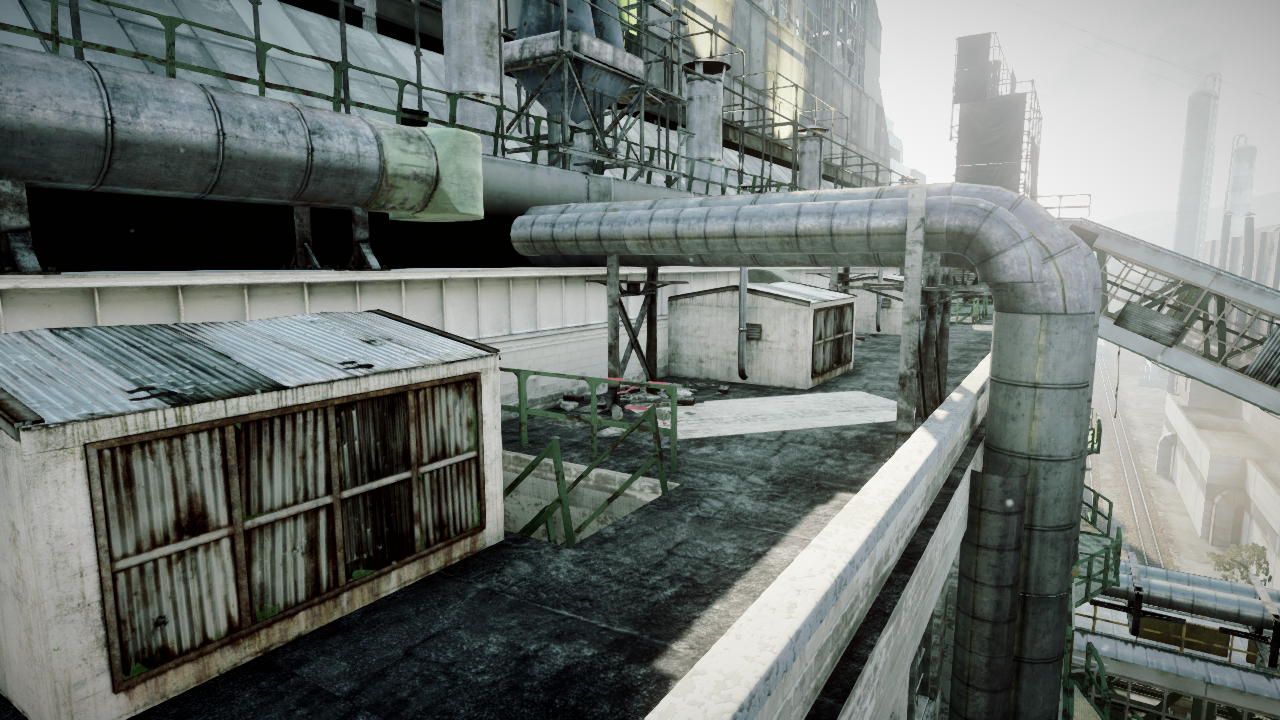
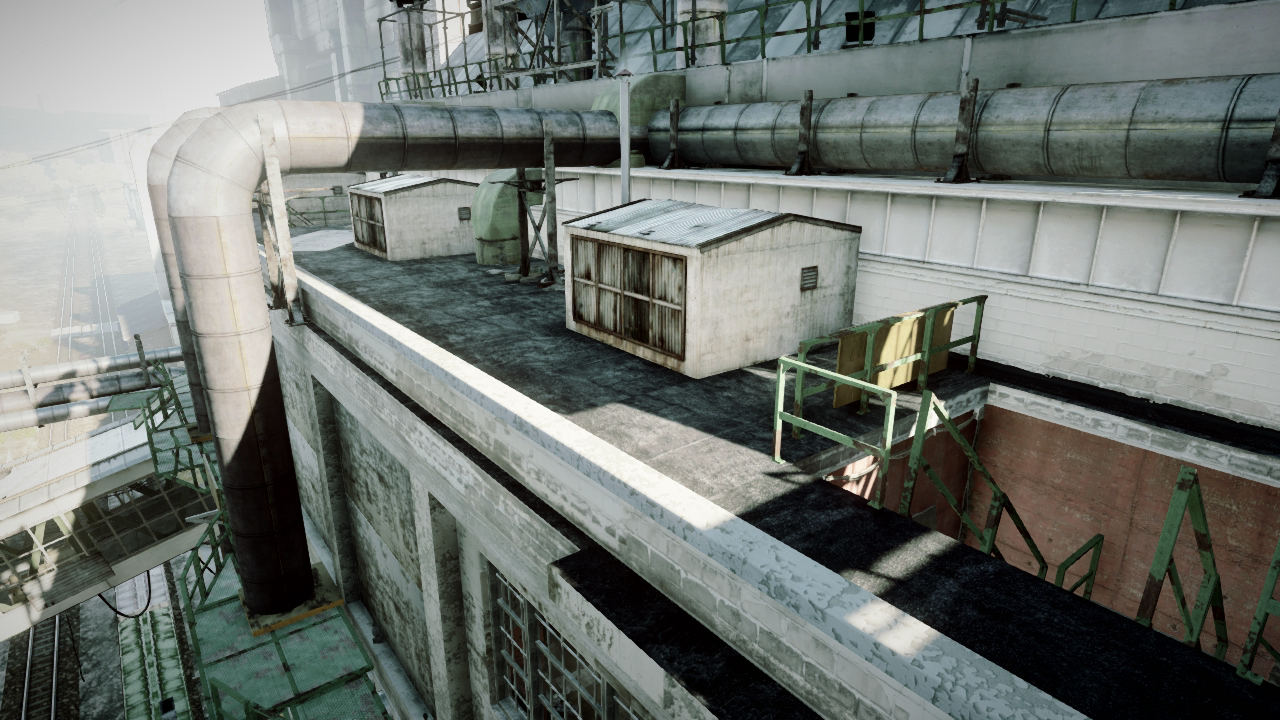
As the highest point on the map, this rooftop is a popular sniping perch for recon troops looking to score long-range kills. The south factory’s rooftop offers an excellent view of the nearby sky bridges and of the north factory’s rooftop. Sniper duels between the two factory rooftops are quite common, but don’t get too comfortable up here, as there isn’t much cover and it’s very easy to get flanked from the east or west. If you take fire from the north, immediately drop prone behind the low wall on the rooftop’s northern edge and crawl to a new position before standing up. At the very least, always assume a crouched stance when posted here to reduce your visible profile.
You can access this rooftop via two staircases on the east and west flanks. The upper west sky bridge also offers direct access, allowing for flanking attacks originating from the north factory’s rooftop. So unless you have friends (or claymores) posted on the east and west sides of this rooftop, don’t plan to stay up here very long.
Level 4 [23]
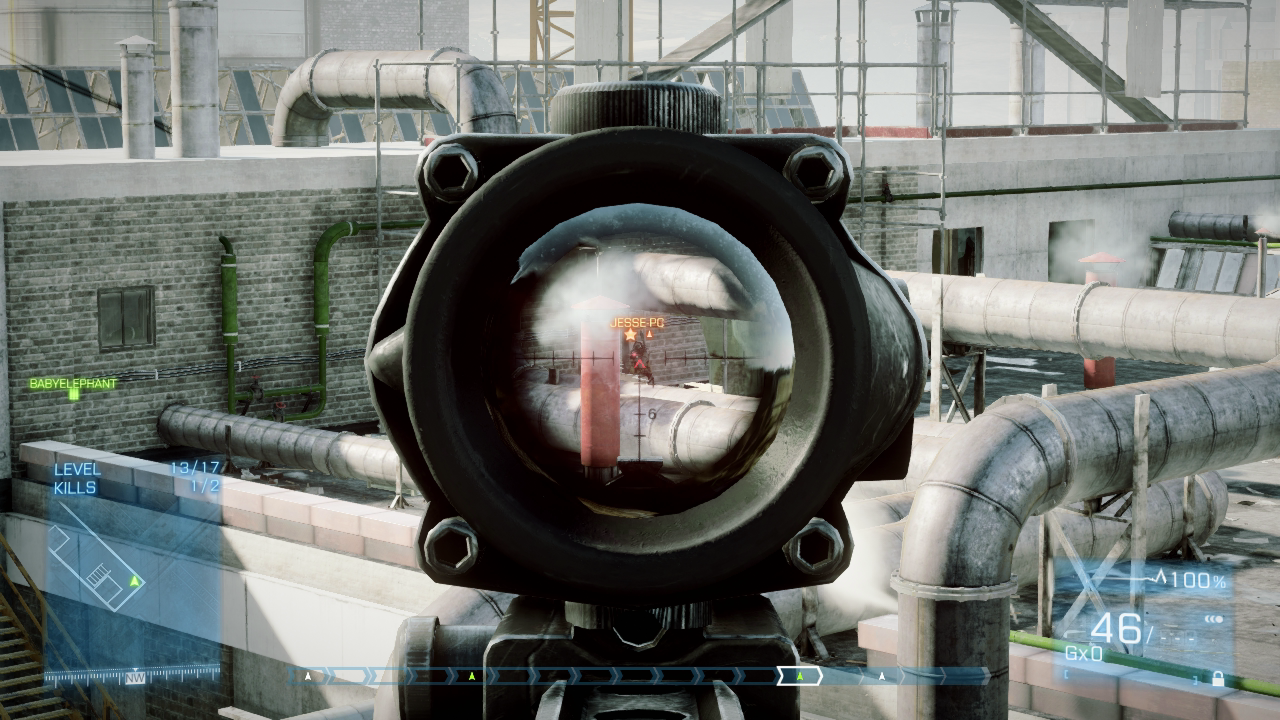
This elevated position offers an amazing view of the north factory’s rooftop. But while scanning for distant targets while peering through your scope, you run the risk of being flanked from the east or west. So back up into the southeast corner to avoid being flanked from two possible directions. This forces all potential flanking attacks to approach from the west, potentially saving you the embarrassment of having your dog tags stolen.
Level 4 [24]
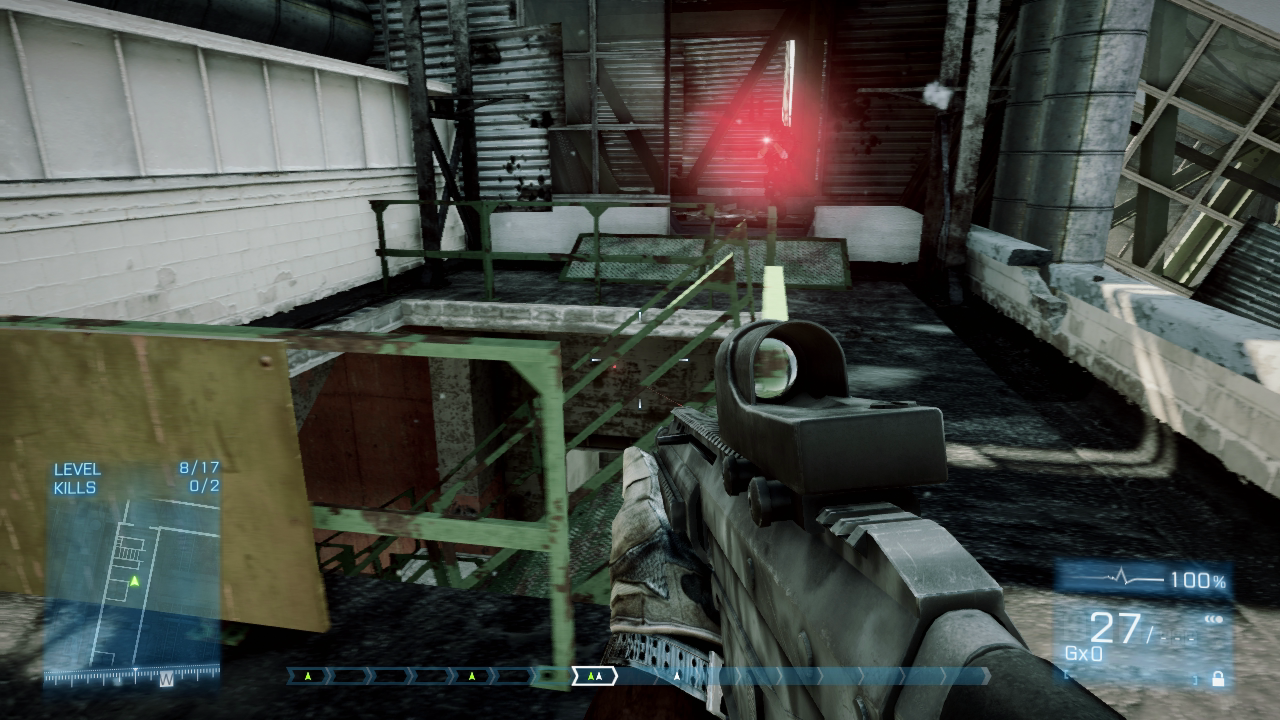
The upper west sky bridge connects directly to this rooftop. In addition to watching the western stairs, keep an eye on this sky bridge for potential flanking attacks.
Level 4 [25]
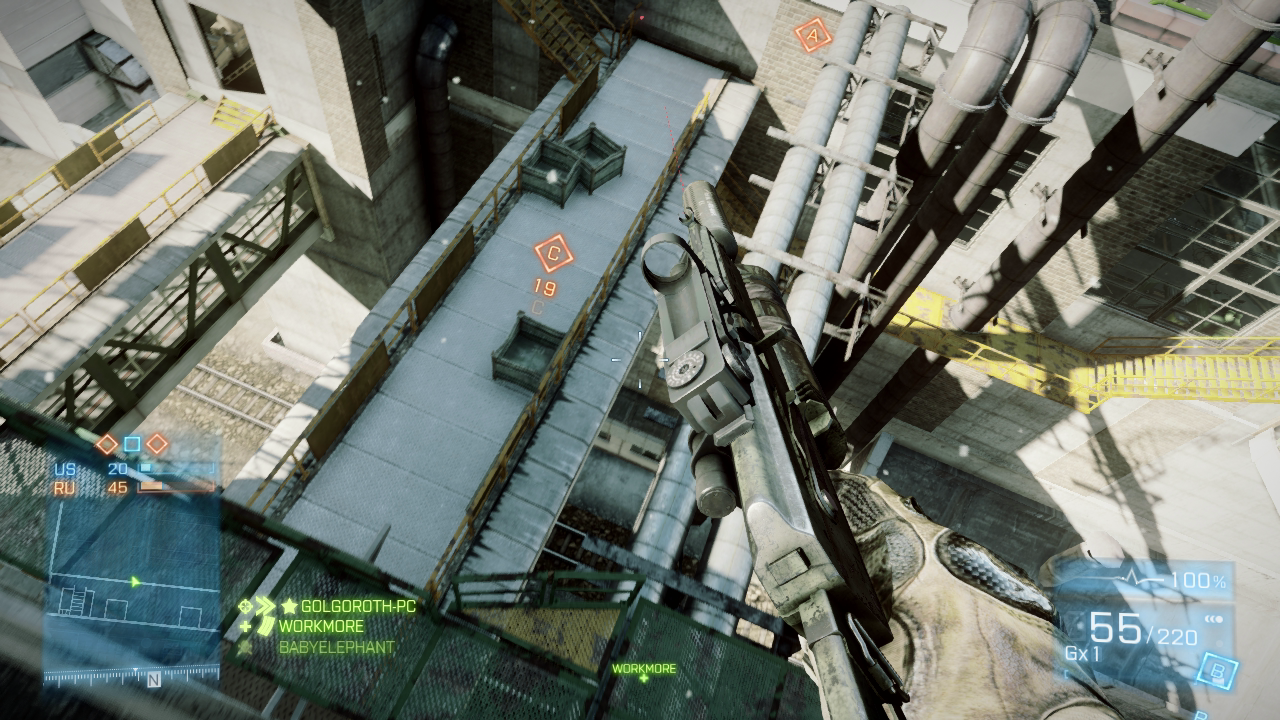
If you’re taking fire from the east or west, you can always jump off the roof’s side and land on top of a sky bridge below. But you’ll need to deploy your parachute quickly to prevent taking fall damage.
South Catwalk
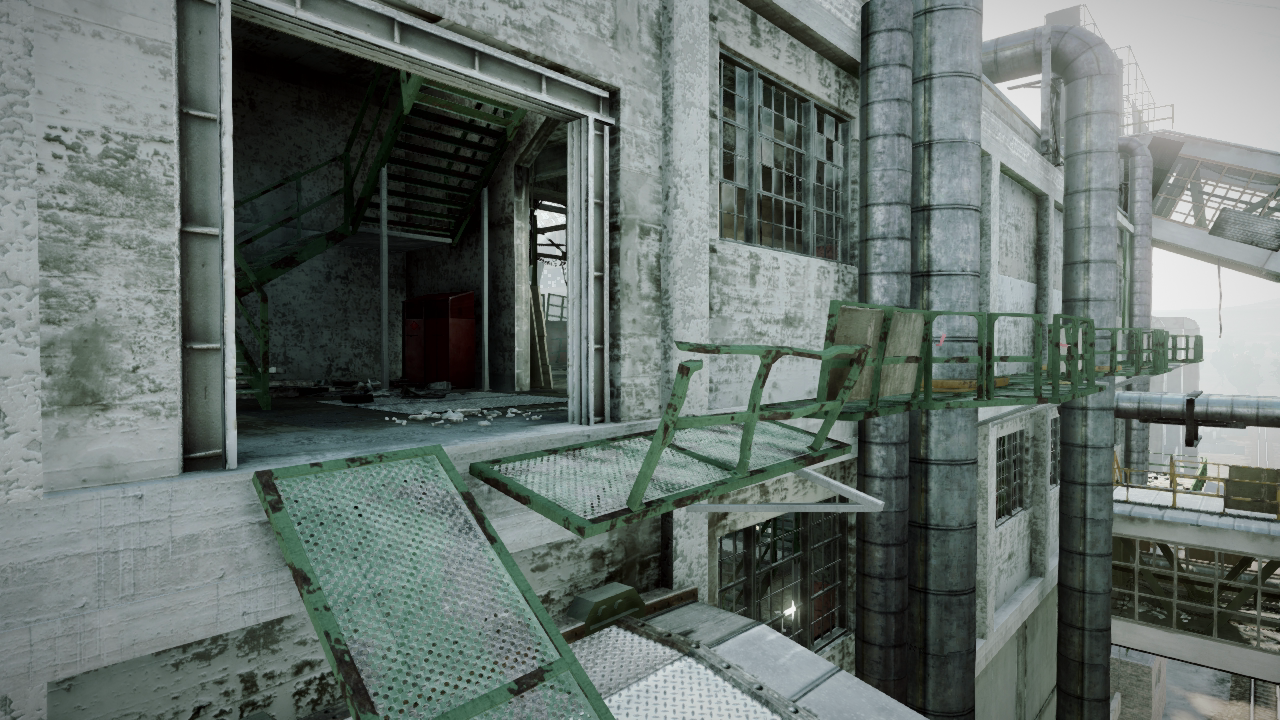
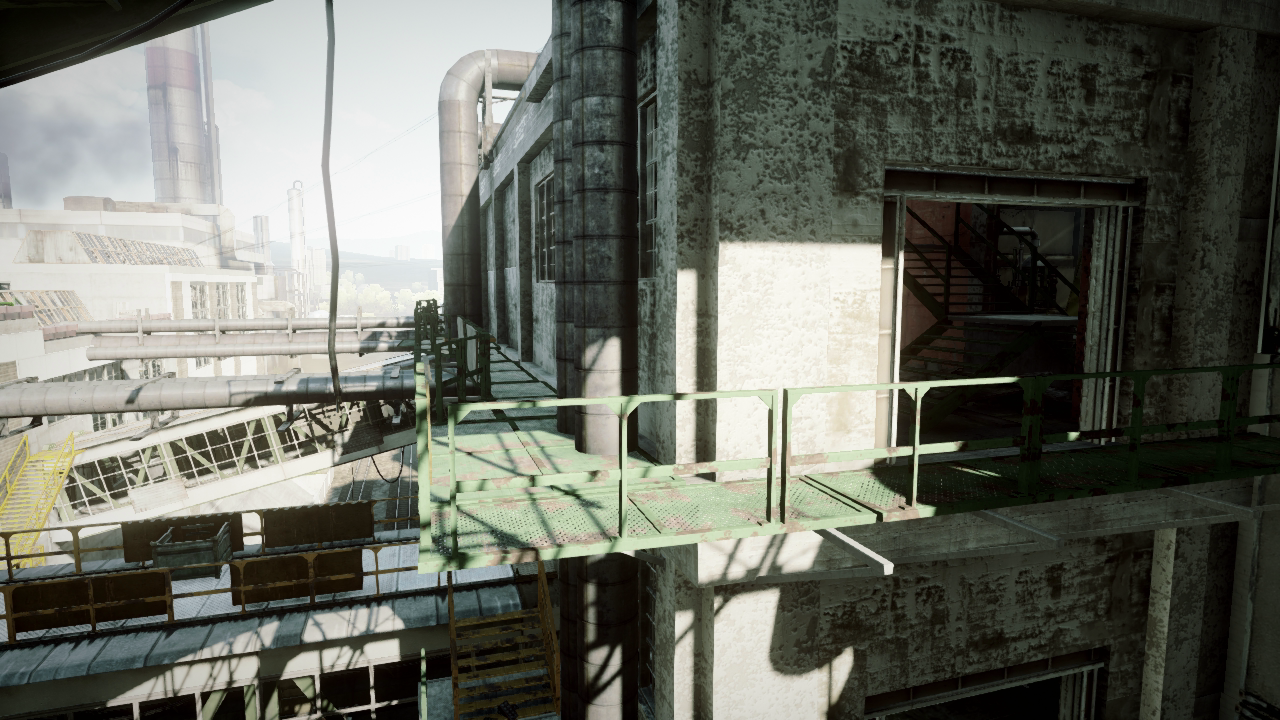
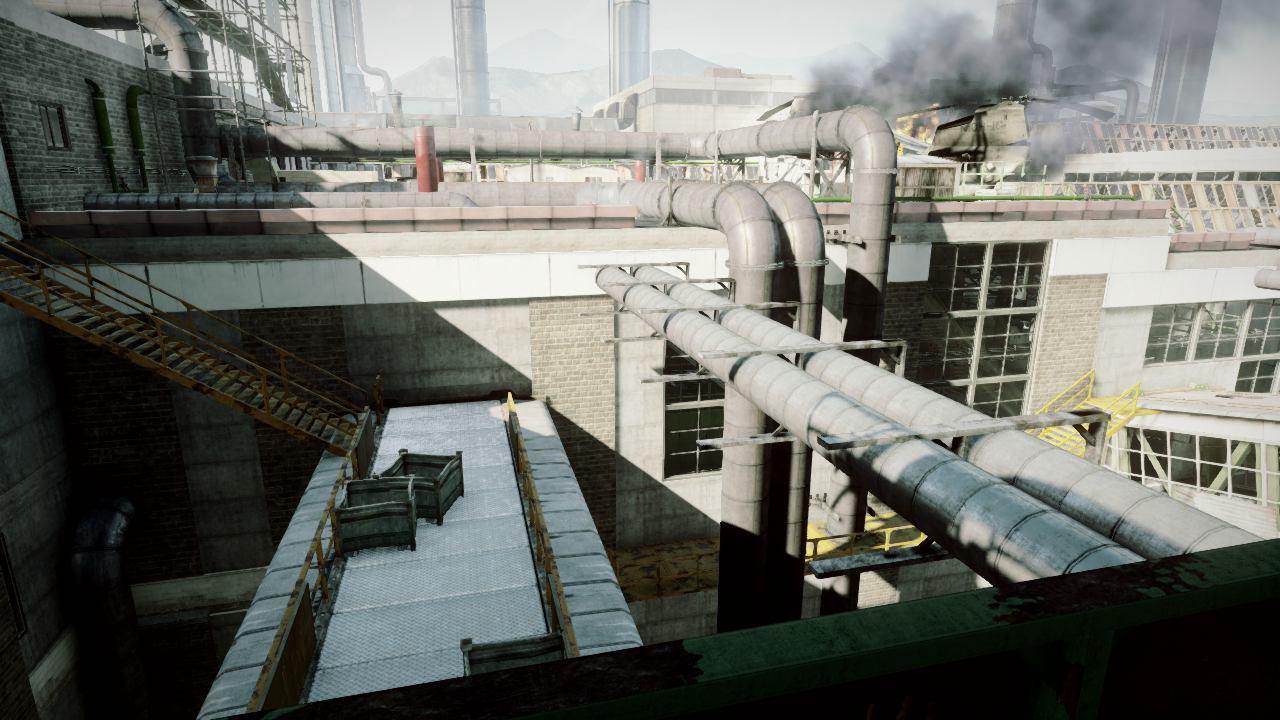
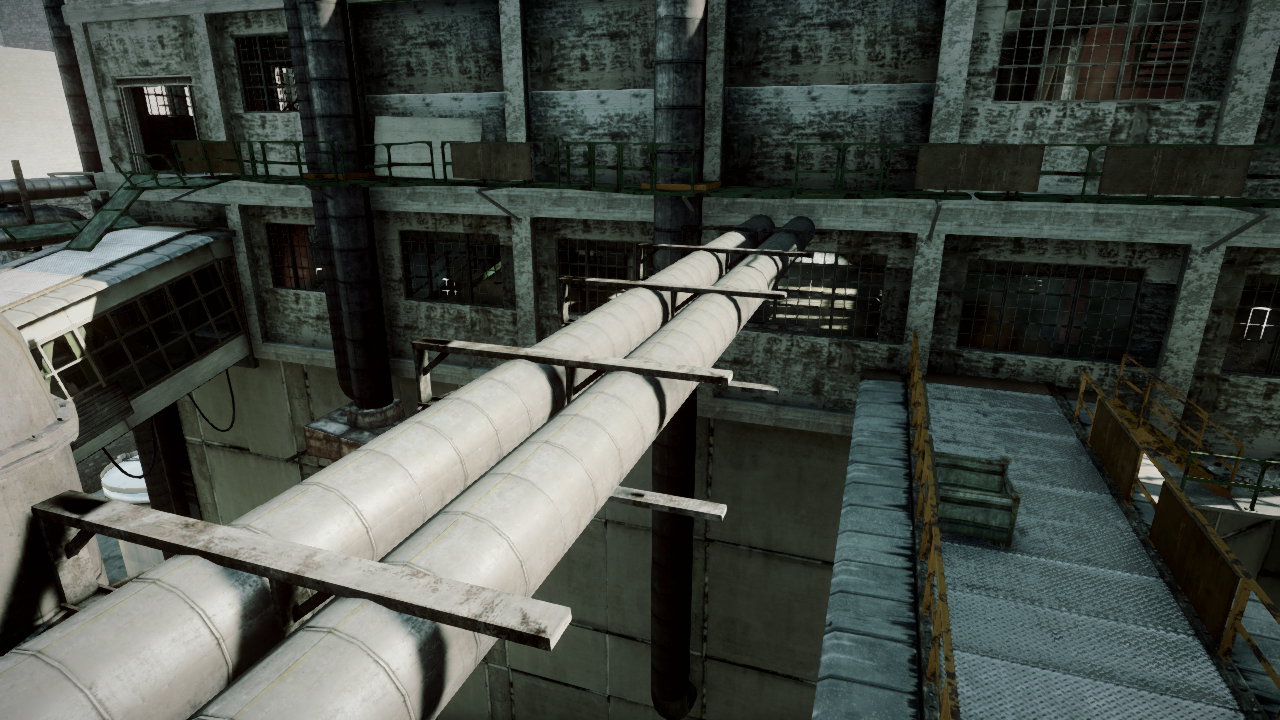
This green, narrow, rickety catwalk runs along the northern exterior wall of the south factory. This catwalk is connected to the south factory’s top floor, with entrances on the east and west sides. If you’re looking for a sniper perch, the south factory’s rooftop offers a better view and much more cover. But the lack of cover doesn’t stop some recon troops from trying to score long-range kills from this position.
The catwalk has a great view of the nearby sky bridges, making it easy to pick off opponents scurrying across their rooftops. But instead of camping here and looking for kills, use this catwalk to access the large steel pipes running parallel to the central sky bridge. These pipes serve as a makeshift bridge, making it possible to reach the north factory’s rooftop. This is a sneaky way to reach Flag A during Conquest Domination matches. You can cross the same pipes in the opposite direction too; this offers a quick transition between the north factory’s rooftop and the south factory’s top floor—an ideal route for reaching Flag B.
Level 3 [26]
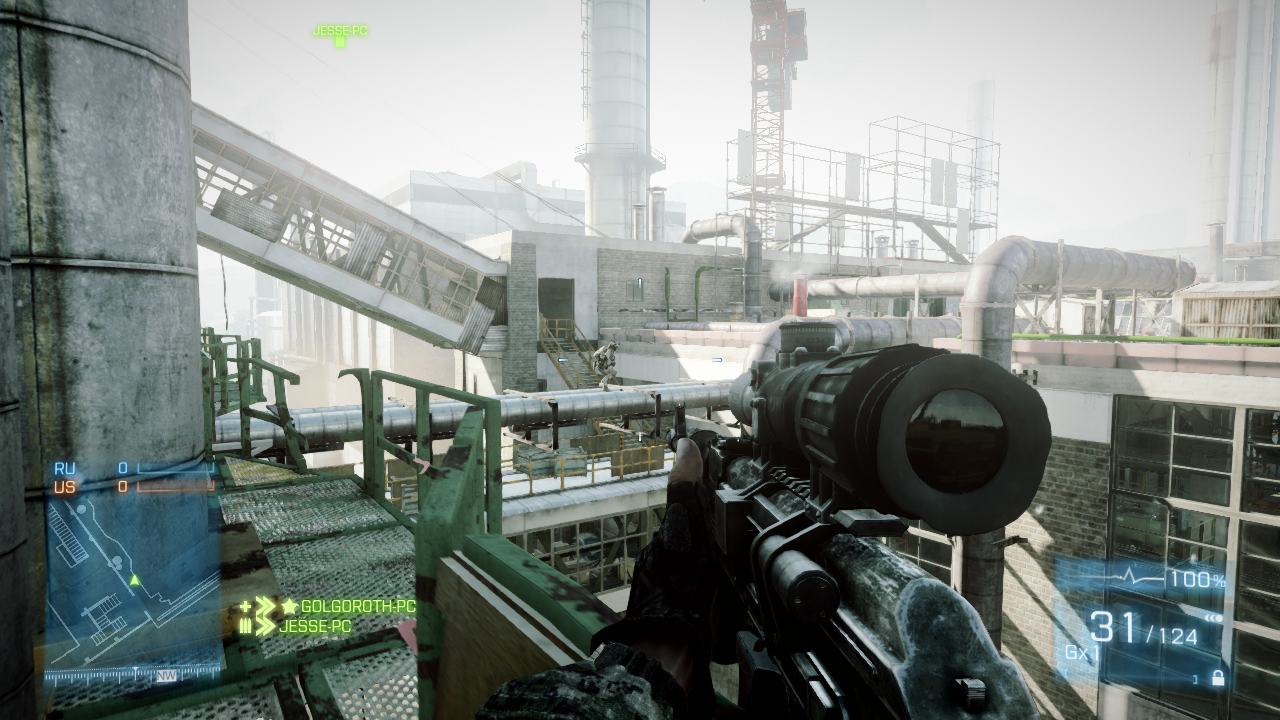
This catwalk isn’t a safe place to hang out. But it offers a good view of the sky bridges. Pick off opponents rushing across the sky bridge rooftops or the horizontal pipes.
Level 3 [27]
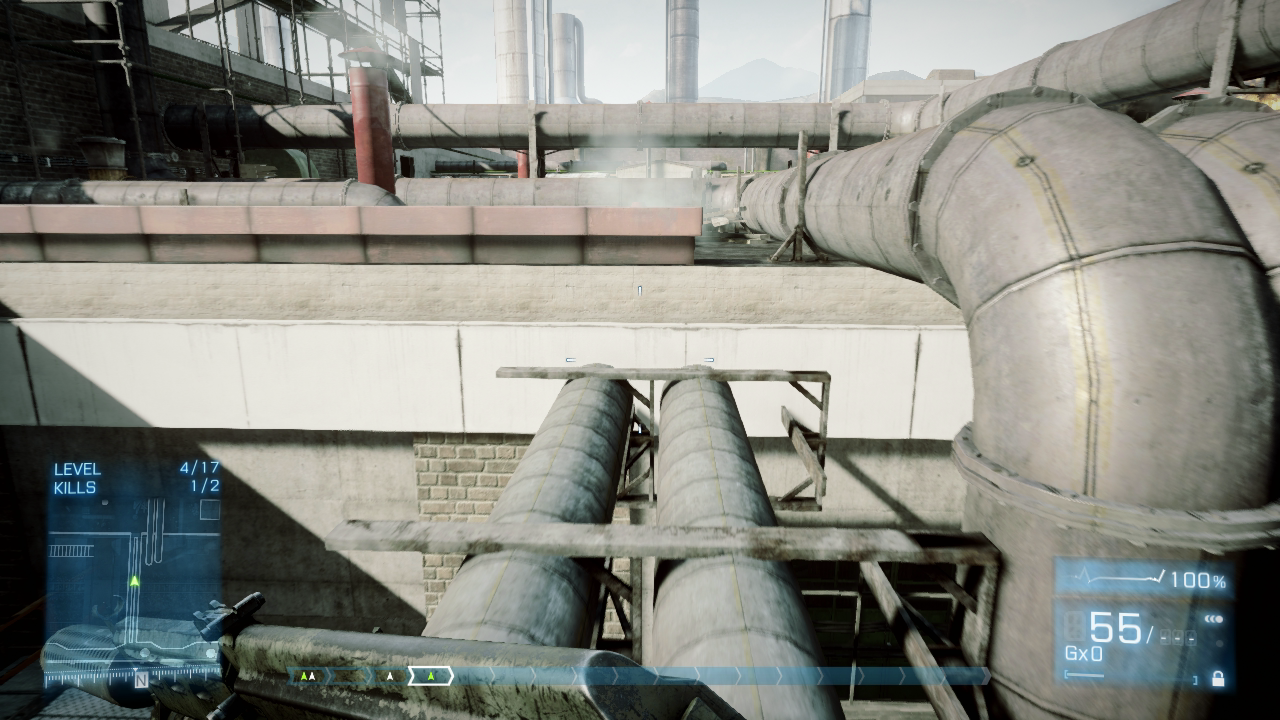
When crossing the large horizontal pipes and moving toward the north factory’s rooftop, veer to the right. There’s a small gap between the roof’s ledge and the vertical pipes running along the factory’s exterior wall. By jumping toward this gap, you can quickly pull yourself up onto the rooftop.
Level 3 [28]
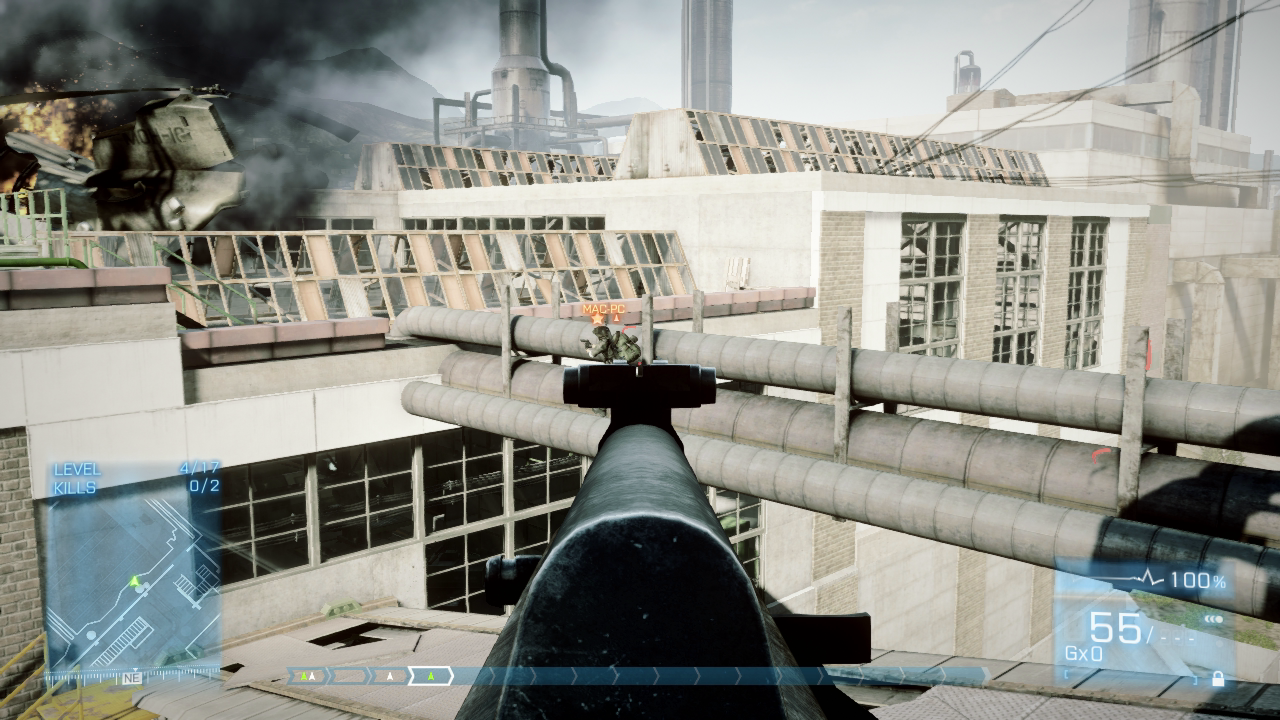
The horizontal pipes near the east sky bridge can be accessed from the south catwalk, offering yet another alternative path to move between the two factories.