
Battlefield 3 Premium Guide Campaign Mission 9: Night Shift
Night Shift
Unit
1st Recon Marines
Callsign
Sgt. Henry “Black” Blackburn
Location
Tehran, Iran
Date
November 2nd
Time
0358hrs Zulu Time
The bank nuke is secured, but the question of the third nuke’s location weighs heavily on Black and Campo as they prepare for their next mission.
Under the cover of night, the two Marines plan to assist another team currently en route to capture Al-Bashir and gain his valuable intelligence.
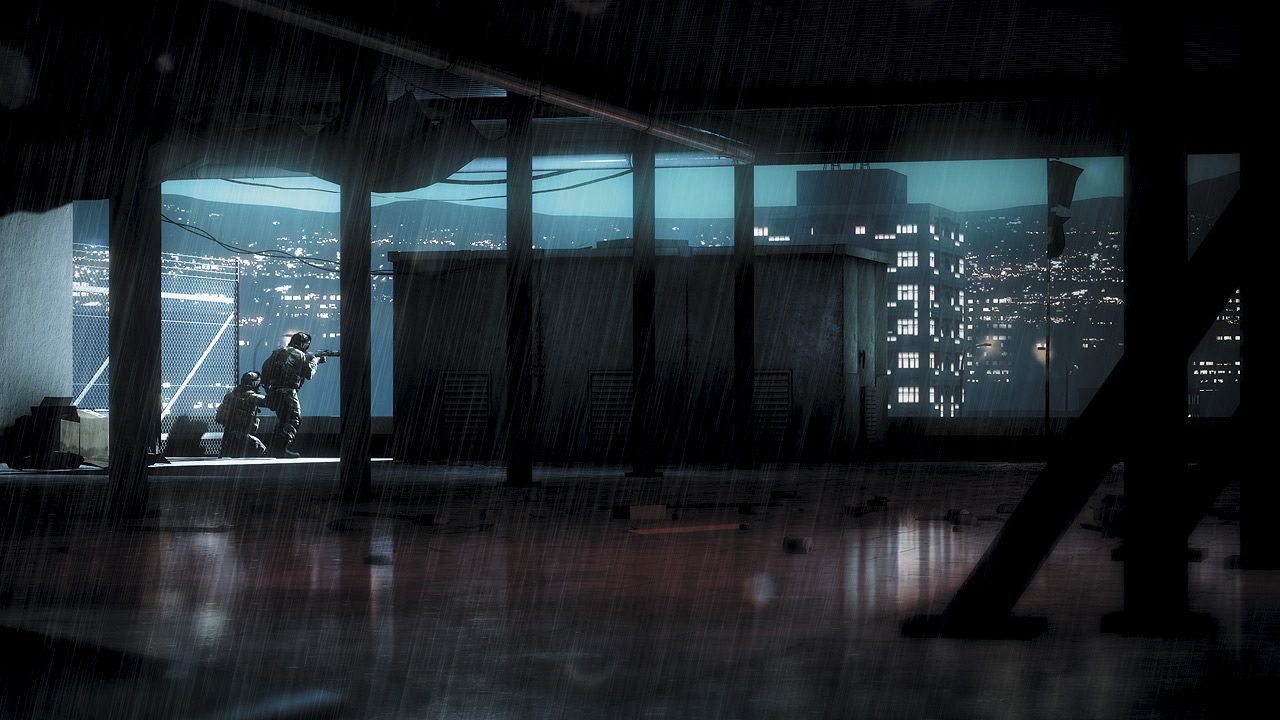
A rainy, dark rooftop serves as the introduction to Black’s mission at hand. After a bit of radio chatter and some misgivings from Campo, it falls on Black to snuff out any lights near the landing zone.
DISABLE THE LIGHTS IN PARKING LOT LZ
[ ACHIEVEMENT | TROPHY ]
Army of Darkness
The LZ is too bright thanks to those swinging, bouncing
lights down below. To snag the Army of Darkness Achievement/Trophy, Black must take out all four lights with just one shot each. The key is to aim not for the lights themselves, but their small, conical coverings.
Observe the way the lights sway and bounce for a moment before firing, then hold your breath and tag the light boxes one at a time. Using breath control here to minimize scope sway is absolutely important.
Although Campo might harp about the timeline, getting these shots right the first time means ignoring his impatience and making each shot count.
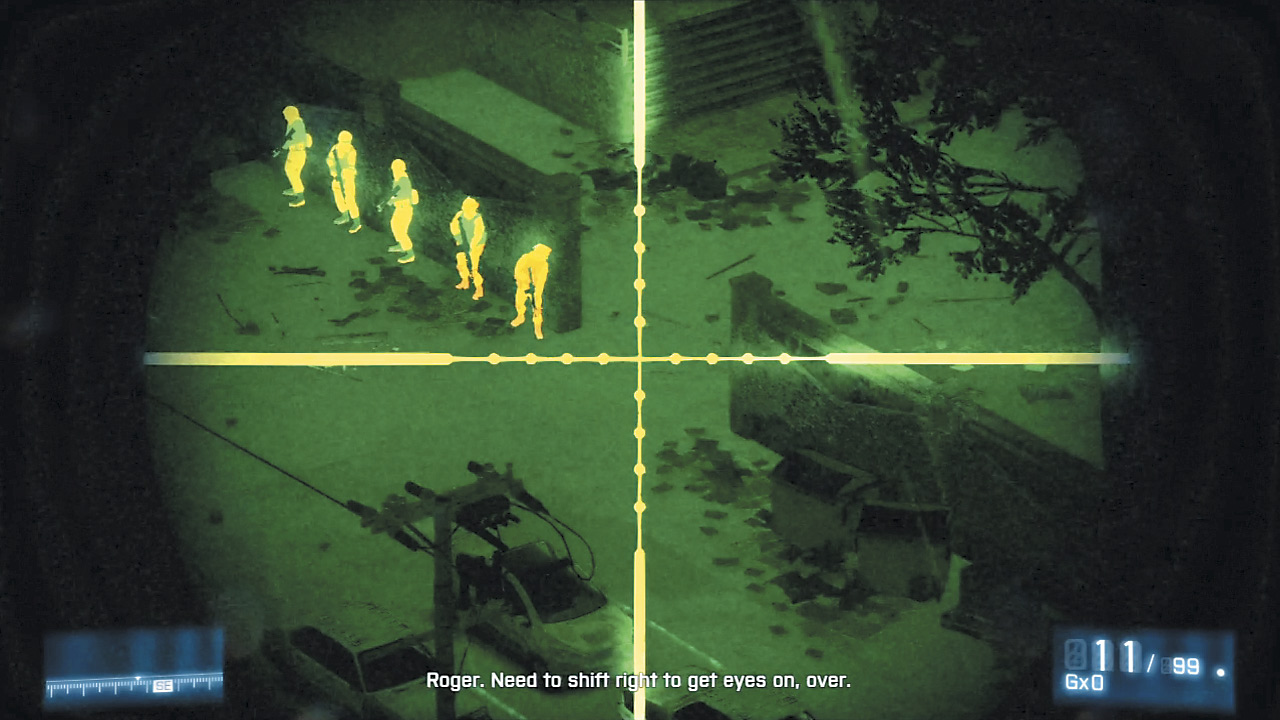
With the lights out, the Osprey is clear to land, and deposits a quintet of Marines into the dark parking lot. Though nearly invisible to the naked eye, the Marines’ body heat makes them quite obvious through Black’s sniper scope.
Track the Marines as they drop in and take up position along a nearby wall.
CONFIRM COLE’S IR SIGNATURE
After using the scope to view Cole’s infrared flash, make sure Black and Campo have moved to the right side of the roof above the Marines. Track their progress as they move to another area of cover.
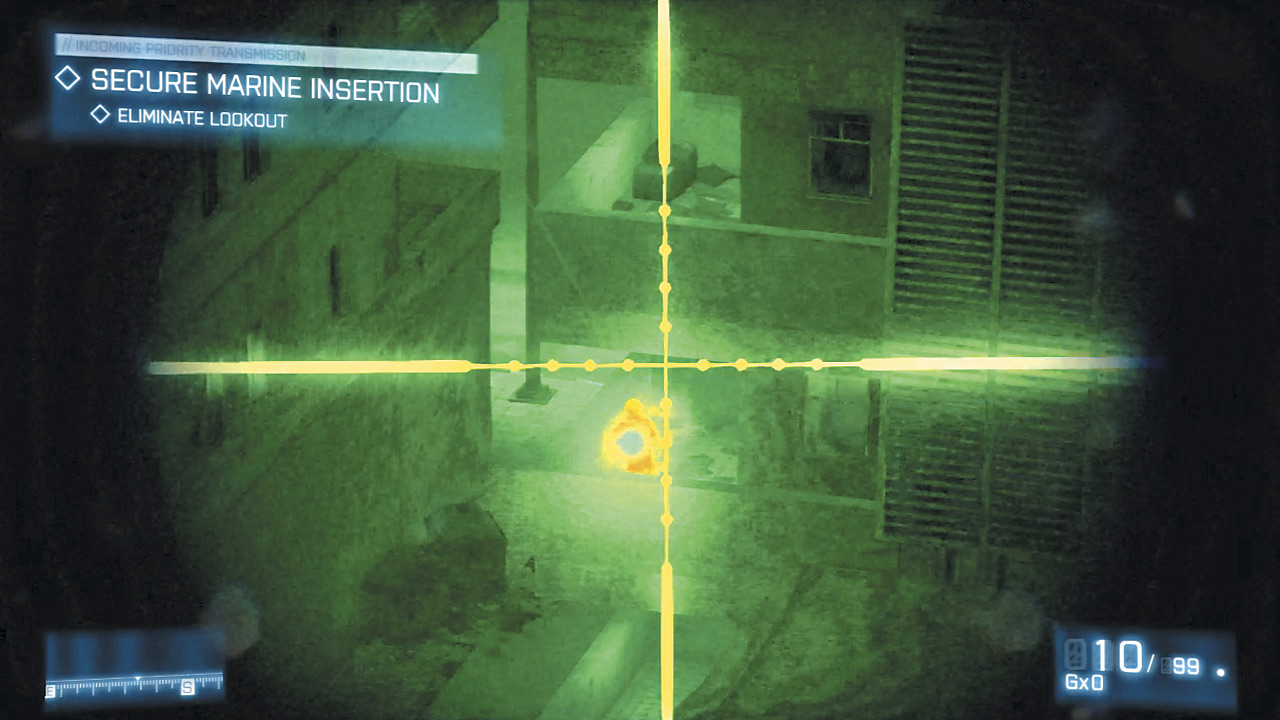
ELIMINATE LOOKOUT
A lone PLR strolls out into the balcony of a nearby apartment. He should be fairly obvious through the scope, but if you’re having trouble finding him, just track right and slightly up from the Marines’ position. The clueless PLR lookout will have no idea what hit him...
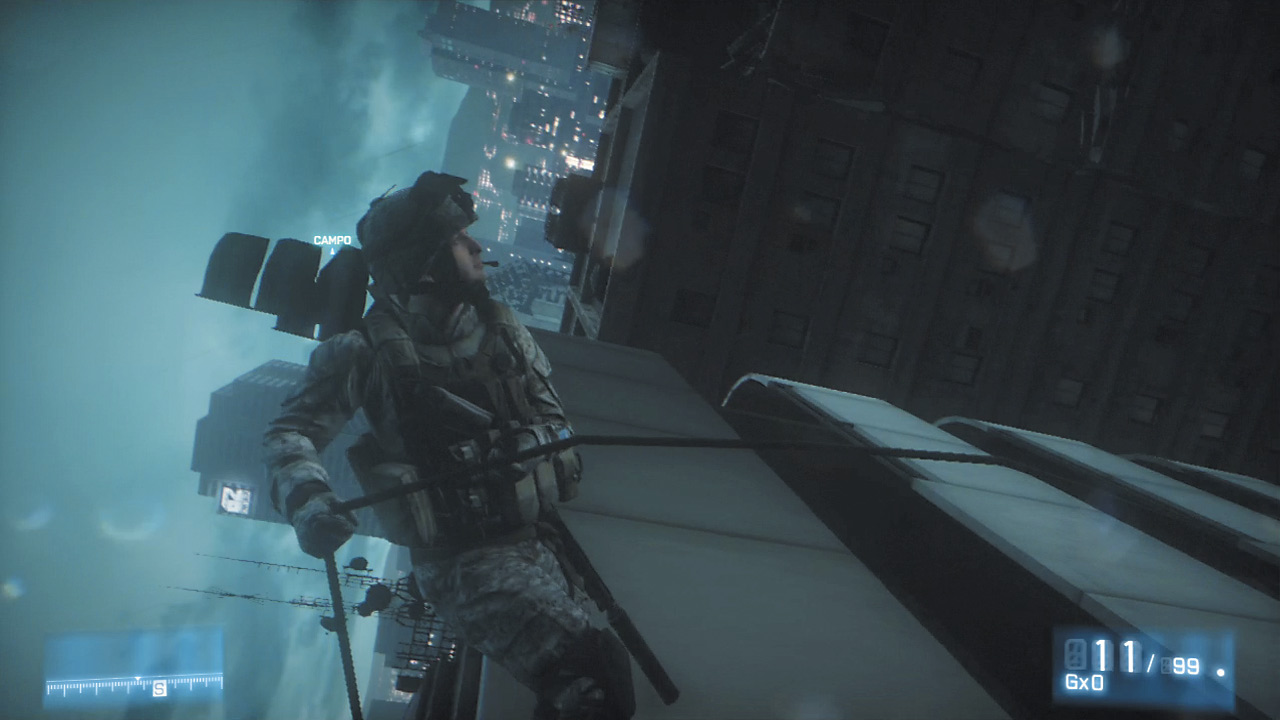
RAPPEL TO STREET LEVEL
There’s nothing like running down the side of a building to get the blood pumping. After making it to ground level, the mission becomes all about stealth.
AVOID ALERTING PLR PATROLS
Follow Campo through a gauntlet of enemy avoidance, starting with crouching by the same car Campo drops near to avoid the oncoming truck. Sprint with him down the street, then duck right into an alley and climb over a nearby wall.
ELIMINATE SENTRY
Another PLR lookout waits here, but is easily taken out with a little held breath and a clean shot.
FOLLOW CAMPO TO ROOFTOPS
As you push forward, a partrol emerges from a nearby alleyway. Wait until they pass, then sprint toward a ladder and climb it to another vantage point to help out the Marines below.
ELIMINATE THREAT
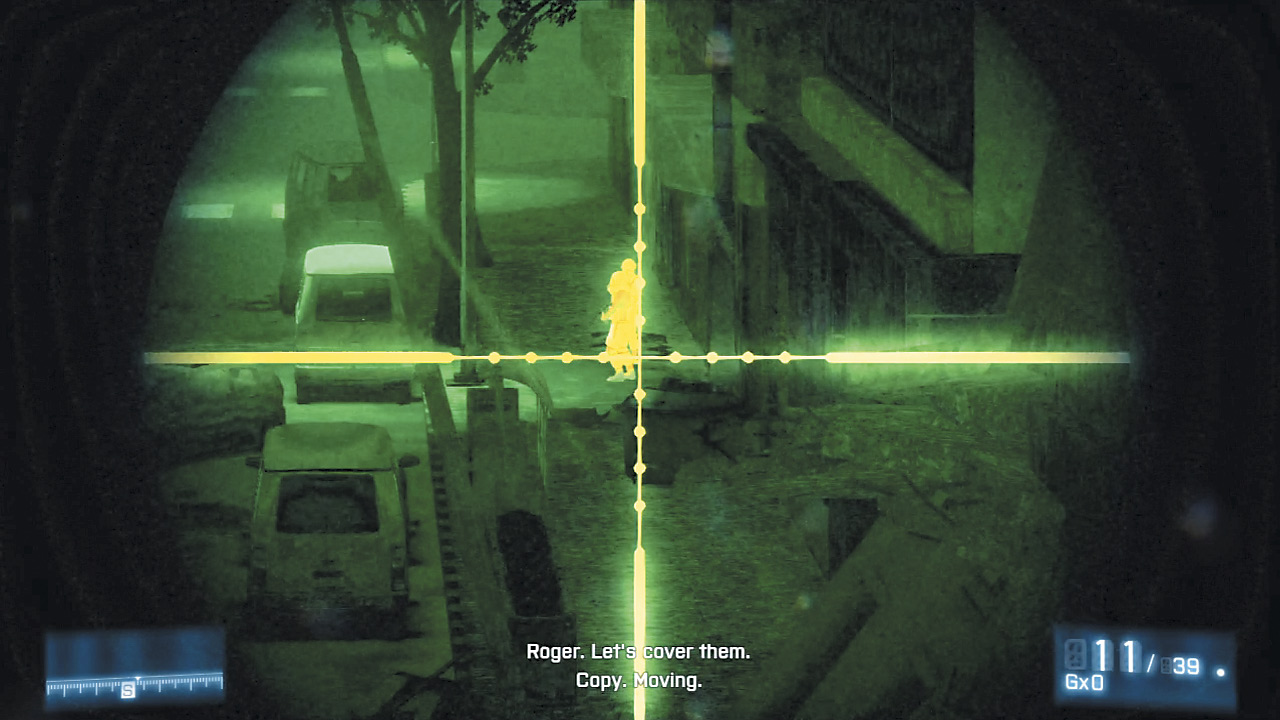
The Marines down on the ground level cannot do anything until you take down the two guards below. Use the scope to locate them on the right side of the street, dead ahead.
[ ACHIEVEMENT | TROPHY ]
TwoforOne
Nailing this Achievement/Trophy isn’t especially hard. But like the parking lot lights, there’s only one chance at it without having to reload a checkpoint. Move as far to the right as possible along the roof to get the two tangos nice and lined up.
Then crouch and steady your breath, aiming for the front PLR’s head. Take the shot and you’ll drop both at the same time, as the bullet whizzes through one skull and into the neck of his buddy behind him.
ENSURE THE MARINES CROSS STREET SAFELY
This is arguably the easiest objective in the game to complete. Just keep your eyes on the Marines as they use cover cross and move past barriers into the building formerly guarded by those two PLR you eliminated. When they’re clear, head down the ladder to the right.
AVOID ENEMY PATROLS
There’s not much to say about this objective either. Once you and Campo are on the ground, a big ol’ PLR convoy decides to rumble through the rain-drenched streets. Take cover next to Campo at a nearby vehicle until it passes.
Then follow him up onto the overpass and back down, heading left into a building to avoid further patrols. Once inside, they discover a PLR, necessitating his quiet termination.
Creep forward with your blade drawn and stealth attack him, which leads into a lengthy, and unfortunately noisy, death that alerts a PLR patrol. Time to run.
ESCAPE PLR
With enemies on your tail, there’s no option left other than to run—and run like hell. Follow Campo, moving in a serpentine fashion to reach a blown-out hole leading down to the sewers.
After descending, Campo places a charge near the entrance before sprinting ahead down the tunnel. Follow and listen for an oh-so satisfying explosion behind you.
REACH STREET LEVEL
Thankfully, the PLR haven’t yet infiltrated Tehran’s sewer system, but that doesn’t mean they aren’t close. Listen in on a conversation between a few of the insurgents above while making your way toward Campo’s position by a ladder at the end of the sewers.
Sharp ears will pick up on the fact that Al-Bashir is indeed here in Tehran, which explains the sheer numbers of patrols in the area.
ELIMINATE HOSTILE SQUAD
In fact, one of the many patrols is right on top of Black’s position. This shootout is particularly rough because there’s not a huge amount of clear cover and the enemies are extremely hard to spot.
In addition, they appear to be better trained, firing more accurately than previously encountered enemies. It’s important to take note of that from here on out, firefights will be significantly more dangerous.
Use either the low wall dividing the street to the left or the burning wreck in front to take cover, but know there are numerous enemies here. A small group waits to the right of the burning wreck, while still more open fire from the mound of broken concrete ahead.
Take care when acquiring and firing on targets here; it can be tough to draw a bead and engage an enemy in the same pop-up from cover. These enemies know exactly where you are, and they’ll all open fire the second you rise up.
Use the old techniques from before: pop up, sight an enemy, then drop again to recover health if needed. Keep in mind that health recovery is tough when using the scope, as the normal blood spatter and color-draining effects aren’t there. Repeat to take out all threats and move forward.
REGROUP WITH MARINES
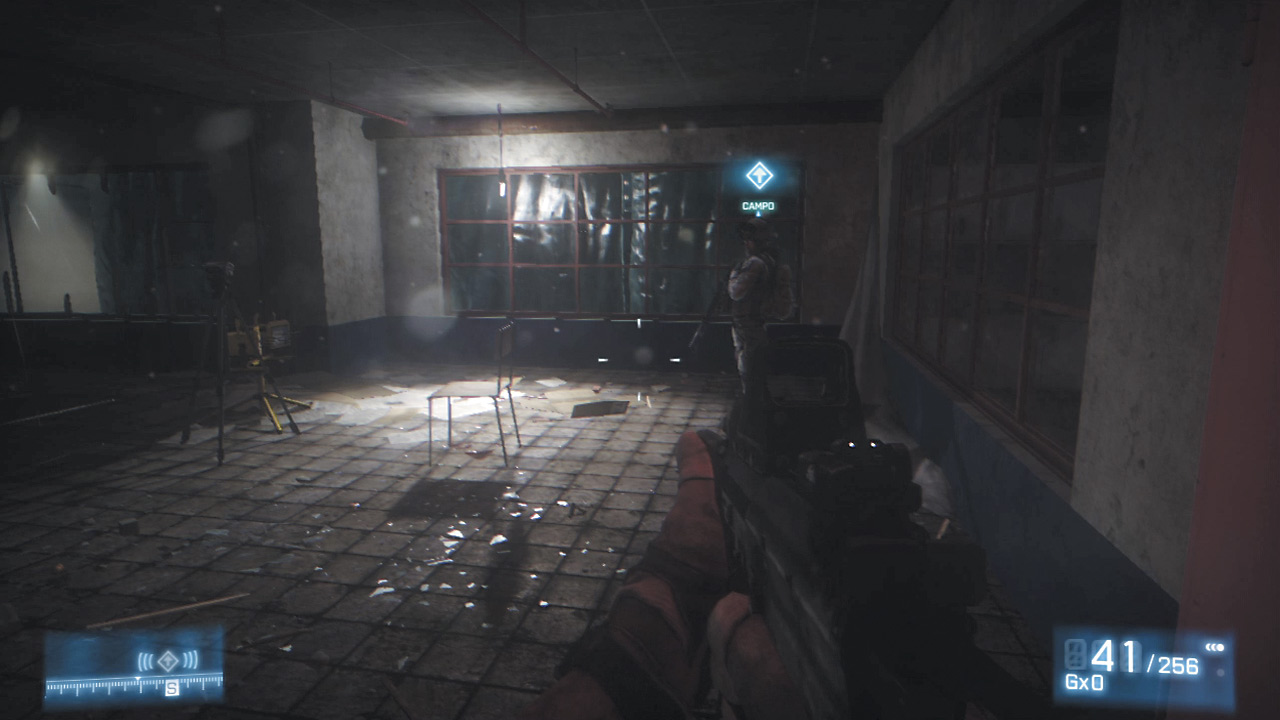
Okay, so Cole has a bad habit of broadcasting very obvious, clear landmarks over open radio waves. That makes him something of a bad CO, but it also means the support Black and Campo so desperately need is at least in a clear place. Time to head there, but not before getting a peek backstage for Miller’s execution video.
Though the mood is somber, Campo and Black can’t afford the time to mourn. A PLR group makes a ruckus heading up the steps on the other side of the room, through the windows. Follow Campo’s lead and drop to a knee in preparation for the enemies coming up the stairs.
Campo is covering the left, so concern yourself with the enemies that spill in to the right of the large pillar in the middle of the room. They’ll take cover behind that column and an overturned desk to the right, so quickly snap your crosshairs to the targets and fire.
Move to the left to take cover behind the door as needed. Look for flashlights to betray enemy positions when firing back. Keep a watchful eye for grenades; there’s little room to maneuver away from their blast radius that isn’t compromised by those open windows.
When it’s all over, follow Campo down to ground level and the mall’s entrance.
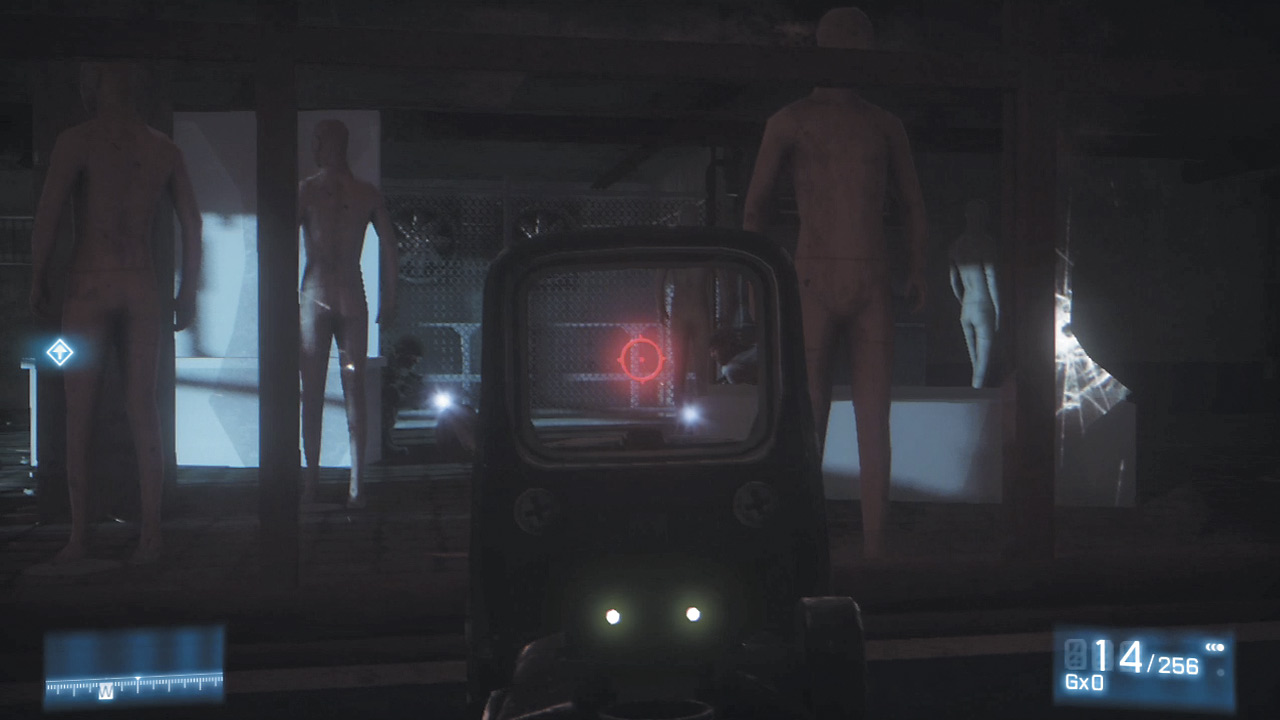
Cole could use some pointers to improve his motivational speeches. He actually mentions the possibility of things turning out poorly as you move through the mall, but at least he’s right about it being a good place to fall back.
Push onward with the other Marines on the way to capture Al-Bashir—alive, as Cole insists.
REACH OVERWATCH POSITION
Follow Campo to a sniping spot where he and you can offer a bit of cover for Cole’s squad that’s about to turn a small apartment complex into a warzone. This is not going to a be a quiet or easy op, so stay frosty.
COVER MARINE ADVANCEMENT
The squad comes to a sudden stop due to a PLR that doesn’t see the group just yet. They move in from a structure to the right that Cole calls a “playground”. Mark this as a point of reference as it’ll be one of many places the PLR will mobilize from.
Cole’s Marines stack up on wall below the main apartment complex, then push forward. Matkovic grabs a fellow Marine and plays babysitter while Cole’s squad punches into the apartments from the ground floor.
DEFEND MISFIT 1-4
The playground you already know about; however, there are more structures just up and to the right of that entrance. Ground level shows enemies in the parking lot straight ahead, but also on the walkways leading into the apart-ment complex from the playground.
PLR almost instantly starts flowing in, both around the same outside wall that Cole’s team stacked up on before the parking lot and another, low wall just inside the lot above. To make matters worse, your position is compromised fairly early on by PLR that will fire on your position from the various levels of the apartment complex itself. Keep sweeping with the scope to spot their heat signatures and take them out as fast as possible.
There’s no core strategy here beyond just finding and eliminating targets as quickly as possible, with the priority being those in elevated positions that can actually hit you and Campo.
When you need to take cover, scoot right to hug a bit of rubble before popping back out to take out more tangos.
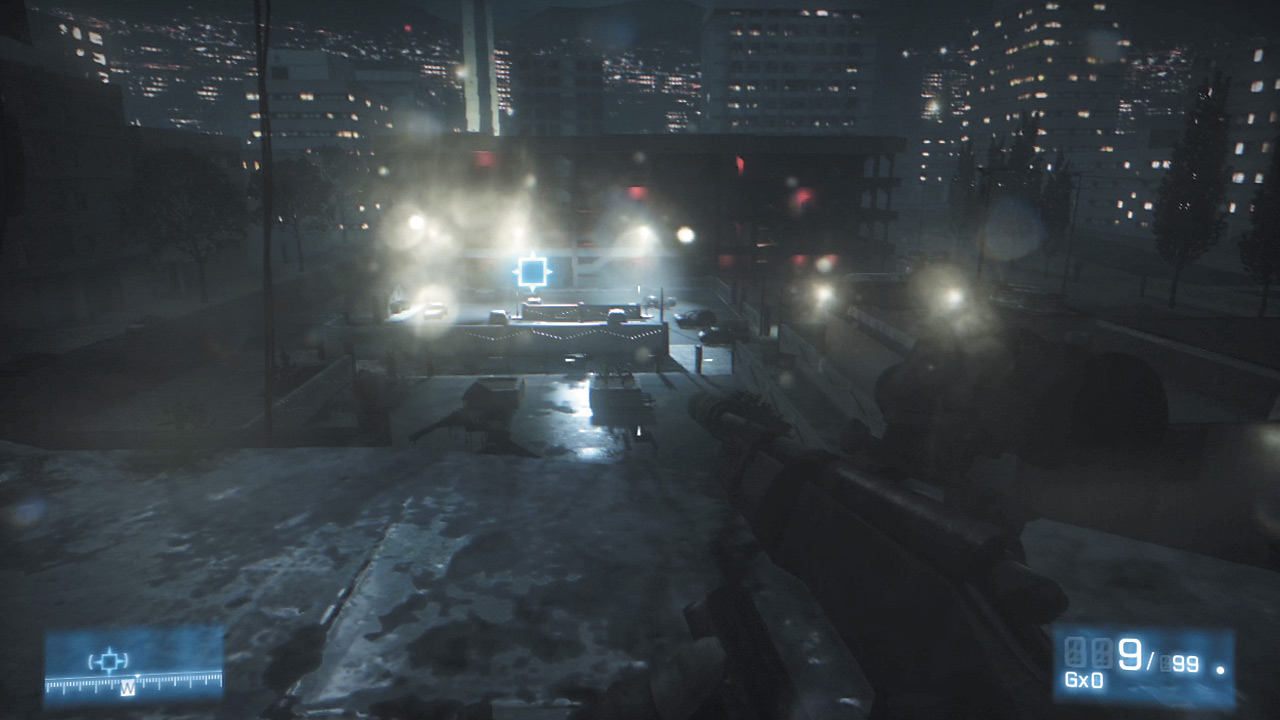
After Cole breaches the second apartment, things really go to hell. PLR know you’re there and have positioned enemies on the roof of the building near the playground entrance.
Deal with them quickly and cleanly before moving your sights down to the parking lot and playground, which are quickly erupting into a firefight.
A truck will roll in from the leftmost street, deploying even more PLR into the area. Take your time here and pick them off as best you can, but the playground nearby has plenty of threats, too.
Stay calm and imagine being at a carnival shooting gallery. Scope targets, pick them off, then quickly sweep over to other areas where known PLR will group.
There’s the same low wall as before, the exit from the playground and the entrance of the parking lot now invaded by more PLR. One shot, one kill.
Take your time and pull out of scope view every so often to make sure you’re not in dire need of cover.
An RPG PLR shows up atop the apartment complex the roof when enough enemies have been downed. He can actually be taken out from between the areas of cover to the right of the normal, open sniping position.
From here, it’s also possible to gun down more PLR that are taking positions near the walls leading out of the playground. Eventually, Cole will scream about Al-Bashir making a break for it. No more sniping for you.
STOP HVT’S CAR ESCAPING
Follow Campo back to the right, sprinting over rooftops until you can both drop down to the street level below. A slo-mo event lets you tag Al-Bashir’s car as it escapes, causing the HVT to swerve around a corner and crash, allowing you and Campo to scoop up the terrorist.
SECURE HVT
Al-Bashir is immeasurably more valuable alive than dead, and a wrecked car is a precarious place to leave him in. Sprint over to the wreck of his vehicle and grab him with Campo before attempting an extraction back near the start of the mission.
HOLD OFF PLR ATTACK
PLR are absolutely swarming your position, intent on bringing their leader back. Crouch near the low barrier next to Al-Bashir’s wreck, wait for Campo to carry the HVT toward the open doors on the opposite side of the road, and then sprint to meet him there.
The PLR in the streets are nothing if not numerous, making this a textbook target-rich environment. Grab a spot near the door and open fire on anything foolish enough to have a light.
Use your scoped rifle if finding targets is difficult, as the PLR tends to group near cars for cover. After you dramatically increase the number of PLR that are KIA, Campo eventually radios that he’s found a good place for the weakened Al-Bashir.
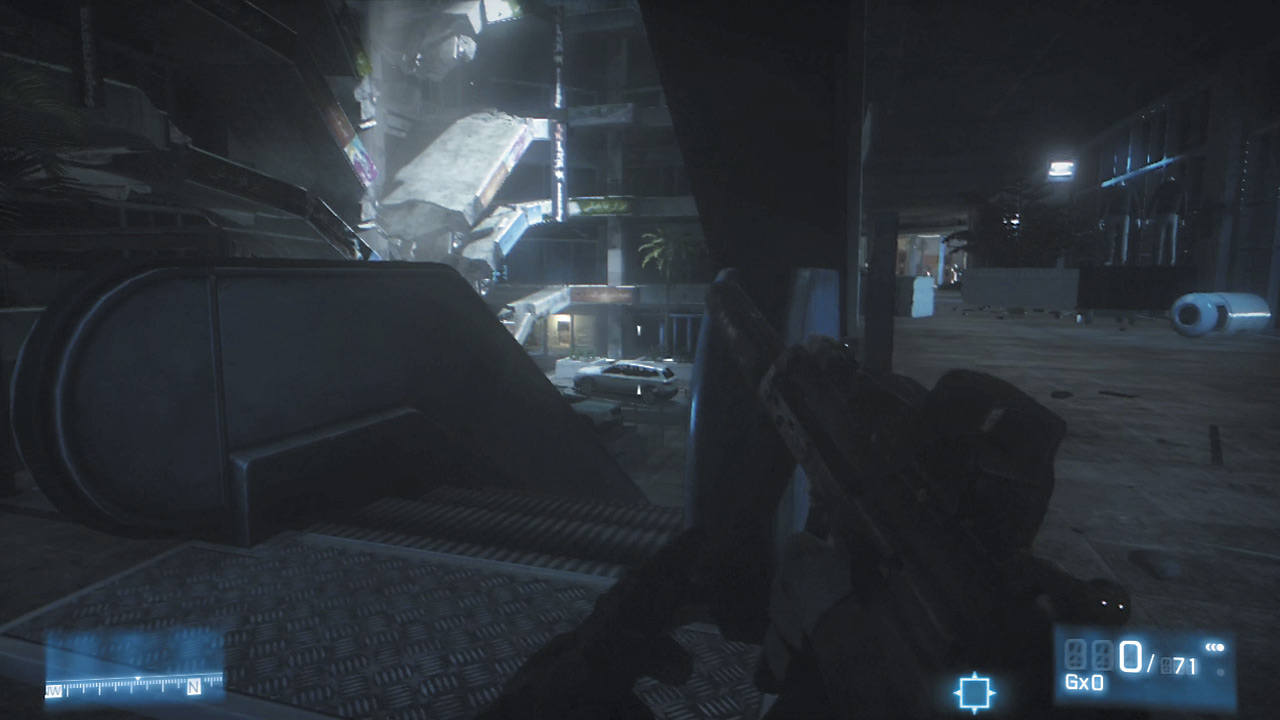
REGROUP WITH CAMPO IN RV POINT CHARLIE
Head back through the darkened ground floor of the mall and up an escalator to rejoin Campo in a small shop riddled with debris. Al-Bashir is not doing well, and certainly won’t last long under the current conditions.
He’s weak, barely conscious and the PLR are moving in. Time to make a stand.
DEPLOY DEFENSIVE PERIMETER
The first priority is to use your best judgment in deploying claymores where you anticipate the enemy might show up. This isn’t exactly an easy task with so many points of entry, and the clock is ticking.
Throw down claymores near the top of the elevator entrance and position the remainder down the corridor where you’ve taken up position.
Place one near the planter about halfway down the hall and another at the far end, near a bit of cover to the left, then high-tail it back toward the room where Al-Bashir waits, slowly dying.