
Battlefield 3 Premium Guide Battlefields Rush
Epicenter
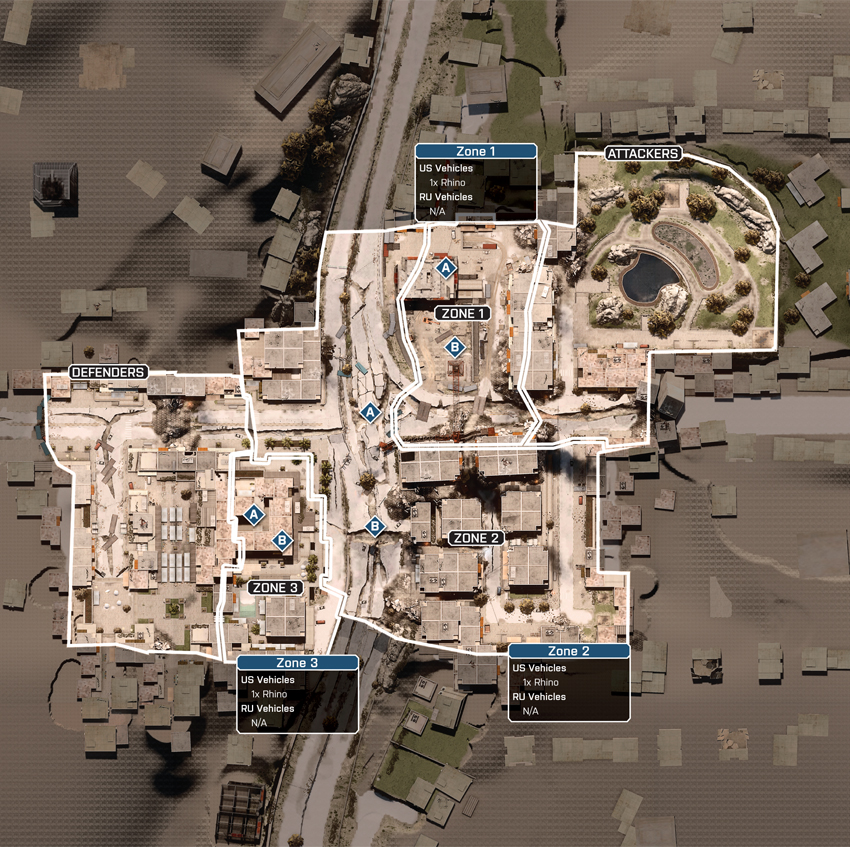
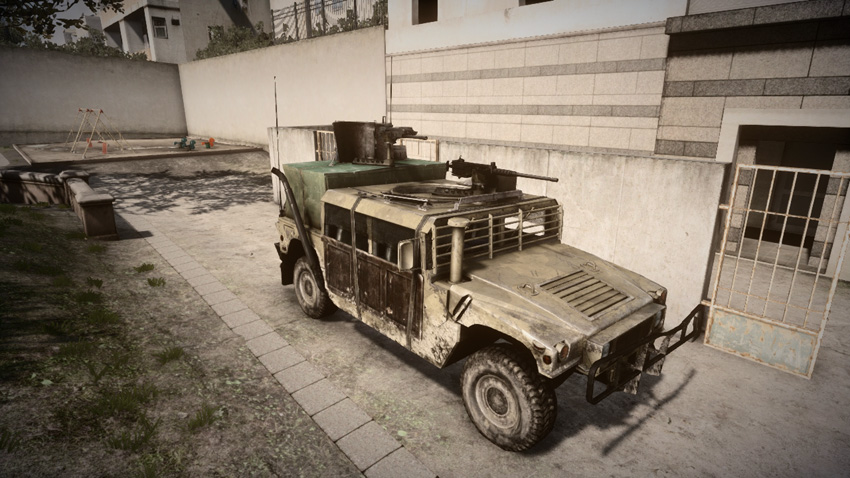
This Rush battle is spread across three separate zones, requiring the attackers to destroy a total of six M-COM stations to secure a victory. The only vehicle available throughout this battle is a Phoenix, supplied to the attackers—this vehicle always spawns at the park in the northeast corner of the map. Therefore prepare for primarily infantry engagements within the heavily damaged city core. The battle begins in the Construction area and then moves on to the Crossroads and Hotel. Each area presents both teams with different challenges to overcome, so be ready to switch classes and weapons in an effort to adapt to the varied environments. Assault and support troops are most versatile in this battle. But the defenders may wish to field a few engineers to counter the US team’s Phoenix.
Zone 1: Construction
US Deployment
Deployment Area Assets
| Name | Quantity | Respawn Time |
|---|---|---|
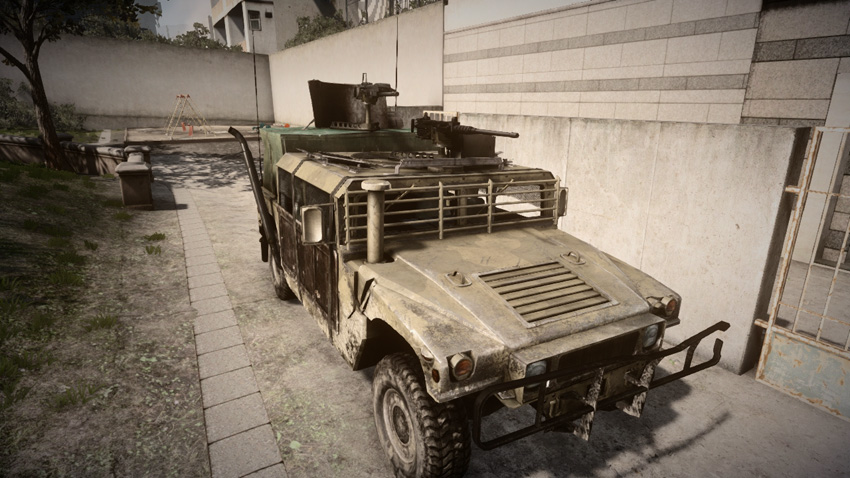
| Phoenix | 1 | 30 sec. |
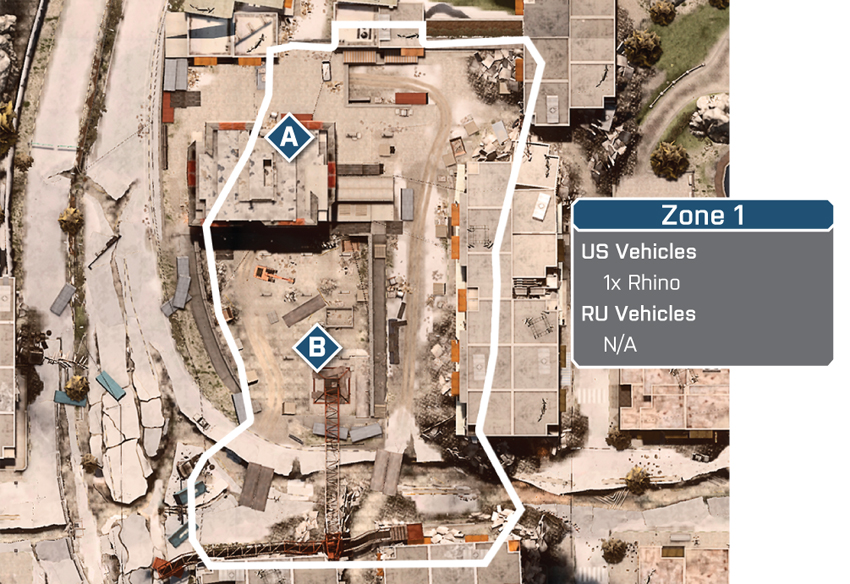
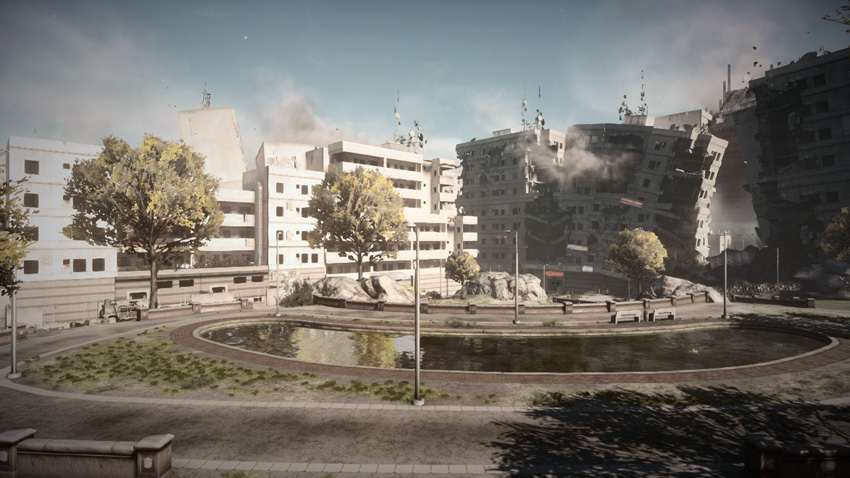
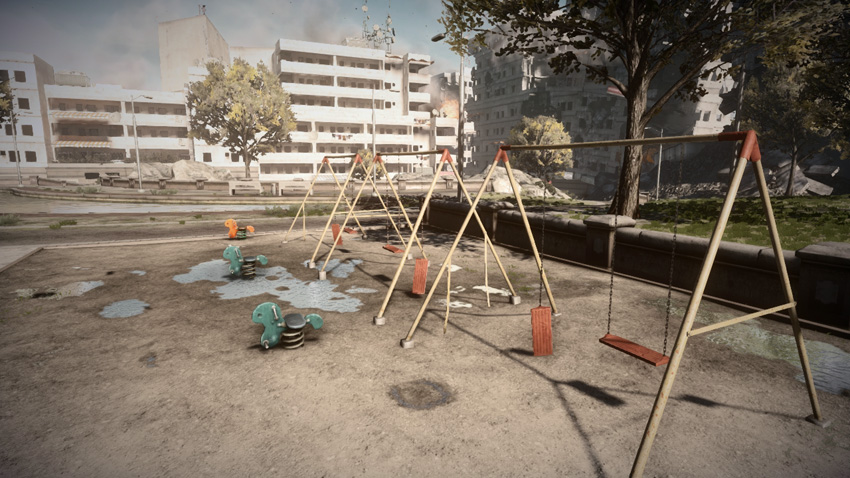
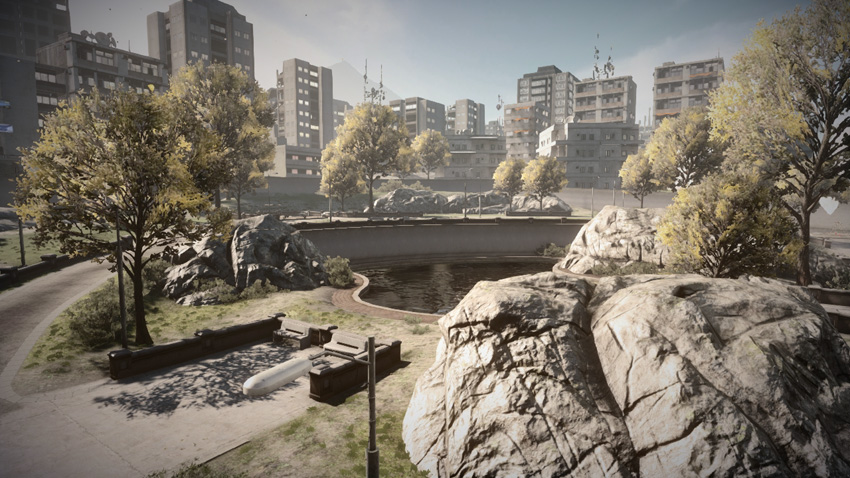
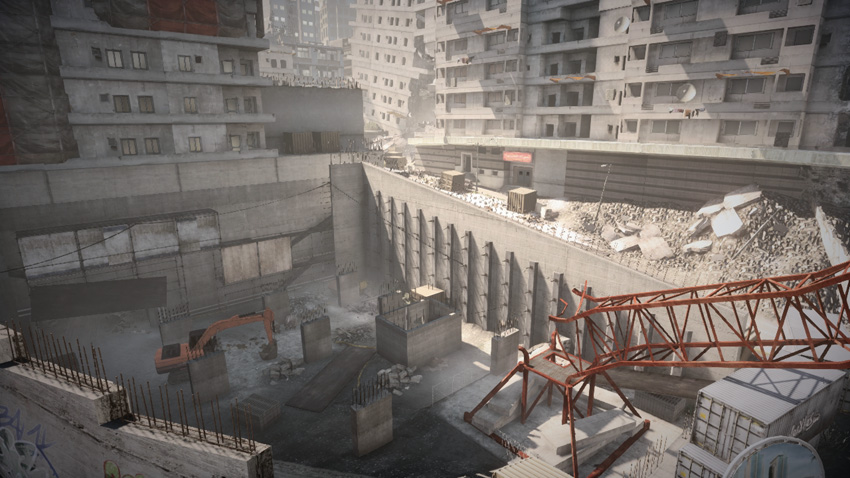
At the start of this battle the US attackers deploy from the park in the northeast corner of the map. As soon as the round begins, it’s a footrace to the Construction area to the west as both teams attempt to secure the two M-COM stations. While the US team has access to a Phoenix, it’s often faster to move to the Construction area on foot. Cut through the narrow alley or corridor on the west side of the park to gain access to the Construction area. From there, troops can fan out between the two objectives—M-COM Station A, located in the dark tunnel, is much easier to rush early in the battle. The RU team deploys much closer to the objectives, so always expect to encounter resistance as your team approaches the M-COM stations. Instead of relying on the Phoenix as a troop transport, use its weapons to soften up defenses around each objective while infantry rush in and plant a charge. The Phoenix won’t last long, so a coordinated attack is essential when attempting to overwhelm the defenders.
RU Deployment
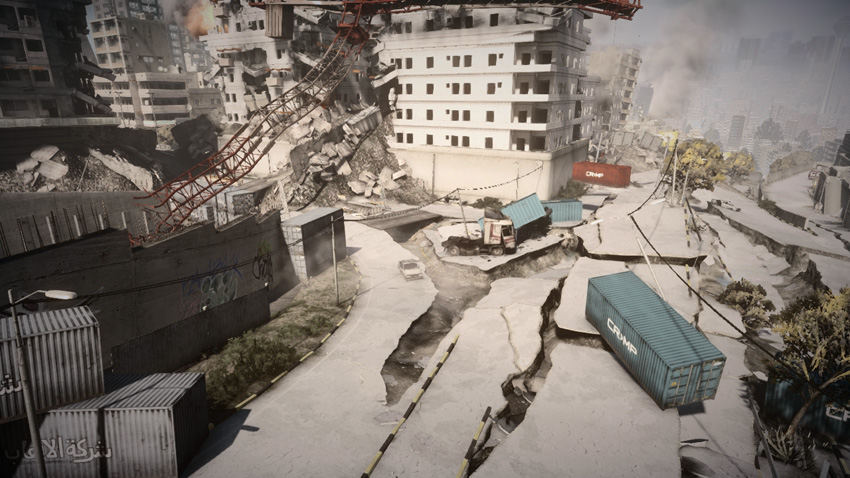
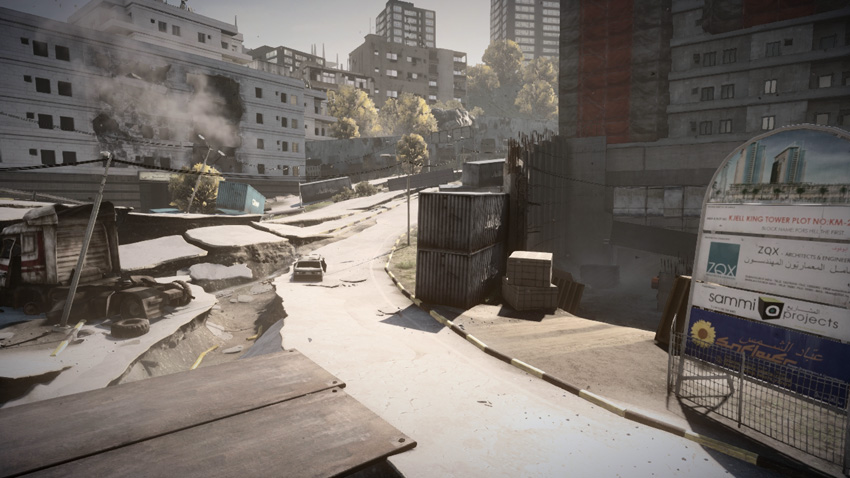
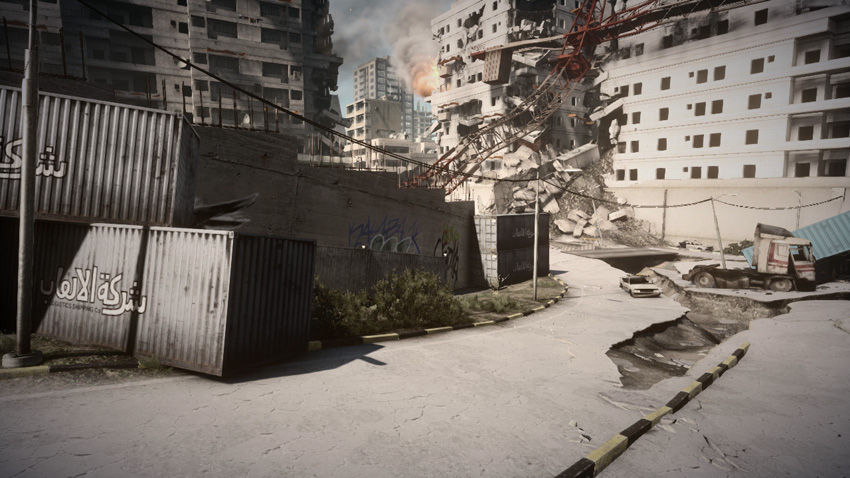
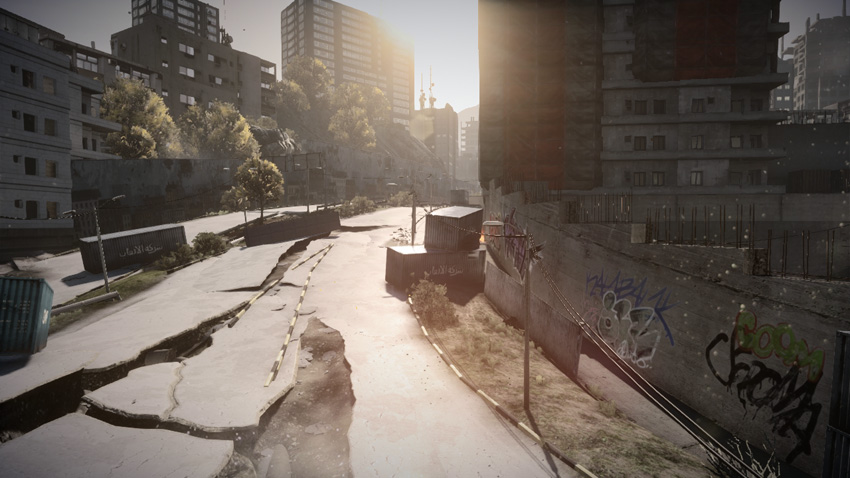
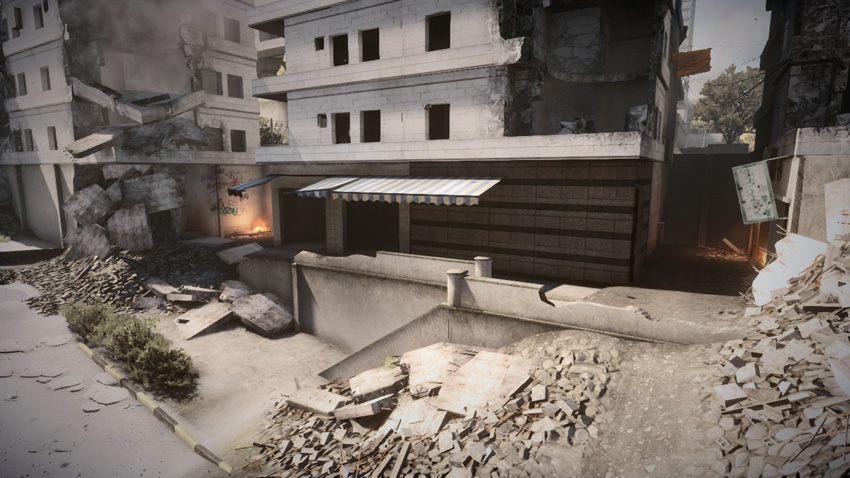
The RU defenders deploy from the west side of the Construction area, so they have only a few precious seconds to secure the M-COM stations before the US attackers arrive. With no vehicles at their disposal, it’s solely the job of infantry to reach and hold back attacks on each objective. Secure the southern side of the Construction area to insulate M-COM Station B from early-round attacks. Meanwhile, rush troops into the tunnel to deter rush attacks on M-COM Station A. While babysitting the objectives is important, look for opportunities to pin the attackers as they funnel in through the three choke points to the east, connecting to the park. The narrow, rubble-lined alley to the northeast is the most common ingress route for the attackers. But don’t forget to cover the interior corridor as well as the road to the south. Halting the attackers at these three choke points is the best way to lock down the Construction area and prevent the attackers from even catching a glimpse of the objectives.
M-COM Station A
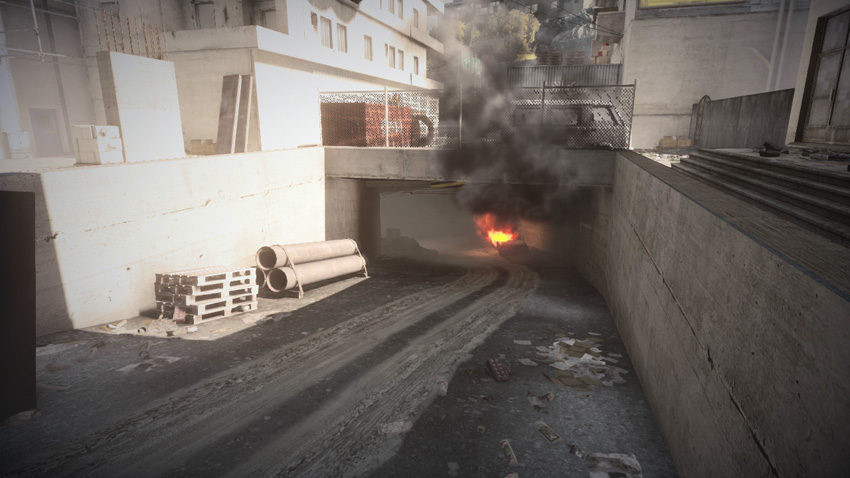
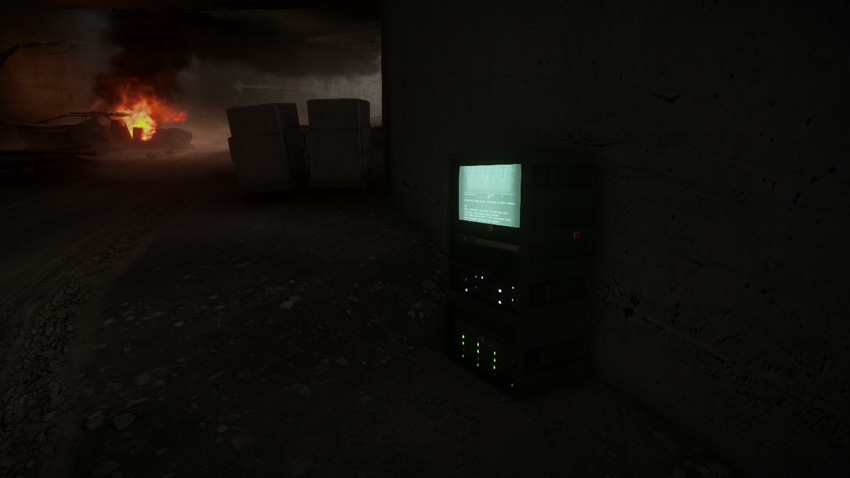
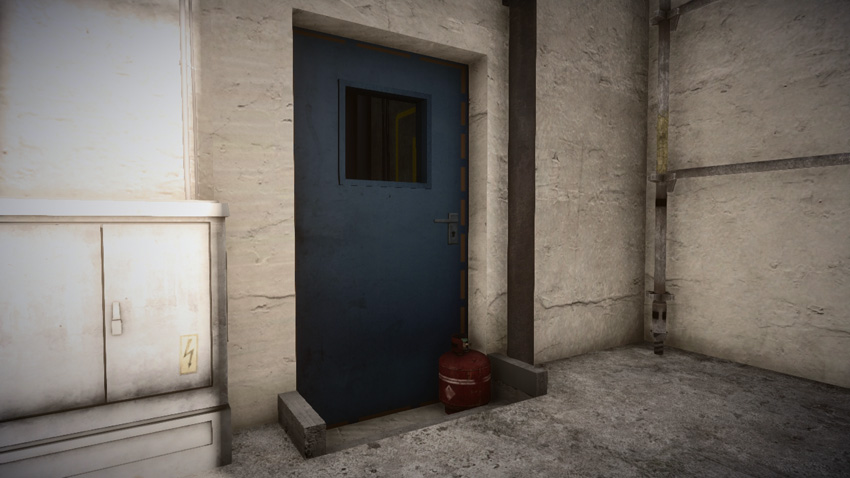
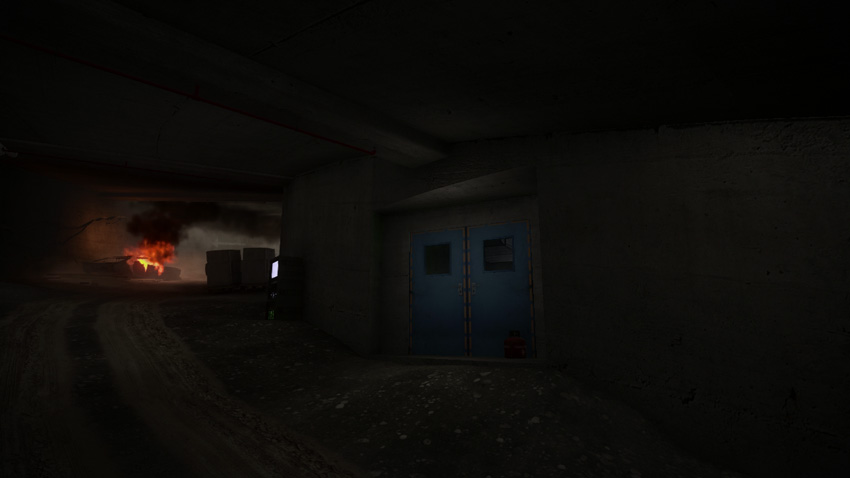
M-COM Station A is located in the dark, smoke-filled tunnel directly beneath the large skyscraper at the Construction area. The tunnel has two obvious entry points on the east and south sides. Both of these entrances are accessible by infantry and vehicles alike, which gives the attackers the opportunity to rush the objective with their Phoenix—defenders should counter with mines and other booby traps. In addition to the main tunnel entrances there’s a third access point to the tunnel in the from of an interior maintenance stairwell and corridor. Both sides of this corridor can be accessed by shooting the red gas canisters propped up against the blue doors. The exterior blue door is on the northeast side of the skyscraper and is easily accessed by the US attackers. The stairwell and corridor beyond this blue door leads directly to M-COM Station A inside the tunnel. This is the preferred access route for attackers, so defenders should consider locking down this path to prevent sneak attacks on the objective—Claymores and C4 are very effective in this narrow passage.
M-COM Station B
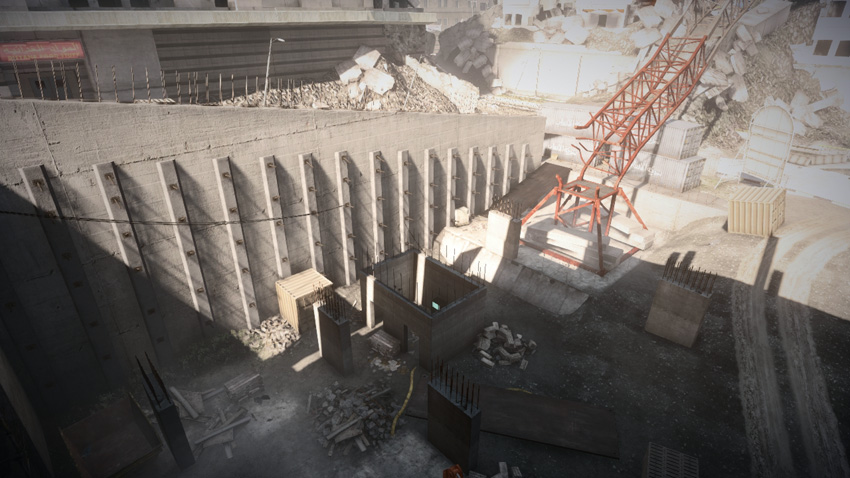
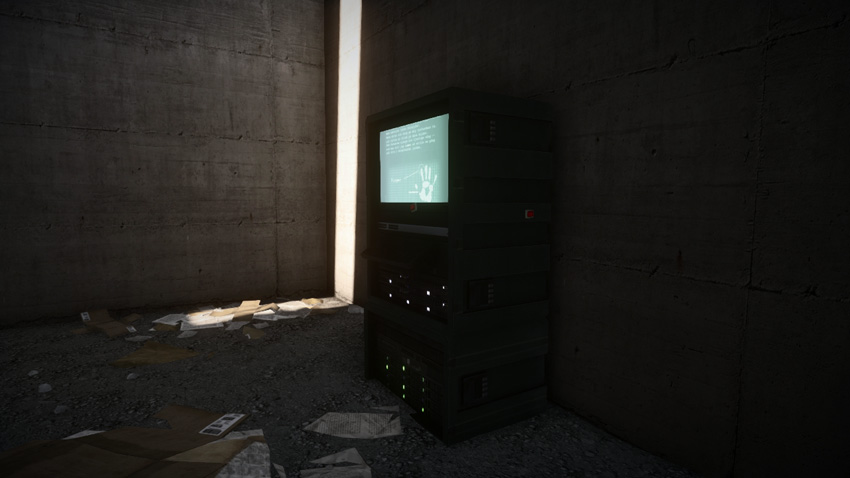
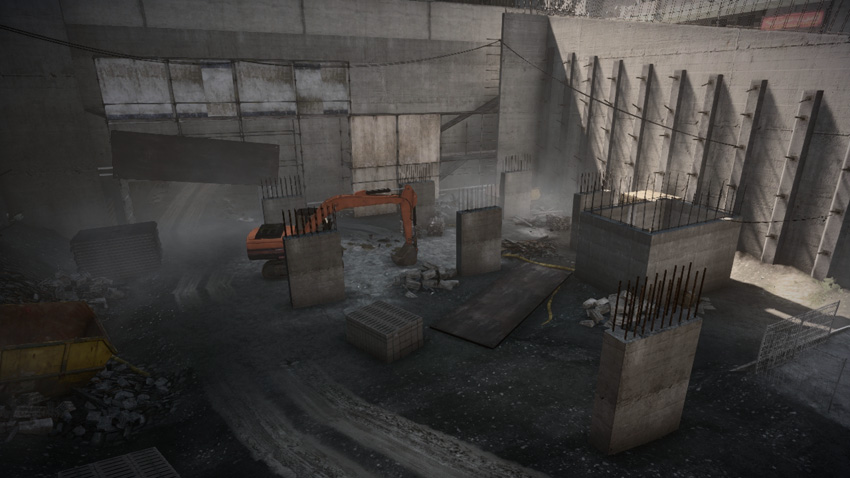
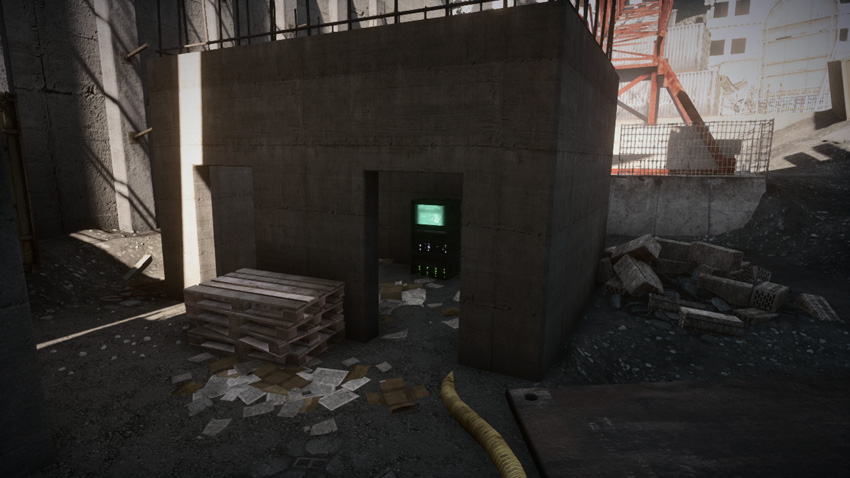
This objective is positioned within the southern pit-like portion of the Construction area, not far from the collapsed crane. M-COM Station B is housed within a small concrete structure with only two entry points on the north side. However, these concrete walls are destructible, so troops can create their own doorways with explosive munitions. Defenders may want to take out some of these walls to deny the attackers cover and concealment while they plant a charge. Opening up sight lines to the objective makes it much easier to watch from different angles. Both teams should attempt to secure the scaffolding on the north side of the pit. This elevated position offers a great view of the objective, so it’s the ideal overwatch position. However, if defending form the scaffold, watch for attackers flanking from the east side—this is a popular attack route.
Zone 2: Crossroad
US Deployment
Deployment Area Assets
| Name | Quantity | Respawn Time |
|---|---|---|
| Phoenix | 1 | 30 sec. |
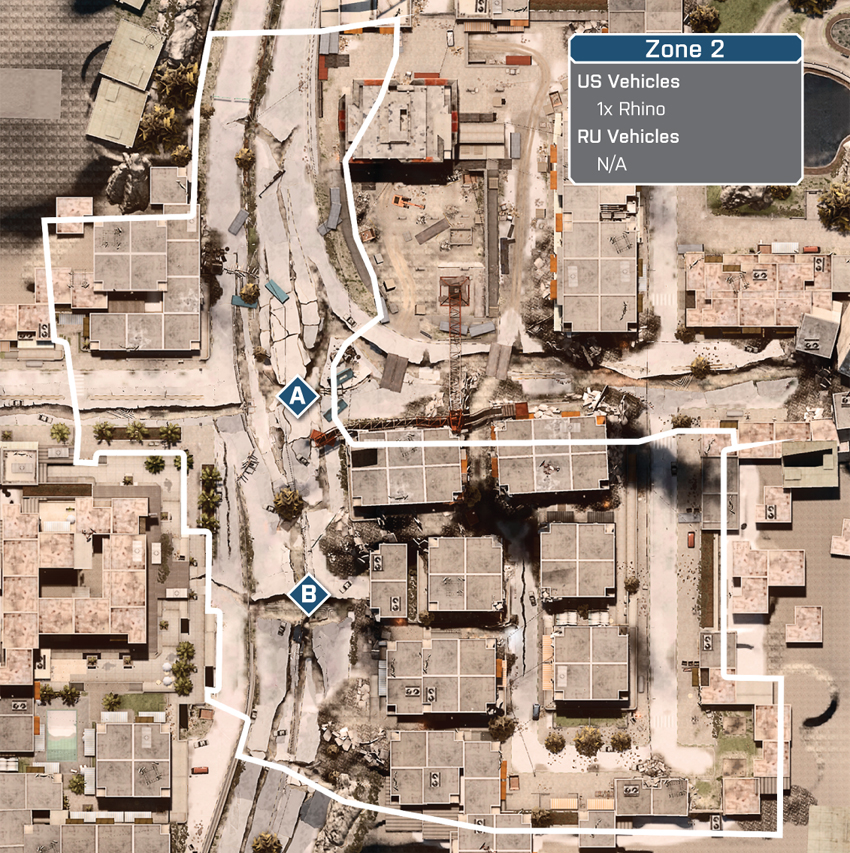
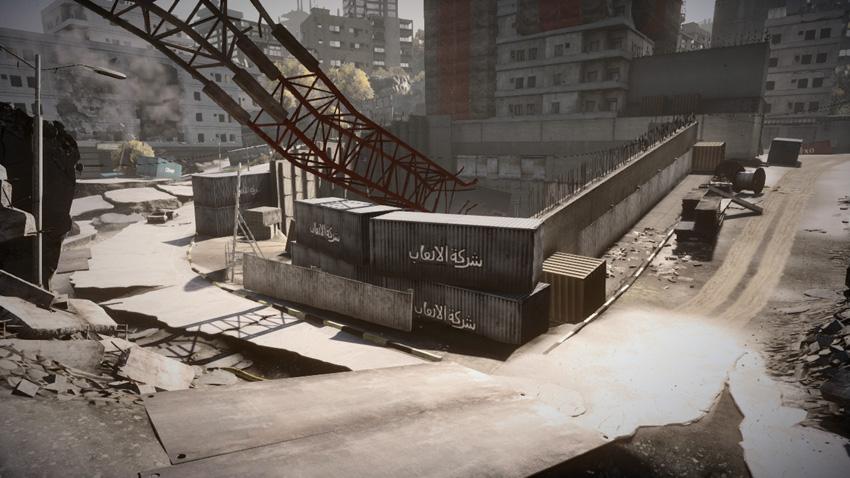
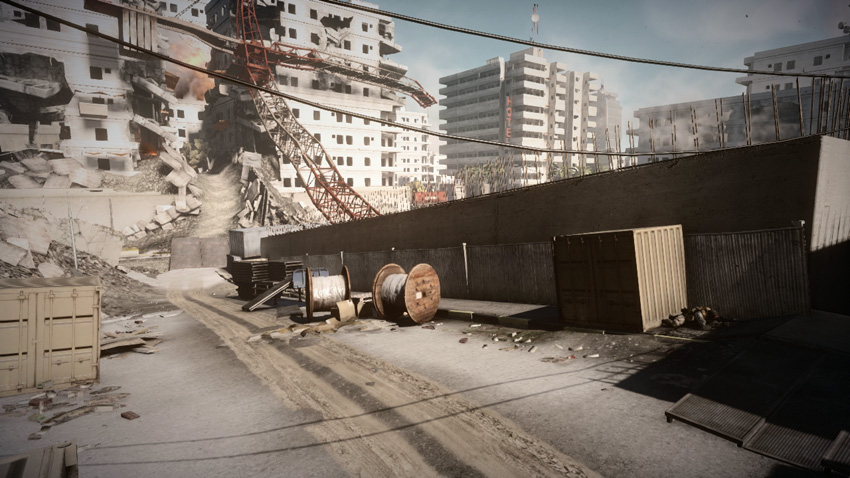
After destroying the first two objectives, the US team’s deployment area shifts to the Construction area, putting troops spawning here only a few meters from the next set of M-COM stations at the Crossroad. While infantry deploy from the Construction area, the Phoenix still spawns back at the park to the northeast. Given the lack of cover surrounding the new objectives, the Phoenix plays an even more crucial role in this phase of the battle. Consider parking it along the street directly north of the objectives and use its weapons to suppress defenders positioned by the Hotel. Attacking troops should also make an effort to secure the streets and alleys adjacent to the Highrise. Cutting through this rubble-filled area of the map is a great way to stage flanking attacks on M-COM Station B.
RU Deployment
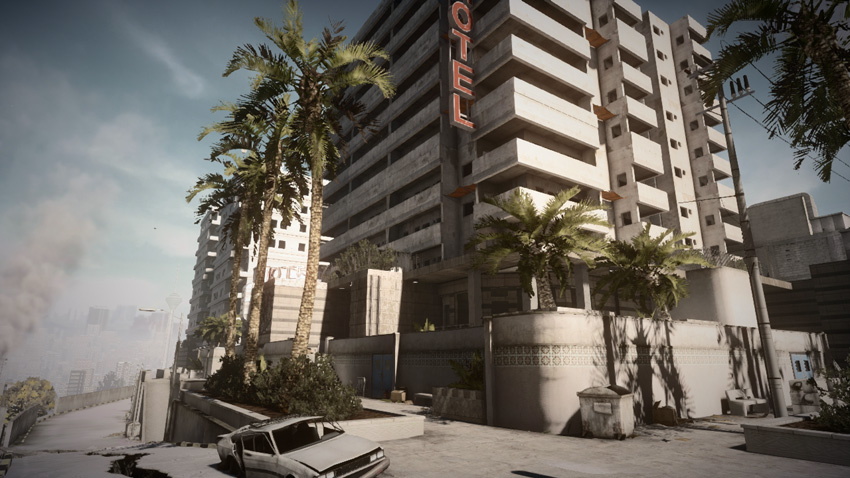
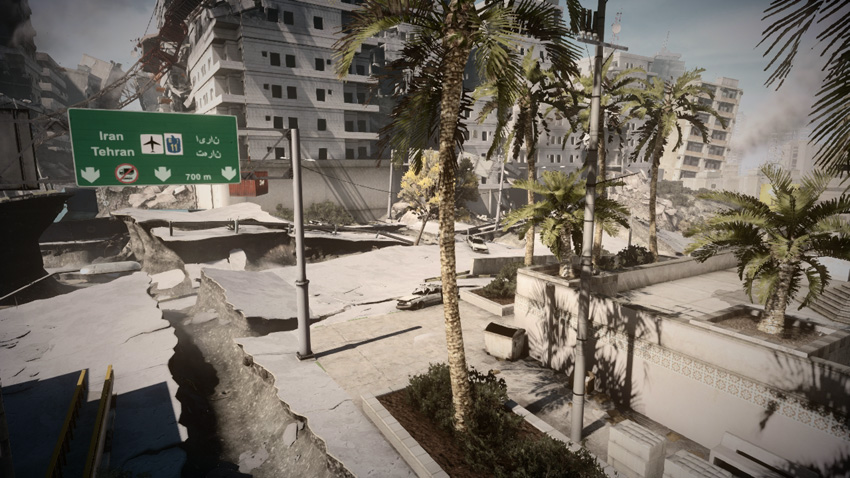
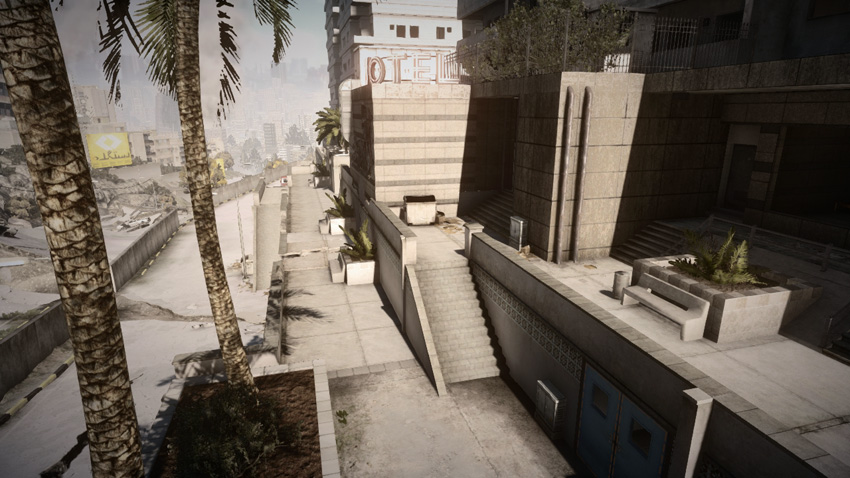
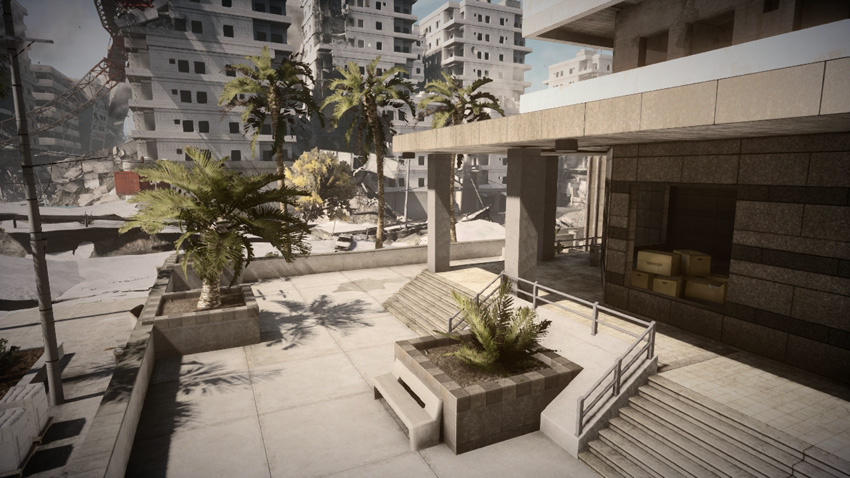
Having lost control of the objectives at the Construction area, the RU team is pushed back to the west in preparation for the next phase of the battle at the Crossroad. Once again, the RU team has no access to vehicles, so it’s up to infantry to halt the attackers. Although infantry combat dominates this phase, make sure your team has a few engineers handy to counter the US team’s Phoenix. If ignored, the Phoenix’s weapons can pose a serious threat. Infantry spawning here deploy from the east side of the Hotel. Early in the phase, the RU team has a few seconds to spread out among the objectives before the attackers arrive. While the upper-level walkways around the Hotel offer a nice view of the Crossroad, it’s important to position some troops near the objectives. Consider posting troops along the rippled street, covering the M-COM stations from the north and south. Also, watch for enemy movement among the alleys east of M-COM Station B.
M-COM Station A
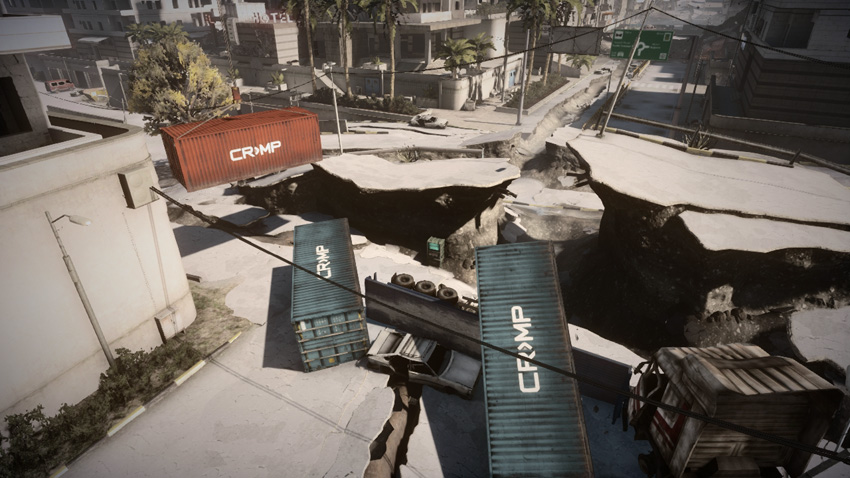
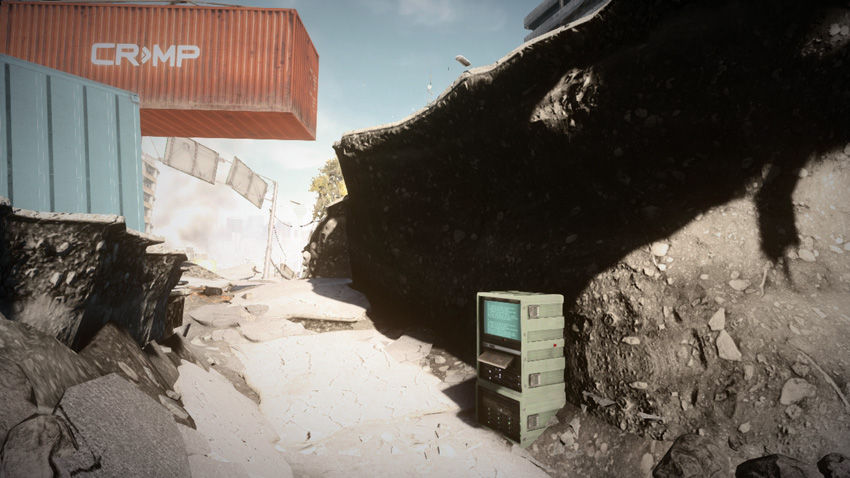
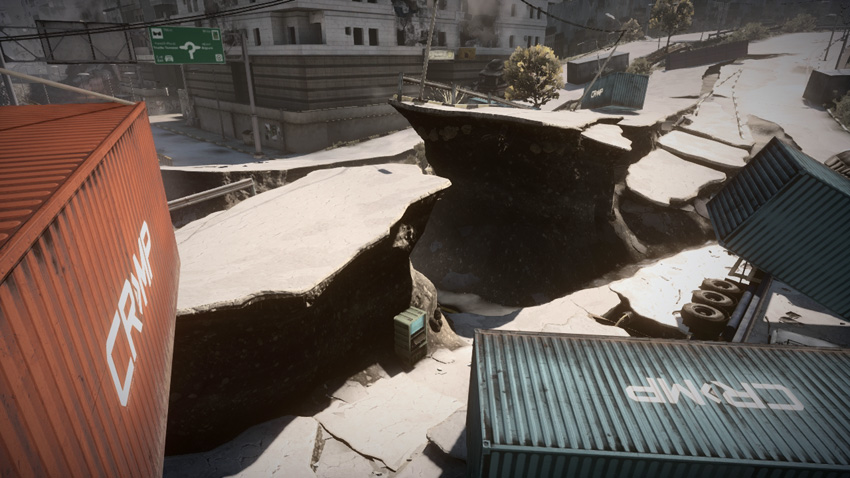
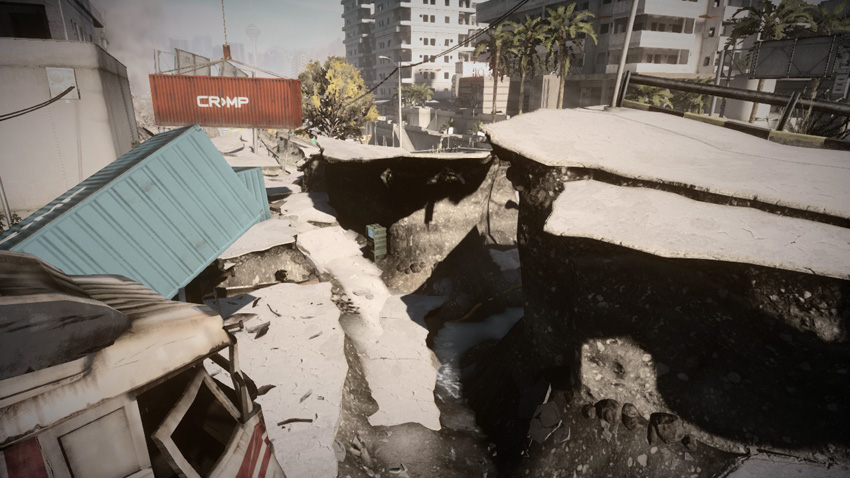
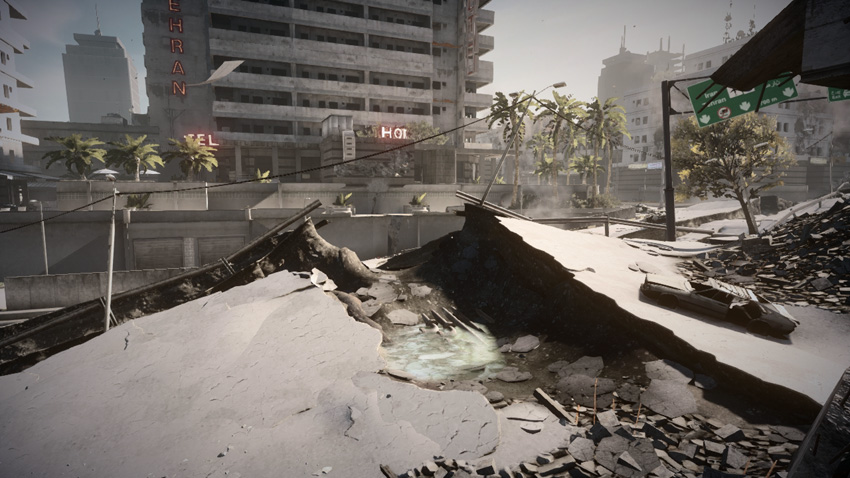
Given its close proximity to the US team’s deployment area at the Construction area, M-COM Station A is likely to come under attack first. This objective is located at the heavily damaged intersection of the Crossroad, within a deep trench-like fissure. The uplifted street on the west side of the objective makes it impossible to monitor from the Hotel, where the defenders spawn. Therefore the RU defenders must move out and cover this M-COM station from different angles, preferably from the north or south. Due to the lack of long sight lines on the objective, both teams should expect close-quarter engagements when operating in this area—carbines, PDWs, shotguns, and grenades are all very effective here.
M-COM Station B
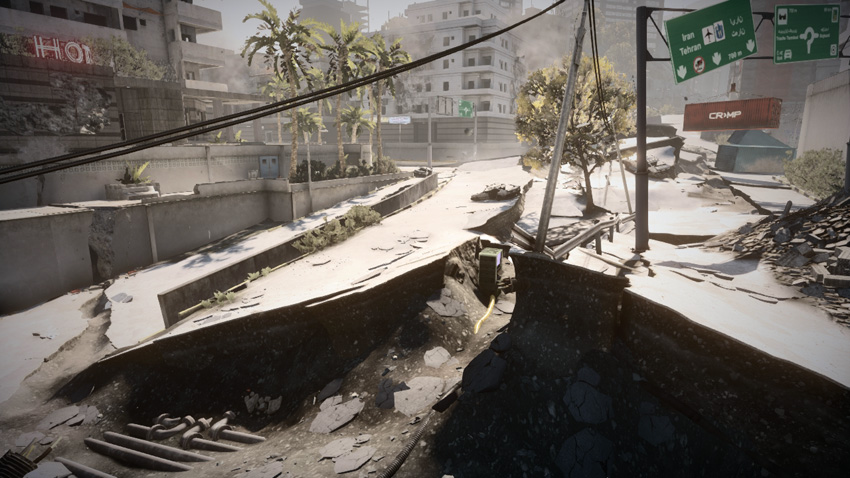
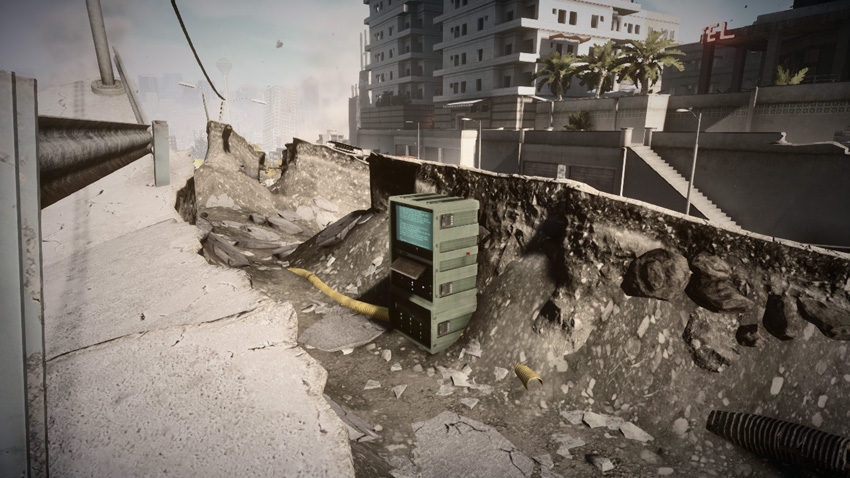
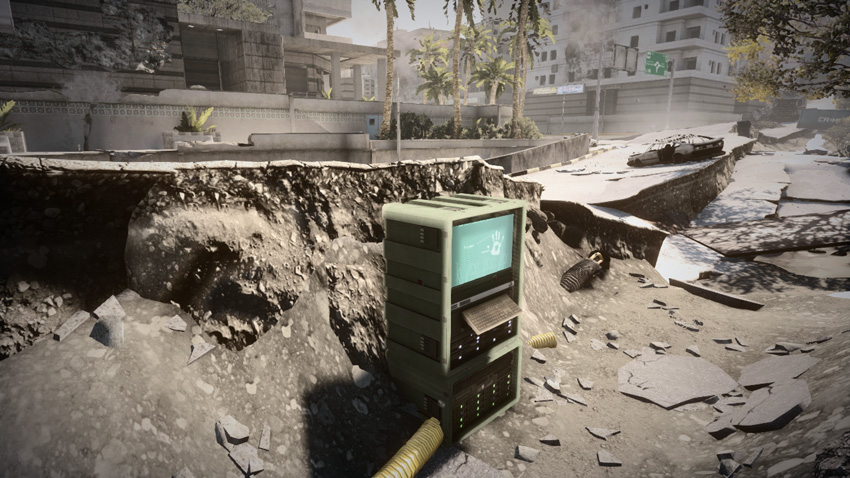
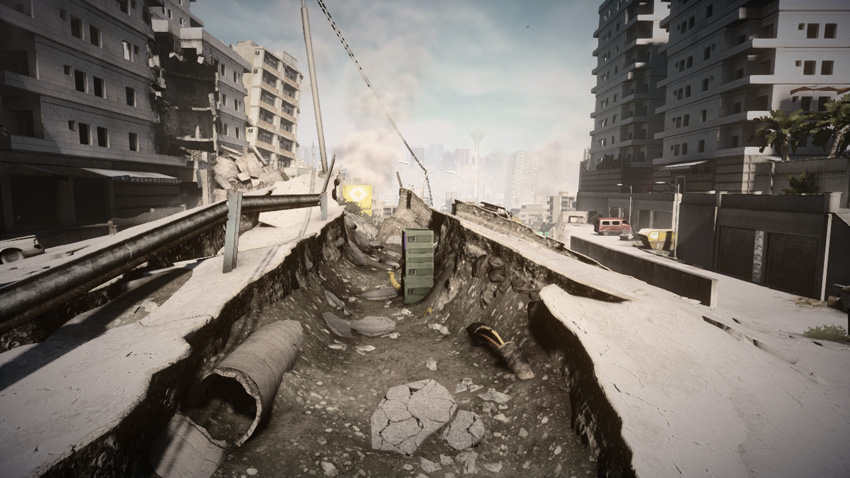
This objective is positioned just south of M-COM Station A, along the same rippled street. Although the objective is sitting in a shallow trench and surrounded by debris, M-COM Station B is much more exposed than its nearby counterpart. For the defenders, this makes the objective much easier to monitor from long range—consider taking up positions near the Hotel to the west. The trench does afford some useful cover when tampering with the objective, but stay low (by crouching or dropping prone) when attempting to arm or disarm a charge. When attacking here, approach from the alley to the east (near the Highrise) and saturate the objective with smoke before rushing in to set the charge.
Zone 3: Hotel
US Deployment

Deployment Area Assets
| Name | Quantity | Respawn Time |
|---|---|---|
| Phoenix | 1 | 30 sec. |
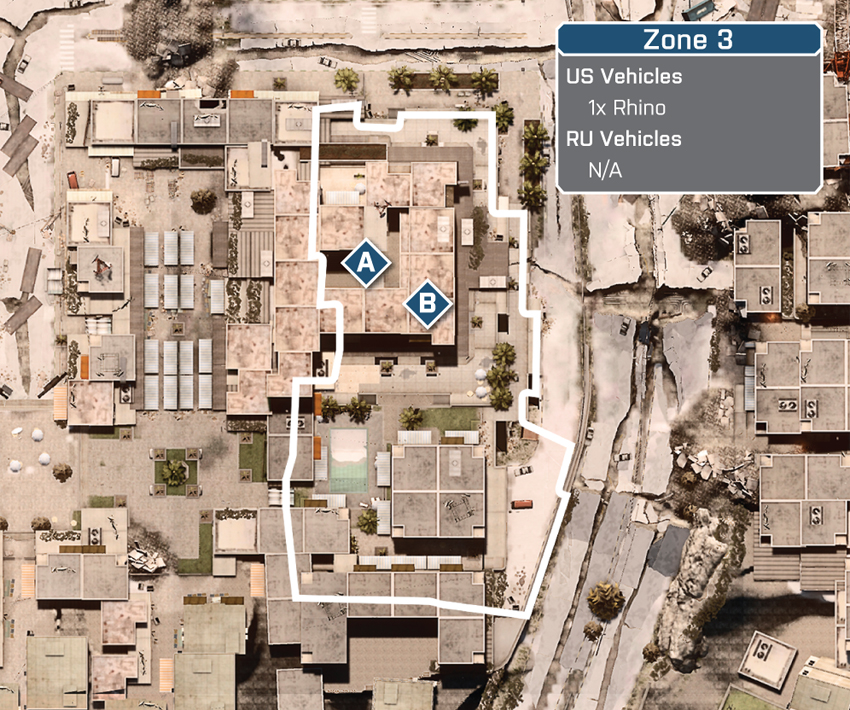
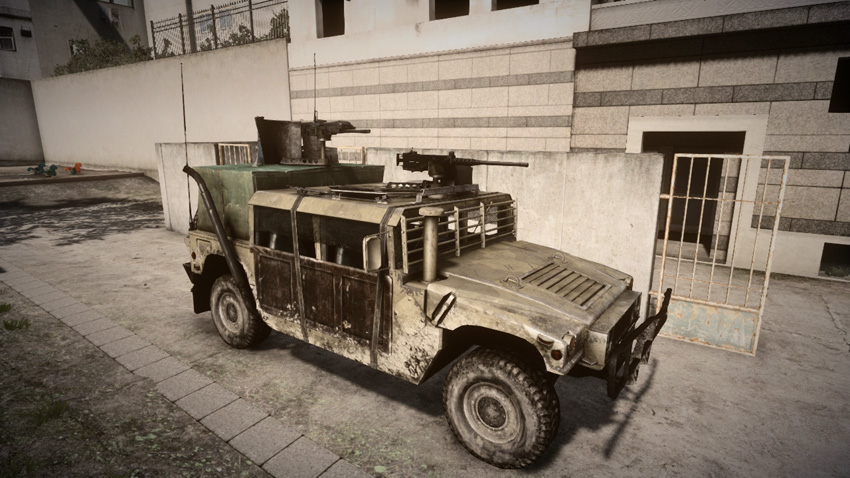
In the final phase of the battle, the US team deploys near the Crossroad, across the street from the Hotel. The US team still has access to a single Phoenix as well, still deploying back at the park. Since the next objectives are located within the Hotel’s interior, the Phoenix can only serve a limited role as a transport. However, its weapons are still very effective for suppressing the defenders guarding the Hotel’s exterior. Park the vehicle near the Crossroad intersection and target the defenders posted on the east side of the Hotel, aiding friendly troops while crossing the torn-up street. Defenders at the Hotel have an elevation advantage, so utilize smoke for concealment and the rubble in the street for cover while making a move on the objectives. Head for the Hotel lobby first to secure M-COM Station A, then encircle M-COM Station B to achieve victory.
RU Deployment
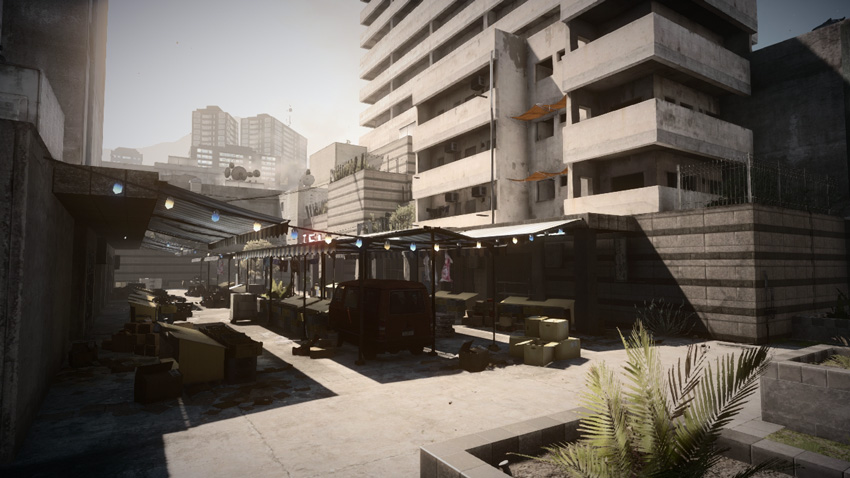
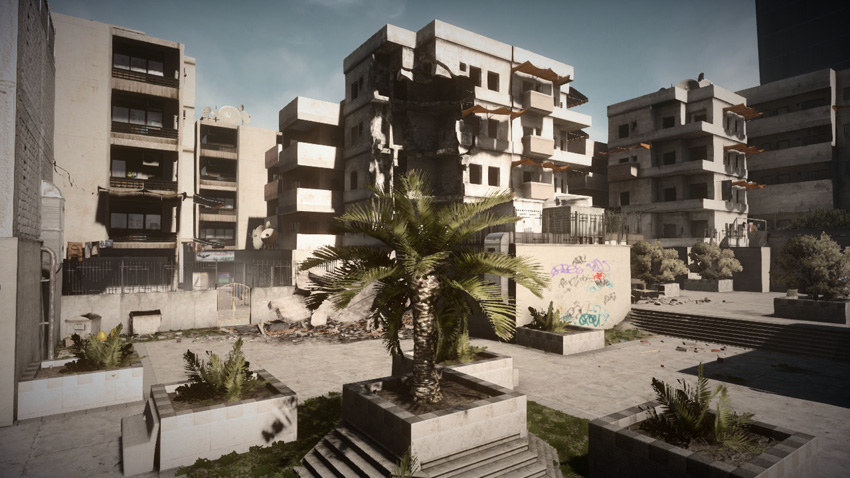
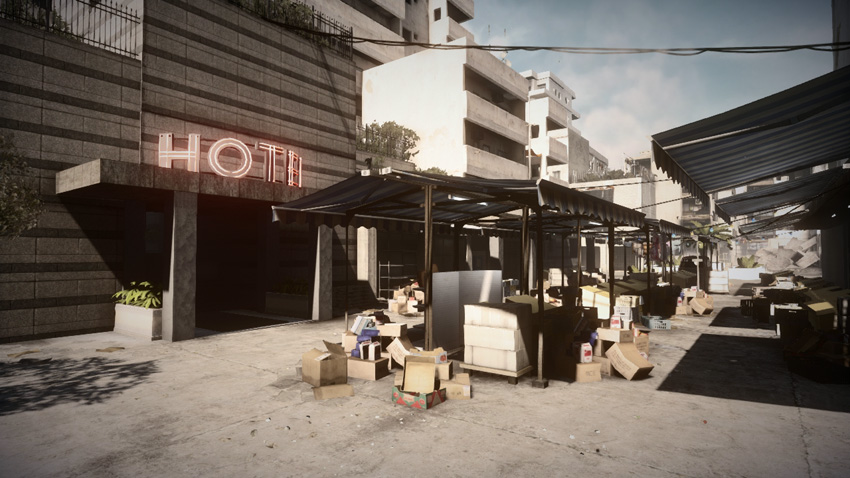
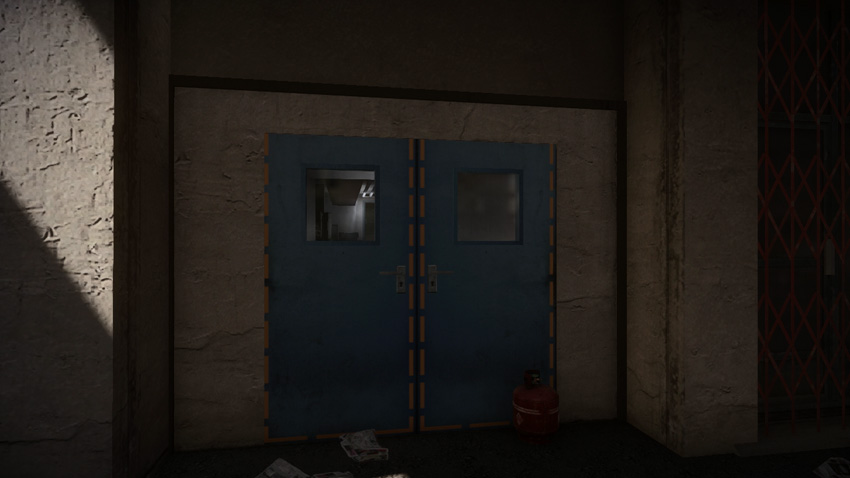
This is the RU team’s last chance to hold out for a win. Fortunately, the placement of the objectives in this phase, within the Hotel, gives the defenders a good chance of holding back the attackers. During this phase, the RU team deploys on the west side of the Hotel, which gives them easy access to the lobby, where M-COM Station A is positioned. A maintenance corridor on the west side of the Hotel connects to the southern promenade, not far from M-COM Station B—shoot the red gas tank by the blue double doors to access this shortcut. Defending the street on the east side of the Hotel is a good way to bog down the attackers at the Crossroad. But always keeps at least one squad positioned near each objective. Also, keep an eye on the Hotel’s eastern maintenance corridor connecting to the lobby—this is a very popular avenue of attack.
M-COM Station A
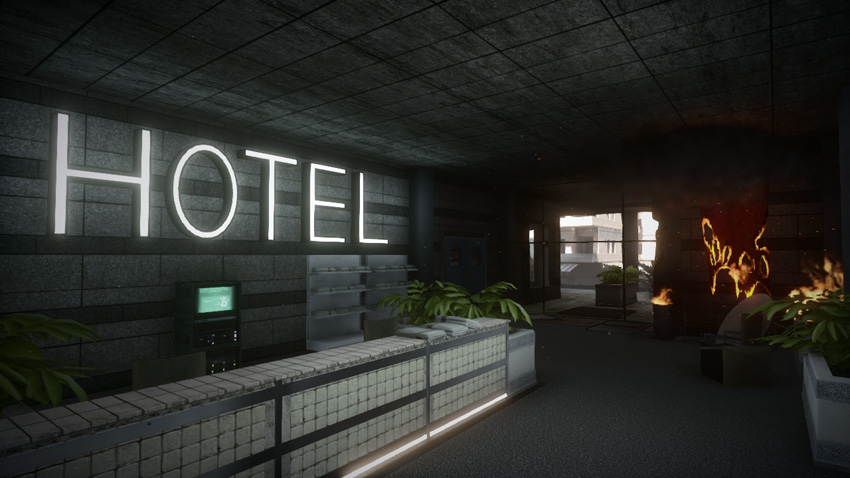
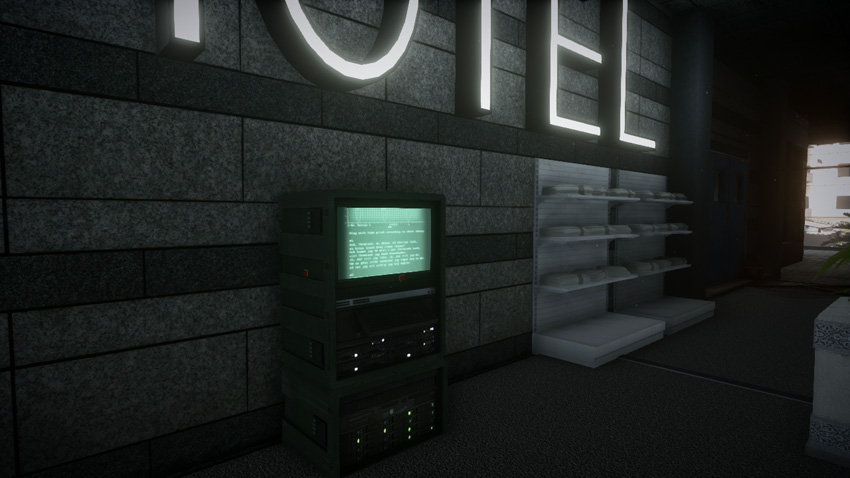
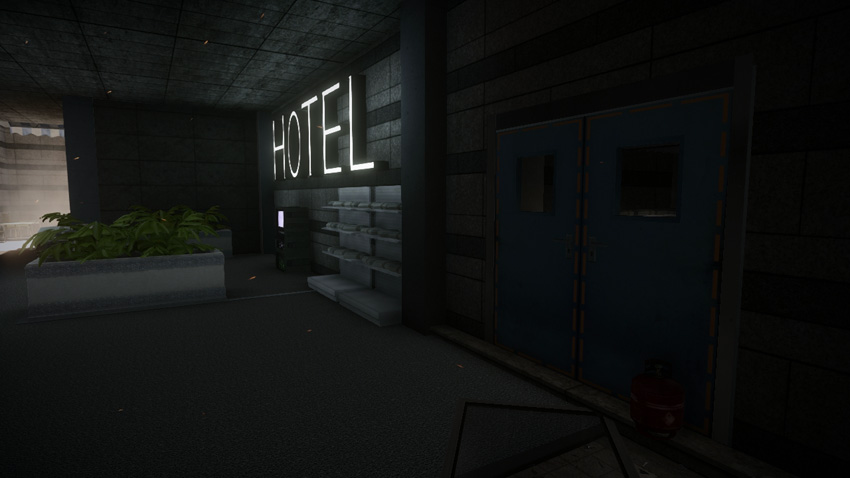
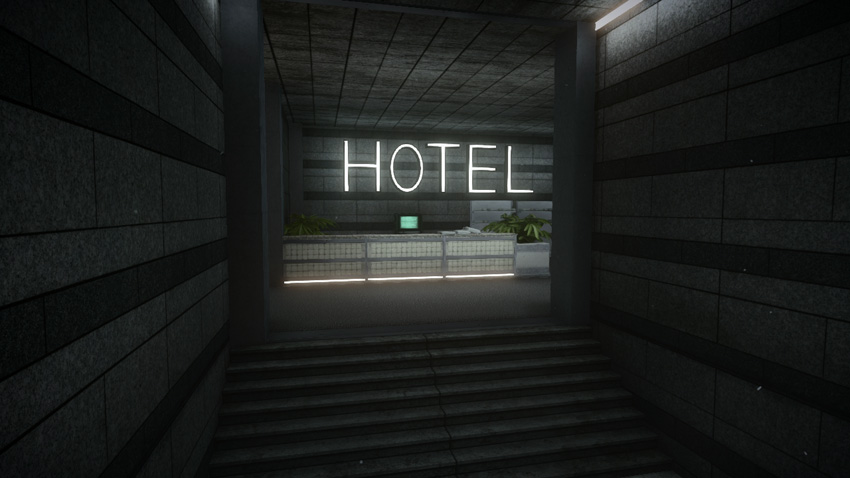
M-COM Station A is in the Hotel lobby, behind a reception desk. This is a very contentious area with multiple access points. The attackers are most likely to approach from the north side or the eastern maintenance corridor. This corridor is accessible from the exterior of the Hotel with two destructible doorways on the northeast corner—shoot the red gas tanks next to each set of blue double doors to gain access to this shortcut. The defenders should keep a squad posted in this corridor at all times to prevent flanking attacks. Whether fighting in the maintenance corridor or within the lobby itself, be prepared for close-quarter fighting—PDWs and shotguns are ideal for such engagements.
M-COM Station B
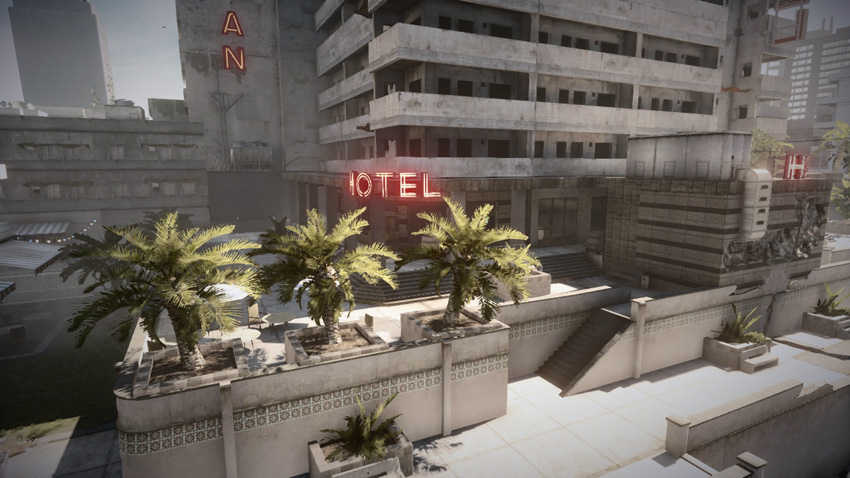
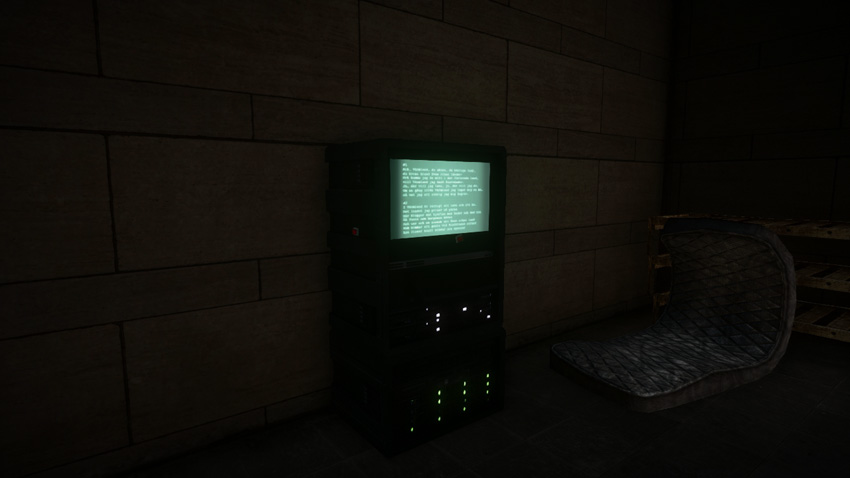
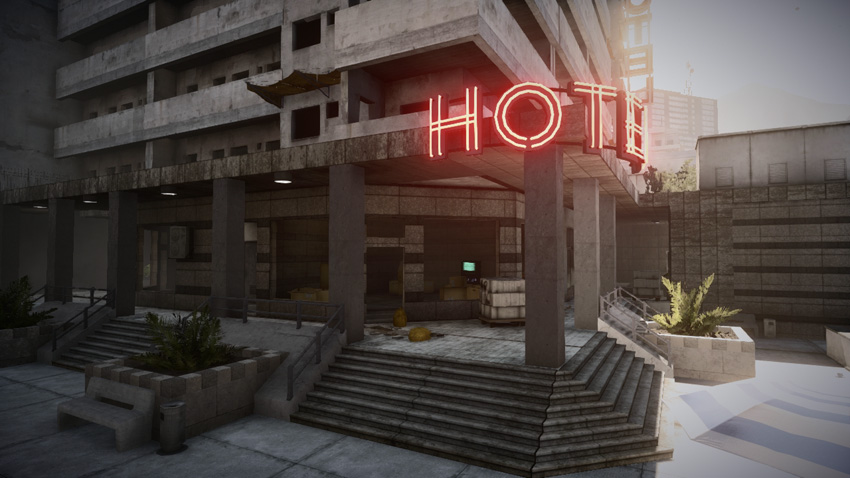
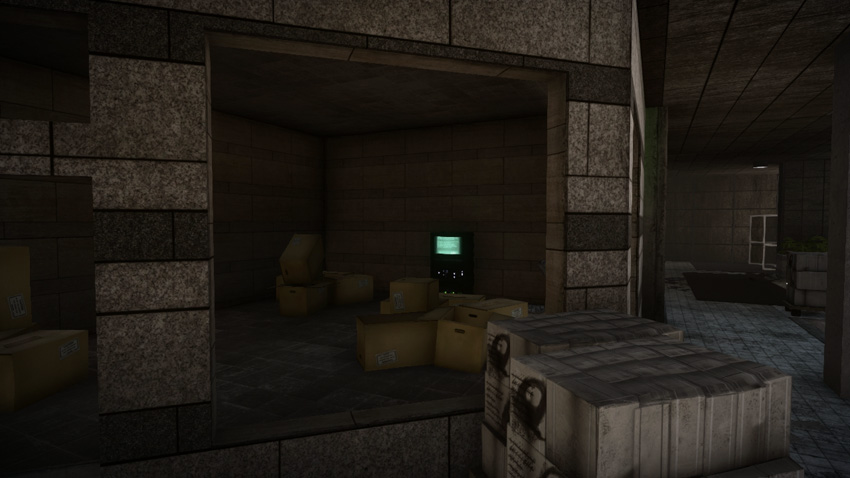
This objective is located within an abandoned storefront on the Hotel’s southeast corner. Defenders posted here have a significant elevation advantage over the attackers approaching from the street to the east. The nearby staircases often become deadly choke points as attackers rush toward the objective. Instead of staging direct assaults up the nearby steps, the attackers should look for flanking opportunities. Advancing through the eastern maintenance corridor is a good way to sneak up on M-COM Station B, approaching the objective from the lobby. Given the varied approaches on the objective, defenders should deploy T-UGS motion sensors as an early warning system. As a final deterrent, placing Claymores and C4 around the objective is also effective.