
Battlefield 3 Premium Guide Battlefields Rush
Seine Crossing
In this Rush battle, the US team advances through the streets of Paris in a drive to destroy eight M-COM stations scattered across four zones. The assault starts in the south and eventually crosses the Seine before heading north toward the bank plaza.
The US team has access to an LAV-25 throughout the duration of the match, which gives them a slight advantage. But the LAV-25 must be deployed wisely to prevent it from becoming nothing more than a flaming wreck.
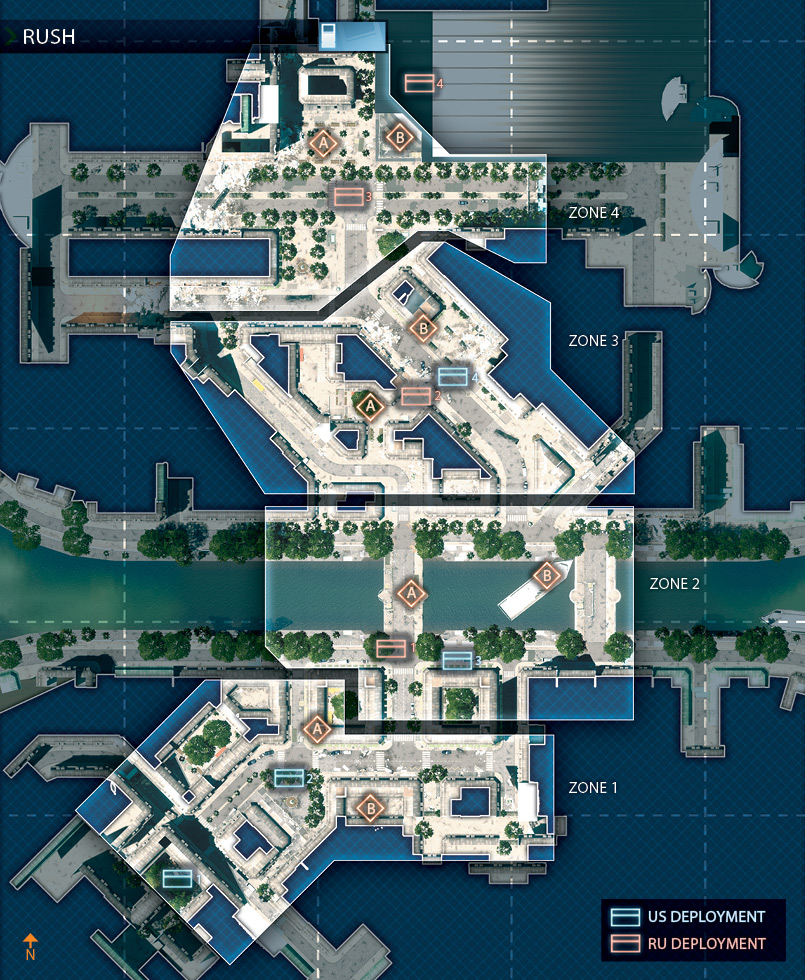
In each zone, there is one objective where the LAV-25 can’t support the US advance directly, leaving it up to infantry to fight it out. It’s in these areas where the RU team has the best chance of holding out for a victory.
Regardless of whether you’re attacking or defending, prepare for some intense urban combat. As usual, make an effort to avoid the streets. Instead, utilize the less traveled side alleyways to approach the objectives from unpredictable directions.
ZONE 1: SOUTHERN STREETS
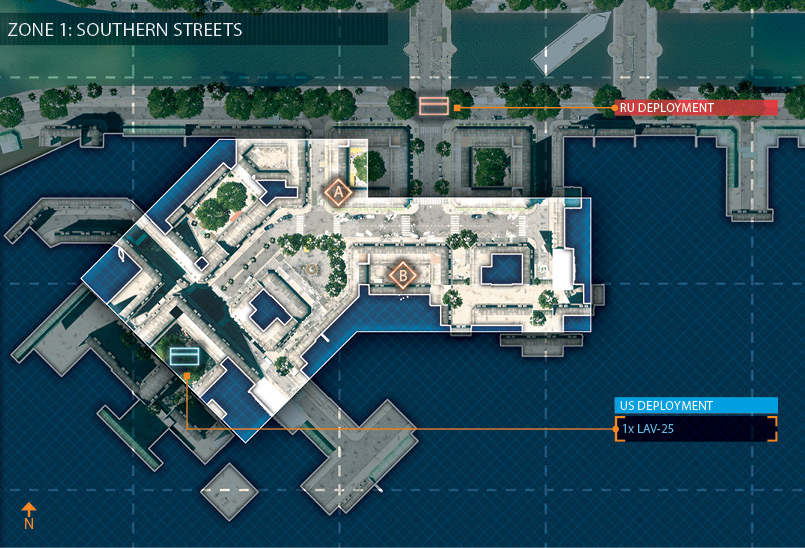
B M-COM STATION A
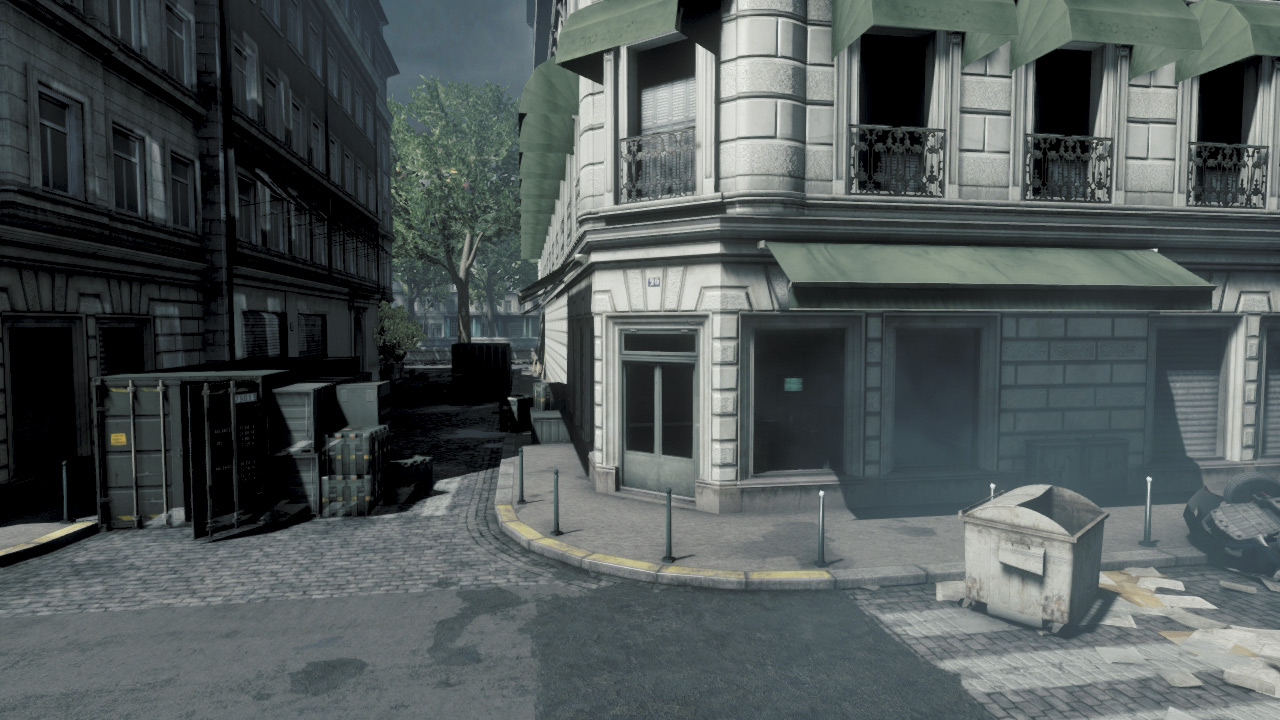
M-COM Station A is housed within a corner store on the west side of the street. RU defenders posted here should expect heavy action as the LAV-25 attacks from the south end of the street. While the LAV-25 can blow holes in the walls of the store, it can’t damage the M-COM station.
But in terms of providing fire support, the LAV-25 is absolutely deadly. So RU defenders posted here must take out the LAV-25 as quickly as possible.
After destroying the LAV-25, the RU team must secure the area around the store, while being sure to watch the street to the south as well as the adjacent narrow street to the west.
When playing as the US, the LAV-25 is key to securing the area around the store. Park the LAV-25 to the south and use it to bombard the RU team’s positions while infantry advance along the street toward the store.
Always toss grenades into the store before entering to kill any defenders hiding near the M-COM station. Once a charge has been set, prepare for the RU counterattack approaching from the north.
M-COM STATION B
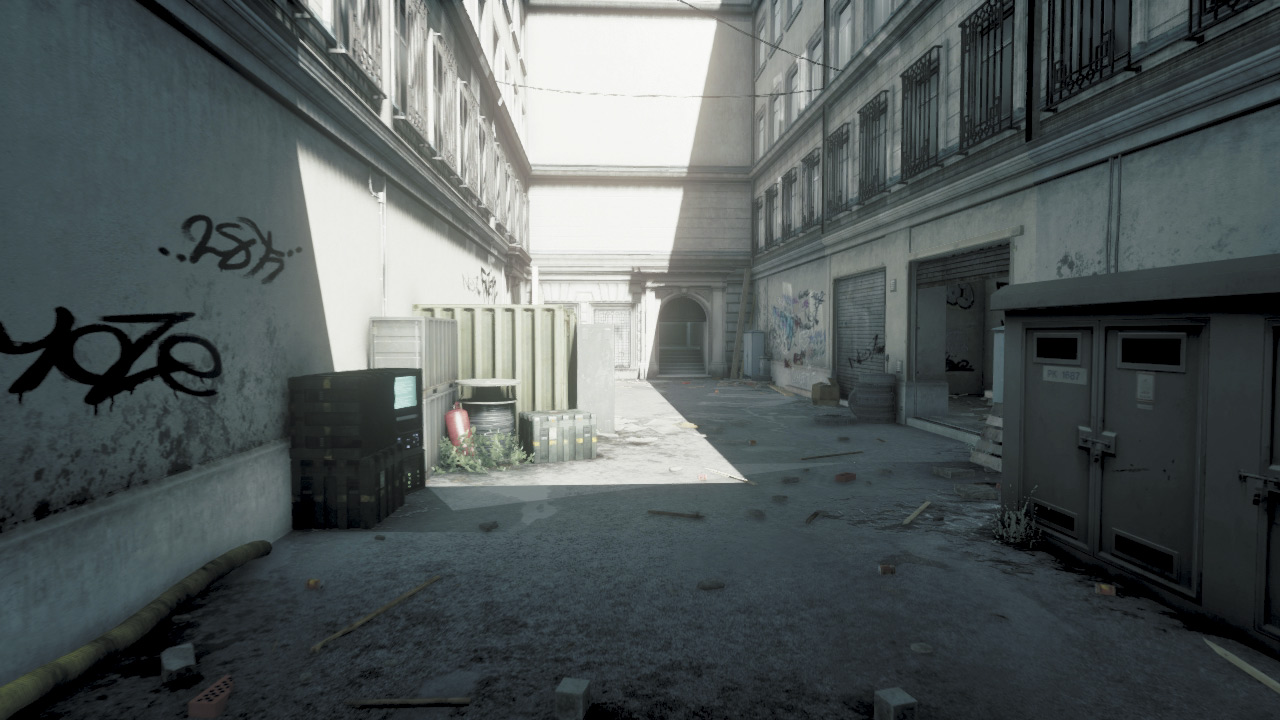
This objective is situated in an enclosed alley on the opposite side of the street from M-COM Station A. There is no vehicle access here, so the RU defenders don’t have to worry about the LAV-25 providing direct fire support for the attackers.
The narrow passages leading into this alley serve the defenders well, allowing them to focus their fire on these choke points to gun down their opponents.
The southwestern passage is the most common entry point for the attackers and should be covered at all times. The objective can also be watched from the small garage on the south side of the alley.
This is a good hiding spot for attackers and defenders alike. But gaining access to this alley proves the most difficult part for the US team. While it’s possible to push through the southwestern passage, look for flanking opportunities and try to attack from the north or west to catch the defenders off guard.
US DEPLOYMENT
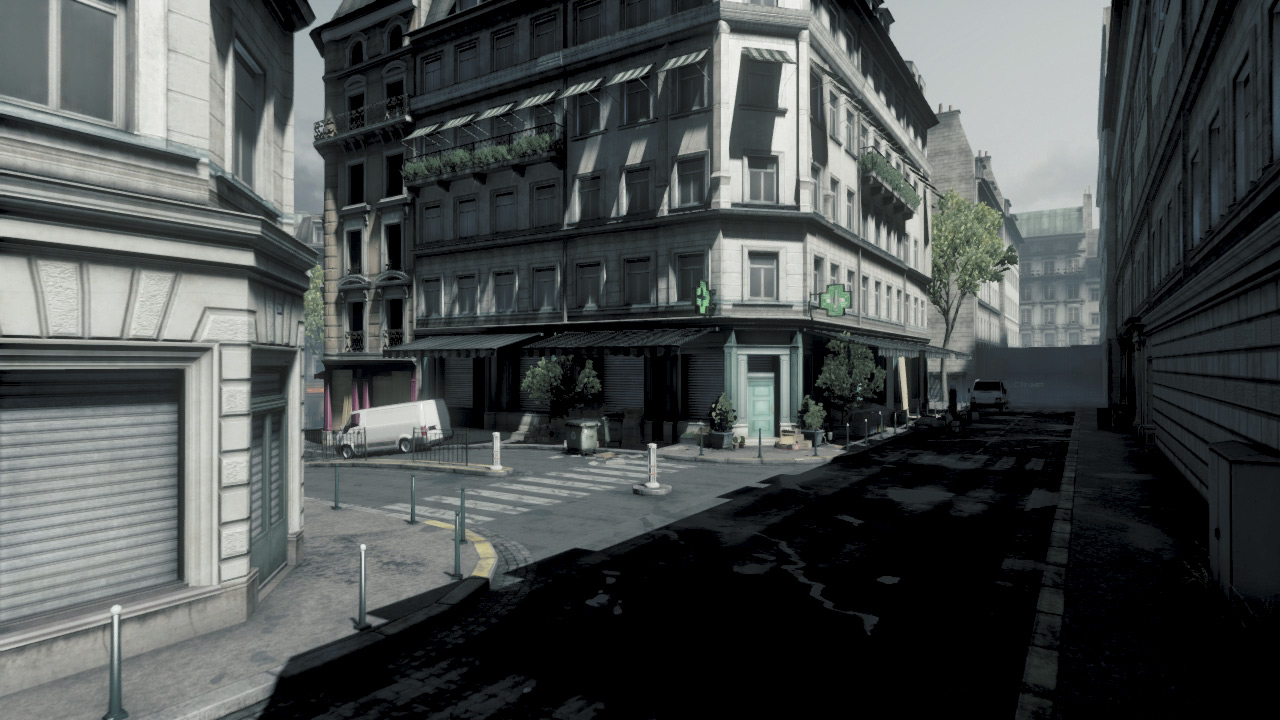
Base Assets
| Name | Quantity | Respawn Time |
|---|---|---|
| LAV-25 | 1 | 120 sec. |
The US team begins the battle in the narrow streets and alleys on the southern tip of the map. The LAV-25 spawned here is extremely useful in supporting the advance toward the objectives to the north.
Instead of using it to charge headlong into throngs of RU troops, position it on the street south of the objectives and provide fire support from a distance.
The LAV-25’s auto-cannon and machine gun turret are great for suppressed defenders positioned around M-COM Station A. But the IFV is likely to take a lot of fire, so make sure some engineers are nearby to constantly repair it.
Even if the LAV-25 doesn’t score many kills, it serves as a useful enemy distraction, allowing friendly troops to approach the objectives. If the LAV-25 is destroyed, it takes a full two minutes for it to respawn.
So use this vehicle wisely to give your team the upper hand during this advance.
RU DEPLOYMENT
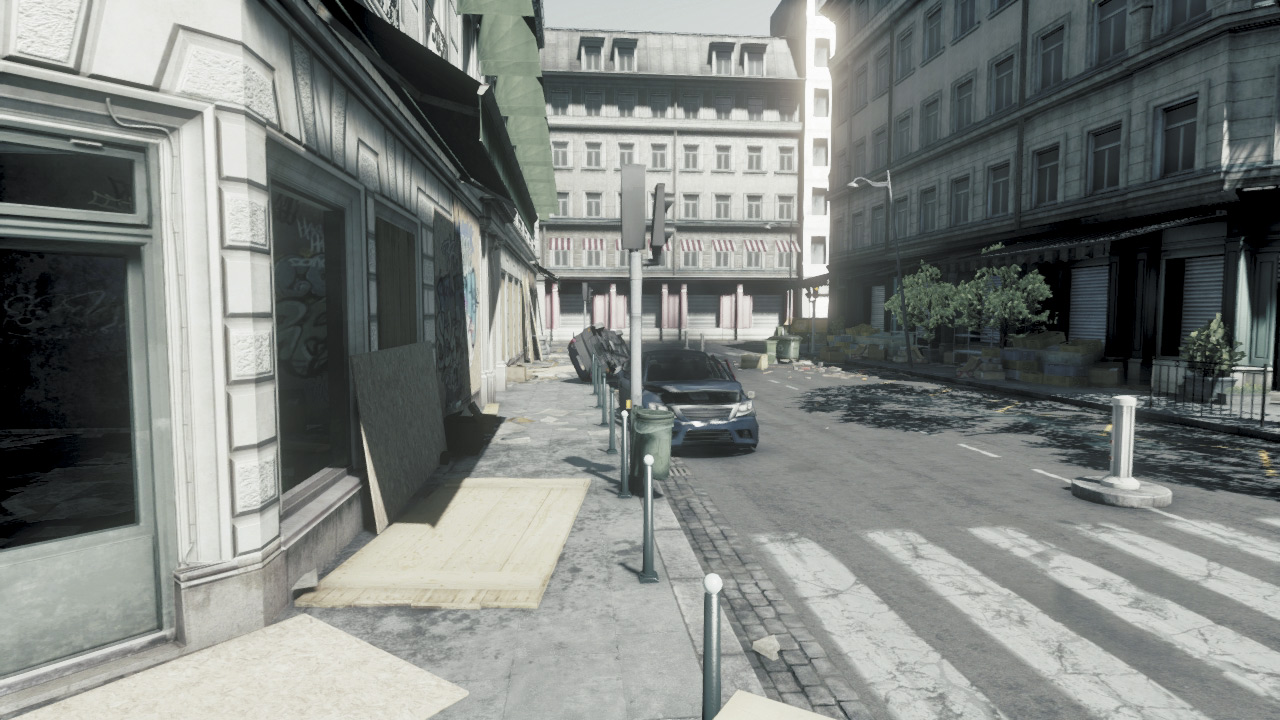
The RU team spawns near the western bridge spanning the Seine, just north of the objectives. This doesn’t give them much time to reach the objectives before the US troops do.
And with no vehicles at their disposal, the RU defenders must sprint toward the objectives in an effort to form a defensive line. Division of labor is very important in this first stage, as the objectives must be covered by two distinct groups.
Those defending M-COM Station A should prepare to deal with the US team’s LAV-25; engineers armed with anti-tank weapons are essential.
M-COM Station B is more isolated and is best defended by infantry armed with close-quarters weapons like carbines and shotguns. So before the round begins, decide which objective your squad will defend and choose your class and weapons accordingly.
ZONE 2: RIVER
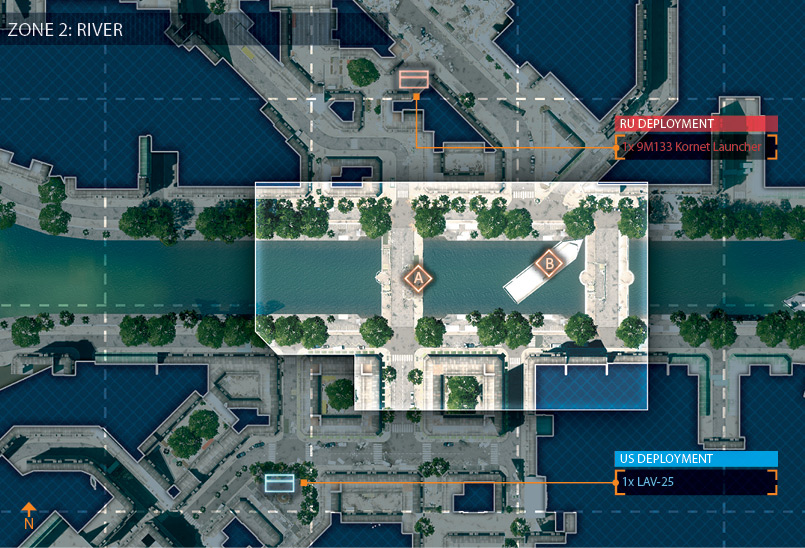
M-COM STATION A
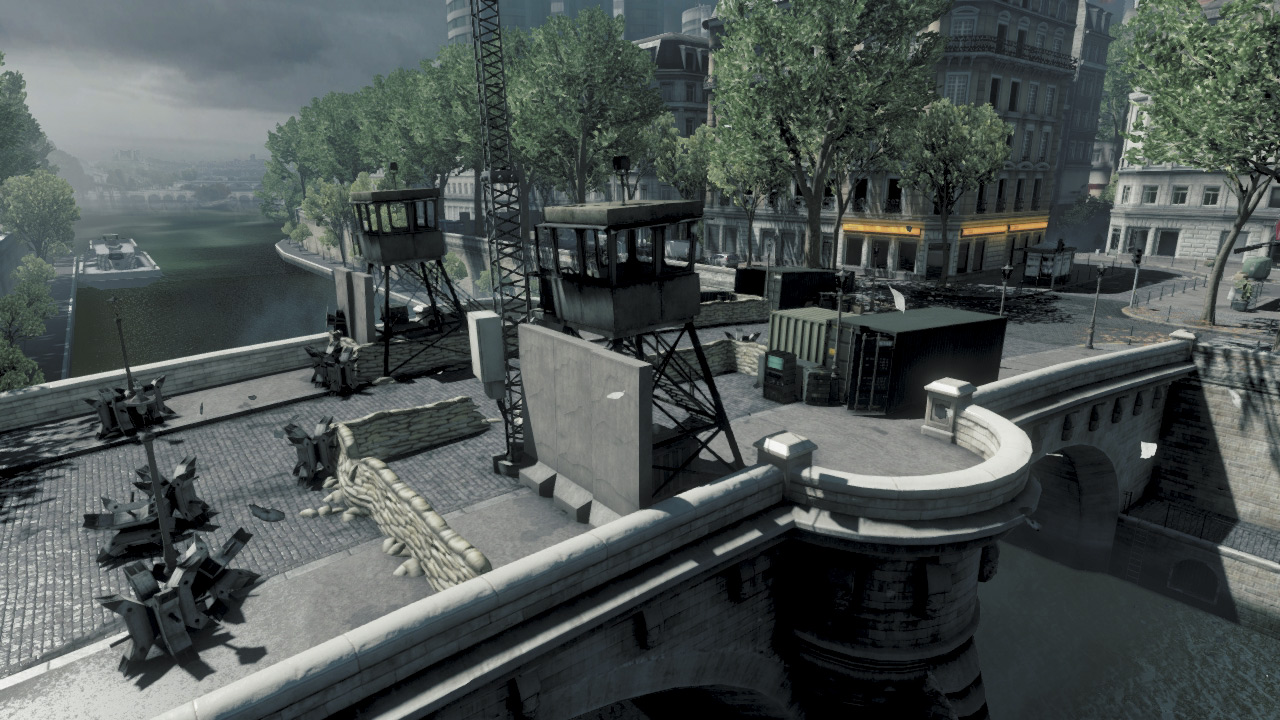
M-COM Station A is located on the heavily fortified west bridge, surrounded by a low sandbag wall and several crates. If the US team rushes this objective early, they have a chance of securing the bridge before the RU team can get into position.
So load up some troops in the LAV-25 and assault this objective aggressively. However, if the RU team reaches this position first, they have a good chance of holding back the US assault.
Defenders should quickly mine the south side of the bridge to prevent rushes by the LAV-25. Meanwhile, defenders hiding among the crates and sandbags can easily take attackers by surprise as they race toward the M-COM station.
Consider placing a Radio Beacon within the green shipping container by the objective to give your squad a presence on this bridge.
Once the bridge is locked down by the RU defenders, the US team’s best chance is to wear them down by attacking with the LAV-25 from a safe distance.
Suppressing the RU troops at the bridgecan give infantry the opening they need to reach the objective and plant a charge.
M-COM STATION B
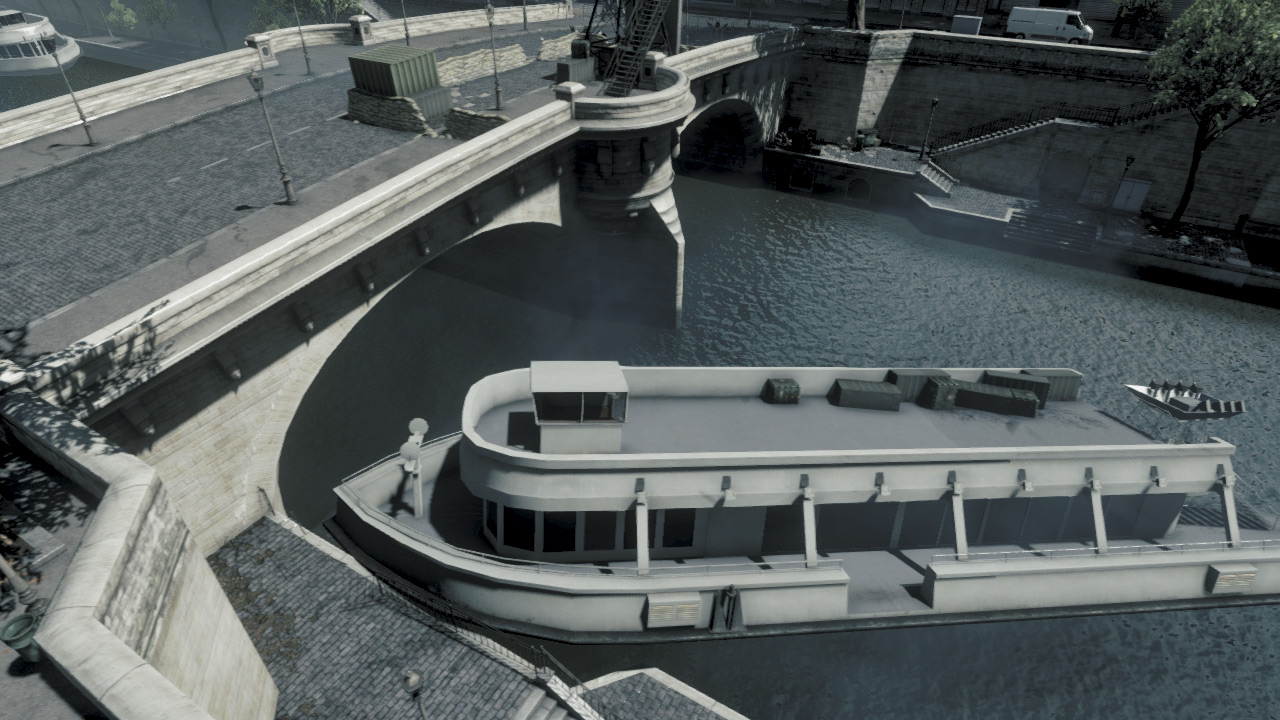
This objective is located within the listing ferry near the East Bridge. While the US team’s LAV-25 can’t approach or even fire at the ferry, it can help the attackers by securing the area around the East Bridge.
There are only a few ways to access the ferry. For the attackers, the easiest way to hop onboard is by jumping off the west side of the East Bridge and landing on top of the ferry.
Whenever possible, avoid swimming to the ferry, as it leaves you open to attack with no way to defend yourself. If you want to keep your feet dry, the northern riverbank offers the easiest way to hop onboard.
While simply reaching the ferry presents challenges for the US team, defending this objective isn’t much easier. Obviously, holding the East Bridge is the best way to control traffic in this area as well as in the river below.
But the RU team must also post defenders along the riverbanks as well as within the ferry itself to sufficiently lock down M-COM Station B. If you find yourself stuck in the river, use the ladders along the riverbanks to climb out of the water.
US DEPLOYMENT
Base Assets
| Name | Quantity | Respawn Time |
|---|---|---|
| LAV-25 | 1 | 120 sec. |
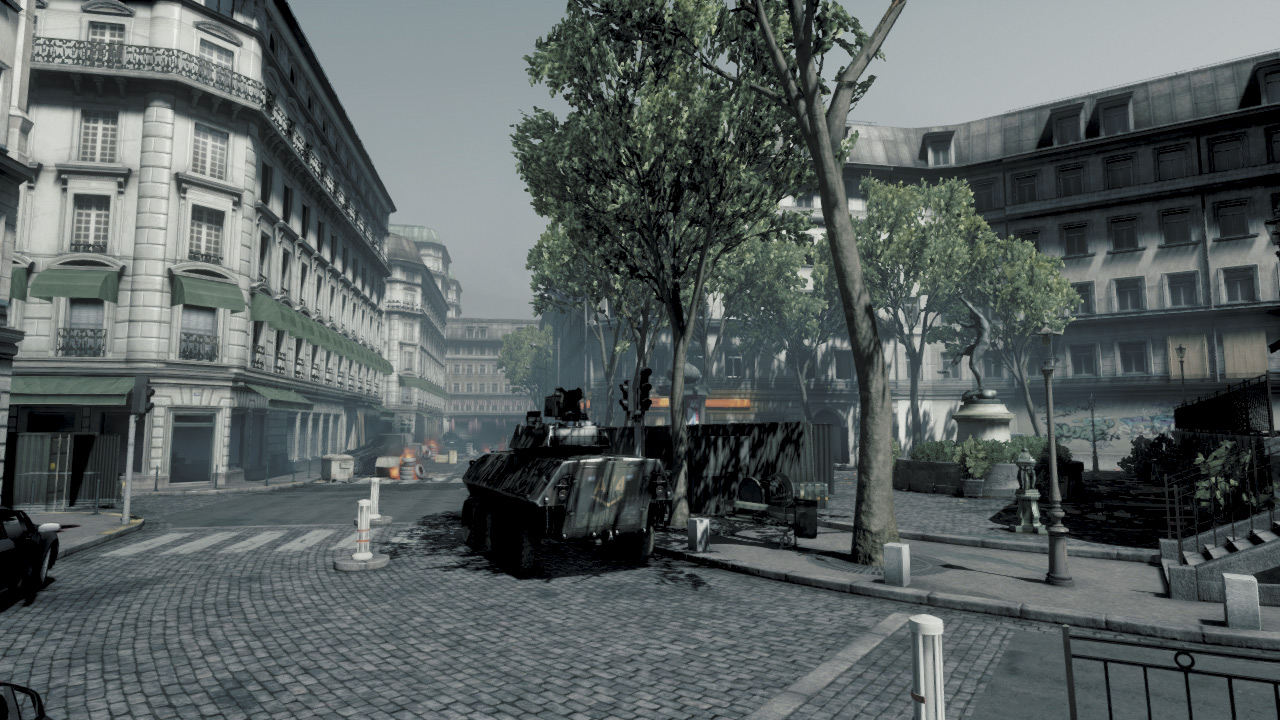
Having destroyed the first two objectives, the US now deploys from the small plaza across the street from the store. Once again, the LAV-25 is the most valuable asset in the next advance toward the objectives at the river.
As in the previous stage, use the LAV-25 as a stand-off weapons platform to hammer the defenders posted around M-COM Station A on the west bridge. But avoid driving onto the bridge itself, as it may be mined or booby-trapped with C4.
It’s best to hold on the south side of the riverbank and provide fire support from a safe distance. Make an effort to destroy M-COM Station A before going after M-COM Station B in the ferry to the east.
This allows your team to use the west bridge as an overwatch position that is ideal for covering the advance on the second objective.
RU DEPLOYMENT
Base Assets
| Name | Quantity | Respawn Time |
|---|---|---|
| 9M133 Kornet Launcher | 1 | 45 sec. |
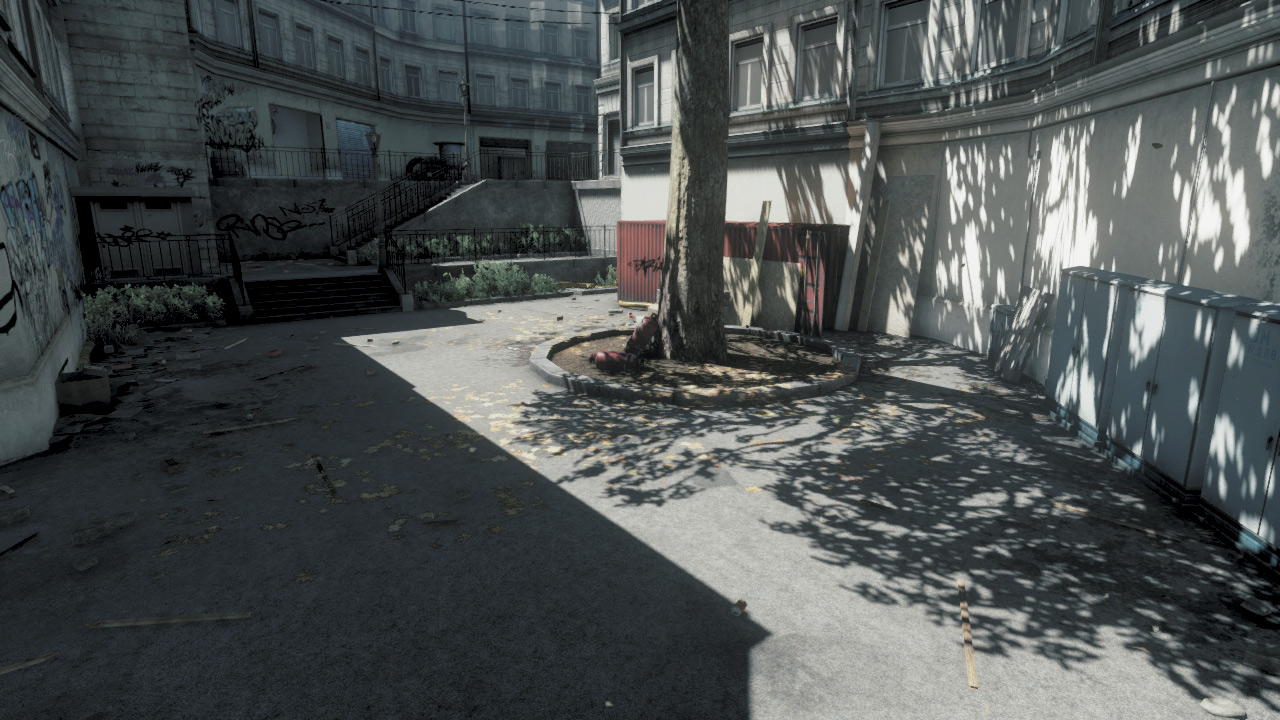
After losing their foothold on the south side of the river, the RU team deploys from an alley to the north. This time the defenders have a few extra seconds to reach the objectives along the river before the US team can advance.
Reinforcing M-COM Station A on the west bridge is the most critical, as it’s likely to come under attack first. So move engineers to the west bridge to prepare for the impending US attack, which most likely will be led by their LAV-25.
Defending M-COM Station B is equally important, so get troops near the ferry by the East Bridge. Controlling traffic along both bridges is critical to securing these objectives.
So position troops on the north side of the river and focus your fire on these narrow choke points to halt the US team’s advance. Booby-trapping the bridges with mines, C4, and Claymores is also very effective.
ZONE 3: NORTHERN STREETS
M-COM STATION A
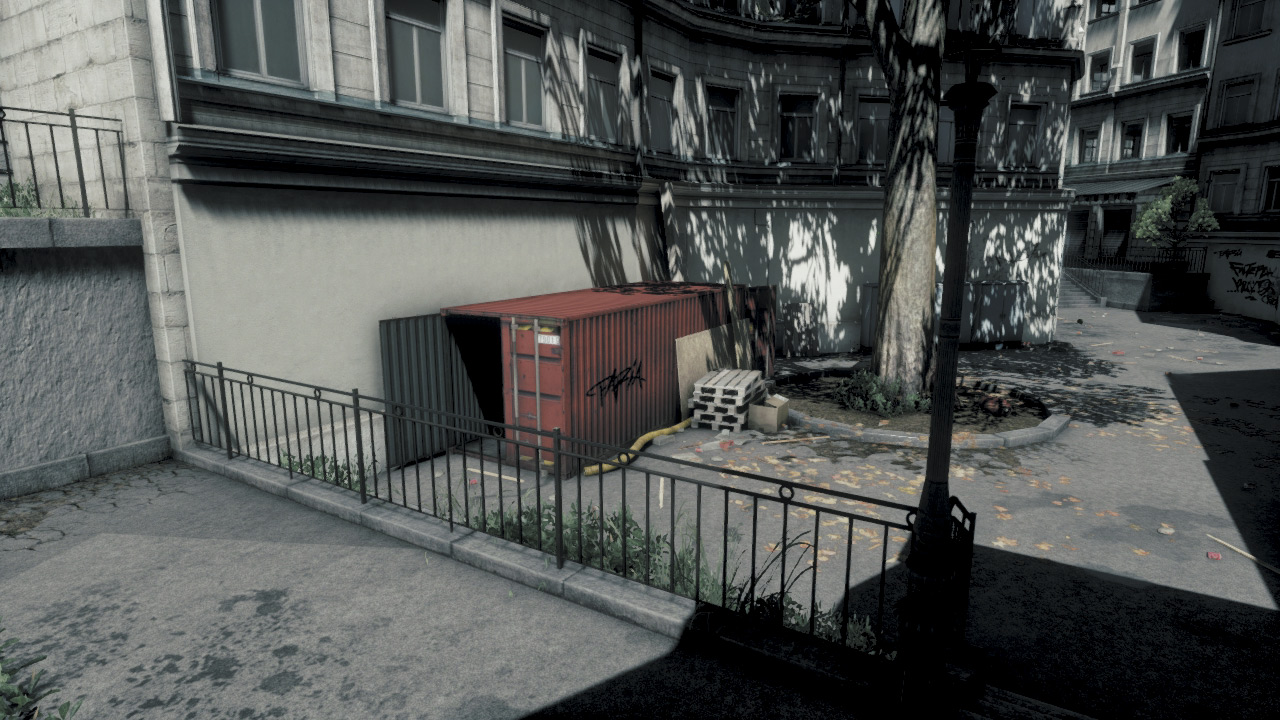
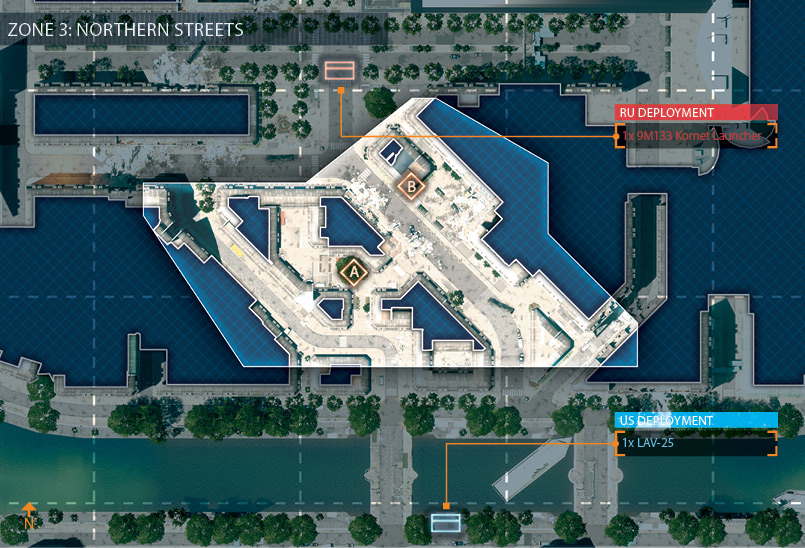
M-COM Station A is located in the Back Streets area, housed within the red shipping container. When spawning at their deployment area, the RU defenders can reach this area quickly by rushing through the alley to the north.
This gives them an elevated view of the shipping container and they can easily pick off attackers approaching from the south. Both ends of the shipping container are open, but attackers are most likely to enter from the east.
So consider placing C4 or Claymores near this entry point. When attacking this location, try to approach from the alleys to the south and east, preferably after M-COM Station B has been destroyed.
RU defenders and reinforcements are most likely to hold the high ground to the west. Securing the northern alley is the only way to effectively secure the Back Streets, so consider staging a flanking attack from this direction.
When approaching the shipping container, always toss grenades inside before entering to detonate booby traps and eliminate any defenders waiting inside. Once the charge is set, prepare to fend off counterattacks in the northern alley.
M-COM STATION B
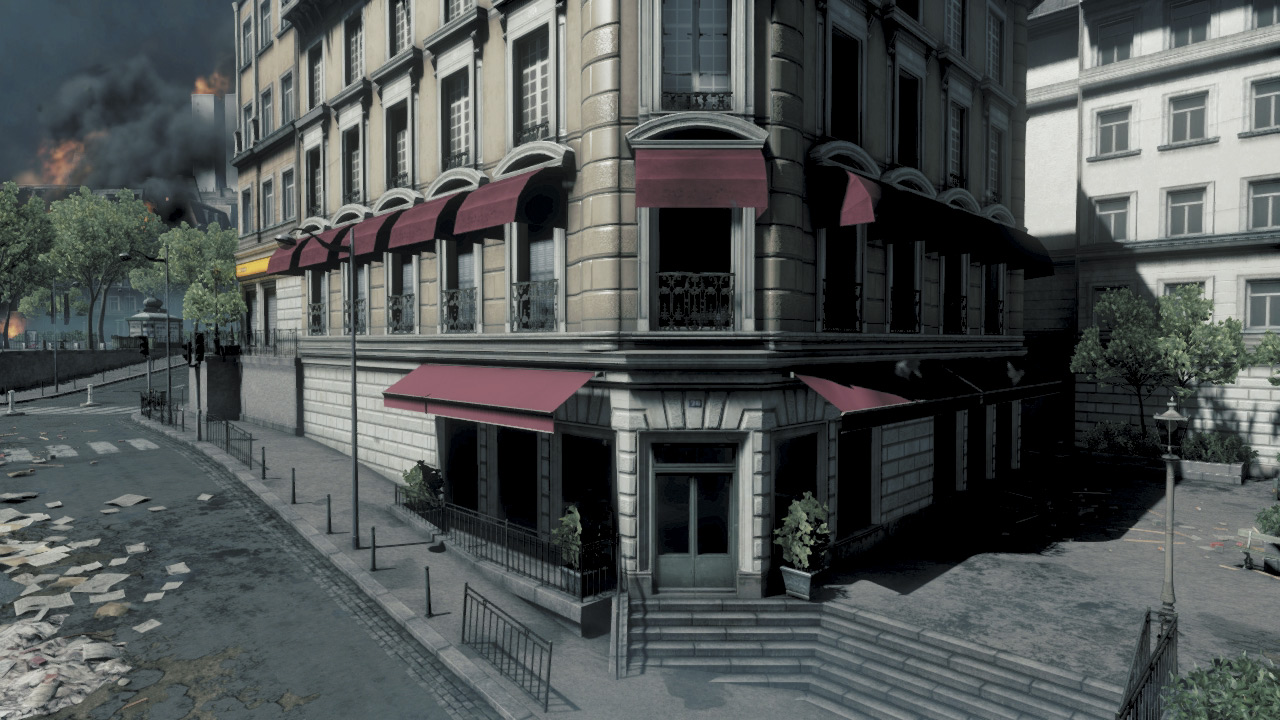
This objective is located inside the small corner store on the northwest end of Monument Square. The wide street to the south allows the US team’s LAV-25 to approach and bombard the area around the objective, so defenders must find suitable cover.
The Kornet launcher on the south side of the square has a great view of the street, so don’t forget to use it to destroy the approaching LAV-25.
There are plenty of good hiding spots around Monument Square that are useful for both attackers and defenders. On the northeast side of the square is a second-story window that is ideal for covering the southern side of the store.
There are also upper-story windows across the street to the southwest, where sharpshooters can cover the street approach—this is an excellent overwatch position for US troops, so consider planting a Radio Beacon here.
Given the numerous hiding spots, attacking this objective is always dangerous. So utilize smoke and covering fire from the LAV-25 to safely reach the store and plant the charge.
Defenders may be hiding inside, so always toss a grenade through a window before rushing to the M-COM station.
US DEPLOYMENT
Base Assets
| Name | Quantity | Respawn Time |
|---|---|---|
| LAV-25 | 1 | 120 sec. |
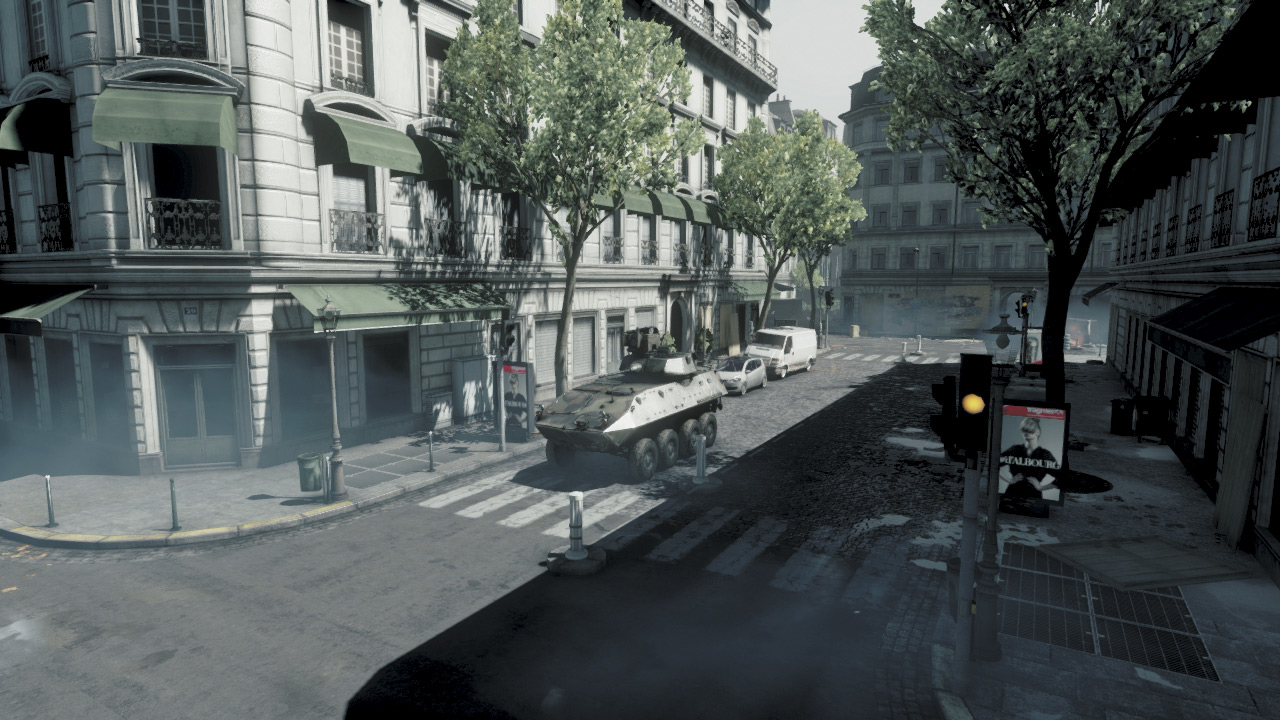
Although the US team has destroyed the objectives at the river, they still deploy on the south side. They are forced to cross one of the two bridges to reach the objectives to the north.
At the start of this stage, prepare to deal with a few RU stragglers loitering around the bridges. Quickly sweep the area for any surviving defenders before advancing toward the objectives.
The LAV-25 deploys near the west bridge, but is best used by advancing across the East Bridge and making a push toward M-COM Station B.
As in the previous zones, use the LAV-25 to pound Monument Square from a distance while infantry move in to plant the charge on the objective.
But the LAV-25 is of little use against M-COM Station A—infantry alone must enter the Back Streets where this objective is located.
RU DEPLOYMENT
Base Assets
| Name | Quantity | Respawn Time |
|---|---|---|
| 9M133 Kornet Launcher | 1 | 45 sec. |
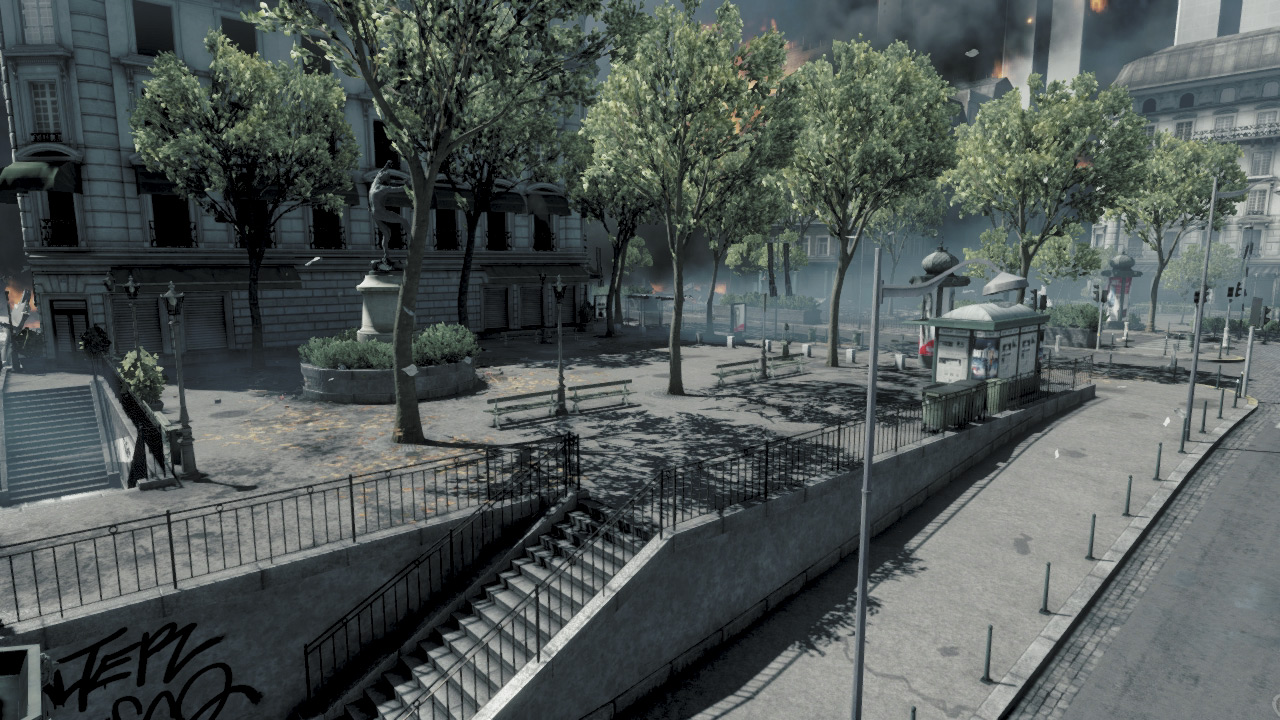
In the third stage of the battle, the RU team deploys near the intersection south of the bank. Get engineers to M-COM station B by Monument square as quickly as possible—this is the site most likely to come under attack by the US team’s LAV-25.
But don’t neglect M-COM Station A in the Back Streets. This objective is closest to the US deployment area and likely to be rushed by infantry. As in the previous zones, the environments surrounding each objective are different and require different tactics.
While defenders in Monument Square are best served by assault rifles, sniper rifles, and anti-tank weapons, the troops in the Back Streets are most effective when armed with close-quarters weapons like carbines, submachine guns, and shotguns.
So figure out where you’re going to defend before choosing your gear.
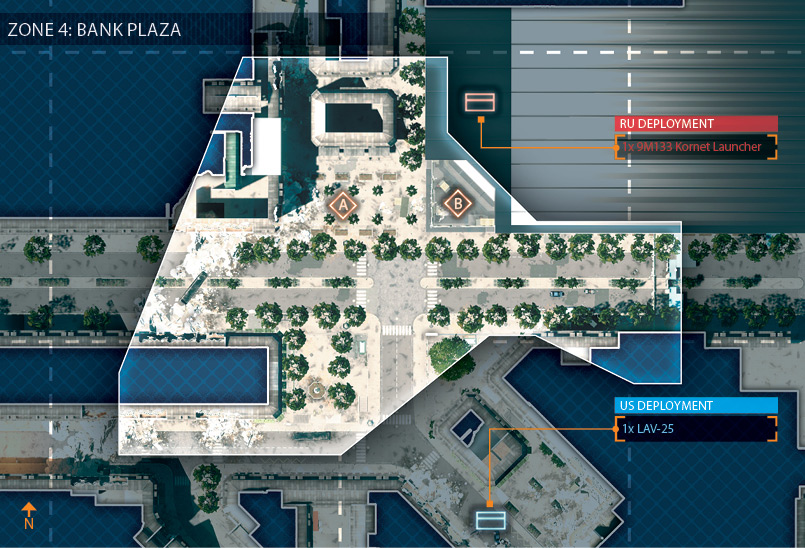
ZONE 4: BANK PLAZA
M-COM STATION A
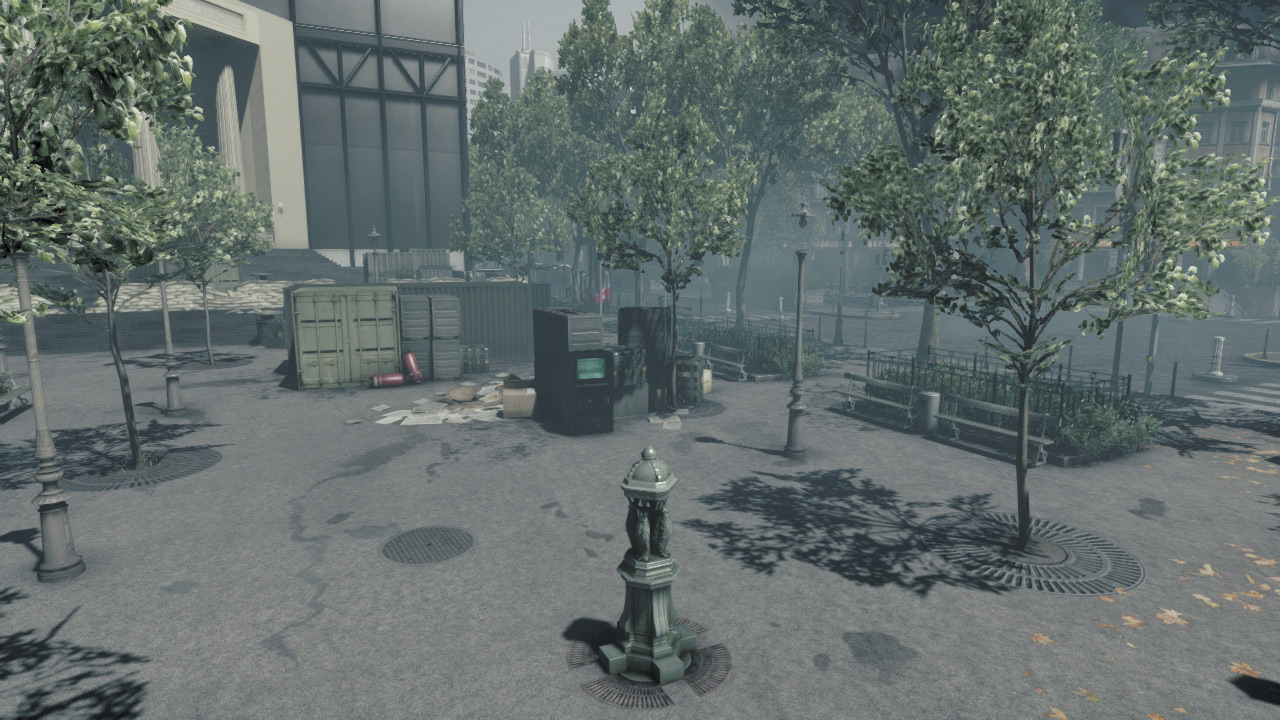
Located in the plaza outside the bank, M-COM Station A offers little cover for attackers attempting to set a charge. Once again, the attackers must rely on their LAV-25 to distract and suppress the RU defenders posted around this objective.
With some careful maneuvering, it’s possible to drive the LAV-25 onto the plaza and park it right next to the M-COM station. Then, infantry can use the vehicle as a shield while setting the charge.
The LAV-25 may not last long in such attacks, but at least its wreckage stays behind to serve as cover. If the LAV-25 isn’t available or can’t move into position, always deploy smoke on the objective before attempting to set the charge.
The RU defenders can effectively lock down this location by hiding along the perimeter of the plaza. If manpower allows, a forward defensive line to the south can also hamper the US advance as they rush along the street from their deployment area.
Patrol the square across the street to the southwest, too, as this is a popular staging area for US troops.
M-COM STATION B
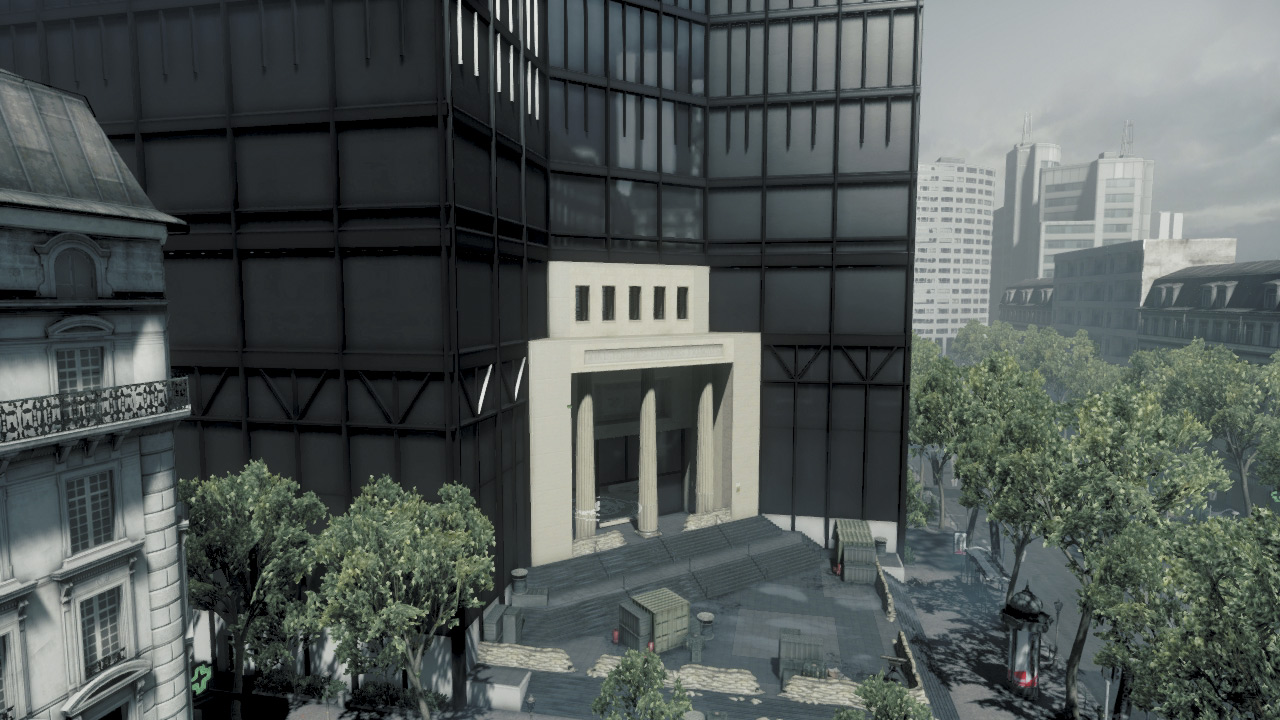
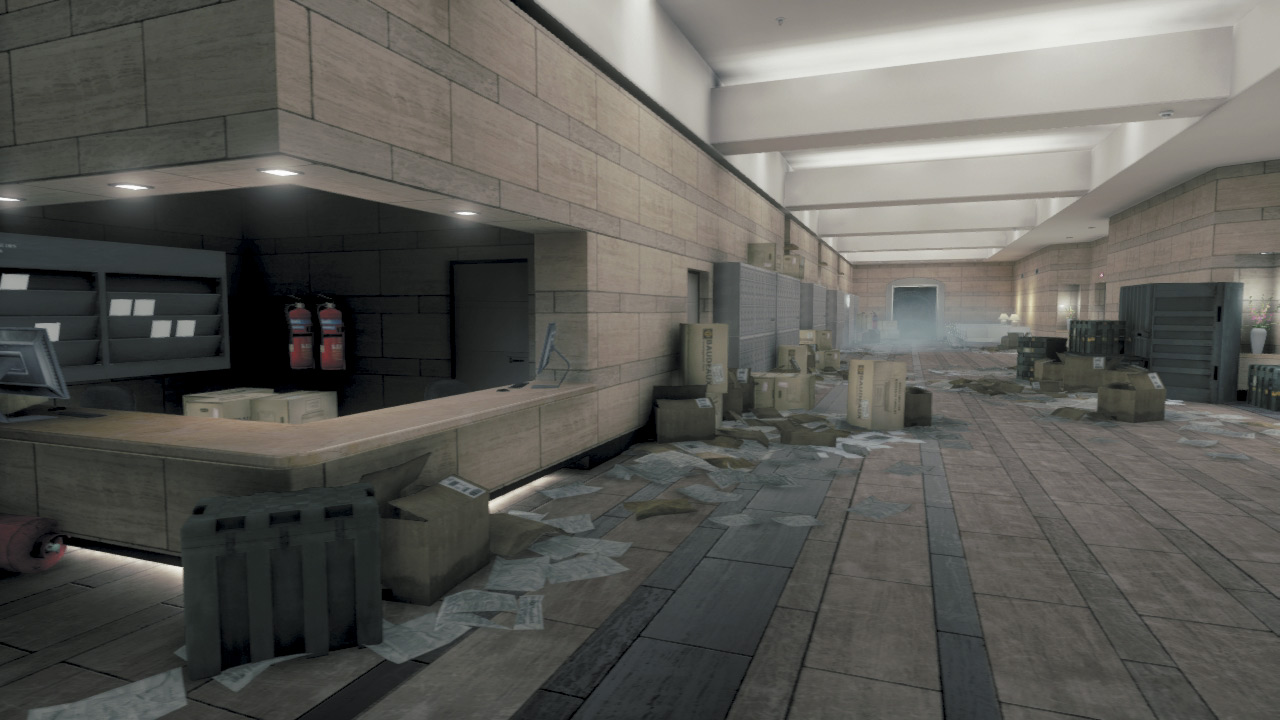
Because it is located only a few meters from the RU deployment area at the back of the bank, the RU team has a good chance of holding out by defending this objective. M-COM Station B sits on the floor of the bank’s lobby, surrounded by crates and large stone planters.
The objects around the objective make it difficult for defenders to gain a long sight line here, so they should prepare to deal with attacking troops at close range. There are two entry points into the bank.
The most obvious is the main entrance. The steps leading up to the main entrance are lined with sandbags, which offer decent cover for defenders posted here. There is also a side entrance on the west side of the bank that is accessible from the plaza.
This narrow entrance is less likely to be guarded and provides easy access onto the lobby floor via a short flight of steps. Always toss grenades around the objective to eliminate defenders hiding nearby before attempting to set a charge.
Once a charge is set, ambush defenders rushing out of the corridor to the north while waiting for the M-COM station to explode.
US DEPLOYMENT
Base Assets
| Name | Quantity | Respawn Time |
|---|---|---|
| LAV-25 | 1 | 120 sec. |
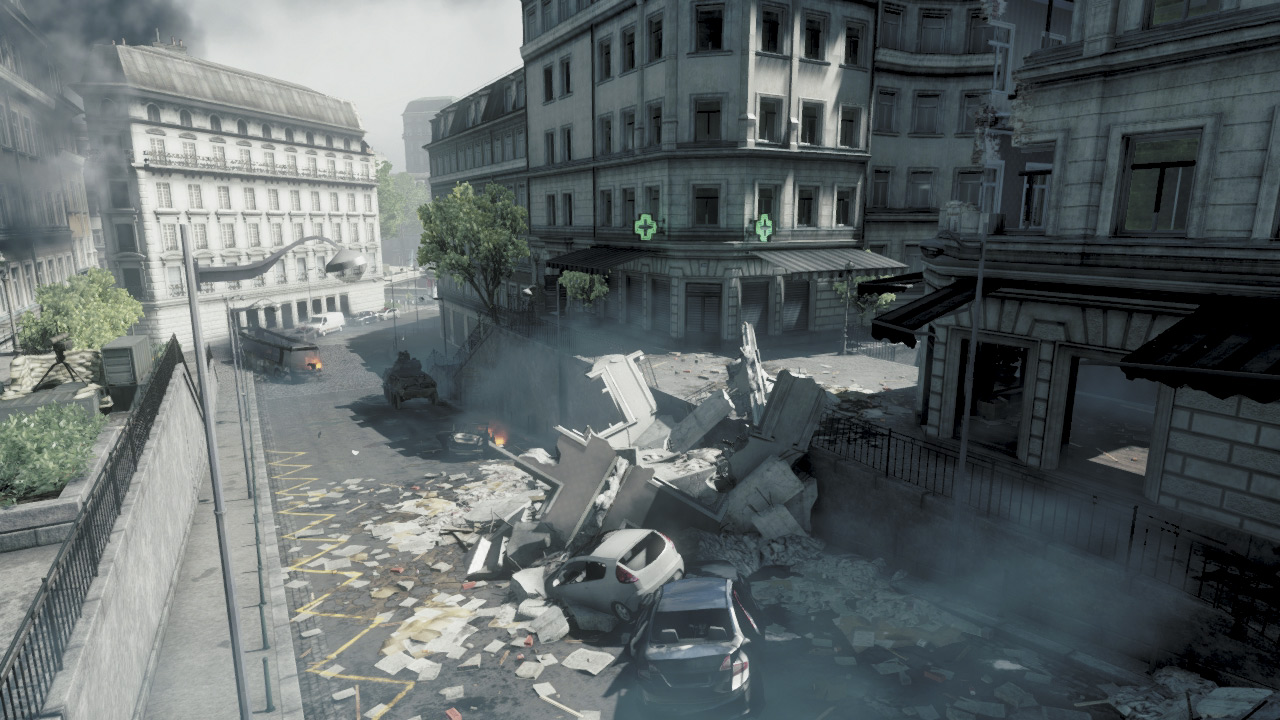
Victory is close, but the US team still has two more objectives to destroy before they can celebrate. During this final stage of the battle, the US attackers deploy from Monument Square.
The streets and intersection south of the bank plaza are wide open, offering very little cover for US troops. Once again, rely on the LAV-25 to serve as a distraction while troops infiltrate the plaza from the west.
The small square across the street from the plaza serves as a good staging area for the US team, so consider placing Radio Beacons here to give your squads a spawn point near the action.
While the LAV-25 can help suppress defenders posted around M-COM Station A in the plaza, US infantry must enter the bank building on their own to knock out M-COM Station B. If possible, try to take out M-COM Station B first.
Otherwise the RU team will have an easy time defending it, given its close proximity to their deployment area inside the bank.
RU DEPLOYMENT
Base Assets
| Name | Quantity | Respawn Time |
|---|---|---|
| 9M133 Kornet Launcher | 1 | 45 sec. |
For the final stage of the battle, the RU team must hold out at the bank plaza. Deploying from within a rear corridor in the bank, the RU team has just enough time to prepare for the US team’s assault.
Get troops out of the bank and around the plaza to the west to defend M-COM Station A. But don’t leave the bank’s interior undefended either, as this is where M-COM Station B is located.
Engineers and troops armed with intermediate- to long-range weapons are best posted in the plaza to deal with the LAV-25 and the US infantry advancing along the street to the south. Close-quarters weapons are ideal for defenders posted inside the bank.
Attacks may come from the main entrance as well as from the side entrance to the west, so be sure to cover each entry point.
Holding the plaza is tricky, but the RU team has a good chance of staging an upset by locking down the bank, thereby protecting M-COM Station B and securing a victory.