
Battlefield 3 Premium Guide Battlefields Conquest
Noshahr Canals
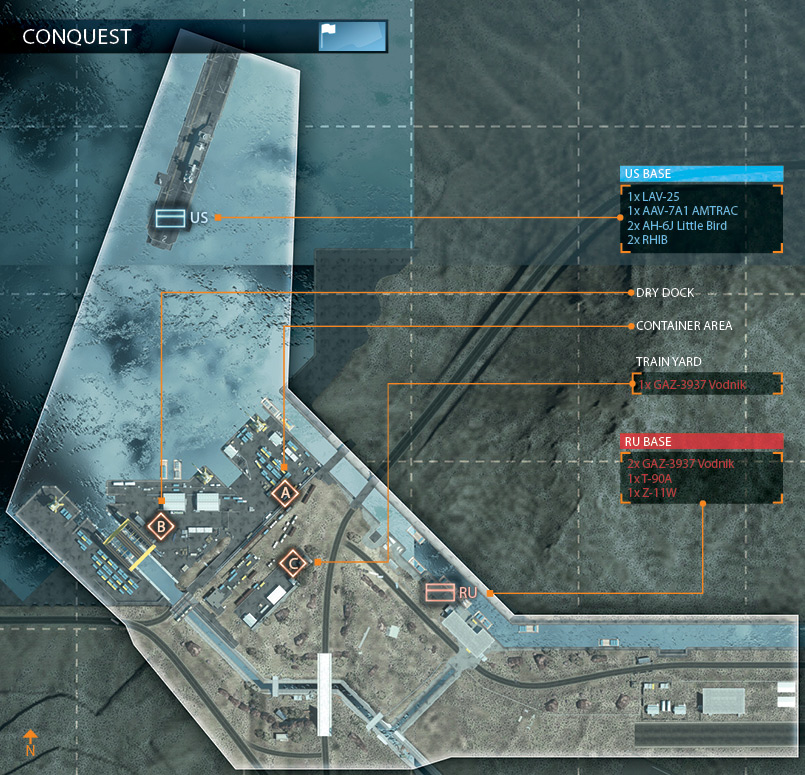
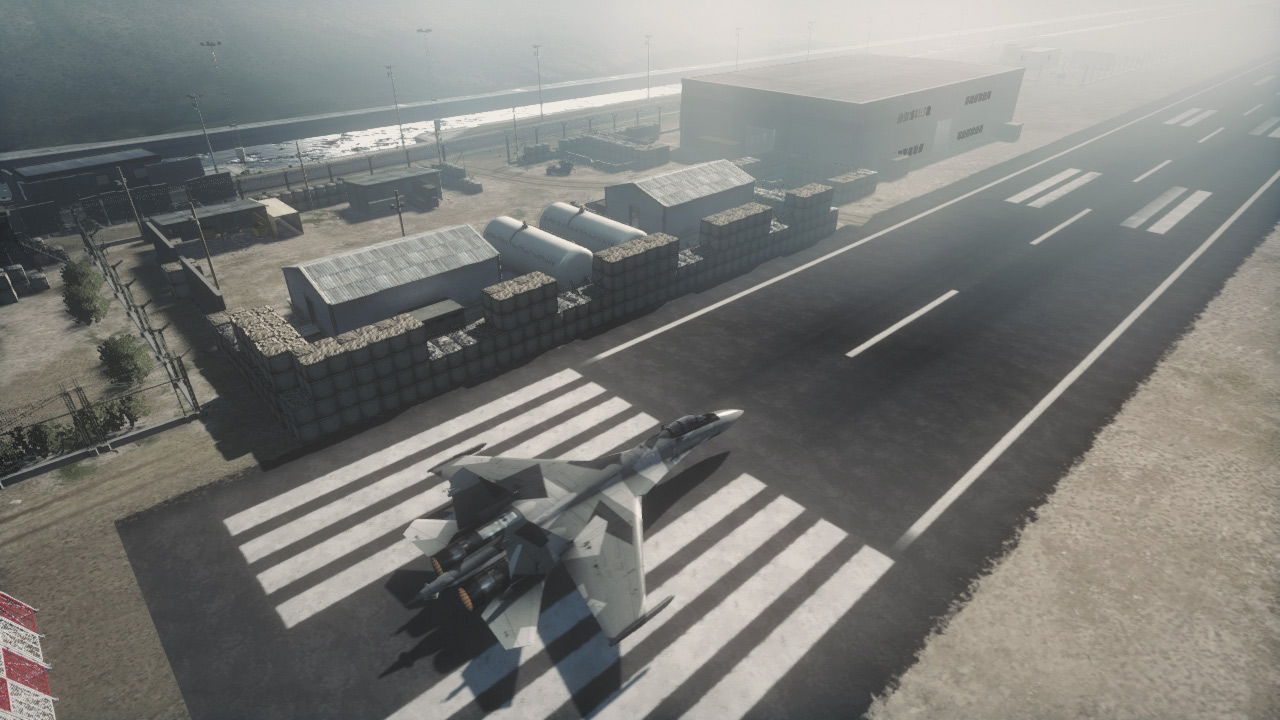
US Marines are launching a strike upon a major harbor by the Noshahr Canals on the Iranian coast. The strategically important port allows for deep-water vessels to off-load cargo and essential materials.
The key objective for the Americans will be capturing an inland airfield currently occupied by Russian forces. However, the success of the mission will depend entirely on how quickly Marines can establish a foothold on the harbor itself.
On this map, US forces launch an amphibious assault on an industrial dock facility. Initially, simply gaining a foothold on shore is the US team’s primary goal. But if the RU team can make a strong showing, they can push the US back into the ocean.
At the start of the round, the US team should make an effort to capture the Dry Dock (B) and Container Area (A). By using the speed and passenger capacity of the Little Birds, the US can drop troops at each location within the first minute of the match.
Since there are only three control points on the map, each team only needs to hold at least two flags to drain the opposing team’s ticket count. For the US, holding the Dry Dock (B) and Container Area (A) make the most sense.
As for the RU team, they’re better off controlling all three flags, thereby denying the US team a solid spawn point on land.
If the RU team can push the US back to their carrier, then they must establish a line of defense on the northern coast to prevent US amphibious and air assets from regaining a foothold.
RU vehicles and engineers armed with anti-tank and SA-18 IGLA missile launchers all play a big role in confining the US team to their carrier.
US BASE
Base Assets
| Name | Quantity | Respawn Time |
|---|---|---|
| LAV-25 | 1 | 30 sec. |
| AAV-7A1 AMTRAC | 1 | 60 sec. |
| AH-6J Little Bird | 2 | 90 sec. |
| RHIB | 2 | 15 sec. |
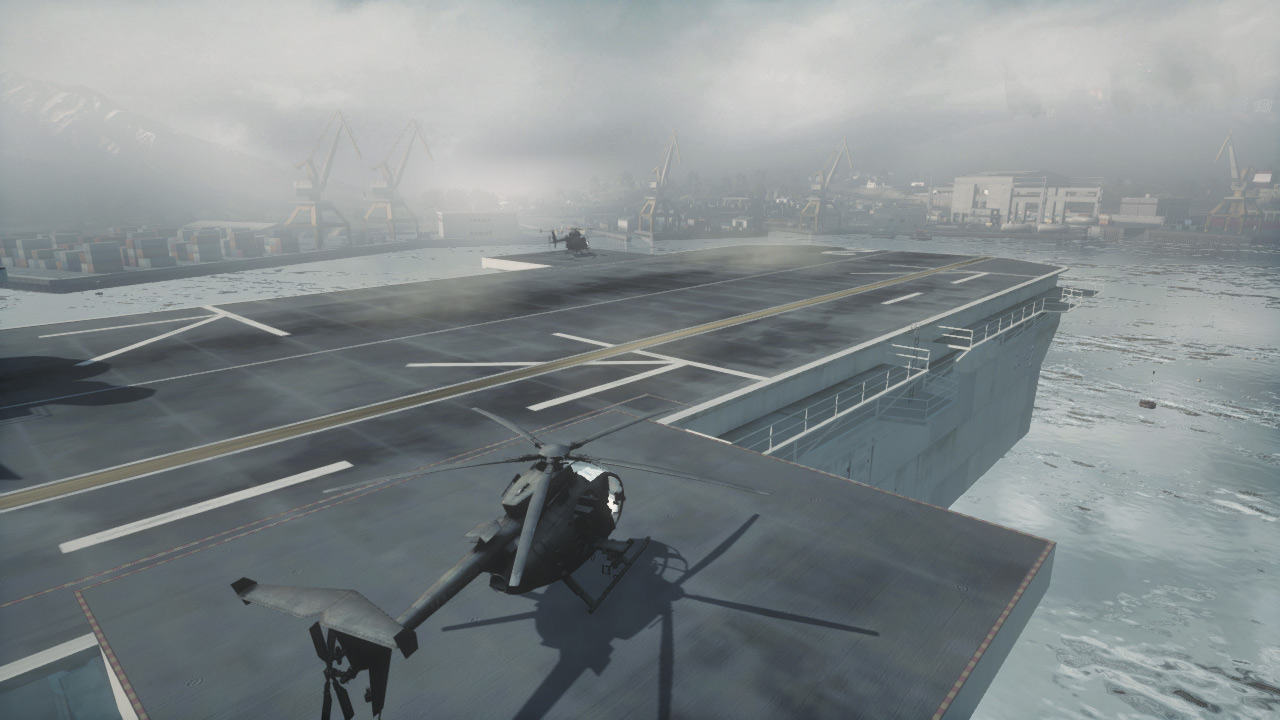
The US team begins the match on an aircraft carrier on the north side of the map. With no presence on shore, the early moments of the match are critical as US troops attempt to secure a foothold to the south.
The AH-6J Little Birds offer the quickest way to get troops on land. So if you’re piloting one of these helicopters, don’t take off until it’s fully loaded—your passengers can jump out of the chopper and secure control points by parachuting down to the ground.
But the RU team is likely to use similar tactics with their Z-11W helicopter, so speed is essential. US troops spawning belowdecks in the carrier can utilize the slower LAV-25, AMTRAC, and RHIBs to make amphibious landing near the Dry Dock (B).
In this match, the carrier is the US team’s only source of vehicles. So even after your team has secured control points, don’t forget to spawn back at the carrier to occasionally bring the LAV-25 and AMTRAC ashore.
RU BASE
Base Assets
| Name | Quantity | Respawn Time |
|---|---|---|
| GAZ-3937 Vodnik | 2 | 15 sec. |
| T-90A | 1 | 30 sec. |
| Z-11W | 1 | 90 sec. |
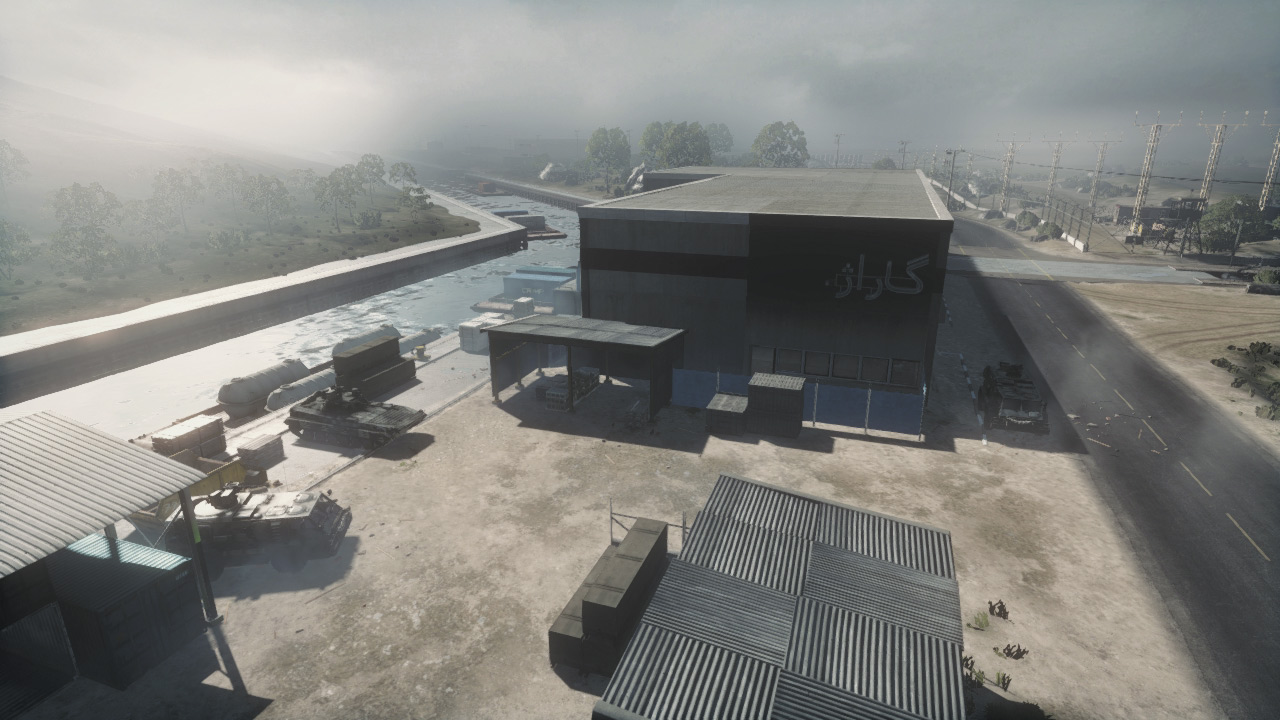
The RU team deploys from their base near a warehouse along the northern canal on the south side of the map.
Given its distance from the nearest control points, it’s nearly impossible to prevent the US team from taking at least one flag, especially if they use their speedy Little Bird helicopters to drop troops from the air.
The RU team’s Z-11W can attempt similar tactics, but it requires speed. Spawn directly into the Z-11W at the start of the match, then have your squad mates spawn on you as you’re flying toward the control points.
Drop one squad member at each flag in an attempt to capture all three points before the US team can. Capturing all three flags at the start of the match is a long shot, but it’s always worth the effort.
Reinforce the captured flags with the T-90A and Vodniks spawned at the RU base. The US team has no tanks in this battle, so the T-90A can be a game changer if deployed wisely and serviced by engineers.
Even if the T-90A is destroyed, it respawns relatively fast back at the RU base. So don’t forget to retrieve the tank and bring it up to the front lines, where it can make a big difference.
A: CONTAINER AREA
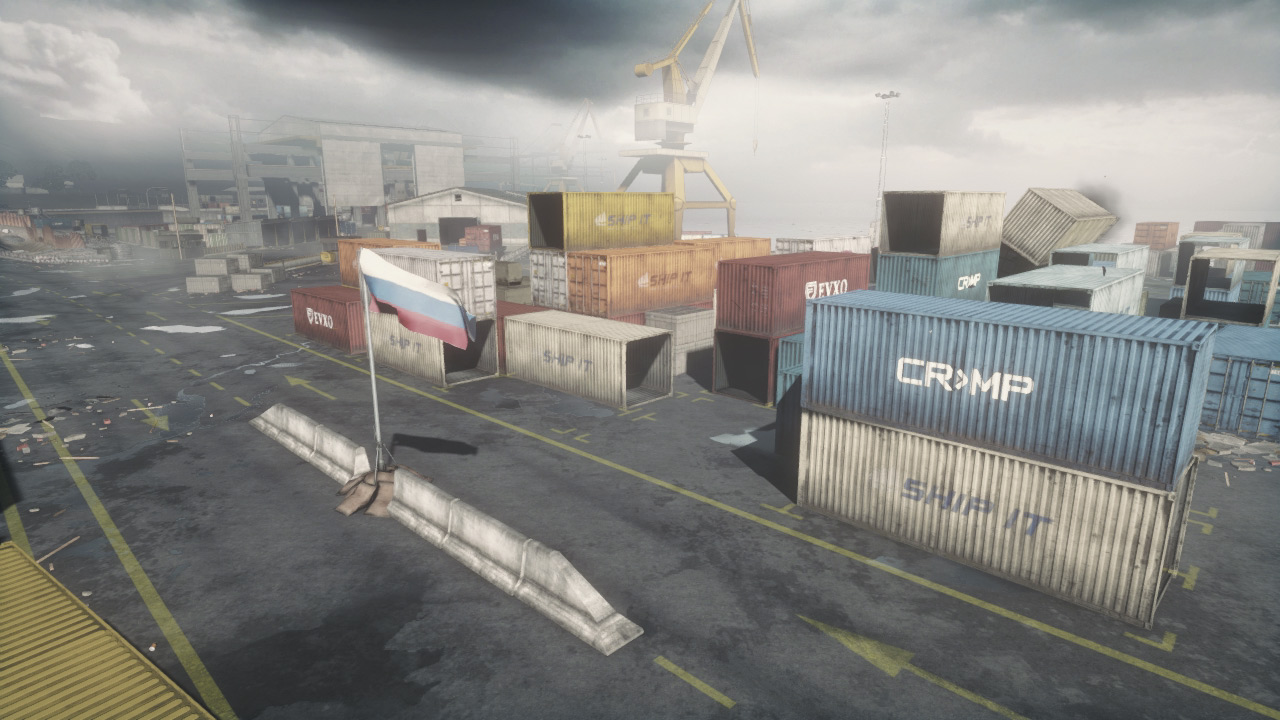
This flag (A) is positioned along a narrow roadway flanked by dozens of shipping containers to the north and elevated train tracks to the south. Both infantry and vehicles can capture this flag.
However, infantry have a slight advantage here since they can convert and contest the flag by hiding in the nearby shipping containers.
The elevated railway tracks provide an excellent overwatch position, allowing well-concealed defenders to pick off enemies approaching or gathering near the flag.
Mines and C4 are the best defense against vehicle attacks. Scatter mines along the road to the east and west of the flag to prevent captures by enemy vehicles.
Although this control point spawns no vehicles, it serves as a central spawn point that is ideal for staging attacks on the nearby Dry Dock (B) and Train Yard (C).
So race to capture this one early and don’t forget to leave a few defenders behind to secure it.
B: DRY DOCK
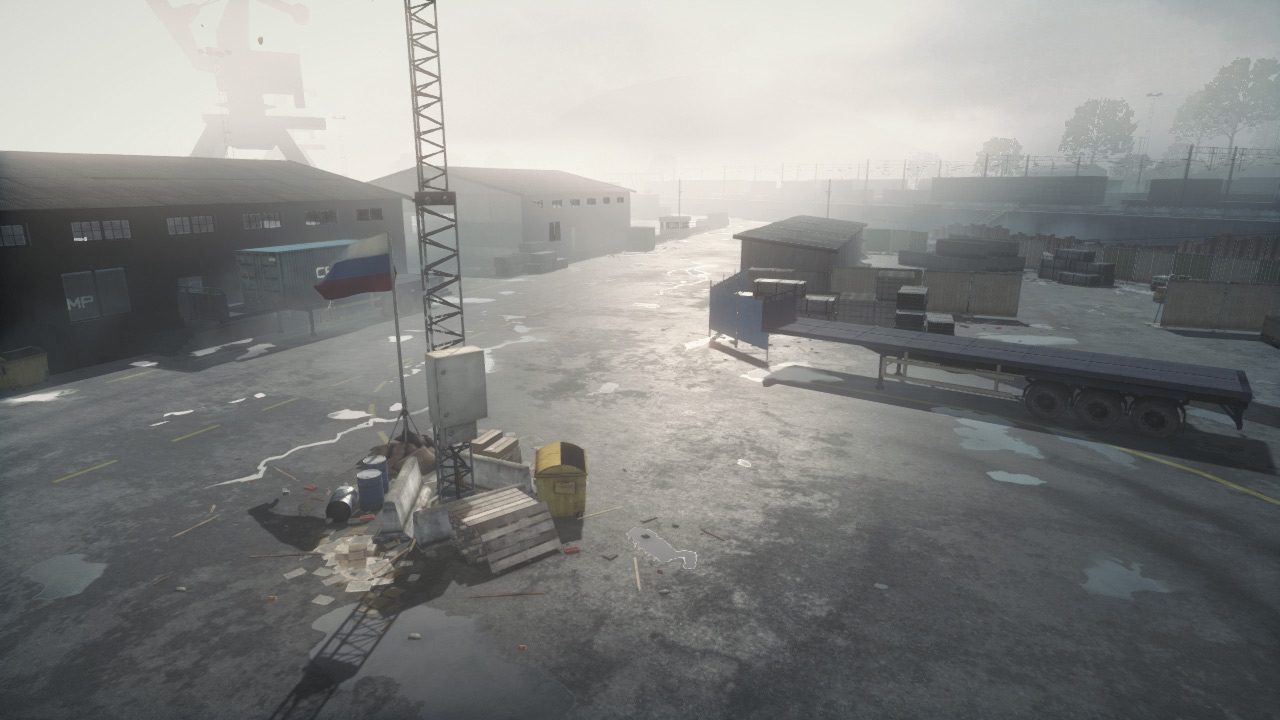
Given the Dry Dock’s (B) proximity to the US Base, it is likely to be the first flag captured by the US team. However, once the US team has gained a foothold here, they must defend it to prevent the RU team from taking it away.
The area surrounding the flag is extremely open with several long-range cover points surrounding it. As a result, armored vehicles are the safest option when attempting to capture or contest this flag.
Passive defenses like mines and Claymores are less effective here given the flag’s multiple approaches and wide capture radius. So defenders should hide in the nearby buildings and fend off attackers from long range.
The warehouse to the north and the massive dry dock facility to the west provide excellent views of the flag. Helicopters are also very effective here due to the lack of cover around the flag.
Make frequent passes over this control point and strafe enemy units gathered around the flag.
C: TRAIN YARD
Control Point Assets
| US Control | RU Control | Respawn Time |
|---|---|---|
| — | GAZ-3937 Vodnik (1) | 15 sec. |
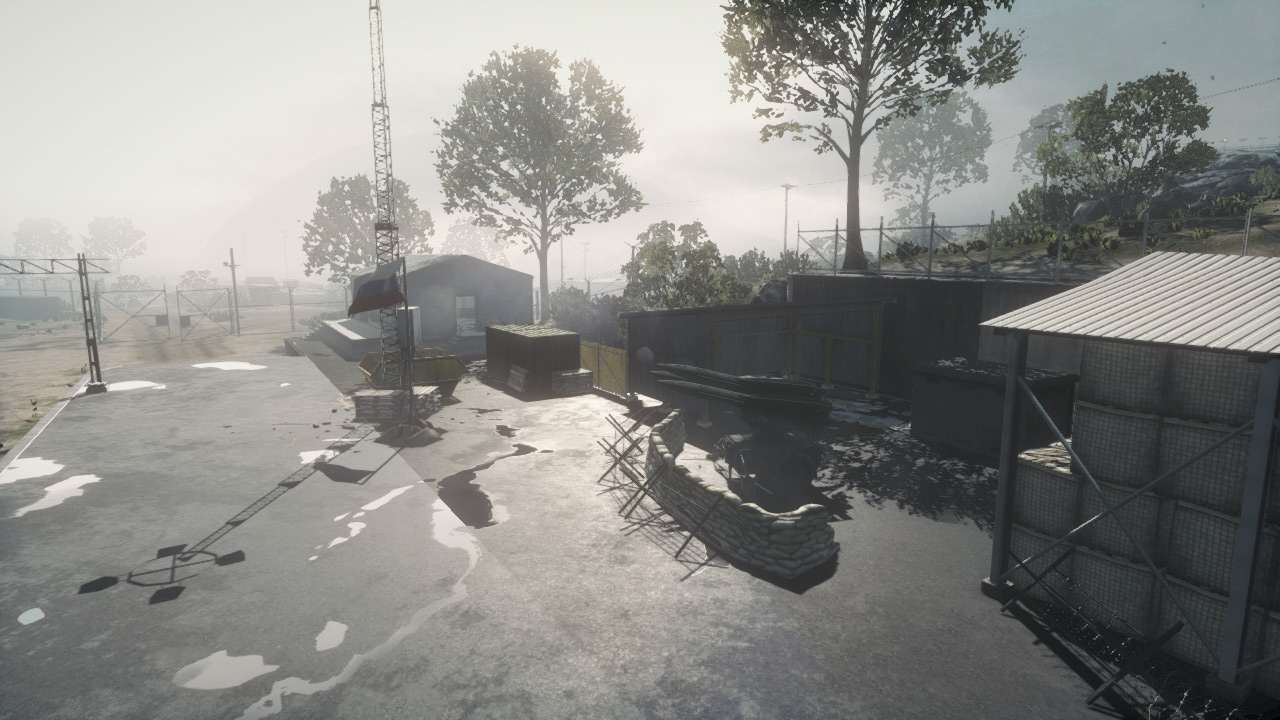
Located a short distance from the RU Base, the RU team has the best chance of capturing this Train Yard (C) flag early during a match.
When playing as the RU team, rush this locations with a Vodnik or the Z-11W to take control of it before the US team can.
The Train Yard is unique because it’s the only control point that produces a vehicle, awarding the RU team with an extra Vodnik—the US team gets nothing.
But instead of driving the Vodnik to another location, the RU team may want to keep it around for defense, using its powerful machine gun turret (with zoom functionality) to pepper attackers approaching from the control points to the north.
Infantry attacks originating from the Container Area (A) are very common, and so the Vodnik is a valuable defensive asset. But even without vehicle support, defenders have plenty of hiding spots from which to contest flag captures.
So attackers should carefully sweep the nearby sheds and shipping containers before approaching the flag. Close-quarters encounters are likely, so begin any assault by tossing grenades into potential hiding spots.