
Battlefield 3 Premium Guide Battlefields Conquest
Kiasar Railroad
Conquest
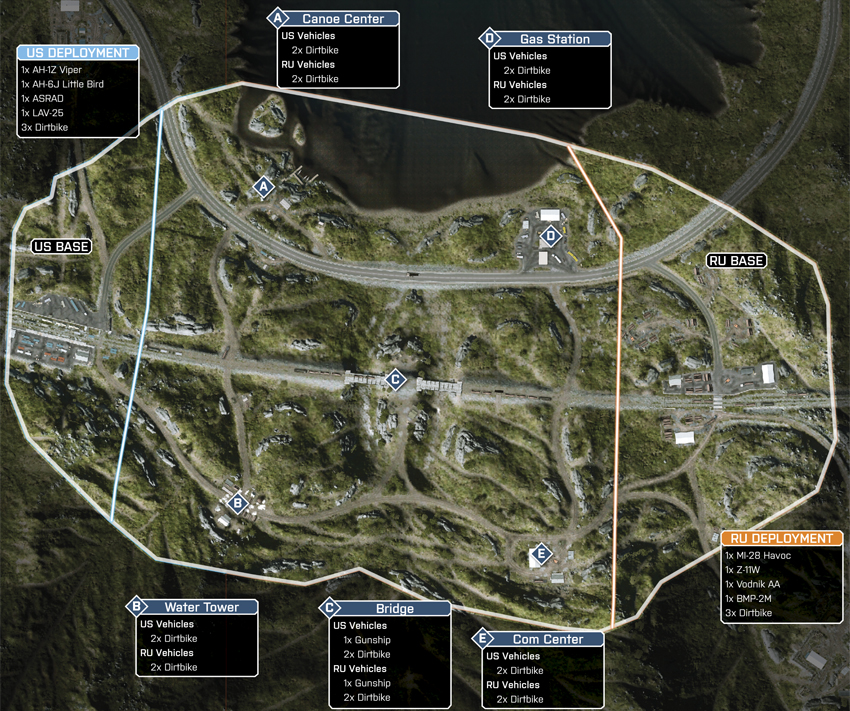
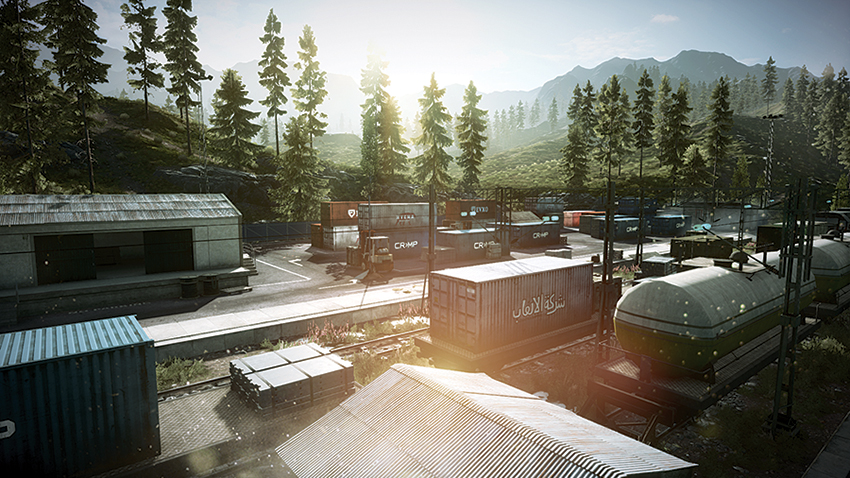
The stage for the battle at Kiasar Railroad is a majestic alpine setting. This land is also home to a large logging operation that makes use of this railway to maintain its supply line, with shipments of timber and other supplies coming to and fro several times a day. Aside from being the lifeblood for the timber industry in these mountains, the rail lines also serve a major strategic purpose for the two forces engaged in combat here. This battle is for the five control points. Deploying from the Train Station on the map’s western edge, the US team is poised to capture and control the Canoe Center (A) and the Water Tower (B) as they make their way east. Launching their assault from the Lumber Yard to the east, the RU team will capture both the Gas Station (D) and the Com Center (E) as they advance west. This will leave the Bridge (C), which is central on the map, as a highly contested point. None of the points except the Bridge (C) affords the capturing team with more than two dirtbikes, further cementing the strategic value of the Bridge (C) and the Dropship it provides. Given the positions of the control points on the map, though, teams should expect the focus of the battle to migrate frequently. Given the distance between points and the uneven terrain, teams are prone to focus their attention on either the southern control points in the mountains or the lakeside northern control points. The advantage to following this attack order is that one control point can be used to push back the opposing team’s reinforcements as they deploy from their base.
US Base
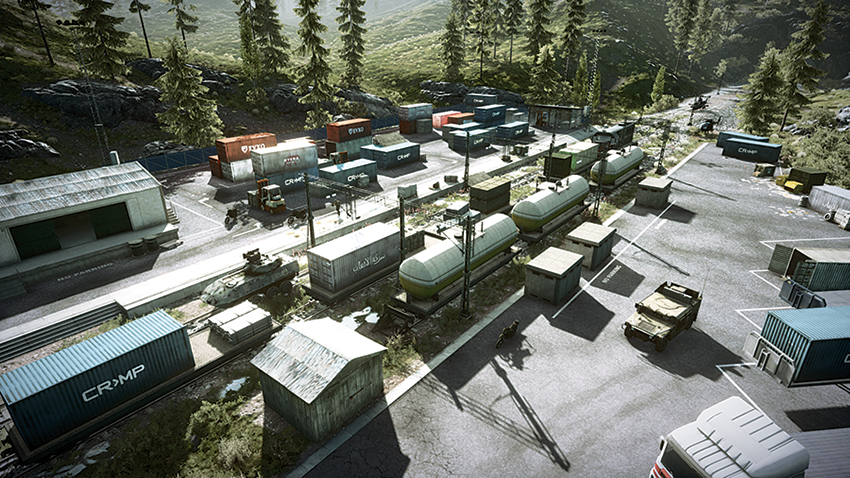
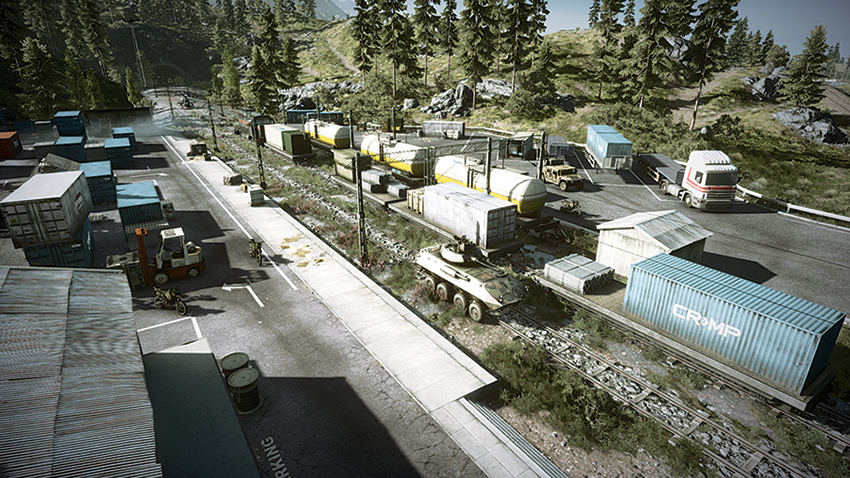
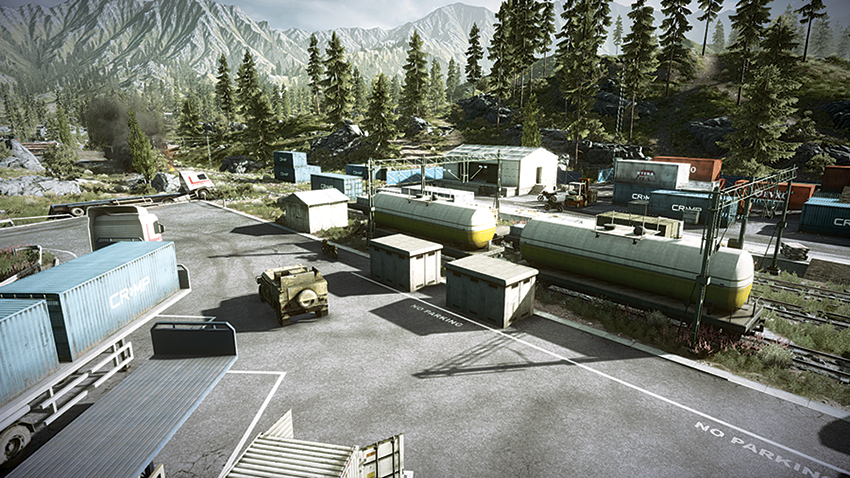
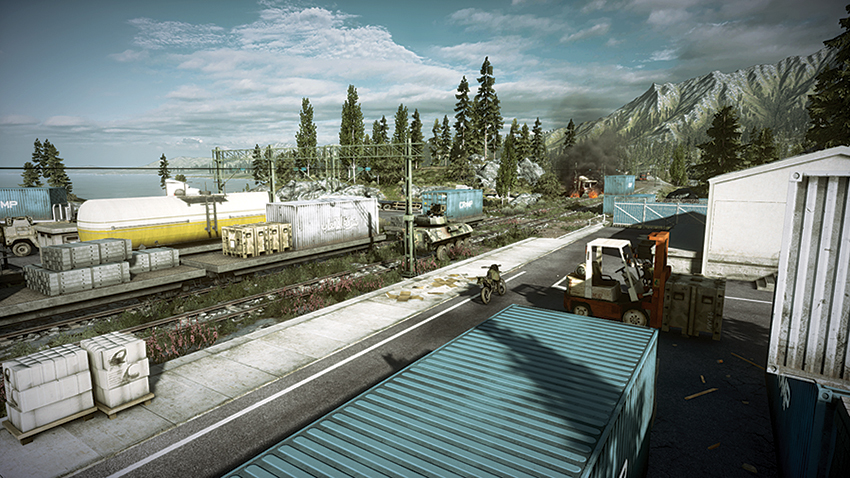
Deploying from the west at the Train Station, the US team can quickly make their way east and claim control of the Canoe Center (A) and the Water Tower (B). While this may seem the most convenient way to dominate the field, nevertheless the team should focus on securing the Bridge (C) before the RU team can do so. After taking control of the Bridge (C), the Dropship should be used to push back the RU team and maintain control of this point while the team moves to secure the Water Tower (B). An alternative to moving to capture the Water Tower is for the team to gain control of the Gas Station (D) to the northeast. If this point is held, the US team can control the deployment of the RU team’s vehicles from their base. Both of the team’s helicopters should focus on clearing hostiles from the control points and spotting enemies for infantry units to move in. Because the varied terrain is full of potential hiding spots, the helicopters are a valuable tool for threat assessment as well as effective weapons platforms to clear a path.
RU Base
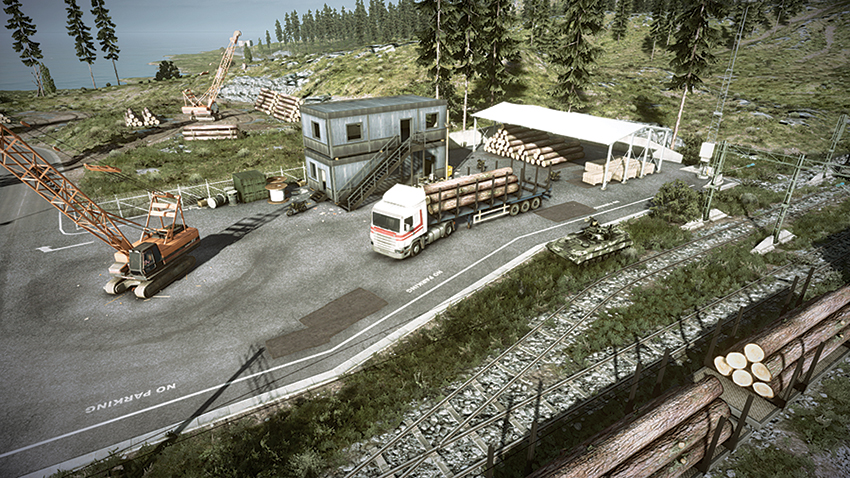
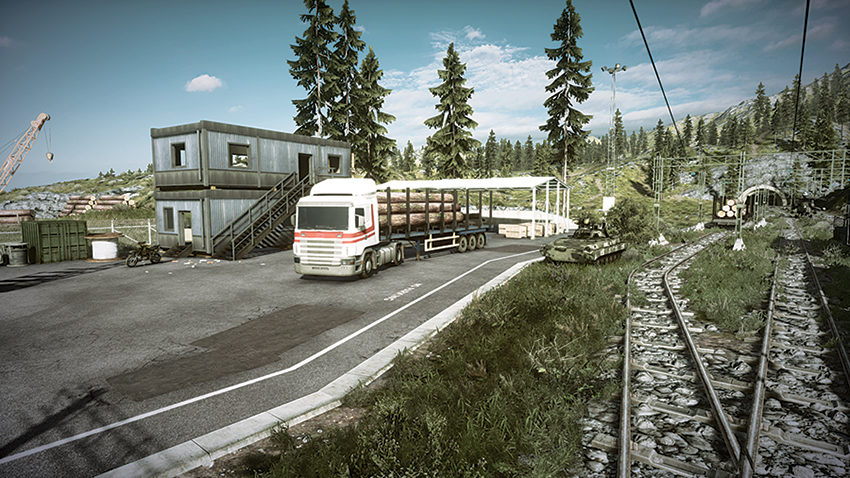
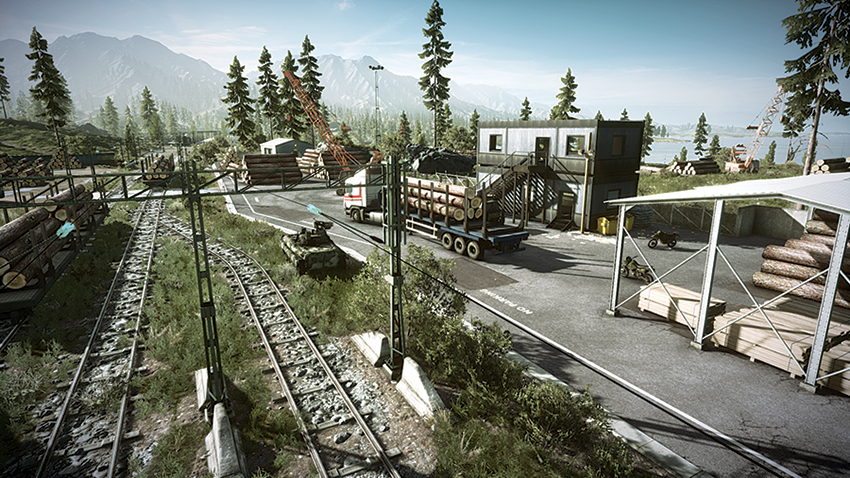
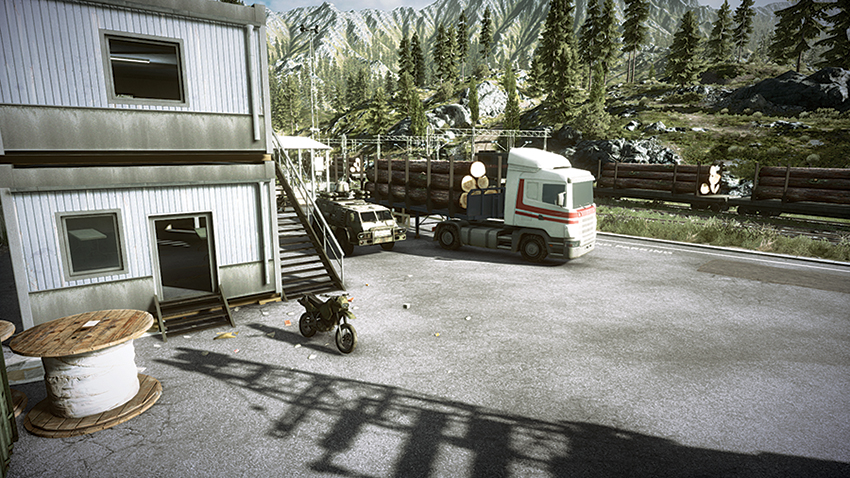
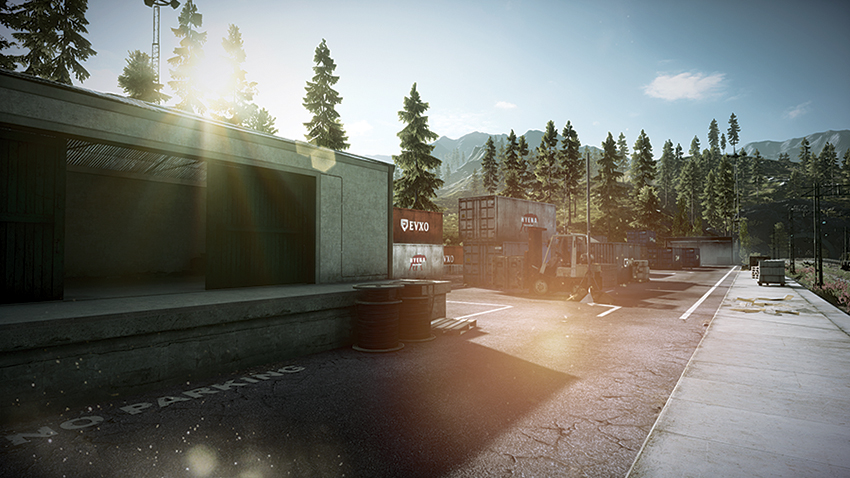
The RU team deploys from the Lumber Yard on the east side of the map. From this position, the RU team can quickly capture the Gas Station (D) or the Com Center (E). The Bridge (C) located in the center of the map should be the focus of the dirtbikes early on, so that the Dropship can be used to push back the US team as they attempt their trek to the east. Both helicopters should split up to cover the north and south ends of the map, clearing the area around control points of hostiles while the slower Vodnik AA and BMP-2M move to defend control points from being captured. While the Gas Station (D) and Com Center (E) are nearest to the RU team’s deployment, pushing forward to capture either the Canoe Center (A) or the Water Tower (B) is a useful tactic to hold back the US team’s vehicles as they deploy from their base. The RU team should be careful if the Com Center (E) is captured by the US team, as its position uphill from the RU deployment can be used by the US team’s IFV or AA jeep to bombard the deployment area.
A: Canoe Center
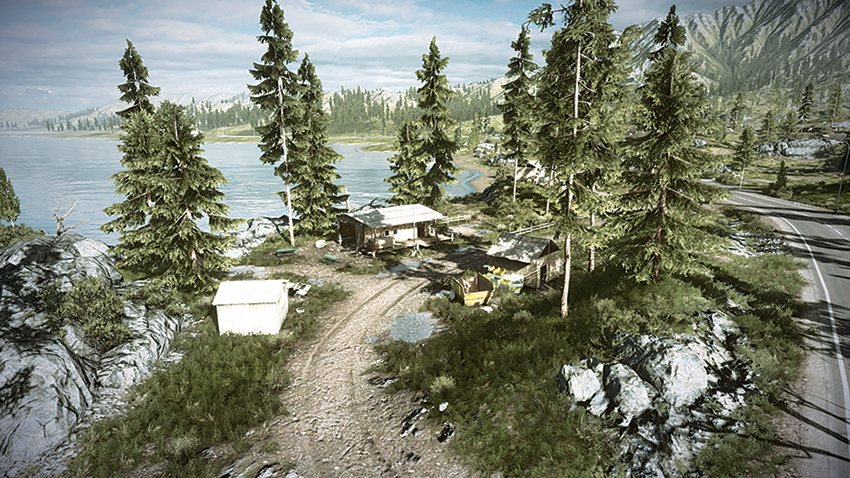
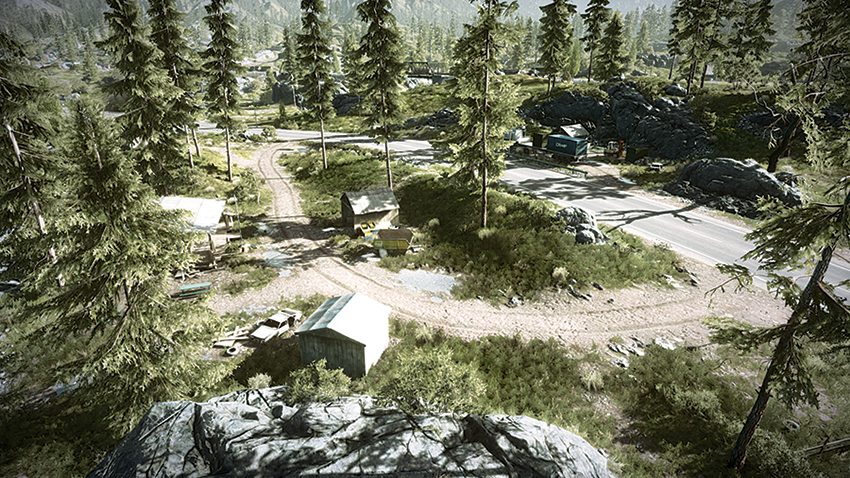
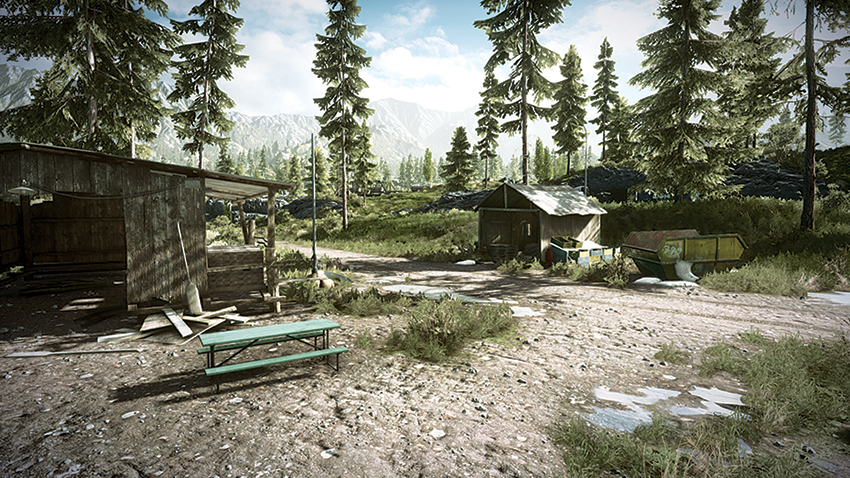
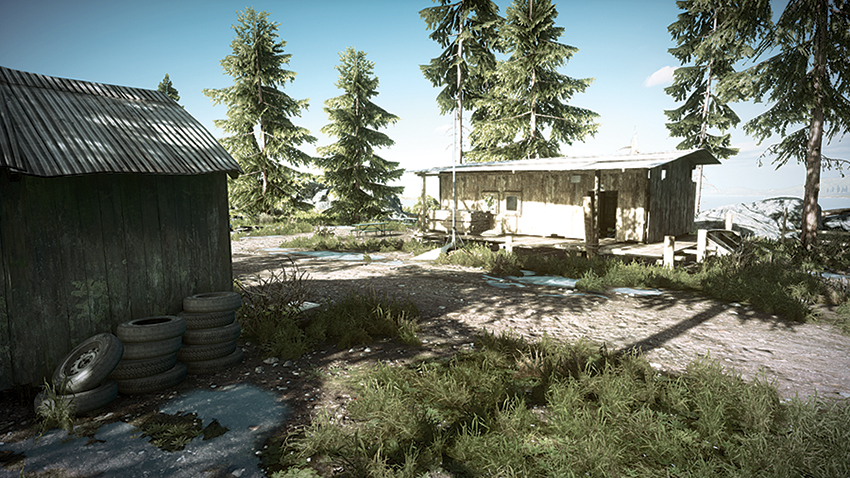
Positioned on the northwest corner of the map, the Canoe Center (A) flag is located in front of the hollowed-out lakeside building. When attempting to capture this control point, teams should move into the building since the area’s exposure leaves infantry vulnerable to attack from the opposing team’s helicopters. An approach can be made either from the road (which leads directly from the US team’s deployment) or the lake. To the east of the flag is a rocky hill that can be used to clearly view the flag area. This sniper perch also affords a view of inside the north building, which is prone to hosting campers. While the building on the south side can provide cover, the nearby red gas tank can be exploded to eliminate threats hiding within the building or near the yellow dumpster.
B: Water Tower
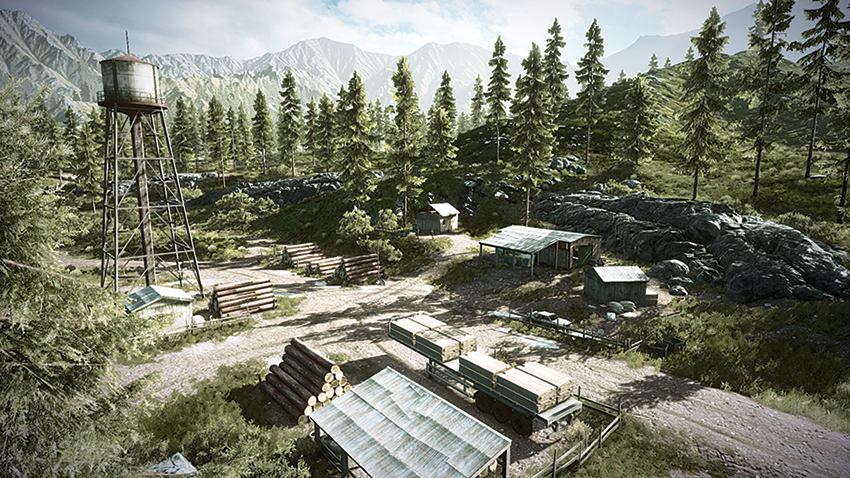
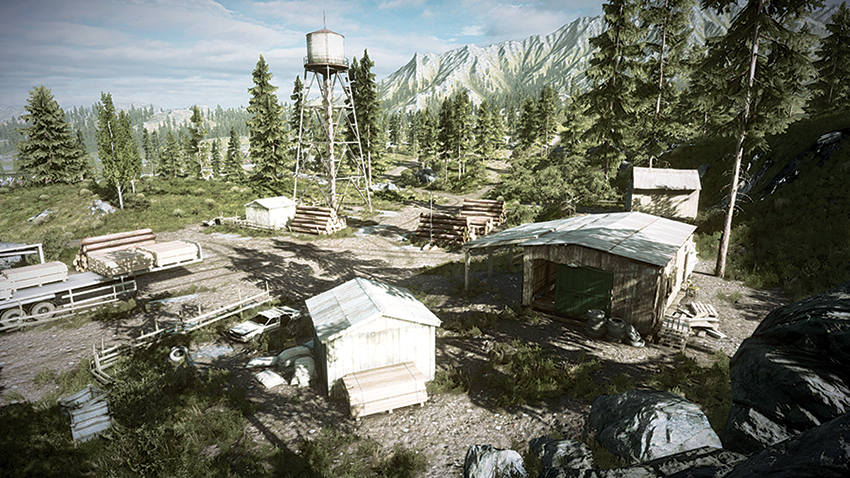
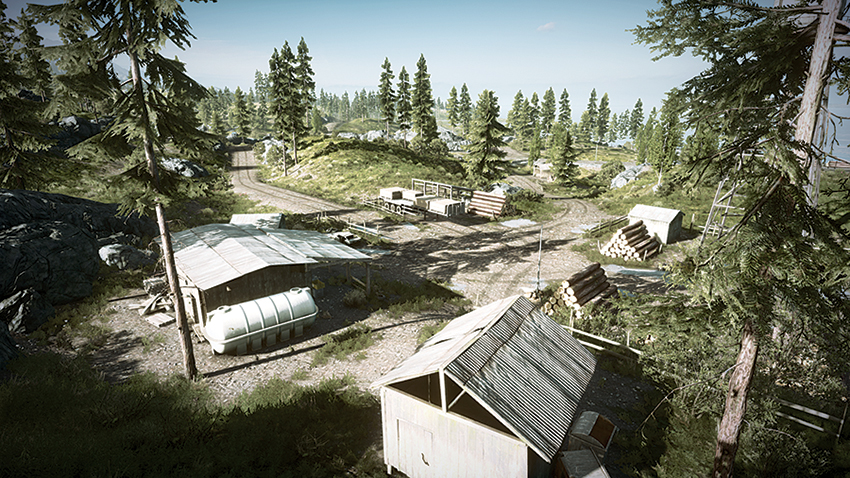
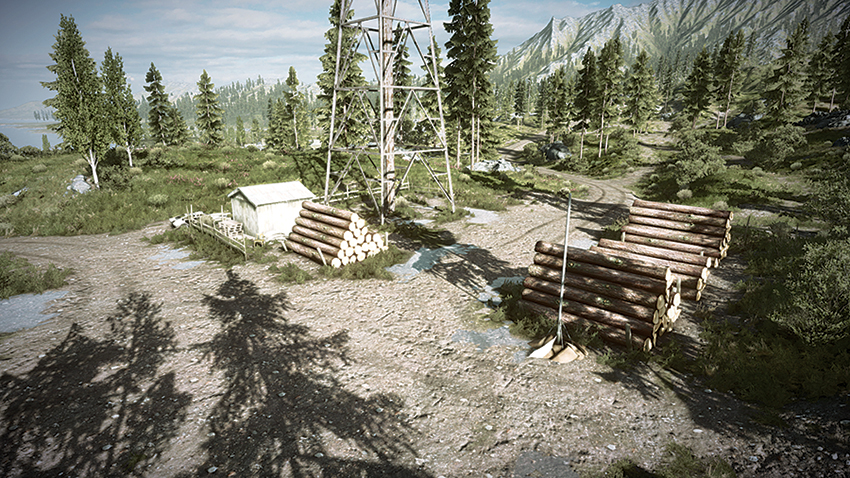
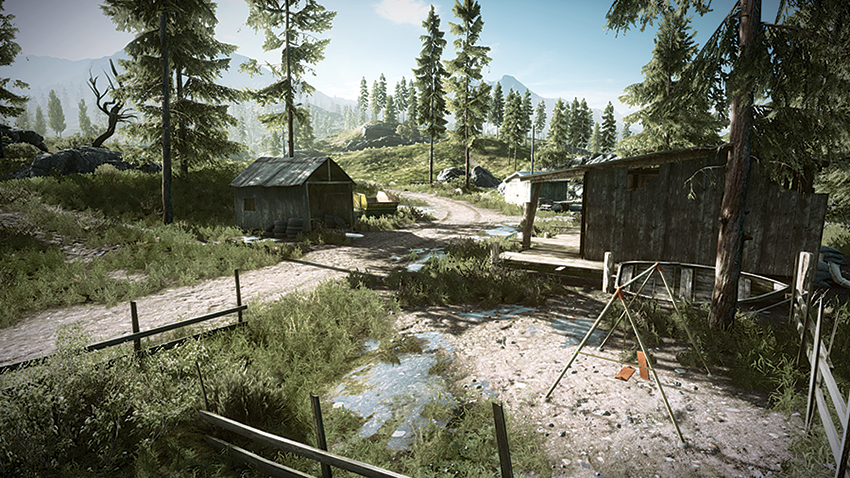
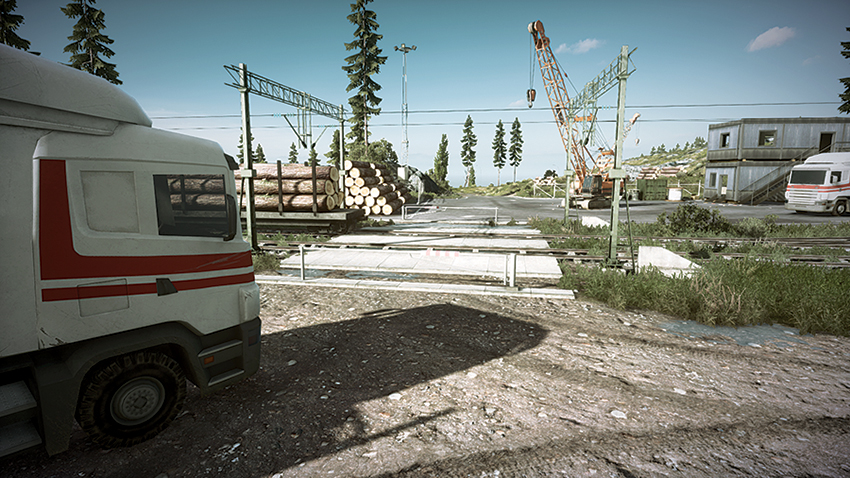
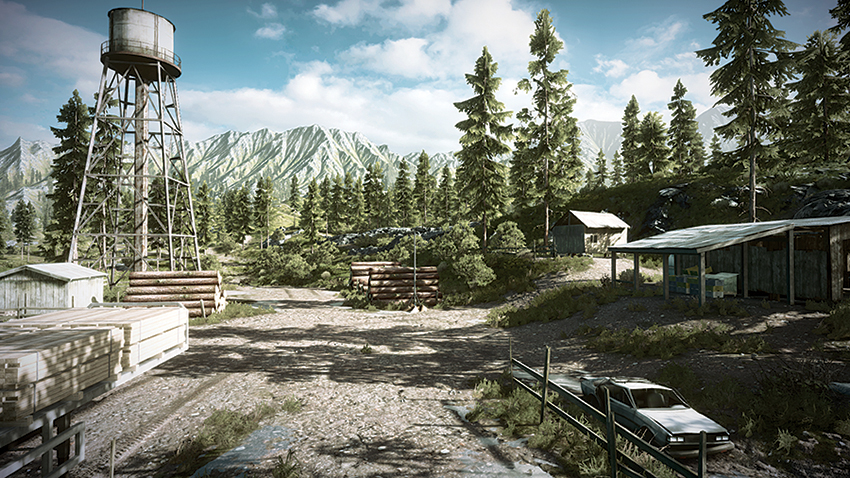
Located on the southwest corner of the map, the Water Tower (B) flag is exposed near a timber pile, between three buildings. When capturing this point, teams should be watchful for hostiles attempting to flank the area by approaching from the map’s southern edge. As the point is being captured, it would be best to take cover on the east side of the timber pile near the flag, thereby reducing the chance of being fired upon by the opposing team’s IFV, which can use the roads cutting through this region to access the control point. The advantage to this control point being exposed is that helicopters can be used to escort infantry units into the area and clear the way for their advance. Helicopters should be wary when entering the area, though, as engineers can use the buildings to hide while attempting to get a lock with their anti-aircraft weapons.
C: Bridge
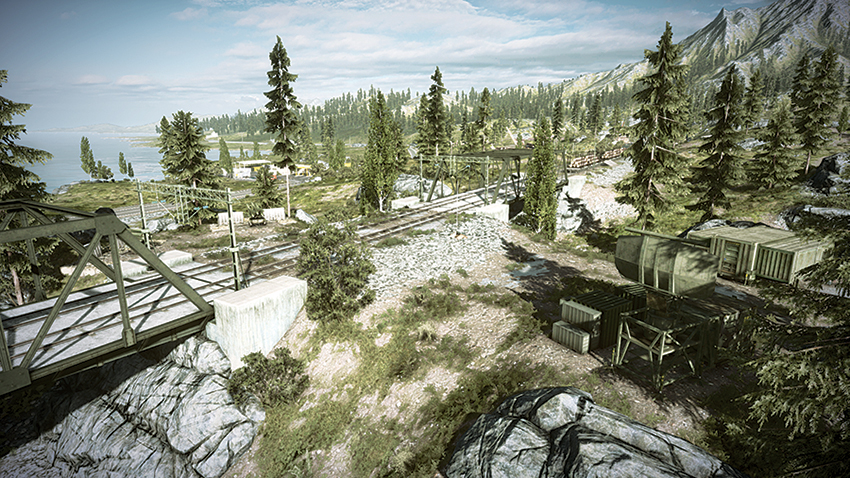
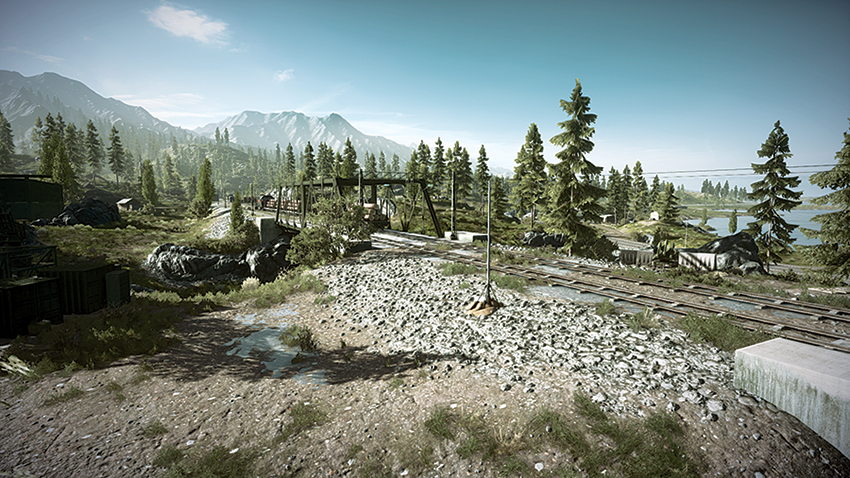
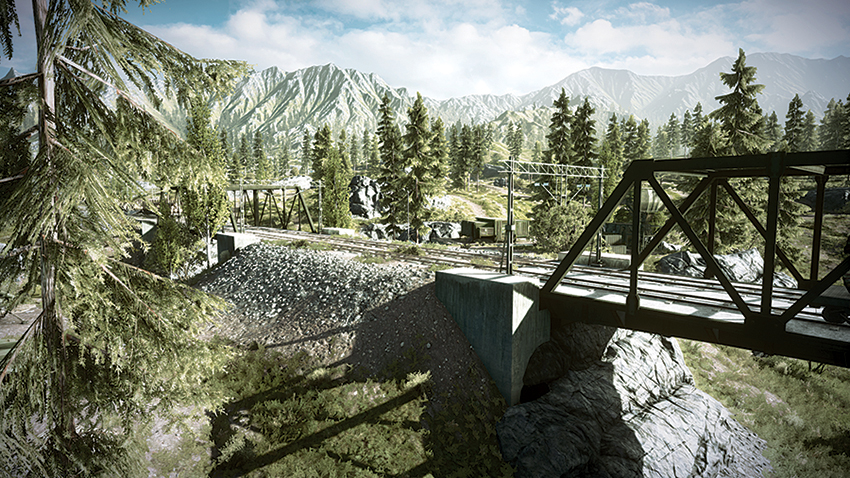
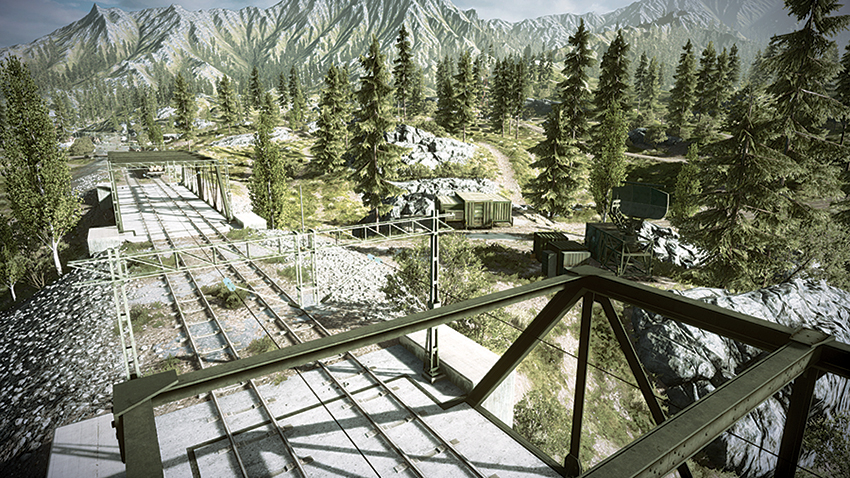
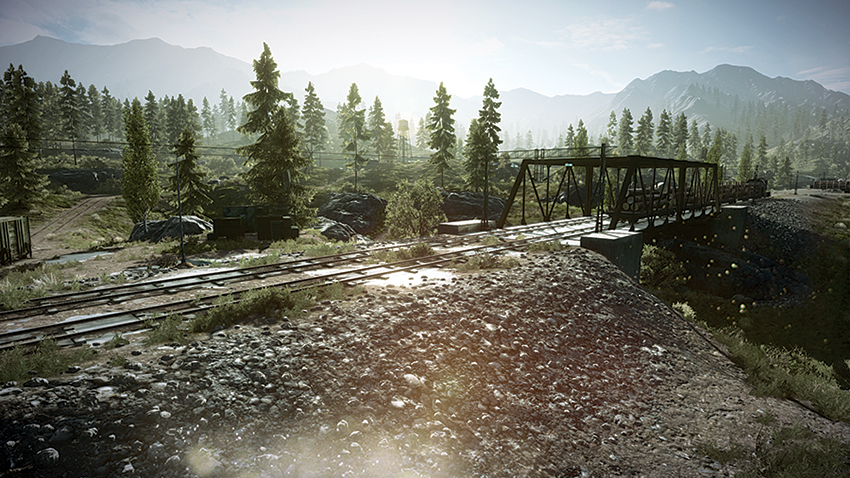
Easily the most contested point on the map, the Bridge (C) is in the center of the map, with its flag on the hill between the two bridges. Teams should not allow their IFVs or AA jeeps to stay on the bridges for any length of time, as helicopters can pick off these vehicles that have difficulty turning on a bridge. Dirtbikes, on the other hand, can rush through the bridges and approach the flag with ease. Planting mines underneath these bridges is helpful in preventing traffic from passing beneath them and flanking your team while the point is being captured. Once it is captured, teams should coordinate their movements with the Dropship, spotting enemy positions so that deployed allies can pick them off as they move through the uneven terrain. From the north side of the Bridge (C) area, IFVs can fire on the Gas Station (D) to the northeast and eliminate threats entrenched there.
D: Gas Station
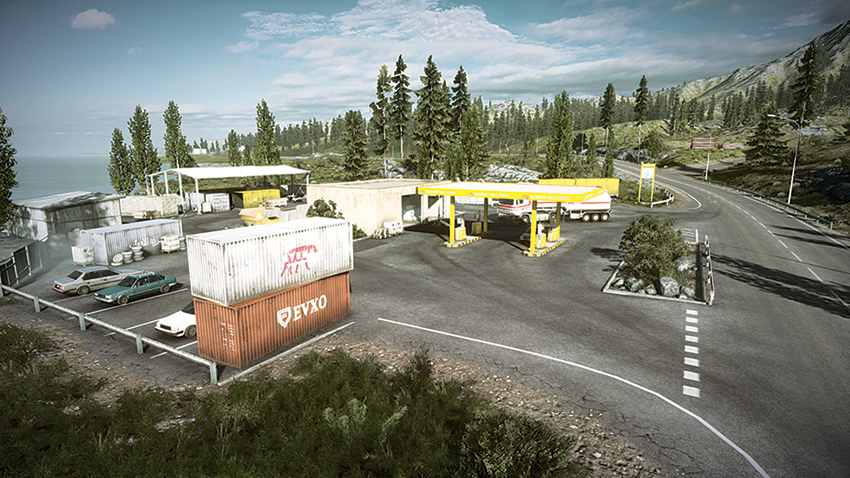
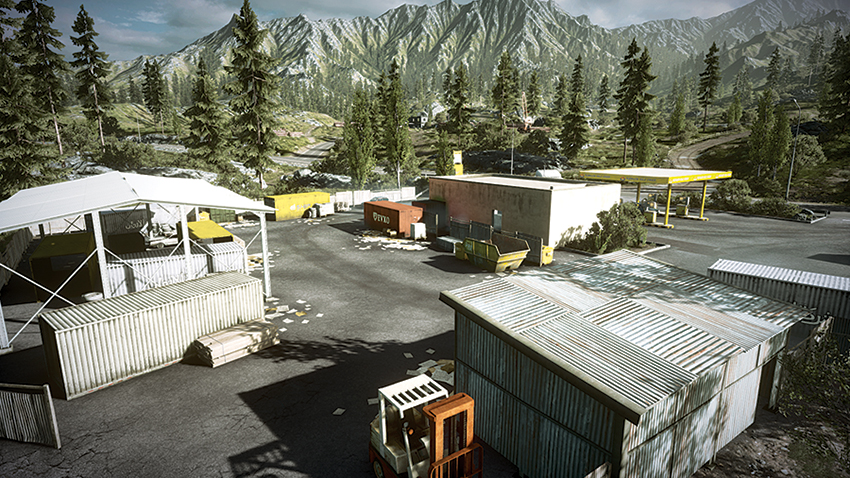
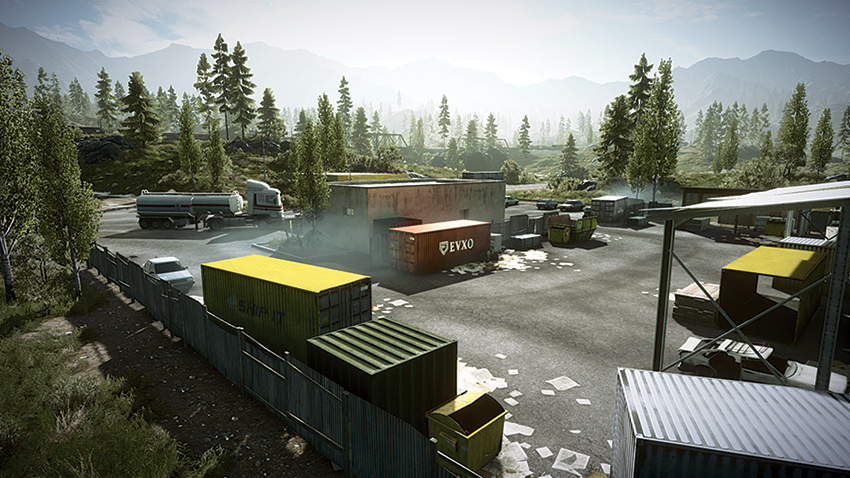
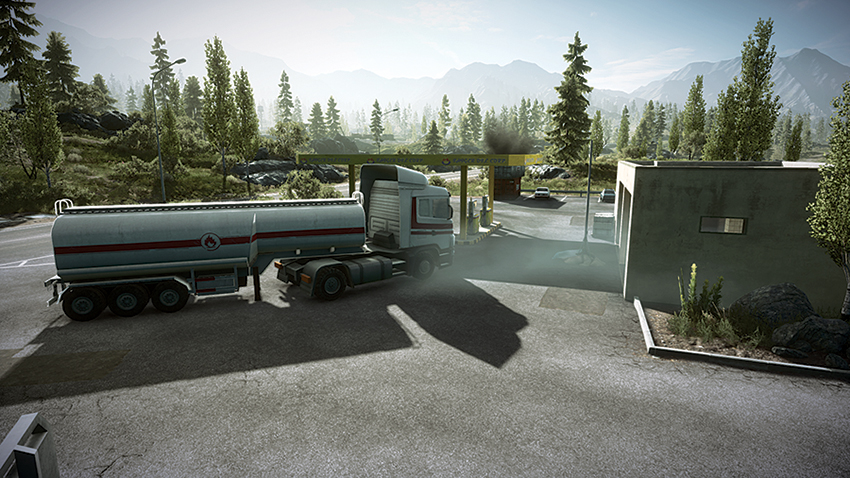
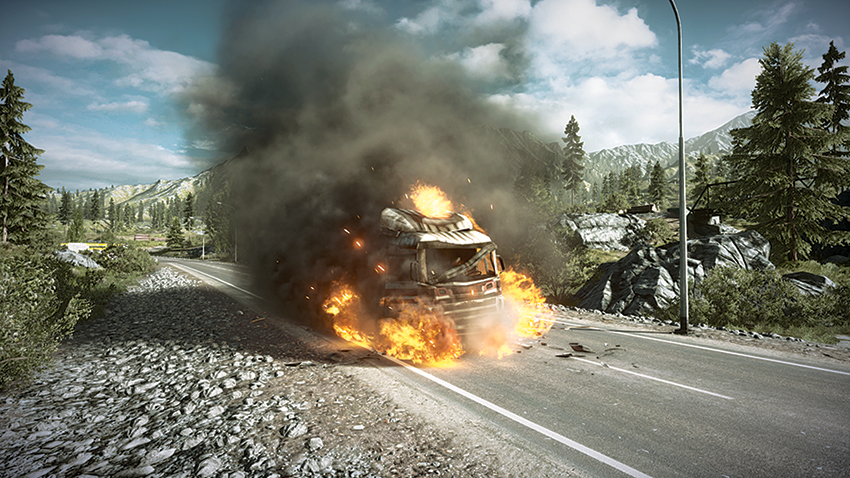
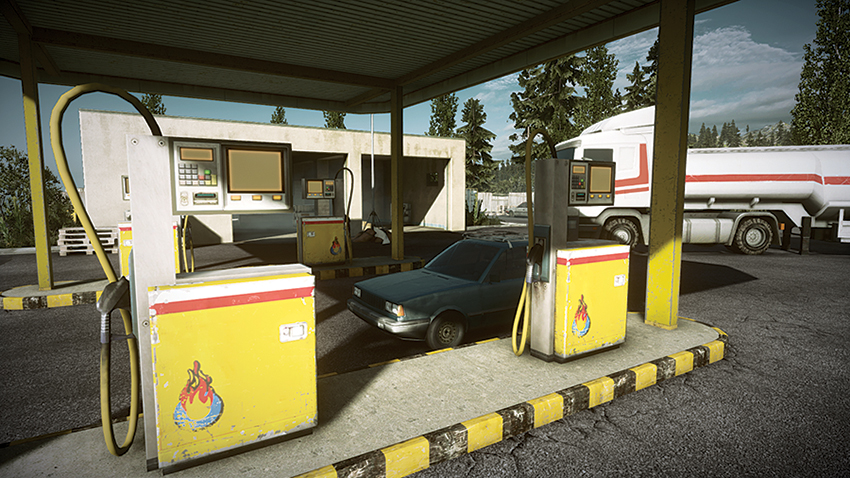
Located on the northeast side of the map, the Gas Station (D) flag is exposed near the building to the north of the gas pumps. This control point is accessible from multiple angles. The point can be captured from within the building, which is a far better option than capturing while standing near the semi-truck. Teams should be careful to watch for hostiles that try to flank by approaching from the lake to the north and passing through the rear door of the building. While capturing this point, a squad mate should take position on top of the nearby building to be a lookout for the enemy. When moving in on the control point from the west, stay off the road and use the shipping containers on the edge of the lot to scout the location before advancing. Deployment of a MAV helps when scouting this large area for enemy campers, as well as for monitoring the rear of the lot while capturing the point.
E: Com Center
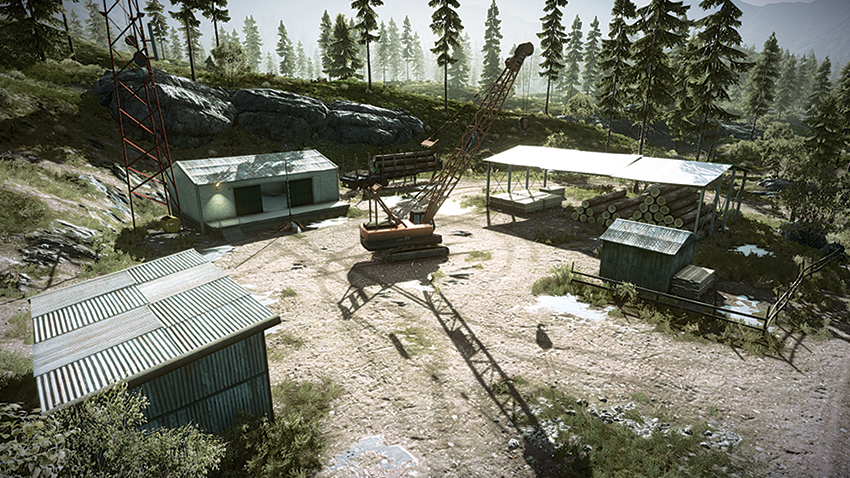
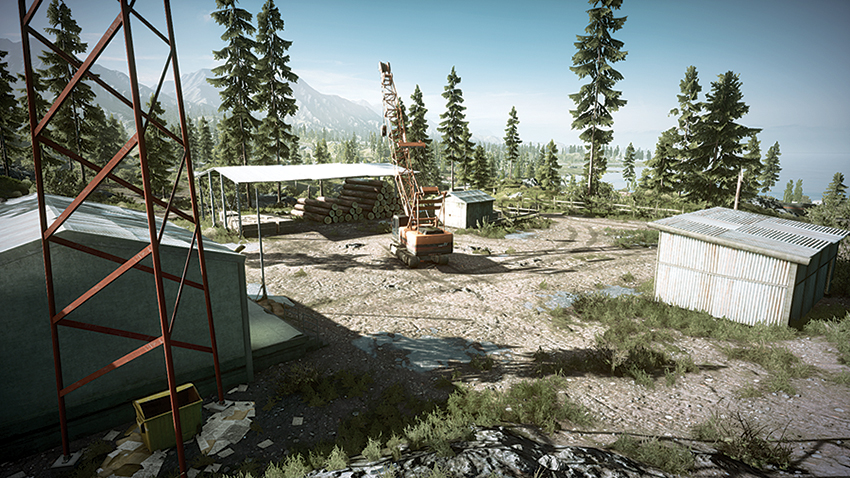
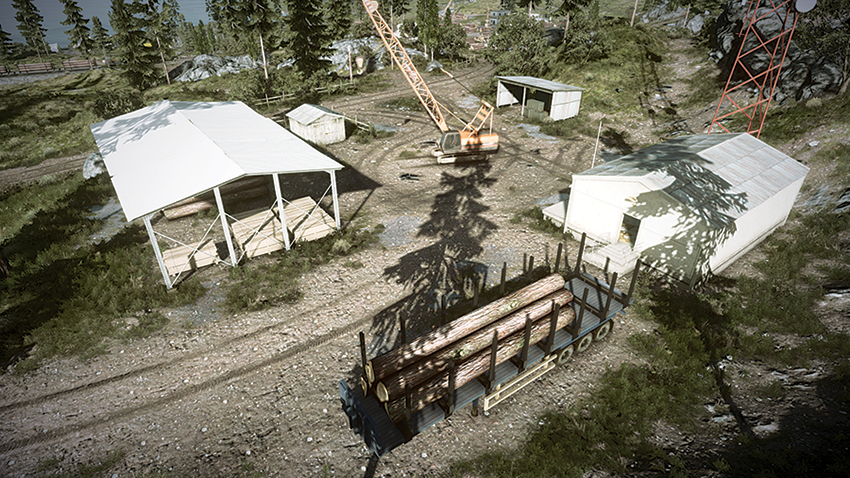
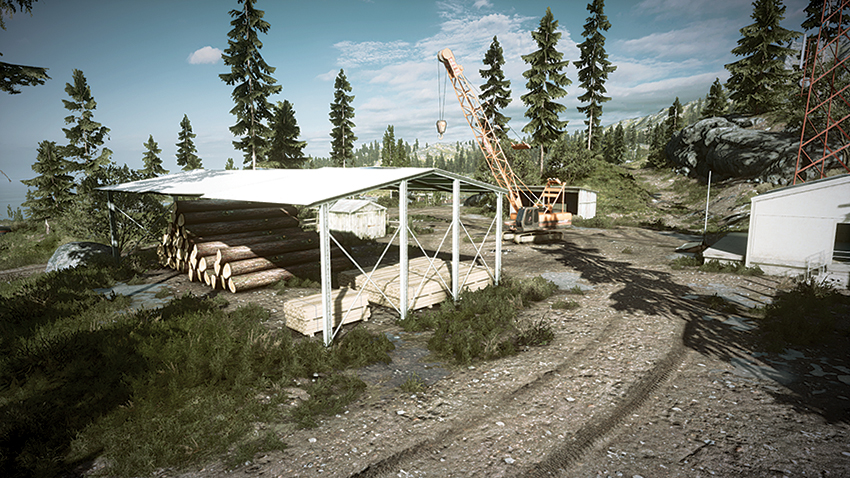
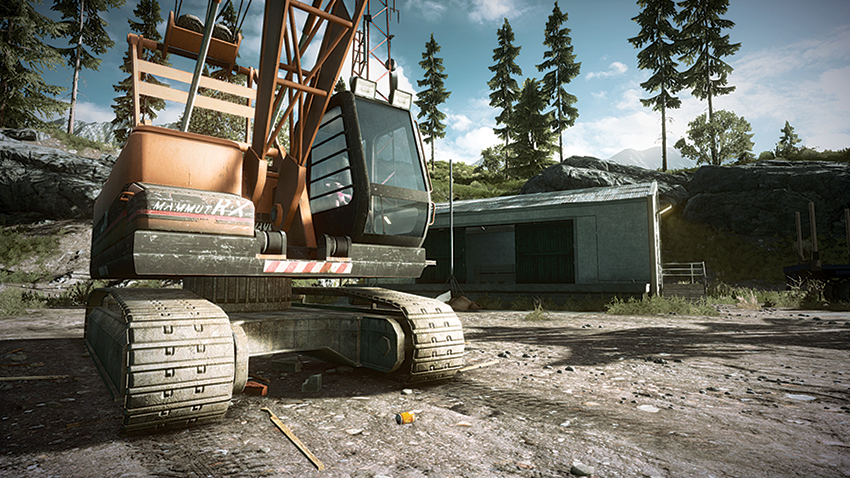
On the southeast end of the map is the Com Center (E). Its flag is exposed within the center of three structures. When capturing this control point, a squad should divide up to cover the surrounding area while one member captures the point. While capturing the point, the other squad mates should plant mines around the crane in the center of the yard. As dirtbikes rush into the area, these mines will ensure that the point is not easily captured. The shack on the east side of the yard can be used for cover when maintaining control of this point. Should the firefight get too intense, the door on the east side of the shack can provide a quick escape north into the brush. Approaching this area from the north requires an uphill climb, and since this hinders visibility of the control point, infantry units should deploy a MAV to scout the area during their approach.