
Battlefield 3 Premium Guide Battlefields Conquest 64
Sabalan Pipeline
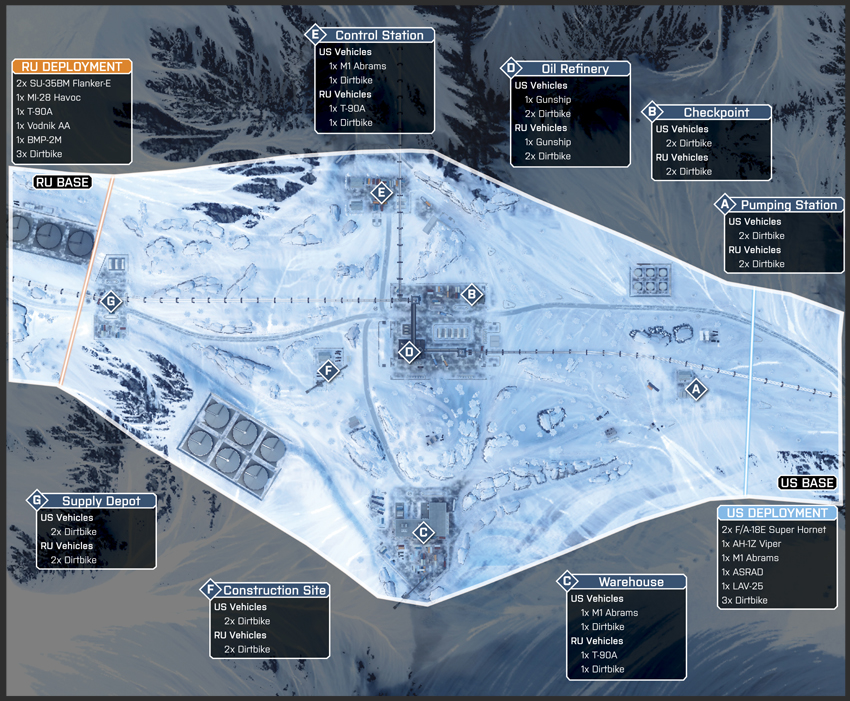
This game mode of Sabalan Pipeline has the same map borders as its Conquest counterpart, but has two extra control points on the map. These new control points are the Construction Site (F) and the Checkpoint (B). Both of these additional control points are located adjacent to the Oil Refinery (D). The US team still deploys from the east and will capture the Pumping Station (A) early in the round and maintain it for the duration of the battle. The RU team still deploys from the west and will capture the Supply Depot at the start of the match and will likely hold it for the duration as well. The addition of the Construction Site (F) and the Checkpoint (B) results in a more centralized battle than Conquest, since the proximity of the new control points to the Oil Refinery (D) means teams do not want to stray too far from the center of the field. Teams should keep this in mind as they disperse and attempt to capture the Control Station (E) to the north and the Warehouse (C) to the south. Although these points will be deserted through much of the conflict, maintaining a strong presence in the center of the map results in the opposition bleeding a steady stream of tickets. It also doesn’t hurt that the Oil Refinery (D) affords the controlling team with a dropship, as this deployment platform can be used to hold back armored opposition that enters the center of the map.
US Base
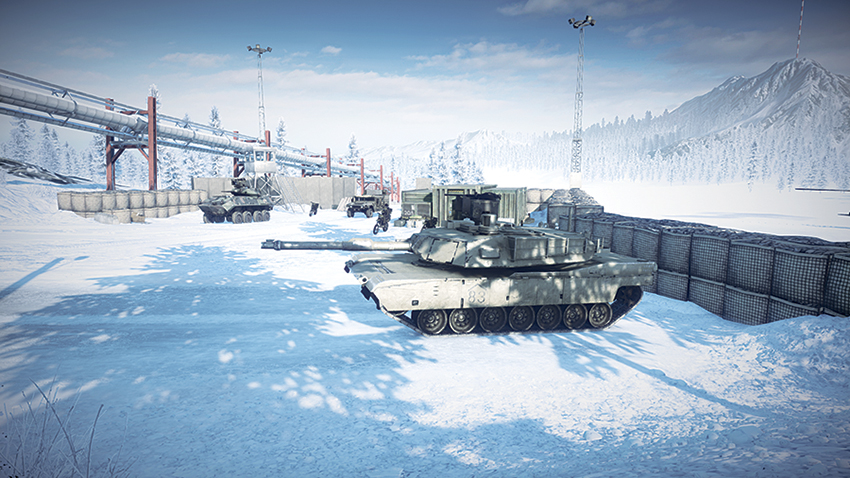
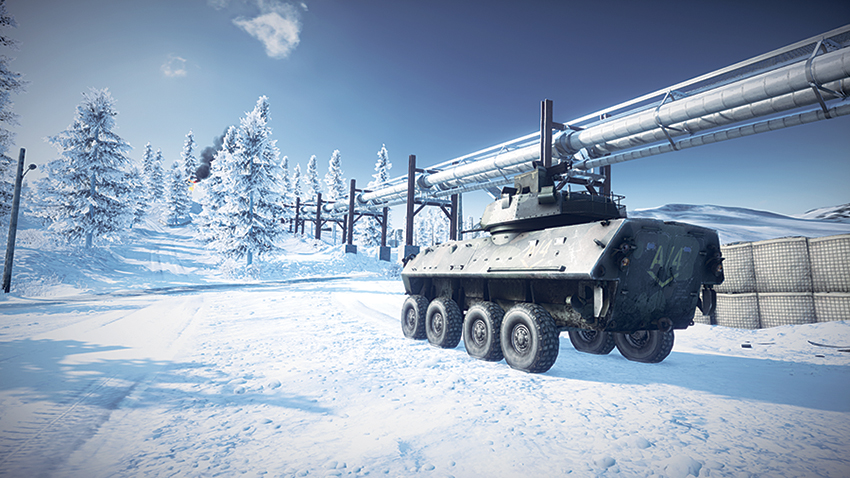
Deploying from the east side of the map, the US team should proceed west and capture the Pumping Station (A). Once this point is under the team’s control, the team should focus on entering the Oil Refinery (D) area, which is in the middle of the map. As the team enters the area, armored vehicles should continue to advance west past the Oil Refinery (D) and capture the Construction Site (F), while resisting the advance of the RU team in the process. By maintaining a strong presence on the west side of the Oil Refinery (D), other team members will find little opposition while capturing the Checkpoint (B). By this time, the Oil Refinery (D) should be under US control and the Dropship should be in the air. With the Dropship under US control, the craft should be used to deploy an IFV onto the center of the map to prevent RU soldiers from ripping these points out the US team’s grasp. Even if the RU team advance and capture the Control Station (E) and the Warehouse (C), they will still be holding only three points on the map and not be in a position to pose a significant threat. To maintain dominance, the US team should also have a strong presence in the skies, using the AH-1Z Viper and the two F/A-18E Super Hornets to push back the advance of heavy armored vehicles and prevent them from entering the Oil Refinery area (D).
RU Base
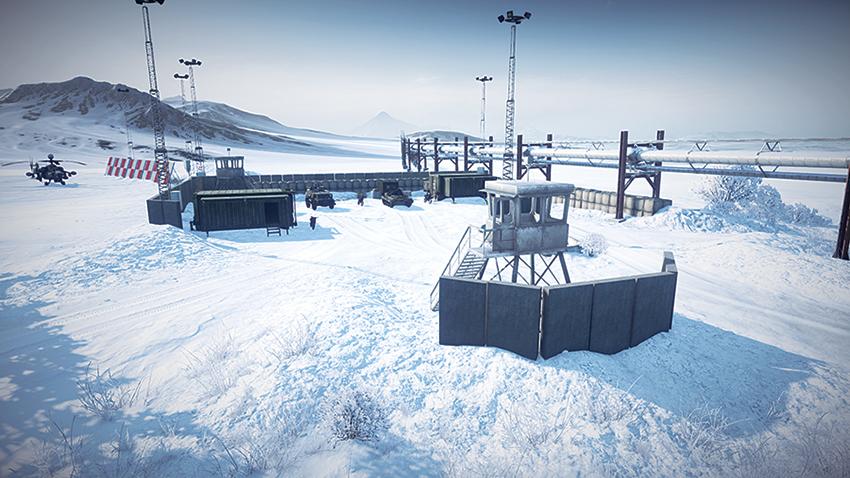
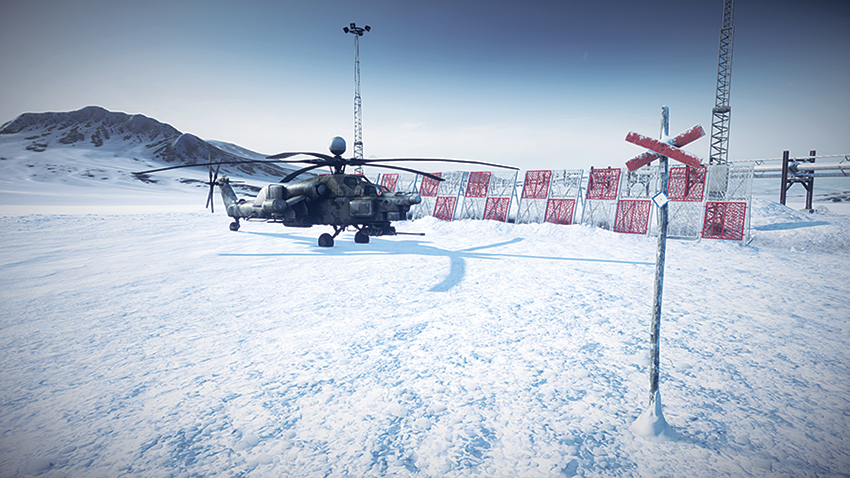
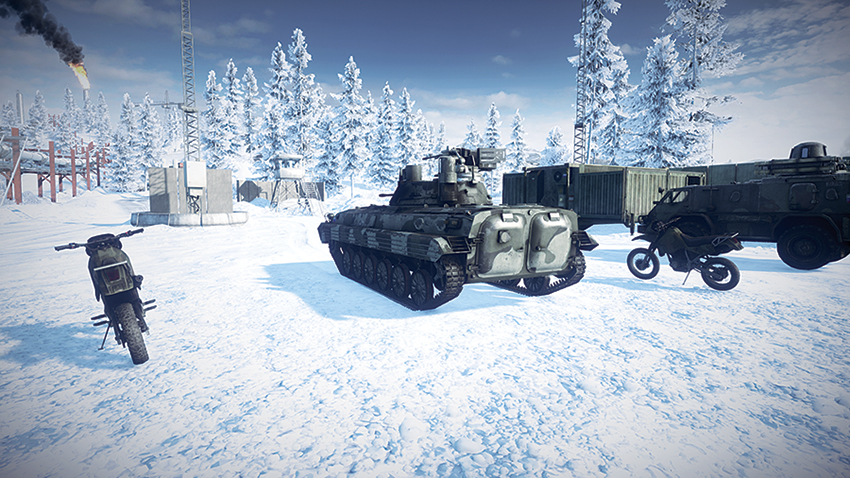
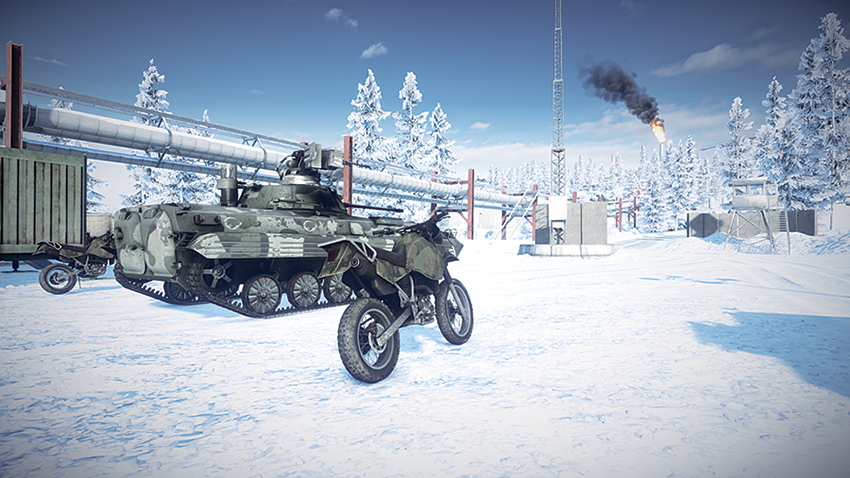
Deploying from the west side of the map, the RU team should proceed east and capture the Supply Depot (G) before continuing their advance. At this point, dirtbikes should proceed to the north and claim the Control Station (E) while armored vehicles advance to the Oil Refinery (D) area. After capturing the Construction Site (F) and moving on to the Oil Refinery (D), the RU team will meet resistance at the Checkpoint (B), which by this time will be overrun with US forces. Although the US team will likely be holding the Checkpoint (B), victory can still be achieved as long as the Control Station (E) and the Oil Refinery (D) are not lost. With the Oil Refinery (D) under RU control, the Dropship can maintain the exposed control point at the Construction Site (F) , as the IFV it deploys can be used to eliminate threats that enter the area. Maintaining the Control Station (E) affords the team with an extra T-90A that can be used to maintain the Oil Refinery (D) area to the south. The MI-28 Havoc should be in the skies over the center of the map, patrolling the Oil Refinery (D) for US infantry attempting to enter the site and capture the point. While the Oil Refinery (D) requires approaching on foot, the MI-28 Havoc can fire rockets into the upper tiers of the refinery and eliminate threats near the flag.
A: Pumping Station
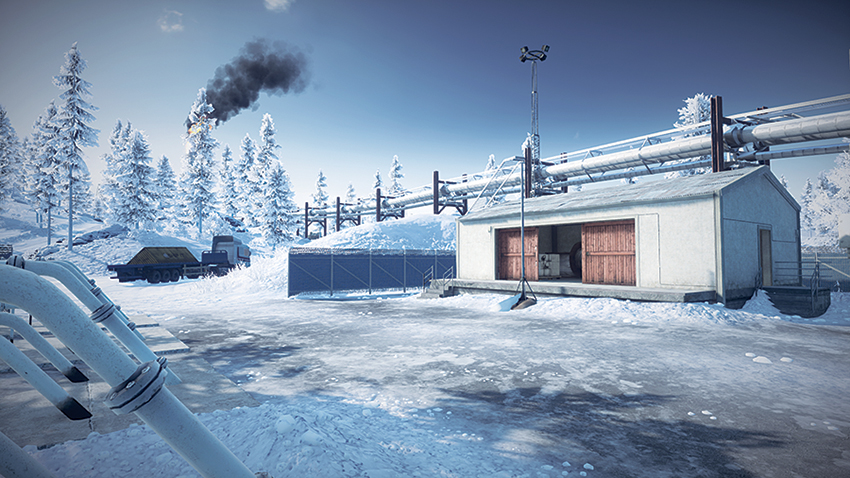
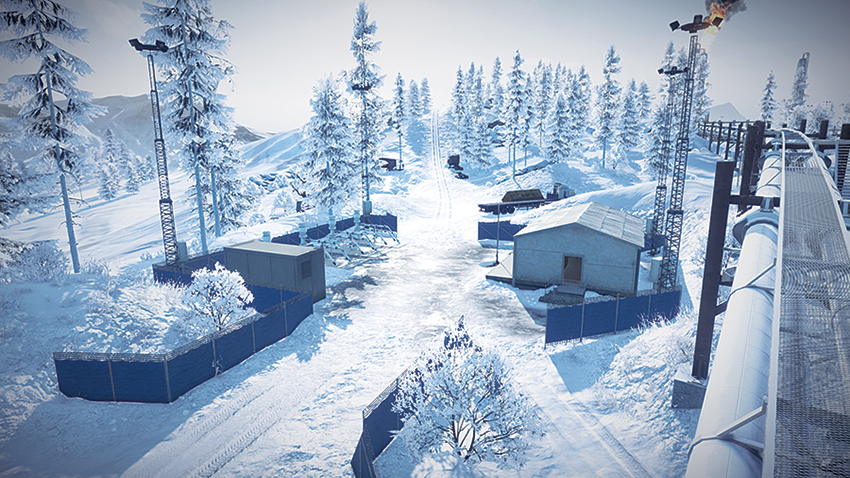
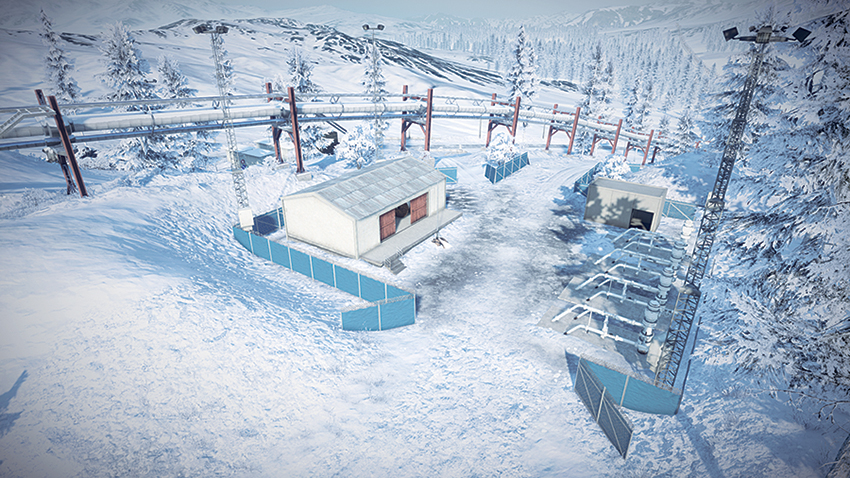
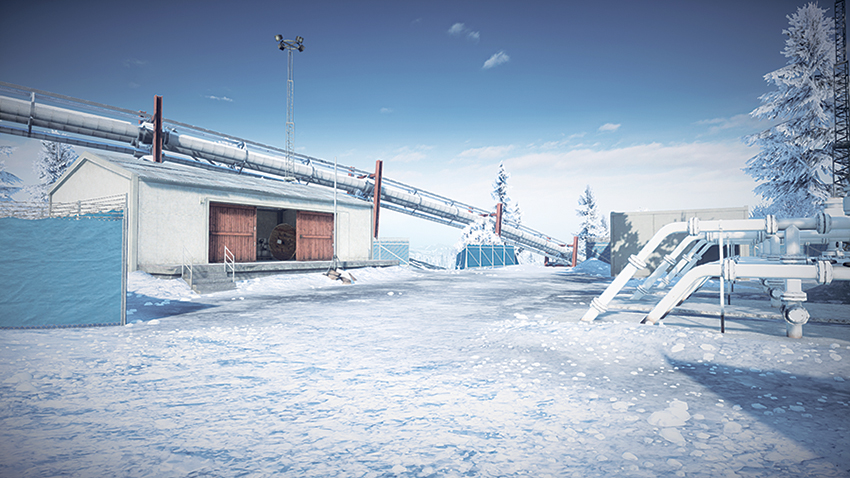
Located on the east side of the map, this control point will likely be held by US forces throughout the battle. With an exposed flag and immediate access from roads, this site can be claimed by the RU team to push back US deployment vehicles. An RU team looking to accomplish this should leave the work to dirtbikes, with air cover provided by the MI-28 Havoc. This strategy is designed to prevent heavier vehicles like the T-90A or BMP-2M from leaving the map’s central area, where the combat is most intense. If the US team loses a foothold here, they can easily reclaim the site by using heavy vehicles from the deployment site to make their way west. To eliminate campers at this site, climb onto the nearby oil pipeline via the ladders east of the flag. Doing so provides a sight line into the flag area.
B: Checkpoint
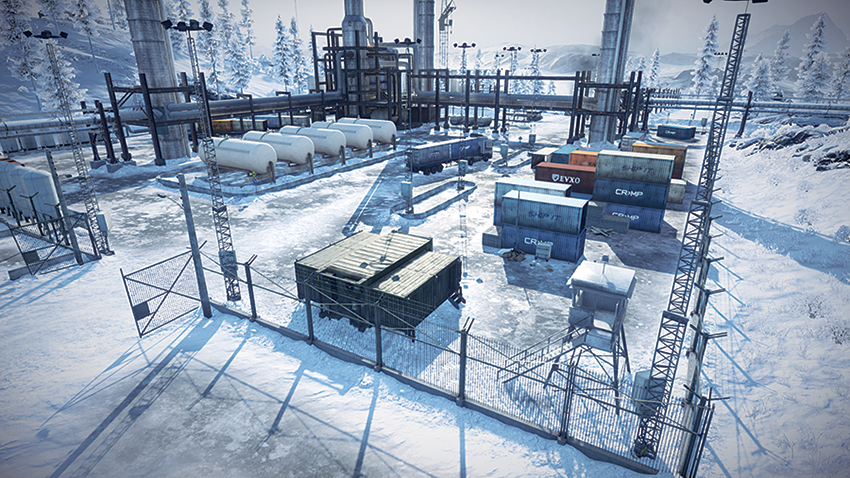
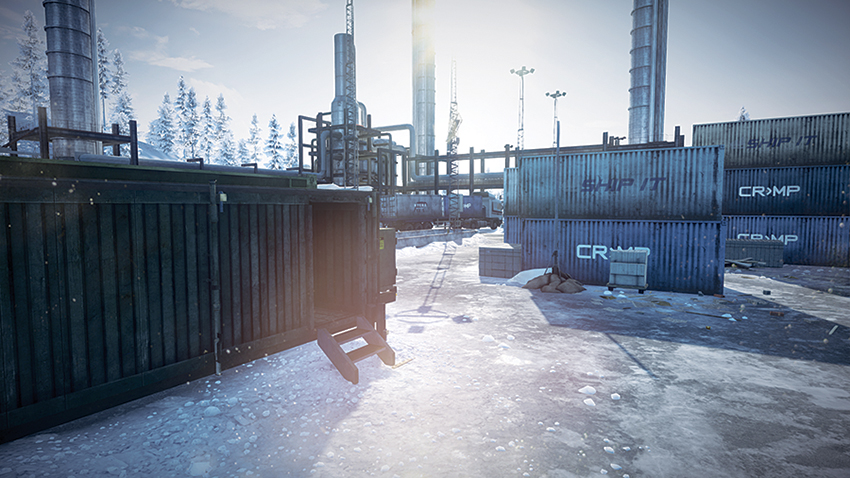
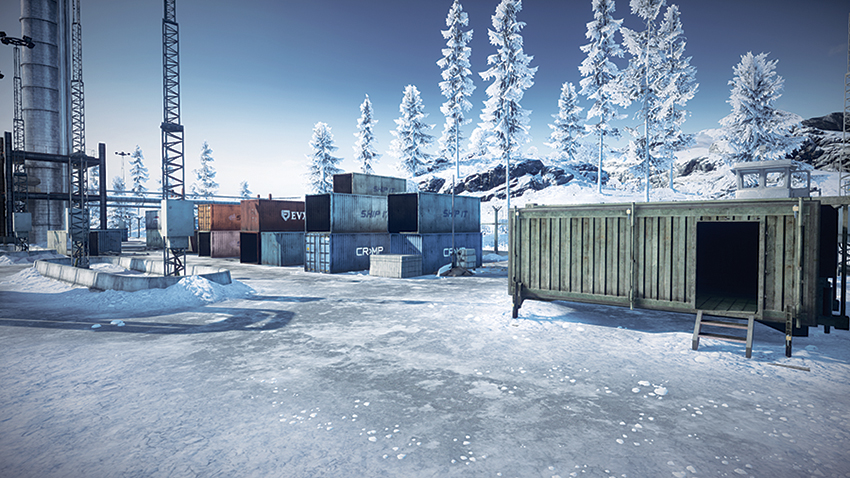
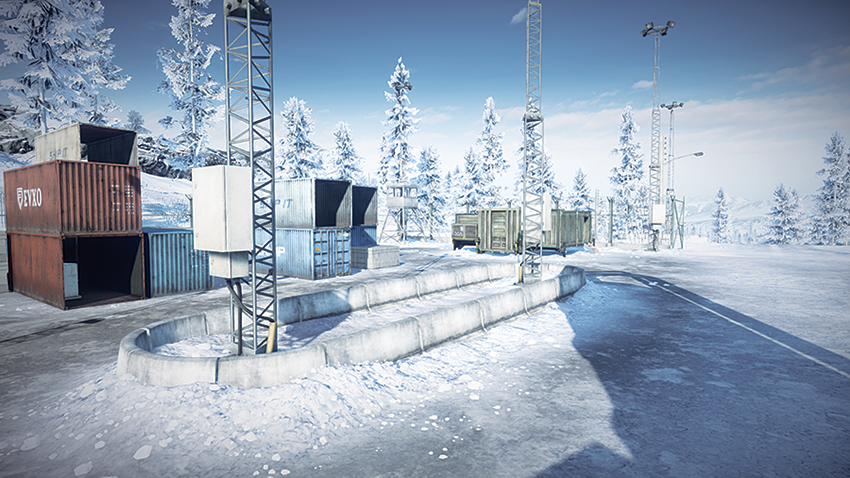
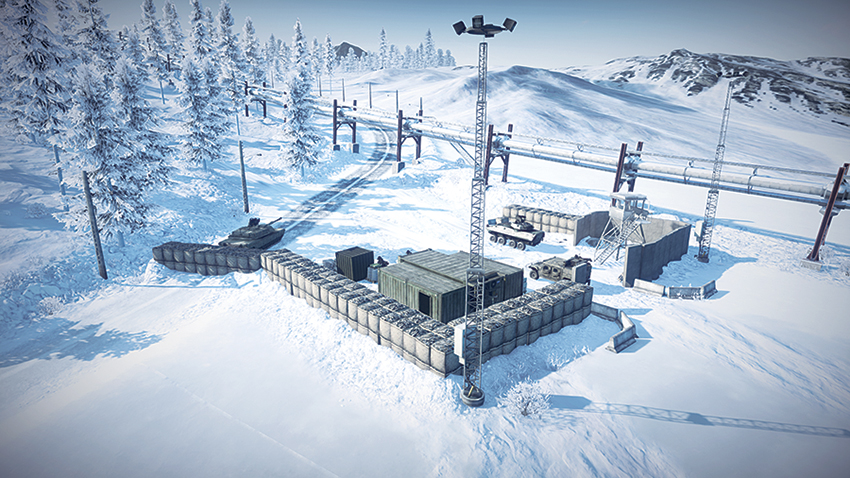
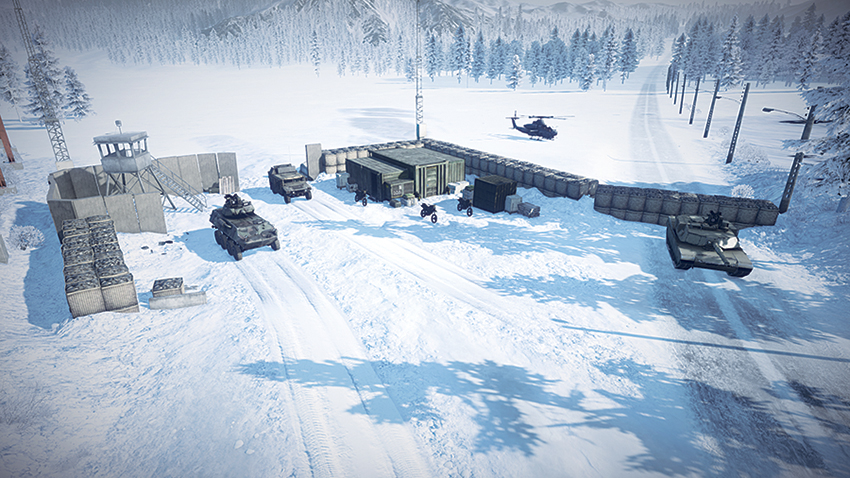
Located northeast of the Oil Refinery (D) within the fenced compound, the Checkpoint (B) is an exposed control point. Set near shipping containers, the area provides a significant amount of nearby cover, as the point can be captured by climbing into the nearby shipping container. Teams looking to exploit this cover option should be careful for armored vehicles though, as being fired upon while inside results in heavy suppression or splash damage from cannon fire. When capturing this point, it is a good idea to have support from a helicopter to stave off attacks from armored vehicles. Two sight lines afforded within this area are the watchtower on the northeast corner of the compound and the guard shack to the east near the compound’s open gate. However, being spotted in these two cover positions can be dangerous when under armored attack, as heavy weapons can obliterate these small structures. When approaching the site, teams should take care if the Oil Refinery (D) is under control of the opposition, as the refinery provides a sight line of the Checkpoint (B) area.
C: Warehouse
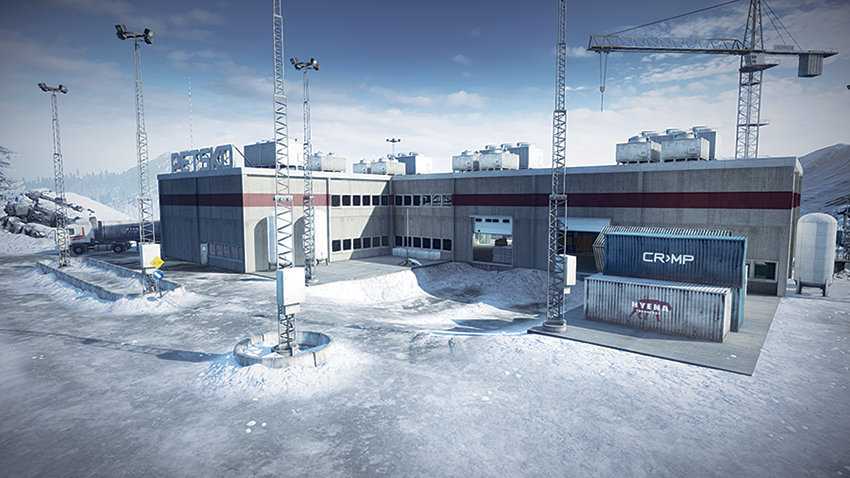
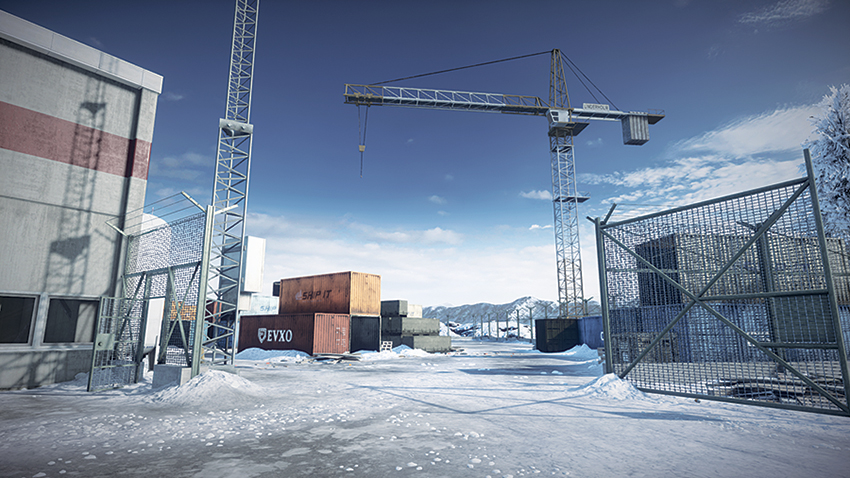
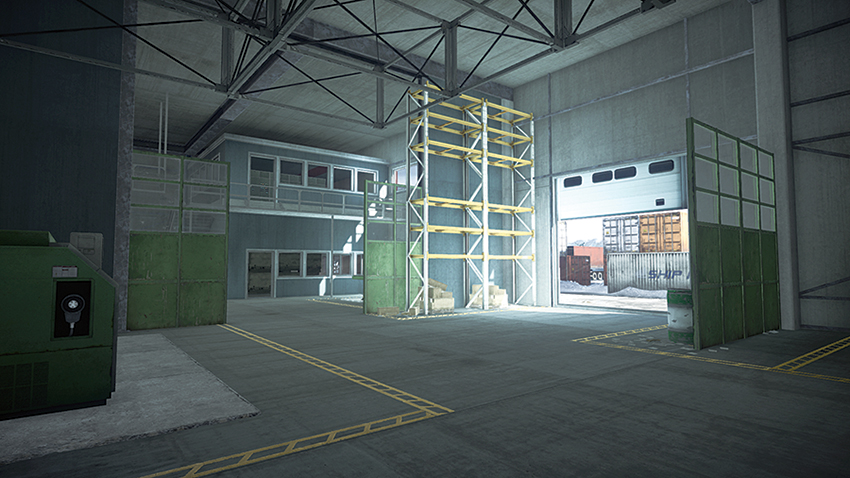
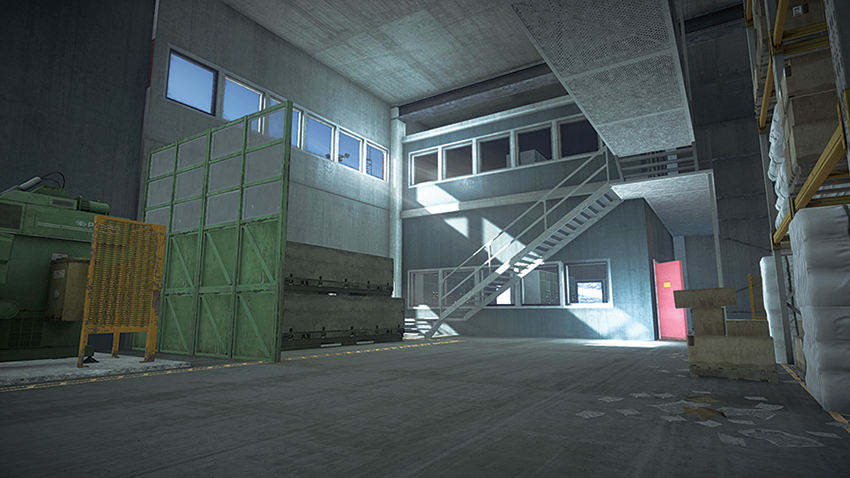
The Warehouse (C) is located on the southern edge of the map, directly south of the Oil Refinery (D) and over a hill. Although the site is slightly outside the intense combat around the Oil Refinery (D), the strategic significance of the control point is that the capturing team is rewarded with an extra tank that can be deployed from the site. An immediate disadvantage to this control point is that even from the roof, there are not many direct sight lines to watch other control points. The key sight line offered here requires climbing the crane outside of the southern fence line. From here, a sniper has a good view of the northwest, including the vehicles deploying from the RU team’s base. When capturing the control point from the enemy, teams should make use of the entrances on the building’s south and east sides, as any campers are likely to be on the roof with their attention directed toward the northern road that leads from the Oil Refinery (D).
D: Oil Refinery
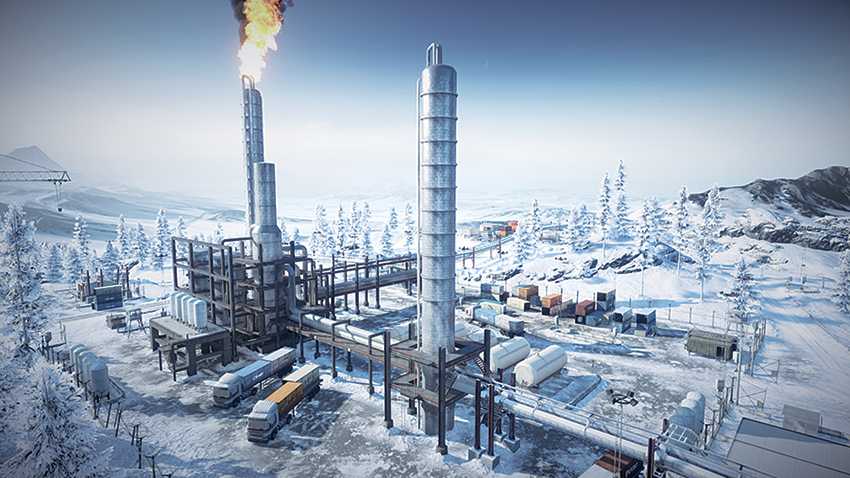
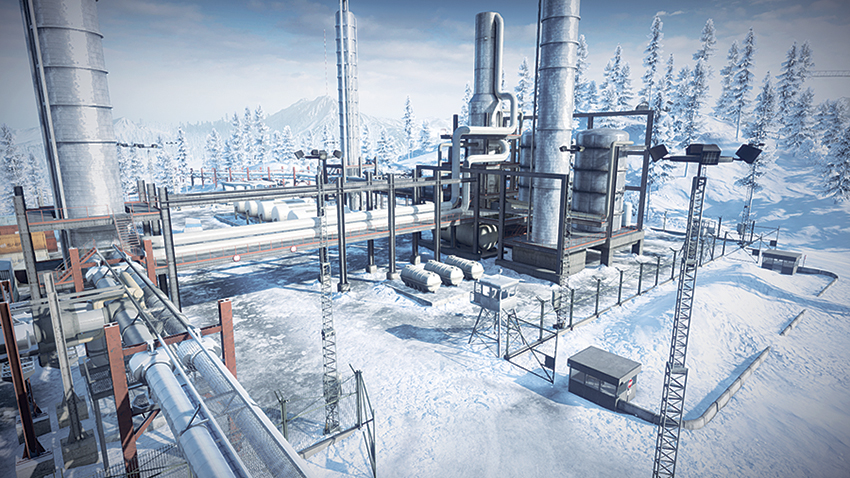
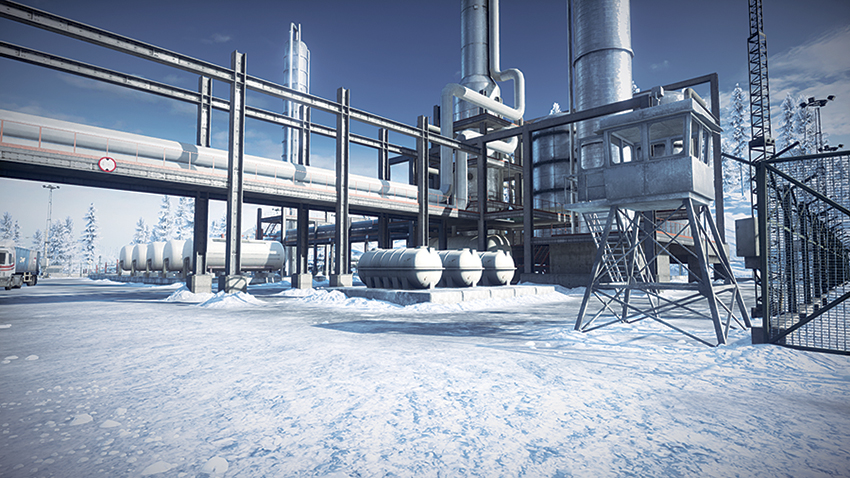
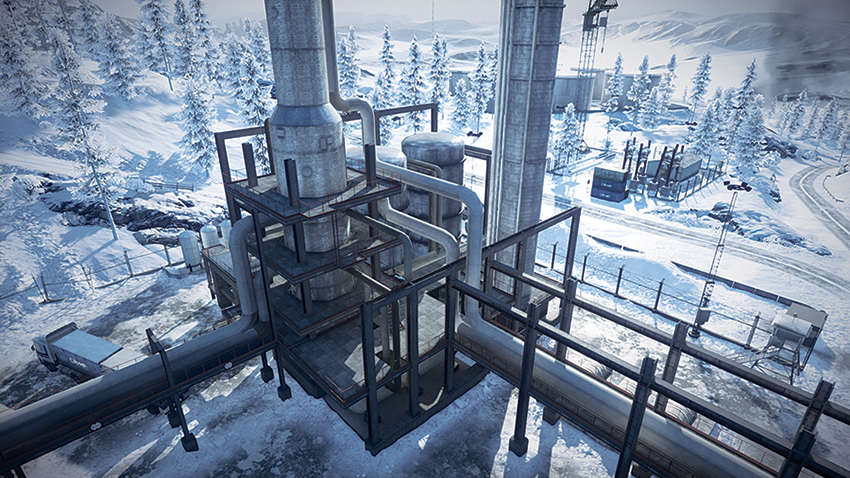
Central on the map is the Oil Refinery (D). This monolithic structure is visible from nearly all corners of the map, as its gas flare serves as a fiery beacon among the snow-capped landscape. This will quickly be a highly contested control point, not only for the Dropship that is awarded to the team that controls it, but for the sight lines offered by climbing atop the large metal silos on the refinery’s south side. From this vantage point, nearly all four corners of the map can be observed, providing for early detection of enemy armored vehicles as they approach to capture the point for themselves. Combat is fiercely competitive here, as the Refinery’s multiple tiers invite close-quarters combat and the expansive area surrounding the Refinery allows for armored vehicles to bombard the site with artillery. For infantry looking to access the site undetected, the three pipelines the connect to the Oil Refinery from the west, north, and east can be traversed to access the second level of the site with relative ease. When using this method of approach, soldiers should be aware that staying on the pipeline exposes them to sniper fire from the Refinery itself, so make the trek as short as possible.
E: Control Station
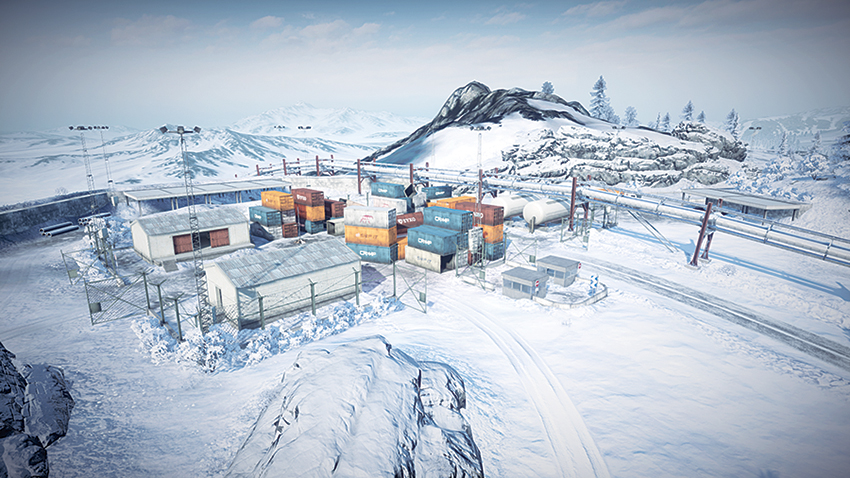
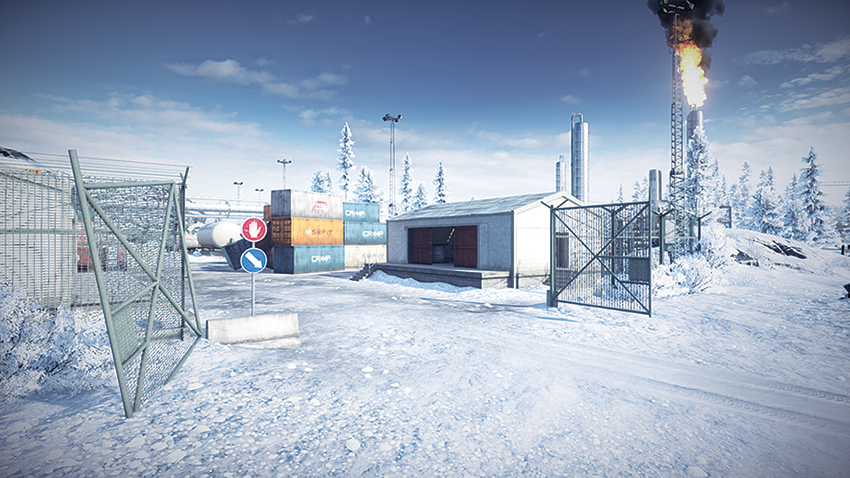
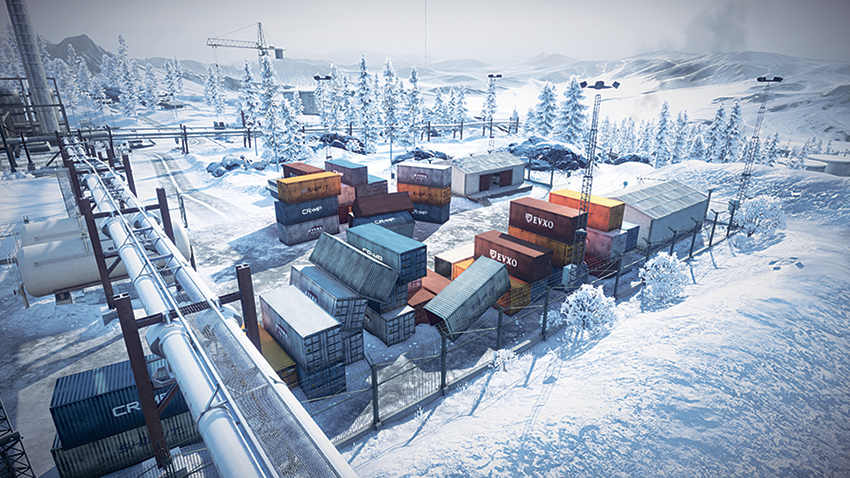
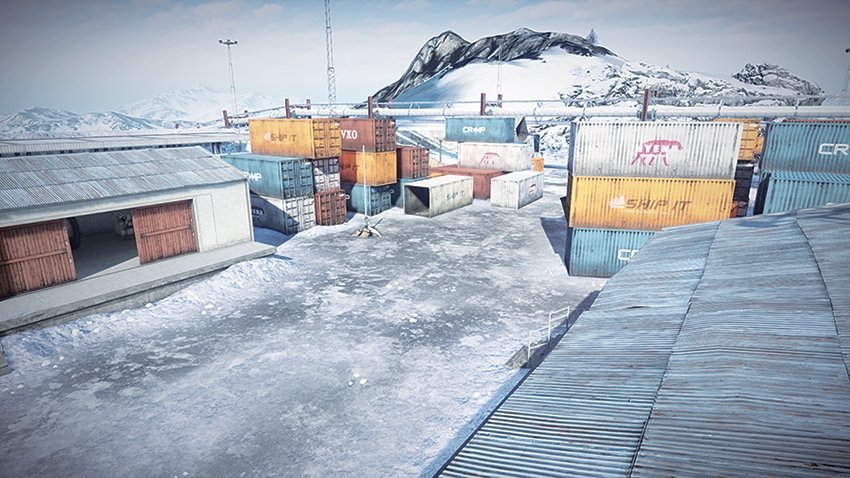
Located on the northern edge of the map, due north of the Oil Refinery (D), the Control Station (E) may seem out of the way, but the tank awarded to the team controlling it makes the site a strategic resource. The US team should expect this site to be under control of the RU team early on. A US team looking to access the site should make their approach directly from their deployment by using the road that runs northwest from the Pumping Station (A) to flank any hostiles that have decided to camp here. An RU team making their approach from the west should enter the area by following the road leading northeast from the Supply Depot (G). Approaching this site from the south is risky if the point has been captured by the opposition, as there will be a possibility that the tank that spawns here has yet to deploy. When maintaining a presence at the site, infantry and dirtbikes will discover that they can cut in and out through the shipping containers on the station’s north side to conceal their presence from oncoming armored vehicles.
F: Construction Site
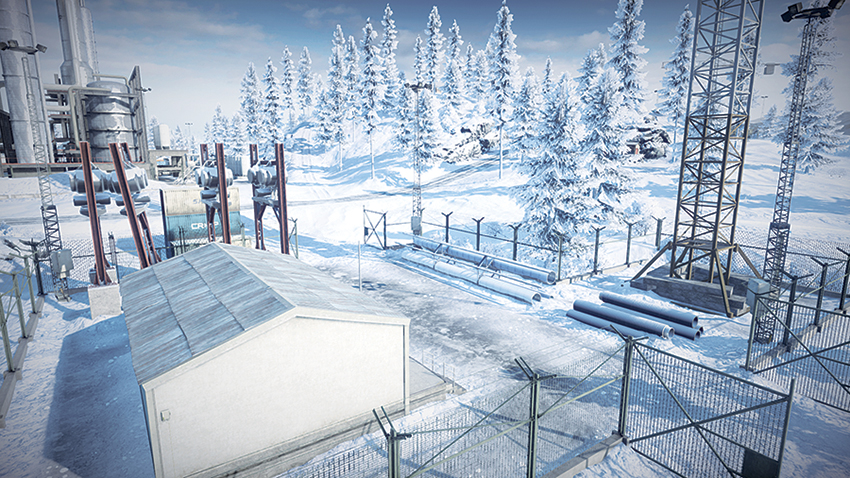
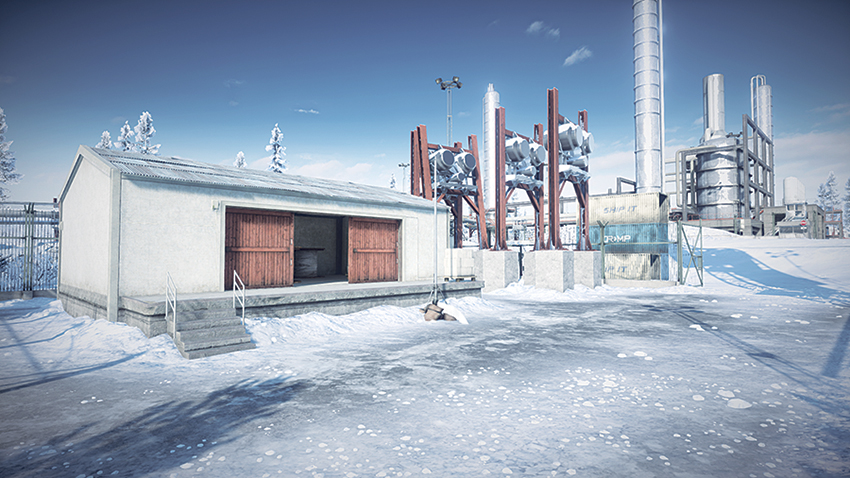
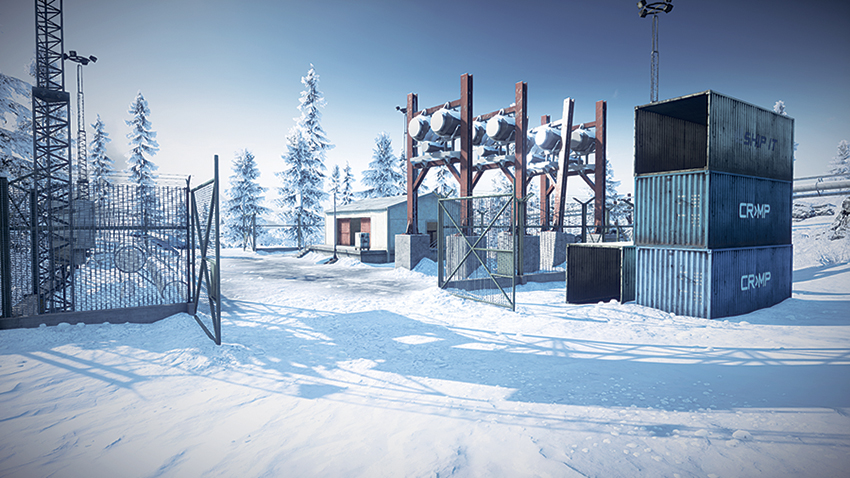
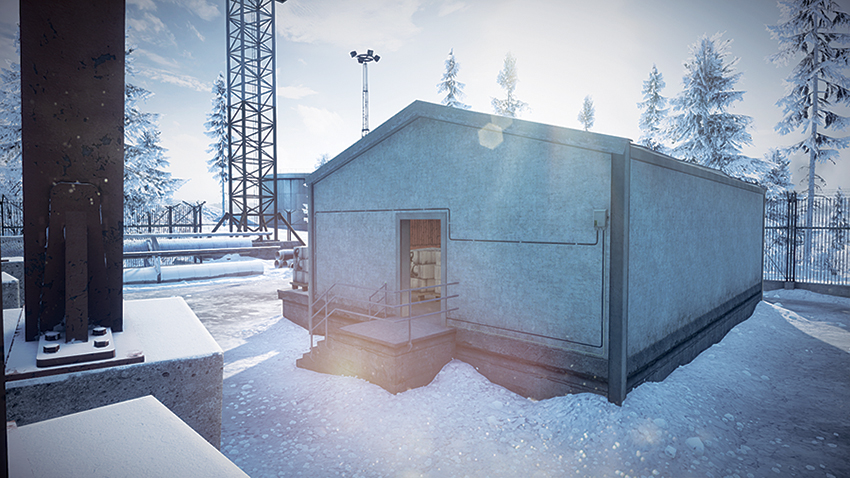
Located west of the Oil Refinery (D), the Construction Site (F) will be under the control of whoever maintains control of the Oil Refinery (D) due to its close proximity. The crane on the site affords a sight line over the Construction Site (F), the Control Station (E), the Oil Refinery (D), and gives a partial view of the Warehouse (C). The flag is exposed, with the only cover option being the nearby storage building. When approaching the site, teams should keep in mind that the Oil Refinery (D) provides a direct sight line over the control point and snipers will exploit this to maintain control of the site. Placement of mines near the entrances to the Construction Site (F) will help in preventing armored vehicles from entering the site, but dirtbikes will avoid these booby traps by crashing through the chain-link fence.
G: Supply Depot
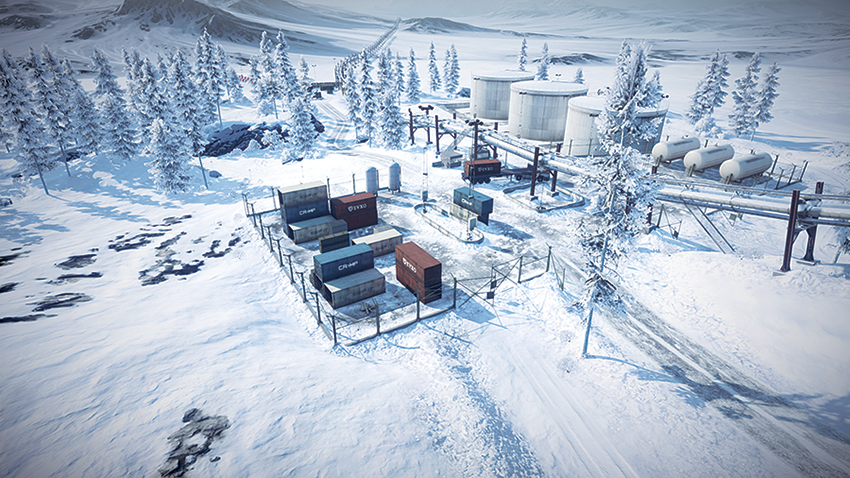
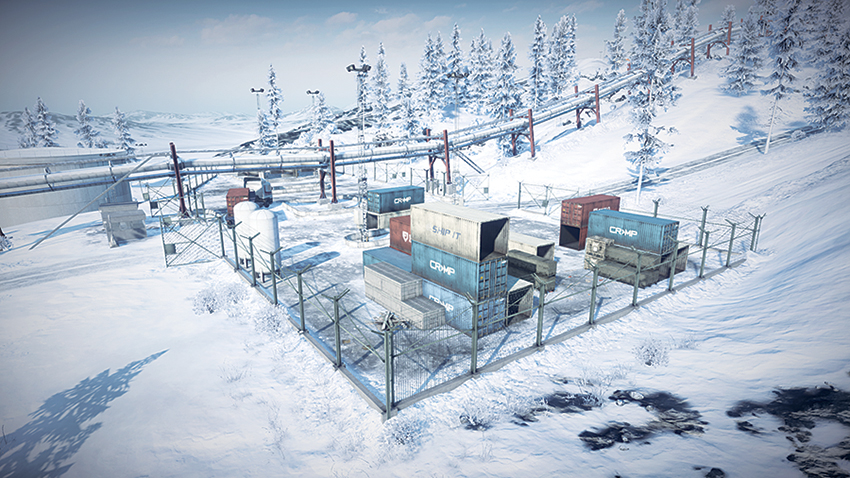
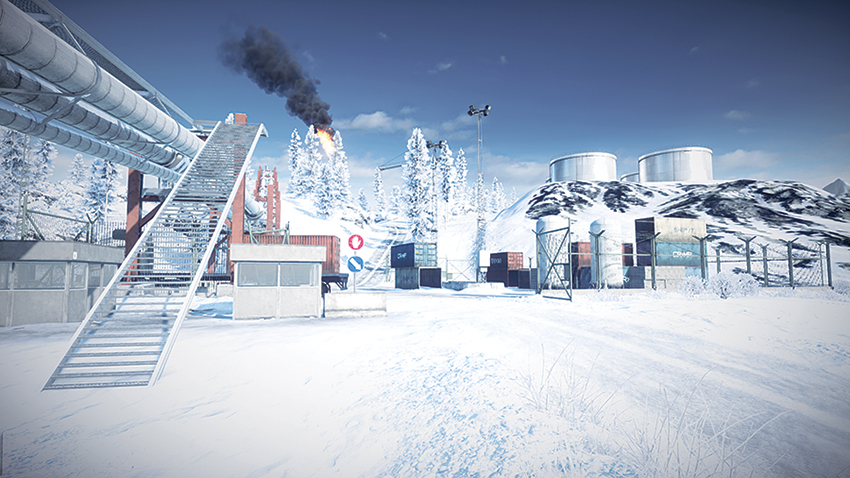
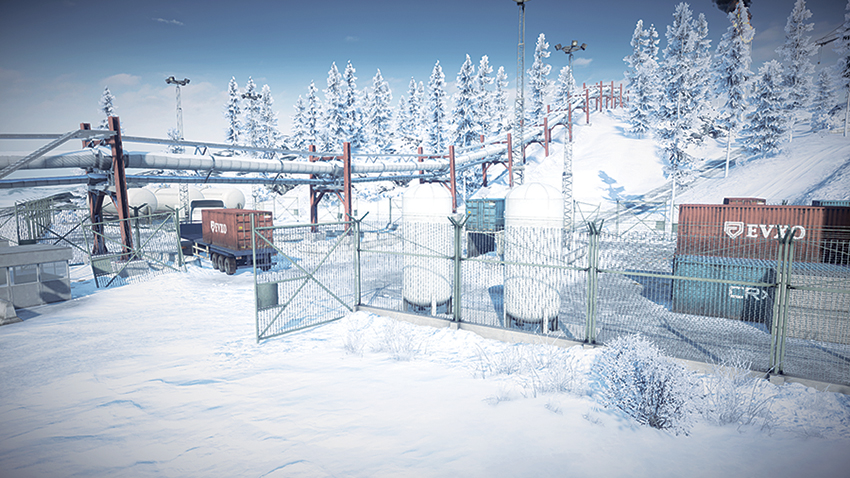
Located far west, Supply Depot (G) will be captured early by the RU team as they make their move east. The flag here is located in the center of the depot, beneath the pipeline that runs through the area. This area provides no sight lines to observe the eastern portions of the map, given that it is located downhill. Nevertheless, the site serves as the main thoroughfare for the RU team’s armored vehicles, and should the US team capture this control point, they will be able to control the flow of RU vehicles into the field. If the US team is to be successful in capturing this control point, dirtbikes must enter the area under the escort of the AH-1Z Viper. The US team should not expect to hold the site for long, though, as they will find themselves overrun by RU infantry deploying from their base.