
Battlefield 3 Premium Guide Battlefields Conquest 64
Kiasar Railroad
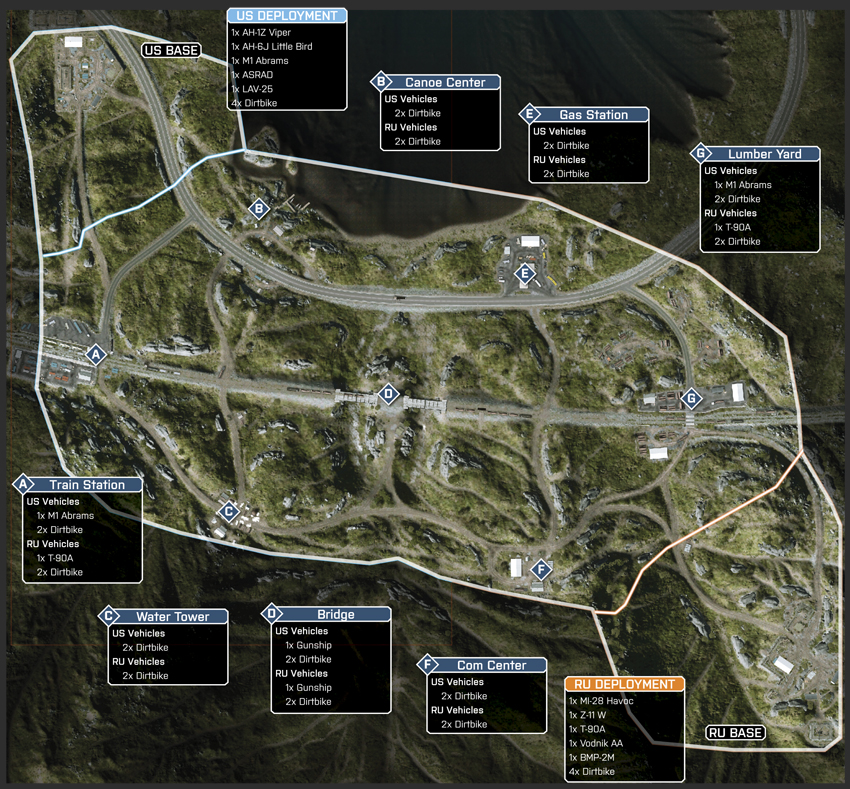
During Conquest 64, the map territory is expanded to include the Train Station (A) and Lumber Yard (G) as control points, resulting in seven control points being contested. This expansion also pushes back the deployment zones of both teams, with the US team deploying from the northwest edge of the map and the RU team deploying from the southeast. This shift in deployment positions also results in a staggered advantage for both teams, with the Train Station (A) and Canoe Center (B) being quickly captured by the US team and the Lumber Yard (G) and Com Center (F) being captured early on by the RU team. Once again, the Bridge (D) is in the center, and is flanked by the Water Tower (C) and the Gas Station (E). This distribution of control points leaves the central three points up for contention by both teams, as neither team deploys within their immediate vicinity. The result is a frantic battle in which beating your enemy requires consideration of how to best defend against attacks on the map’s uneven terrain. One advantage afforded to both teams in is the tank, but this lumbering vehicle is better suited to performing patrols through the map’s north side on the road near the lake.
US Base
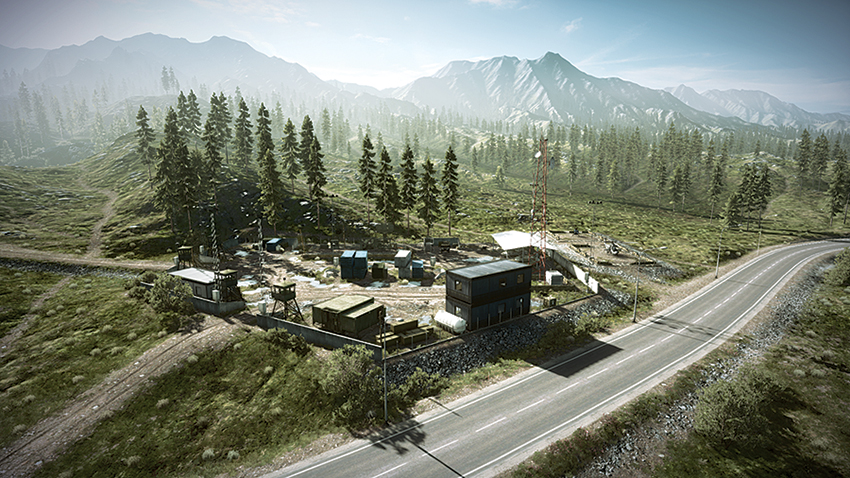
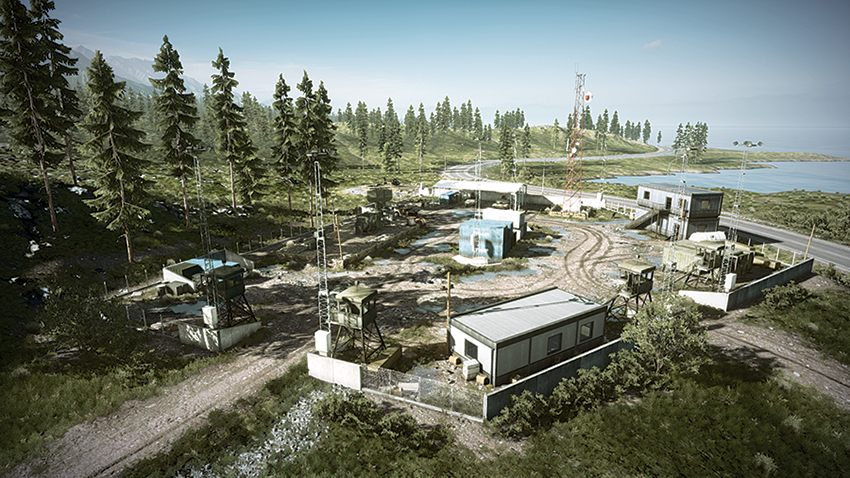
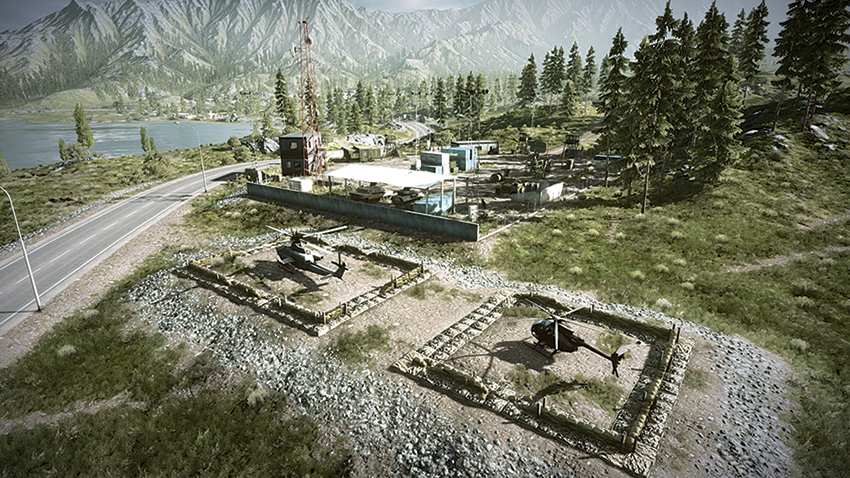
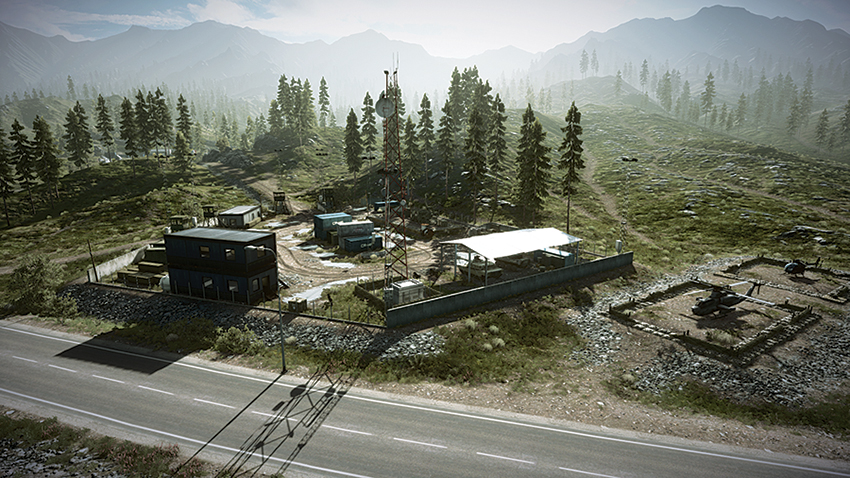
Deploying from the northwest, the US team is poised to quickly capture the Canoe Center (B), which is located on the edge of the lake. After claiming this point, the team can proceed to the southwest and claim the Train Station (A) with little resistance. The team would be wise to divide its resources to accomplish this, with squads moving to the Train Station (A) while others proceed southeast to gain control of the Bridge (D). While infantry are moving toward the Bridge (D), the team’s helicopters should advance to the area to hold back hostiles that are approaching the area from the southeast. The M1 Abrams should avoid the area around the Bridge (D) and continue from the Canoe Center (B) to the Gas Station (E) by way of the northern road. The tank is more than equipped to capture this point single-handedly, as well as push back resistance it encounters along the way.
RU Base
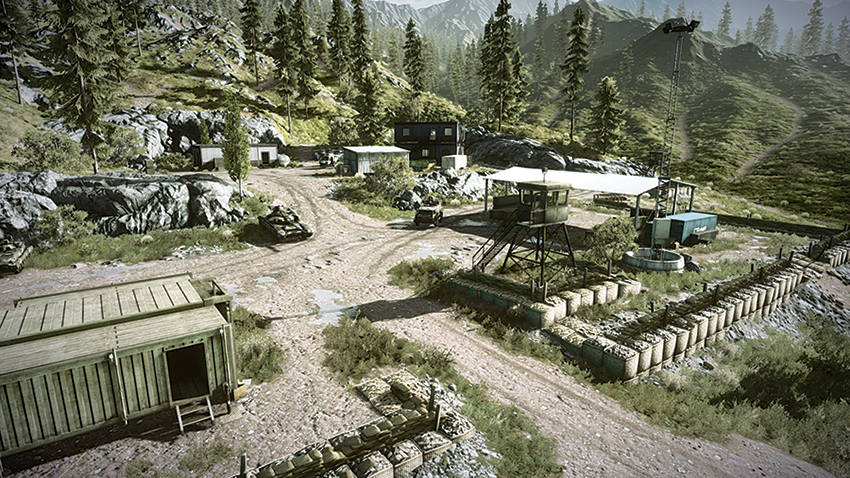
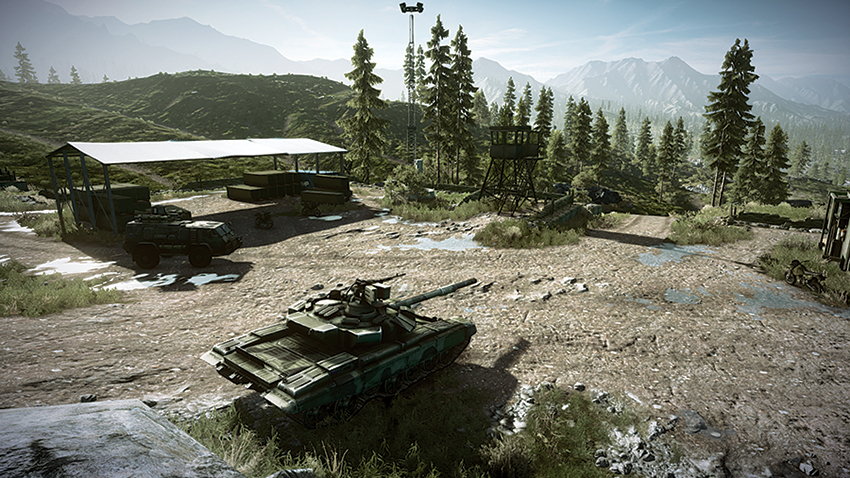
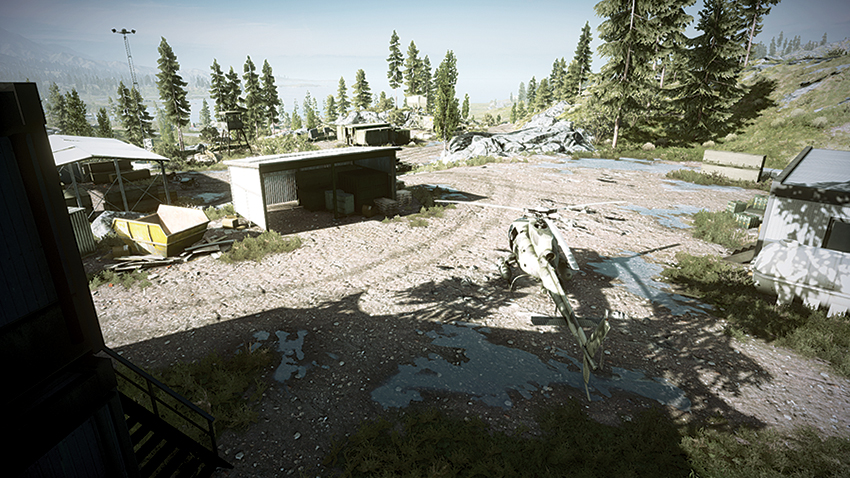
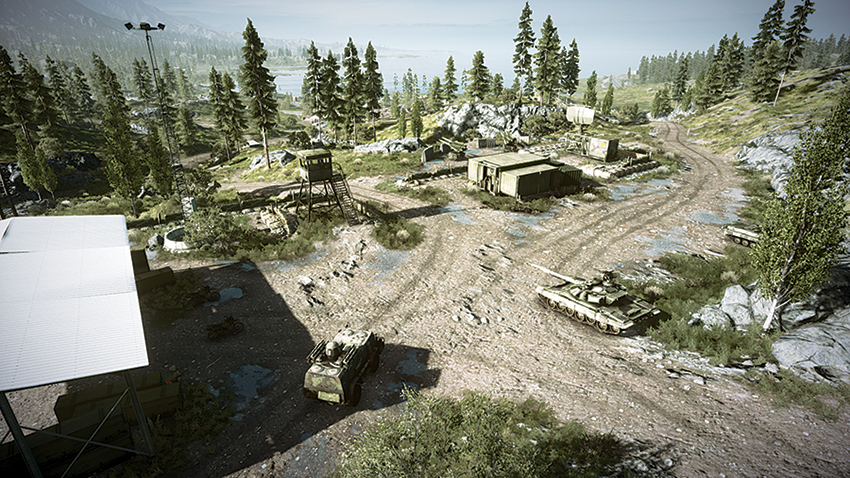
Deploying uphill from the southeast end of the map, the RU team will quickly move in and control the Com Center (F), which is immediately west of the deployment area. From this point, the team can move to control the Lumber Yard (G) to the northeast or continue west to capture the Water Tower (C). One advantage to controlling the southern control points is that the entire region is uphill from the rest of the battlefield. Taking advantage of this elevated position allows the team’s Vodnik AA and T-90A to fire upon enemy helicopters and the northern control points. The team’s helicopters should move toward the Bridge (D) early on and patrol this location until infantry can arrive to secure the point. Once the Bridge (D) is secured, the Dropship can be used to deploy units near the US team-controlled north and push back hostiles that are attempting to make their way uphill.
A: Train Station
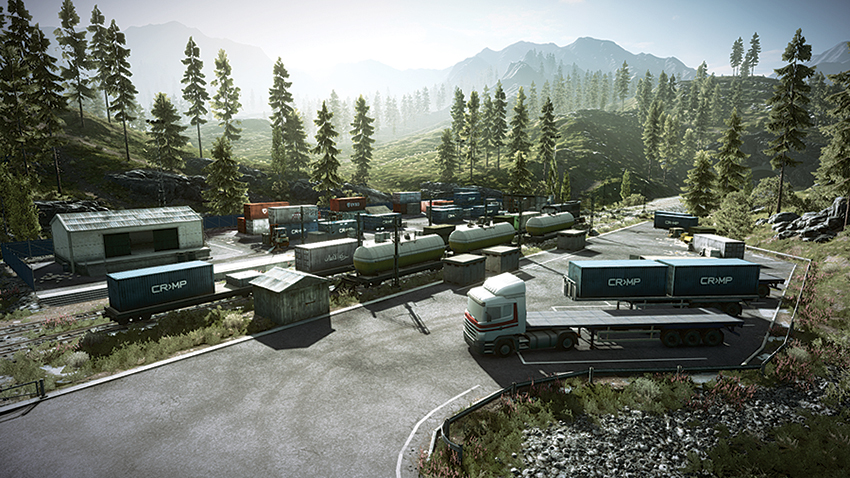
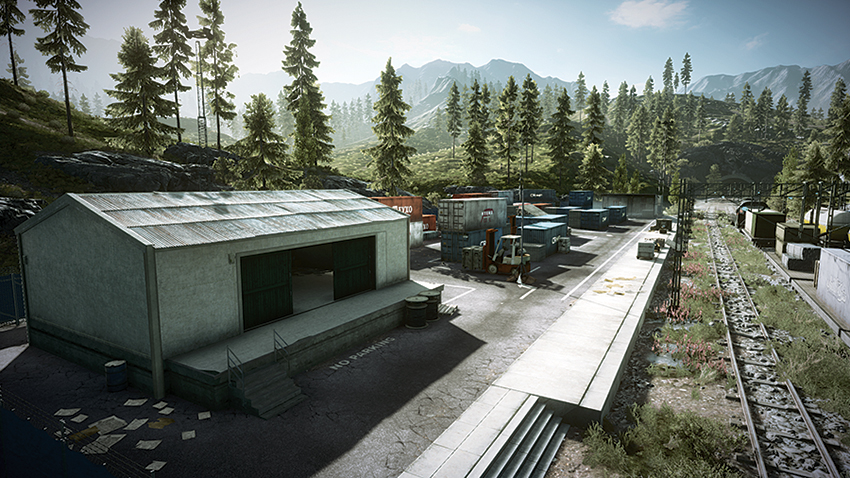
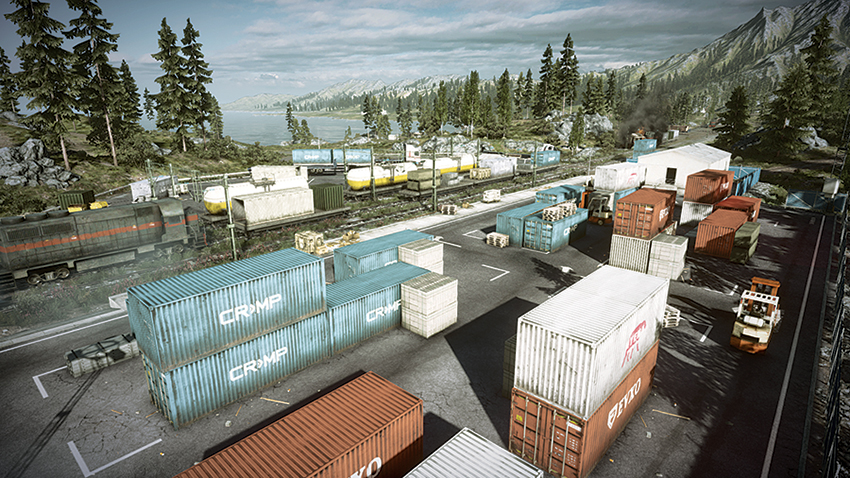
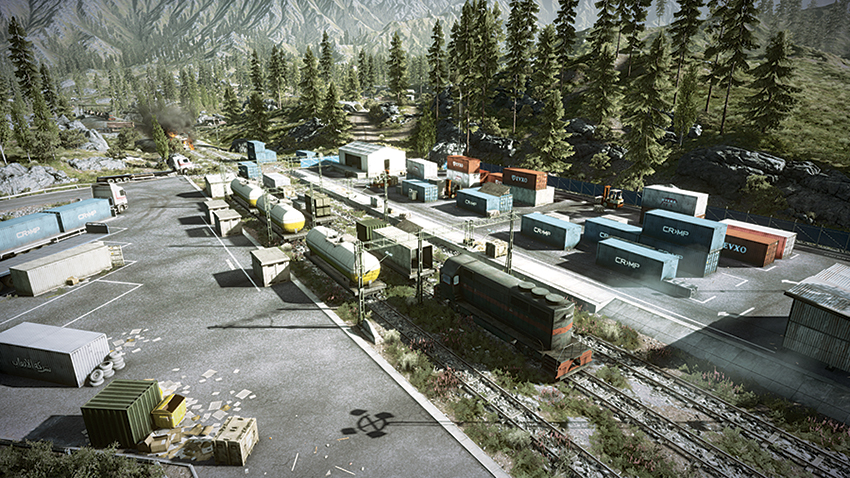
Located in the far west, the Train Station (A) is likely to be controlled through most of the battle by the US team given its proximity to the US team’s deployment. Its flag is exposed on the south side of the station near a forklift. Although it is exposed to attack from the east and from the air, the flag is obscured from view by train cars and shipping containers to attackers advancing on this control point from the north,. Larger vehicles should not stay near the shipping containers here, as avoiding mines and C4 attack can be difficult when navigating the confines of the station. Instead, these vehicles should opt to escort infantry units into the station and fire on hostiles from afar, making sure that escape is possible if engineers or support class soldiers are in the area. When approaching this area, watch the hills behind the station to the south for snipers that have taken position atop the rocky ridge there.
B: Canoe Center
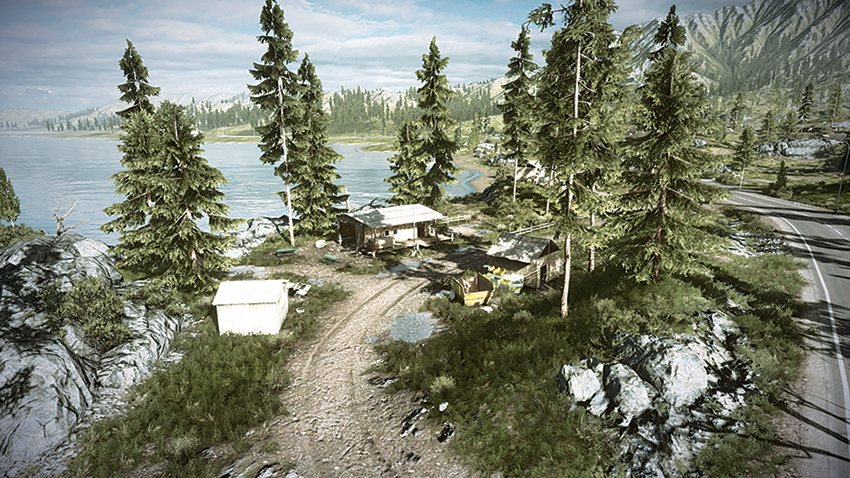
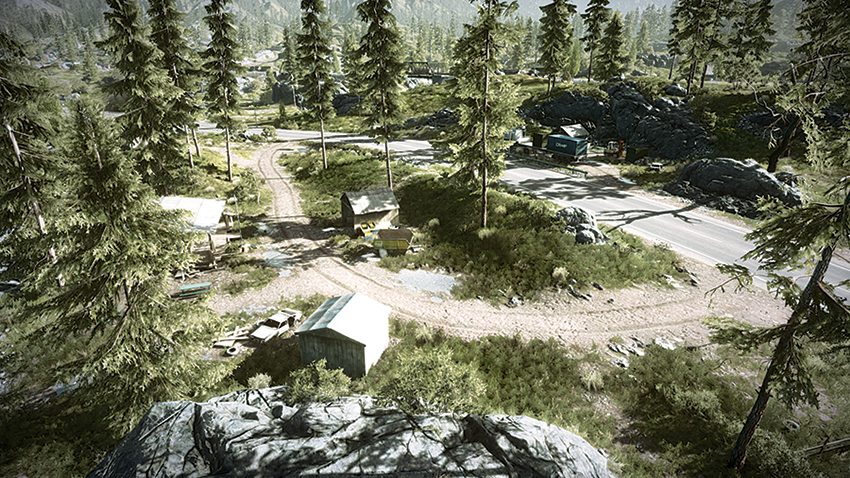
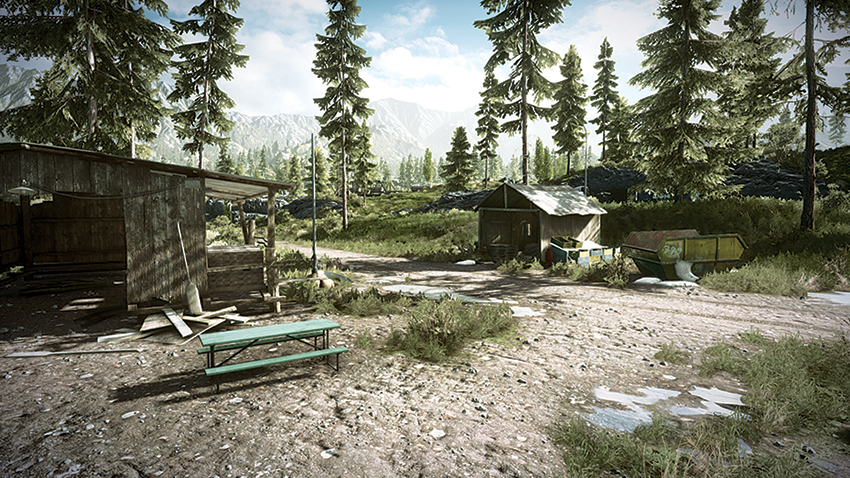
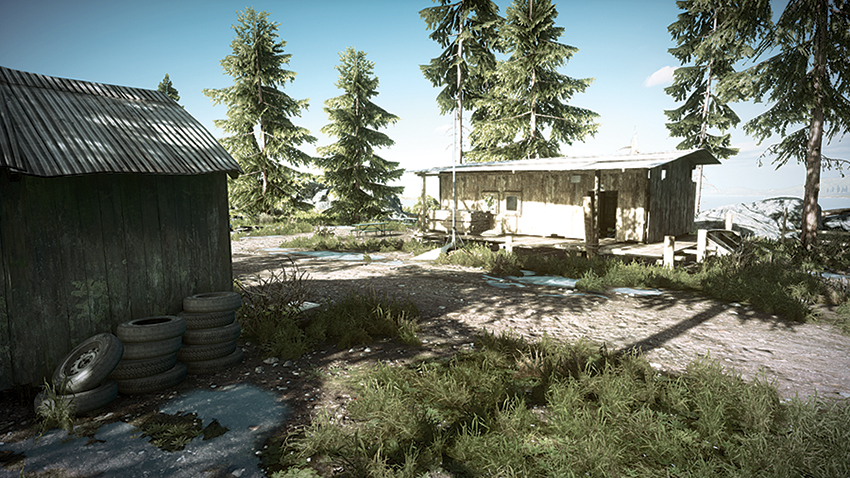
Positioned on the northwest corner of the map, the Canoe Center (B) flag is located in front of the hollowed-out lakeside building. When attempting to capture this control point, teams should move into the building since the exposure of this area leaves infantry vulnerable to attack from the opposing team’s helicopters. An approach can be made either from the road (which leads directly from the US team’s deployment) or the lake. To the east of the flag is a rocky hill that can be used to clearly view the flag area. This sniper perch also affords a view of inside the north building, which is prone to hosting campers. While the building on the south side can provide cover, the nearby red gas tank can be exploded to eliminate threats hiding within the building or the nearby yellow dumpster.
C: Water Tower
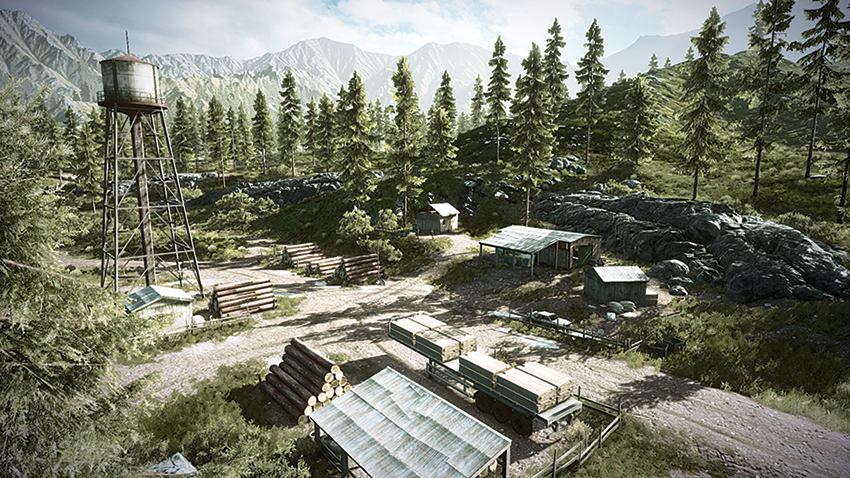
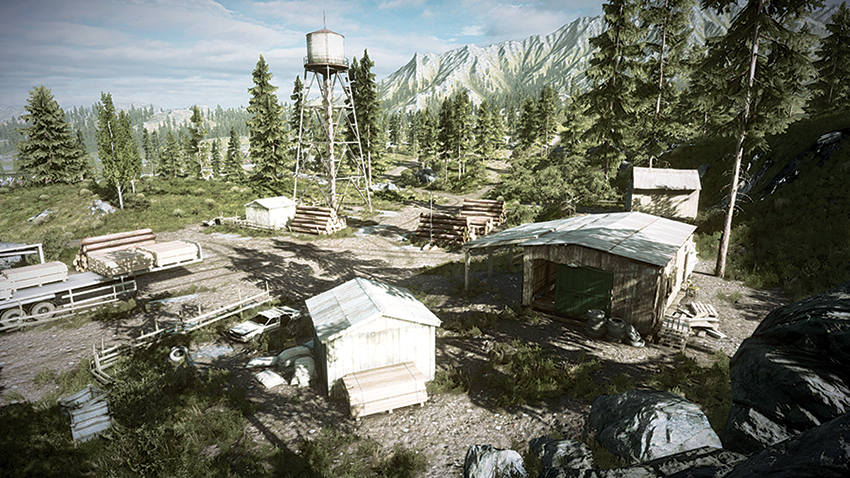
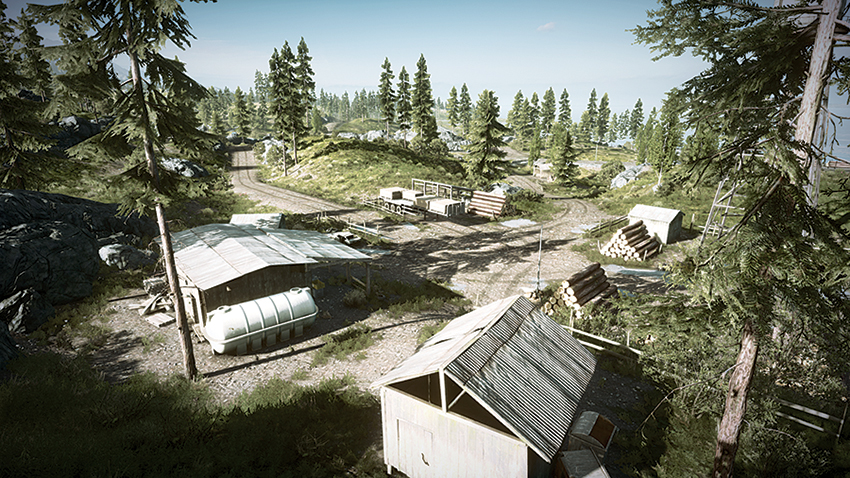
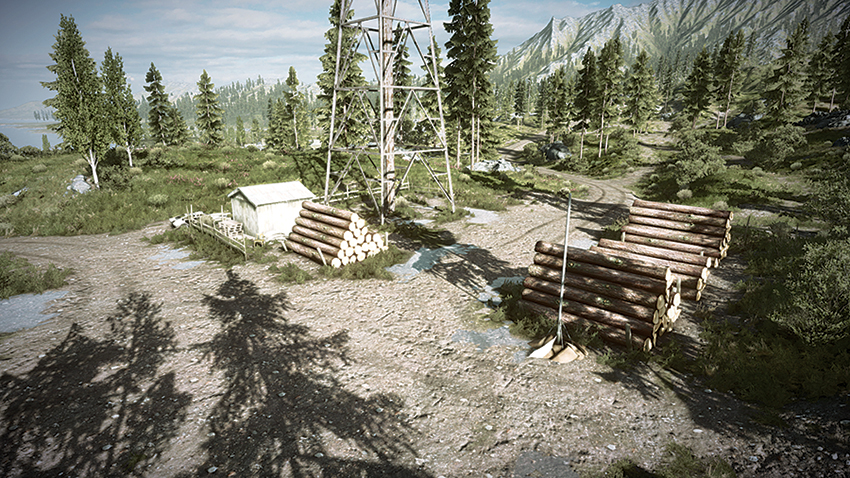
Located on the southwest corner of the map, the Water Tower (C) flag is exposed near a timber pile, between three buildings. When capturing this point, teams should be watchful for hostiles attempting to flank the area by approaching from the map’s southern edge. As the point is being captured, it would be best to take cover on the east side of the timber pile, near the flag, thereby reducing the chance of being fired upon by the opposing team’s IFV, which can use the roads cutting through this region to access the control point. The advantage to this control point being exposed is that helicopters can be used to escort infantry units into the area and clear the way for their advance. Helicopters should be wary when entering the area, though, as engineers can use the buildings to hide while attempting to get a lock with their anti-aircraft weapons.
D: Bridge
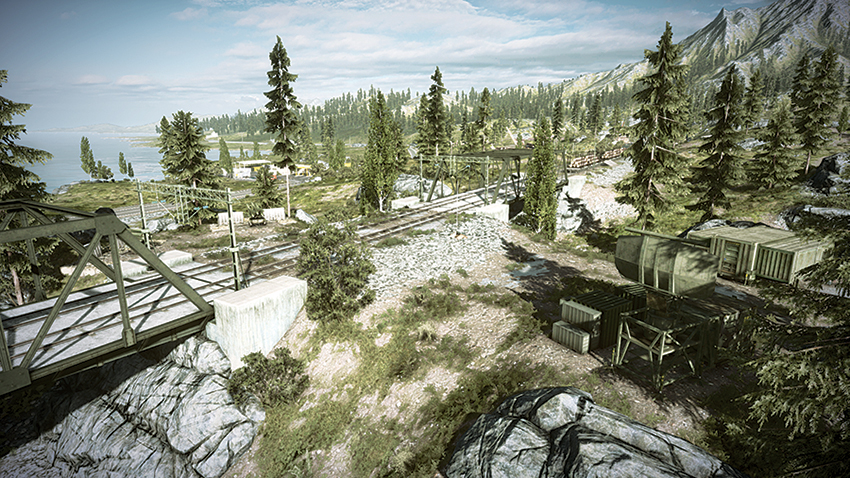
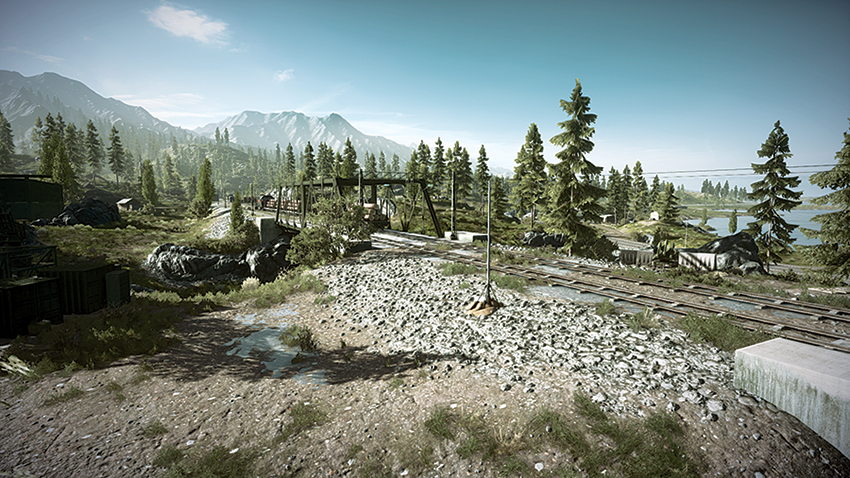
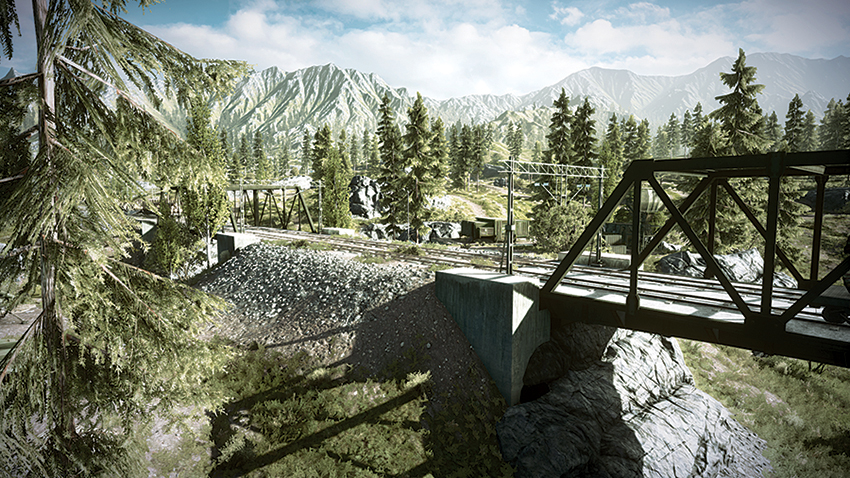
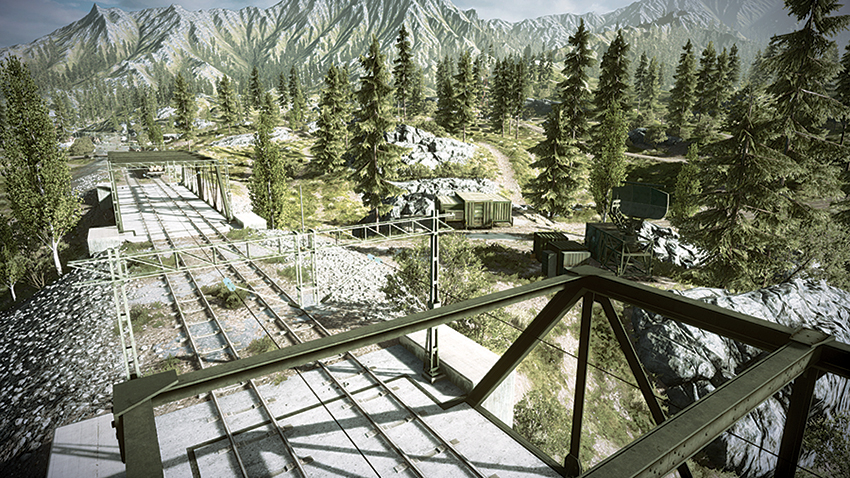
Easily the most contested point on the map, the Bridge (D) is in the center of the map, with its flag being on the hill between the two bridges. Teams should not allow their IFVs or AA jeeps to stay on the bridges for any length of time, as helicopters can pick off these vehicles that have difficulty turning on a bridge. Dirtbikes, on the other hand, can rush through the bridges and approach the flag with ease. Planting mines underneath these bridges is helpful in preventing traffic from passing beneath them and flanking your team while the point is being captured. Once it is captured, teams should coordinate their movements with the Dropship, spotting enemy positions so that deployed allies can pick them off as they move through the uneven terrain. From the north side of the Bridge (D) area, IFVs can fire on the Gas Station (E) to the northeast and eliminate threats entrenched there.
E: Gas Station
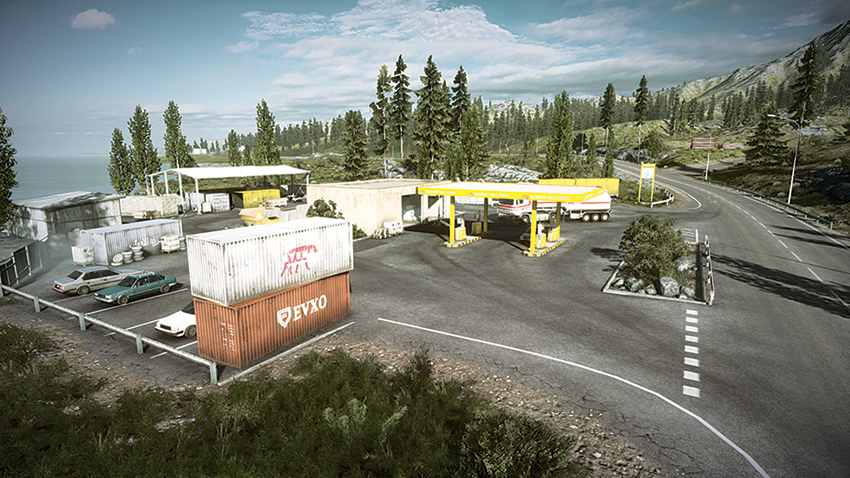
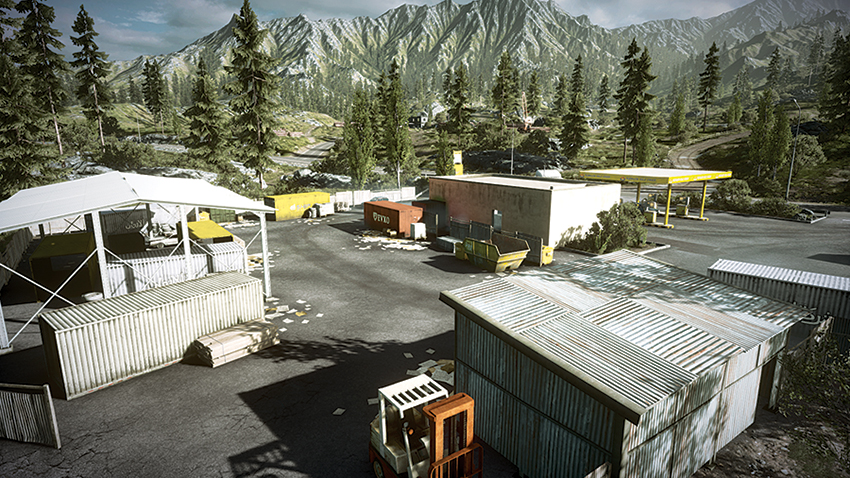
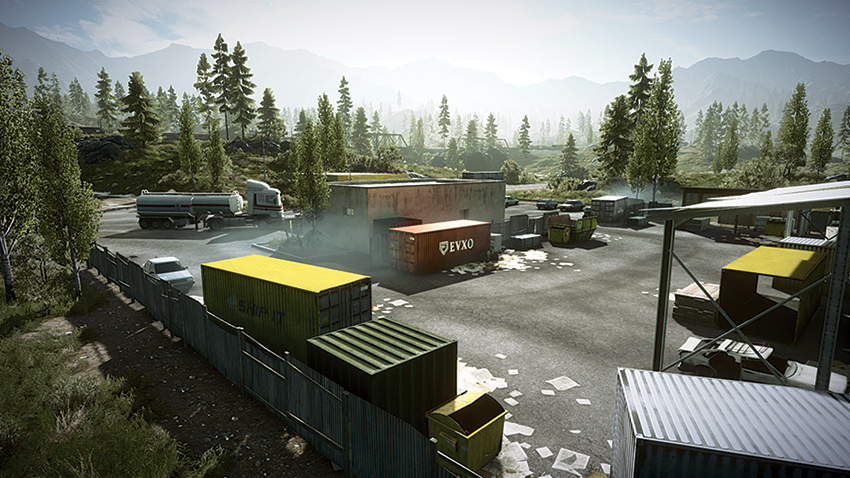
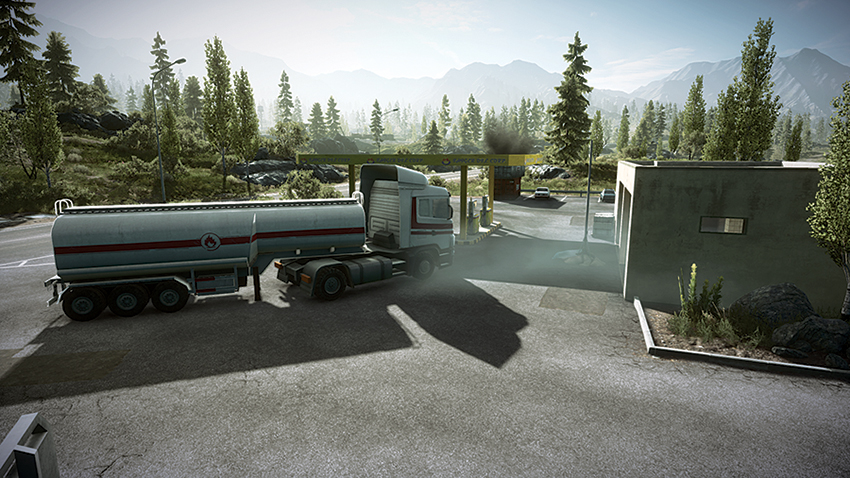
Located on the northeast side of the map, the Gas Station (E) flag is exposed near the building to the north of the gas pumps. This control point is accessible from multiple angles. The point can be captured from within the building, which is a far better option than capturing while standing near the semi-truck. Teams should be careful to watch for hostiles that try to flank by approaching from the lake to the north and passing through the rear door of the building. While capturing this point, a squad mate should take position on top of the nearby building to be a lookout for the enemy. When moving in on the control point from the west, stay off the road and use the shipping containers on the edge of the lot to scout the location before advancing. Deployment of a MAV helps when scouting this large area for enemy campers, as well as for monitoring the rear of the lot while capturing the point.
F: Com Center
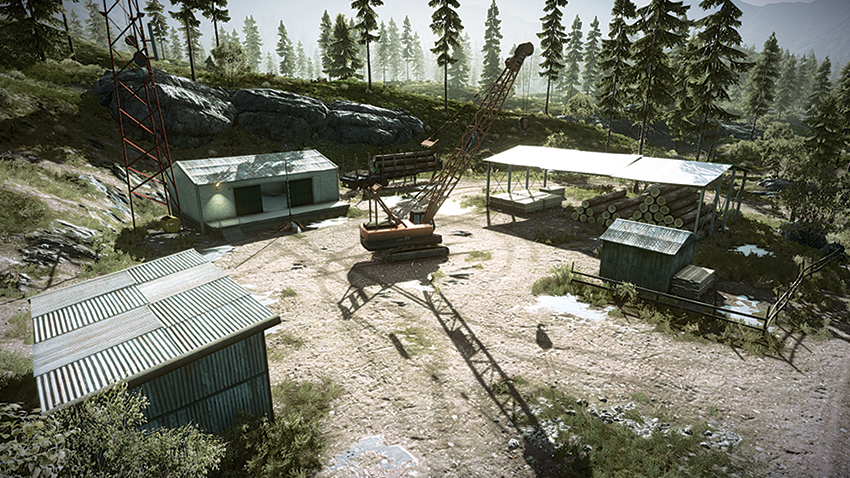
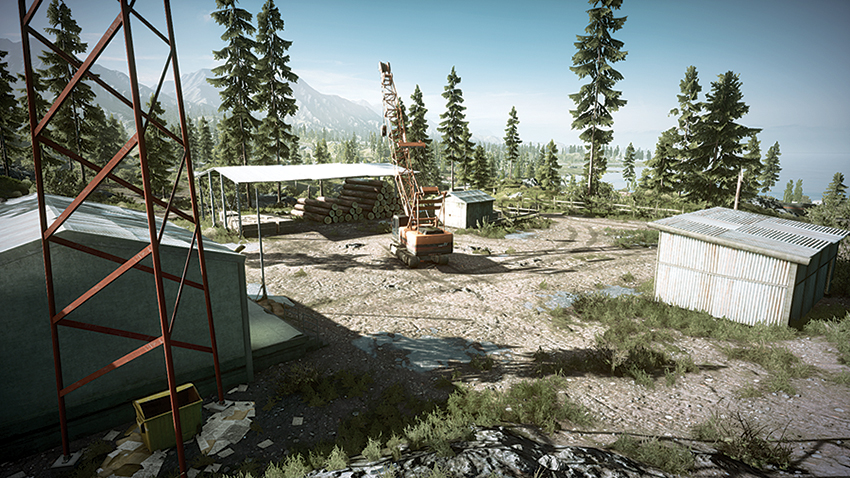
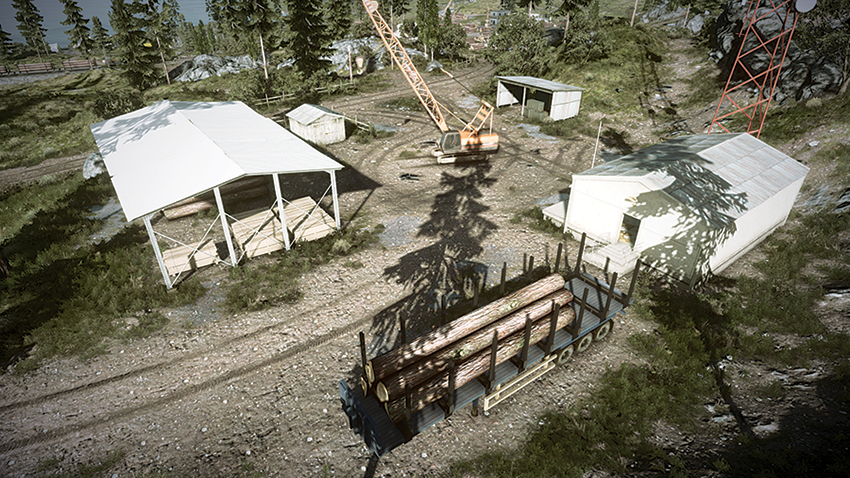
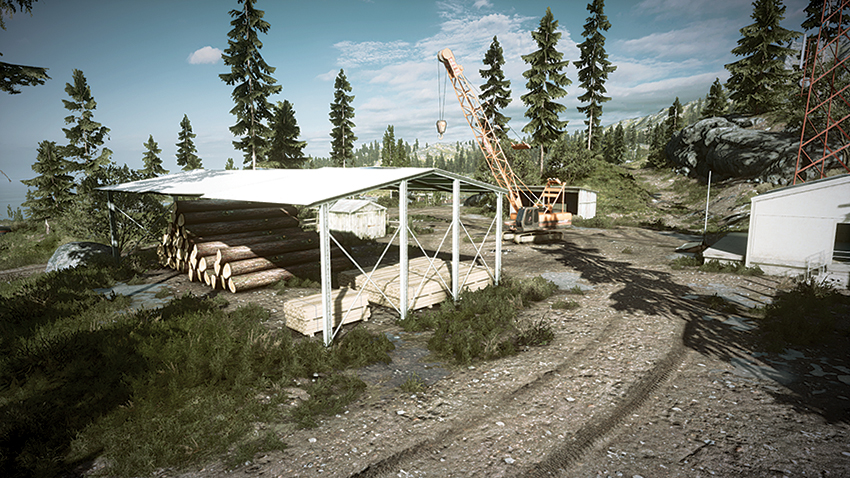
On the southeast end of the map is the Com Center (F). Its flag is exposed within the center of three structures. When capturing this control point, a squad should divide up to cover the surrounding area while one member captures the point. While capturing the point, the other squad mates should plant mines around the crane in the center of the yard. As dirtbikes rush into the area, these mines will ensure that the point is not easily captured. The shack on the east side of the yard can be used for cover when maintaining control of this point. Should the firefight get too intense, the door on the east side of the shack can provide a quick escape north into the brush. Approaching this area from the north requires an uphill climb, and since this hinders visibility of the control point, infantry units should deploy a MAV to scout the area during their approach.
G: Lumber Yard
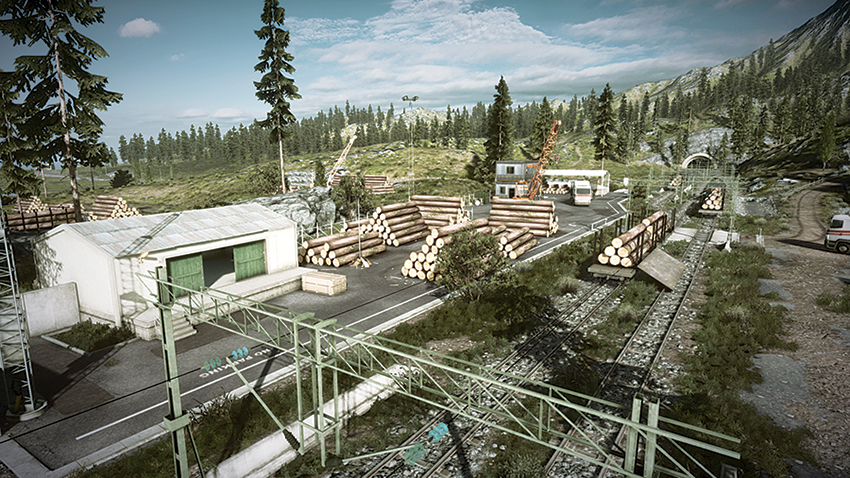
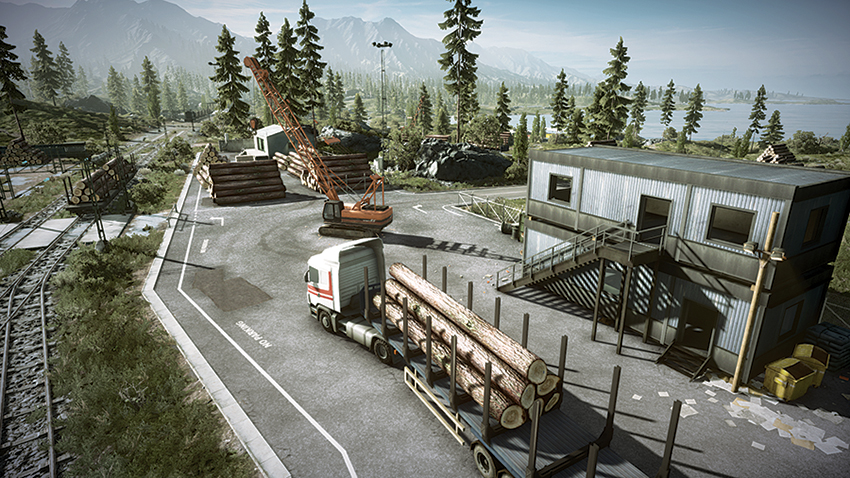
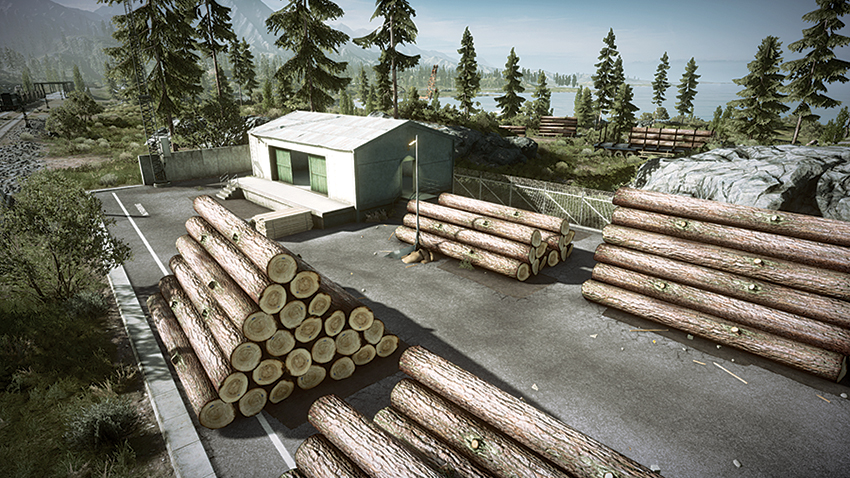
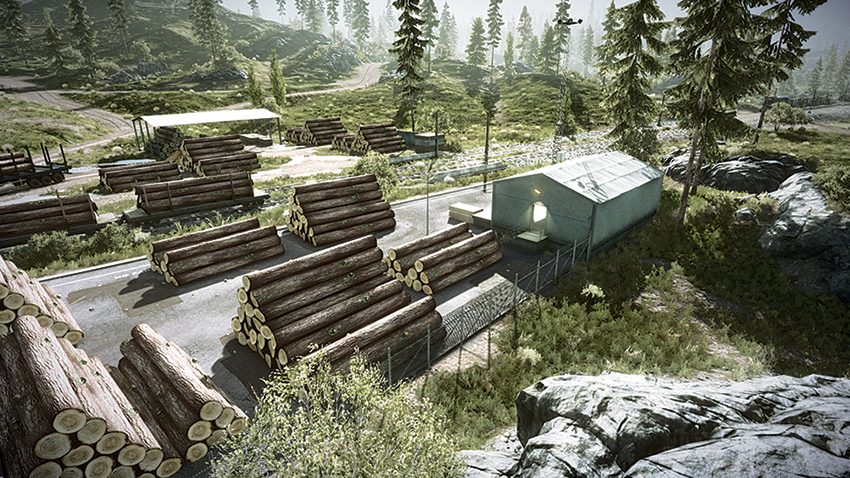
Because it is the farthest east control point on the map, the Lumber Yard (G) will most likely be controlled by the RU team throughout most of the battle. The flag is located on the Lumber Yard’s west side and is surrounded by piles of timber. It may seen exposed but is actually one of the map’s most fortified control points. For a team trying to capture this point, these piles of timber can also provide hostile squads with an opportunity to flank the unobservant. While a squad is capturing this point, it would be wise to position a sniper in the second-floor window of the office to the east. This sniper can spot and pick off hostiles that are approaching the flag area. When entering this area, it is a good idea to make sure this office building is clear before approaching the flag. For the team looking to maintain this point with minimal effort, placing claymores near the timber piles is an efficient method to retain control.