
Battlefield 3 Premium Guide Battlefields Close Quarters/Gun Master
Close Quarters - Donya Fortress
Points of Interest
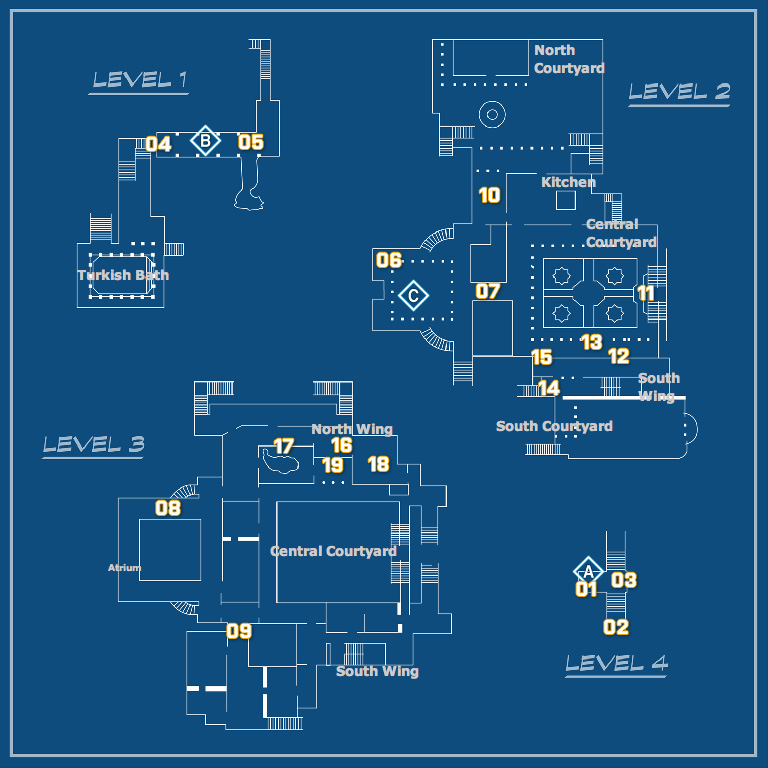
East Balcony (Flag A)
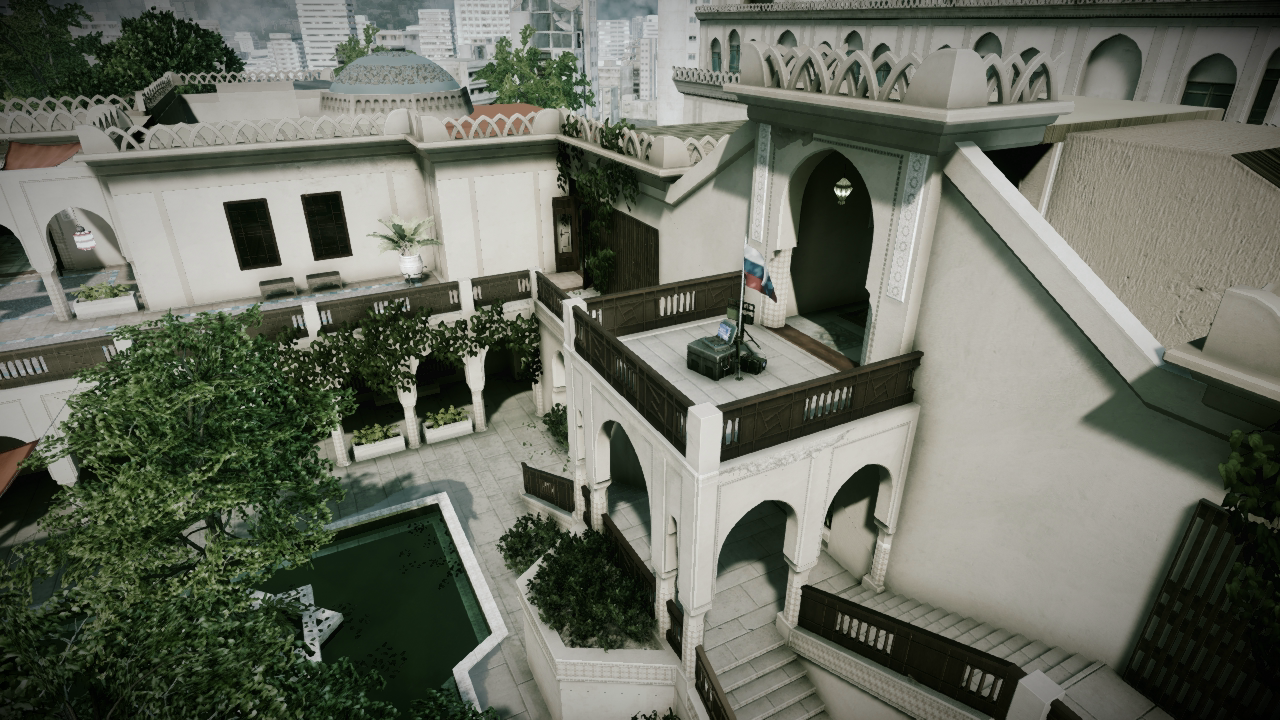
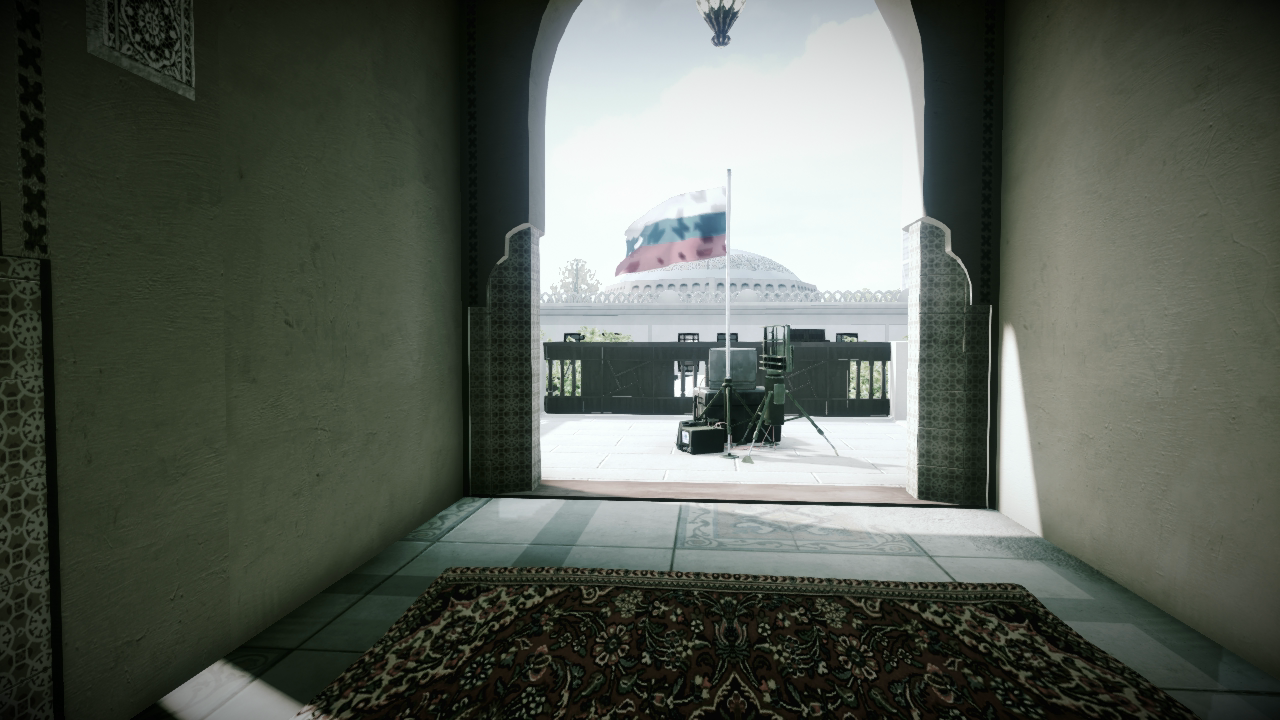
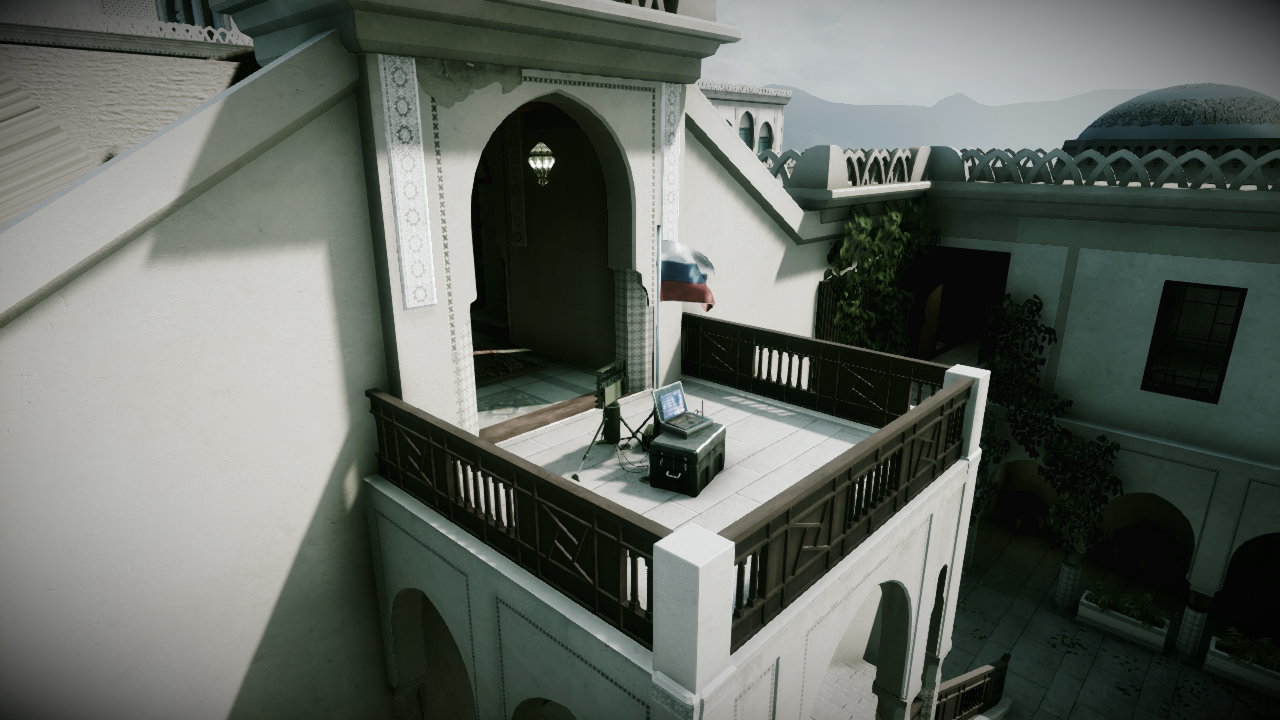
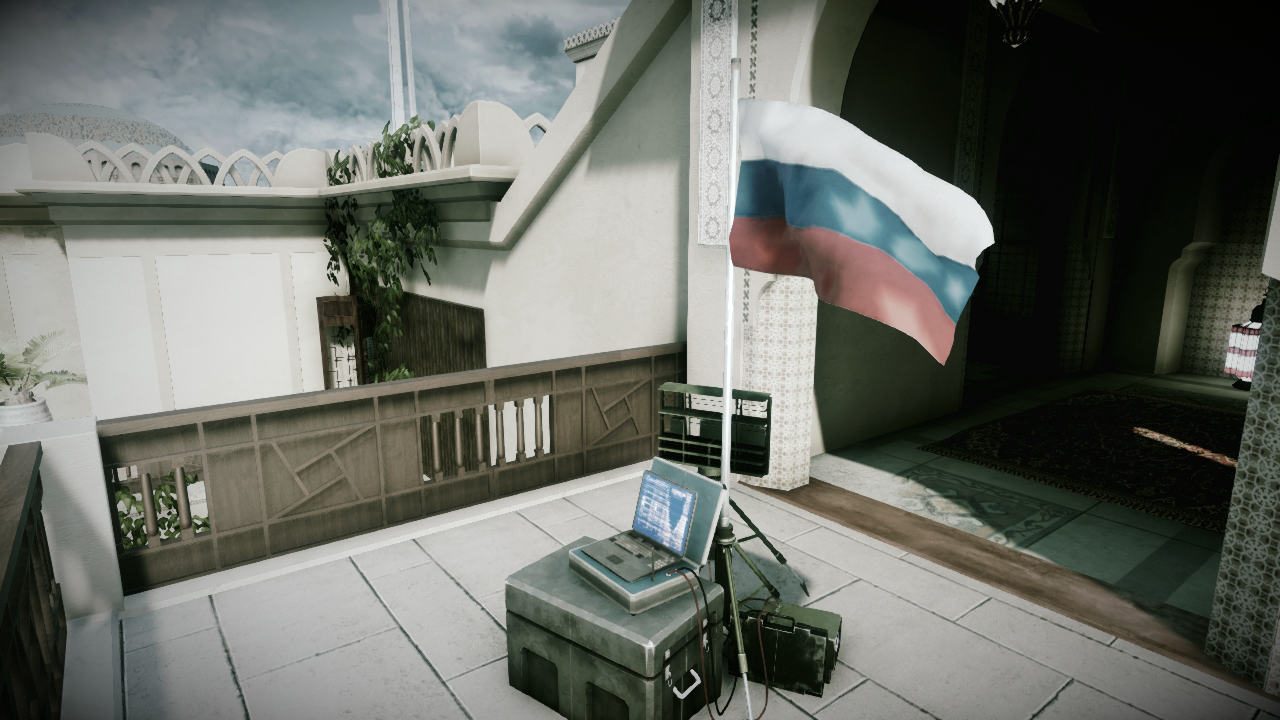
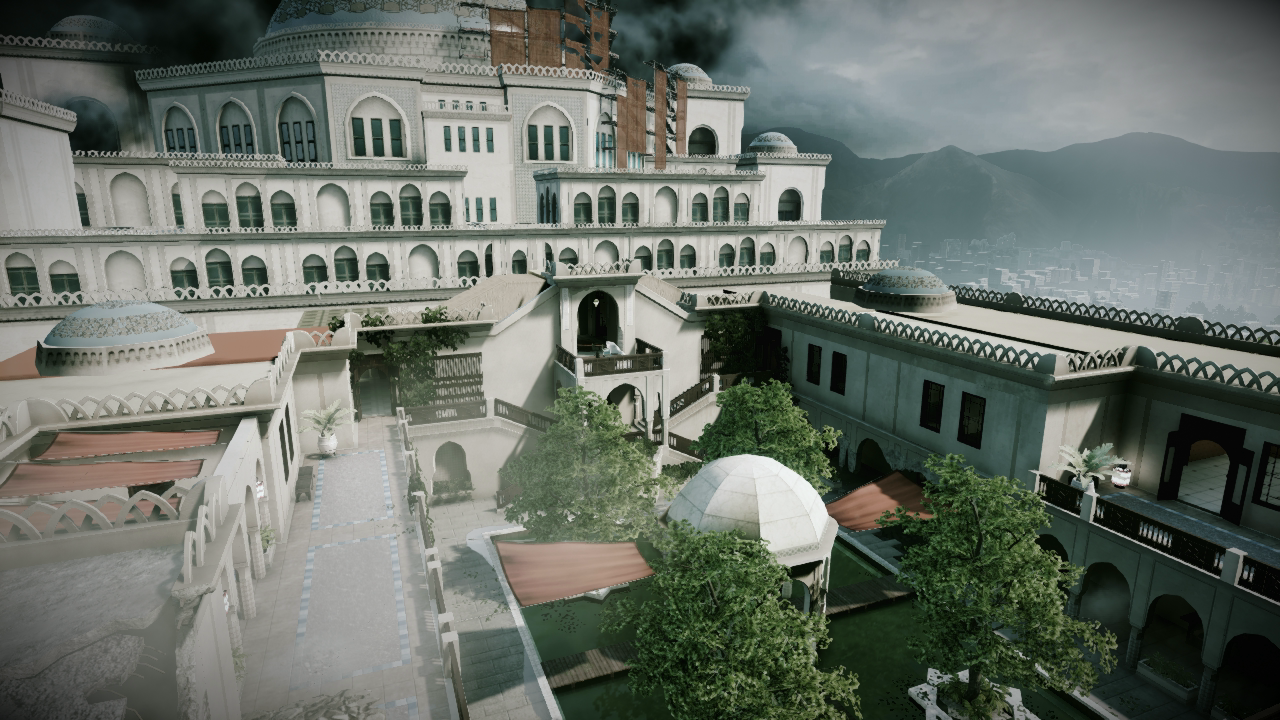
During Conquest Domination matches, this flag is located on the balcony on the east side of the central courtyard. The two staircases to the east are the only paths leading to this balcony, often making this area a deadly choke point. When your opponents hold the flag, always assume that C4 or claymores are in place. Consider firing rockets or tossing grenades ahead of your advance to detonate any booby traps.
The balcony is the highest point on the map, making it a predictable sniper perch. But don’t consider sniping from the balcony unless you have a teammate watching the eastern staircases. Recon troops posted on the balcony leave themselves open to knife attacks from behind. And don’t think the low decorative wooden railing on the balcony’s perimeter will protect you from incoming fire. This wooden railing splinters and disintegrates under concentrated small-arms fire or explosions, leaving the balcony completely exposed. For best results, capture the flag and move away from the balcony. Defenders are better off guarding the interior staircases to the east or watching the flag from the second-floor walkway ringing the courtyard.
Level 3 [01]
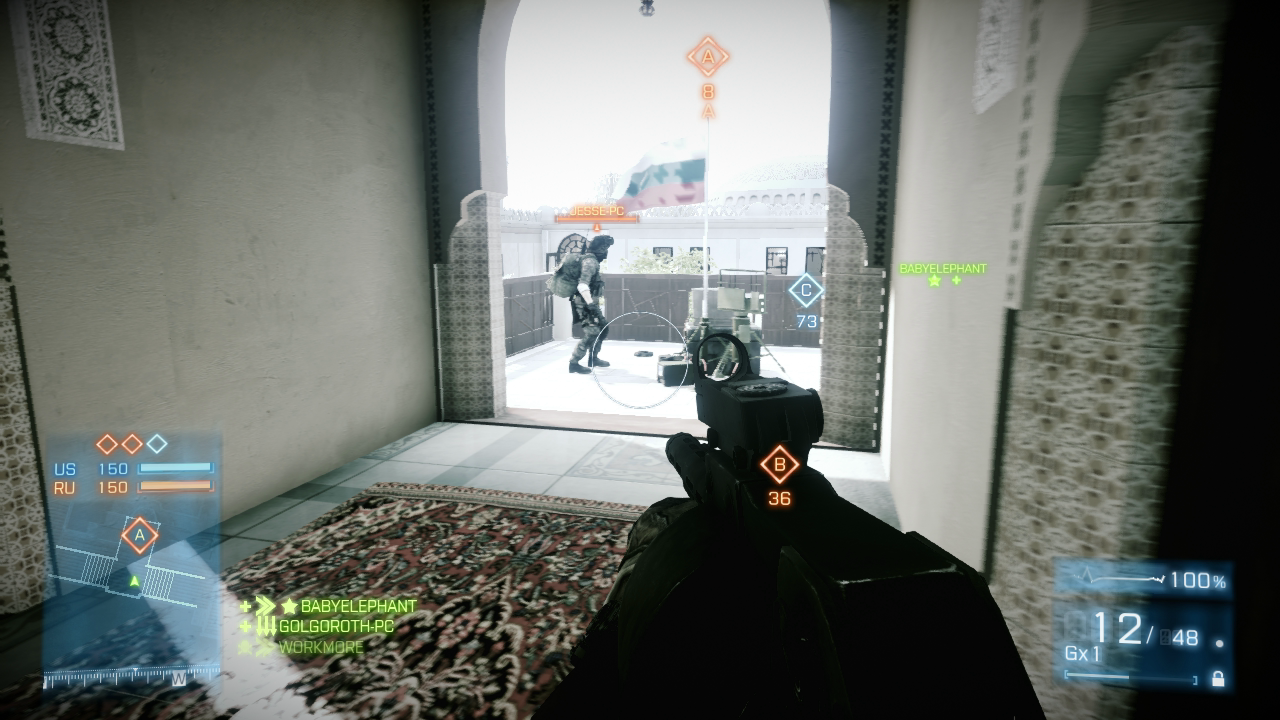
Always expect claymores or C4 placed on or near the east balcony, particularly during Conquest Domination matches. If you’re lucky, you may catch an opponent in the process of setting booby traps. Even if you don’t see anything, always toss a grenade onto the balcony to detonate any unseen surprises.
Level 3 [02]
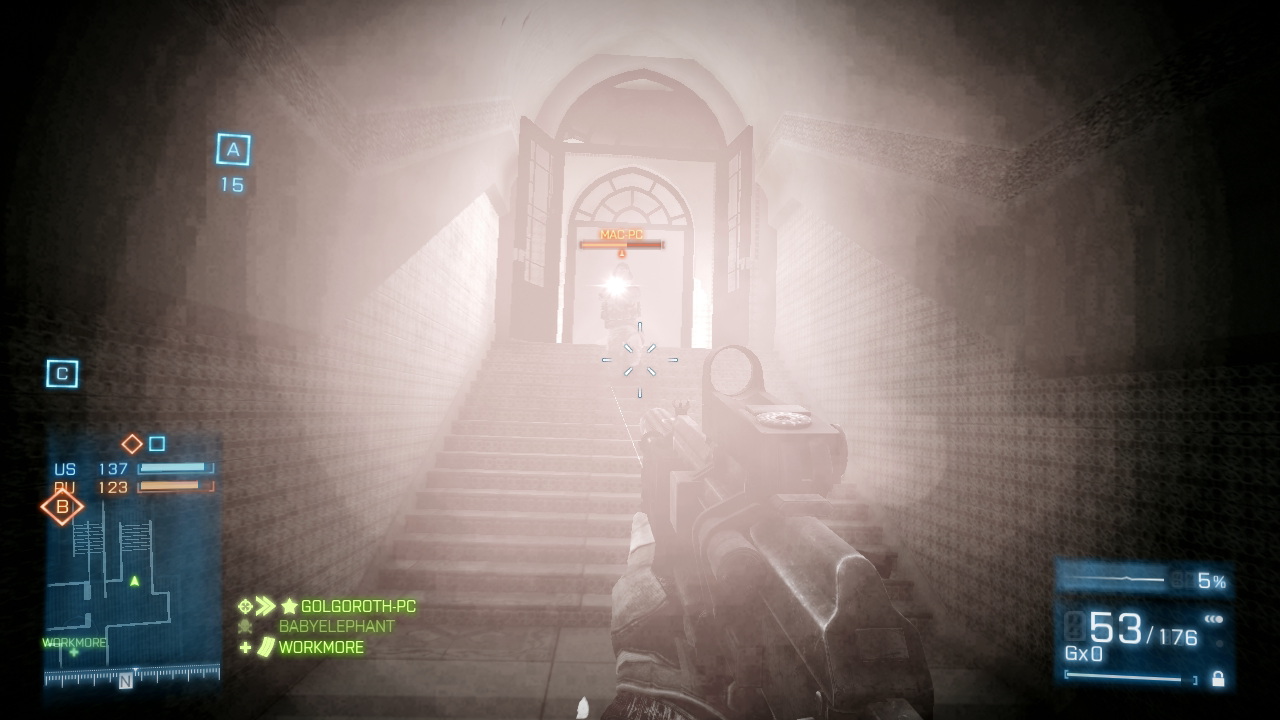
The two stairways leading up to the east balcony are dark and narrow. Attaching a tactical light or laser sight to your weapon may give you a slight edge during close-quarter engagements on these stairways.
Level 3 [03]
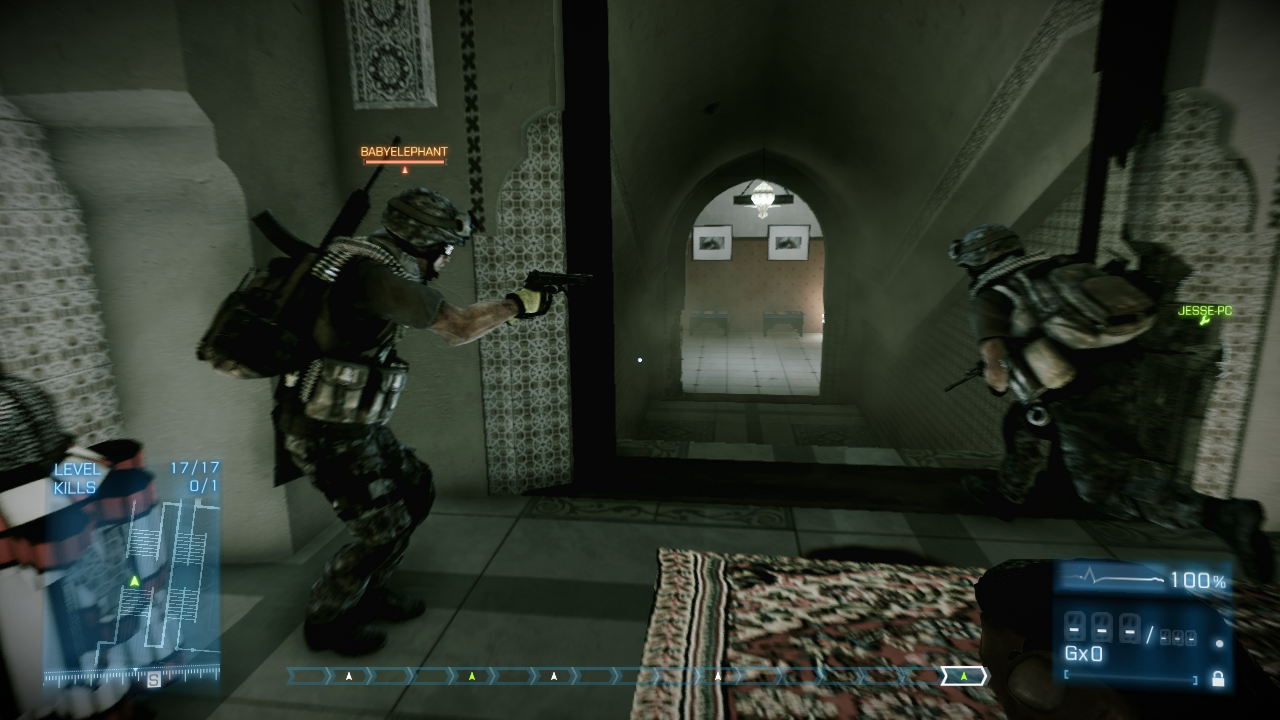
Looking for a knife kill? You can usually find opponents near the east balcony, taking advantage of its elevated view.
Underground Passage (Flag B)
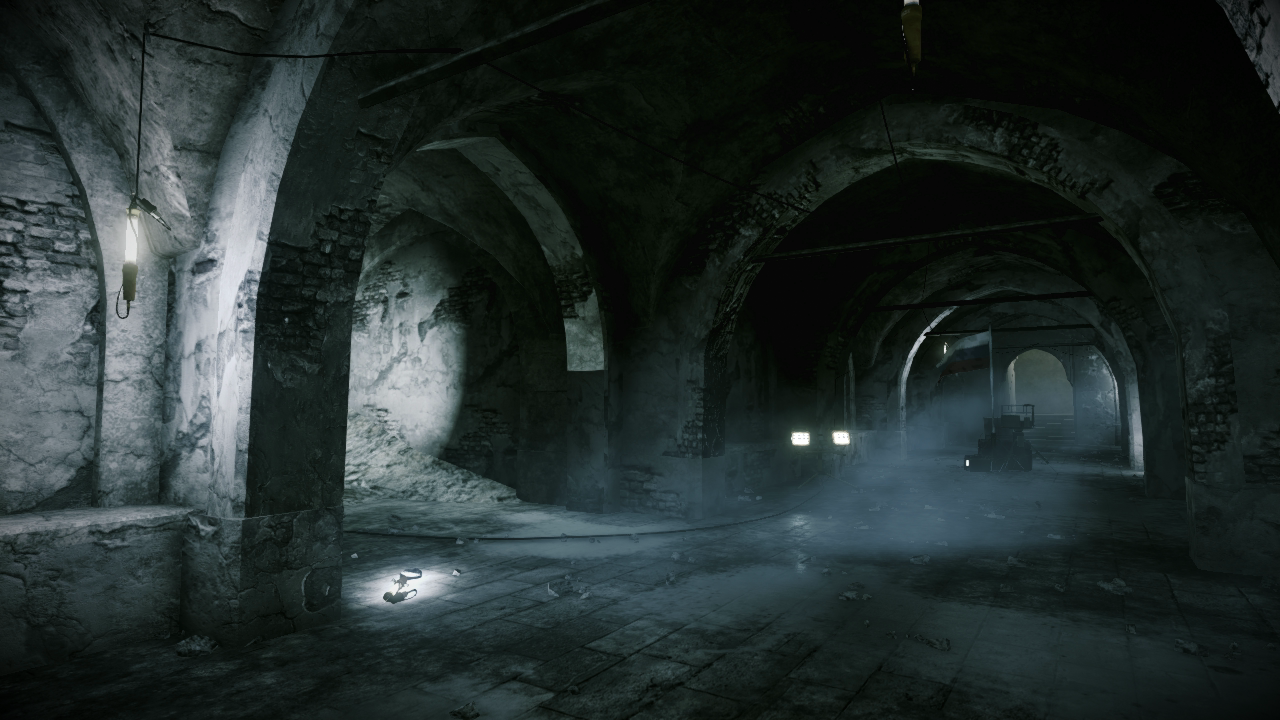
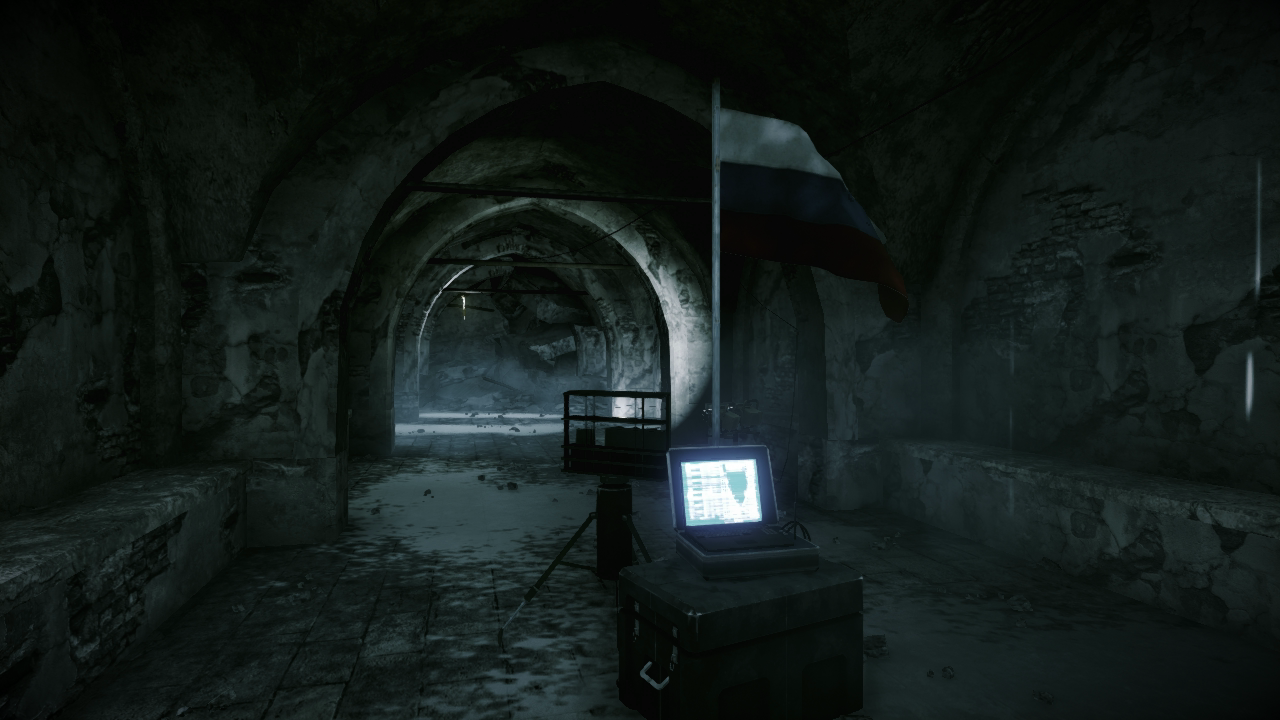
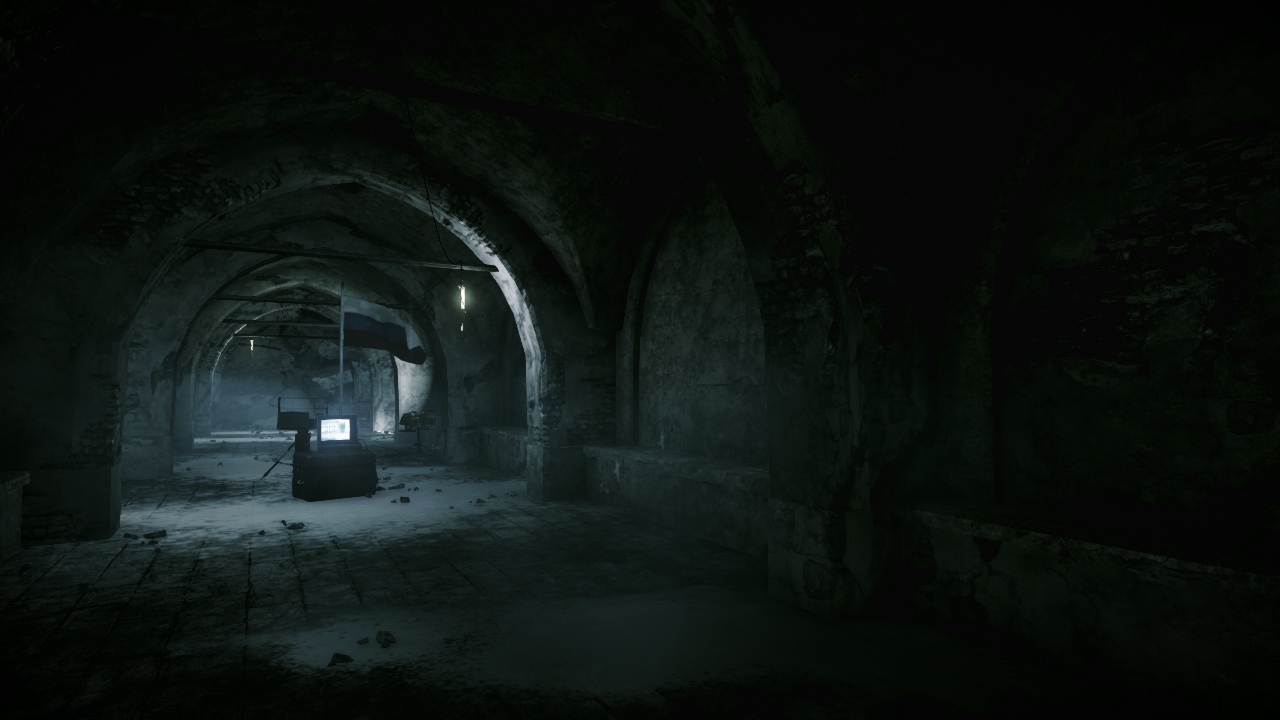
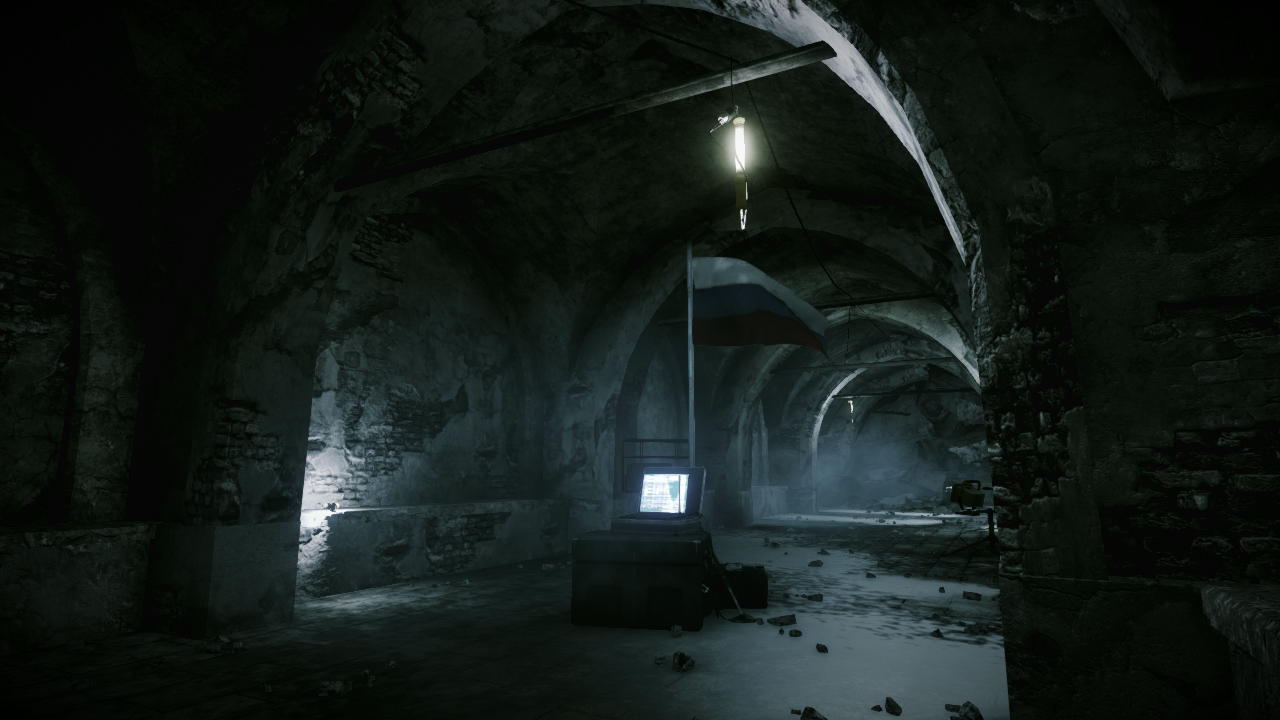
Located directly beneath the central courtyard, the fight for this flag takes place in a dark, narrow underground passage during Conquest Domination matches. There are three entry points to this passage: the stairs connected to the north wing, the hole on the south side of the courtyard, and the stairs to the west connected to the Turkish bath. Opponents approaching from Flag A are most likely to enter through the hole in the courtyard. Attackers approaching from Flag C will probably enter from the Turkish bath to the west.
Instead of watching or booby-trapping all entry points, defenders are better off focusing their efforts around the flag. Anyone within the flag’s capture radius is completely exposed. Given the cramped setting, shotguns and PDWs (personal defense weapons) are deadly down here. And due to the dark environment, laser sights and tactical lights are very effective; use them to blind your opponents. If you don’t have the manpower (or desire) to actively defend this flag, drop claymores or C4 within the capture radius to score some sneaky kills.
Level 0 [04]
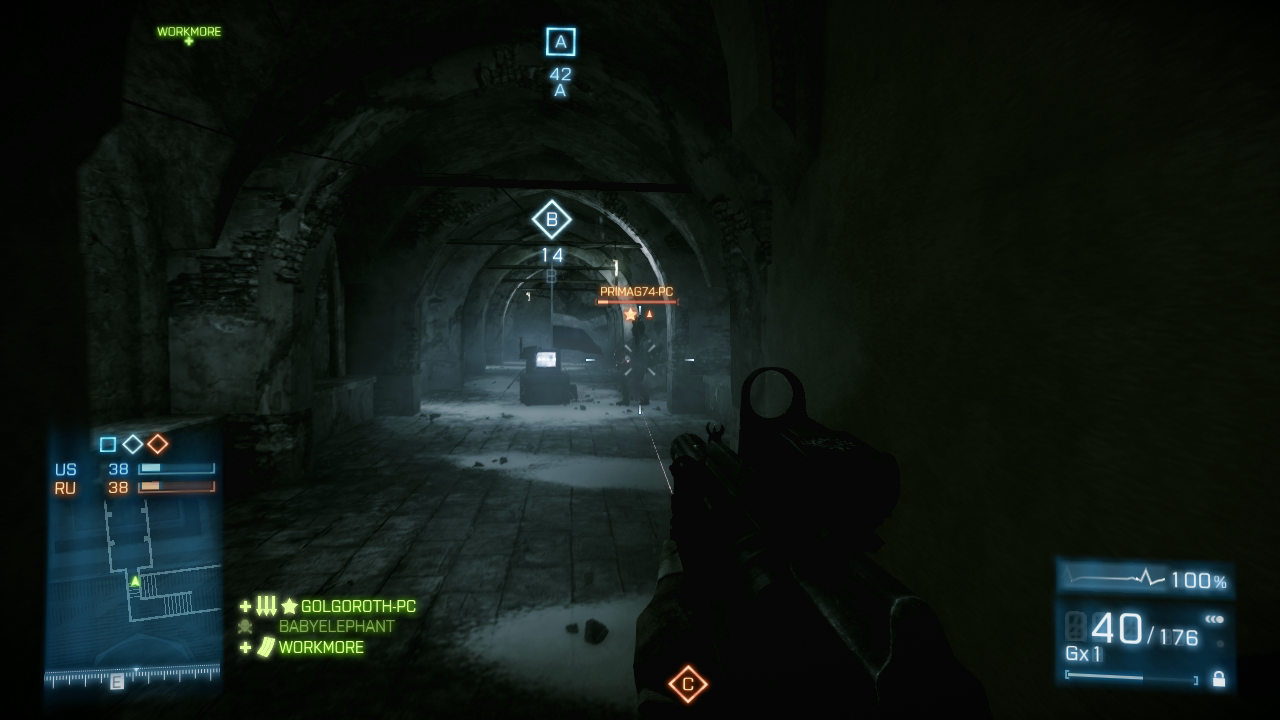
If you have a laser sight attached to your weapon, don’t bother aiming while engaging enemies down here. The laser sight improves hip accuracy, greatly increasing the chances of hitting your target.
Level 0 [05]
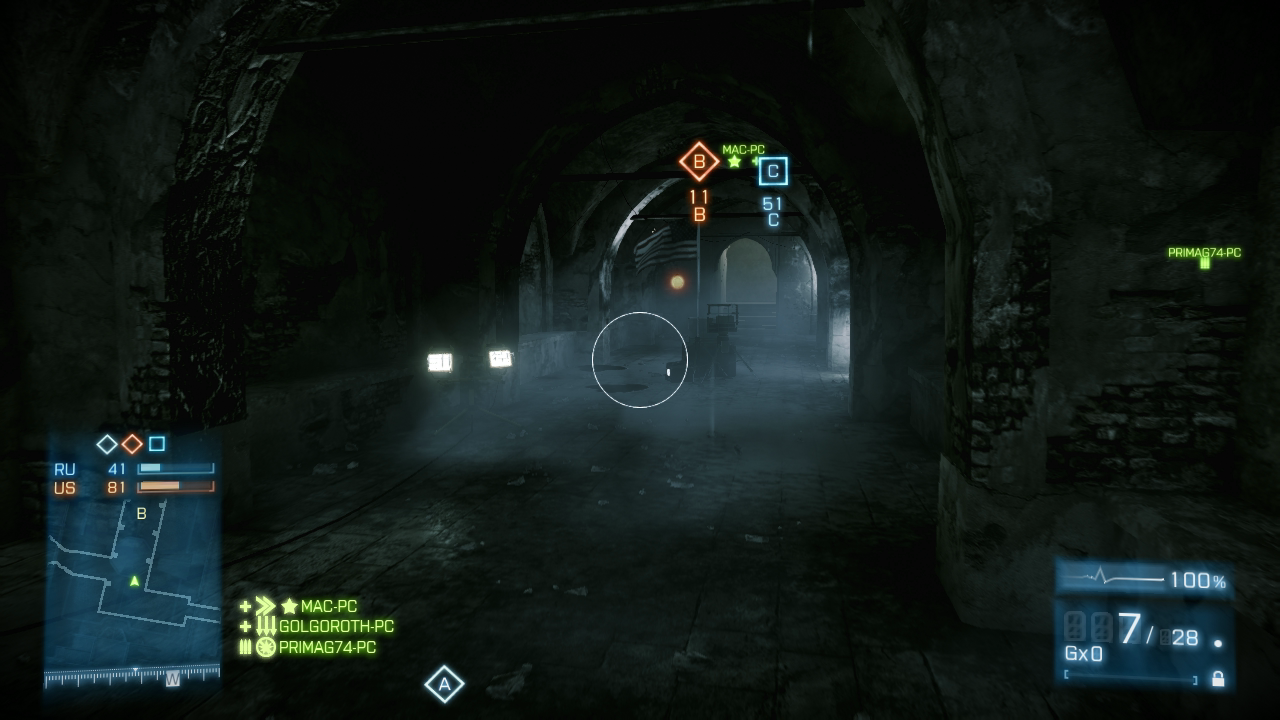
During Conquest Domination matches, always assume the area around the flag is booby trapped with either C4 or claymores. Always toss a grenade toward the flag before approaching. It’s important to detonate any traps before attempting to convert the flag.
Atrium (Flag C)
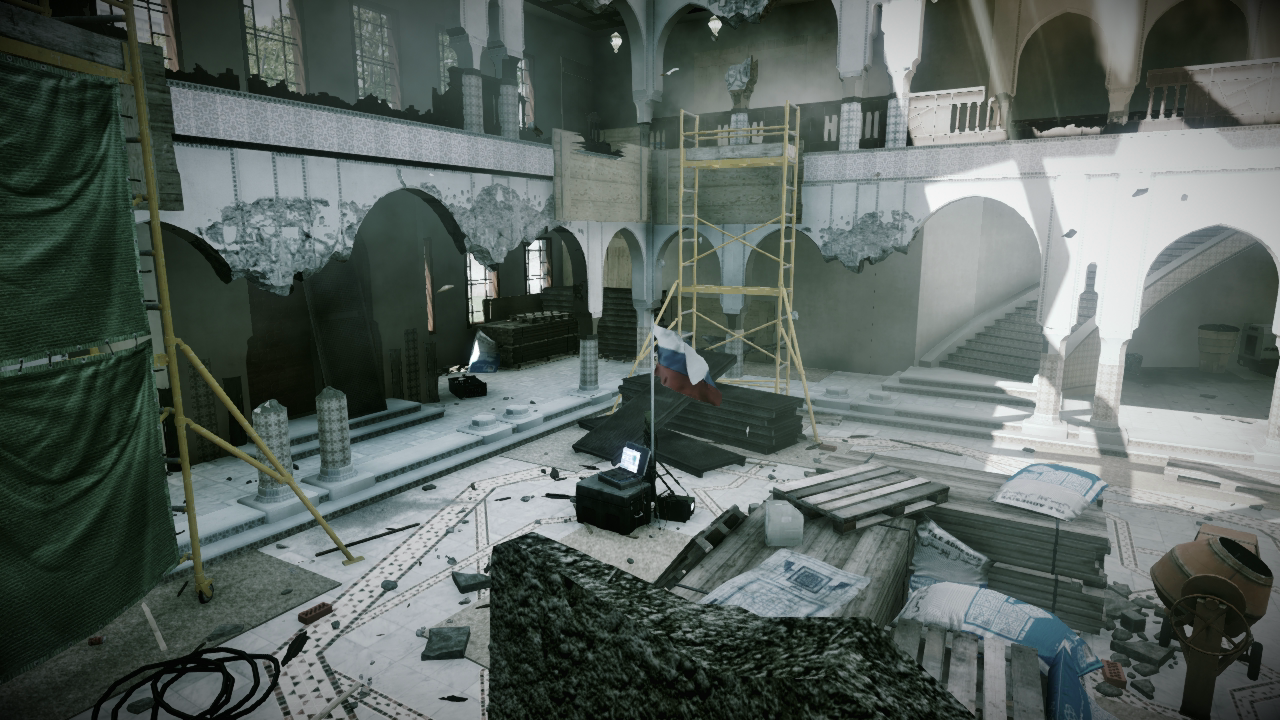
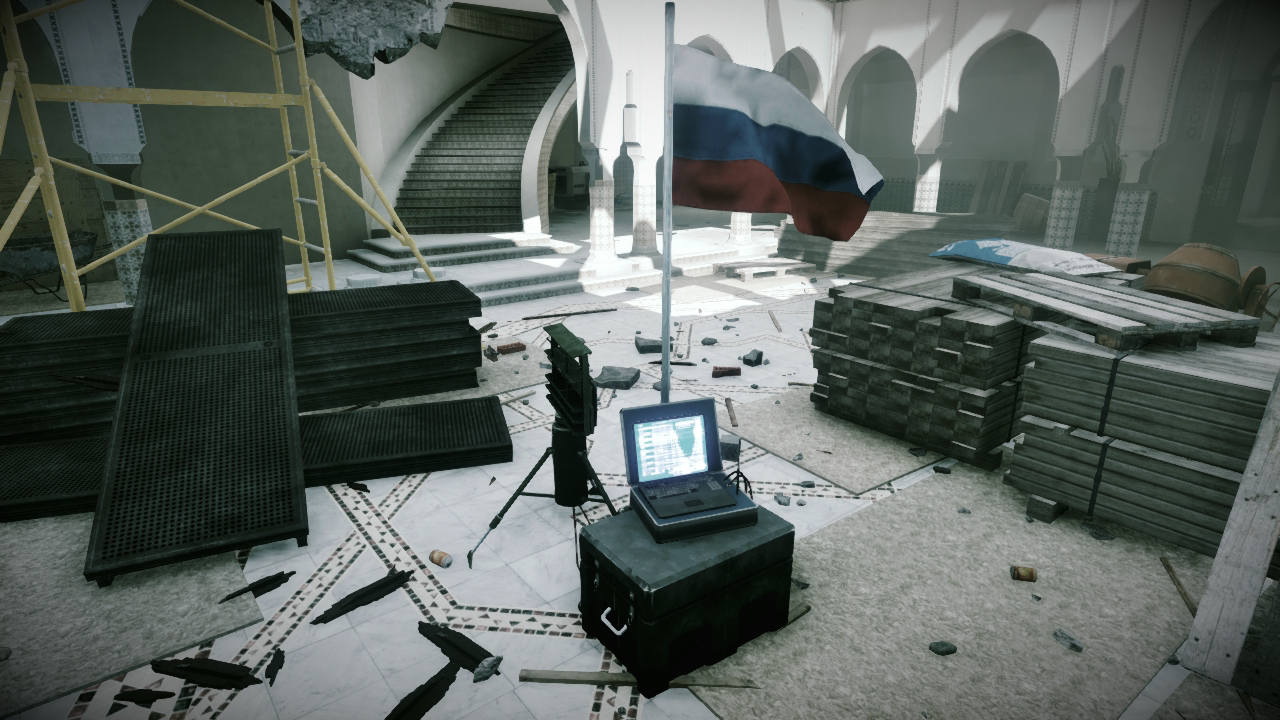
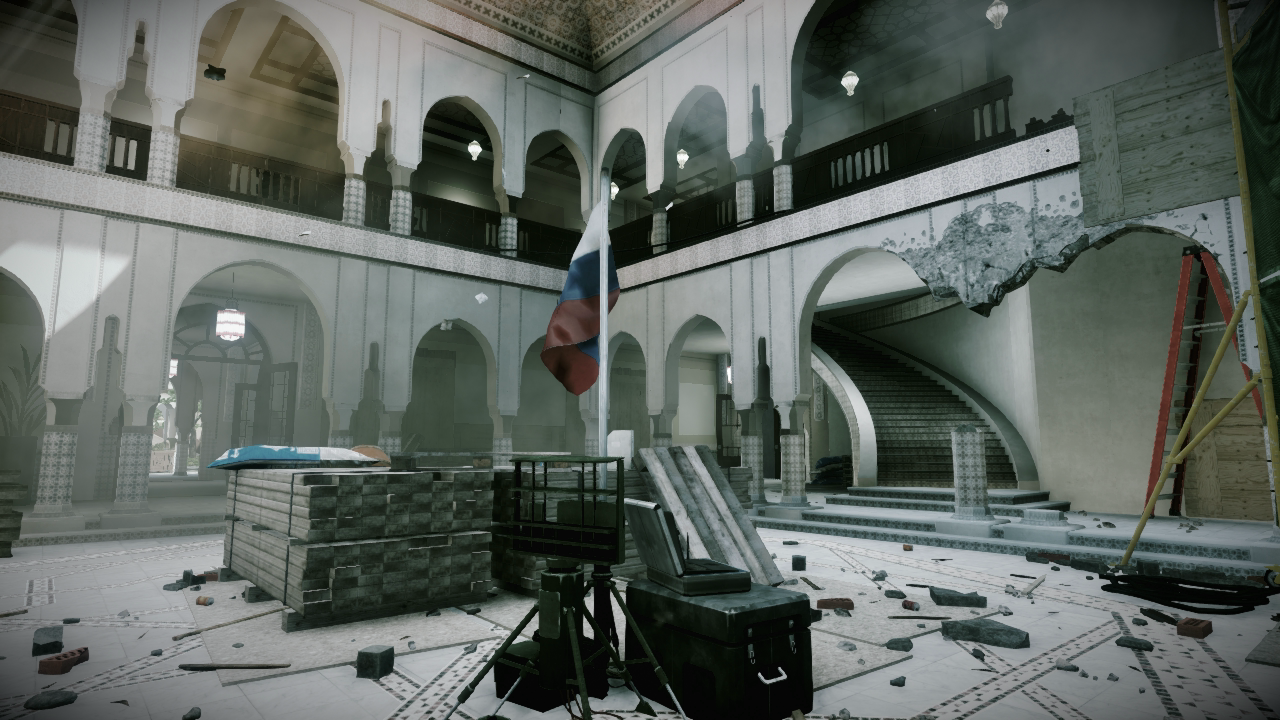
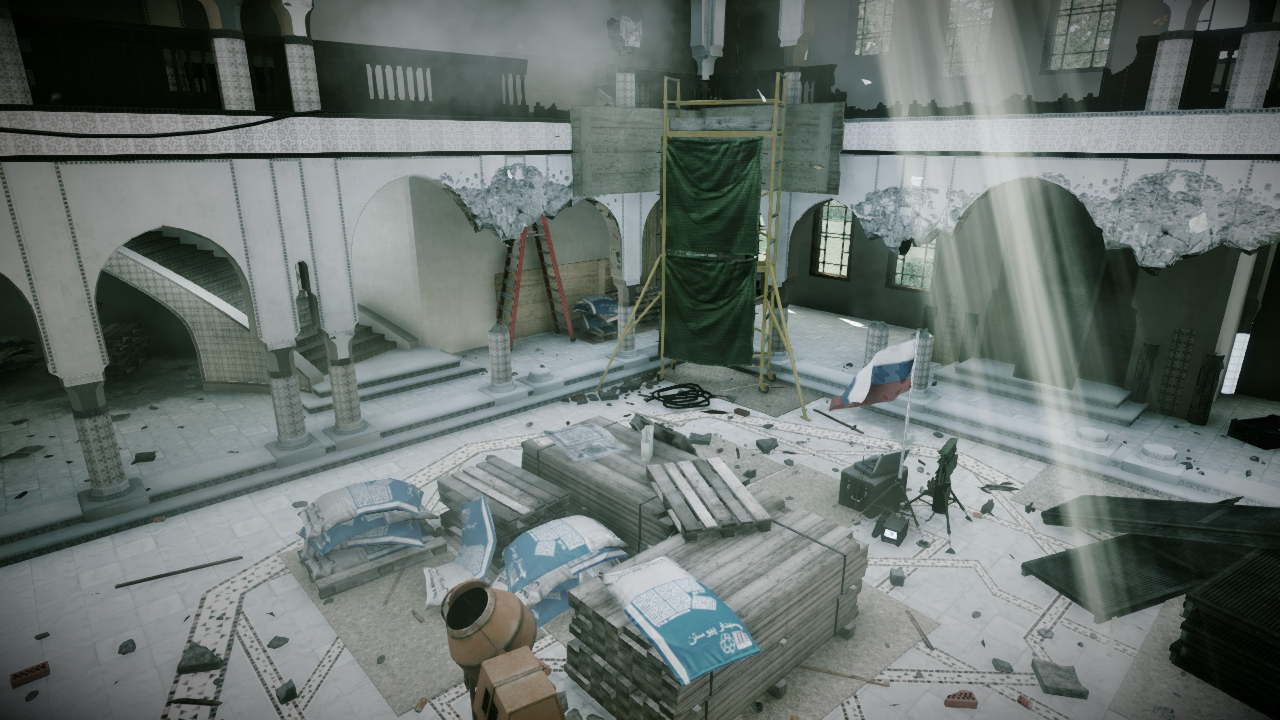
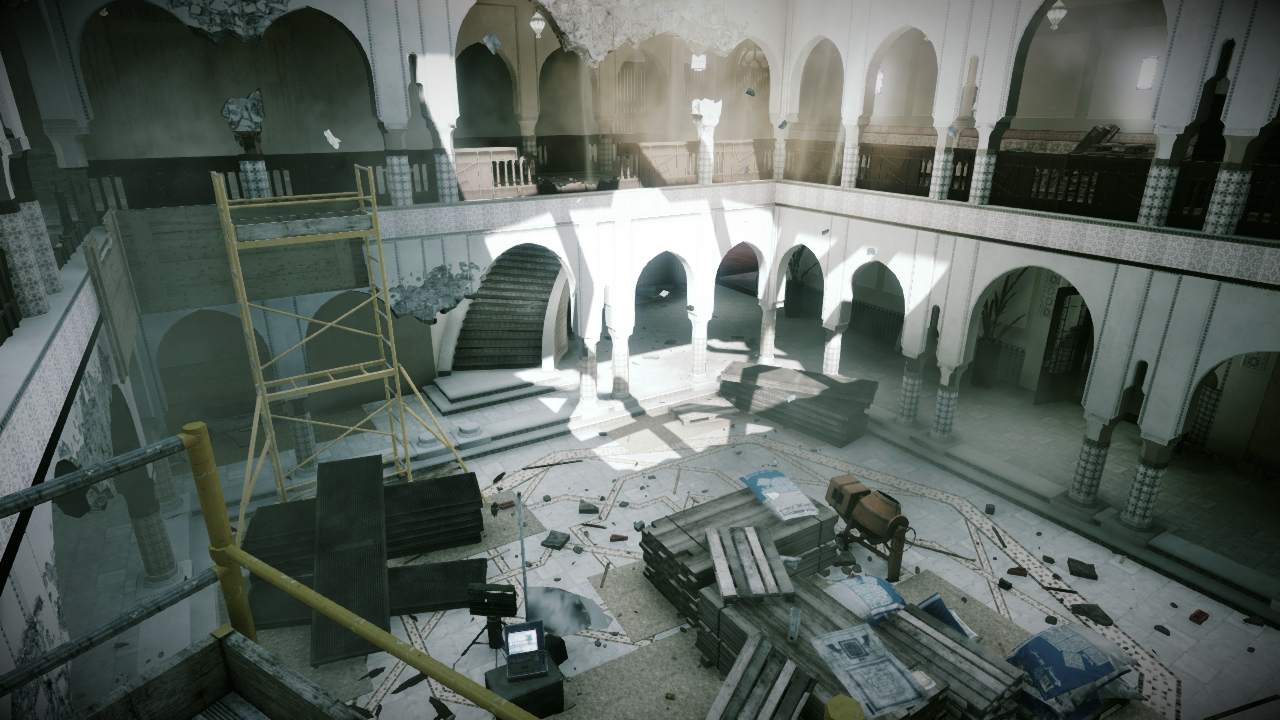
The atrium is still undergoing construction, so a mix of equipment and building materials are scattered across the floor. These objects offer some concealment and cover for those attempting to convert the flag during Conquest Domination matches. However, there are very few places to hide when opponents are positioned on the upper-level promenade ringing the perimeter of this large room. Attackers should always try clearing this walkway before heading downstairs to convert the flag.
The atrium is located just west of the central courtyard and is a high-traffic area with walkways and stairways leading to adjoining locations, such as the Turkish bath to the south and the kitchen to the north. If you choose to stay put here, keep your back to the western wall where you’re less likely to be stabbed from behind. Midrange weapons like carbines and assault rifles work well in the atrium, capable of dropping targets at various distances. Those armed with PDWs and shotguns may be outmatched here, especially when firing between the atrium’s upper and lower levels.
Level 1 [06]
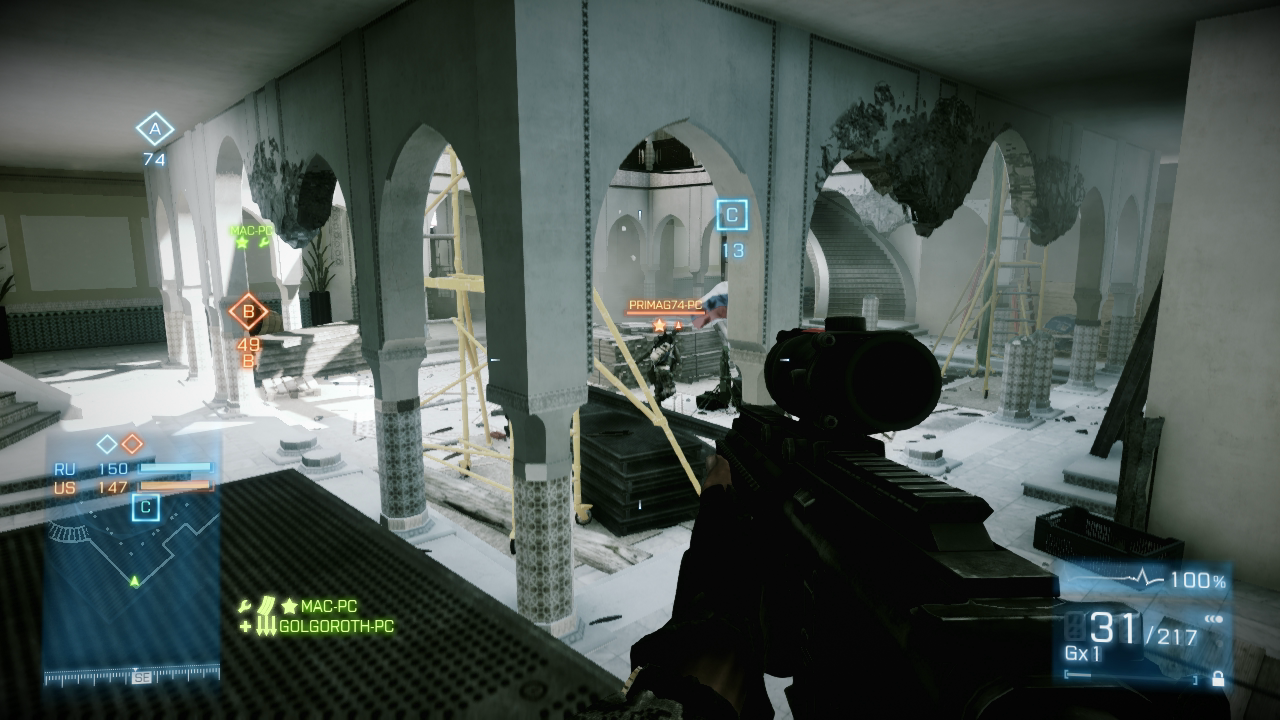
When defending the atrium from the ground floor, take up a position in one of the western corners. Placing your back to the western wall ensures nobody can sneak up behind you. Building materials also offer decent concealment.
Level 1 [07]
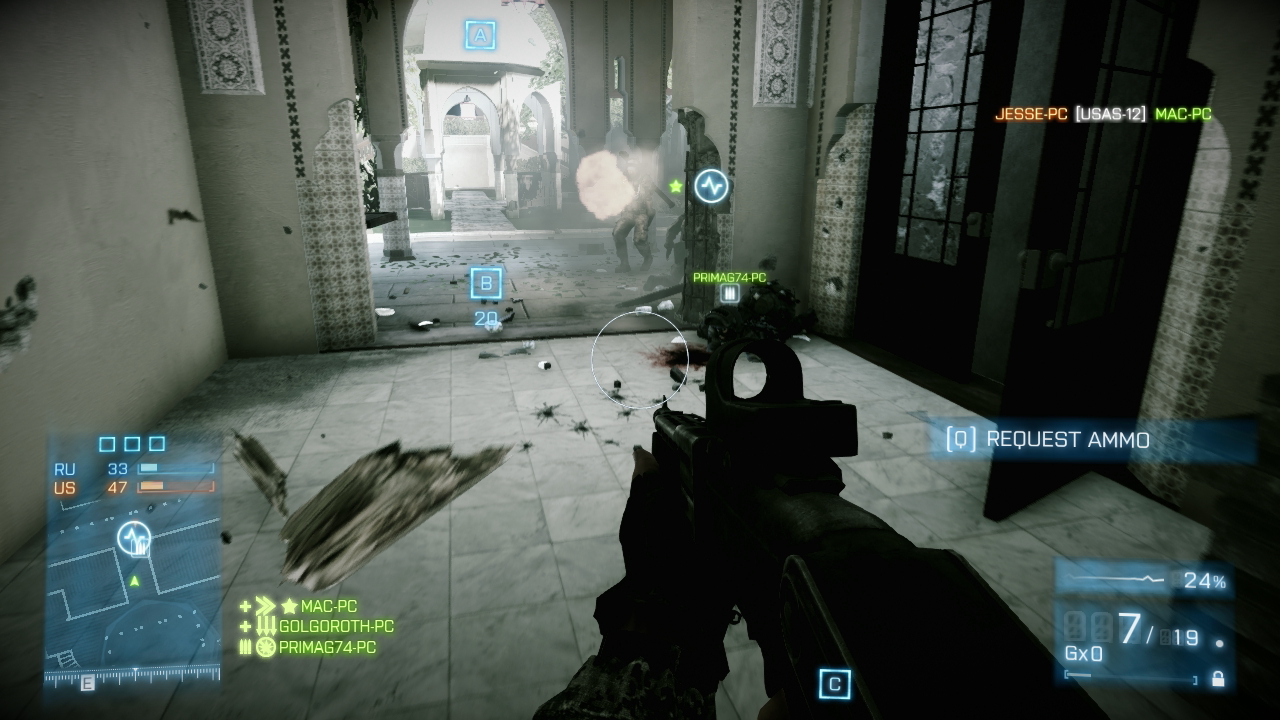
Avoid the hall connecting the atrium to the central courtyard. This is a high-traffic choke point. Plus, this area can be viewed by sharpshooters positioned near the east balcony. It’s safer to move through the interior hallways.
Level 2 [08]
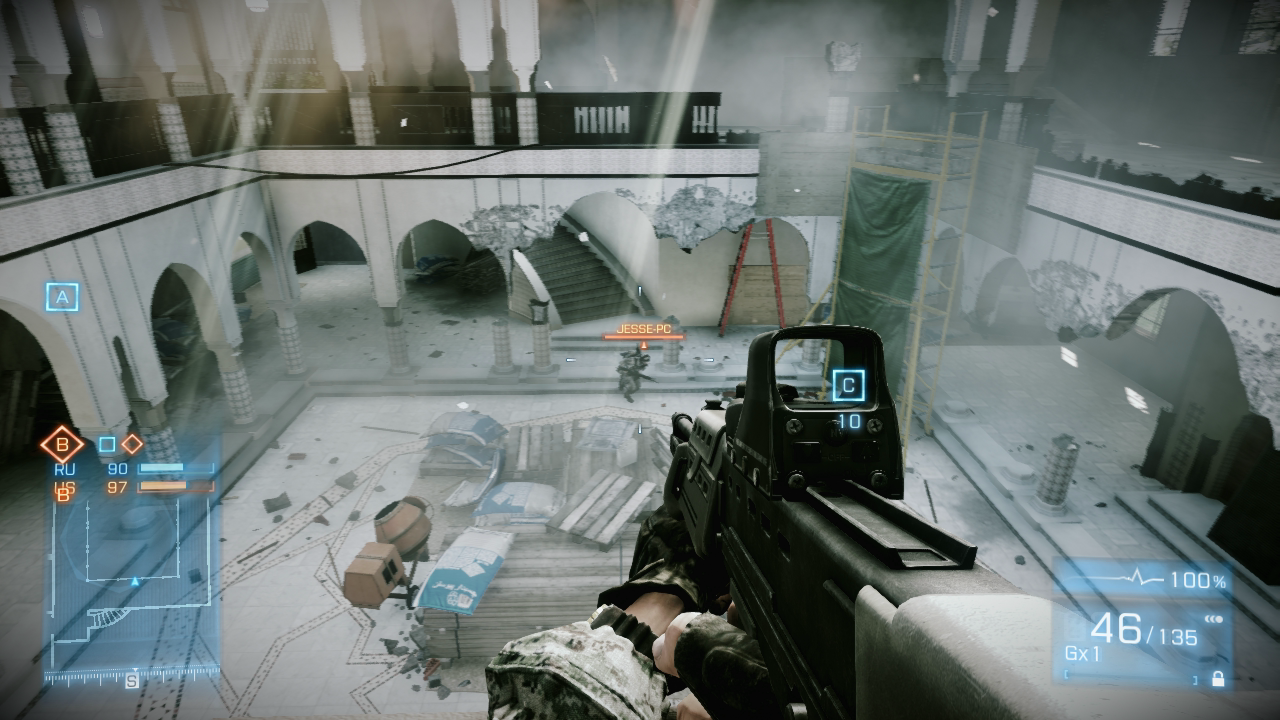
The elevated walkway offers a great view of the atrium’s floor. This is a great overwatch position during Conquest Domination matches, allowing you to engage any opponents gathered near the flag.
Level 2 [09]
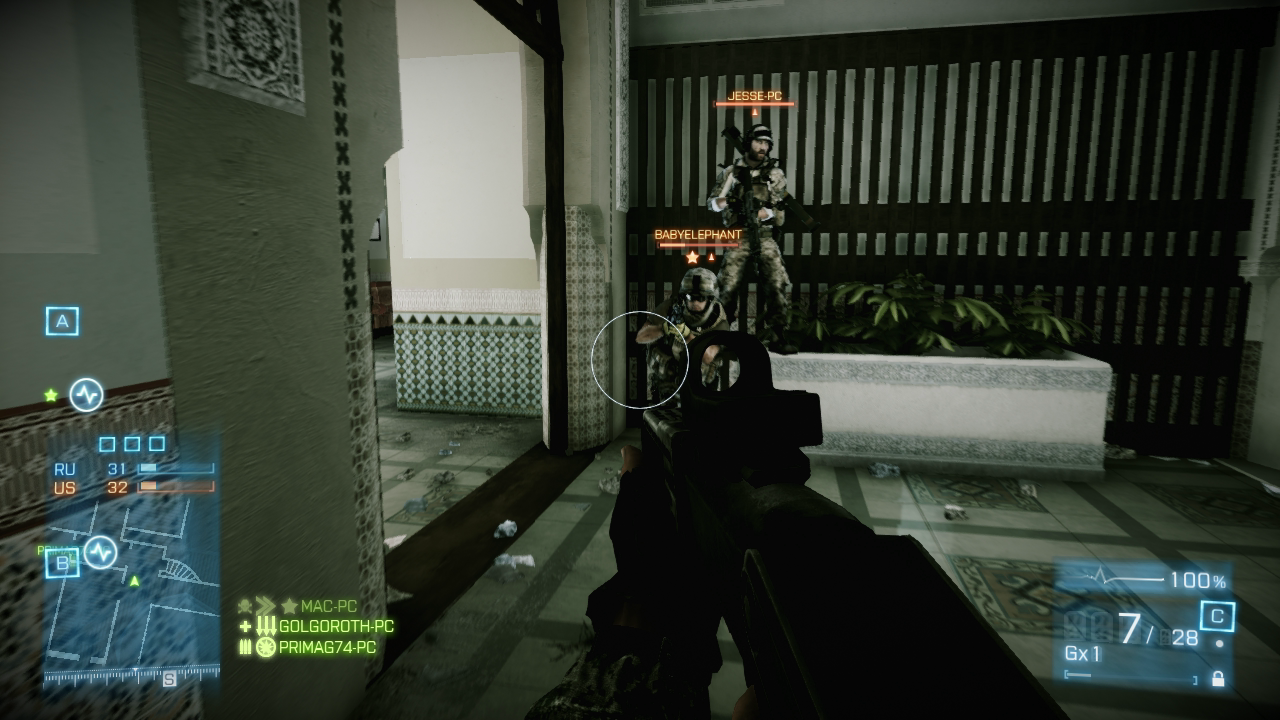
Don’t get complacent while occupying the elevated walkway in the atrium. Opponents may arrive through the adjoining hallways connected to the north and south wings. So always stay on the move and keep watching for new arrivals on the top and bottom floors.
North Courtyard
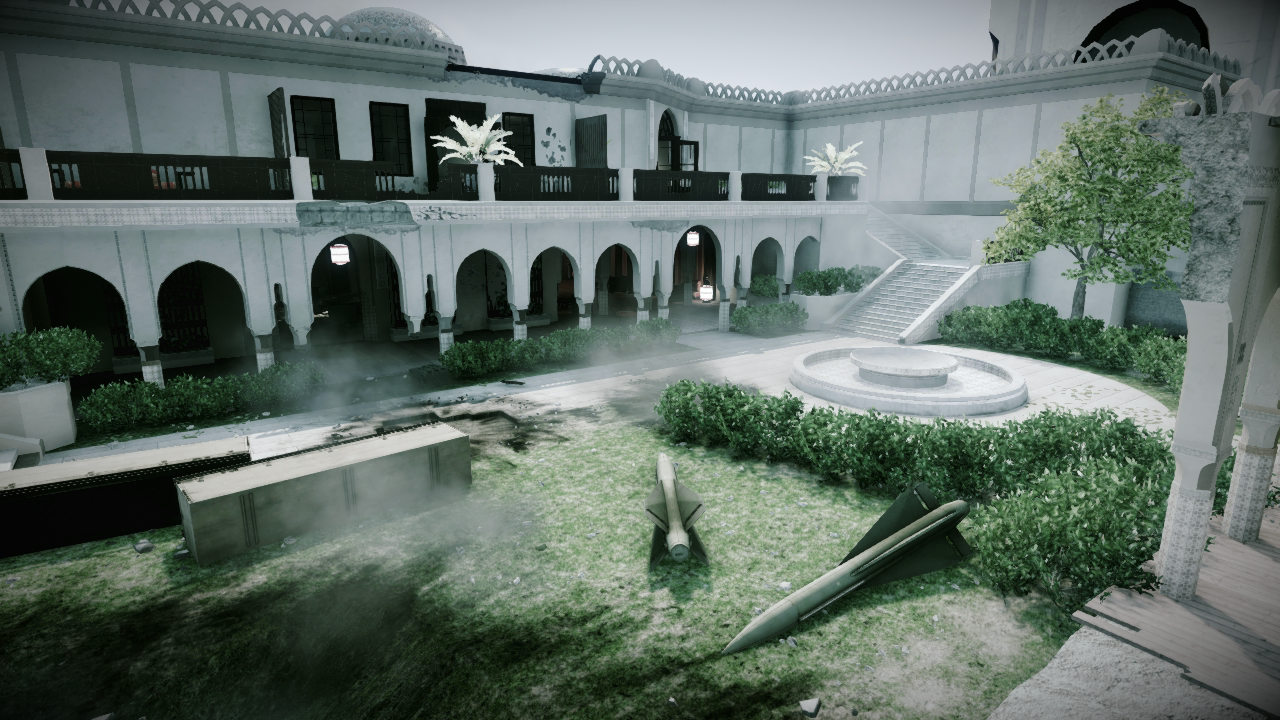
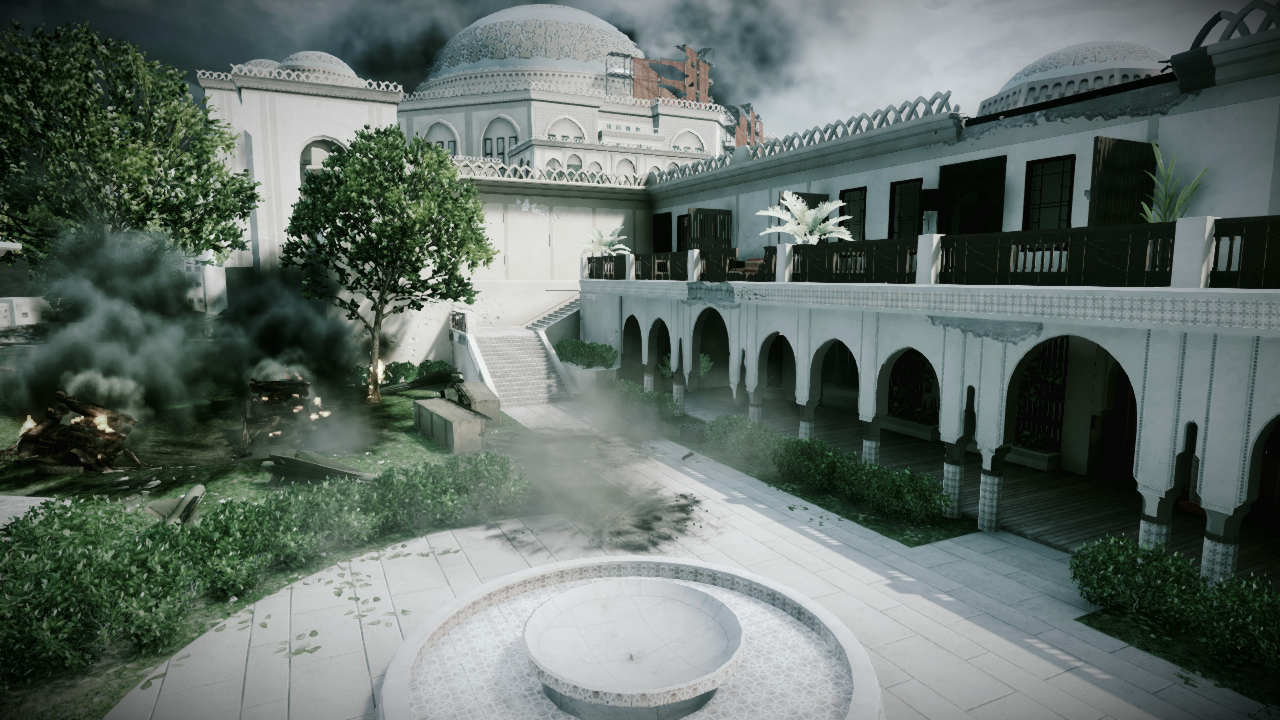
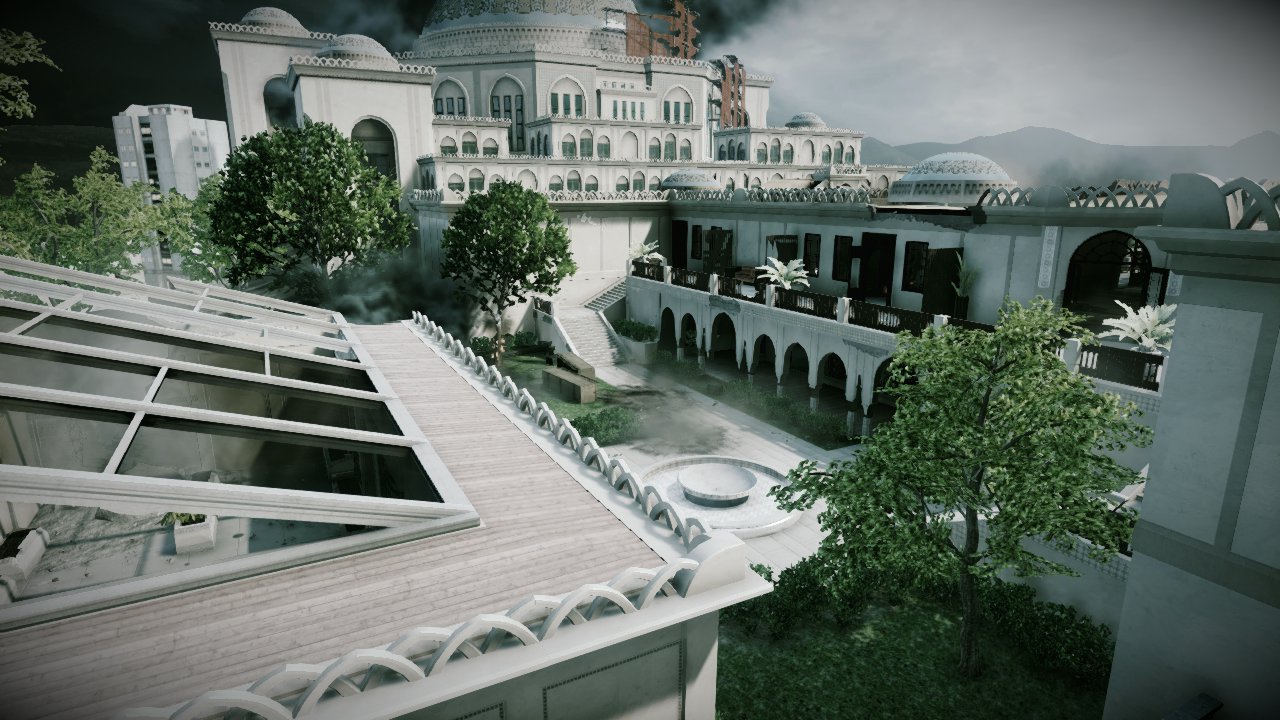
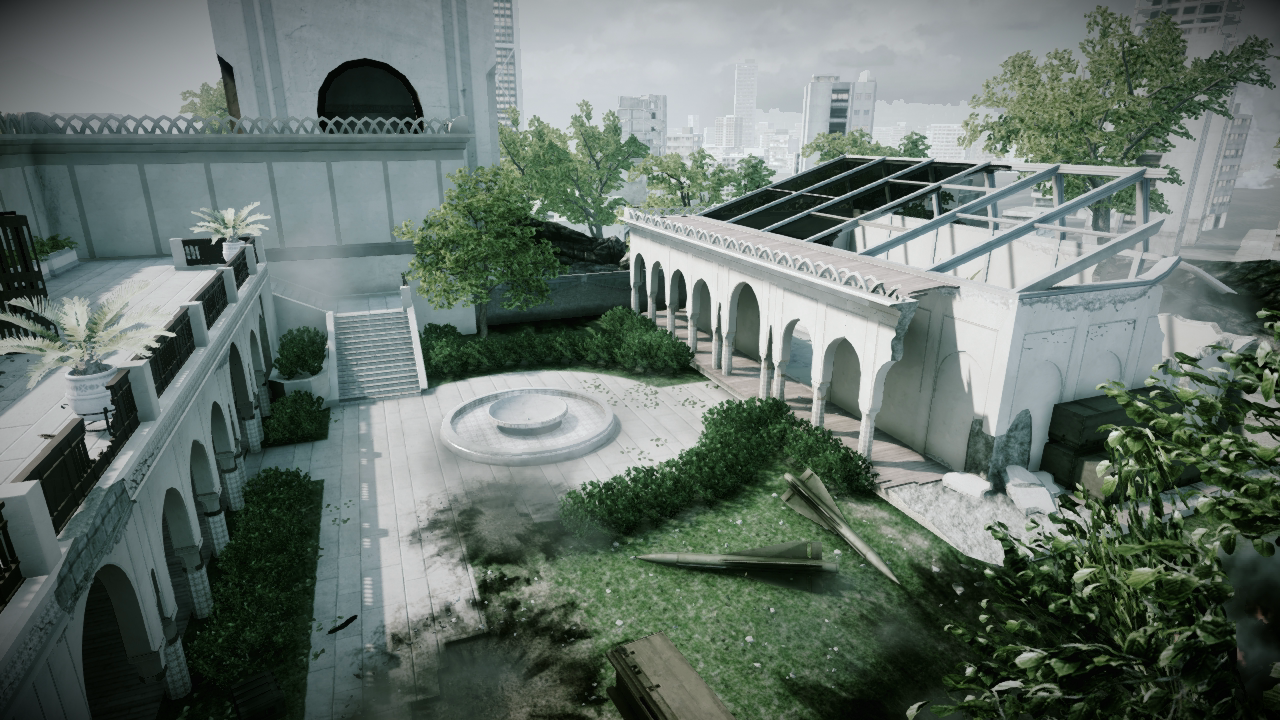
In most game modes, this courtyard is a spawn location, offering direct access to the kitchen and northern living quarters on the second floor. While this courtyard is somewhat isolated on the map’s northern edge, it is still a potential kill zone. The courtyard offers remarkably long sightlines, particularly from east to west. The upper-level balcony on the south side also offers a great view of the courtyard. But don’t make a habit of camping on this high-traffic footpath unless you want to catch a knife in the back. During Squad or Team Deathmatch games, consider occupying the structure on the courtyard’s north side and using it as a firebase, engaging foot traffic to the south. If you hope to last a while here, bring along an assault rifle.
Level 1 [10]
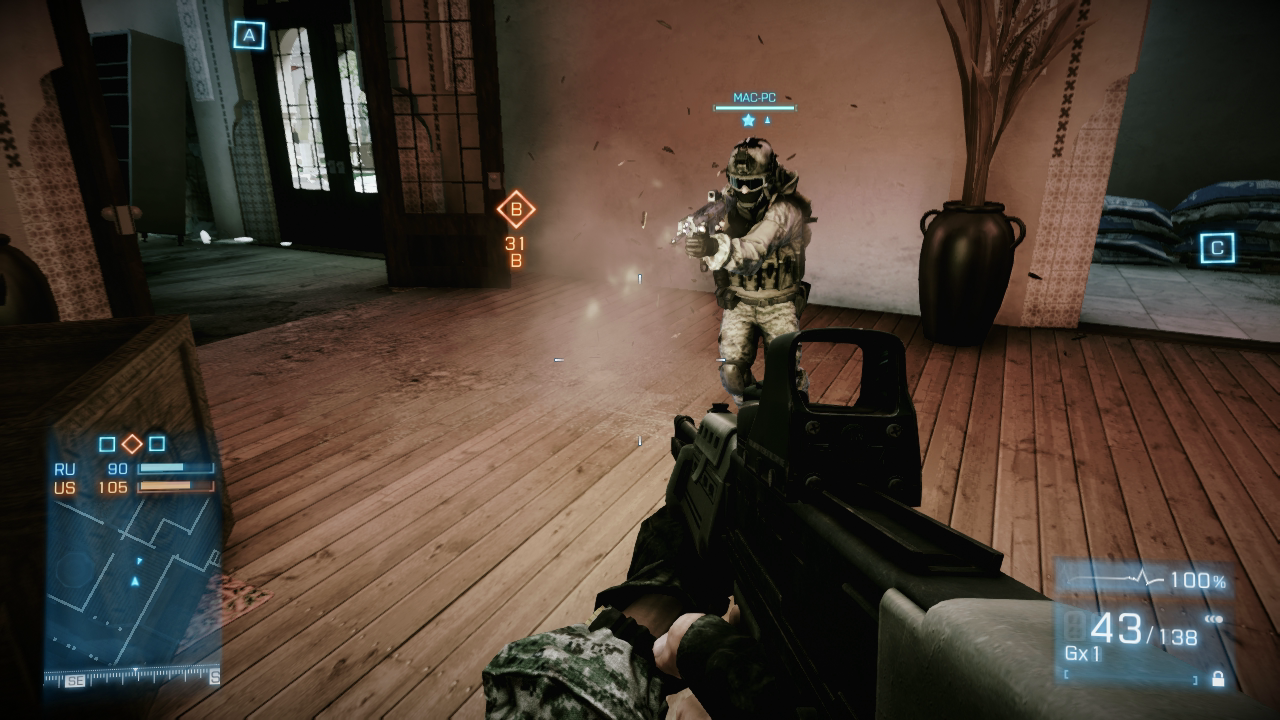
This wide corridor to the kitchen’s west is the most direct path between the north courtyard and the central courtyard. You’re likely to encounter both friends and enemies while moving through this passage, so stay on your toes.
Central Courtyard
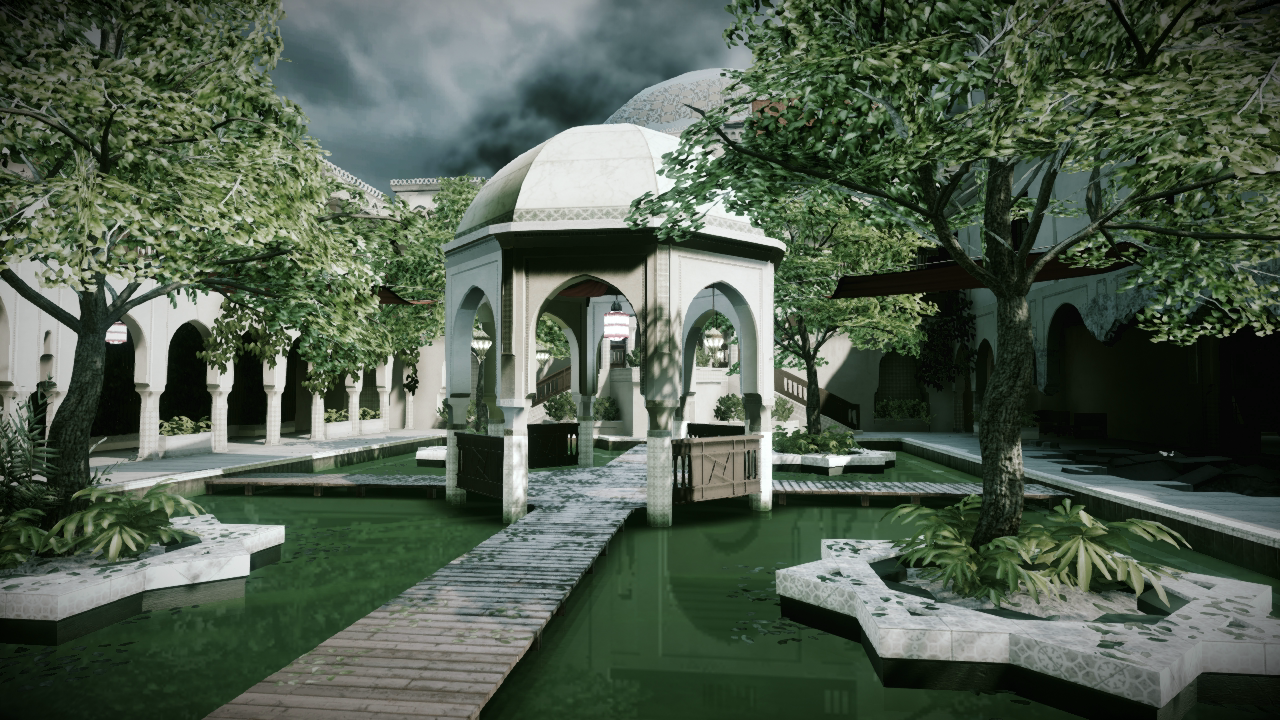
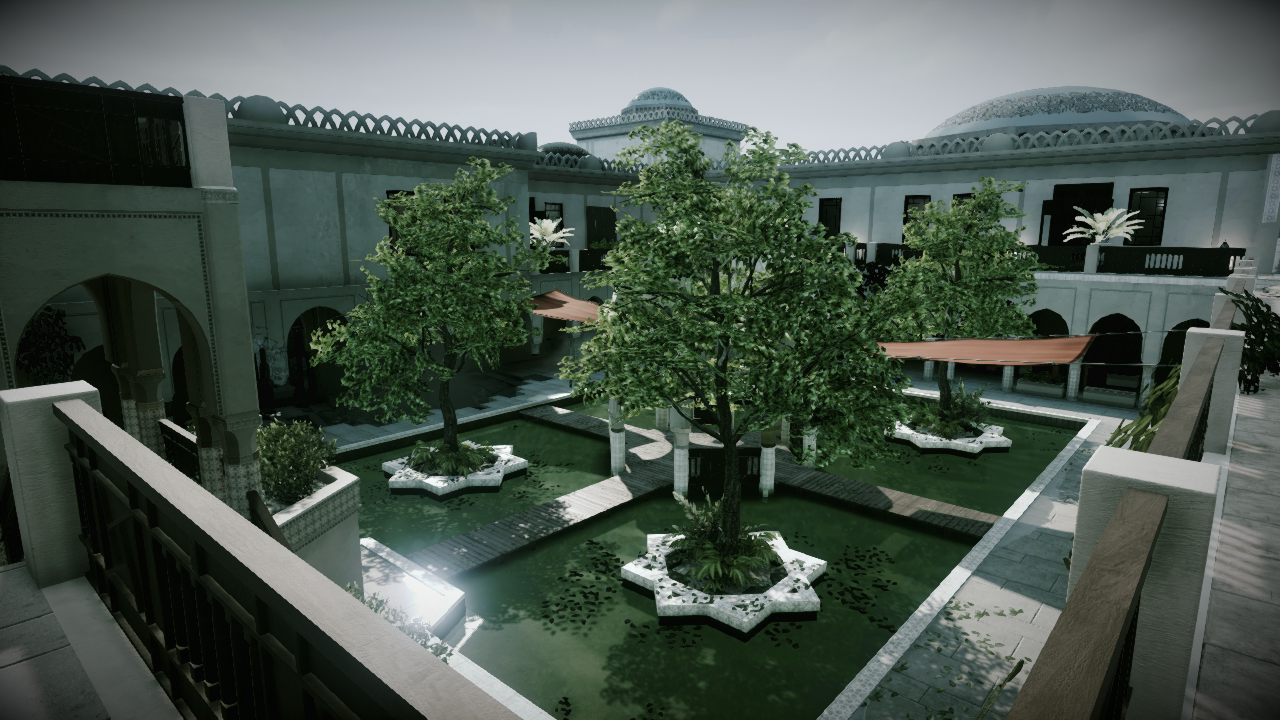
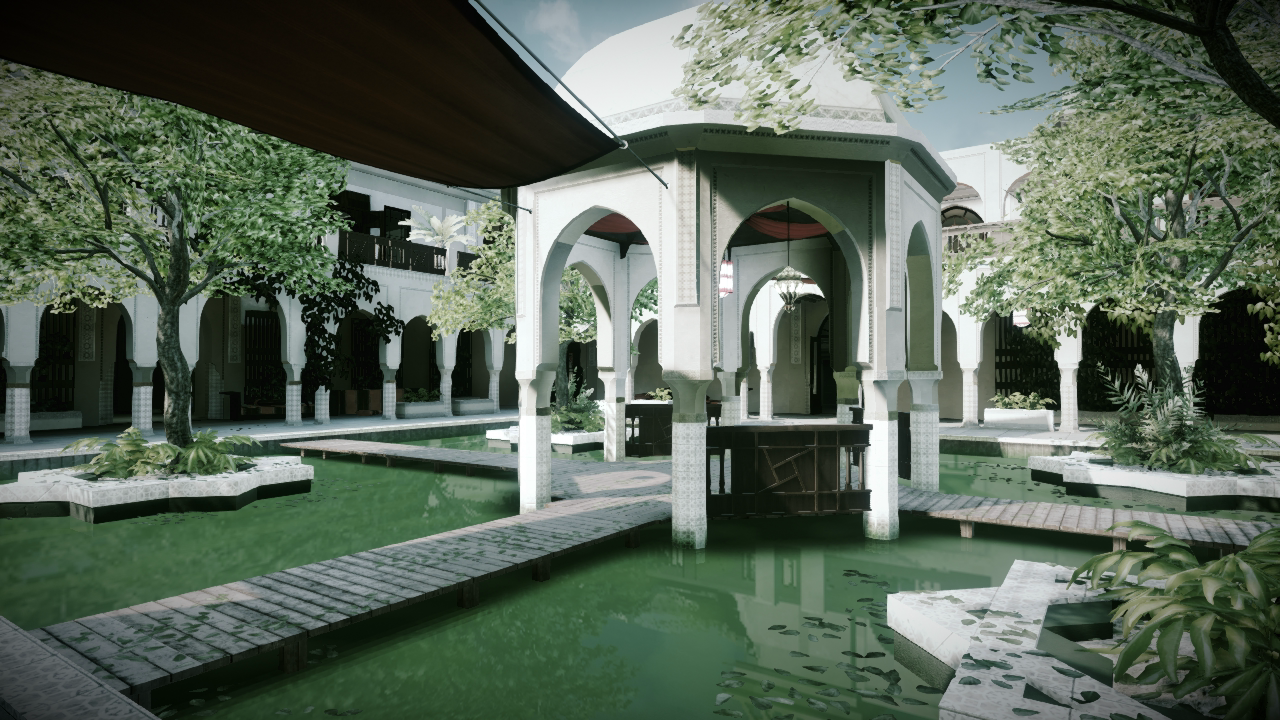
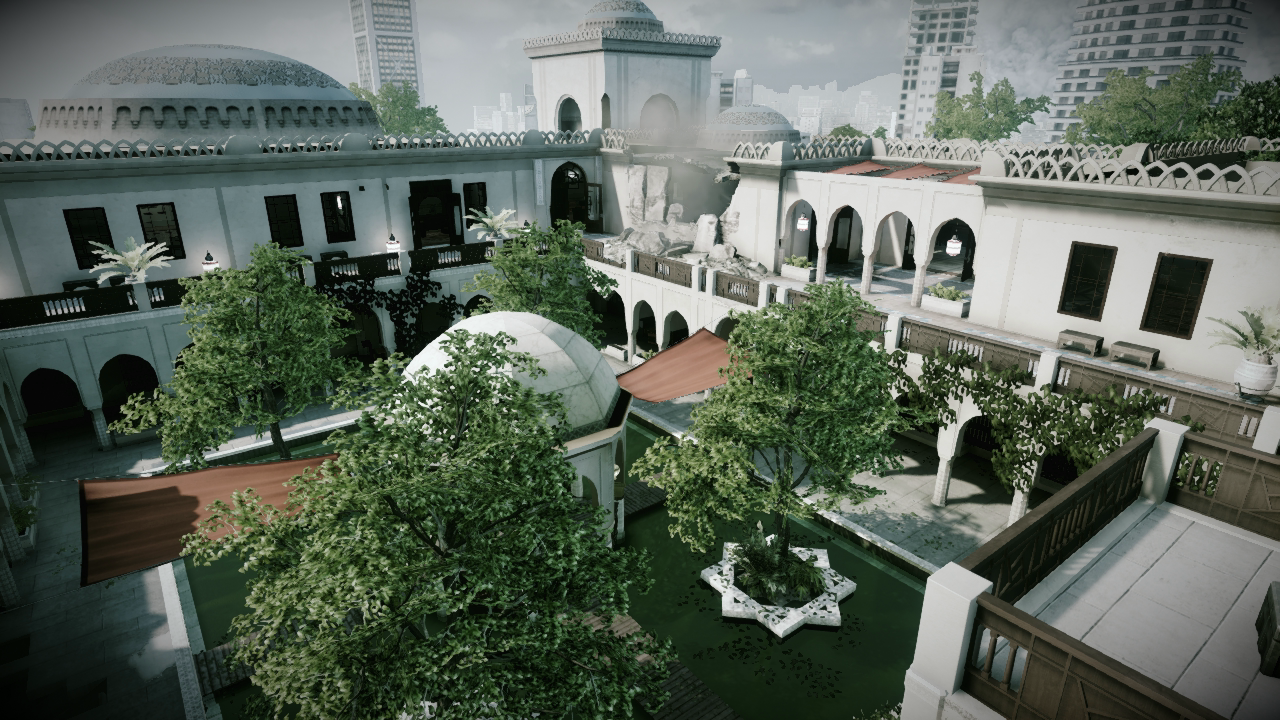
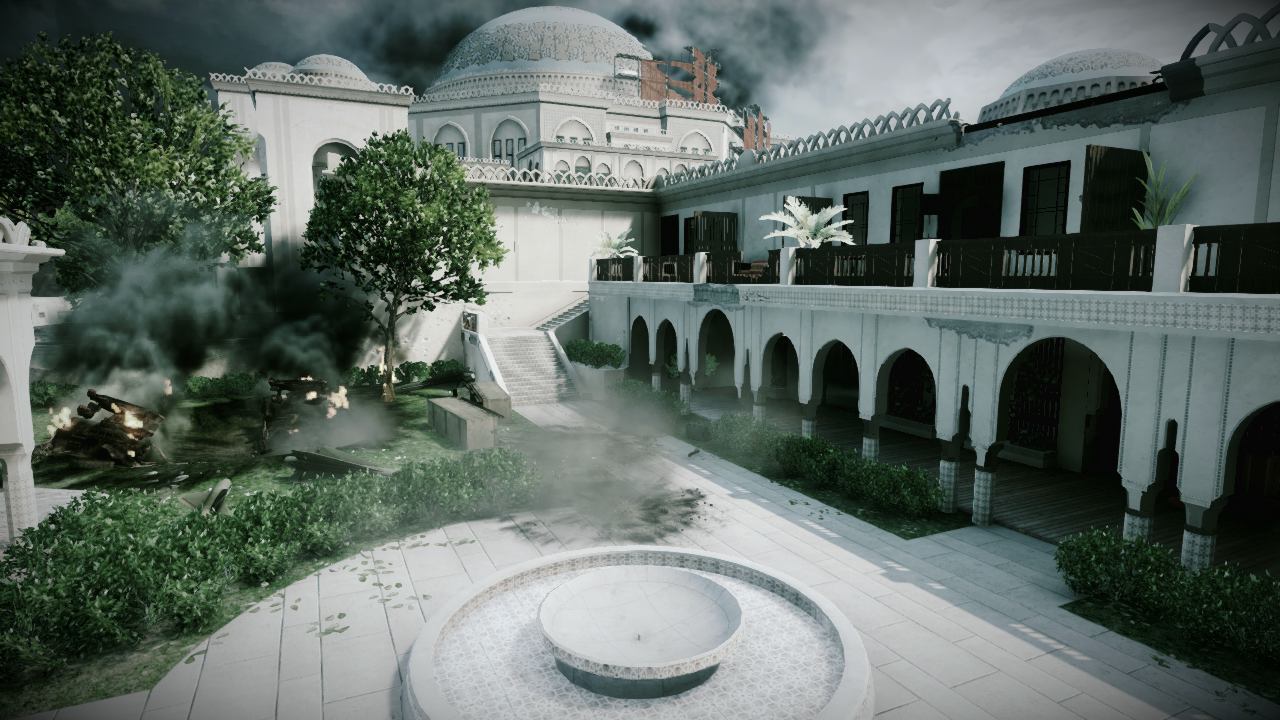
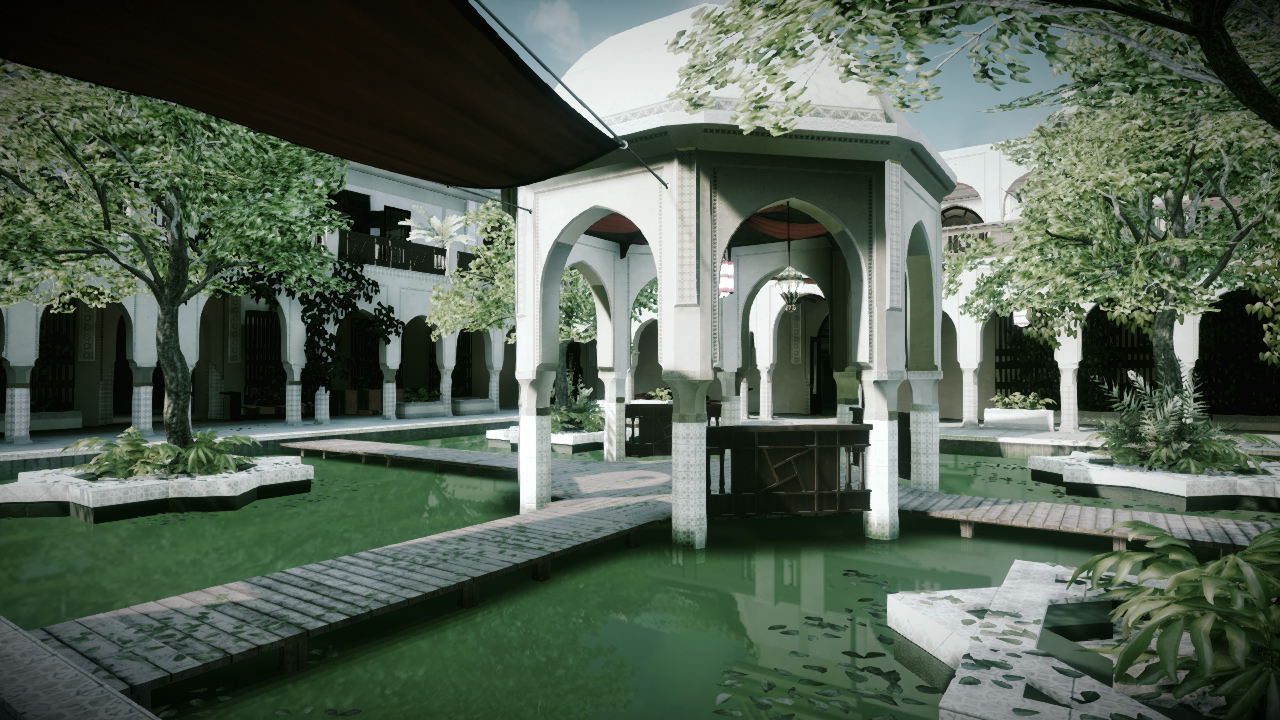
The central courtyard is by far the most congested area of the map in every game mode. So if you’re looking for kills and don’t mind exposing yourself to incoming fire, this is the place to go. But even if you have the courage to enter this kill zone, avoid the center. Movement through the shallow water surrounding the central gazebo is slow. Plus, the gazebo doesn’t offer much solid cover from opponents posted around the upper-level perimeter walkway. The four trees in the courtyard do offer some welcome concealment. . . at least while they’re still standing. But for the most part, stick to the perimeter walkways of the courtyard to avoid getting caught in a cross fire.
The tiled columns flanking the courtyard’s lower level are destructible, kicking up large clouds of dust when shot with any weapon. If you find yourself taking fire from an unknown source, shoot the columns in an attempt to create a makeshift smoke screen. The clouds of dust may just be enough to conceal your movements until you can reach the safety of one of the adjoining corridors.
Level 1 [11]
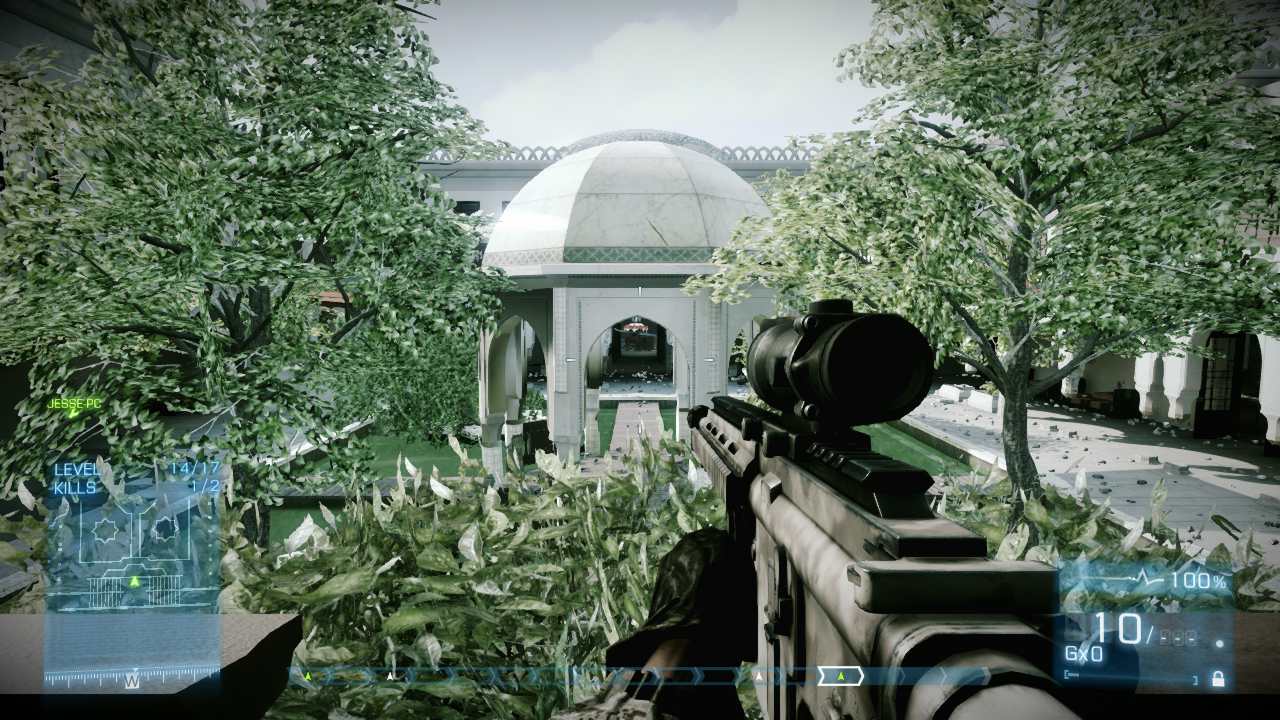
From this spot, just below the east balcony, you can engage opponents within the atrium on the map’s far west side. However, don’t make a habit of pausing here long. Given the heavy activity in the central courtyard, you’re likely to be flanked (or stabbed) if you loiter here.
Level 1 [12]
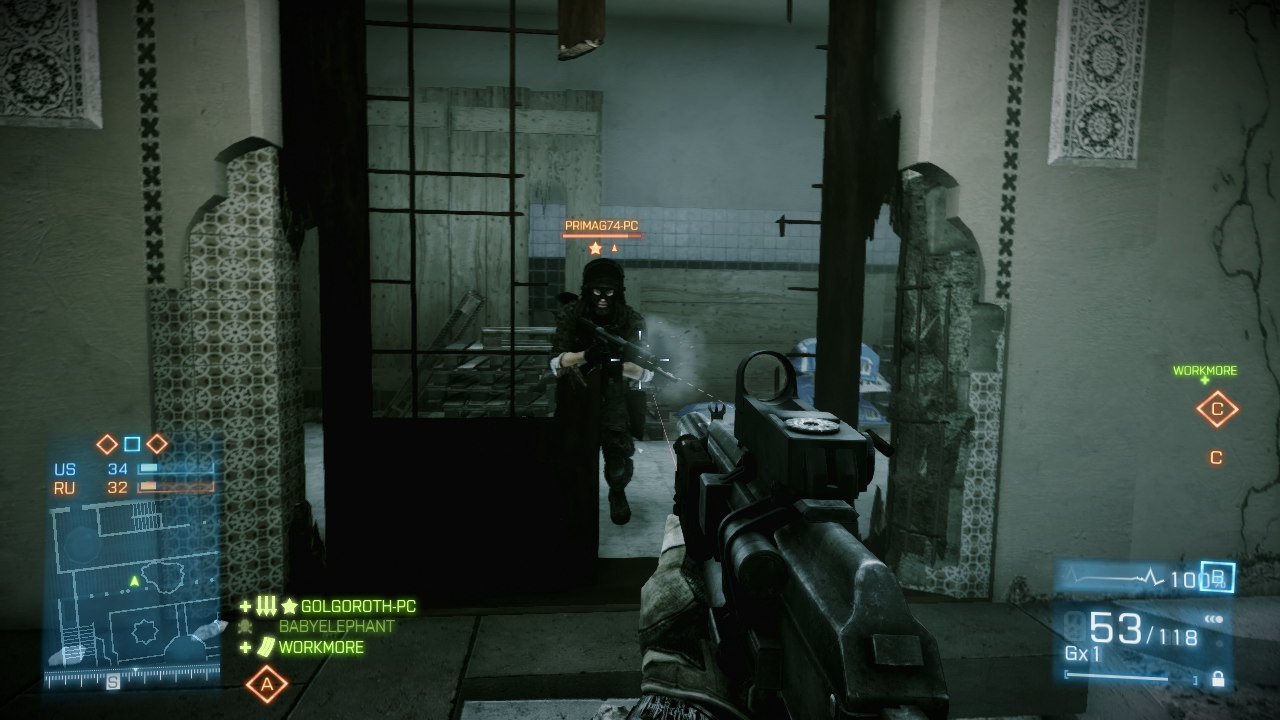
This doorway on the courtyard’s south side is a high-traffic area. Players spawning in the south courtyard often pass through this doorway while moving into the central courtyard or down through the nearby hole leading into the underground passage. Keep your weapon raised and ready to fire while near this doorway.
Level 2 [13]
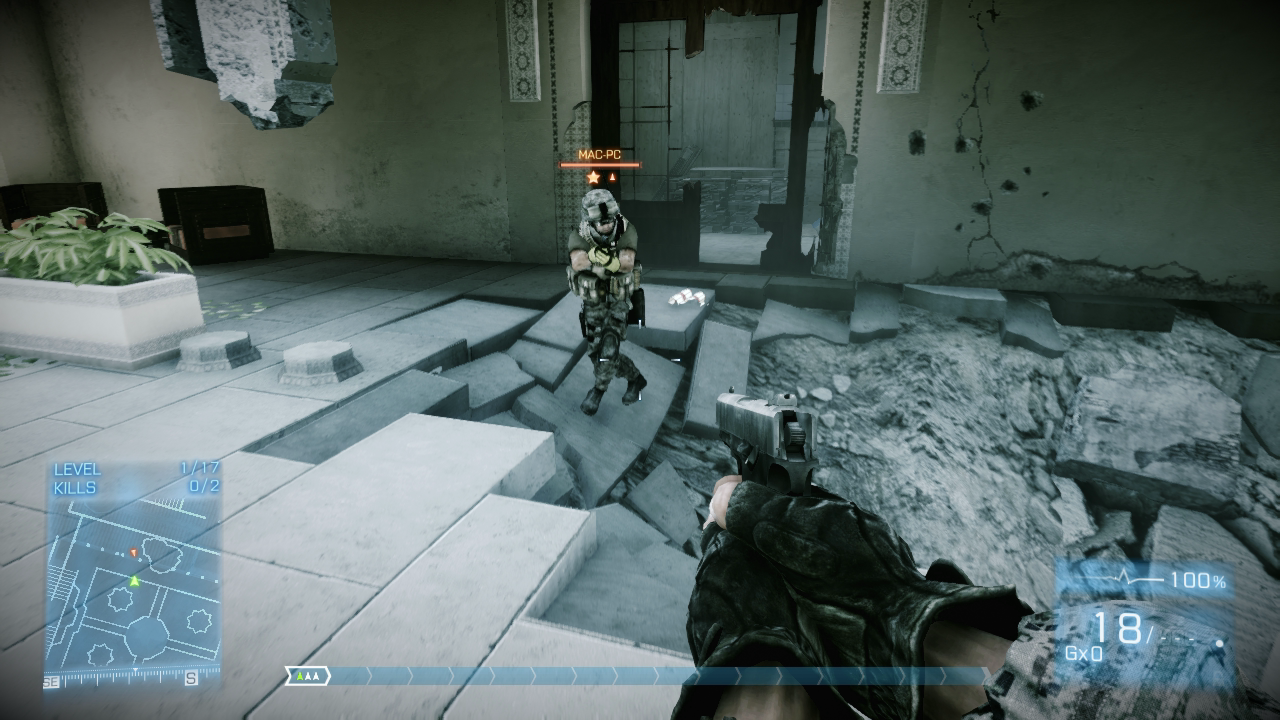
Use the hole on the courtyard’s south side as a one-way, downward route to reach the underground passage. Avoid emerging from this hole, as your visibility is limited, giving opponents in the central courtyard the advantage.
South Courtyard
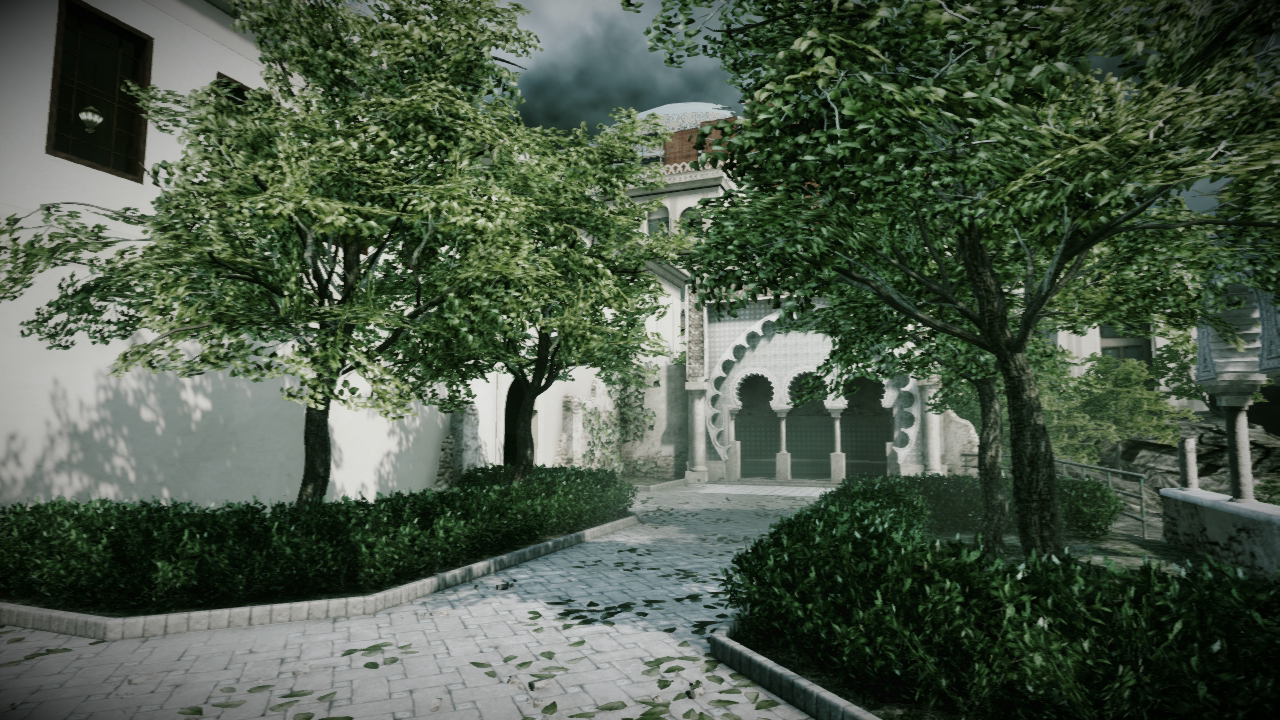
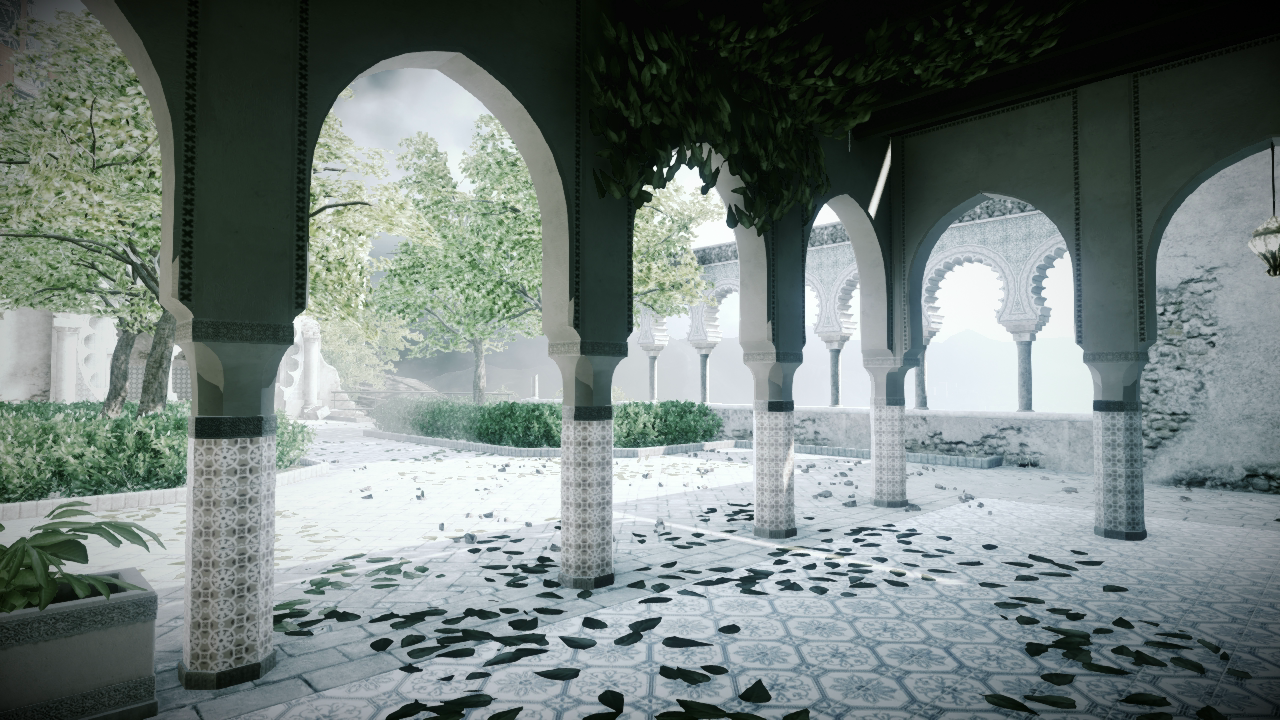
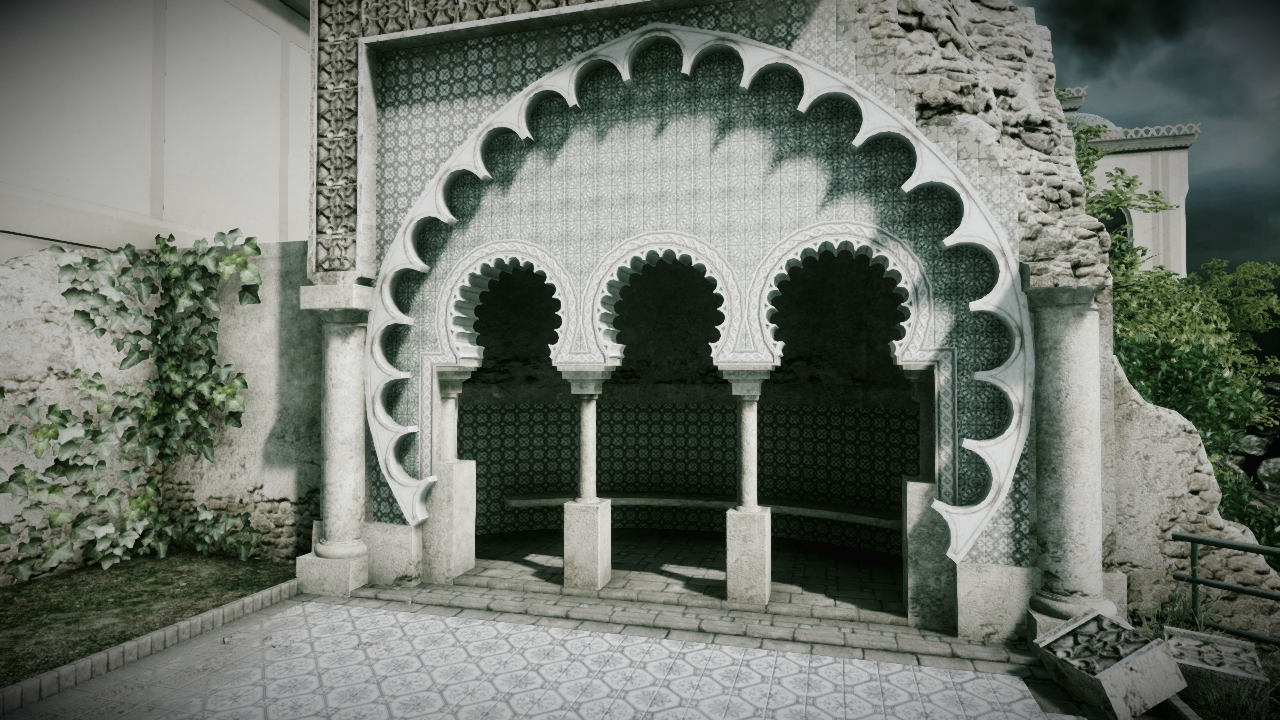
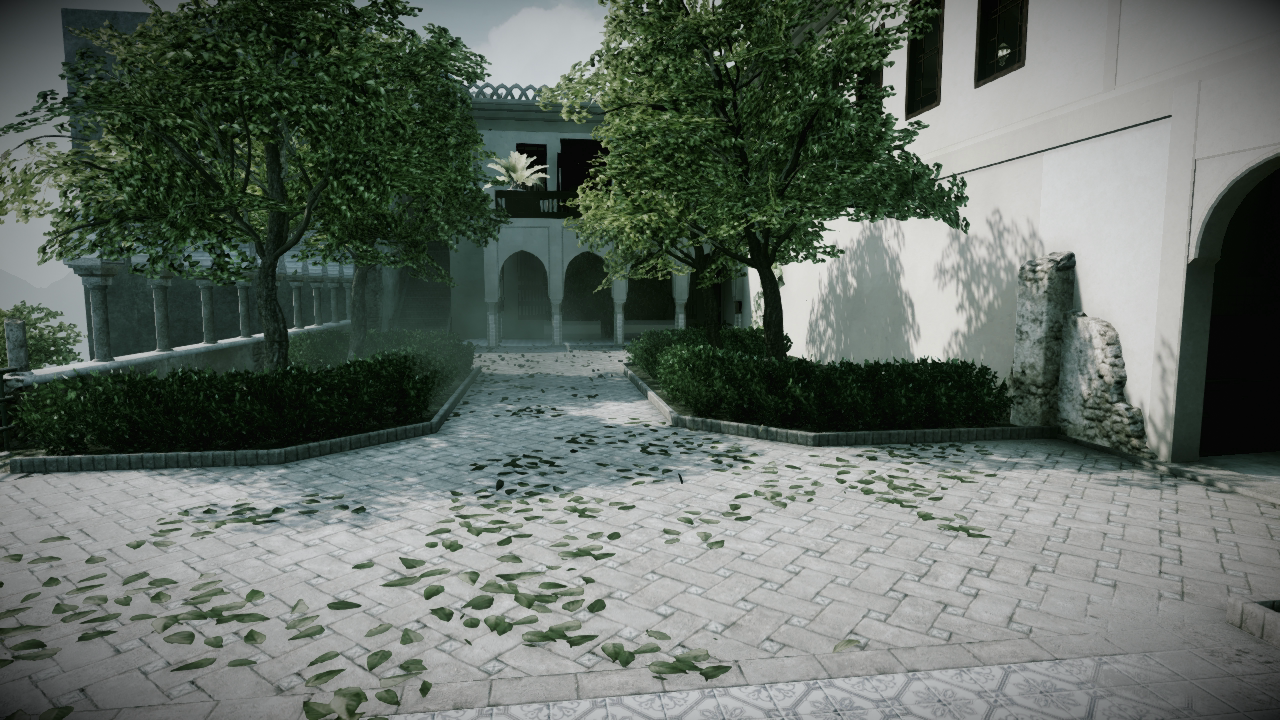
Like the north courtyard, the south courtyard is a popular randomized spawn point in each game mode. Since it is tucked away on the map’s south side, foot traffic here is usually light, making it a good way to sneak into the adjoining atrium or Turkish bath. The staircase on the courtyard’s southwest side leads directly to a second-floor corridor, only meters from the atrium.
You can also step into the adjoining hallway on the courtyard’s north side to access another stairway leading down to the Turkish bath. From there, you can advance to the underground passage and travel beneath the central courtyard to the map’s north side, safely avoiding the carnage above. Due to the courtyard’s large size and sparse cover, avoid direct engagements here unless equipped with a carbine or assault rifle. Otherwise you’re better off running for cover and taking the fight indoors, within the rooms and corridors of the adjoining south wing. Always watch out for campers hiding in the covered nook on the east side of the south courtyard.
Kitchen
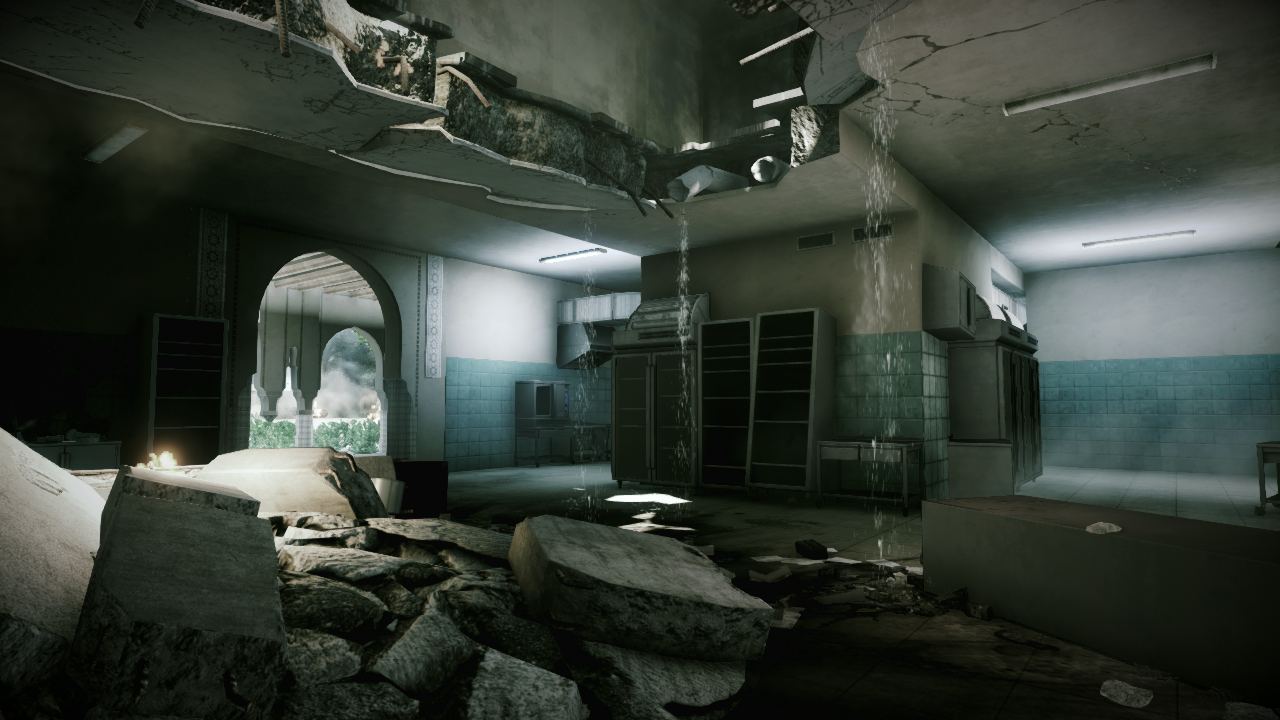
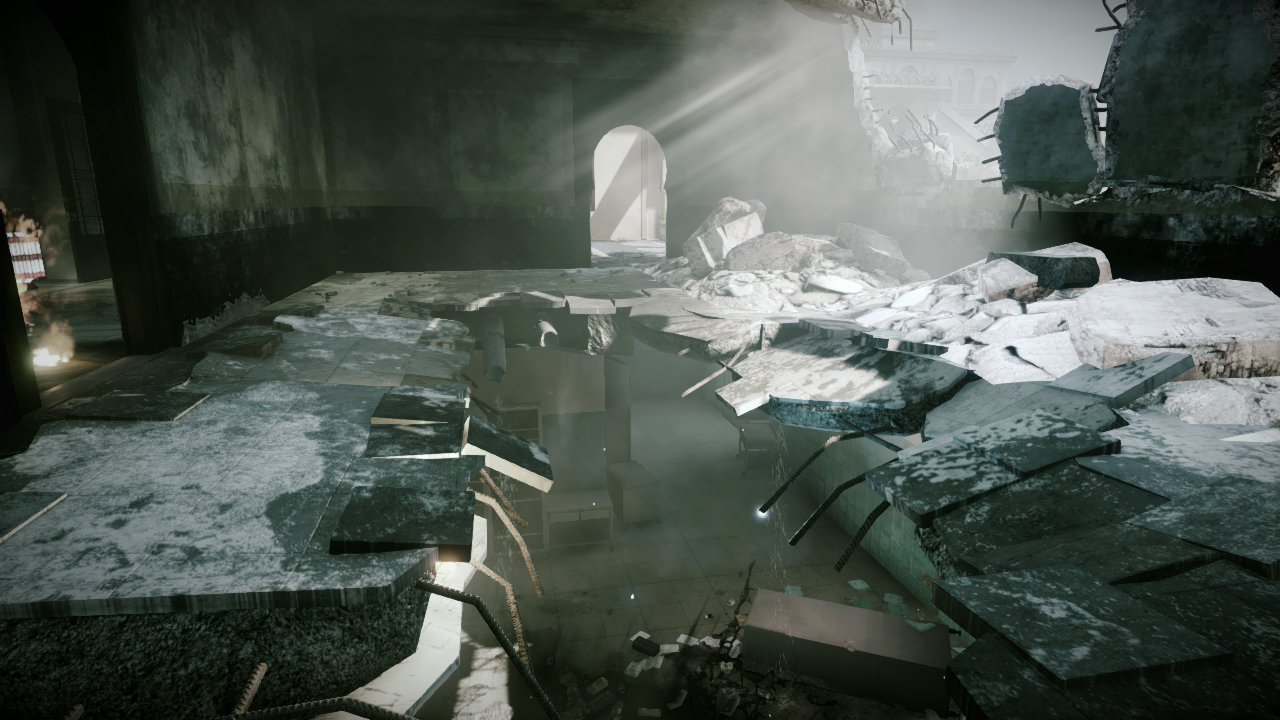
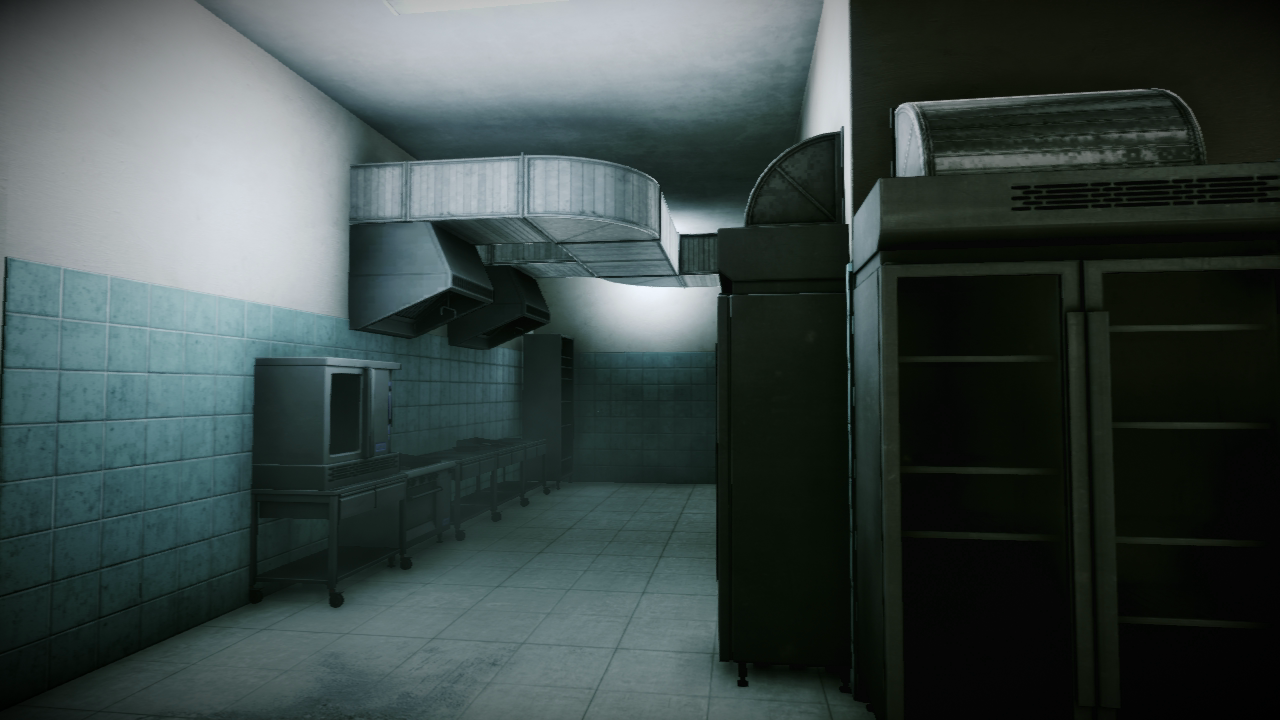
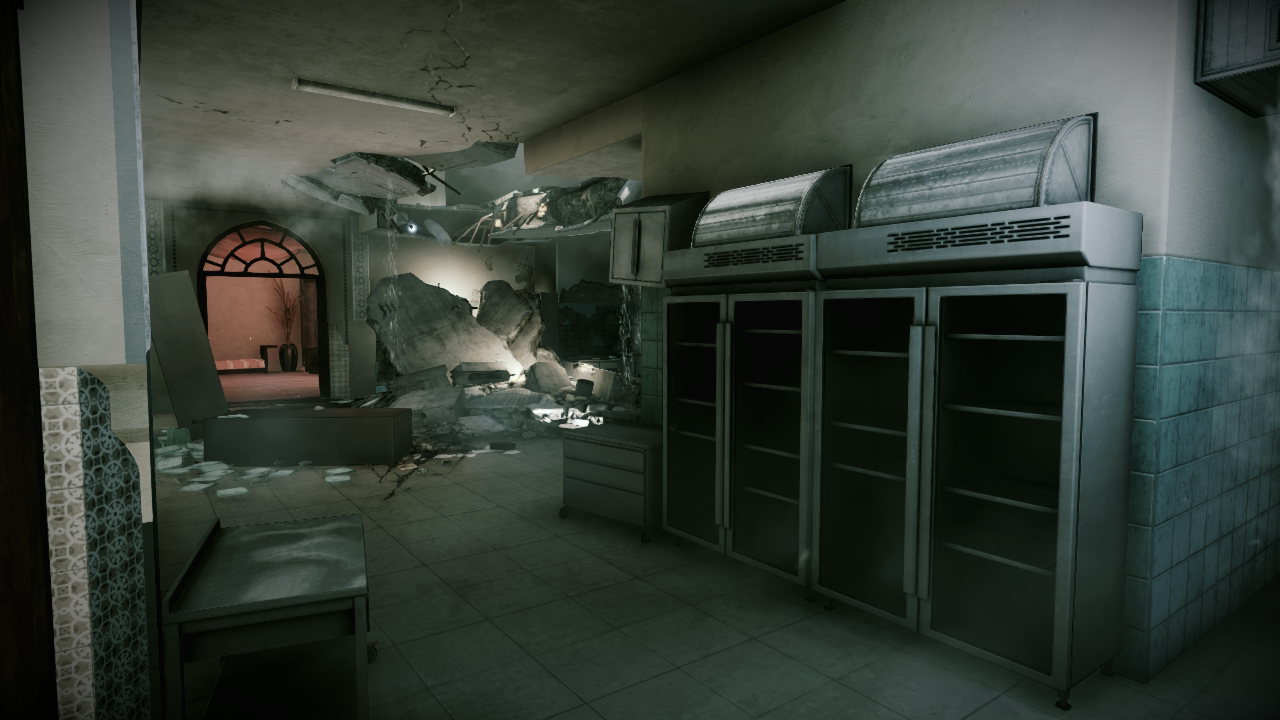
The kitchen is a high-traffic area for players transitioning between the north courtyard and central courtyard. Located directly north of the central courtyard, it’s also a popular refuge spot for those attempting to avoid incoming fire.
But even before any match begins, the kitchen has already seen its fair share of collateral damage. There’s a gaping hole in the kitchen’s ceiling allowing for a quick transition from the second to the first floor. While moving through the kitchen, be mindful of this hole in the ceiling and watch for opponents trying to shoot you. If you’re not careful, they may wait until you pass, then drop down behind you for a sneaky knife kill. But don’t make a habit of camping above the kitchen and waiting for victims. In a map this compact, staying in one spot for too long is extremely dangerous.
Turkish Bath
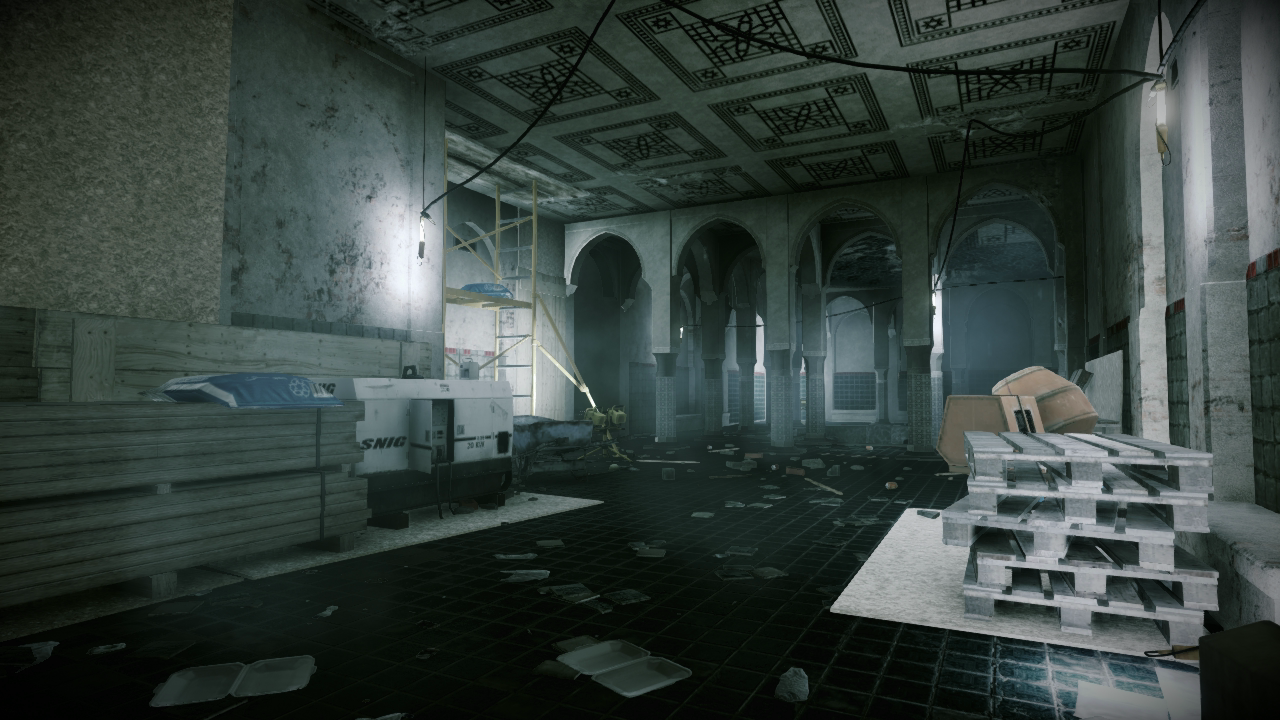
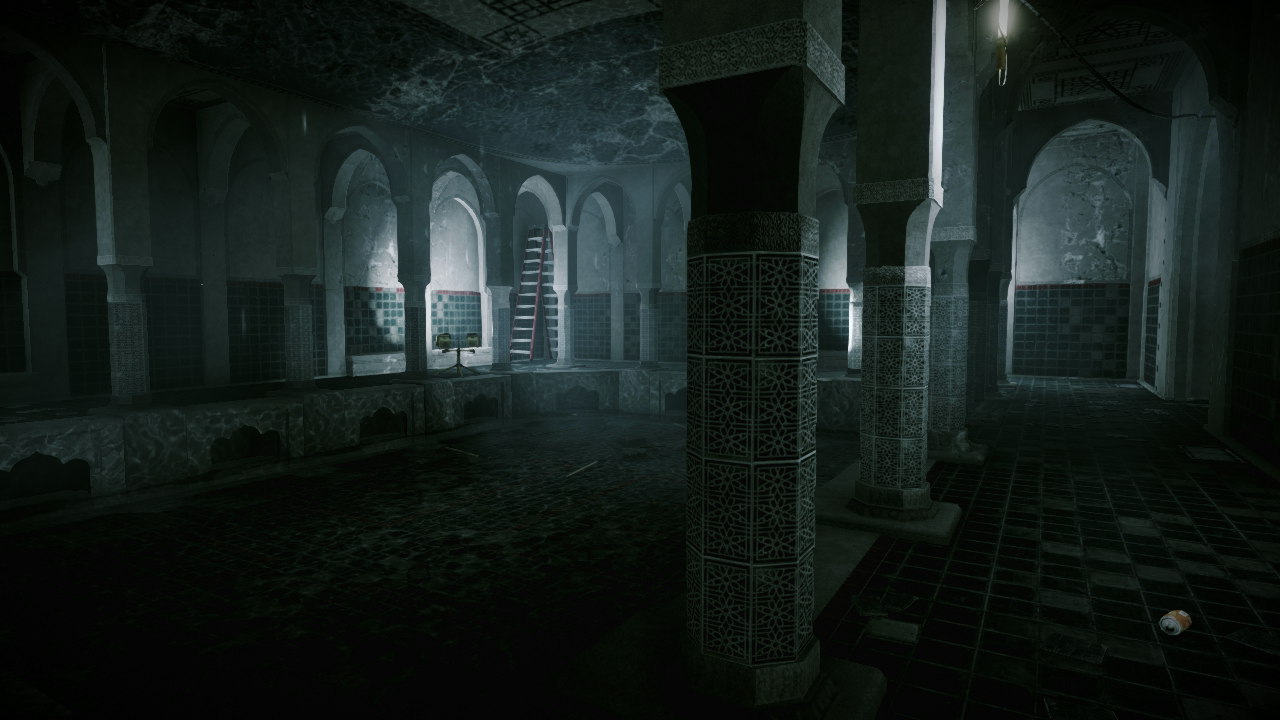
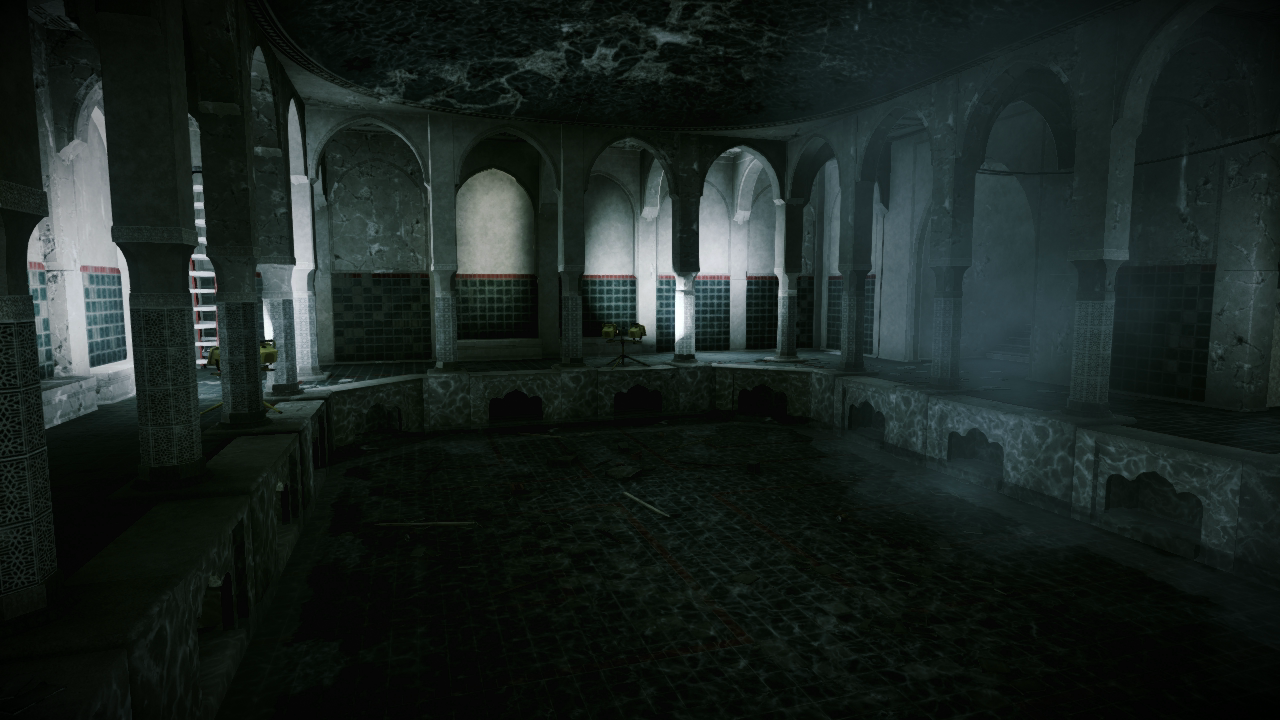
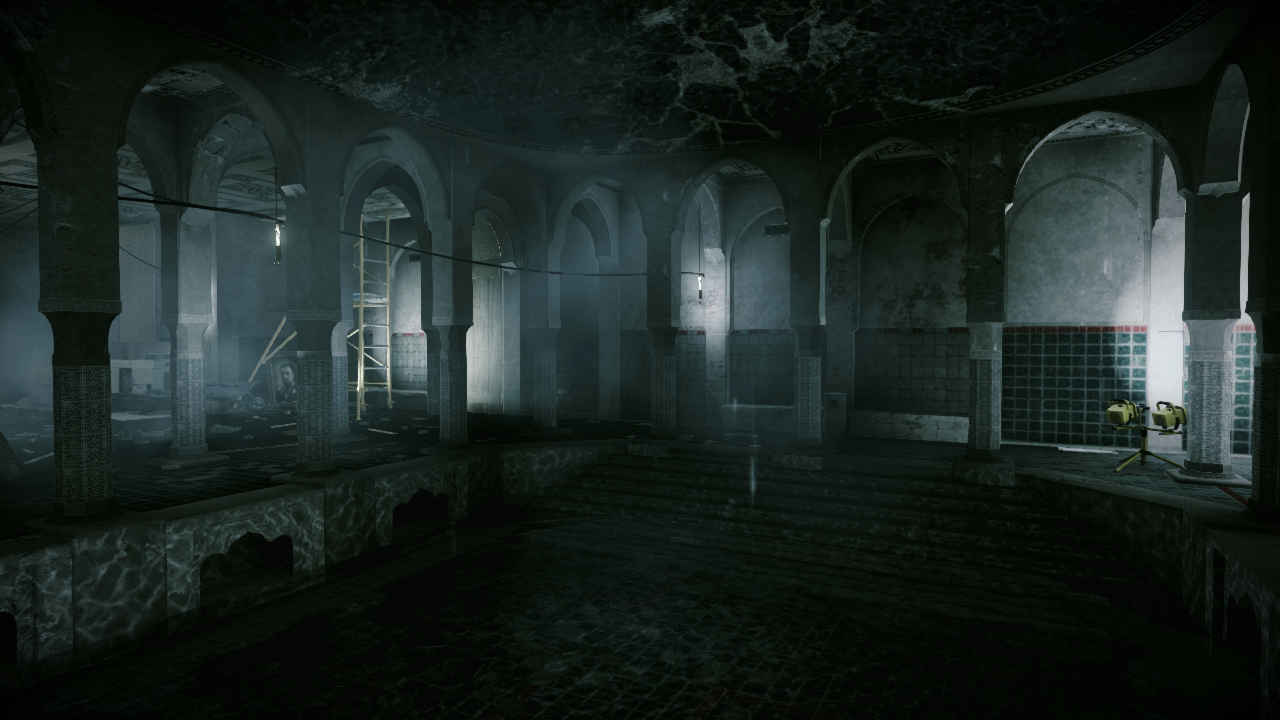
The Turkish bath is located on the map’s south side, connected to the underground passage. This area is somewhat dark and remote but can become a high-traffic area, particularly during Conquest Domination. While the underground passage offers direct access to the Turkish bath, so, too, do two staircases: one on the south side of the atrium and another in the southern corridor adjacent to the south courtyard. Like the nearby atrium, the Turkish bath is undergoing renovations and is only dimly lit by portable work lights. When operating down here, consider activating your tactical lights and laser sights in an attempt to blind your opponents. But if camping is your thing, consider hiding in a corner and mowing down opponents while firing a weapon with an attached suppressor to mask your muzzle flash.
South Wing
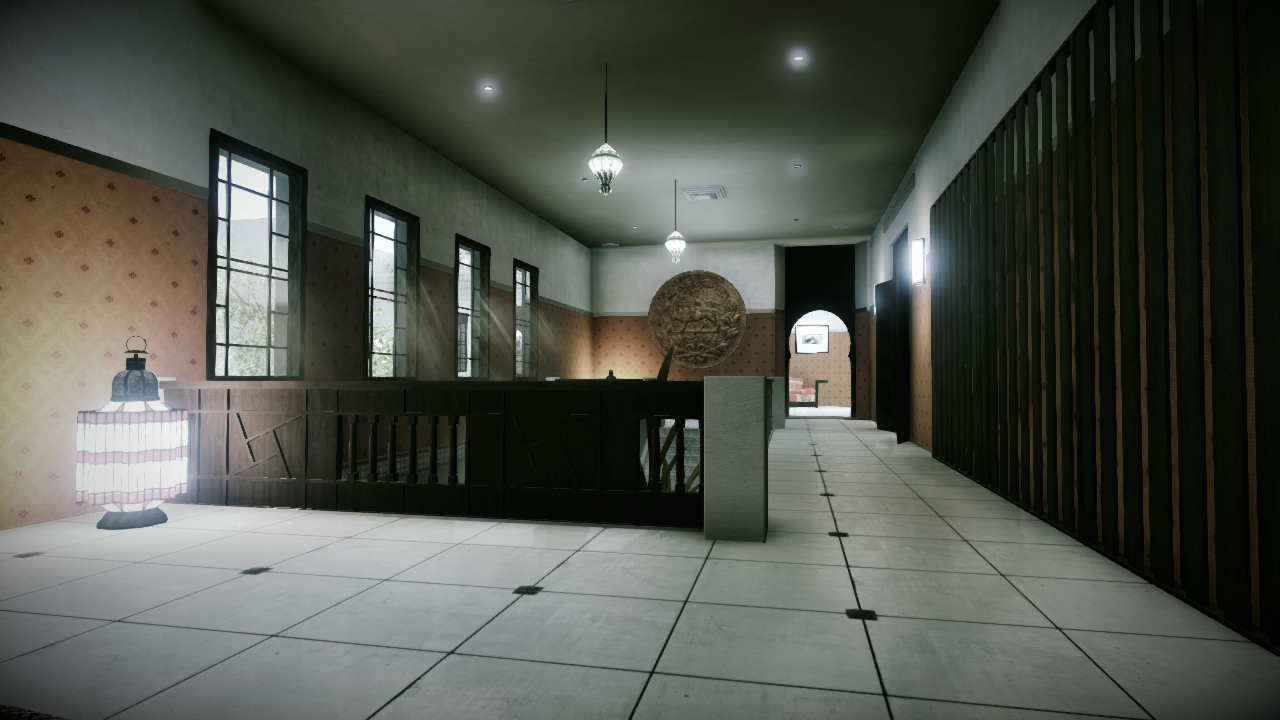
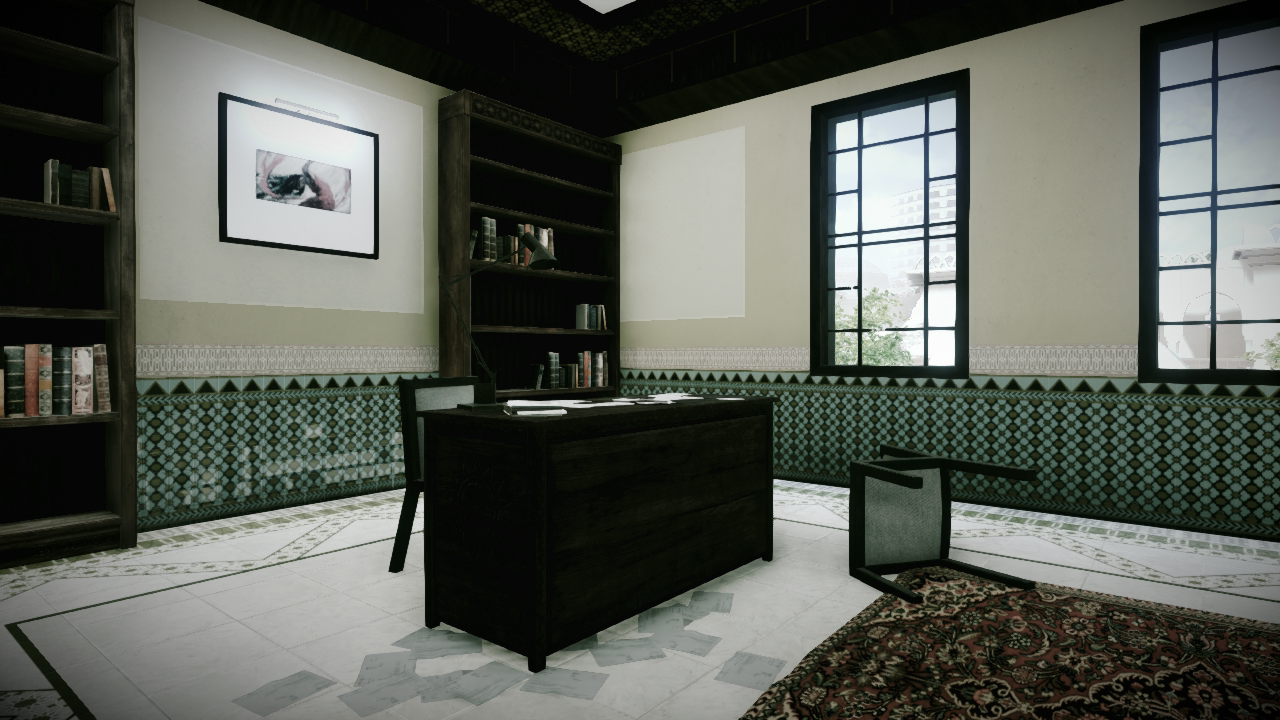
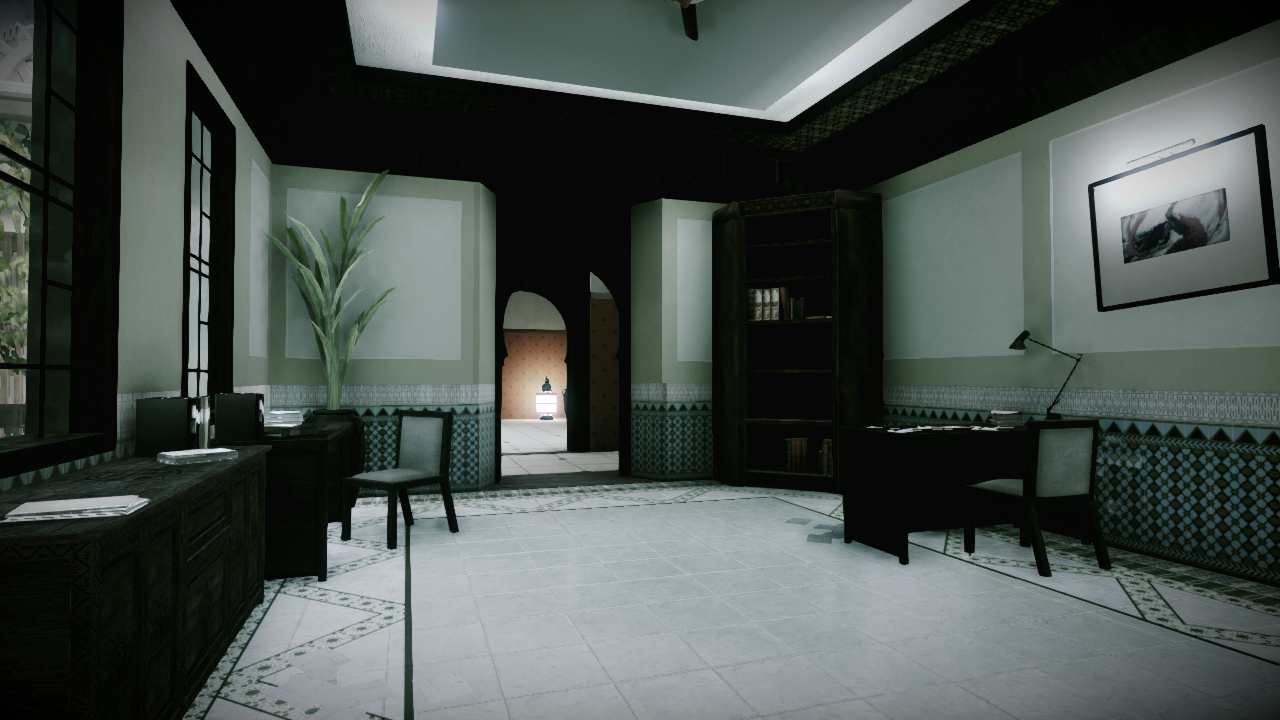
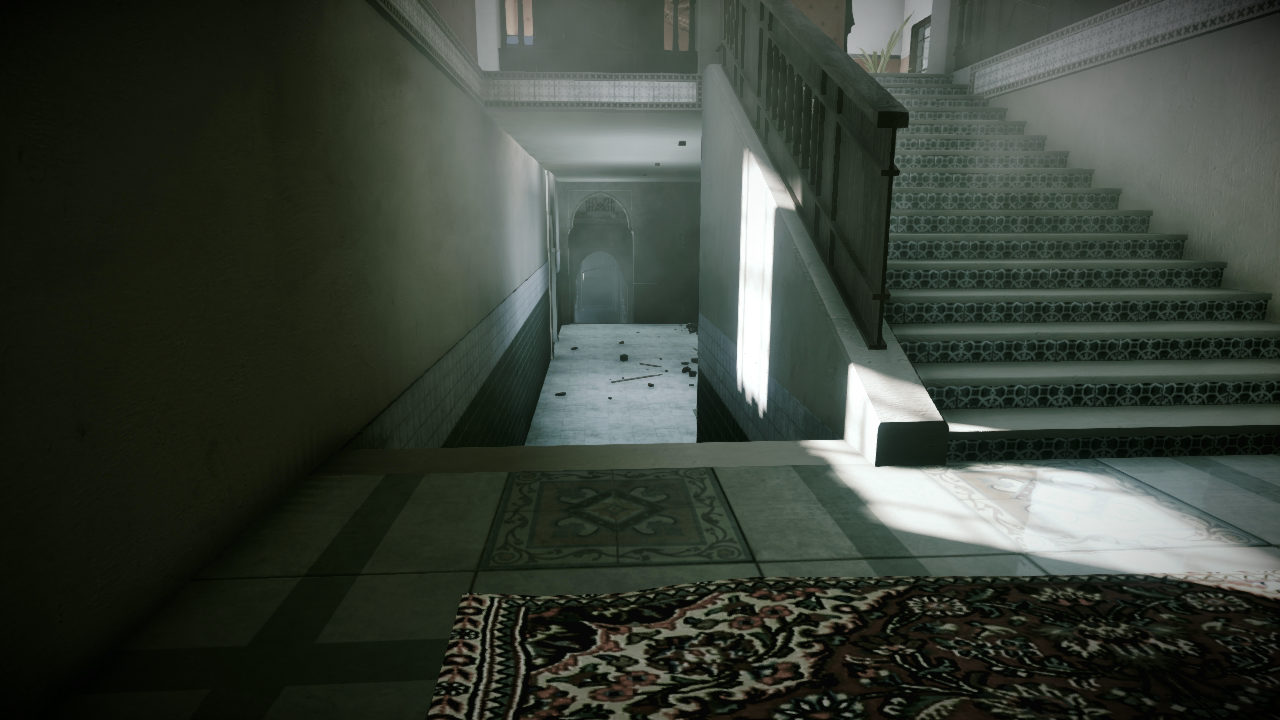
The south wing is a popular thoroughfare for players spawning in the south courtyard and moving toward the central courtyard, atrium, or east balcony. The bottom floor of the south wing consists of a narrow corridor with two staircases: one leads down to the Turkish bath and the other leads up to the second floor. Moving through the Turkish bath is a great way to sneak up on the atrium. But if you want to reach the east balcony, head upstairs. There are a couple of offices up here that overlook the central courtyard.
Moving through these offices is far preferable to exposing yourself to the chaos in the central courtyard. By exiting through the office’s eastern door, you can easily access the southern staircase leading up to the east balcony. Most of the south wing is entirely indoors, so plan accordingly. Shotguns and PDWs equipped with laser sights are very effective in these enclosed spaces.
Level 1 [14]
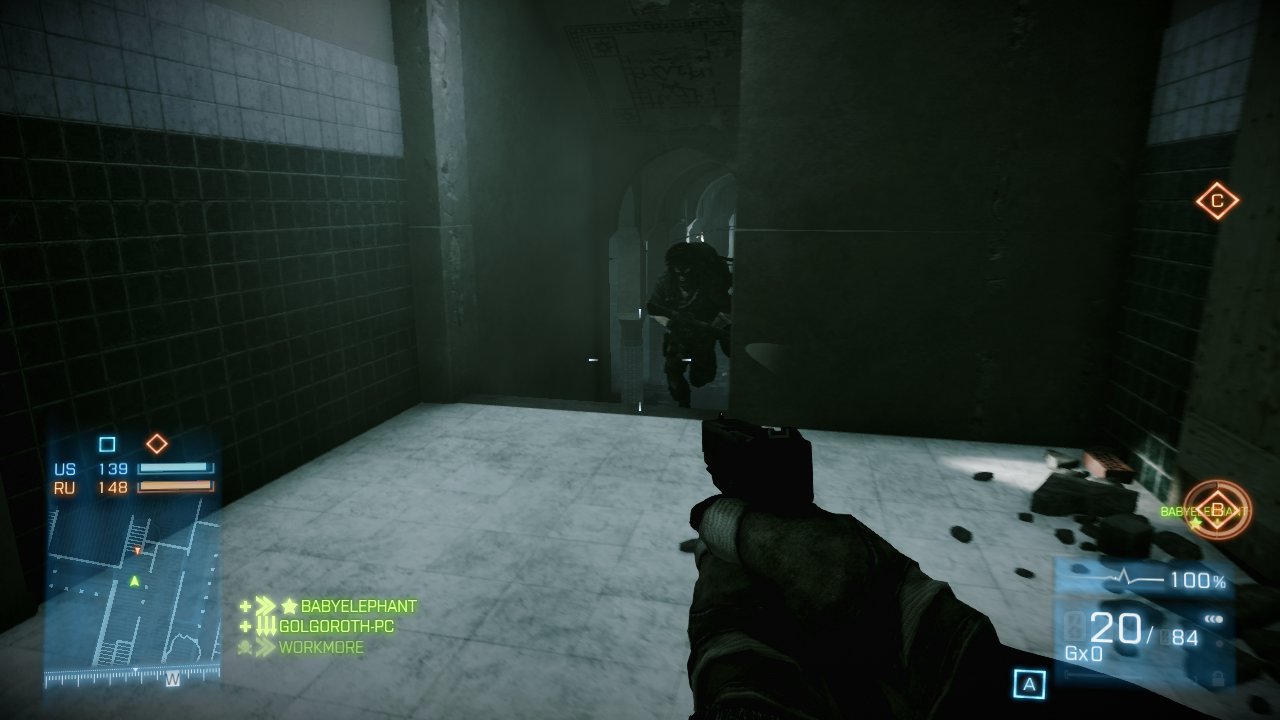
The staircase leading down to the Turkish bath is very narrow and often traversed by sprinting opponents. Simply keeping your weapon lowered and ready to fire will allow you to get the jump on opponents moving through this tight space. There’s no need to aim through a scope or iron sights at this range.
Level 2 [15]
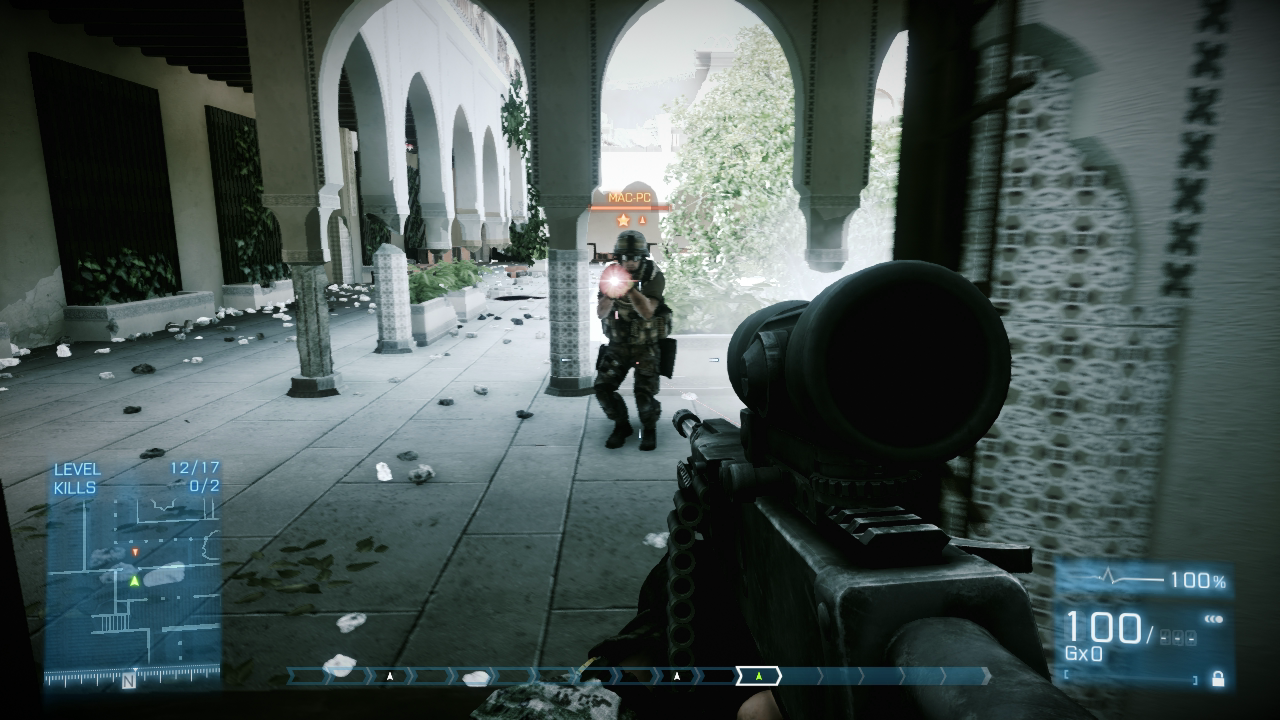
This doorway is another choke point often watched by opponents in the central courtyard. Be careful when exiting here and always be ready to open fire.
North Wing
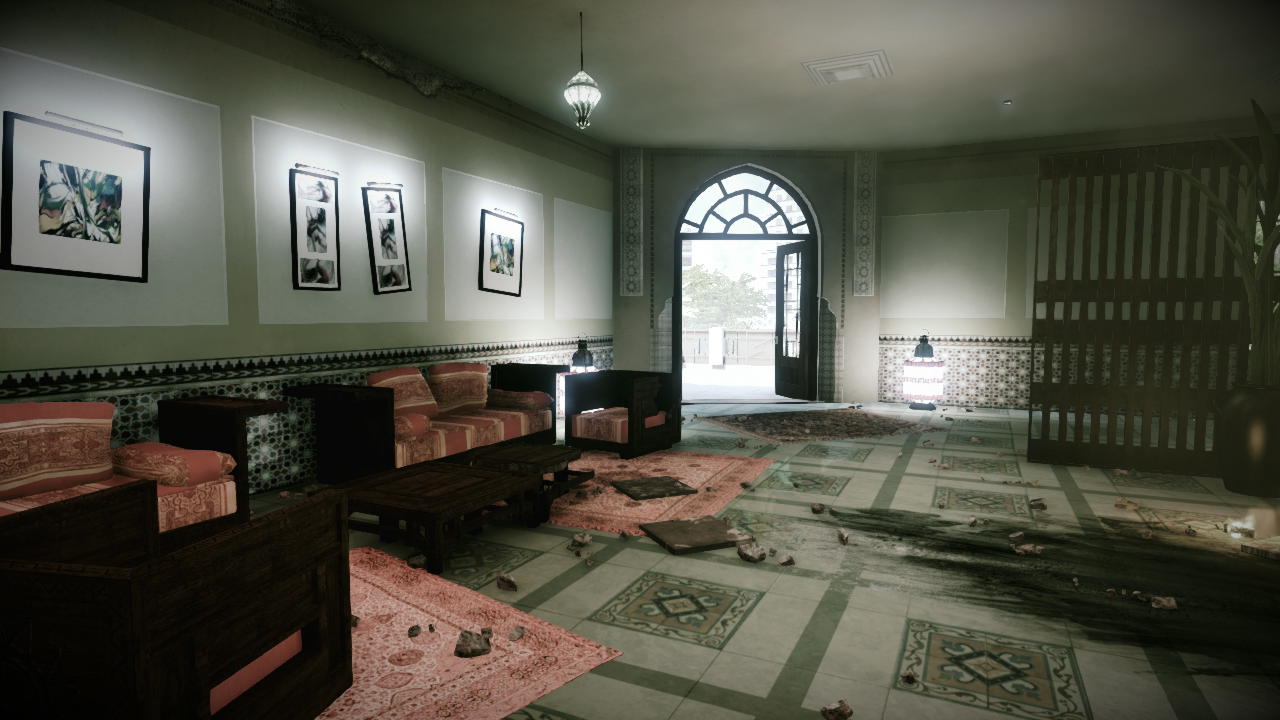
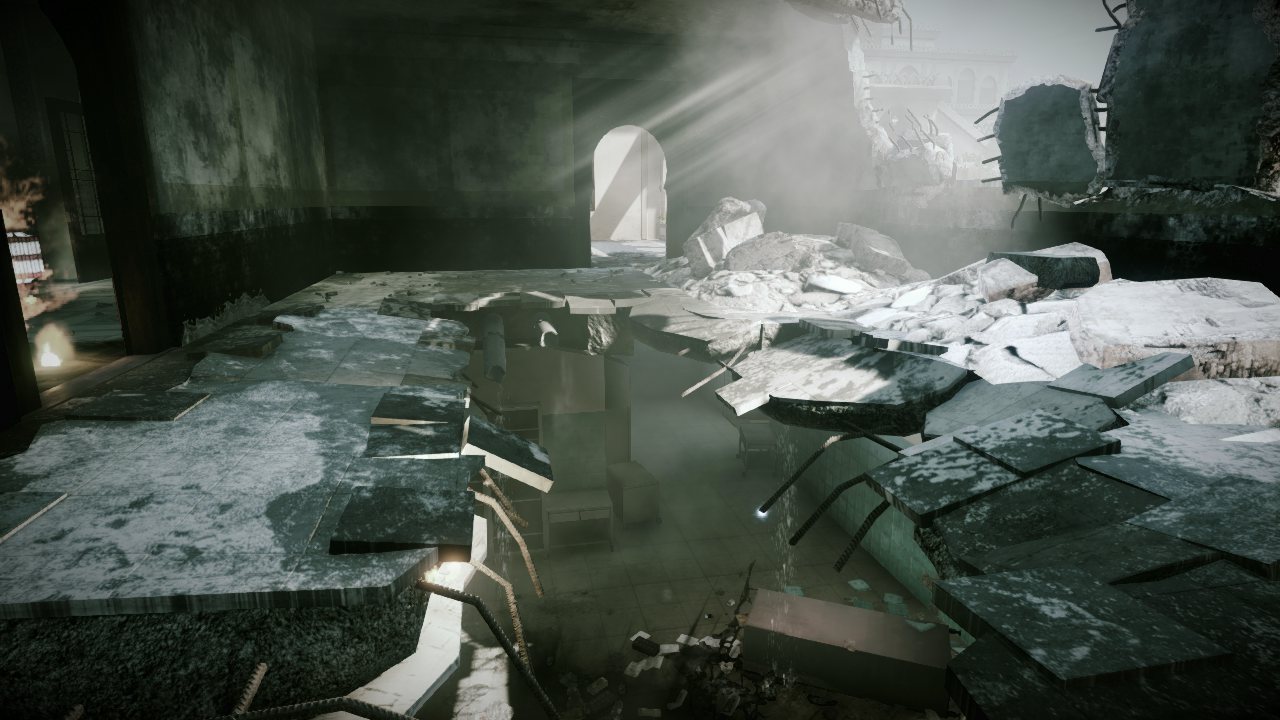
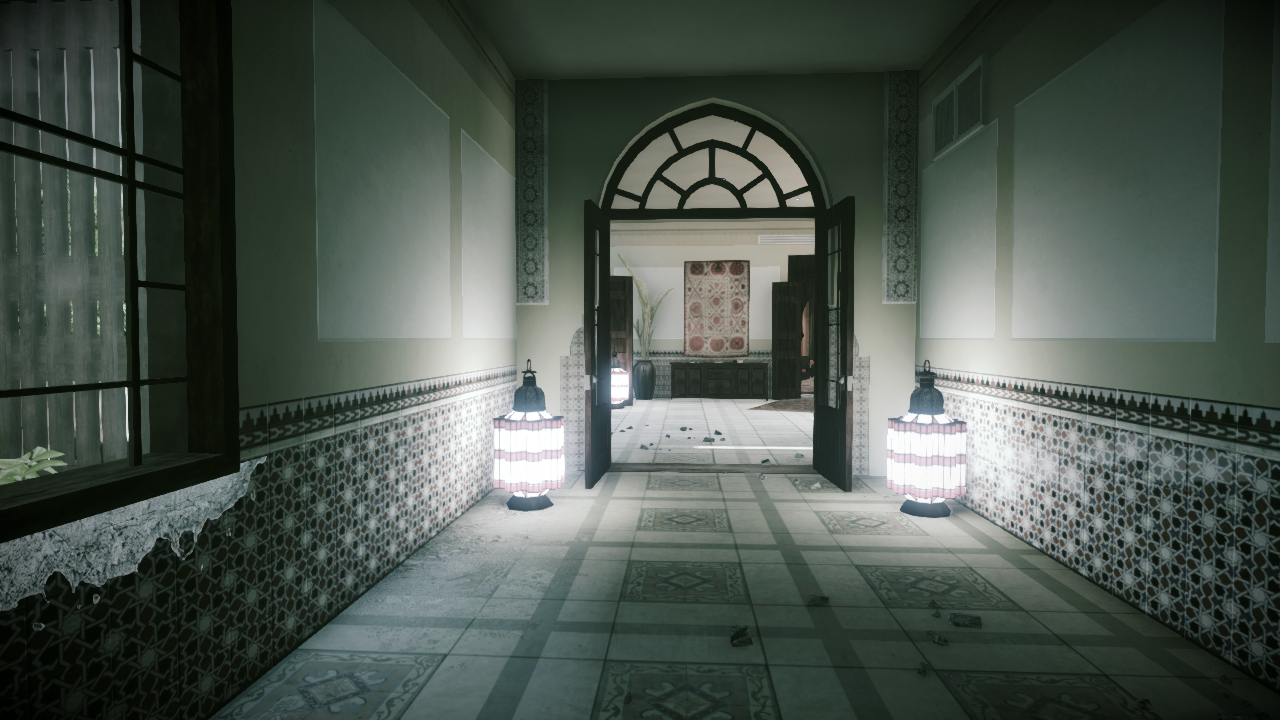
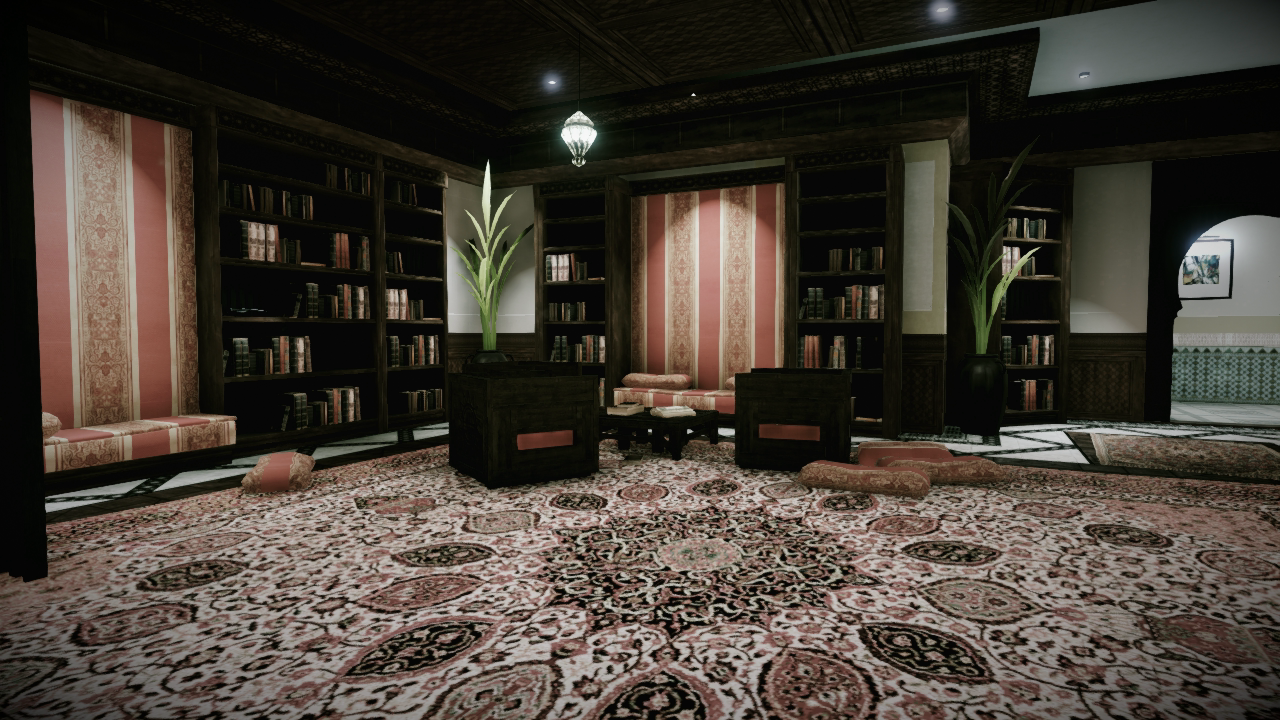
The bottom floor of the north wing consists almost entirely of the kitchen. There is a small lounge on the kitchen’s west side that connects the north courtyard to the atrium. This is a quick way to reach the atrium without exposing yourself to fire in the arena-like central courtyard. There are a couple of studies on the second floor, flanking a heavily damaged room with a gaping hole in the floor. Drop through the floor to reach the kitchen. If you want to avoid the damaged room, stick to the narrow corridor on the north side. This corridor connects the two upper-floor studies and is a quick way to make the transition between the east and west sides of the map. It is great for racing from the atrium to the east balcony. From the eastern study, it’s possible to reach the east balcony by climbing the nearby staircase, all without stepping foot in the chaotic central courtyard. Like the south wing, this wing consists of corridors and small rooms. Heavy-hitting shotguns and rapid-firing PDWs are often your best bet at surviving enemy encounters here.
Level 2 [16]
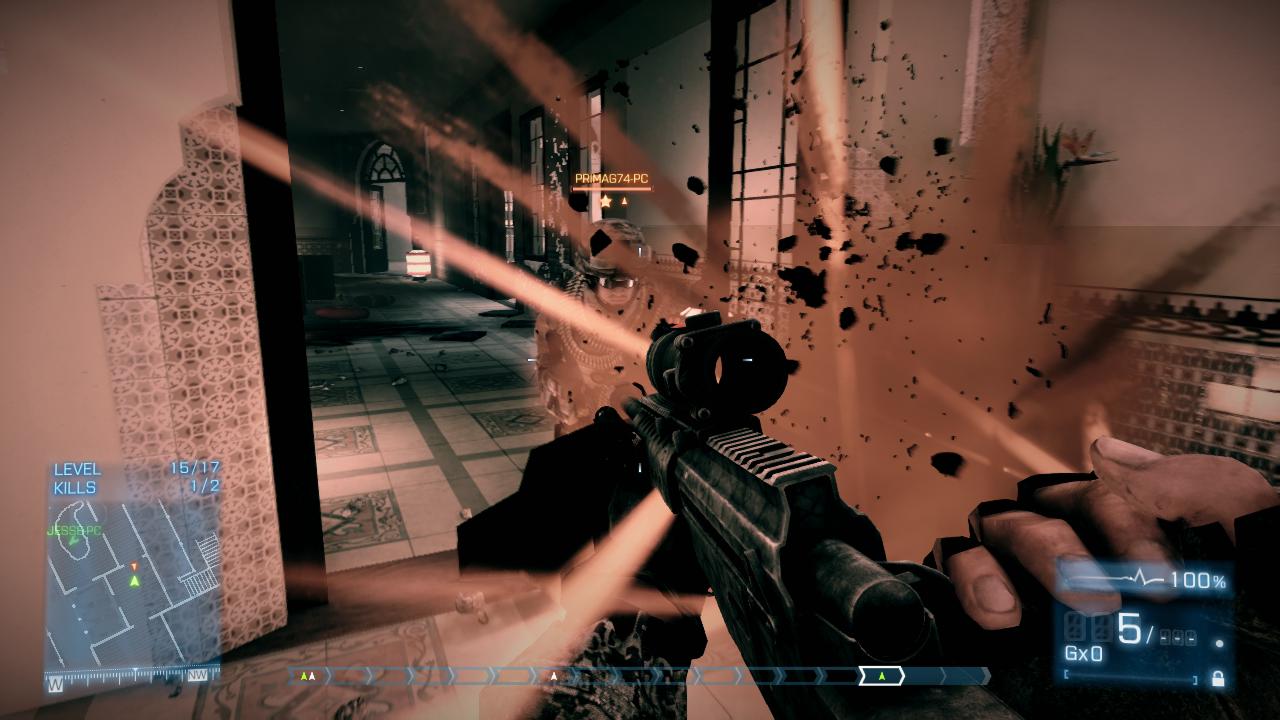
The north wing’s upstairs hallway is a popular thoroughfare, allowing for quick east–west transitions. Despite the hallway’s length, this is no place for slow-firing sniper rifles. Avoid sprinting and keep a PDW or shotgun ready to fire while moving through this corridor.
Level 2 [17]
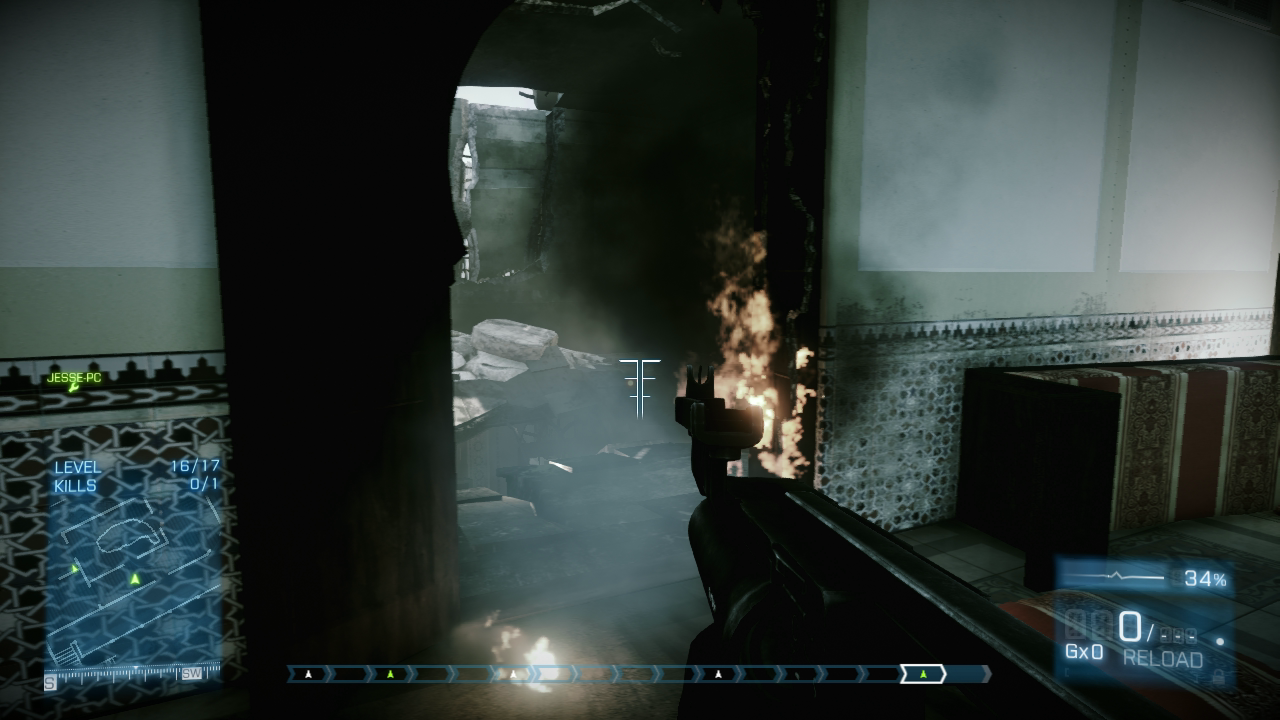
During Gun Master matches, the damaged room on the top floor is a good spot to target opponents with the M320 LVG grenade launcher. From here, you can drop grenades through the hole in the floor to target opponents in the kitchen below.
Level 2 [18]
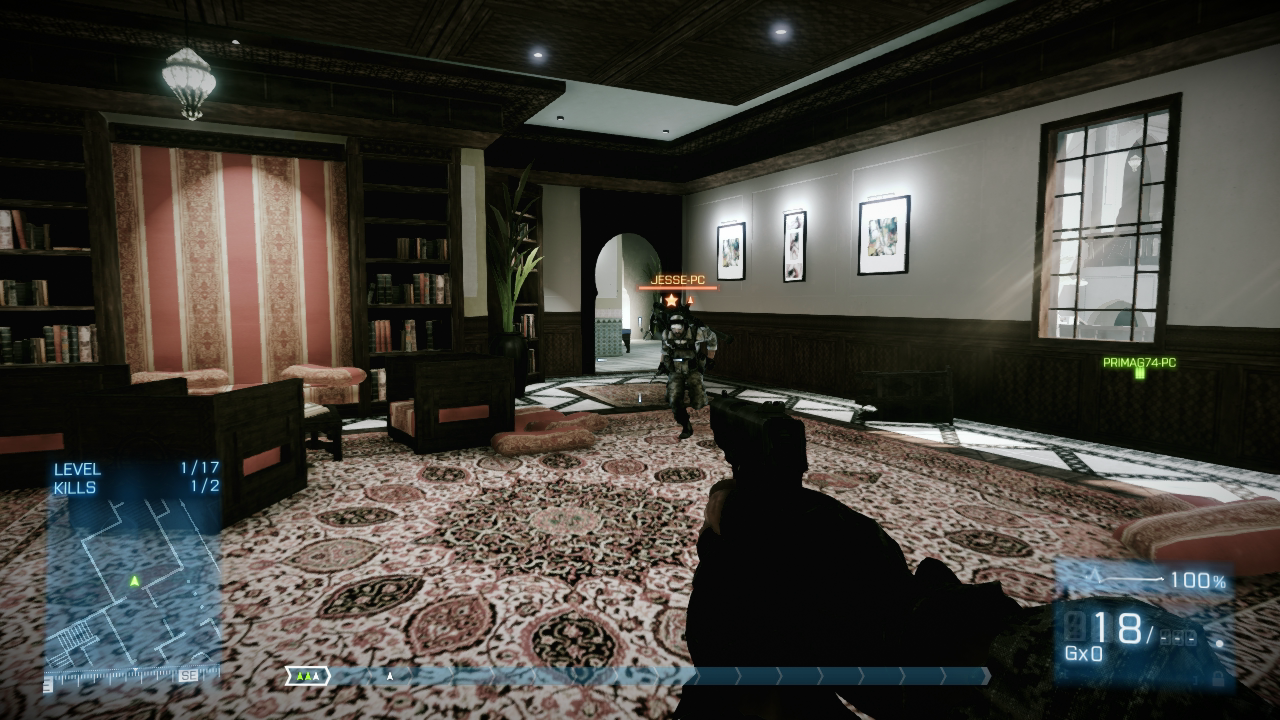
The close-quarter setting of the second-floor studies makes this a great spot to score your first few pistol kills during Gun Master matches. Stay clear of the central courtyard until you have a carbine or assault rifle.
Level 2 [19]
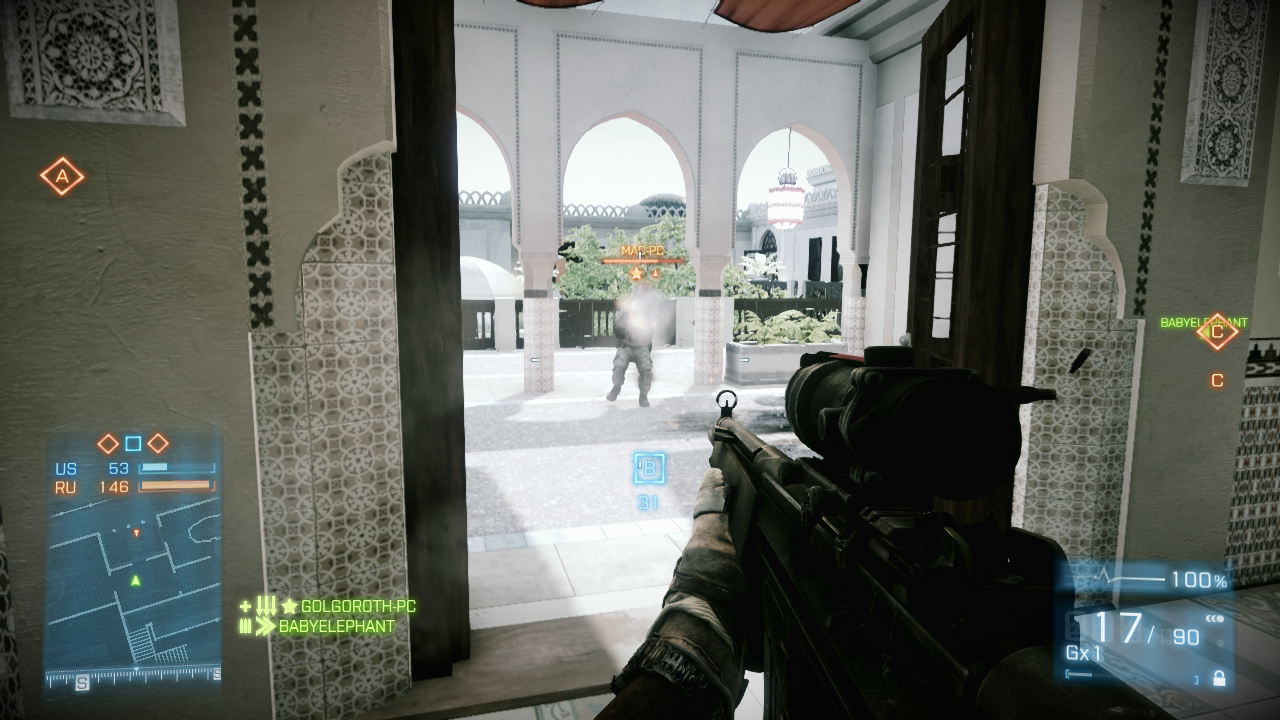
This room and adjoining veranda offer a great view of the central courtyard and south wing. From here you can engage the cross-traffic on the central courtyard’s upper-level walkway or snipe opponents in the south wing’s offices.