Battlefield 3 Premium Guide Multiplayer Co-Op Mission 4: Hit and Run
Hit and Run
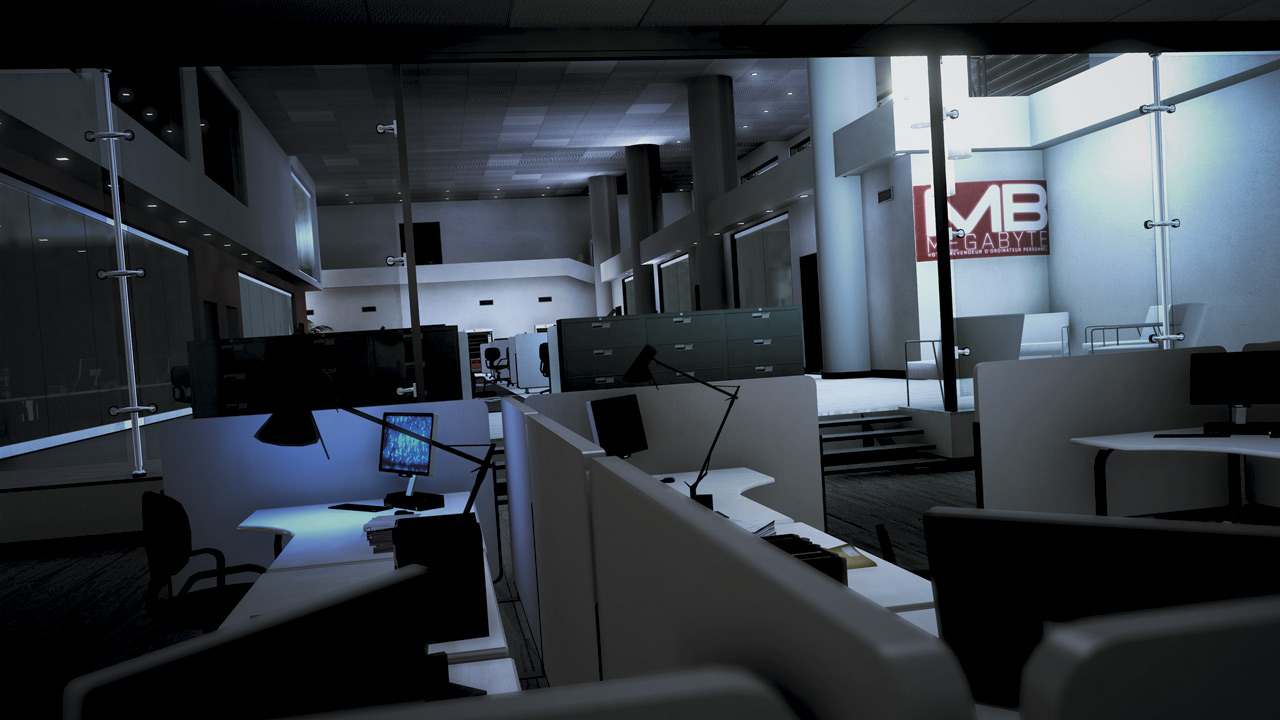
The company El Zakir referenced is Levin Cooperative. It’s located in central Paris. You need to go in and retrieve everything you can from their of-fices. A private security team has been alerted to your presence and is headed to the offices to stop you.
You need to secure and extract whatever evi-dence there may be. In an interesting reversal of the Campaign level Comrades, you and your co-op partners must infiltrate the Parisian financial district and then exit from the garage that Dima, Kiril and Dimitri infiltrated through.
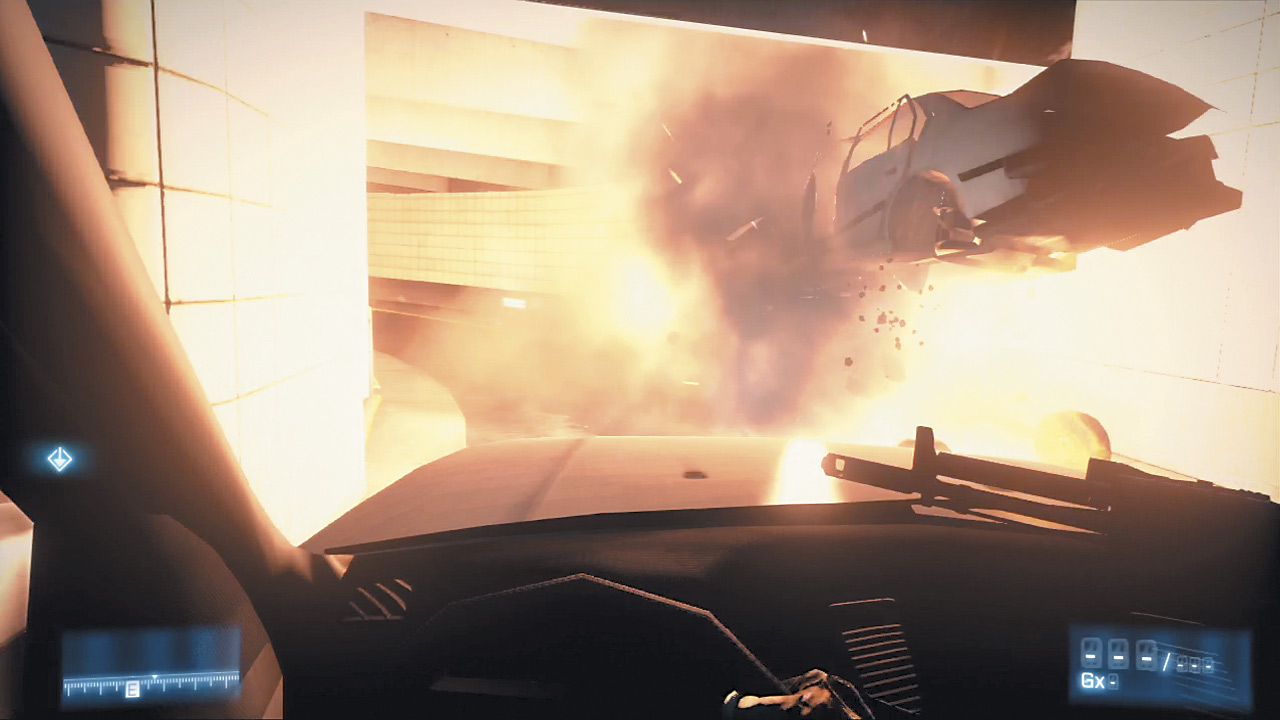
Your reward for making it through an absolutely insane series of firefights is the chance to take brief control of a car as it careens through the levels of the garage.
NEUTRALIZE ALL ENEMY FORCES
[ ACHIEVEMENT | TROPHY ]
Push On
This is quite possibly the hardest Achievement/Trophy in the game. It cannot be overstated enough: this should be attempted on an Easy difficulty run. It’s hard enough to get through this fight at all, much less without entering a Man Down state that requires a revival from a buddy.
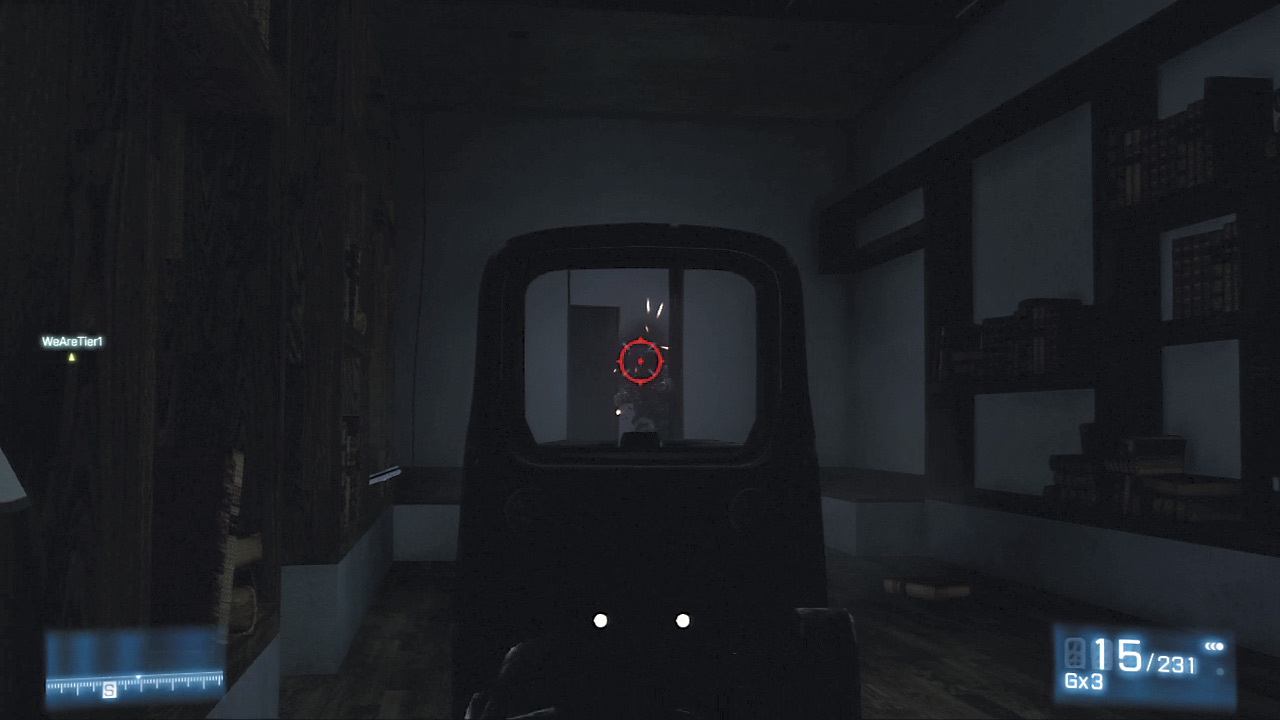
Move quickly as soon as the level kicks off, dropping a claymore at one of the doorways leading into this small office while your buddy does the same with the other doorway.
As soon as they’re down, quickly retreat to the desk at the back of the room and go prone, looking out toward the windows. If the desk becomes too crowded, your teammate can hold position in south corner of the room where a lip provides cover from the windows.
A trio of enemies crash through the windows, throwing flashbangs as soon as they do. From your prone position, gun them down, then rise to assist your partner with the other entryways.
The claymores may not even be triggered, but their presence can hold back the enemy. Make sure to stick to cover and fire at any flashlights that come into view before heading out into the room beyond to finish off any stragglers.
Shortly after removing the rest of the breaching team, the double doors in the room outside the starting office will be blown open, and a few more enemies will try to pour in.
Lob a grenade here to disperse and hopefully take out a few more enemies, then get ready for a real firefight.
EXTRACT THRU THE GARAGE
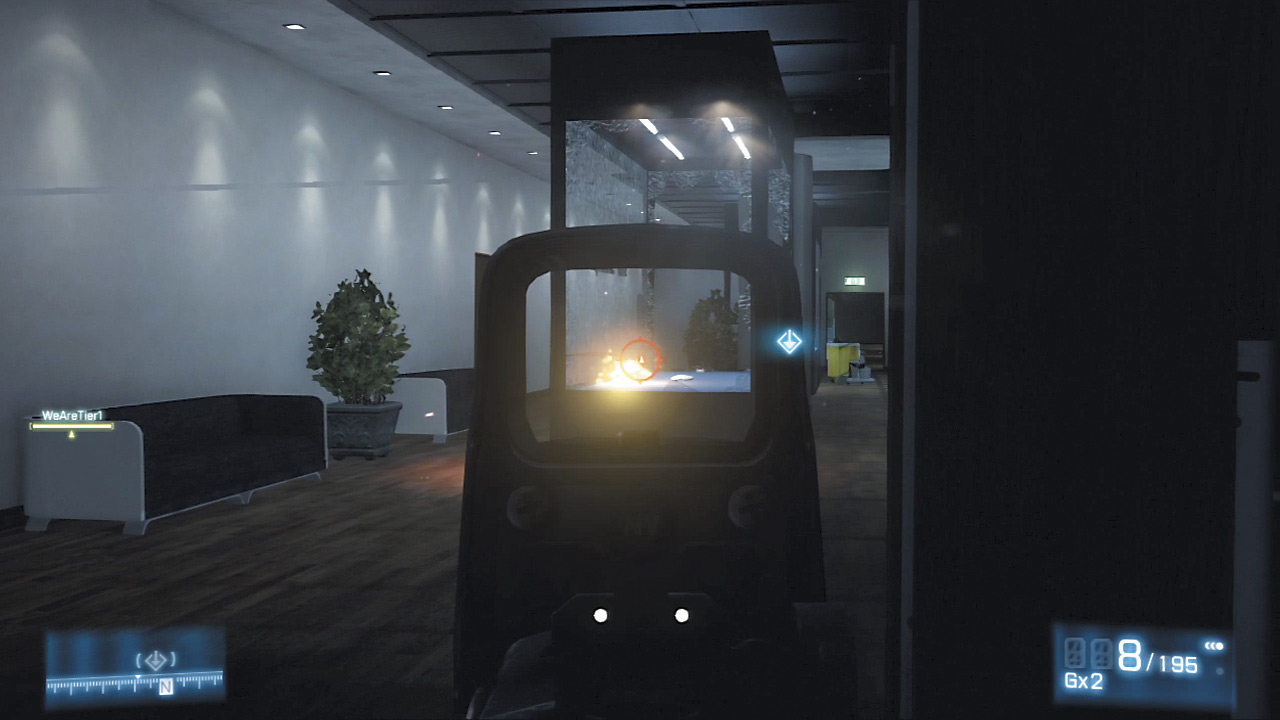
The hallway beyond the double doors is absolutely teeming with enemies. Stick to the cover on the right side of the doorway or the planters on the left to thin the number of enemies along the length of the hallway.
Duck back into cover often or risk losing the chance at that Push On Achievement/Trophy. Once the more immediate threat of the enemies in the hallway are dealt with, things get more dangerous; a team of snipers have taken up position just outside and will fire in with laser-sighted precision on anyone attempting to make their way down the hallway.
Sprint toward the left side of the display case directly ahead, and keep a watchful eye for more enemies before pushing on diagonally to the right near another display case. On harder difficulty levels, grenades will be a constant threat, so stay on your toes.
Use your co-op buddy or buddies to leapfrog up, providing covering fire for them as they move to the next bit of cover.
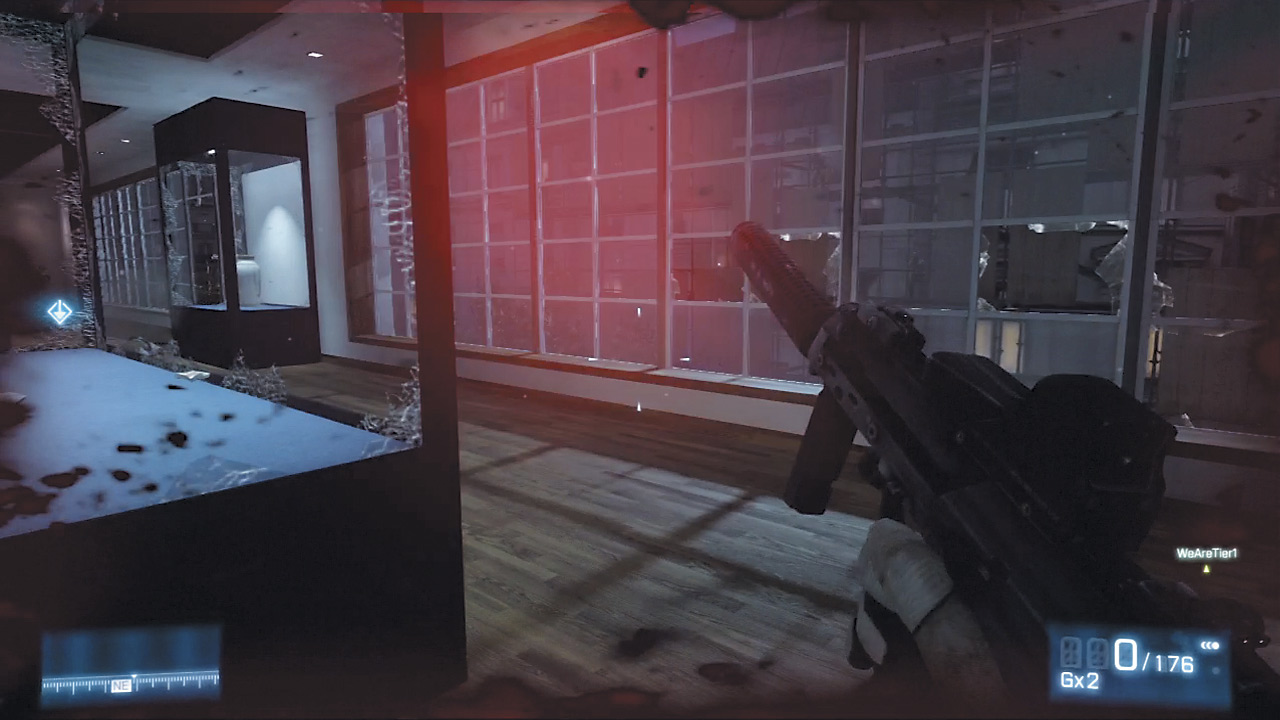
Sprint back to the left and go prone behind a third display case and get ready for more enemies to try to crash the party from the doorway at the far end of the hall. Take them out, then sprint through the doorway.
Avoid trying to take on the snipers; it’s better to concern yourselves with the immediate threat in the hallway than a far-off hostile that can end your mission prematurely.
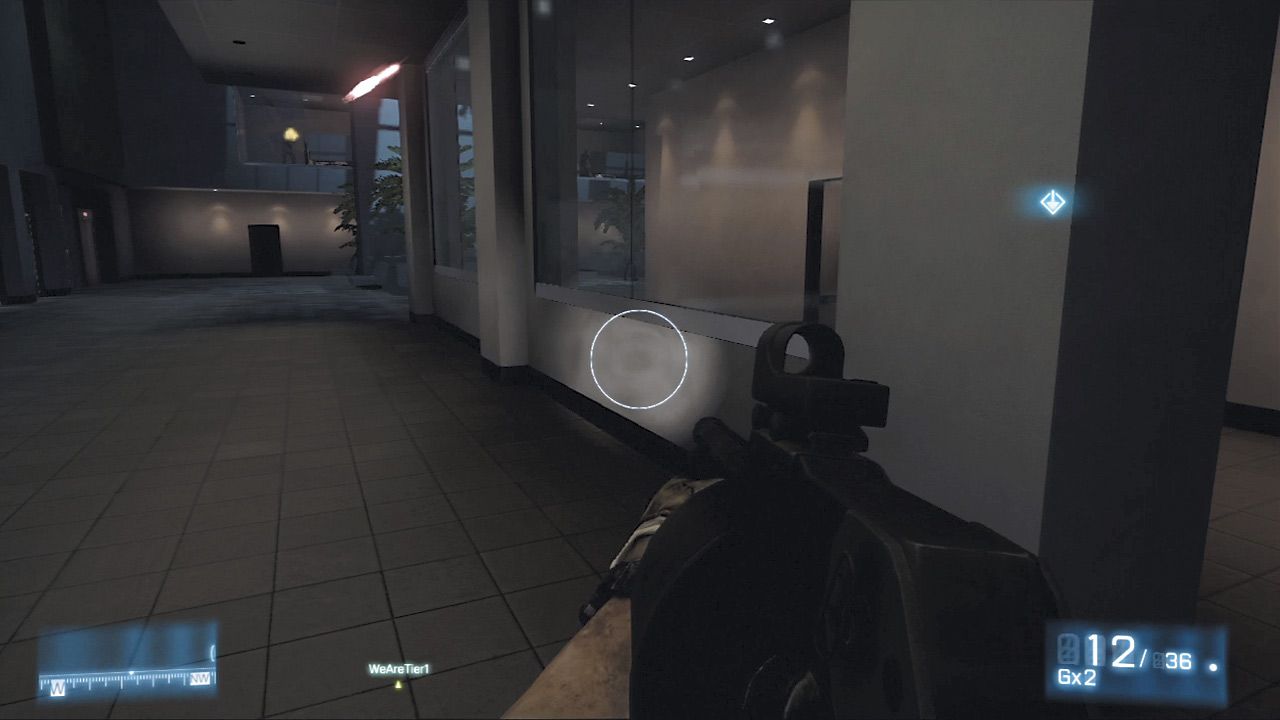
The next room is mercifully free of windows and offers a brief respite from the enemy sniper fire—at least until the end of the hallway. Use the planters and display cases to continue to push forward and down the stairs to the lobby below, where a multi-tiered firefight erupts.
Sprint into the room across from the staircases to grab a valuable bit of cover, but be prepared for plenty of tangos to storm in through the entrance facing into the main lobby.
Gun them down methodically, then turn your attention to the fire coming from the upper level across the lobby. Be ready for inbound grenades; thankfully this room is large enough that you can sprint away from any explosions near the doorways.
Look for flashlights up above and snub them out with a little lead before moving on up a set of stairways to the right. Keep watch for any enemies that might try to ambush you at the top of the first set of stairs.
Take things cautiously ahead; those fleur-de-lis-stamped walls are extremely poor cover. In fact, almost all of the objects in the room designated by the waypoint will crumble away under gunfire—something to keep in mind as you discover the door out is blocked. Make note of the Ammo Crate to the left and stock up for a big firefight.
The squad needs to briefly split to stack up at two doors on on different staircase landings before both teams can breach at the same time. The upper floor is rife with enemies, but the DAO-12 offers a meaty means of dealing with these close-quarters threats.
Gun them down, then stock up with the Ammo Crate at the far left end before firing down on enemies that are going after your buddies below.
For those on the ground floor, immediately take cover behind the circular columns on the left or right side of the room. Though this fight is meant to be something of a dual-level shootout, it’s actually much more advantageous to double-back up the stairs and deal with the threat from above.
Aside from being a better vantage point from which to snuff out all those flashlights, the Ammo Crate up there means easy refills of grenades.
Keep in mind that this upper level’s only real sources of cover are the circular columns jutting up from below and a small wall directly to the right of the entrance.
However, the latter position is vulnerable to incoming fire from enemies on the left side of the room below. The low edge of this upper floor provides almost no cover, so stay near the door leading back to the staircase and retreat there to recover health.
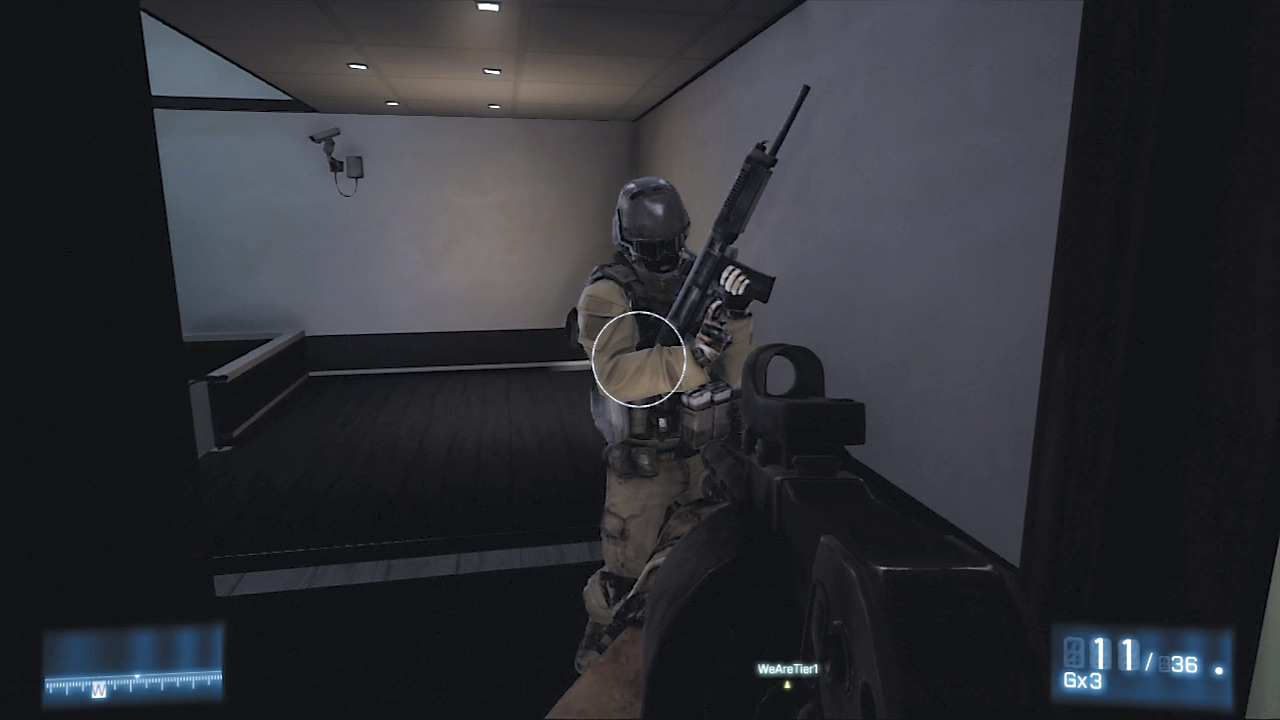
More shooting kicks off as soon as you and your buddies press forward into the next set of offices. More fleur-de-lis walls here are chipped away by even glancing fire.
Stay mobile, going prone as needed to recover health, or consider falling back to the rooms on either side of the office behind you. It can be tough to spot enemies here, but keep a lookout for flashlights and fire in that direction.
The multiple angles here make cross-fire quite common, so be sure to gun down enemies in office to the east before peeking out to take out more to the south.
Again, the DAO-12 shotgun is astoundingly good at quickly putting out buckshot spreads that have a surprising amount of range. Move slowly down these hallways, dealing with enemies as they move into your line of fire.
If need be, fall back to the Ammo Crate behind you to restock. Remember that there are two south-facing hallways where you can find additional hostiles. Don’t let them get the drop on you here.
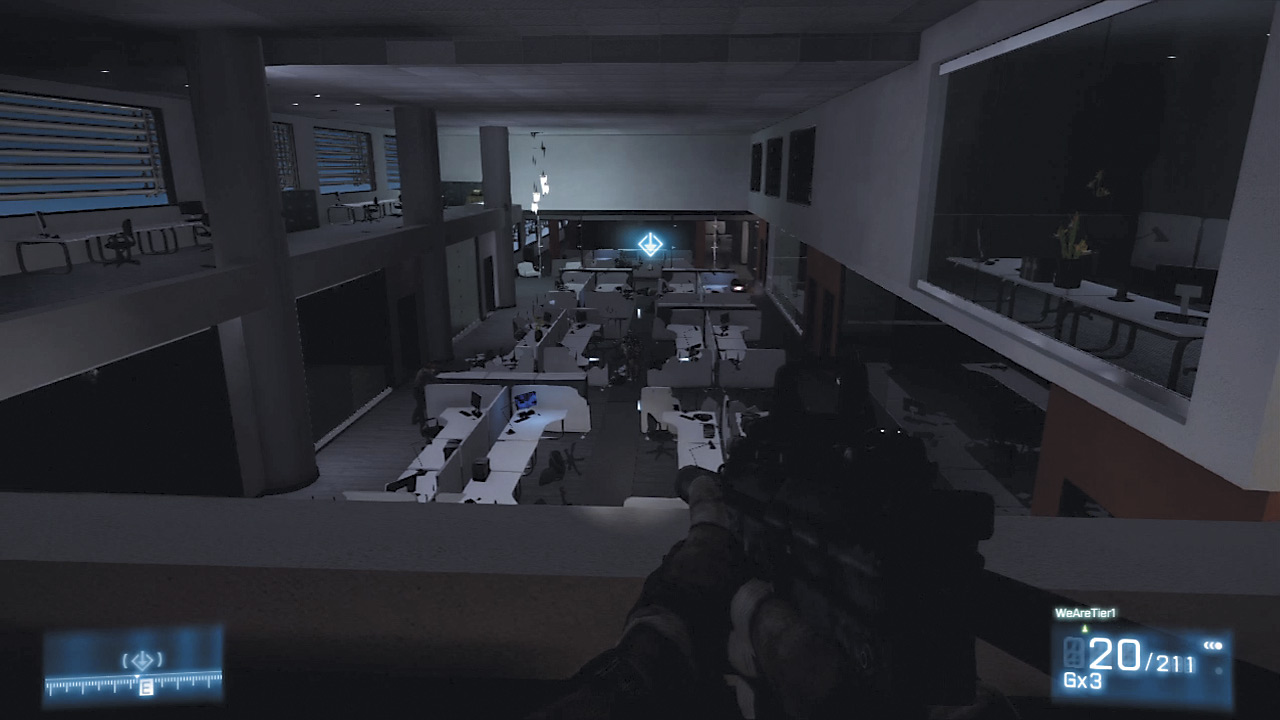
Both south-facing hallways eventually converge into a single hallway. The doorway out of these offices and down toward the garage is tantalizingly close at the far end, but the rooms to the right and especially the large glass-walled room to the left are still chock full of enemies.
Thankfully, the walls of this hallway are quite solid. Proceed slowly, gunning down enemies with precision and burst fire. You’re incredibly close to the end here, so don’t let impetuousness or impatience ruin this run; if you die here, you have to start the mission from the very beginning.
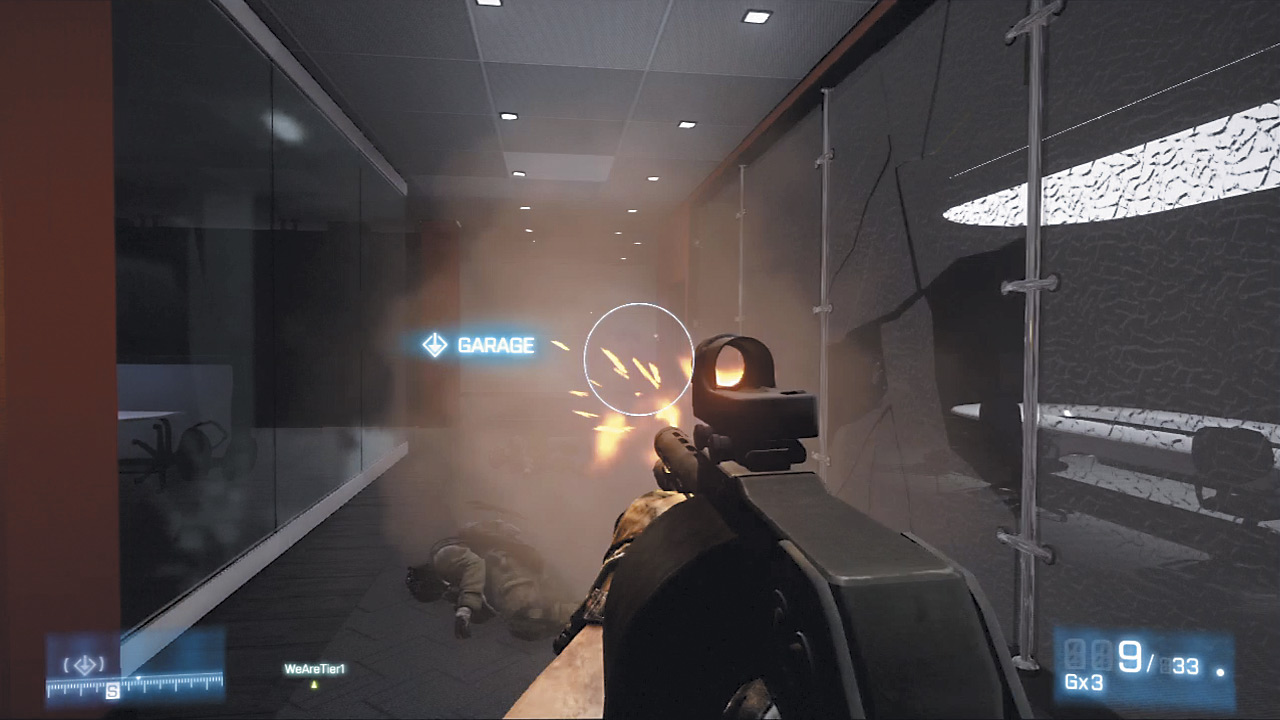
Only when all the enemies in these rooms have been mowed down should you breach the doorway. Once through, head down the staircases into a small room with an Ammo Crate.
Don’t be fooled into thinking it’s safe; quite a few enemies in the room beyond can open fire from afar, and even more will stack up on the doorway and try to rush in.
Take cover near the Ammo Crate, gunning down the close-range enemies with plenty of shotgun fire. Then deal with the enemies behind cover in the other room—say, perhaps, with the bottomless supplies of grenades in that Ammo Crate?
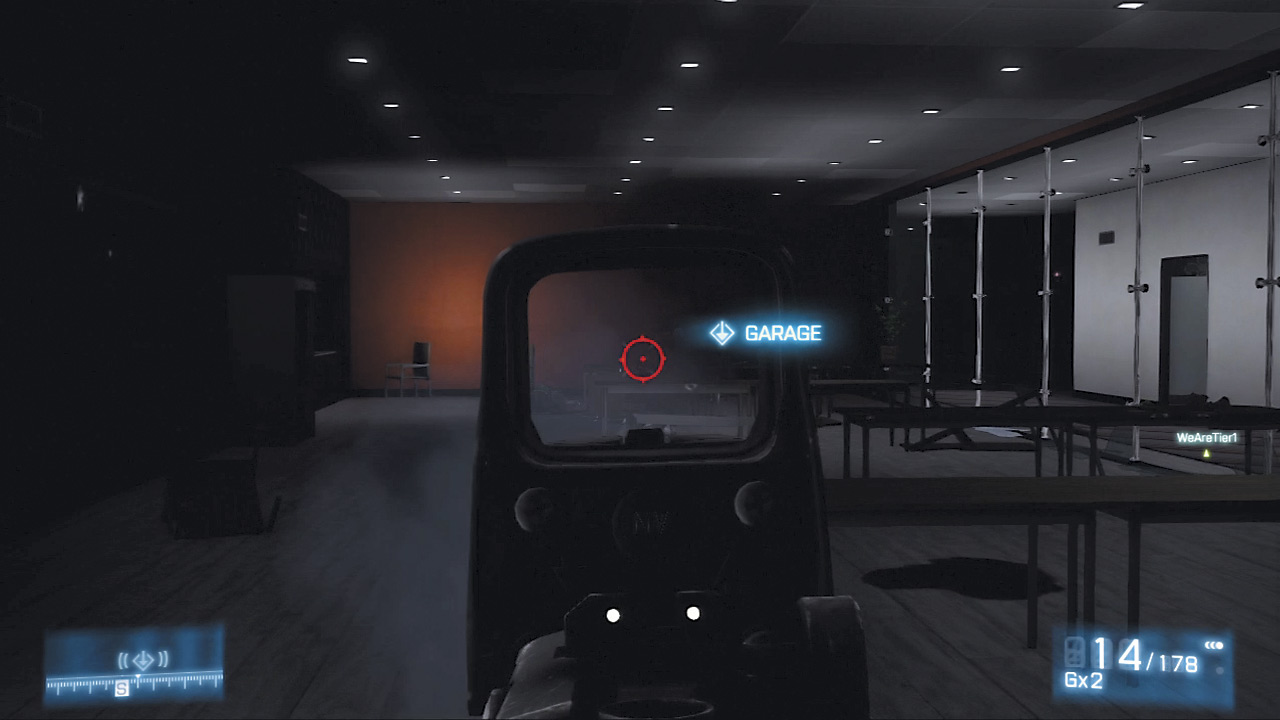
When the room has been cleared, pass through it into a series of zig-zagging hallways, stocking up with the Ammo Crate along the way. Take care in breaching the next doorway, as more enemies wait on the other side.
Gun them down with everything you’ve got, then hop in the waiting car ahead.
GET INTO THE ESCAPE VEHICLE
When everyone is inside, put pedal to the metal and crash through the gate directly ahead. Once through, make a hard right and gun it. Veer left around a white van, cutting across the garage and heading up the ramp on the left side.
Hang a hard right and drive up the circular ramp dead ahead. Veer left again around a set of concrete barriers, charging ahead to bust through the post and on to the end. Whatever you do, don’t let up here; the incoming RPG fire can cut short the mission seconds before it ends.