
Battlefield 3 Premium Guide Battlefields Team Deathmatch
Alborz Mountains
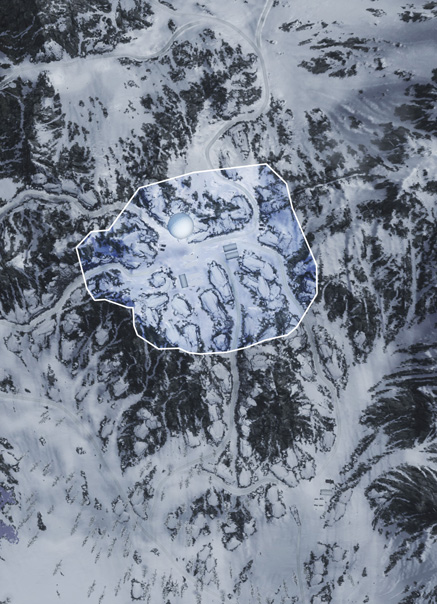
The Team Deathmatch variant of this map is restricted to the area around the radar station. At the center of the map is the tall radar tower, often making this structure the focal point of the battle. The tower’s elevated catwalks provide a sweeping view of the surrounding area, making it an ideal sniper perch. However, securing the tower from enemy infiltration is a must if your team attempts to hold out here. Place claymores along the stairways and post guards on the catwalks to defend against intruders. While the radar tower offers a clear view, the catwalks offer little cover. Instead, consider sniping through the windows of the control room. Aiming through the windows reduces the field of view, but the added cover is worth it. If the opposing team controls the tower, do your best to stay out of sight. Hide among the rocks to the south and use a sniper rifle of your own to pick off exposed opponents on the tower’s catwalks. Considering the long sight lines on this map, choose your weapons accordingly. Assault rifles and sniper rifles offer the best range and power. However, you may want to go with a shotgun or PDW if attempting to clear out the radar tower.