
Battlefield 3 Premium Guide Battlefields Conquest
Operation Firestorm
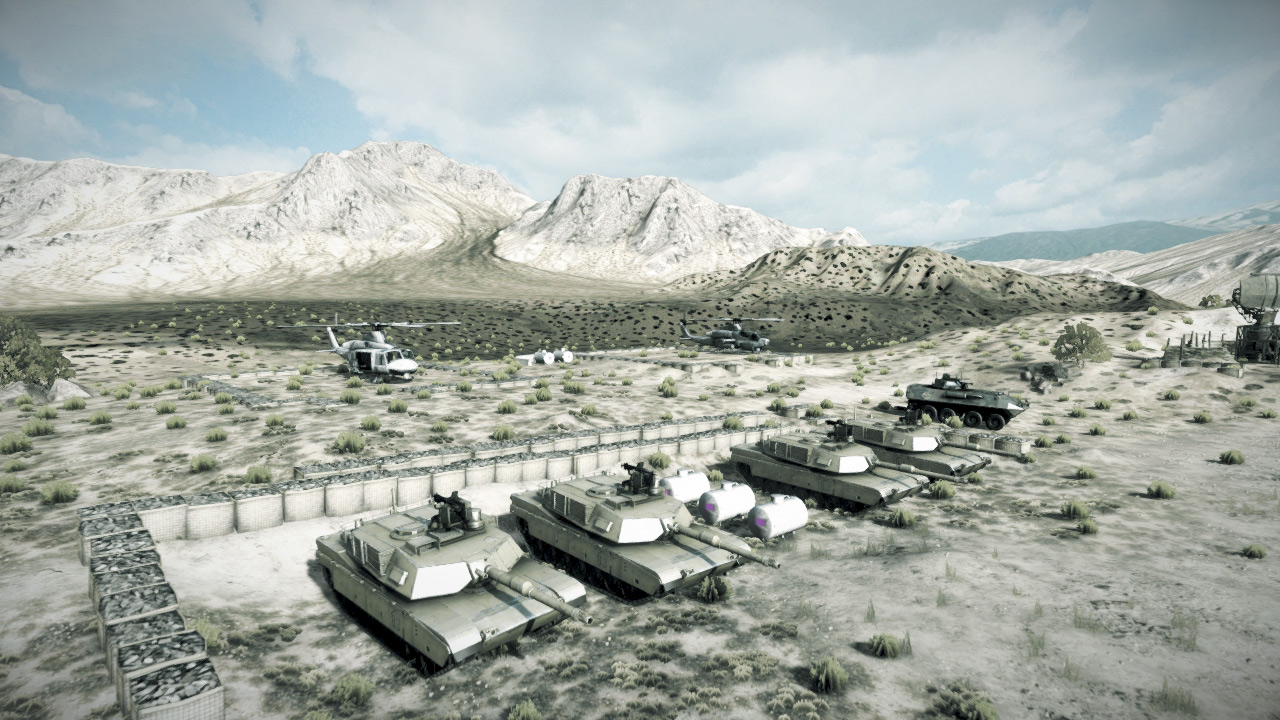
The oil fields outside of Tehran are poised to be the scene of what some experts are calling the biggest engagement of the war. Both the American and Russian armies are trying to exert control over Iran’s biggest source of oil in the Northern provinces.
Securing the outskirts of this area will offer full control of the sector and its key facilities.
However, crossing the open ground and main road may prove more difficult than expected, as Russian troops will undoubtedly attempt to hold the refinery as the first line of defence against any large-scale assault.
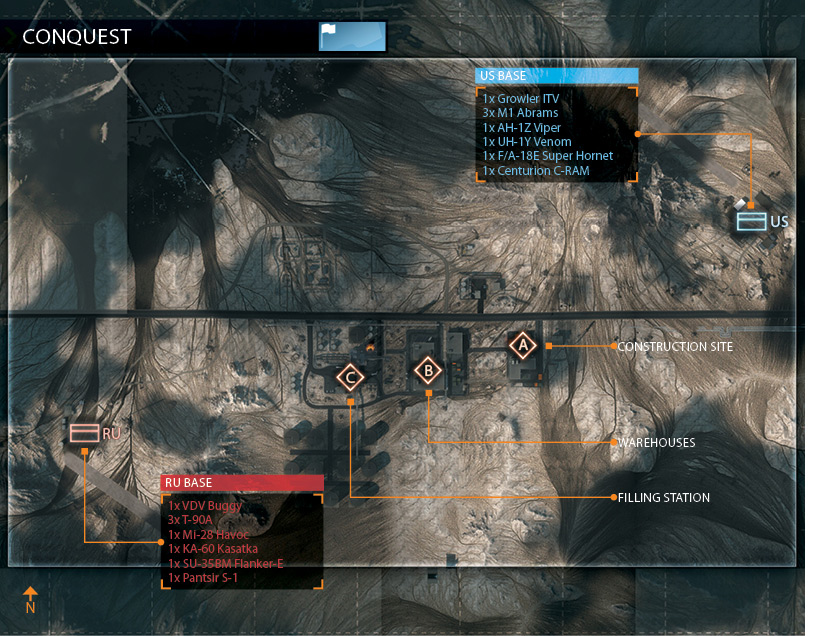
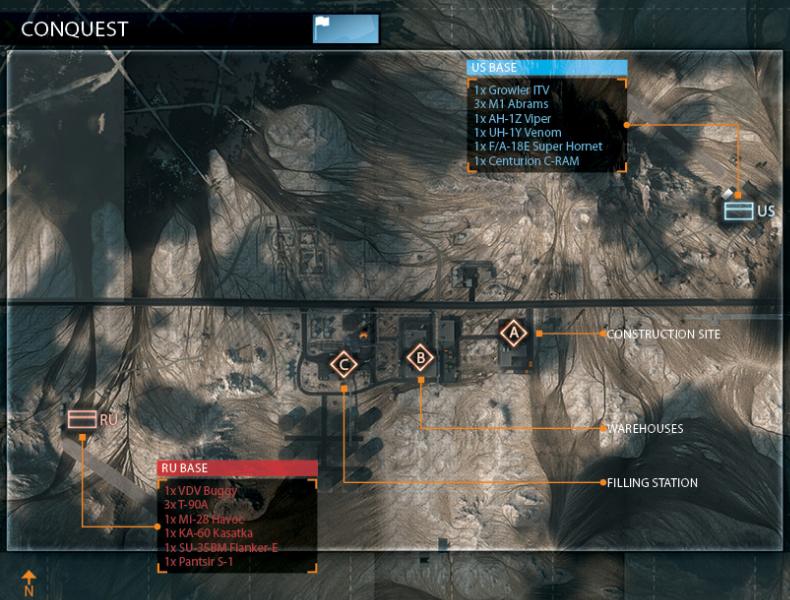
This is a very linear, head-on Conquest map with all three control points situated along the central highway slicing through the center of the map from east to west.
While it’s possible to capture and defend all three control points, it’s better to consolidate your team’s forces around two flags.
Therefore, the US team should try to hold the Construction Site (A) and Warehouses (B) while the RU team focuses on the Filling Station (C) and Warehouses (B).
Your team must hold a minimum of two control points to initiate the drain on the opposing team’s ticket count, so dig in and don’t let the enemy wrestle a flag away from you.
Tanks are necessary for punching through enemy defenses and capturing flags. But tanks (and all other vehicles) are spawned only at the bases.
So it’s critical to constantly transport these assets to the center of the map, where they can make a big difference. Even if you draw a line in the sand at Warehouses, flanking attacks are common.
The transport helicopters make it possible to drop troops at any point on the map, so make sure every flag your team holds is well defended against both ground and airborne assaults.
US BASE
Base Assets
| Name | Quantity | Respawn Time |
|---|---|---|
| Growler ITV | 1 | 5 sec. |
| M1 Abrams | 3 | 20 sec. |
| AH-1Z Viper | 1 | 60 sec. |
| UH-1Y Venom | 1 | 90 sec. |
| F/A-18E Super Hornet | 1 | 40 sec. |
| Centurion C-RAM | 1 | — |
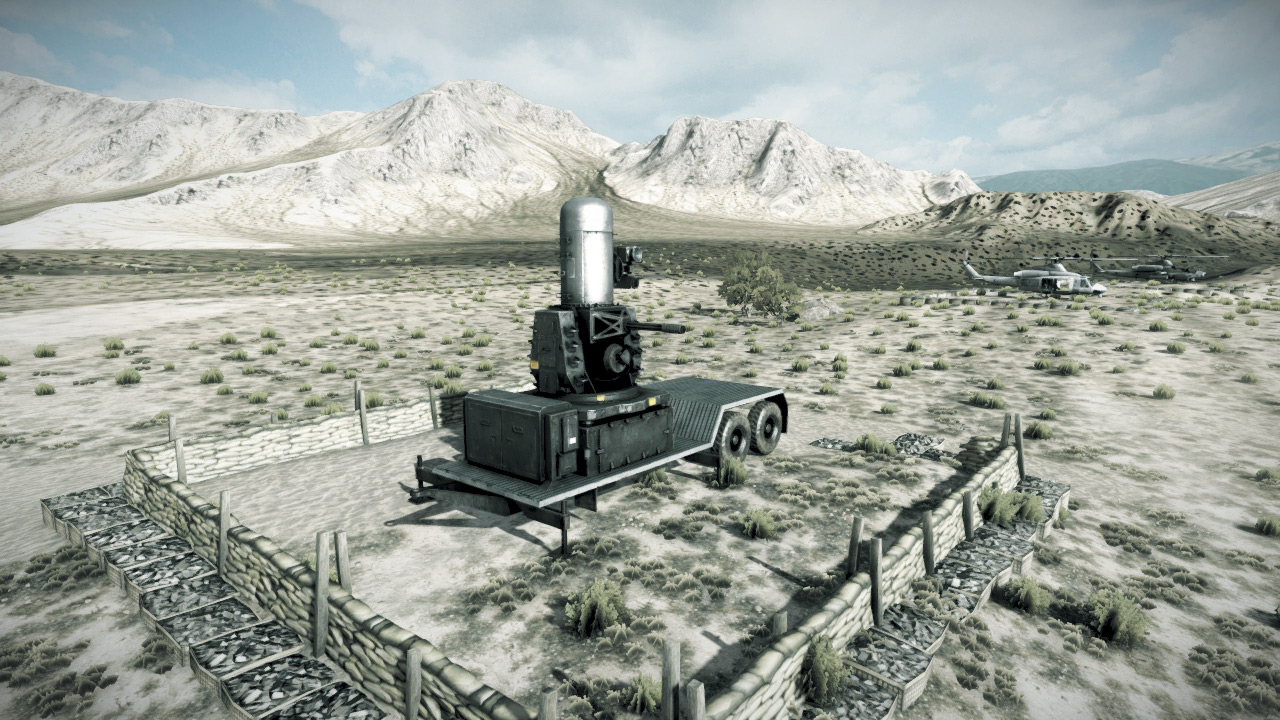
The US team starts this battle at their base on the east side of the map, far from the nearest control point. Fortunately, there are plenty of vehicles available to transport the team to the map’s center.
So if you’re driving or flying, make sure your vehicle is filled to capacity before leaving the base—otherwise it’s a long, dusty hike for any teammates left behind. The UH-1Y Venom is the best way to quickly move troops to the control points.
Fly it over the Construction Site (A) and Warehouses (B), dropping two troops at each location in an attempt to beat the RU team to these two critical flags.
Once captured, reinforce these control points (particularly the Warehouses) with the M1 Abrams tanks. Use the tanks and AH-1Z Viper to counter the RU team’s T-90As while the F/A-18E provides air cover, attacking the enemy jet and helicopters with heat-seeking missiles.
In this match, no vehicles are spawned by the control points in the center of the map. So as the round commences, don’t forget to spawn back at the base to bring tanks and other vehicles to the front lines.
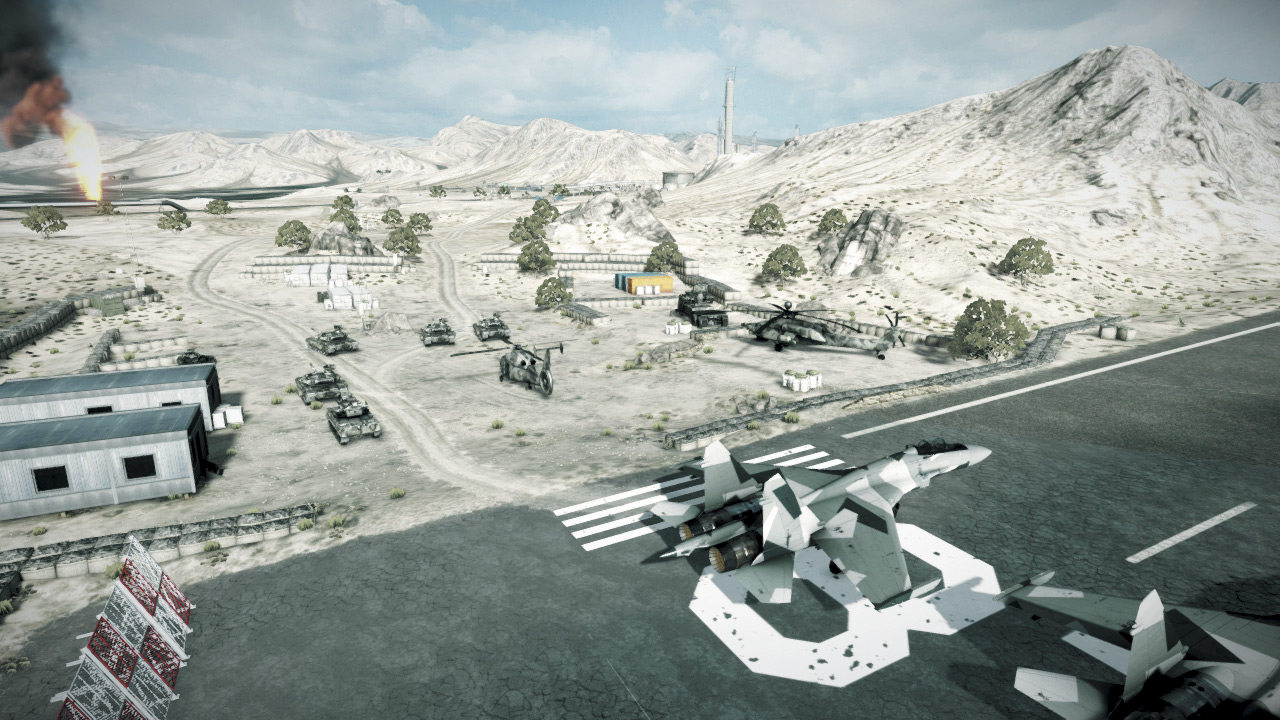
RU BASE
Base Assets
| Name | Quantity | Respawn Time |
|---|---|---|
| VDV Buggy | 1 | 5 sec. |
| T-90A | 3 | 20 sec. |
| Mi-28 Havoc | 1 | 60 sec. |
| KA-60 Kasatka | 1 | 90 sec. |
| SU-35BM Flanker-E | 1 | 40 sec. |
| Pantsir-S1 | 1 | — |
The RU Base is on the far west side of the map, several hundred meters from the nearest control point. So it’s important to make the most out of the vehicles provided to transport the team to the control points.
If you find yourself without a vehicle, immediately ask teammates for a ride before they leave the base. The KA-60 Kasatka transport helicopter is the best way to move multiple troops to the map’s center.
Use this helicopter to drop troops (by parachute) at the Filling Station (C) and Warehouses (B) control points.
But a few infantry won’t last long against the onslaught of US tanks, so act quickly to reinforce the control points with the T-90A tanks while the Mi-28 Havoc provides close air support.
The SU-35BM is best deployed as a fighter, so choose heat-seeking missiles for your loadout when piloting this jet and use them to shoot down the US team’s air assets.
During the course of the battle, spawn back at the RU base periodically to bring ground vehicles forward to help attack and defend the central control points.
The control points provide no vehicles, so the team that masters of the logistics of moving tanks forward has the upper hand in this battle.
A: CONSTRUCTION SITE
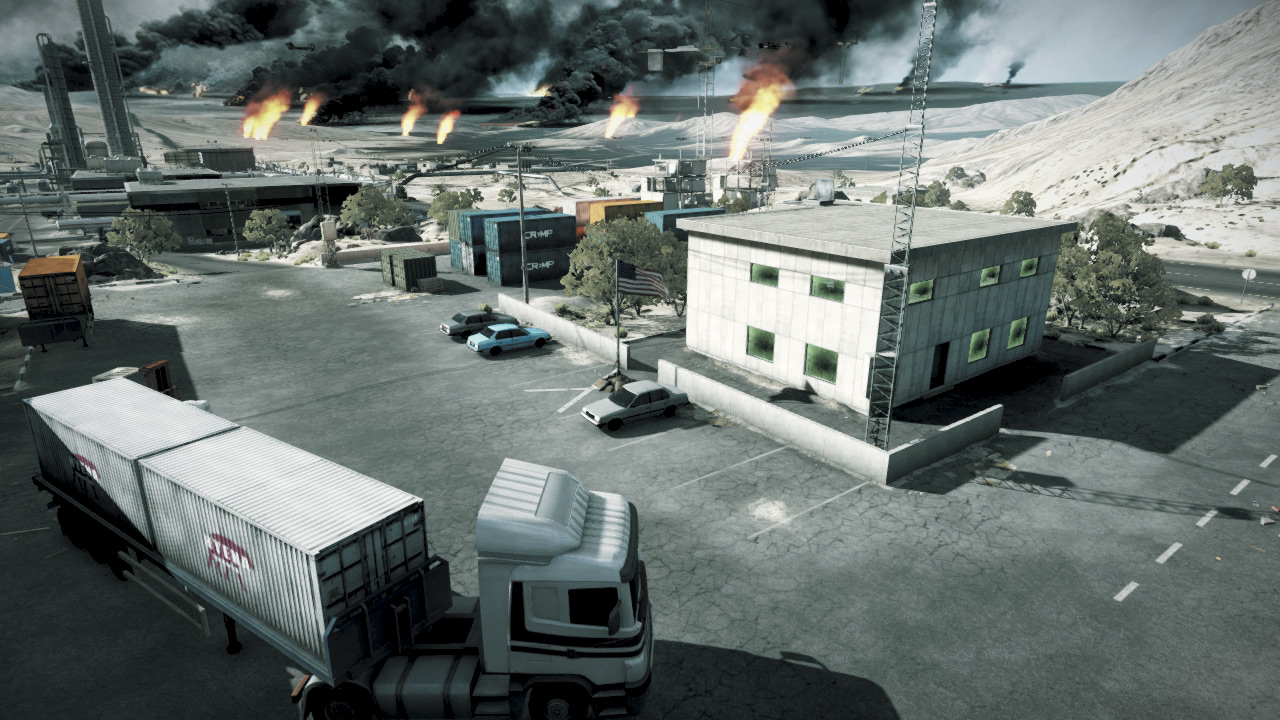
The Construction Site (A) is the easternmost control point, well within easy striking distance of the US Base. As a result, the US team is likely to capture this flag first.
But after the early moments of the round, this control point is very much up for grabs. While it’s the closest control point to the US Base, it’s by no means adjacent.
So unless the US team is constantly defending this location and reinforcing it with vehicles, it’s relatively easy for the RU team to steal it.
The flag is in a parking lot outside an office building. Once captured, the Construction Site is relatively easy to lock down by any squad willing to stay put.
Defenders can deter vehicle attacks by placing mines and C4 around the flagpole.
The nearby two-story office and partially constructed buildings across the road to the east provide excellent views of the flag and allow defenders to pick off attackers.
However, the office building can be destroyed, so you may want to seek better cover if you come under heavy bombardment. Although the Construction Site doesn’t produce any vehicles, in a match with only three flags, defending this site is critical for either team.
B: WAREHOUSES
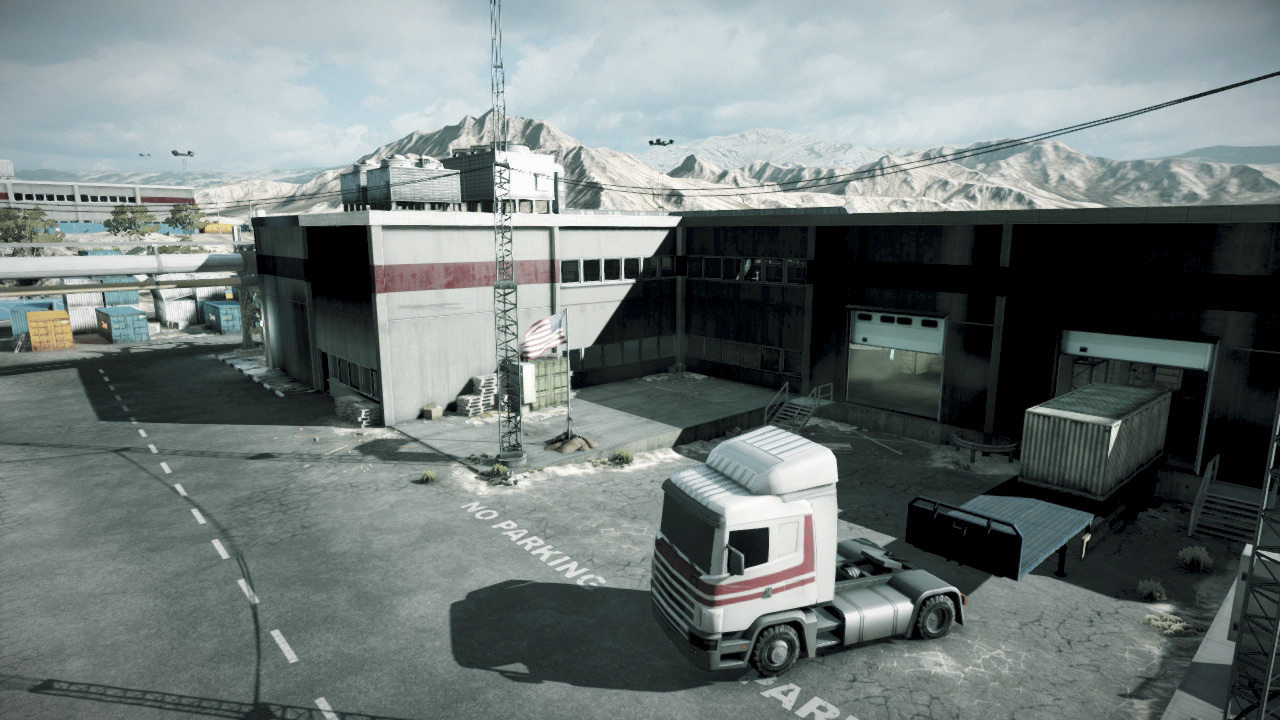
As the central control point, the Warehouses (B) are the most contentious site on the map. At the start of the round, both teams should attempt to capture this flag early.
The transport helicopters spawned at each base are the best way to take control of this site quickly. Load a chopper with troops, then fly low and fast, dropping troops on the rooftop of the large warehouse near the flag.
While infantry can capture this flag, it takes tanks and close air support provided by helicopters and jets to defend it. The flagpole is located outside the large warehouse; tanks and other ground vehicles can camp its capture radius.
So if you’re attacking on foot, always approach from the warehouse interior. It’s possible to capture and contest this flag from inside the warehouse.
This beats lying prone next to the flagpole. With so many possible approaches, it takes a dedicated squad of defenders to patrol the warehouse and ferret out any opponents attempting to convert the flag from within.
A T-UGS motion sensor planted near the flag is a great way to monitor enemy traffic. Infantry are also effective outside; they utilize the surrounding rooftops and catwalks to spot incoming vehicles and troops.
Spotting enemies can be a full-time job here, so find a good elevated spot and simply call out the locations of hostile forces to help direct attacks by your team’s air units.
Or better yet, use a SOFLAM to paint enemy vehicles for guided munitions fired by friendly tanks, helicopters, and jets.
C: FILLING STATION
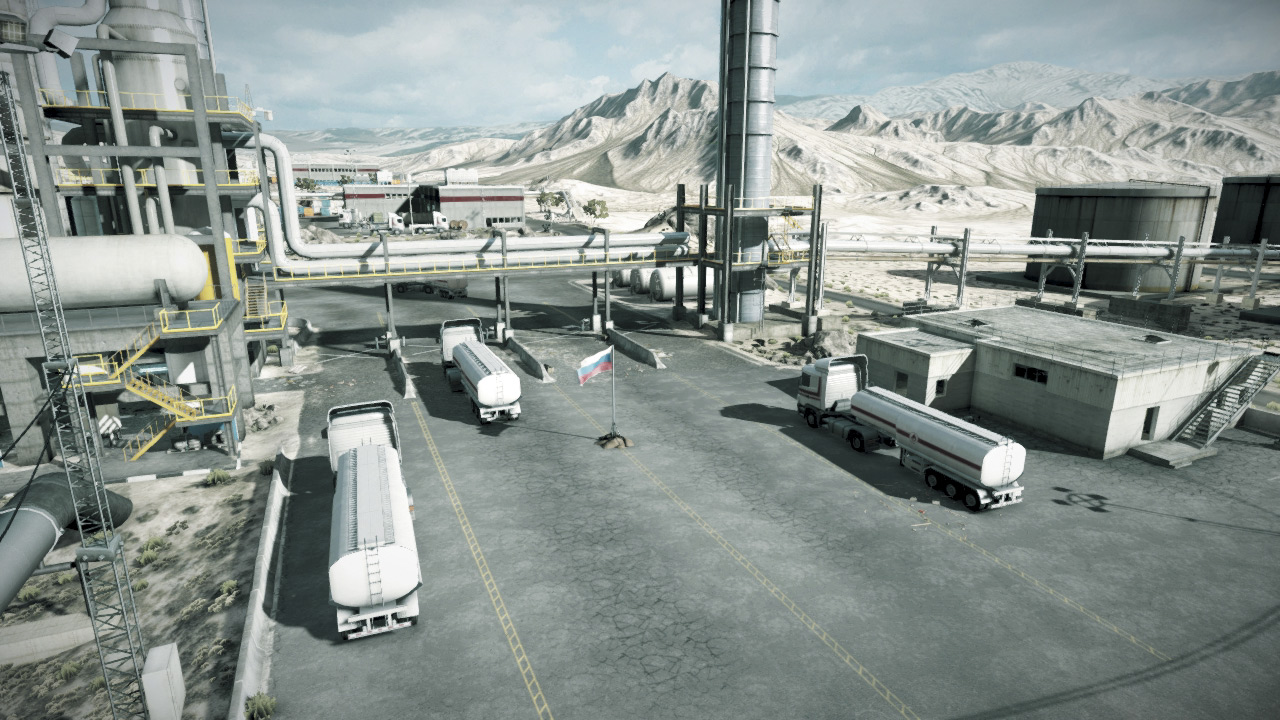
This sprawling industrial facility serves as the westernmost control point in this match, closest to the RU Base. While the RU team has the best chance of capturing the Filling Station (C) early, there’s no guarantee they’ll be able to hold onto it, especially if it’s left undefended.
The flagpole here is located on an open piece of asphalt surrounded by three explosive tanker trucks. It’s a good idea to destroy the tanker trucks upon arrival because you don’t want them to explode while you’re attempting to capture the flag, especially if you’re on foot.
With minimal cover nearby, this is a control point best captured and contested by tanks. However, infantry can play a large role in defending this flag. Given the likelihood of heavy vehicle traffic around the flag, mines and C4 are very effective.
The surrounding structures and catwalks also offer great elevated vantage points of the flag that are ideal for scoring hits on attacking infantry and vehicles.
Regardless of which team you’re playing on, make an effort to reinforce this control point with tanks spawned at your team’s base.