
Battlefield 3 Premium Guide Battlefields Conquest
Strike at Karkand
Control of the industrial facility and harbor at Karkand motivates this assault by US forces, where they find Russian forces marshalling to defend the industrial city and determined to meet the attack with stiff resistance.
The terrain surrounding Karkand is sufficiently open to allow for sweeping fields of fire, but the open ground increases the danger posed by anti-vehicle missiles and sniping. It is vital for both sides to secure firebases in Karkand’s sheltered city center.
Conquest Assault (3 Flags)
US Deployment
Base Assets
| Vehicle | Image | Quantity | Respawn Time |
|---|---|---|---|
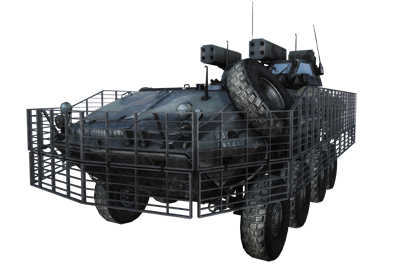
| LAV-25 |
|
1 | 40 sec. |
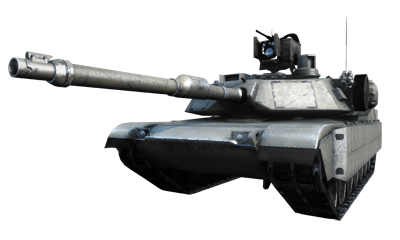
| M1 Abrams |
|
1 | 40 sec. |
This is the smallest variant of Strike at Karkand’s Conquest Assault mode, consisting of only three flags. With no base of their own, the RU team must maintain at least one flag throughout the duration of the match to secure a spawn point.
At the start of the match, most of the action occurs around the Hotel (A) on the north side of the map. But the defenders must also prepare for breakout attacks by US forces as they try to secure the Square (B) and Market (C).
C: Market
Control Point Assets
| US Control | RU Control | Respawn Time |
|---|---|---|
| N/A |
|
40 sec. |
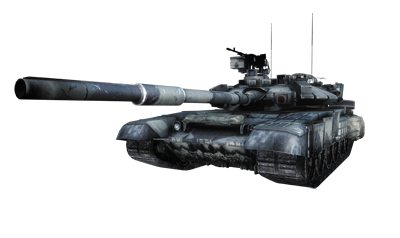
The Market (C) is of great value to the RU team as it produces their only vehicle, a T-90A tank. So of all the flags, the Market (C) is the most important one to hold for the RU team.
When playing as the US, establishing a foothold at the Hotel (A) is crucial, but don’t get bogged down there. If taking the Hotel (A) is difficult, bypass it and try to secure the Square (B) or Market (C).
An early capture of the Market (C) denies the RU team their only vehicle, giving the US team a significant advantage.
Even if the Market (C) stays under RU control, the US team has a vehicle advantage, so don’t forget to spawn back at the gas station to the north to bring the LAV-25 and M1 Abrams into the city, where they can make a big impact on the battle.
Regardless of which team you’re playing on, try to hold at least two flags to drain the opposing team’s ticket count. This requires a defensive mindset, so never completely abandon a flag that your team controls.
CONQUEST ASSAULT (5 FLAGS)
This variation of Strike at Karkand features five flags, all located within the city’s center. At the start of the battle, the RU team occupies all flags on the map.
US Deployment
Base Assets
| Vehicle | Image | Quantity | Respawn Time |
|---|---|---|---|
| LAV-25 |
|
1 | 40 sec. |
| M1 Abrams |
|
1 | 40 sec. |
But the defenders should focus the bulk of their resources on denying the US team access to the city by locking down the Hotel (A) and surrounding roads.
The longer the RU team can prevent the US from capturing a flag, the better the chance they have for holding out for a victory.
While establishing a foothold within the city is important for the US team, the Hotel (A) isn’t the only flag up for grabs.
C: Fountain
Base Assets
| US Control | RU Control | Respawn Time |
|---|---|---|
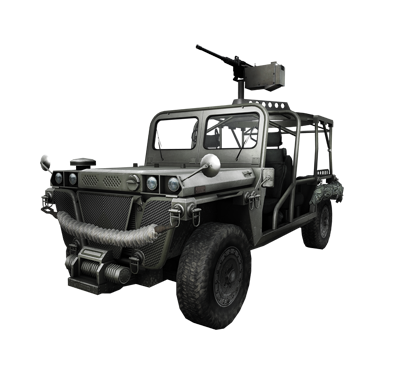 Growler ITV (1)
|
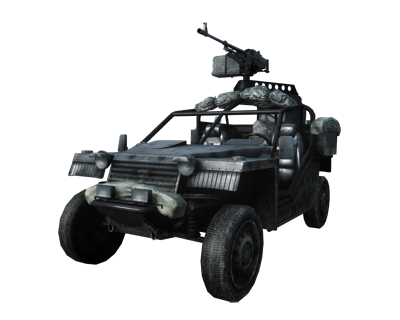
|
30 sec. |
So if facing resistance on the north side of the city, look for opportunities to sneak through the frontline positions and capture a flag to the south like the Fountain (C), Market (D), or Compound (E).
While vehicles are valuable in this fight, they’re also prone to rocket and mine attacks by enemy engineers. Squads have a much easier time sneaking through the alleyways and buildings.
Whether playing as the US or RU team, strive to capture and hold at least three of the five flags to begin bleeding the opposing team’s ticket count.
E: Compound
Base Assets
| US Control | RU Control | Respawn Time |
|---|---|---|
| N/A |
|
40 sec. |
But it’s the US team who has the most difficult task: They must wrestle at least three flags away from the RU team as quickly as possible to neutralize the drain on their team’s tickets.