
Battlefield 3 Premium Guide Essentials Classes
Support
Strengths: Solid anti-infantry kit; ammo resupply
Weaknesses: Limited anti-armor capability
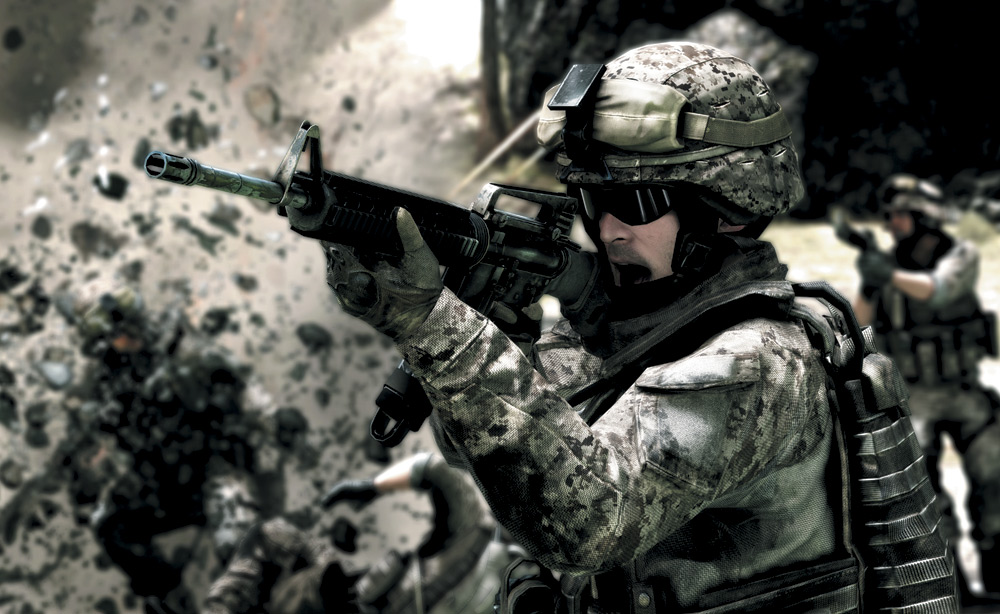
The support class is back! With the introduction of the new suppression mechanic, the support kit is a crucial member of any squad, regardless of the tactical situation.
These guys carry the large, cumbersome light machine guns that are capable of laying down high volumes of sustained fire, which is great for suppressing enemy infantry.
The support class also has access to some of the most devastating weapons in the game, including C4, Claymores, and the new M224 Mortar.
When they’re not busy scoring kills, support troops should supply teammates using the Ammo Box. The Ammo Box dispenses ammunition to all friendly troops within a small radius.
There are no ammo crates in multiplayer, so it’s up to the support players to replenish everyone’s ammo.
You earn a Resupply bonus (10 points) whenever a teammate retrieves ammo from an Ammo Box, so don’t be stingy with these things. Scatter them around your teammates to boost your score.
Since this is the only kit equipped with explosives, support players are also effective at taking out enemy vehicles with C4, either through direct application or through the creation of car bombs.
So if you’re not satisfied laying down suppressive fire from a distance, take the fight to close range and do some damage with your explosives. But such attacks are extremely dangerous, so you better have an assault buddy nearby to revive you.
Unlock Progression
| Unlock | Name | Image | Support Score |
|---|---|---|---|
| 1 | C4 Explosives |

|
4,000 |
| 2 | M249 |
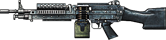
|
11,000 |
| 3 | M18 Claymore |

|
23,000 |
| 4 | M224 Mortar |

|
40,000 |
| 5 | PKP Pecheneg |
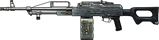
|
60,000 |
| 6 | M240B |
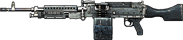
|
90,000 |
| 7 | M60E4 |
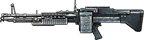
|
130,000 |
| 8 | M27 IAR (for RU) |
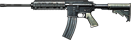
|
170,000 |
| 8 | RPK-74M (for US) |
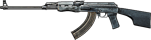
|
170,000 |
Special Equipment
Ammo Box
Unlock: Support Kit Start
Description: The deployable Ammo Box refills ammunition for nearby soldiers. Explosives and grenades take longer to be resupplied than standard magazines.
Field Notes
Carried exclusively by the support class, the Ammo Box is the only source of ammo during multiplayer matches. There are no ammo crates, so it’s up to support players to provide ammo to their teammates.
Simply stand next to one of these Ammo Boxes for a few seconds to replenish the ammo for all of your weapons, including grenades and rockets.
When playing as support, drop Ammo Boxes around clusters of teammates—each time someone retrieves ammo from a pack you earn a Resupply bonus.
This is a great way to supplement your score while supporting your team and squad mates.
If a teammate or squad mate is low on ammo, an icon depicting three bullets appears above their head. Get them some ammo fast!
C4 Explosives
Unlock: 4,000 Support score
Description: Remotely detonated Composition 4 explosive packs provide anti-material, anti-vehicle and antipersonnel abilities.
Field Notes
C4 is the first unlock for the support kit and undeniably one of the most powerful weapons in the game.
Initially, up to three explosive charges can be placed at a time and detonated simultaneously with this device.
However, the support class can replenish their C4 using an Ammo Box, so they can set elaborate C4 deathtraps involving more than three simultaneously detonated charges.
Explosives are great for taking out vehicles. Simply stick a couple of charges on the back of a tank and step back a safe distance to watch the fireworks. When attacking vehicles, no matter the size, always plant at least two charges.
One C4 charge will only disable a vehicle—it takes at least two to instantly destroy it. Charges can also be used as booby traps when placed around critical high-traffic areas like control points or M-COM stations—but it’s up to you to detonate them when enemies are nearby.
When defending in Rush matches, use the alarm sound of an armed M-COM station to alert you to nearby enemies—detonate your charges before they can move away from the kill zone.
Don’t worry about damaging an M-COM station with C4, as these objectives can no longer be damaged with anything other than a manually placed charge applied by the attackers.
M18 Claymore
Unlock: 23,000 Support score
Description: The M18 Claymore is a directional antipersonnel mine that is detonated by motion in front of the mine. The mine can be passed safely if the target is moving at low speeds.
Field Notes
Adding to the support kit’s deadly arsenal is the M18 Claymore antipersonnel mine. Unlike traditional land mines, the Claymore is a directional mine that sprays shrapnel in the direction it’s facing upon detonation.
So think carefully before dropping one of these. From what direction is your enemy likely to approach?
Once you have figured out where you want to place this mine, orient yourself in the proper direction before dropping the Claymore. Claymores are triggered by fast enemy movement.
You can avoid triggering a Claymore by crawling past it. But it’s much safer to take out a Claymore from a distance by tossing a grenade at it or shooting it with an explosive weapon such as a rocket or grenade launcher.
The support class can carry one Claymore at a time. But more can be retrieved from the support kit’s own Ammo Box. Like C4, Claymores are great for defending flags in Conquest and M-COM stations in Rush.
Unlike C4, these weapons trigger on their own, so you don’t have to constantly babysit them while waiting for an enemy to enter the kill zone.
M224 Mortar
Unlock: 40,000 Support score
Description: The M224 60mm Mortar is capable of firing high-explosive and smoke rounds to provide suppressing fire and visual cover from indirect fire positions.
Field Notes
A unique weapon introduced in Battlefield 3 is the support kit’s M224 Mortar—the kit’s fourth unlock. This is a powerful, indirect fire weapon capable of lobbing high-explosive and smoke rounds great distances.
When you first select the weapon, you must find a flat piece of terrain to deploy it.
But before setting it down, take into account your surroundings—you’re extremely vulnerable while crouched behind this weapon, so find cover in a remote area of the map.
Also take into account the direction you want to fire; aim it toward a problematic control point or M-COM station. Once you’ve found a good spot and have oriented the weapon in the proper direction, set it down and begin firing.
At this point, an enlarged minimap appears on the left side of the HUD. You can see friendly (blue) and enemy (red) units spotted by your teammates.
The white crosshairs icon placed over the minimap shows you where you’re aiming the mortar. Simply place the crosshairs over an enemy target and fire.
By default, high-explosive rounds are chosen, but you can switch to smoke by pressing the corresponding button/key shown on the right side of the HUD.
Don’t expect to score tons of kills with this weapon, but it’s great for softening up enemy positions prior to or during an assault on a fixed position. When you’re finished firing, don’t forget to pick up the mortar before moving on.
Support Tactics
With the introduction of the new suppression system, the support class plays a pivotal role in any squad. When playing as support, lay down covering fire while the rest of your squad advances.
Even if you can’t see the enemy, fire rounds in the area around them to keep their heads down.
The support kit’s light machine guns have a greater suppressive effect than most firearms, and cause your suppressed opponents to suffer from blurred vision and poor accuracy.
If your teammates kill an enemy you suppressed, you get a Suppression Assist bonus worth 50 points.
The belt-fed light machine guns take a long time to reload, so make sure a teammate has your back while you load fresh rounds into your weapon.
At the very least, find an isolated piece of cover before initiating a reload. The magazine-fed weapons (M27 IAR and RPK-74M) have much faster reload times.
To prevent frequent reloads, consider equipping the Extended Mag accessory once it’s unlocked. This doubles the amount of ammo in each magazine.
So, when firing a weapon like the M249 or M240B, you have 200 rounds per magazine instead of 100. This makes a huge difference when laying down suppressive fire.
Use the light machine guns to target light vehicles like the Growler ITVs and VDV Buggies. The occupants of these vehicles are completely exposed, so it is easy to score a few kills with a prolonged burst.
You may even disable the vehicle. Light machine guns can also inflict damage on the HMMWV and the Vodnik. These rapid-firing weapons are also great for shooting down MAVs deployed by enemy recon troops.
The support kit should never run out of ammo, so don’t forget to toss an Ammo Box at your feet if you’re running low on ammo, grenades, C4, or Claymores.
Also, make sure the recon and engineer players on your team have plenty of ammo. Sniper rifles and rocket launchers run dry quickly, so supplying these players with their own Ammo Box can become quite lucrative in terms of scoring Resupply points.
When attacking an M-COM station in Rush, plant three C4 charges around the objective before setting the main charge on the station itself. Then seek cover at a distance and set off the charges as your opponents rush in to disarm the M-COM station.
Not only does this prevent the objective from being disarmed, it also nets you some easy kills.
The M224 Mortar is effective only if your team spots targets. Otherwise you’ll be firing blind, with no enemy icons appearing on the minimap. The recon kit’s T-UGS motion sensor can automatically place targets on the minimap as well.
But even when you have enemy icons to shoot at, don’t expect to score tons of kills. Like the light machine guns, the mortar is a great suppressive weapon. You’re more likely to suppress and injure enemies with this weapon than kill them.