
Battlefield 3 Premium Guide Battlefields Conquest 64
Death Valley
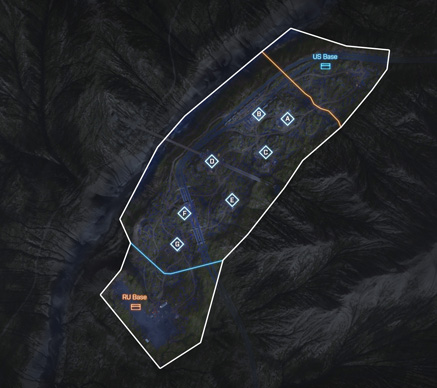
To secure a victory in this elongated valley, both teams need to take a disciplined approach when it comes to defending and allocating resources. There are seven flags up for grabs, grouped in three separate zones. On the north side of the valley the logging camp (A), construction site (B), and power station (C) form a tight cluster of control points well within the US team’s sphere of influence given their proximity to the US base. In the southern half of the valley, the RU team often exerts control over the anti-air site (E), highway control (F), and communication station (G) control points. That leaves the train yard (D) in a sort of no-man’s land in the center of the map. In close matches, the train yard (D) ends up being the fulcrum on which the balance of power tilts as both teams seek a four-flag majority. Adding more incentive, whichever team controls the train yard (D) also gains access to a gunship, giving the controlling team even more firepower and airborne deployment options. So instead of spreading forces thin throughout the map, each team should try to control their respective side of the valley (north or south) as well as the train yard (D) in the center. With four flags in your team’s possession, the enemy ticket count will begin to drain. Hold tight at four control points until your team has at least a 100 ticket advantage before attempting to capture any more flags.
US Base
Base Assets
| Name | Quantity | Respawn Time |
|---|---|---|
| Growler ITV | 2 | 20 sec. |
| M1128 | 3 | 40 sec. |
| M1 Abrams | 2 | 60 sec. |
| AH-6J Little Bird | 1 | 60 sec. |
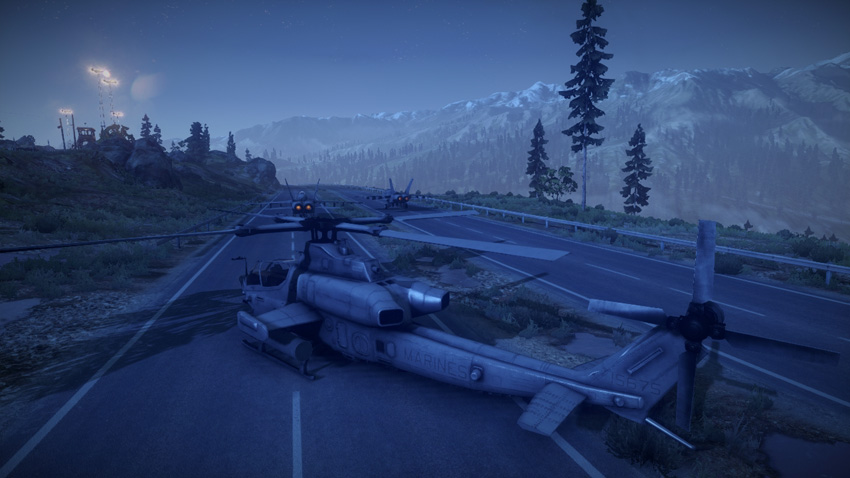
| AH-1Z Viper | 1 | 60 sec. |
| F/A-18E Super Hornet | 2 | 40 sec. |
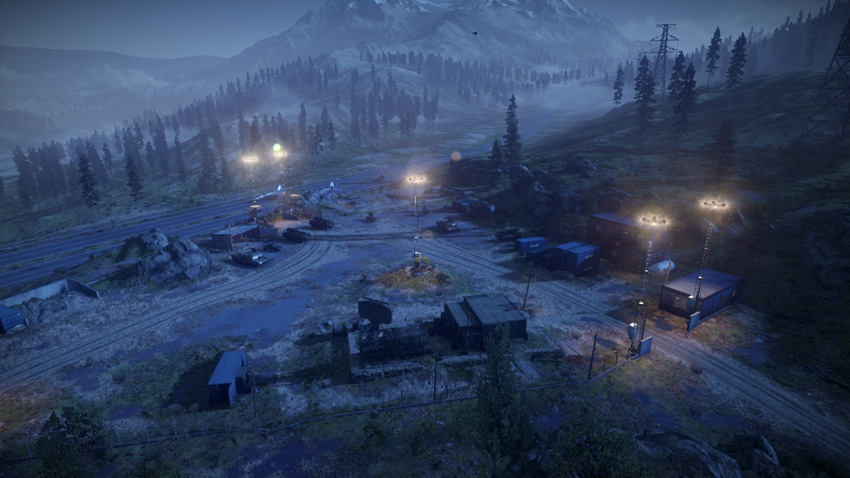
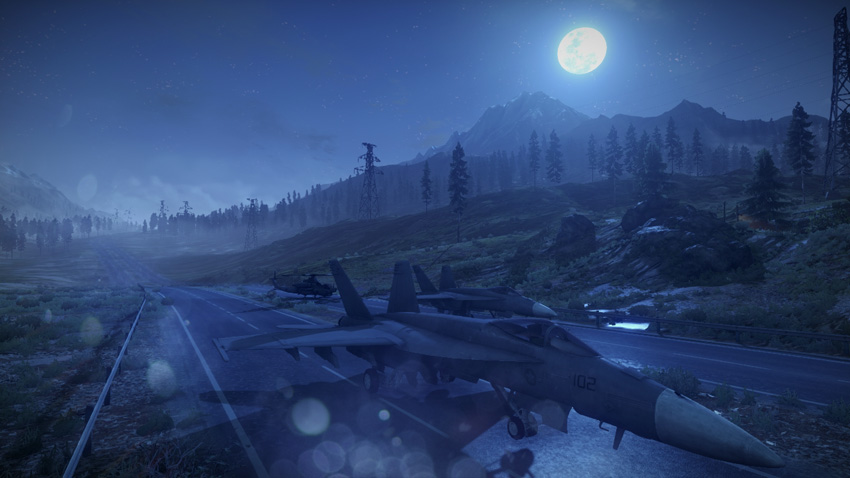
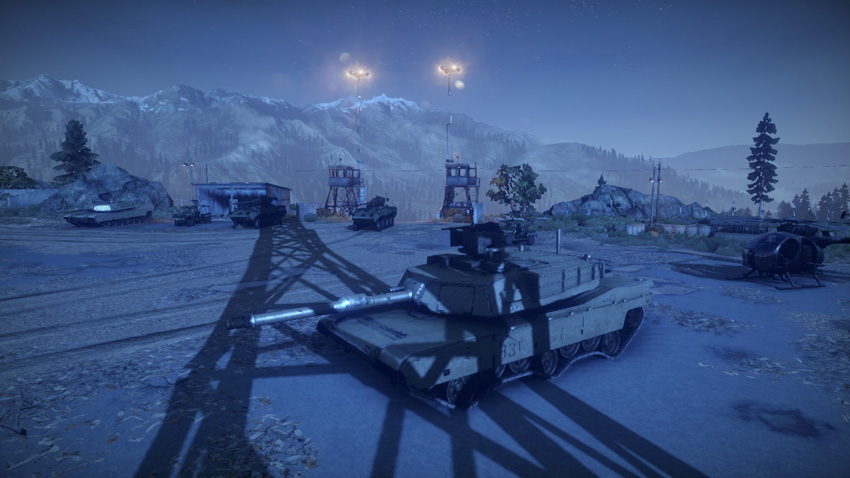
The US team deploys from their base on the north edge of the valley. The distance between the US base and the nearest control points is significant, so don’t try to hike in on foot. Instead, drive or hitch a ride on one of the many vehicles provided at this base. Securing control points at the start of the match is crucial. The fastest ground vehicles provided are the Growler ITVs and the M1128 tank destroyers. These vehicles are well suited for capturing the nearby logging camp (A), construction site (B), and power station (C). Meanwhile, use the AH-6J Little Bird to transport a squad to the train yard (D) near the center of the map. The primary role of the F/A-18E Super Hornets is to provide air superiority, protecting friendly ground units from attacks by the RU team’s jets and helicopters. The US jets must also protect assets spawning at the base. The US helicopters can also assist in shooting down enemy aircraft but are better suited for close air support, knocking out enemy tanks and tank destroyers.
RU Base
Base Assets
| Name | Quantity | Respawn Time |
|---|---|---|
| VDV Buggy | 2 | 20 sec. |
| SPRUT-SD | 3 | 40 sec. |
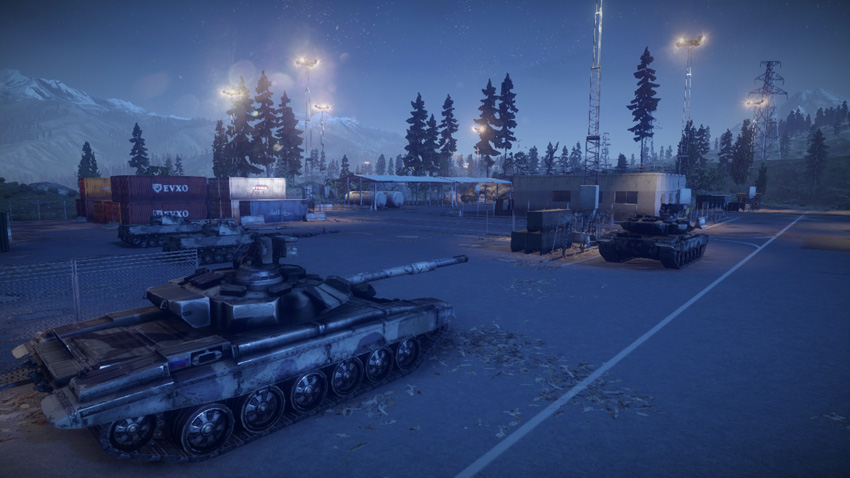
| T-90A | 2 | 60 sec. |
| Z-11W | 1 | 60 sec. |
| Mi-28 Havoc | 1 | 60 sec. |
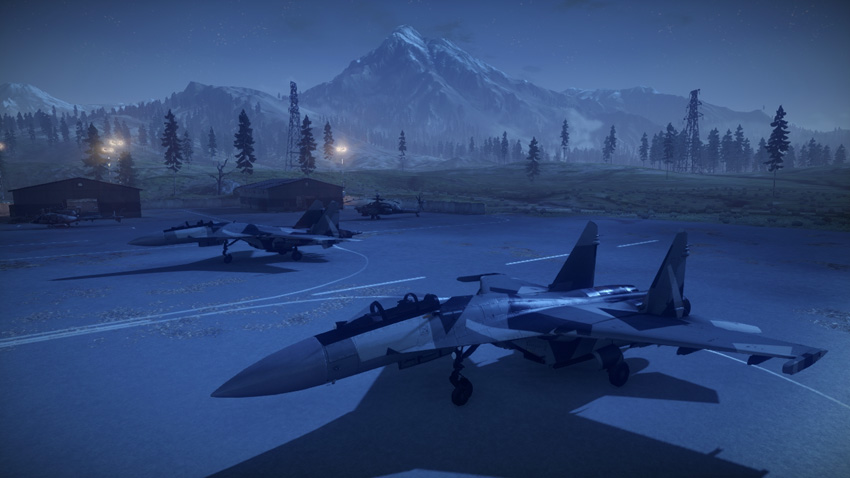
| SU-35BM Flanker-E | 2 | 40 sec. |
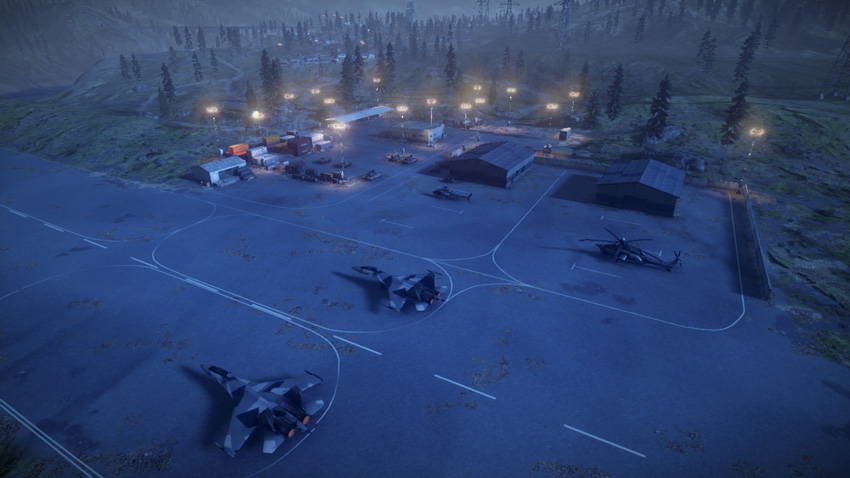
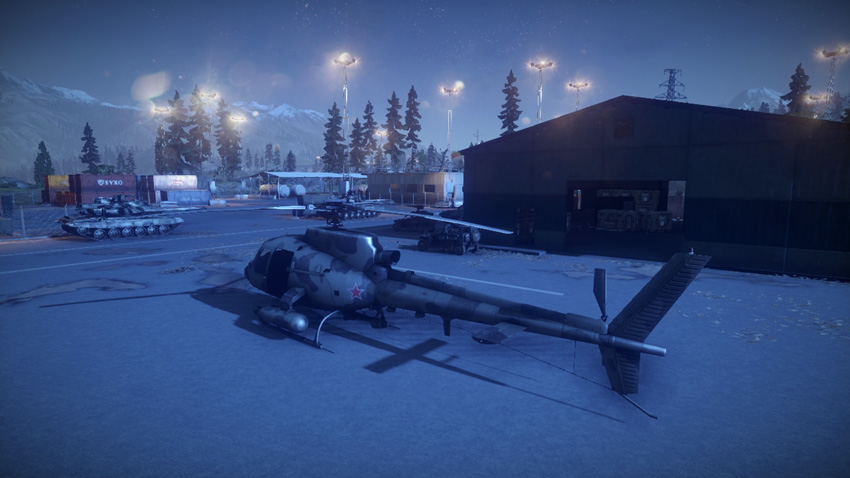
The RU team starts the battle from their base on the south side of the valley. When spawning here always look for a vehicle before moving out. Likewise, when driving or piloting a vehicle, wait a few extra seconds before taking off so your teammates have a chance to climb aboard. Transporting troops to the map’s center is a crucial part of securing the central control points. Early on, use the VDV Buggies and the SPRUT-SD tank destroyers to capture the communication station (G), highway control (F), and anti-air site (E). The Z-11W is ideal for moving troops to the more distant control points, like the train yard (D). The US team’s aircraft pose a constant threat to ground units both at the RU team’s base and at control points. So get the SU-35BMs in the air as fast as possible in an effort to counter attacks by the US jets and helicopters. The Z-11W and Mi-28 can be fitted with anti-air missiles as well, helping achieve air superiority. But these helicopters are also effective air-to-ground weapons platforms. Talented RU helicopter pilots can dish out some heavy damage to the wide variety of US vehicles scattered across the map—guided missiles are very effective.
A: Logging Camp
Control Point Assets
| US Control | RU Control | Respawn Time |
|---|---|---|
| Quad Bike (1) | Quad Bike (1) | 5 sec. |
| M1128 (1) | SPRUT-SD (1) | 60 sec. |
| M142 (1) | BM-23 (1) | 50 sec. |
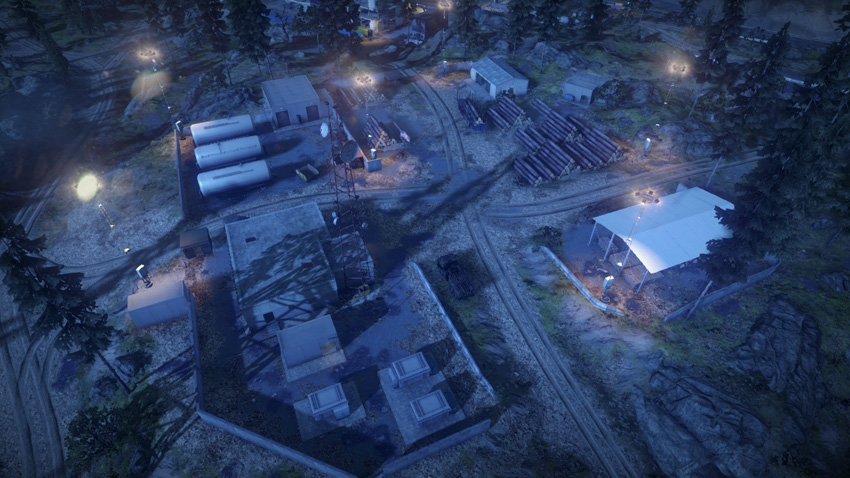
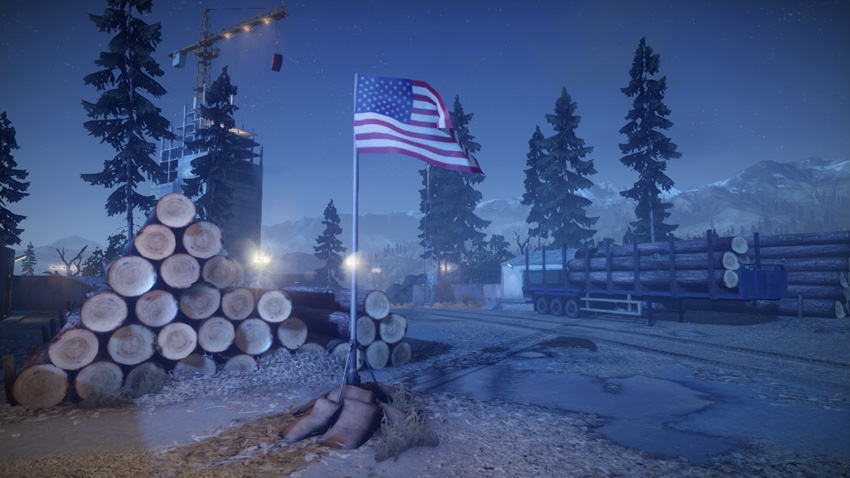
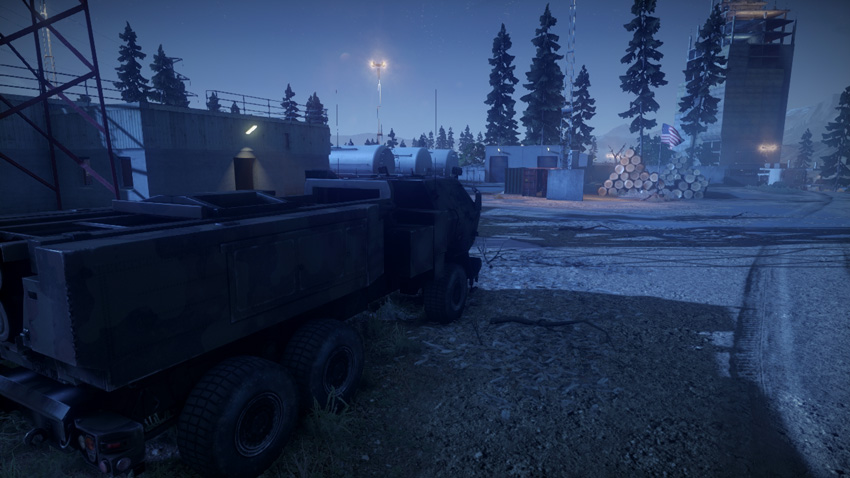
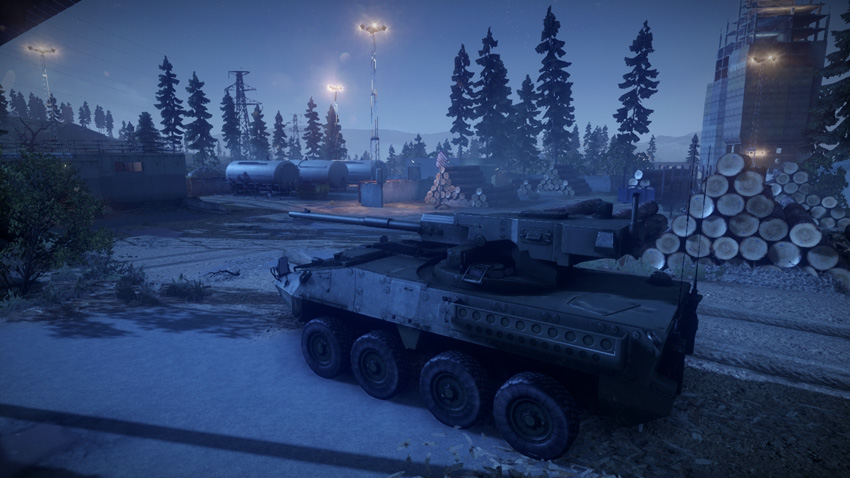
The logging camp (A) is the northernmost control point, putting it well within the US team’s sphere of influence. Because of its proximity to the US base, the logging camp (A) is likely to remain under US control for most of the match. But the vehicles spawned here also benefit the RU team. The control point produces a quad bike, tank destroyer, and mobile artillery unit for each team. Both the M142 and BM-23 artillery units are valuable additions well-suited for bombarding enemy-held control points during attacks. In the event of an RU capture of the logging camp (A), the BM-23’s rockets can also be turned north to engage US ground units approaching from the US base. The only other artillery units produced on the map are spawned at the communication station (G) to the south. So holding this control point is important to both teams if they want to exert control over the nearby construction site (B) and power station (C). The flag here is located in the middle of the facility and can be easily accessed via the adjacent dirt roads—defenders should consider mining the area around the flag. If you’re not in an armored vehicle and attempting to convert or contest this flag, look for cover among the stacks of logs within the flag’s capture radius. This is a large facility with many hiding spots for defenders, so keep your head on a swivel.
B: Construction Site
Control Point Assets
| US Control | RU Control | Respawn Time |
|---|---|---|
| Quad Bike (1) | Quad Bike (1) | 5 sec. |
| LAV-AD (1) | 9K22 Tunguska-M (1) | 40 sec. |
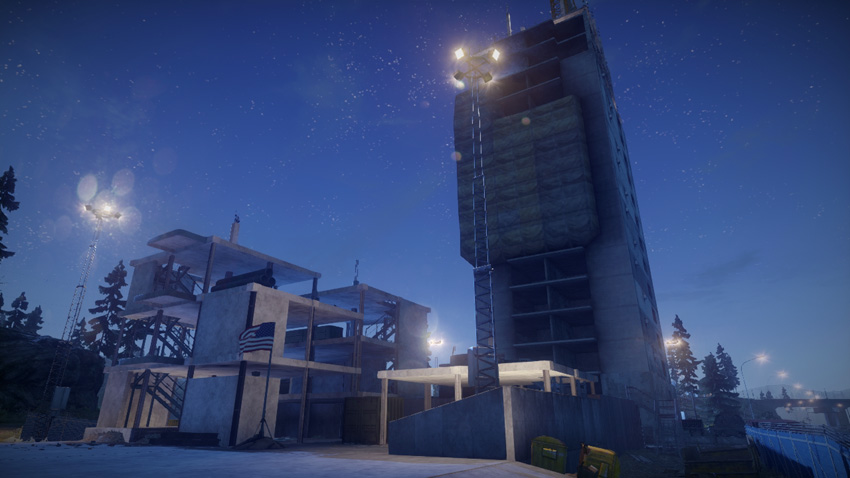
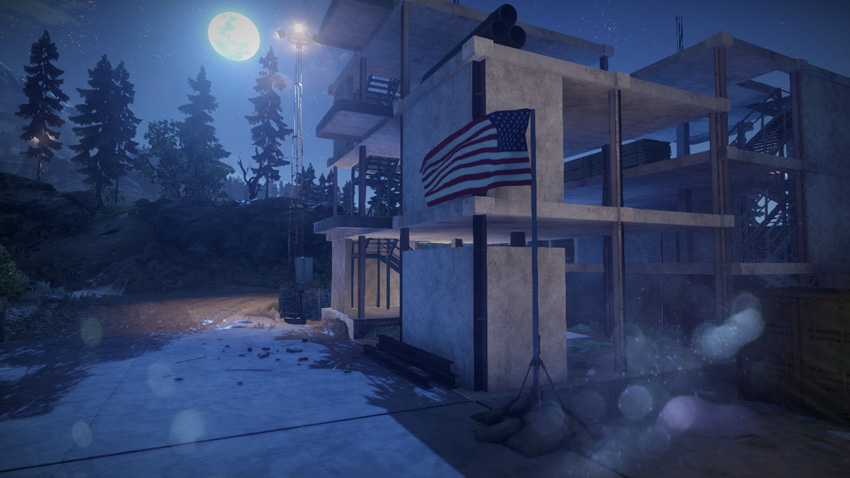
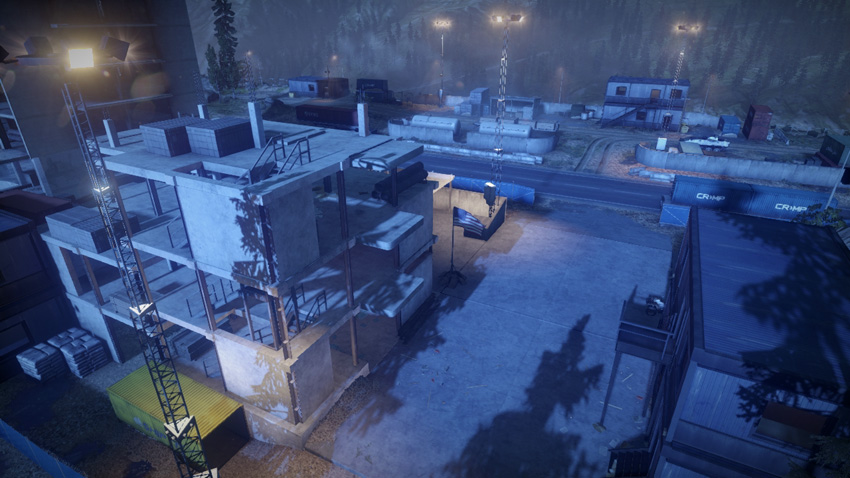
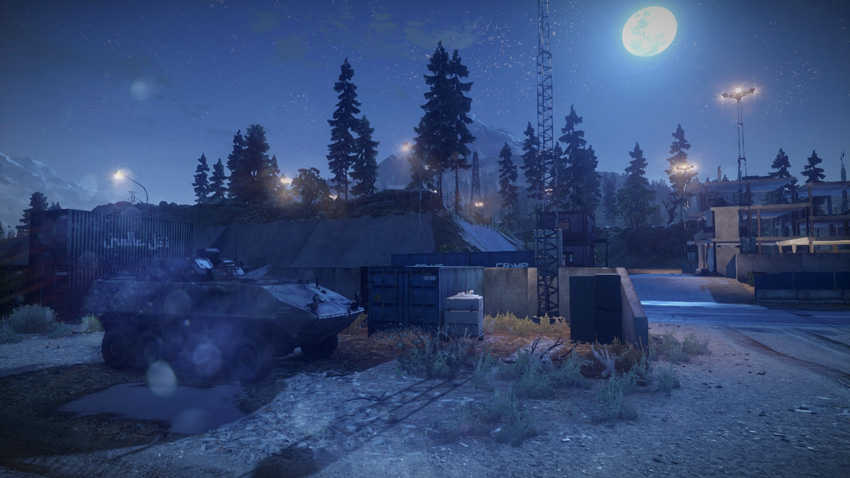
This control point is home to the tallest structure on the map, making it easy to spot regardless of where you are. The towering skyscraper on the south side of this control point is a popular sniping perch for recon troops. However, if you want to reach the top, get a ride from a helicopter or parachute down from the gunship—there are no ladders. Planting a SOFLAM on top of this building is a great way to laser-designate enemy targets for your teammates equipped with laser-guided weapons. The flagpole is located at the base of a much smaller three-story structure to the north. The wide capture radius allows troops hiding within the building and among the nearby equipment to capture or contest the flag. In addition to a quad bike, the construction site (B) also spawns a mobile anti-aircraft vehicle for both teams. Given the high air traffic streaking over this map, the addition of an LAV-AD or 9K22 Tunguska-M is a welcome sight. Consider driving this vehicle to a remote part of the map (preferably to the north) where it’s less likely to come in direct contact with enemy tanks and tank destroyers. The only other mobile anti-aircraft units are produced by the highway control (F) to the south.
C: Power Station
Control Point Assets
| US Control | RU Control | Respawn Time |
|---|---|---|
| Quad Bike (1) | Quad Bike (1) | 5 sec. |
| M1128 (1) | SPRUT-SD (1) | 60 sec. |
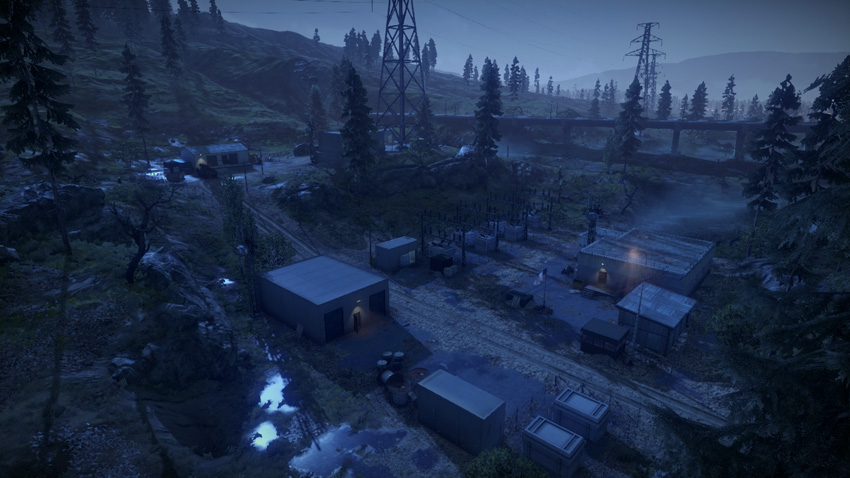
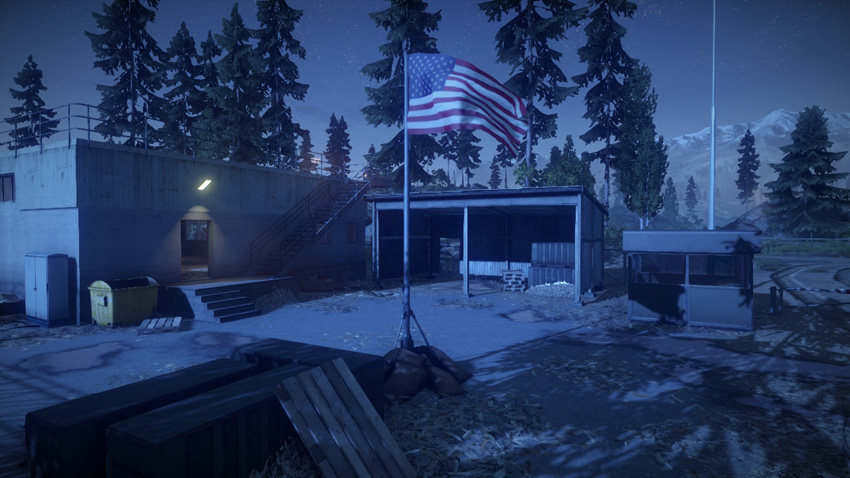
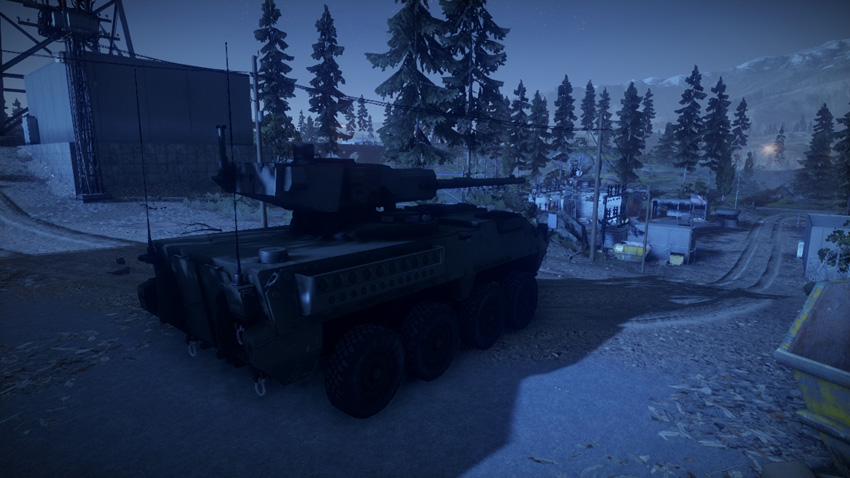
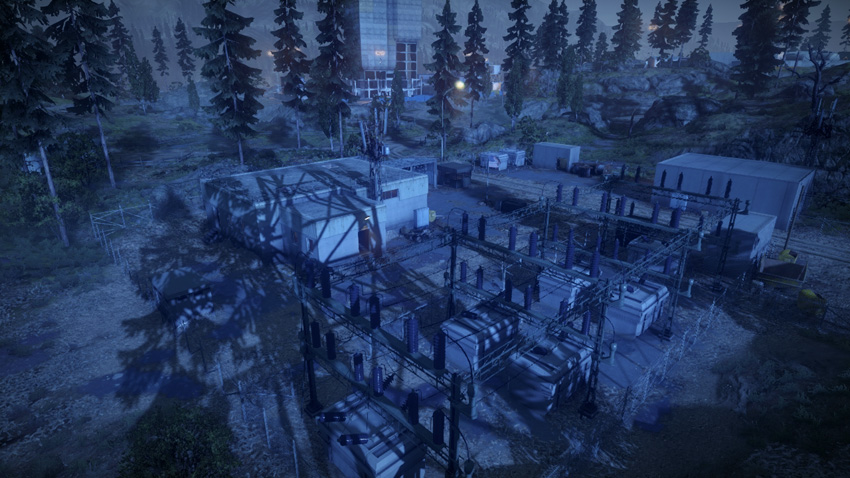
The power station (C) is on the north side of the valley, not far from the logging camp (A) and construction site (B). As the southernmost control point in this northern cluster, it’s likely to see heavy traffic by both teams. The flag is located near the center of the facility and can easily be captured or contested by vehicles or infantry. Defenders can find plenty of hiding spots among the nearby structures and should prepare for enemy vehicle attacks by placing mines along the dirt road adjacent to the flag. The control point produces a quad bike and tank destroyer for each team. These vehicles are ideal for raiding the train yard (D), the hotly contested control point to the southwest. But be careful not to leave this control point undefended. Make sure at least one squad stays back and guards the flag. As a central control point, the power station (C) sees plenty of action. In a match with 64 players, defenders here will have plenty of enemy encounters to keep them occupied. Engineers armed with mines and rocket launchers are most effective for holding back attackers. The tank destroyer here spawns on the hill to the east—don’t let attackers sneak in and steal it.
D: Train Yard
Control Point Assets
| US Control | RU Control | Respawn Time |
|---|---|---|
| Quad Bike (1) | Quad Bike (1) | 5 sec. |
| Gunship (1) | Gunship (1) | 60 sec. |
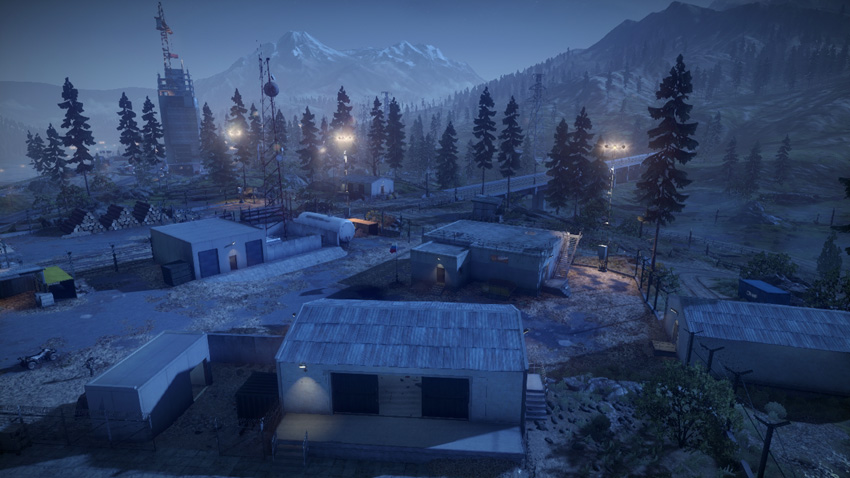
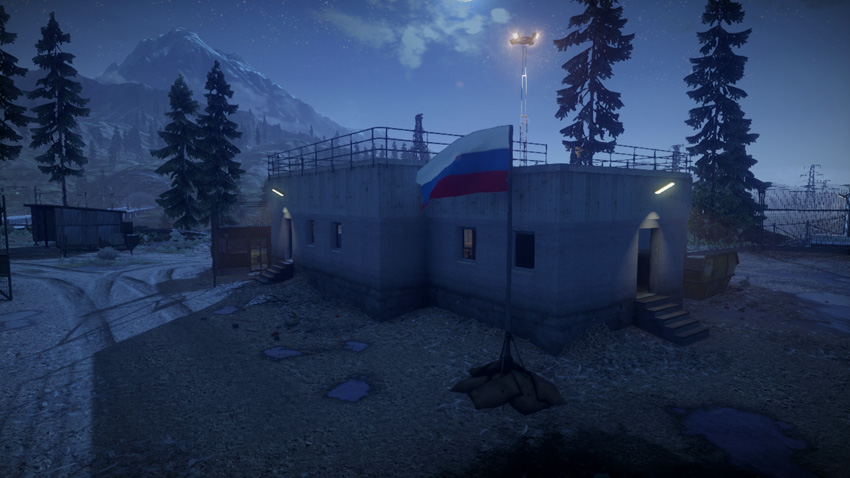
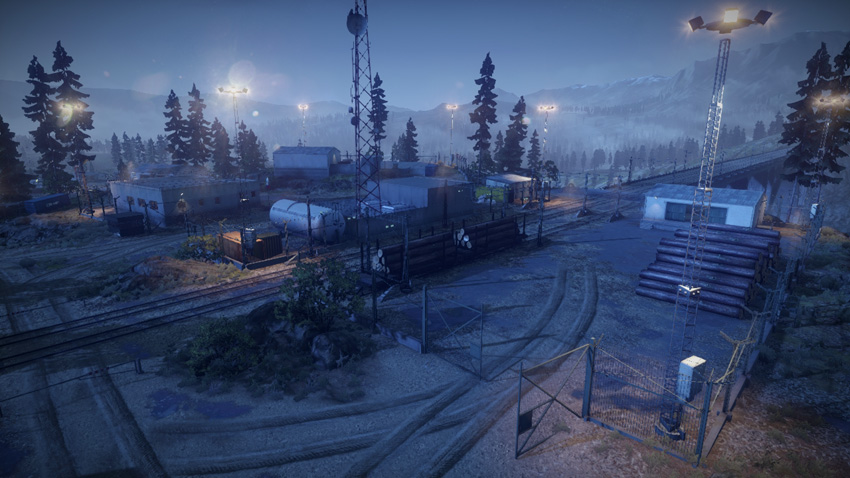
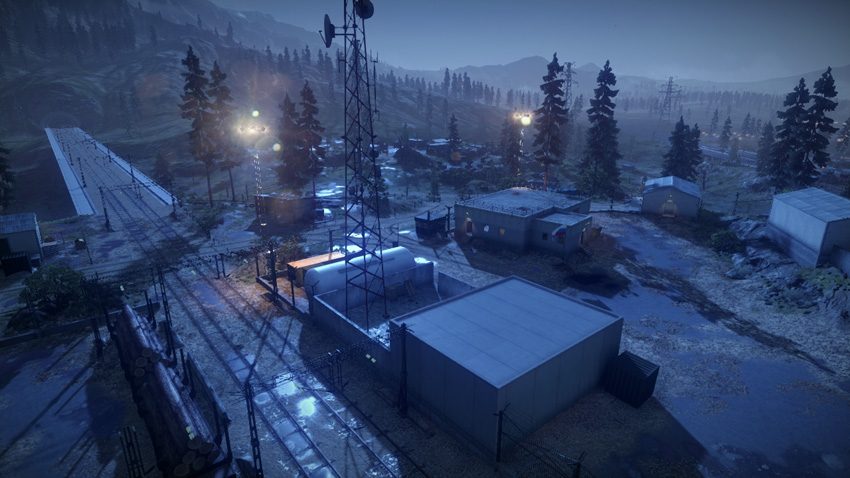
This control point is located directly in the center of the map, making it a crucial location in the tug-of-war fight for control of this valley. The train yard (D) is situated on a slight hill on the west side of the valley. From this hill it’s possible to gain access to the railway bridge cutting across the valley from east to west. But think twice before driving a tank or other vehicle onto this bridge—you’ll be a sitting duck for strafing helicopters and jets. In addition to providing each team with an extra quad bike, the control point supplies the captor with access to the gunship orbiting around the map. Gaining access to the gunship can be a game changer given its powerful weapons and ability to air-drop troops over any control point on the map. As a result, expect heavy fighting to occur here. The flag is at the center of this sprawling facility and is easily accessed via the adjacent dirt roads. Defenders should expect attackers arriving on anything from quad bikes to tanks. Infantry often attempt to capture or contest the flag by hiding within the nearby concrete building. So be ready to conduct a thorough search of the surrounding structures if you suspect enemy troops are present. If necessary, reinforce the train yard (D) with tank destroyers or tanks. Infantry alone will have a difficult time holding this position for any significant span of time.
E: Anti-Air Site
Control Point Assets
| US Control | RU Control | Respawn Time |
|---|---|---|
| Quad Bike (1) | Quad Bike (1) | 5 sec. |
| M1128 (1) | SPRUT-SD (1) | 60 sec. |
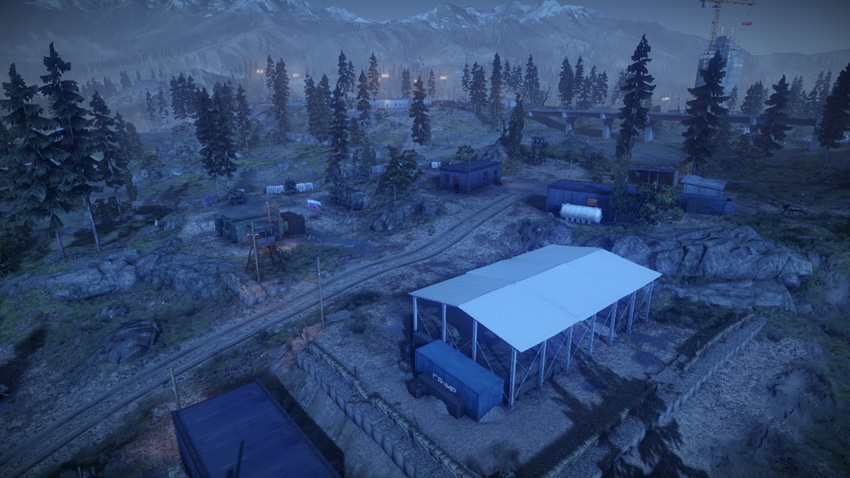
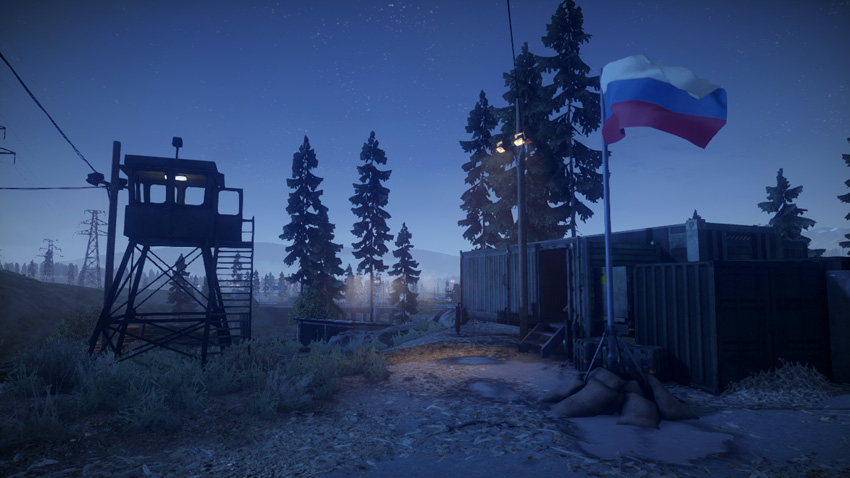
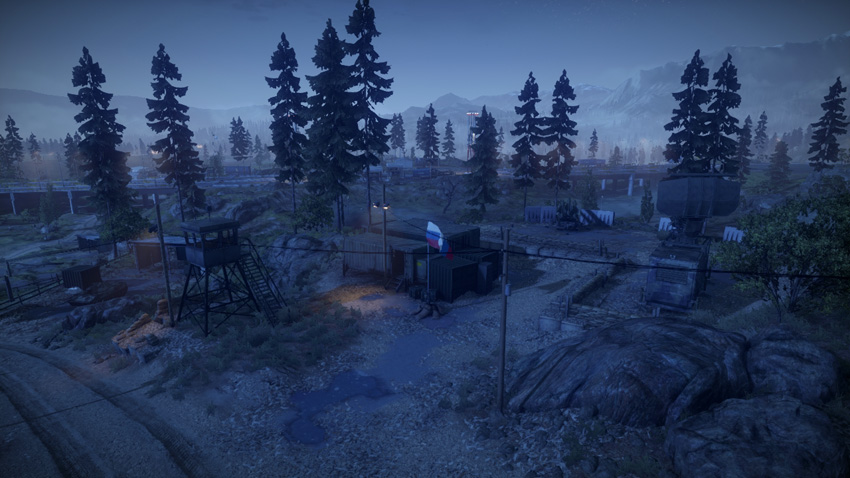
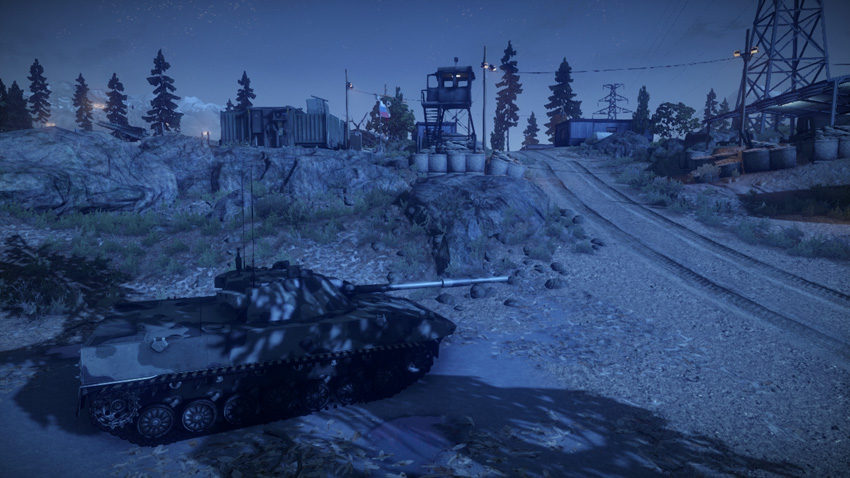
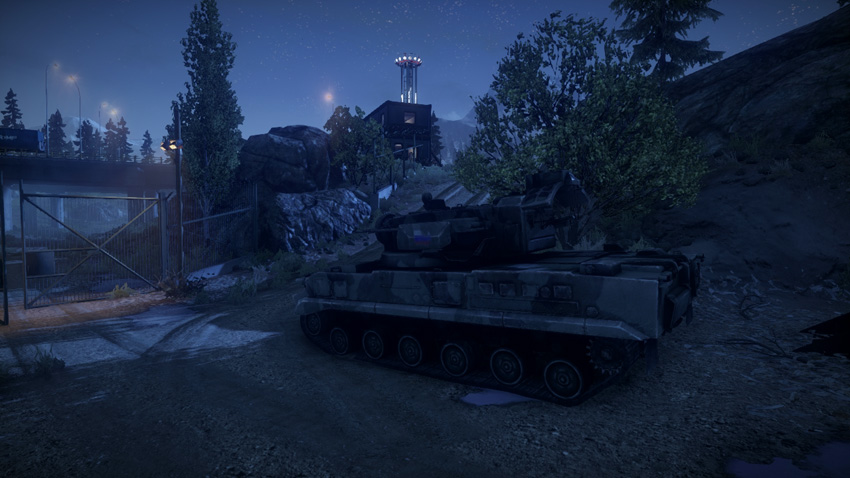
Don’t let the name of this control point fool you—there are no interactive anti-aircraft assets here. The missile batteries here are merely aesthetic. This control point on the south side of the valley supplies each team with a quad bike and a tank destroyer. The anti-air site’s (E) proximity to the train yard (D) makes it a relatively high-traffic area as both teams attempt to control the flags in the center of the map. While the RU team stands the best chance of capturing this control point early, if left undefended it can easily slip into the US team’s hands. The dirt road cutting through the center of the facility offers easy access to vehicles approaching from the north or south. Controlling traffic along this dirt road is easiest accomplished by placing mines. Unless it’s needed elsewhere, keeping a tank destroyer on guard detail is also a wise decision. The flag is located next to a green, metal communication structure. Infantry hiding inside this structure can capture and contest the flag. Defenders may wish to booby-trap the interior of this structure with C4 or claymores to prevent such sneaky capture attempts.
F: Highway Control
Control Point Assets
| US Control | RU Control | Respawn Time |
|---|---|---|
| Quad Bike (1) | Quad Bike (1) | 5 sec. |
| LAV-AD (1) | 9K22 Tunguska-M (1) | 40 sec. |
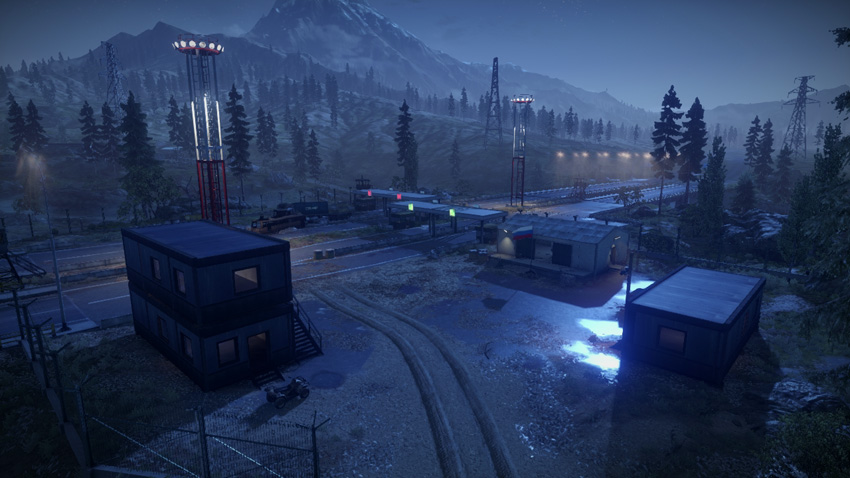
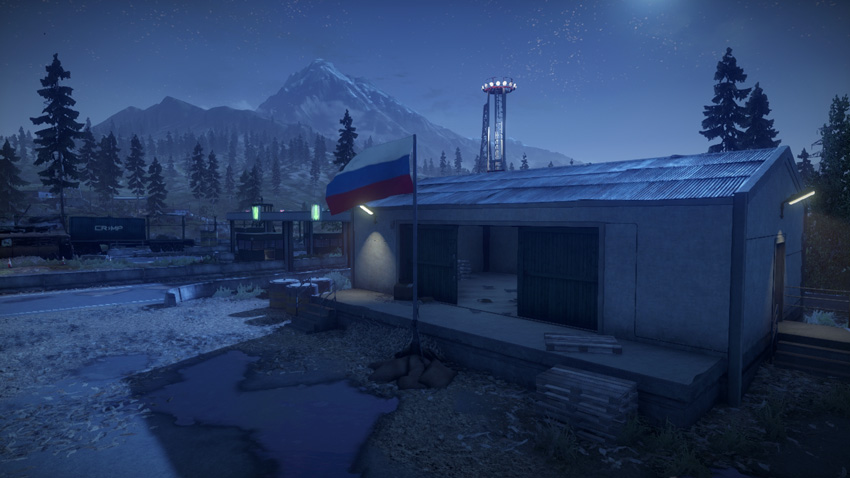
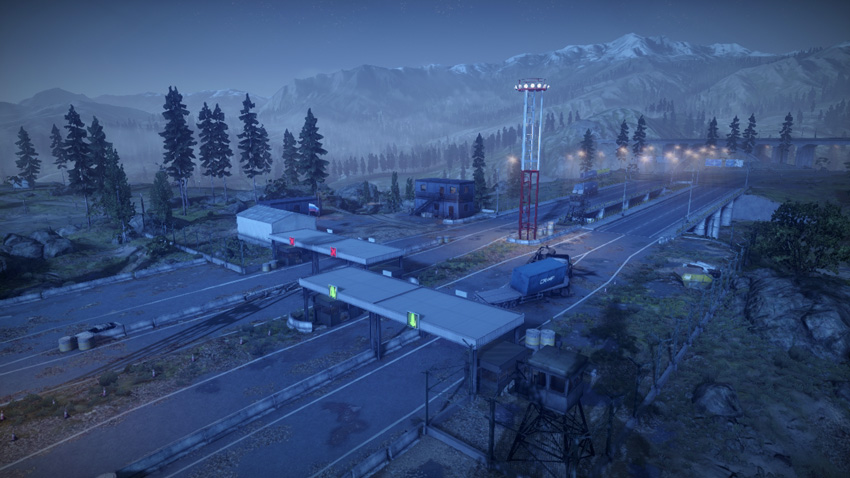
Highway control (F) is one of three control points located in the southern half of the valley, making it a critical flag for the RU team to hold. The flag is along the west side of the highway, next to a small concrete building. Because of its proximity to the highway, the flag is often rushed by vehicles approaching from the north or southeast. The highway is a major thoroughfare stretching as far north as the US base before veering east in the southern half of the valley. While the highway offers a quick way to travel through the valley, there is very little cover, making vehicles vulnerable to attacks by aircraft. It’s often better to approach this control point by utilizing the various dirt roads on the periphery. As with the construction site (B) to the north, whichever team controls this flag gains a mobile anti-aircraft vehicle in the form of an LAV-AD or 9K22 Tunguska-M. With all of the air traffic on this map, these vehicles are very valuable and can help shoot down enemy jets and helicopters. In a pinch, they’re powerful weapons can also lay waste to speedy quad bikes. But avoid close contact with enemy tanks and tank destroyers. Consider moving the mobile anti-aircraft vehicle to a remote location away from the flags, where it can focus on shooting down enemy aircraft.
G: Communication Station
Control Point Assets
| US Control | RU Control | Respawn Time |
|---|---|---|
| Quad Bike (1) | Quad Bike (1) | 5 sec. |
| M1128 (1) | SPRUT-SD (1) | 60 sec. |
| M142 (1) | BM-23 (1) | 50 sec. |
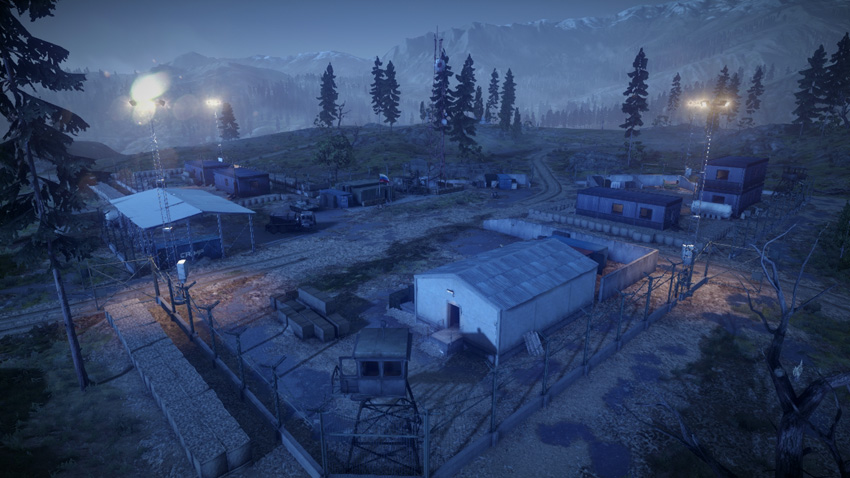
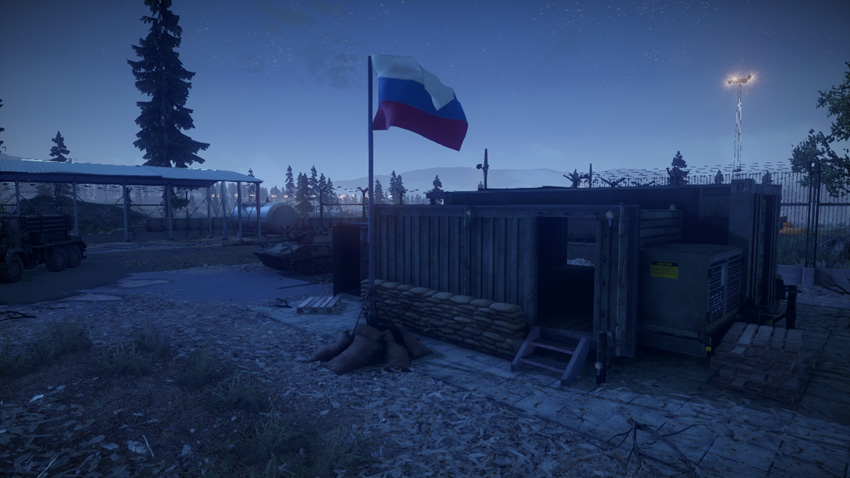
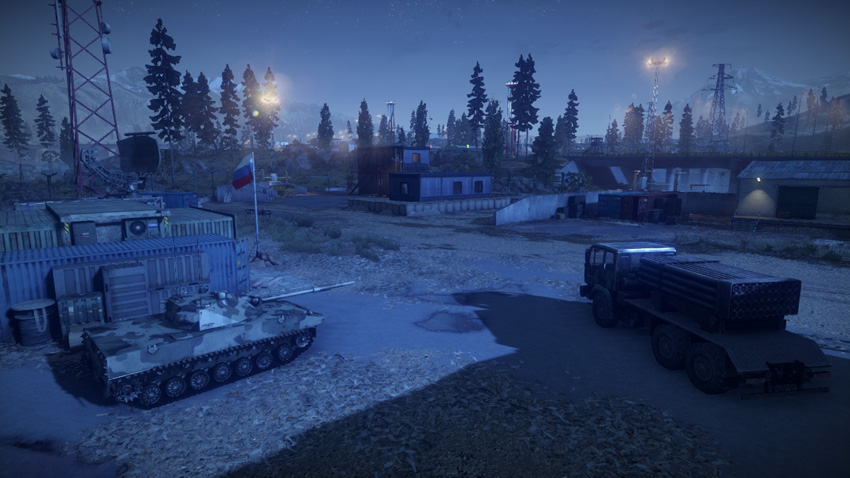
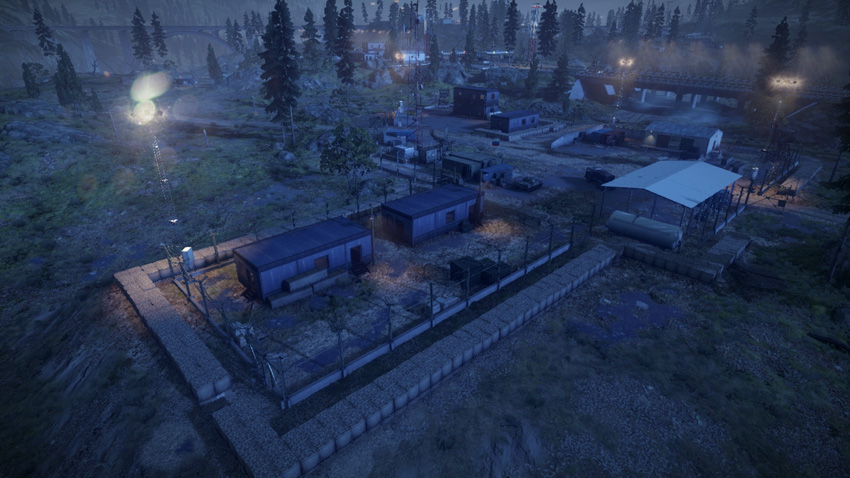
The communication station (G) is on the southern end of the valley, not far from the RU base. As a result, the RU team stands the best chance of capturing this control point and holding onto it for the duration of the match. However, the vehicles spawned here act as a strong incentive for both teams to capture this flag. The M142 and BM-23 mobile artillery units spawned here allow for devastating bombardments of the surrounding control points, ideal for suppressing defenders. If the US captures this point, they can even aim their rockets south and pound RU vehicles approaching from the RU Base. The control point also spawns a tank destroyer for both teams, adding even more firepower to the already crowded battlefield. The dirt road cutting through the center of the facility is the quickest way to gain access to the flag. So defenders should consider mining this road to prevent rush vehicle attacks on the flag. Infantry can also capture this flag without raising much suspicion. The portable communications structure right next to the flagpole provides shelter for troops capturing or contesting the flag. The are a number of other structures and hiding spots in this facility. Consider planting a radio beacon in one of the buildings to maintain a presence here, even if the flag falls into enemy hands.