
Battlefield 3 Premium Guide Battlefields Conquest
Azadi Palace
Conquest
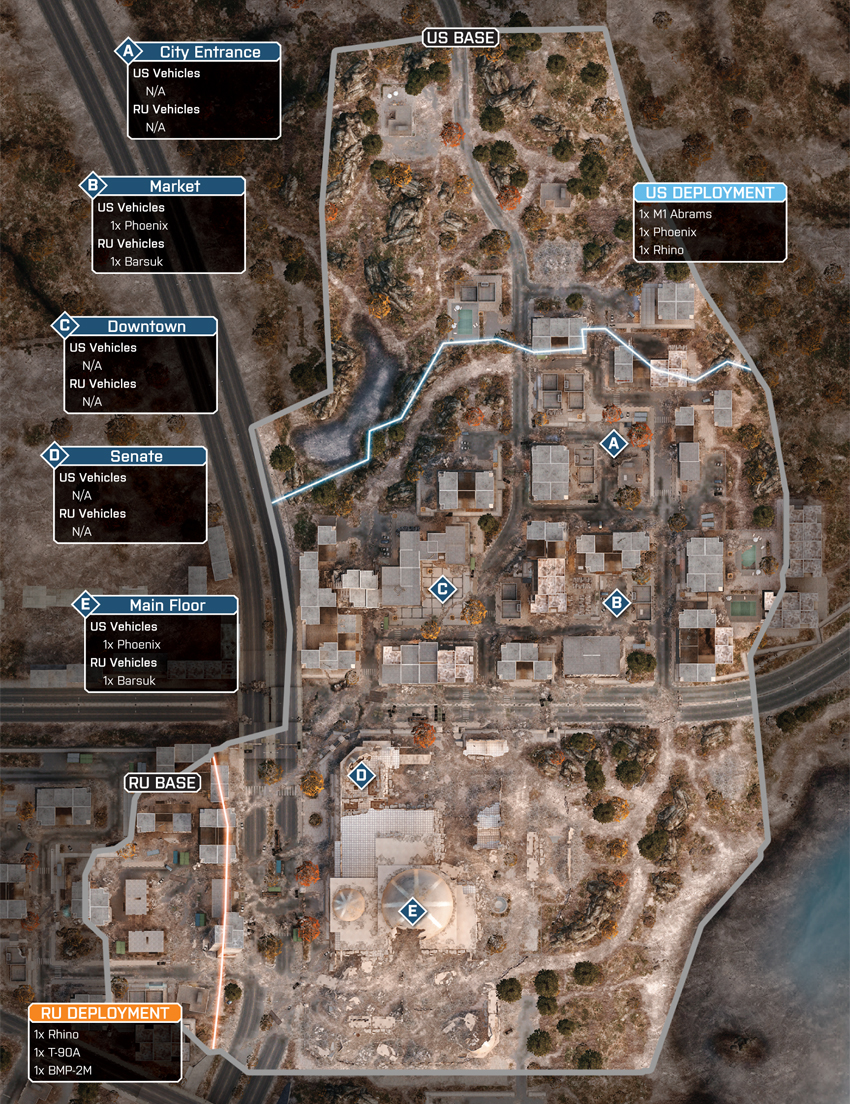
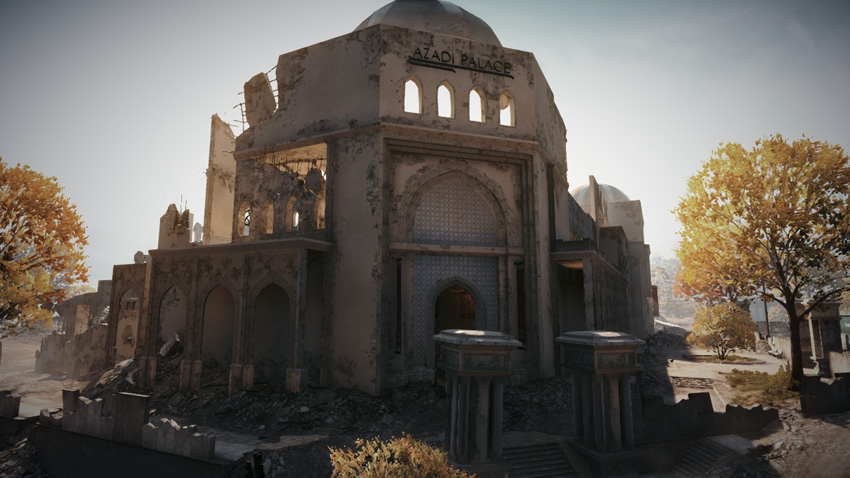
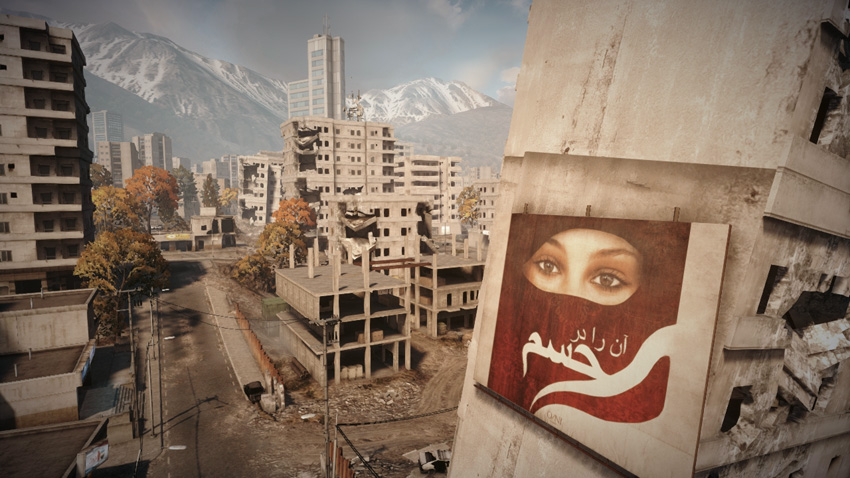
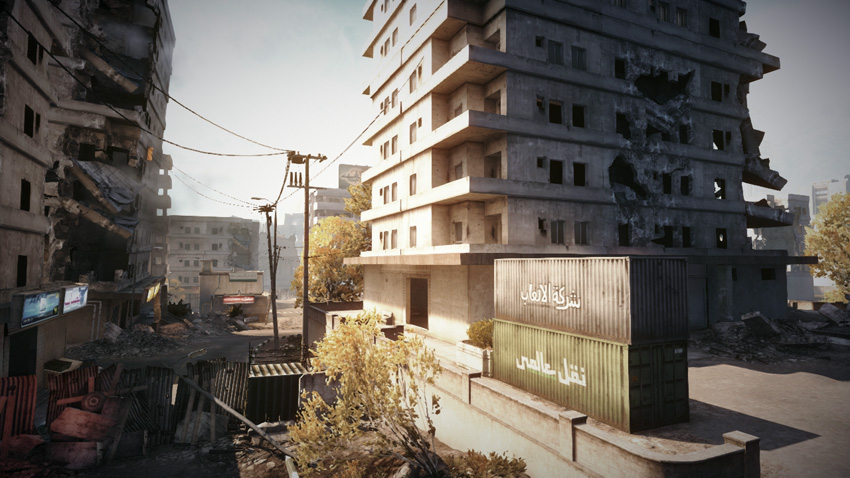
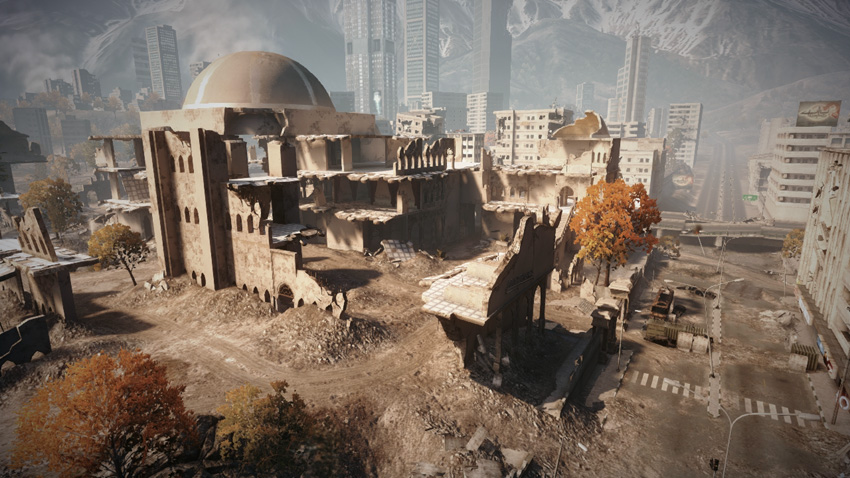
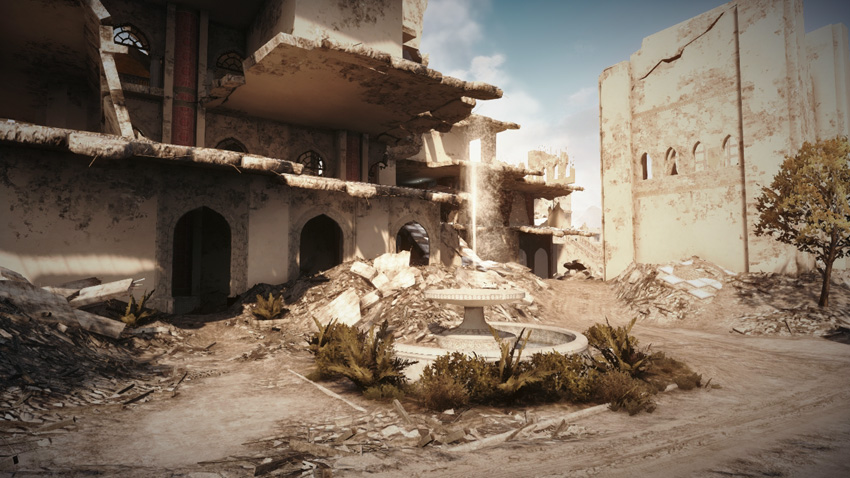
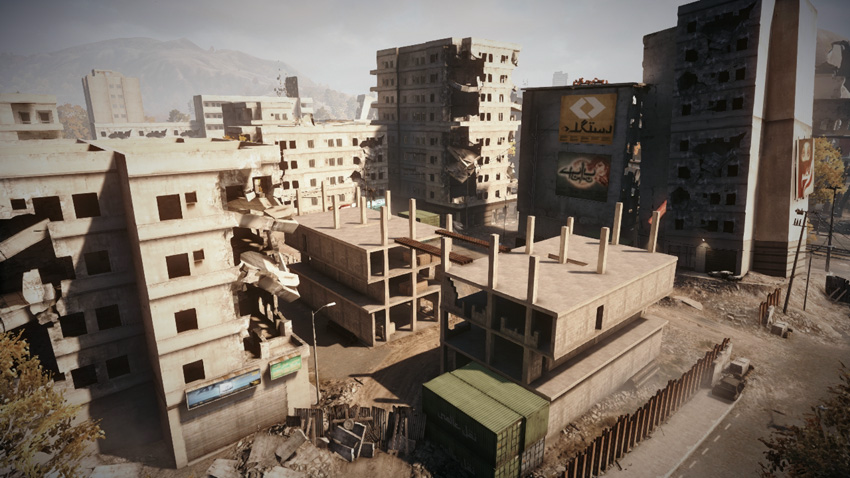
Before the earthquake, Azadi Palace, located on the southern side of the map, was a popular tourist destination, appreciated by locals and guests alike for its ornate architecture and lush gardens. But now, little is left of this once majestic structure’s former glory, as soldiers and military vehicles scurry about the rubble-filled grounds and fight for control of the Palace and the adjoining neighborhood to the north. With five control points up for grabs at the start of the match, both teams must rush to secure at least three flags to initiate a drain on the opposing team’s ticket count. Spawning on the city’s northern outskirts, the US team has the best chance of capturing the City Entrance (A), Market (B), and Downtown (C), and establish a strong presence on the north side. Meanwhile, the RU team, deploying from the Construction Site in the southeast, has a good chance of securing the Main Floor (E) and Senate (E) within Azadi Palace. But the neither team can win by simply holding the Palace. So in addition to capturing the Palace’s two control points, the RU team must look for opportunities to secure at least one of the three northern flags to avoid hemorrhaging tickets. In close matches, a tug-of-war struggle often centers around the Downtown (C) control point. To give your team the upper hand, make sure you make the most of the vehicles spawned at your team’s base and control points—the M1 Abrams and T-90A are particularly effective when it comes to taking and holding ground.
US Base
Base Assets
| Name | Quantity | Respawn Time |
|---|---|---|
| Rhino | 1 | 20 sec. |
| Phoenix | 1 | 20 sec. |
| M1 Abrams | 1 | 50 sec. |
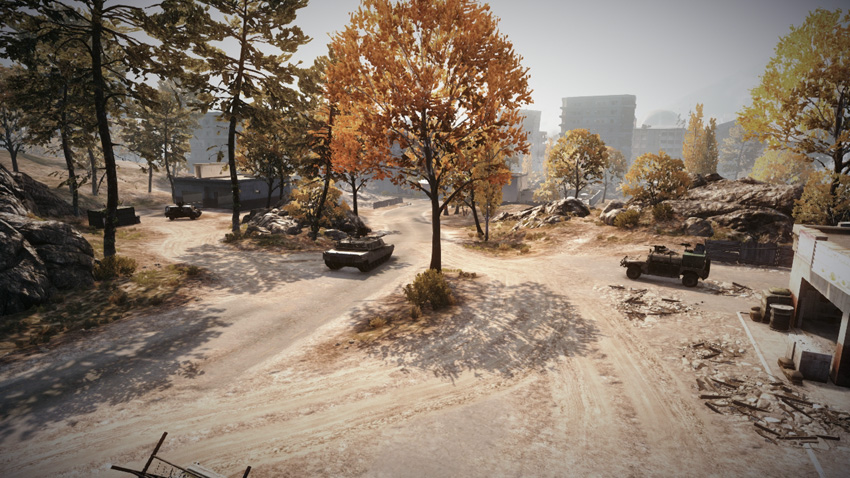
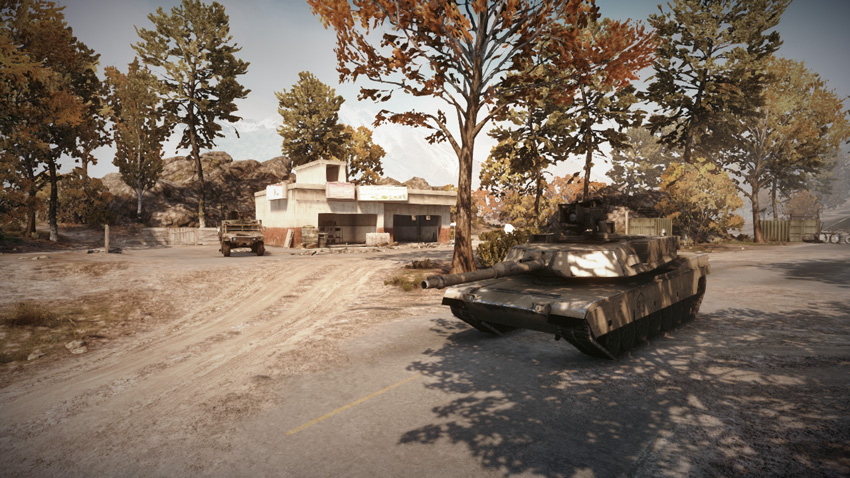
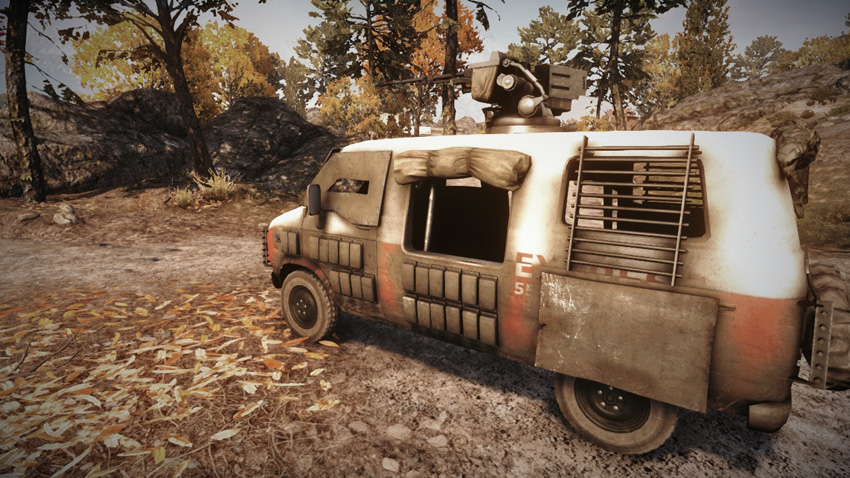
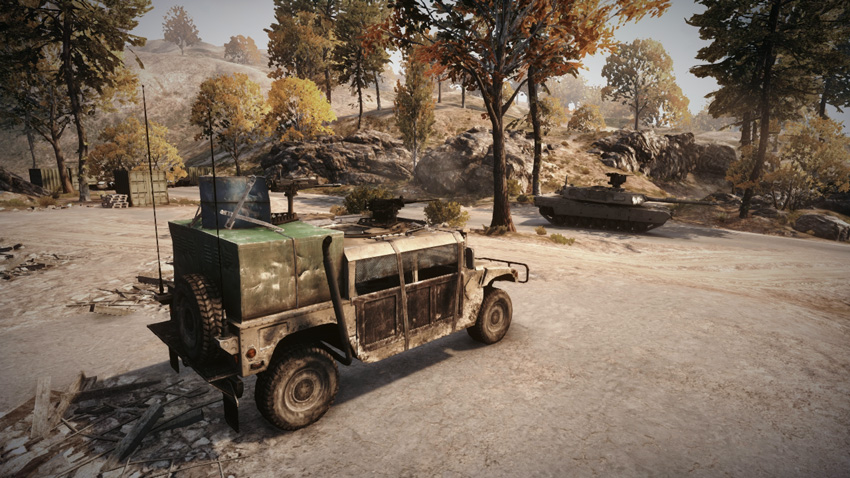
The US team deploys on the north side of the map, in the city outskirts. The vehicles spawned here play their most important role at the start of the match by serving as troop transports. Both the Rhino and Phoenix are capable of transporting three soldiers. Fill these vehicles to capacity and send the Rhino to the Market (B) while the Phoenix secures the Downtown (C) control point. Meanwhile, the remaining infantry and M1 Abrams can follow these speedy vehicles into the city and capture the City Entrance (A). If the US team moves out fast, they stand a good chance of securing these three northern control points, instantly draining the RU team’s ticket count. By holding three out of the five flags, the US team doesn’t need to even approach the Palace to the south. Instead, it’s better to consolidate on the north side of the city. Post at least one vehicle at each control point and dig in for the rest of the match. As vehicles are destroyed, don’t forget to spawn back at the US Base and move new vehicles to the front lines—keeping the M1 Abrams in the fight is particularly important.
RU Base
Base Assets
| Name | Quantity | Respawn Time |
|---|---|---|
| Rhino | 1 | 20 sec. |
| Barsuk | 1 | 20 sec. |
| T-90A | 1 | 50 sec. |
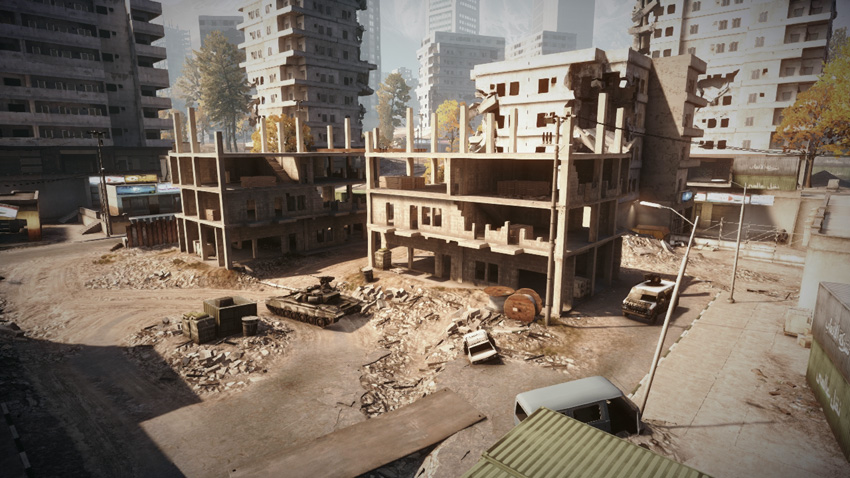
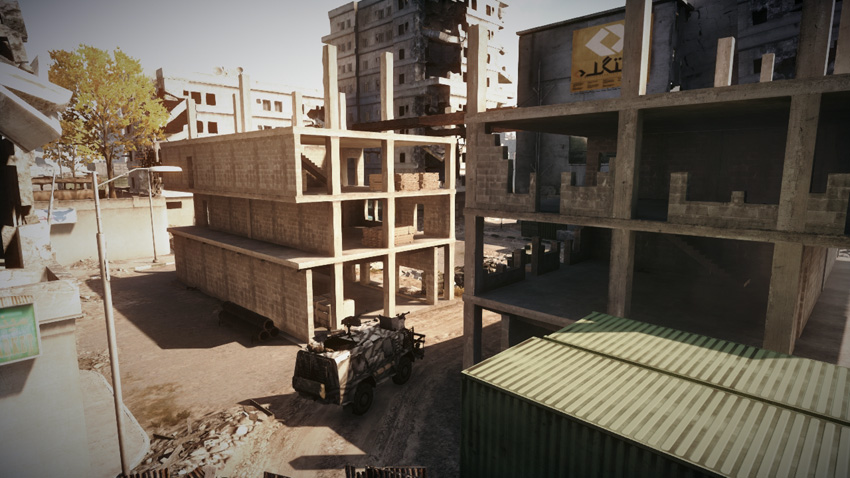
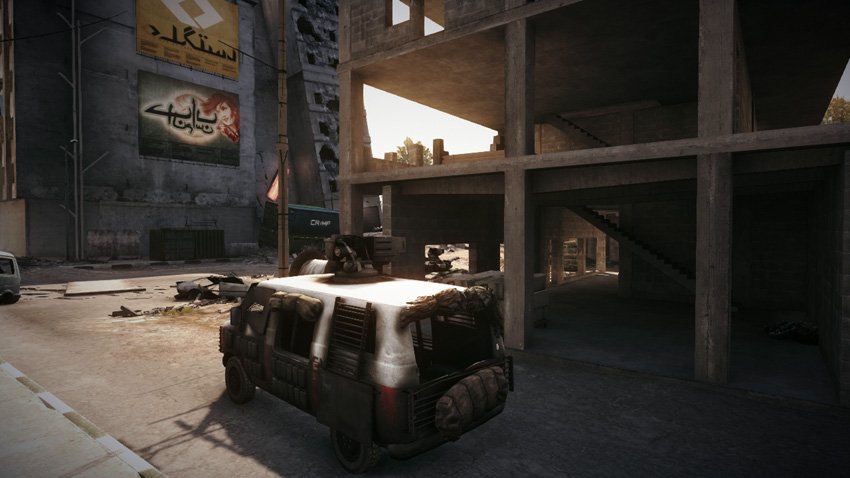
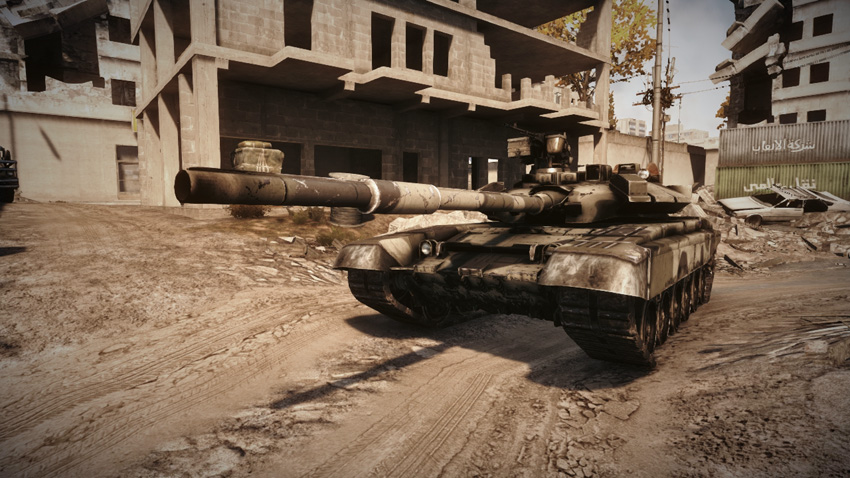
Spawning from the Construction Site in the southwest corner of the city, the RU team begins the battle from a slight geographic disadvantage. While the Palace and its two control points are within close striking distance, the RU team has a difficult time beating the US team to the other three control points, on the north side of the city. So at the start of the battle, while a couple of squads secure the nearby Main Floor (E) and Senate (D) at the Palace, the rest of the team should make an aggressive push toward the Downtown (C) control point. Attacking this control point with the T-90A, Rhino, and Barsuk should be enough to overwhelm the US team’s defenders. If the early-round attack is successful, instead of spreading their themselves thin, the RU team should consolidate their forces at the Downtown (C), Senate (D), and Main Floor (E) control points. The two control points in the Palace are easily defended by infantry, so use the vehicle spawned at the RU Base to reinforce the Downtown (C) control point.
A: City Entrance
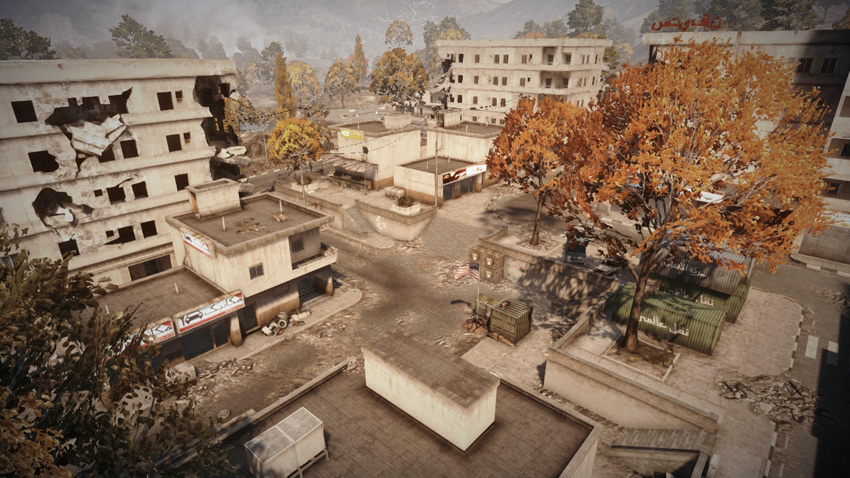
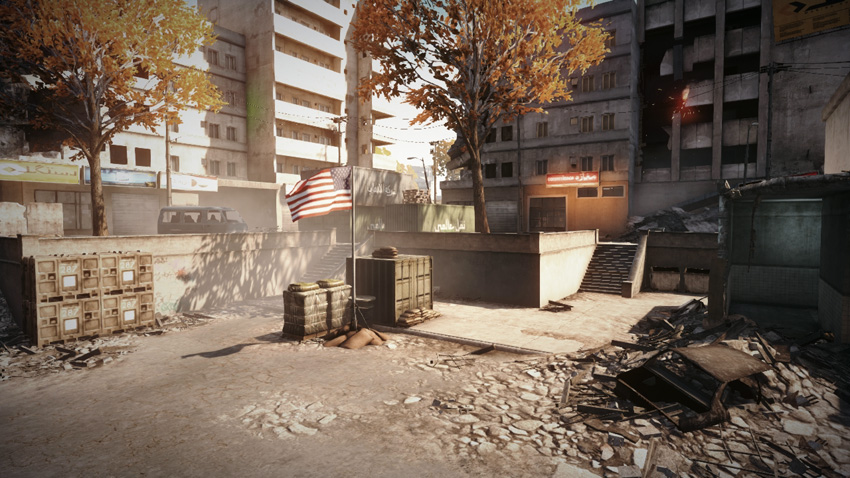
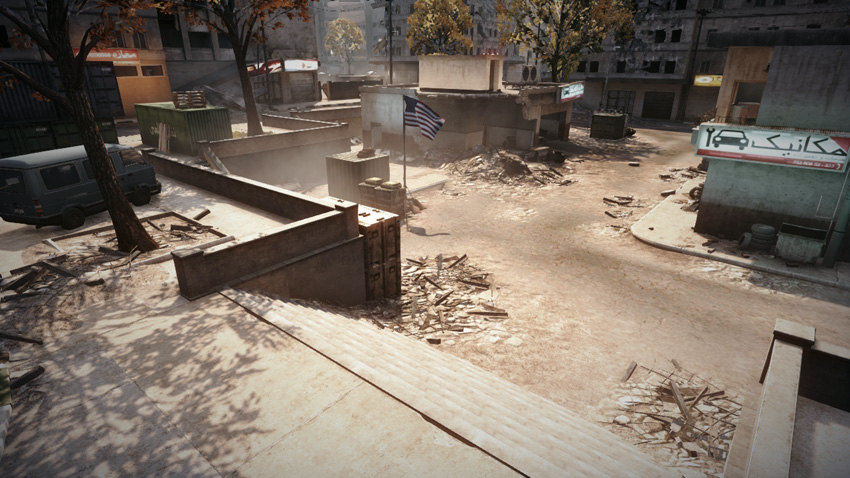
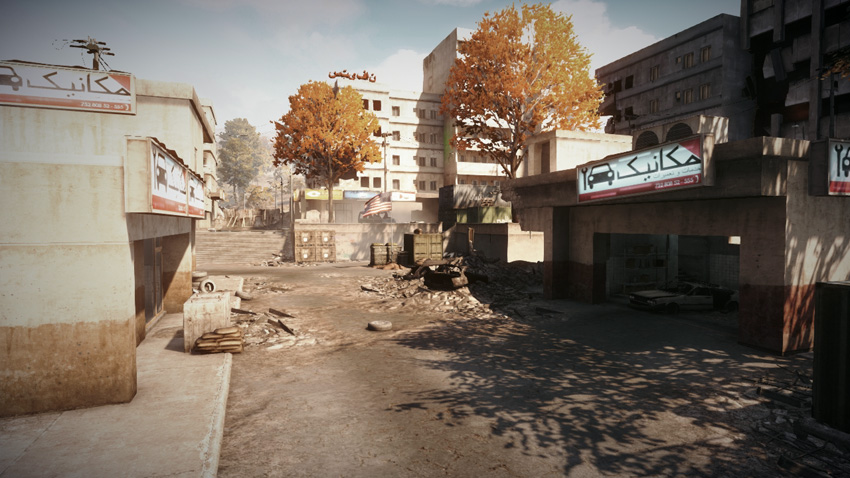
The City Entrance (A) is a small plaza located on the north side of the city, only a few meters from the US Base. The US team stands a good chance of capturing this control point at the start of the match. However, the US team often takes this flag for granted and leaves it undefended. This gives RU squads an opportunity to sneak in and capture this control point, often without ever firing a shot. The flag is positioned in a small plaza flanked by several small buildings. The crates next to the flag offer adequate cover for infantry, but attackers should always watch for defenders posted in the buildings or on rooftops nearby. This control point is easiest for vehicles to access from the south or west. But in a pinch, vehicles can also traverse the wide staircase to the north—it’s easier to drive down the stairs than it is to drive up them. Although the control point produces no vehicles for either team, it’s still a location worth holding on to, so make sure at least one squad stays behind to guard it.
B: Market
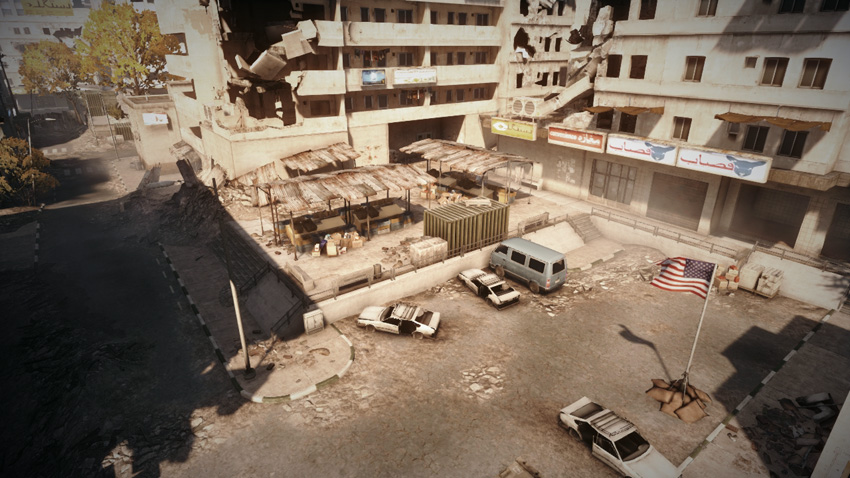
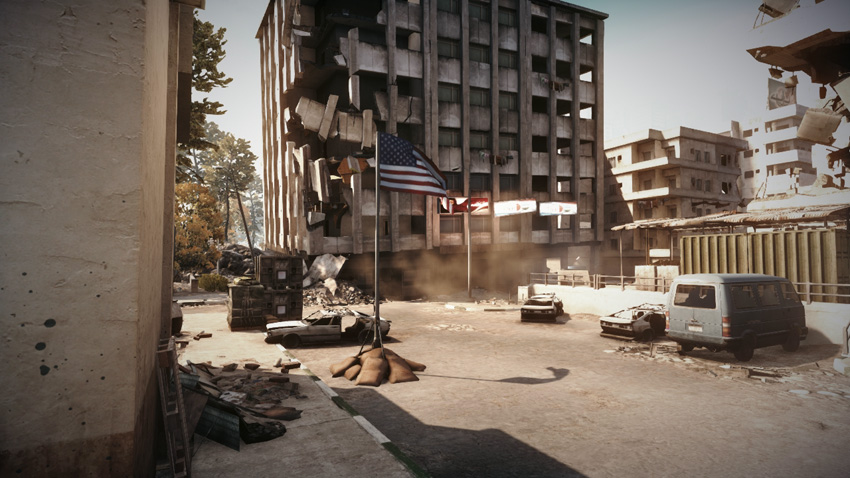
Control Point Assets
| US Control | RU Control | Respawn Time |
|---|---|---|
| Phoenix (1) | Barsuk (1) | 50 sec. |
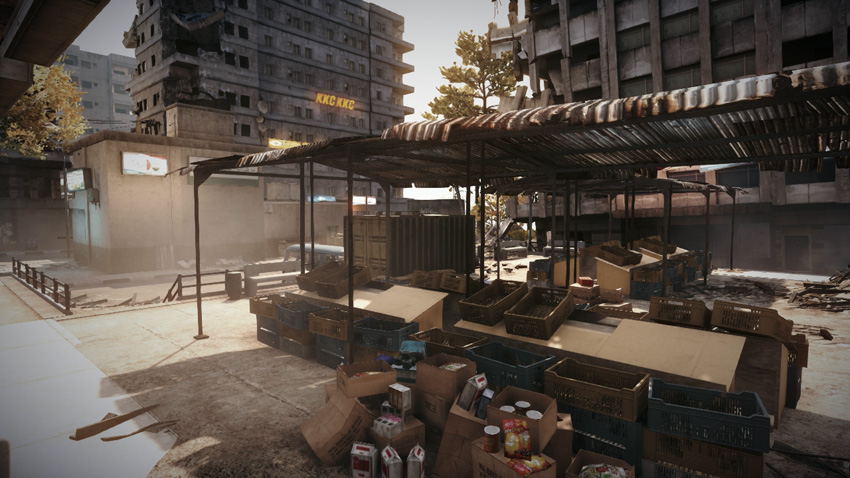
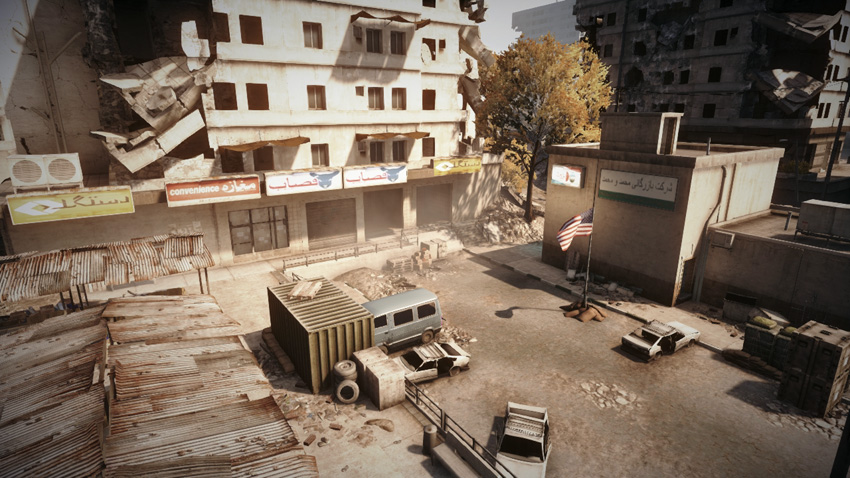
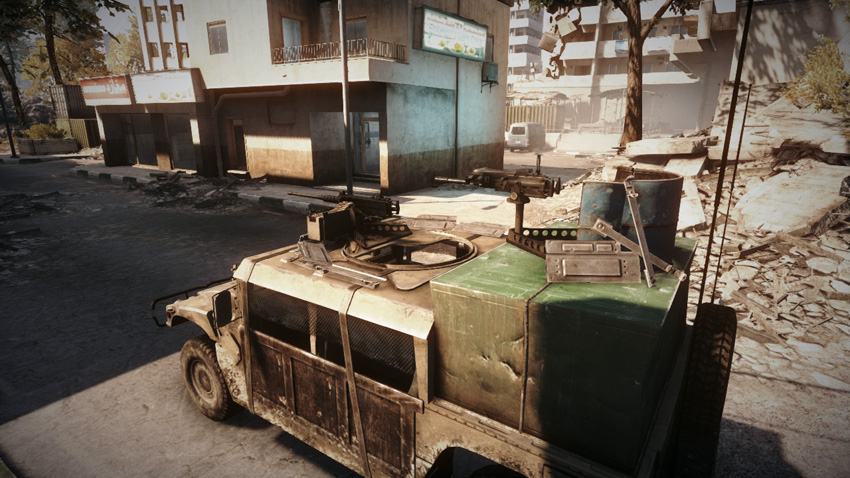
The Market (B) is located just south of the City Entrance (A) and directly east of the Downtown (C), so it’s a key piece of the control point triangle on the city’s north side. Unlike its neighboring control points, the Market (B) produces a light vehicle for each team—the US team gets a Phoenix and the RU team gains a Barsuk. Both spawn in a street to the east. The flag is located in a small parking lot on the east side of an abandoned outdoor market. With the exception of a few damaged cars, there isn’t much cover for infantry within the flag’s capture radius. While infantry can approach the flag from any direction, vehicles can only enter the parking lot from the south—defending engineers should place mines at the parking lot’s entrance. Since there aren’t too many hiding spots near the flag, defenders should watch this area from the periphery, and take up positions in the building to the east or among the market stalls to the west. Parking the Phoenix or Barsuk in the parking lot or southern street also serves as a good deterrent.
C: Downtown
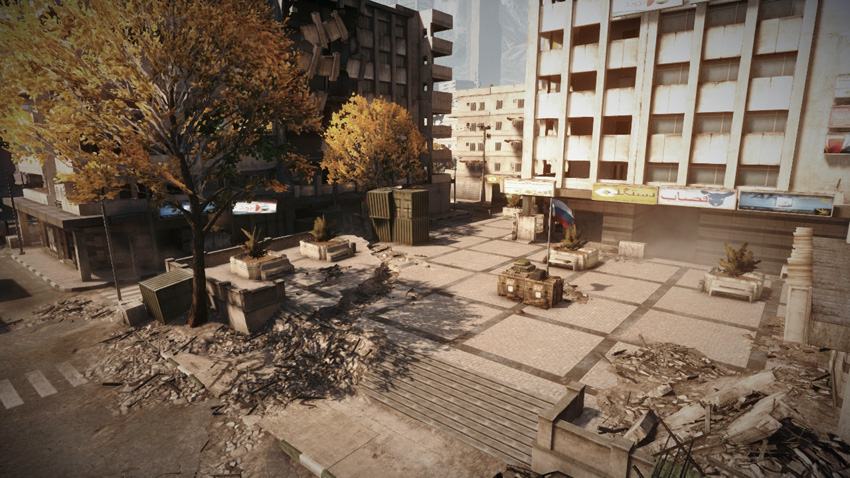
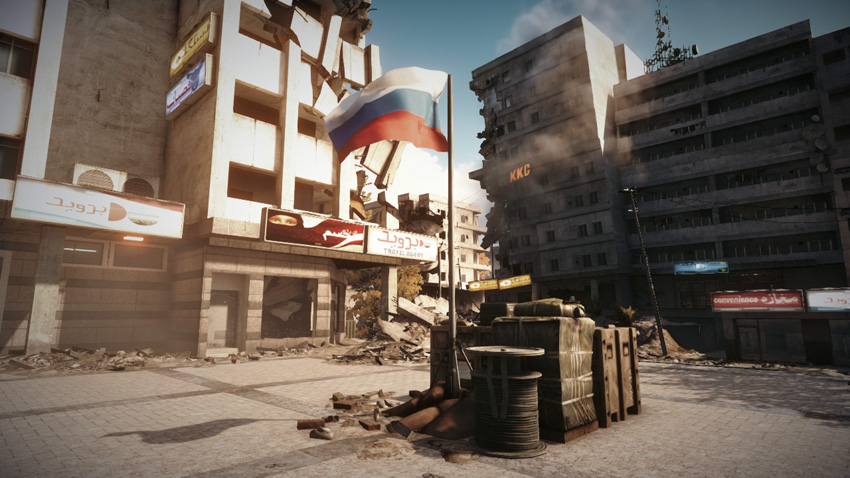
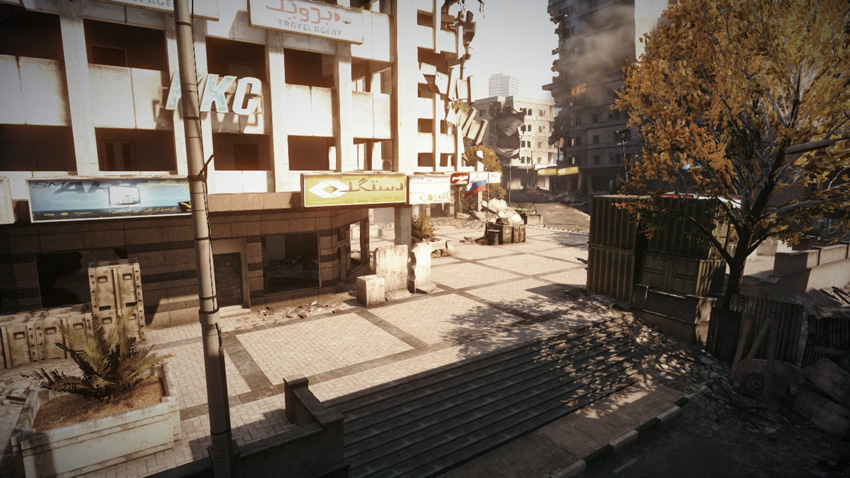
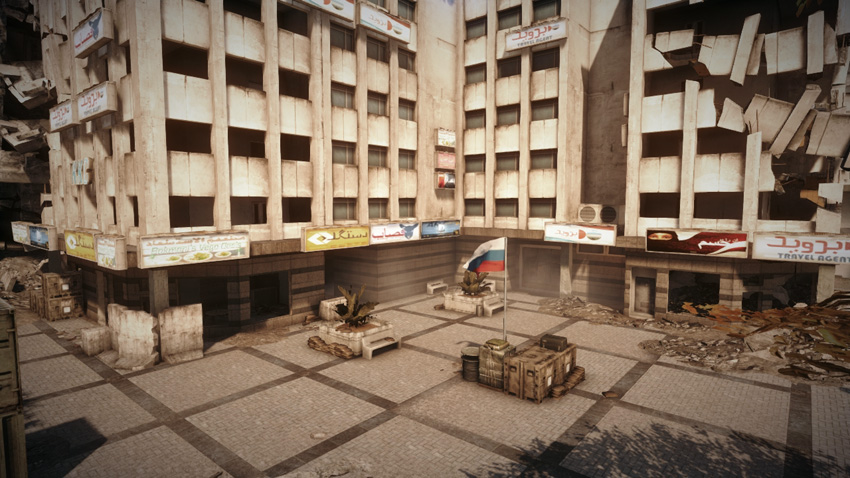
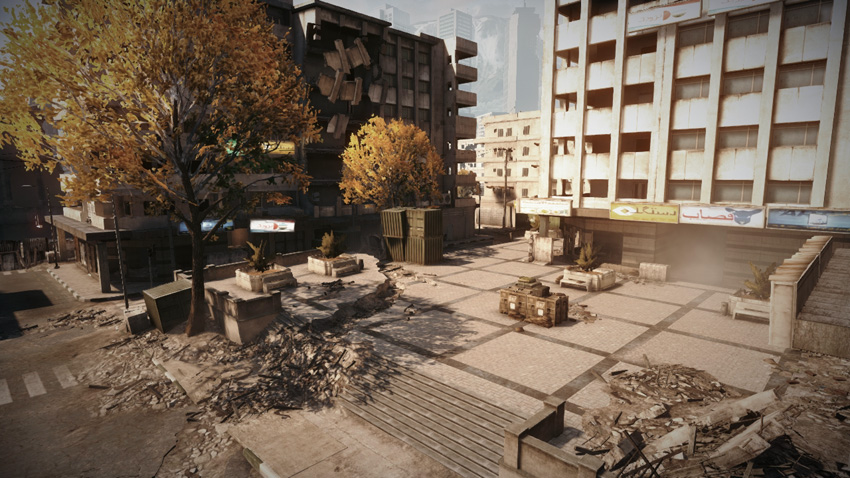
The Downtown (C) control point is one of the most contested locations on the north side of the city. This area of the map serves as a bridge linking the north side of the city to the Palace in the south. So expect heavy traffic (and fighting) in the area between the Downtown (C) and Senate (D). Both teams should rush this location at the outset of the match. Once captured, the control point is relatively easy to defend thanks to the exposed flag that stands in the middle of a large plaza. A few crates and planters serve as the only cover within the flag’s capture radius, which encompasses most of the plaza. So if you’re on foot, take cover behind one of these objects and drop prone. Given the exposed nature of the flag, its often safer to capture this control point from within the confines of an armored vehicle—the steps on the south and east sides of the plaza can be traversed by vehicles. However, defenders posted in the abandoned storefronts on the west and north sides of the plaza have a clear view of the flag, so they can engage attackers from the buildings’ dark interiors. So before racing to the flag, make an effort to secure the perimeter. Otherwise you’re likely to get caught in an ambush.
D: Senate
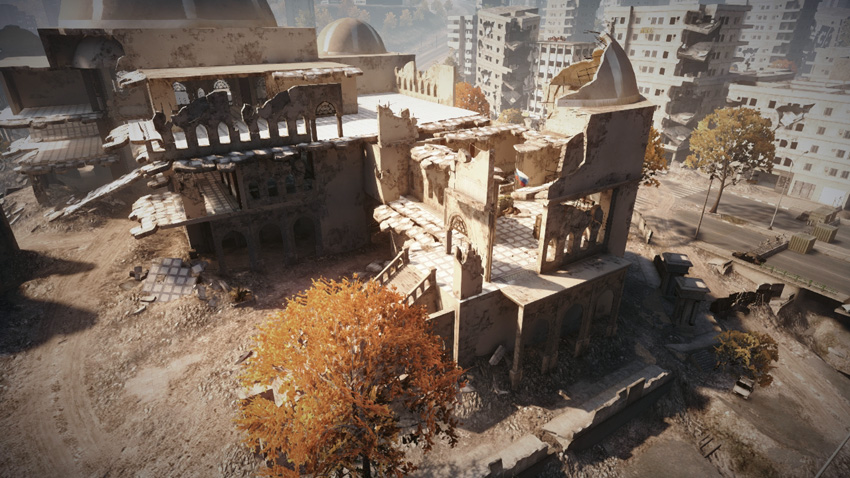
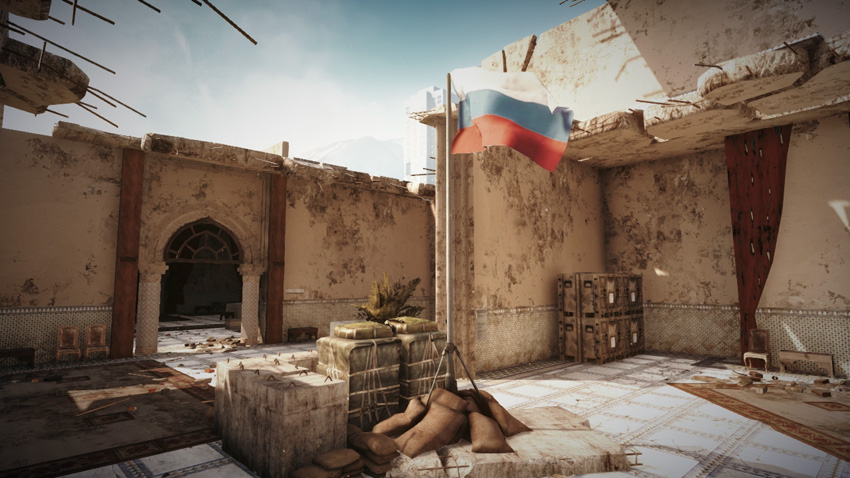
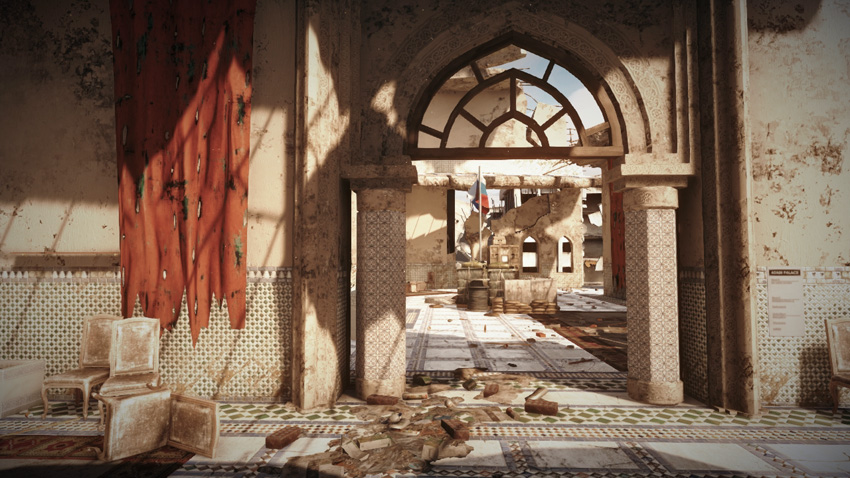
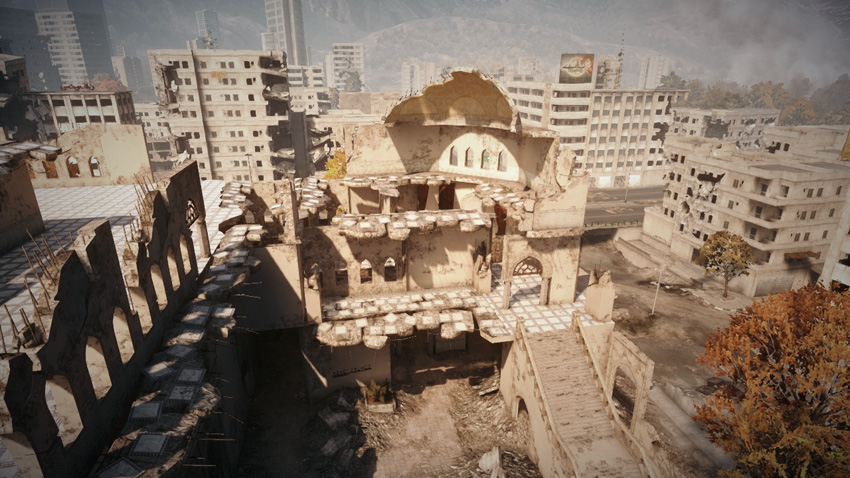
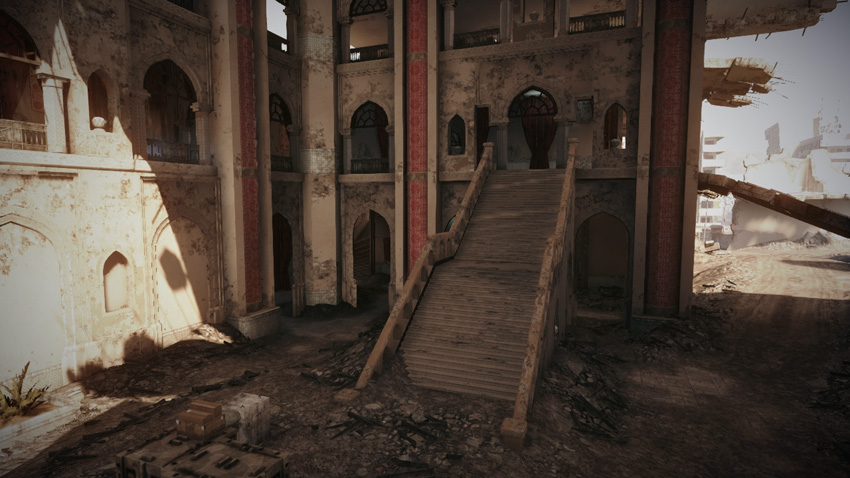
This control point is located in the moderately damaged north wing of Azadi Palace, on the second floor. What was once an ornate room frequented by politicians (and most recently tourists) has been transformed into a military outpost. The flag is positioned in the center of this small room. Therefore, expect most fighting here to take place at close range—PDWs and shotguns are well suited for these point-blank engagements. This room can only be accessed through three points: the large exterior staircase to the east, the narrow interior staircase to the south, and the arched doorway to the south. It's possible for light vehicles like the Phoenix, Barsuk, and Rhino to climb the exterior staircase to gain entry into this room. Tanks can climb the ramp on the east side of the palace, near the restaurant, and fire through the arched doorway. But the doorway is too narrow for a tank to fit in the room. While vehicle attacks are uncommon here, they're a possibility all defenders should prepare for. Once the flag is captured, one squad can adequately cover all three entry points, assisted by a T-UGS motion sensor and Claymores. When attacking here, avoid the staircases and advance from the restaurant to the south, also on the second floor. Attacking through the arched doorway on the south side of the flag is much safer than trudging up the stairs. Toss grenades and fire rockets through the doorway to soften-up any defenders near the flag before entering the room.
E: Main Floor
Control Point Assets
| US Control | RU Control | Respawn Time |
|---|---|---|
| Phoenix (1) | Barsuk (1) | 50 sec. |
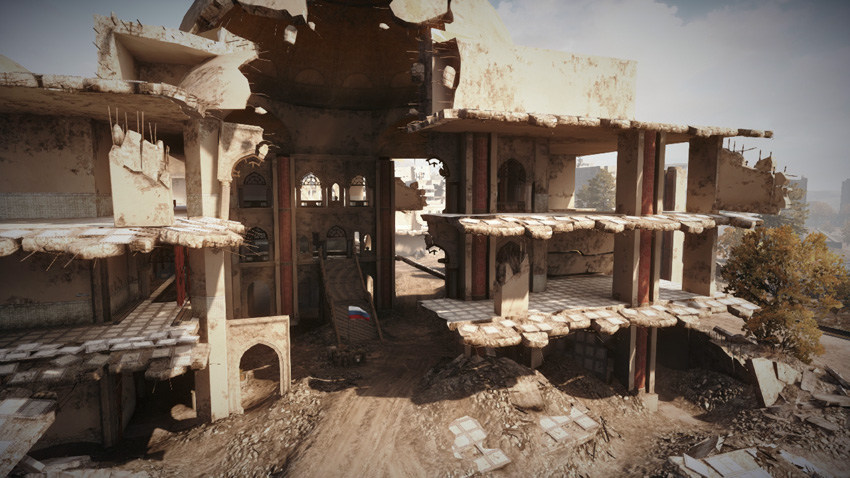
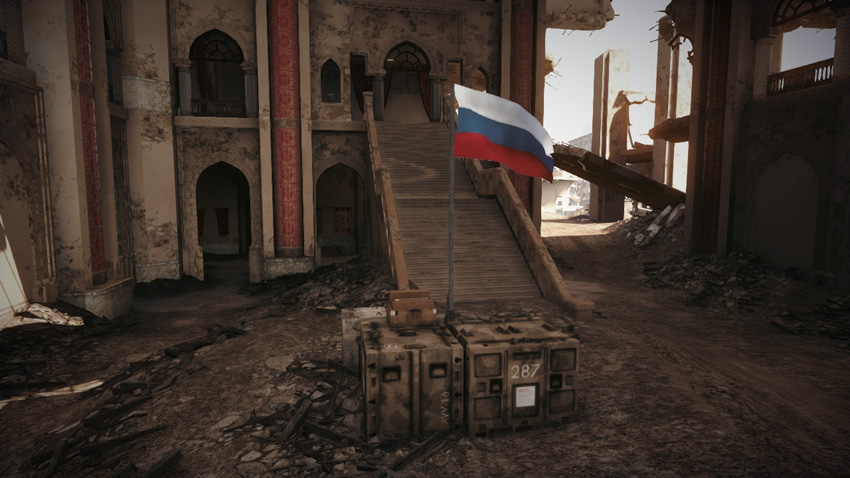
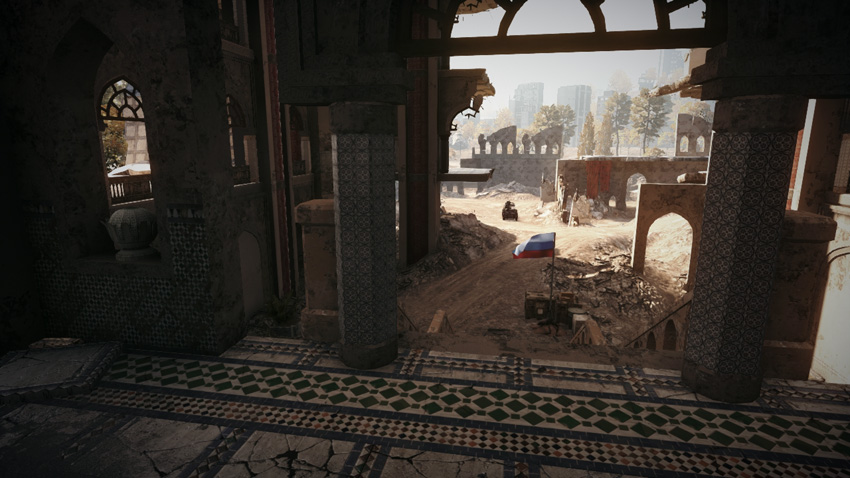
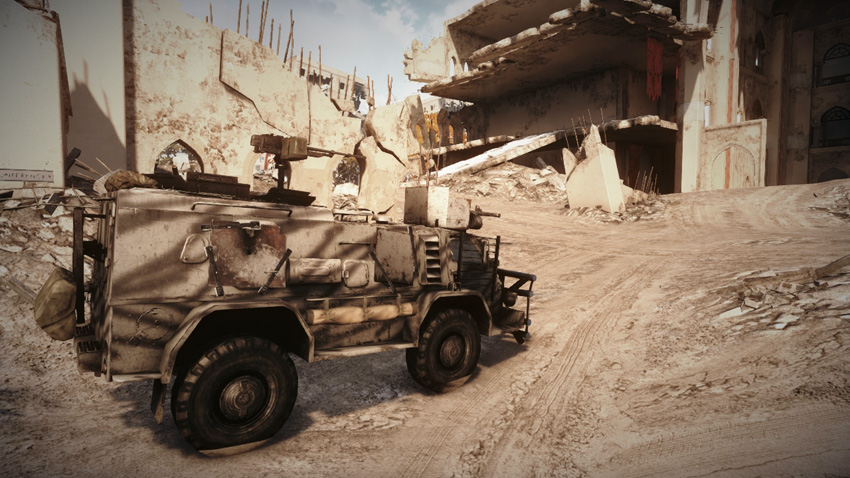
This is another control point located within Azadi Palace, on the south side of the map. Before the earthquake, this lavish foyer and its impressive domed roof greeted guests and dignitaries from around the world. But now the southern wall of the Palace has collapsed, leaving the Main Floor (E) exposed to the elements. The flag stands at the base of a large staircase leading to the second-floor promenade. With the exception of a few crates, there isn’t much cover near the flag, which leaves attackers largely exposed while gathered within the capture radius. So consider capturing this flag from within a vehicle. A narrow dirt road cuts through the middle of the foyer, connecting the south and east sides of the palace. But even vehicles run the risk of getting ambushed here by defenders posted on the second floor. The second-floor walkway to the west of the flag is a popular overwatch position for defenders. The piles of rubble and perimeter arched doorways on the ground floor also offer plenty of sneaky spots for defenders to hide. So before approaching the flag, it’s wise to secure the second floor. Although this control point is closest to the RU Base, the Main Floor (E) produces light vehicles for both teams that spawn outside the Palace to the south.