
Battlefield 3 Premium Guide Battlefields Conquest
Operation Riverside
Conquest
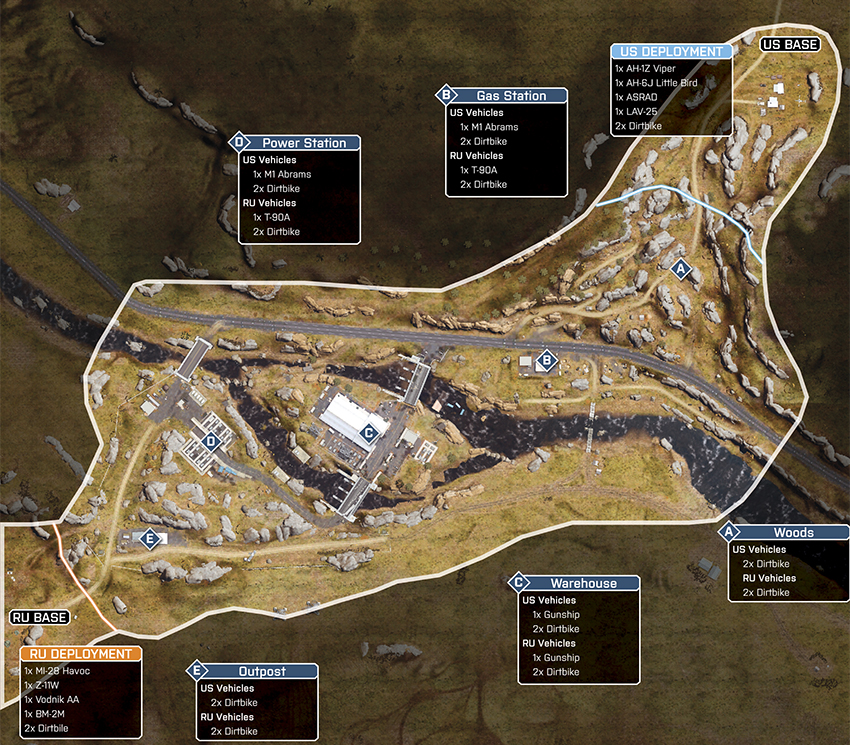
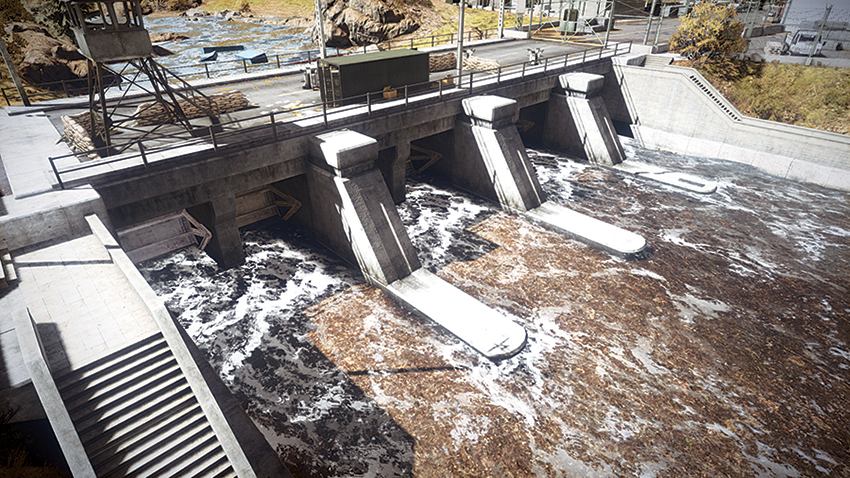
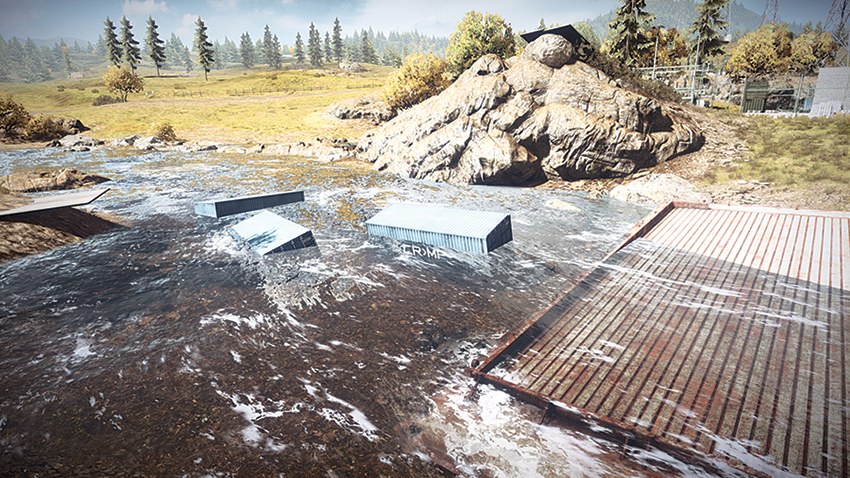
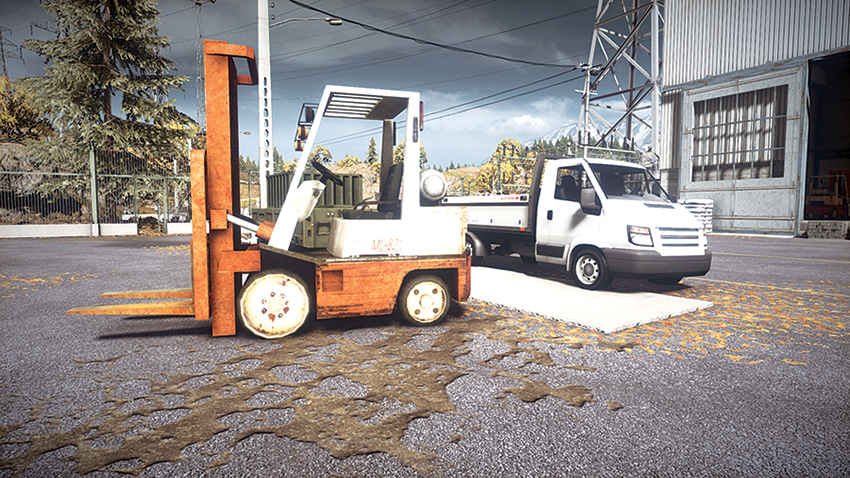
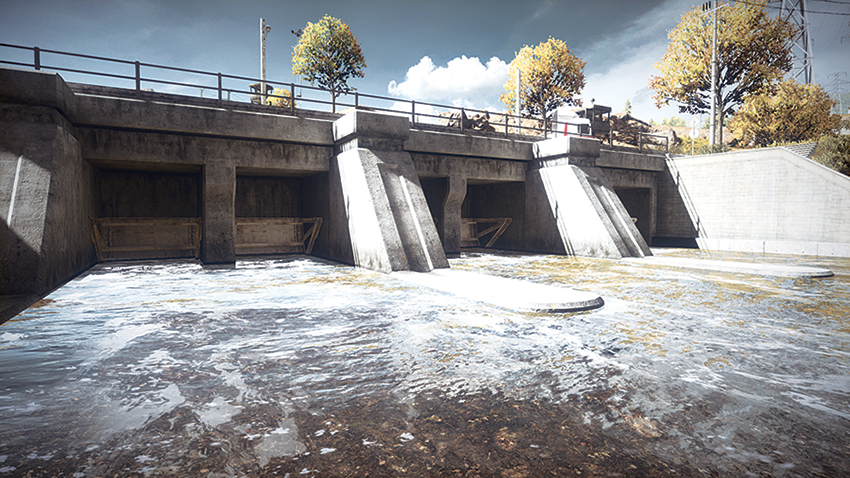
The stage for Operation Riverside is set around a small hydroelectric power station that harnesses the raw power of the river that cuts through this foothill region. Its waters divide the landscape into northern and southern regions. Now, among this deceptively serene landscape, a fierce battle is underway to decide who will control this land. From the onset of the battle, the two opposing forces must rush to capture and control the highest number of the five control points available. Deploying from the hills northeast of the Warehouse (C), the US team has the best chance of capturing and holding the Woods (A) and the Gas Station (B) early on in the match, as long as they remain vigilant at staving off attacks along the riverbanks. From a makeshift base in the southwest, the RU team will quickly be able to capture and maintain a presence at the Outpost (E) and Power Station (D). Centralized on the map and sure to be a heavily contested point is the Warehouse (C). Located at the fork of the river, two narrow bridges provide access to larger vehicles, should they decide to avoid the river itself; this terrain can be difficult for large vehicles to negotiate. Teams should make it a priority to maintain helicopter presence over the Warehouse (C), using it to clear out any hostiles that attempt to approach the control point via the waterways that flank the structure. While conflict is typically fierce at the Warehouse (C), both teams will be fighting for inches using the bridges east of the building to gain access to the control point. Instead, make use of the bridge northwest of the Power Station (D) which can provide both teams with an opportunity to flank their enemy.
US Base
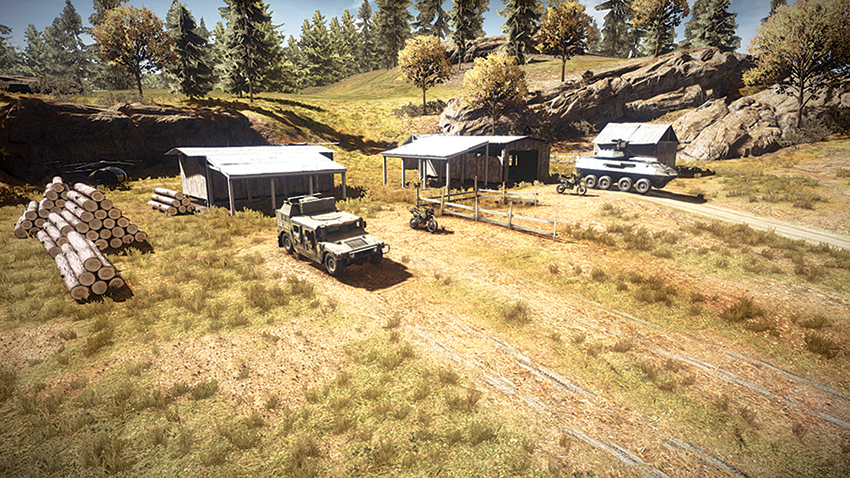
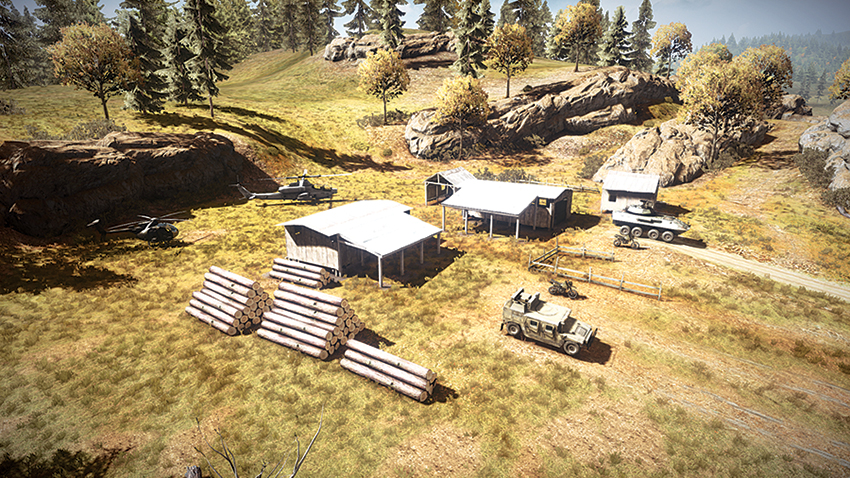
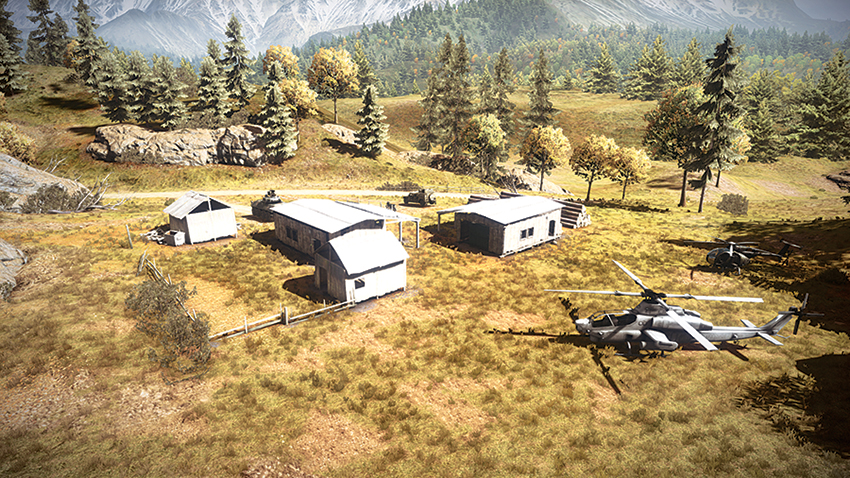
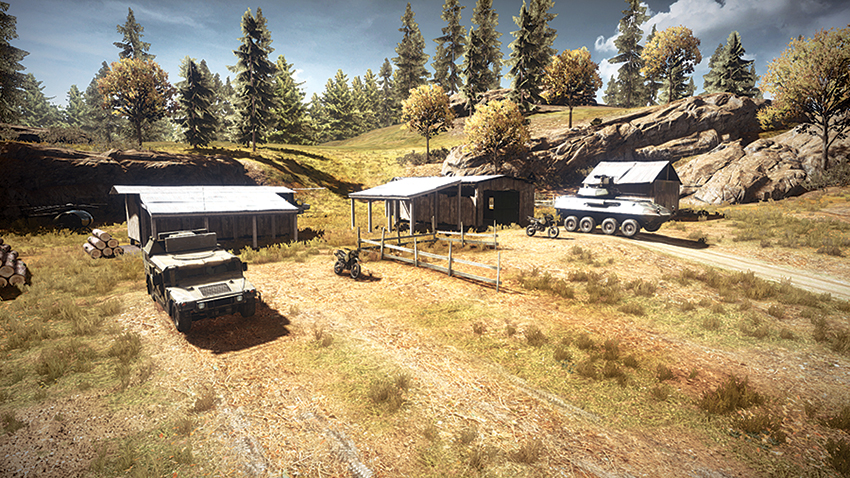
Deploying from the hills to the north of the Gas Station (B), the AH-1Z Viper should immediately proceed toward the southwest to engage the RU team’s helicopters as they deploy. As the AH-1Z Viper proceeds on its search-and-destroy mission, the AH-6J Little Bird should be at full capacity, transporting soldiers to the Warehouse (C) to allow for early capture of this clinch point. After dropping off troops at the Warehouse (C), the AH-6J Little Bird should continue to the southwest and assist the AH-1Z Viper while maintaining a patrol of the Power Station (D) until ground forces arrive. The rocky hill south of the Power Station is vulnerable to attacks by infantry or dirtbikes, but the primary goal of the AH-6J Little Bird here is to stave off the advancement of heavily armored vehicles from the southwest, where the Outpost (E) is likely to be held by RU forces. With the AH-6J Little Bird patrolling the area north of the Outpost (E), the AH-1Z Viper should patrol the road that runs east from the point. Also, while the Woods (A) and Gas Station (B) are tempting to capture immediately due to their proximity to the base, the capture of these points should be the focus of ground forces as they proceed south to engage the enemy. While effective against aircraft, the ASRAD should be patrolling the road that runs east to west across the map, and making use of its unguided rockets to bombard enemies approaching the Power Station and the area to the west of the Warehouse.
RU Base
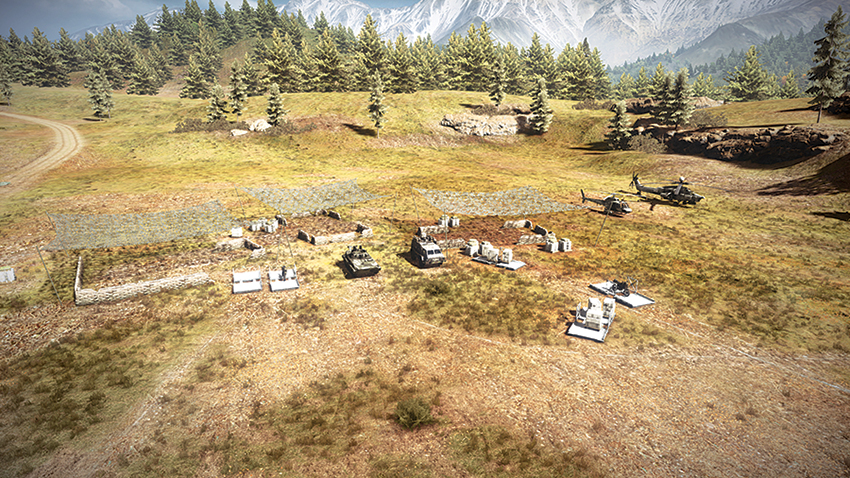
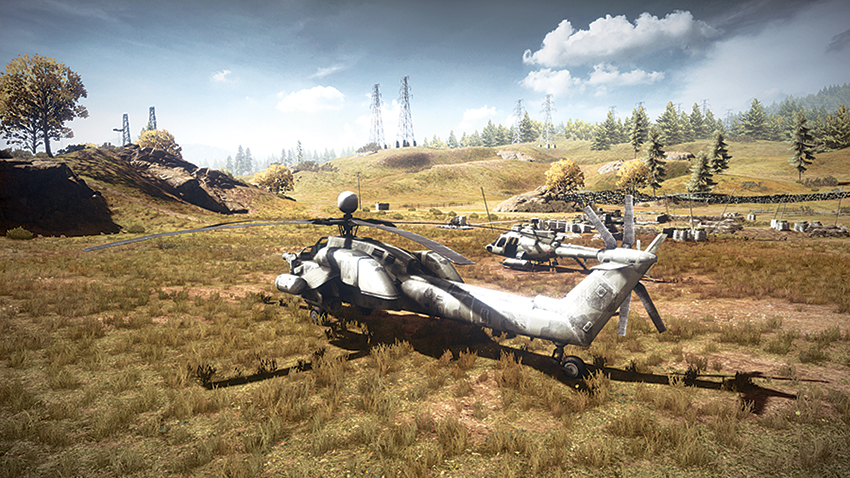
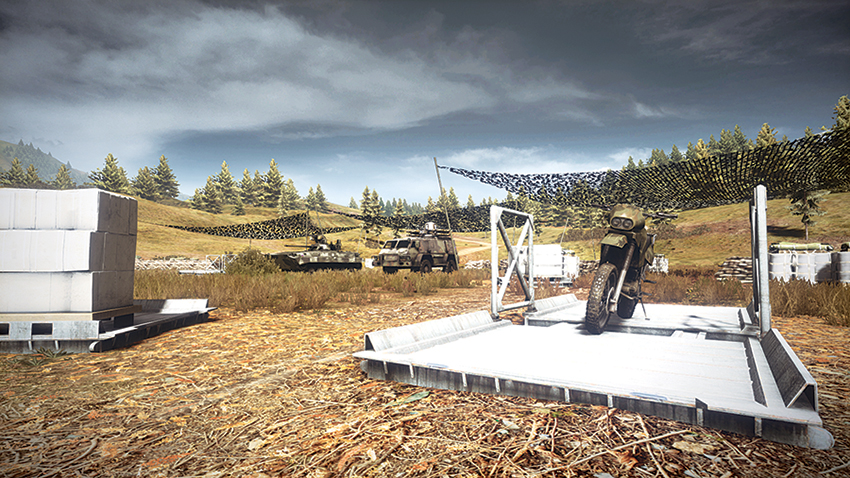
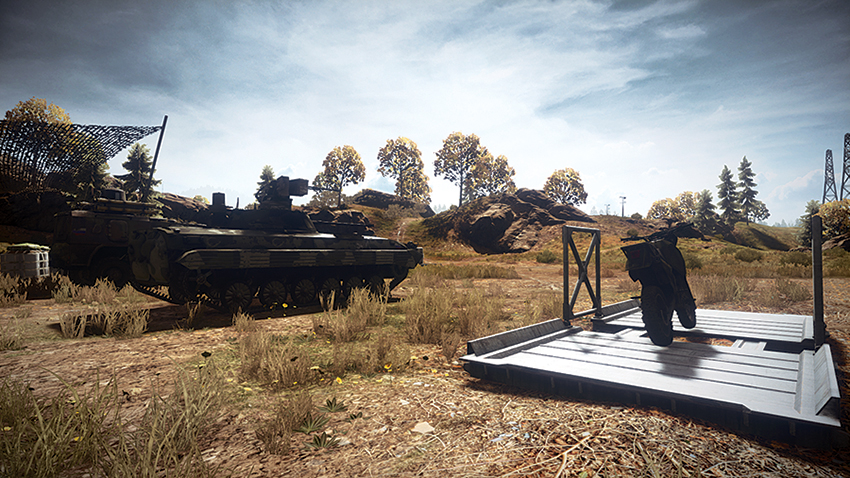
Considering their relatively close proximity to the RU base, the Outpost (E) and Power Station (D) should be a priority for the dirtbikes, BMP-2M, and the Vodnik AA, all of which should be loaded to capacity. One of the dirtbike passengers should get off at the Outpost (E) to capture it. Moving with the convoy, the dirtbikes and Vodnik AA should proceed northeast to capture the Power Station (D), while the BMP-2M proceeds north from the Outpost (E), crossing the bridge that passes over the river. After crossing, the BMP-2M should proceed east to engage the US team as their ground forces make their way downhill. While the ground forces are moving into position, the Z-11W should take off from the base at full capacity and make its way to the Warehouse (C), which by this time will likely have US dirtbikes present on the building’s east side. Because of this, drop off soldiers near the west entrance of the Warehouse. By now, the MI-28 Havoc should be patrolling the eastern side of the map for enemy helicopters and eliminating any threat on the east side of the Warehouse (C) grounds to provide a distraction as the RU troops enter from the west side of the building to claim the point.
A: Woods
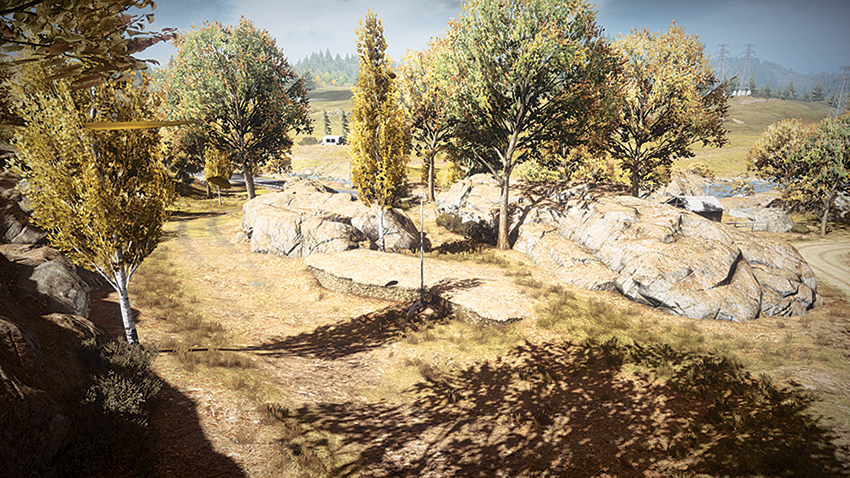
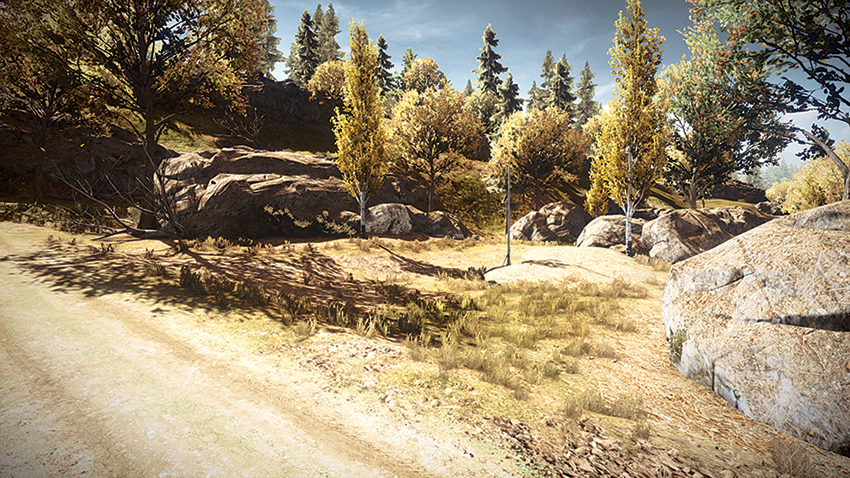
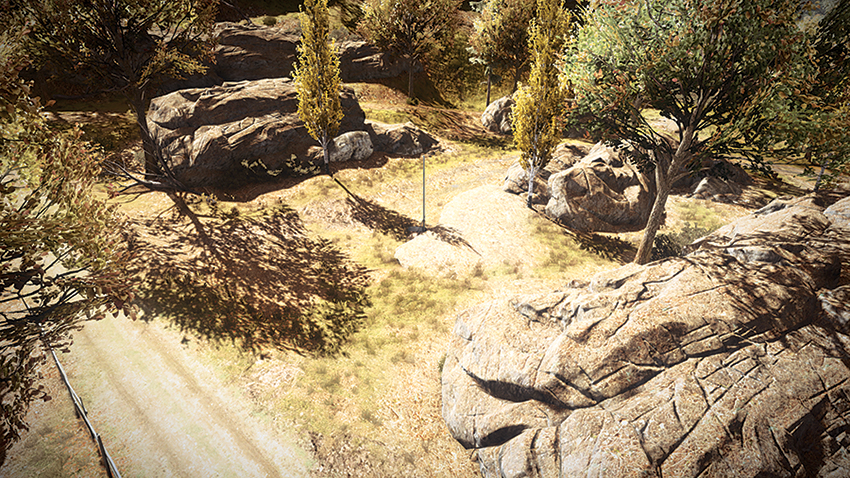
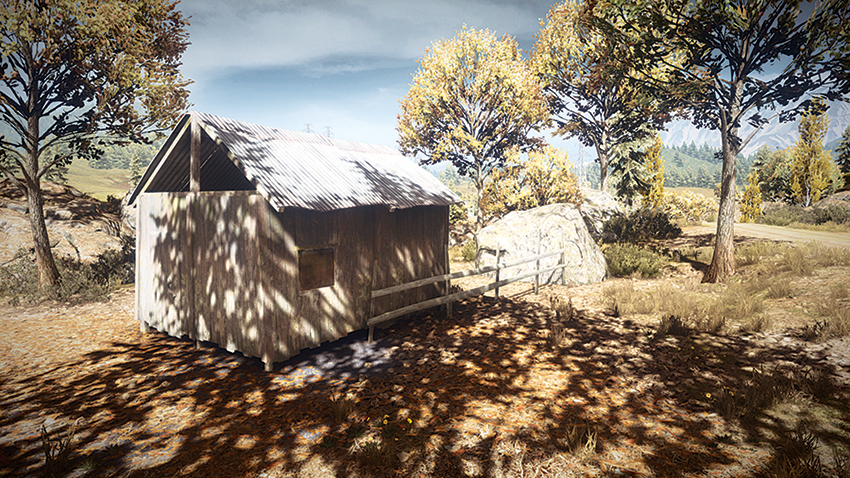
The Woods (A) is a forested area with little cover, but it does serve a strategic purpose aside from being the easiest point to control for the US team. The control point is atop a rocky hill, and given that the only attack options being by air or flanking, it provides a sniper with a chance to monitor activity at the Gas Station (B). Because it is very close in proximity to the US base, it is not the best option for an RU sniper to play lone wolf when trying to protect the Gas Station (B). Instead, if the RU team can position a squad here, they effectively can cut off any land vehicles that deploy from the US base. This is something that the US team should take into consideration and thus maintain vigilance in controlling the point.
B: Gas Station
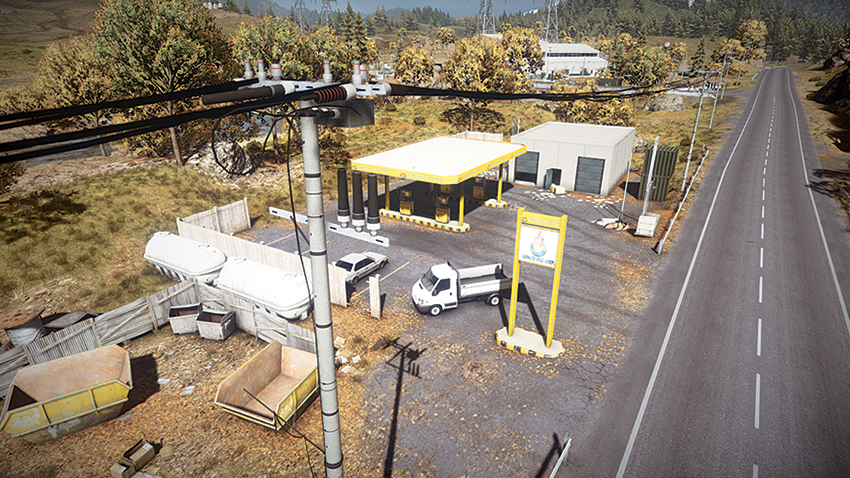
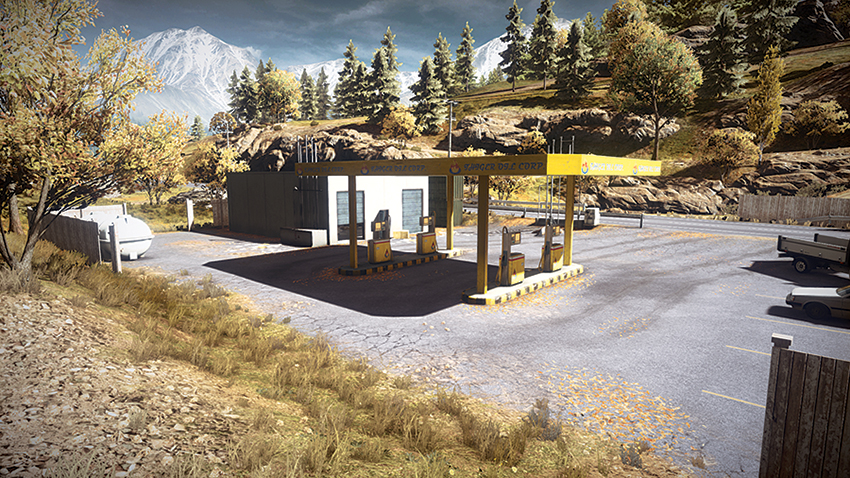
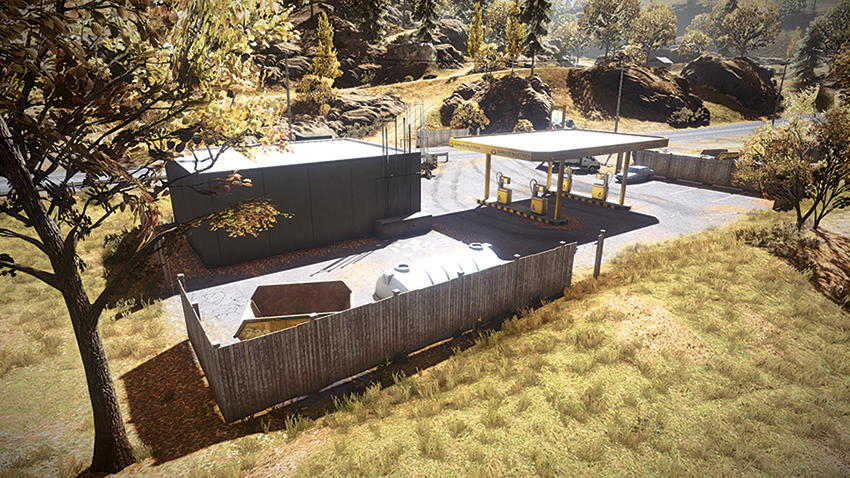
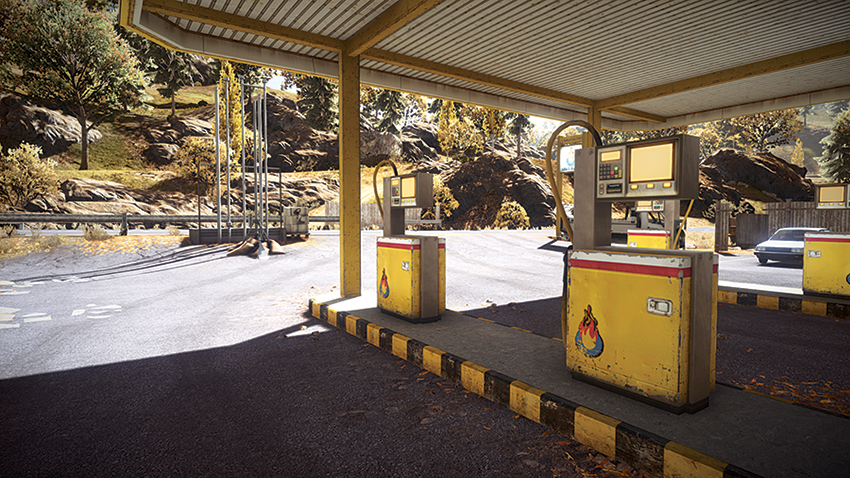
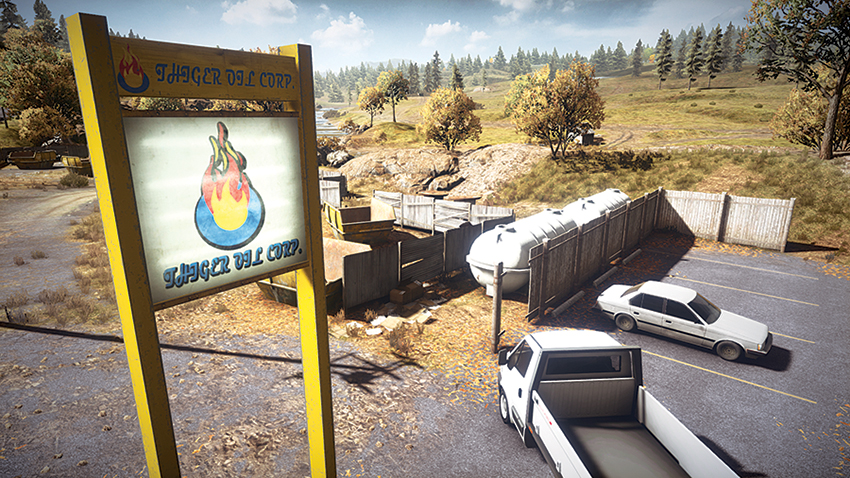
Positioned along the riverbank, the Gas Station (B) is particularly vulnerable to being assaulted from the south. Any troops positioned here are likely to be focused on the chaos of the firefight underway at the Warehouse (C). US forces can effectively defend this location by stationing a sniper along the brush of the rocky outlook around the Woods (A). Vehicles should be wary when approaching or passing by the Gas Station (B), as the brush and high fences west of the building provide a great opportunity for Engineer and Support class soldiers to make use of their explosives arsenal. A good method for clearing the area around the Gas Station is to use explosives or heavy weapons to destroy the gas tanks and nearby white propane tanks to incinerate infantry that are present. Southeast of the Gas Station (B) is a dilapidated wooden bridge that can be used by dirtbikes to cross the river and access the road that passes through the Power Station (D) to the east.
C: Warehouse
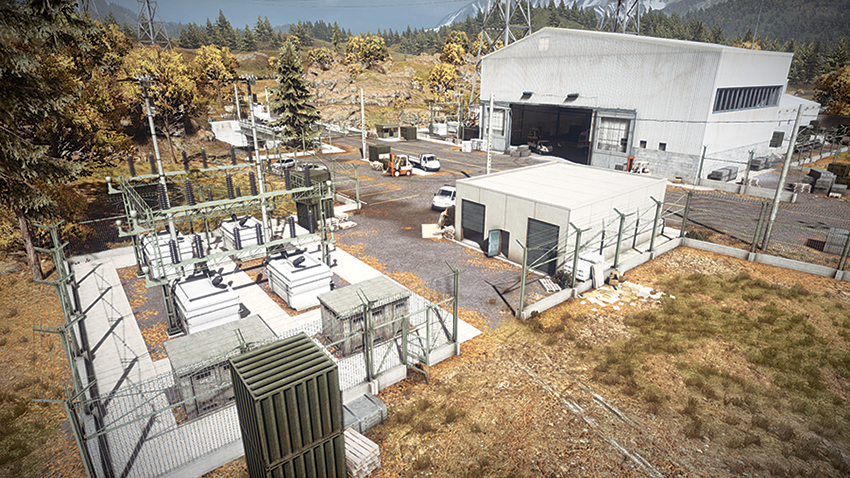
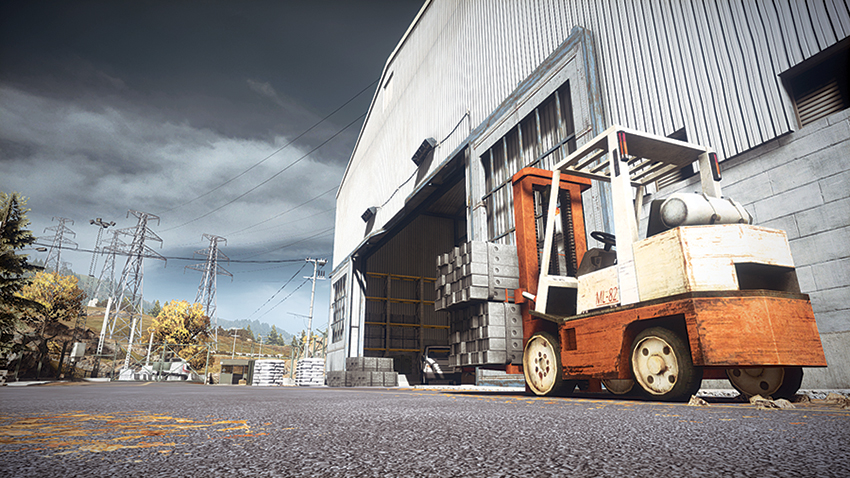
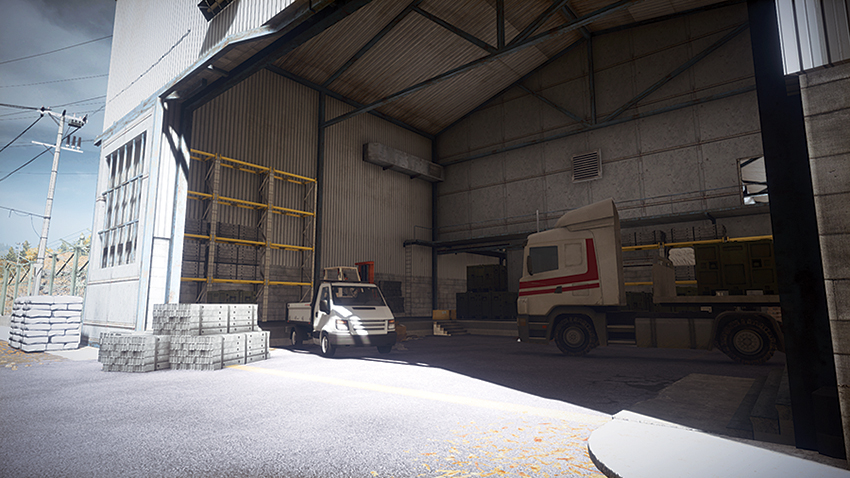
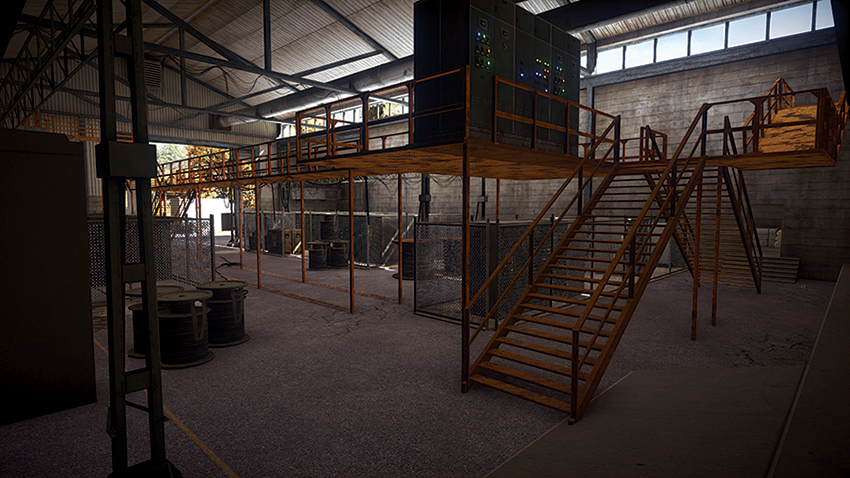
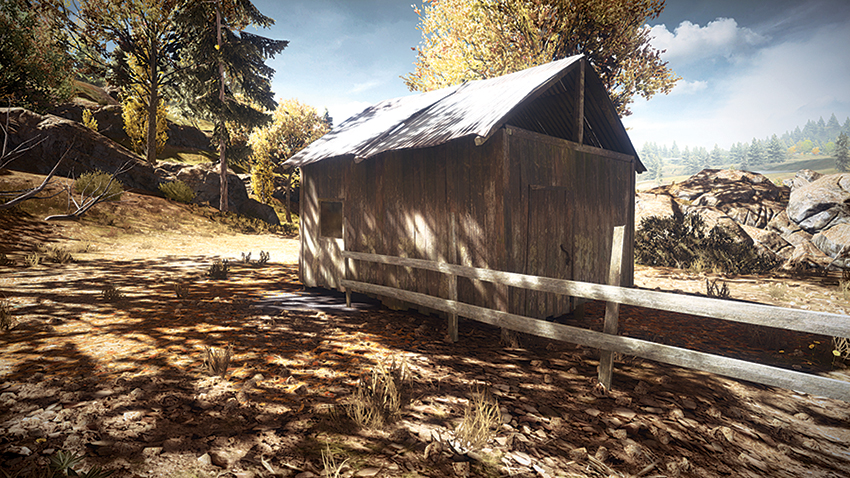
Easily the most contested point on the map, the Warehouse (C) is approachable from all angles. Despite its accessibility, the flag is housed inside the garage on the east side of the building, which means that infantry are most likely to be responsible for the point’s capture. The first team to enter the building should establish a presence on the second floor. Take the high ground and use the catwalks to monitor the flag instead of being on the ground floor, which is susceptible to the weapons of heavily armored vehicles that may try to smoke out a squad holed up inside. Taking that into account, any heavy vehicles are likely to be patrolling and passing the east side of the grounds that are accessible via the bridges that cross the river. Instead of making a direct approach to capture the Warehouse (C), enter the building by way of the west side, which can be approached by crossing the river. When doing so, teams should try to coordinate a helicopter to fire on forces present on the east side of the property. Doing so will provide a distraction while a squad enters from the west to capture the point.
D: Power Station
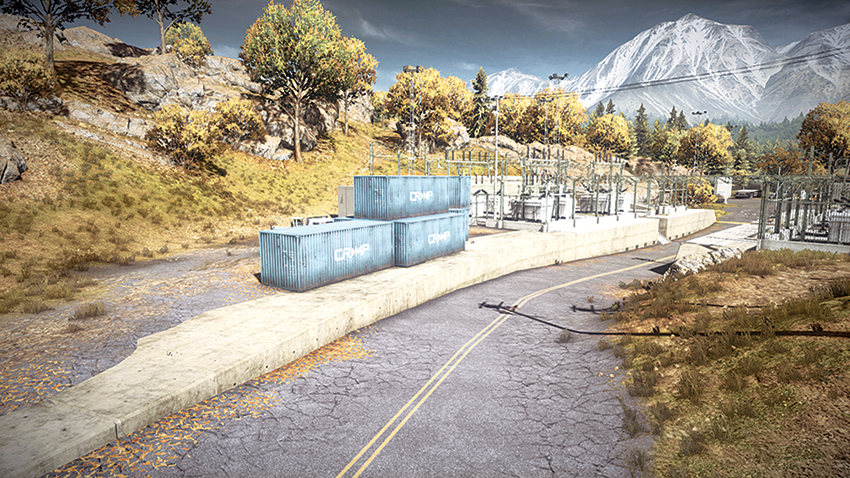
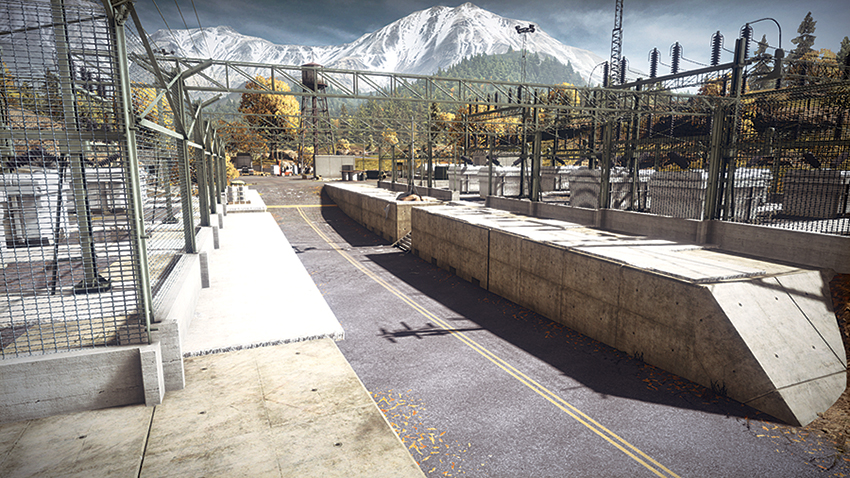
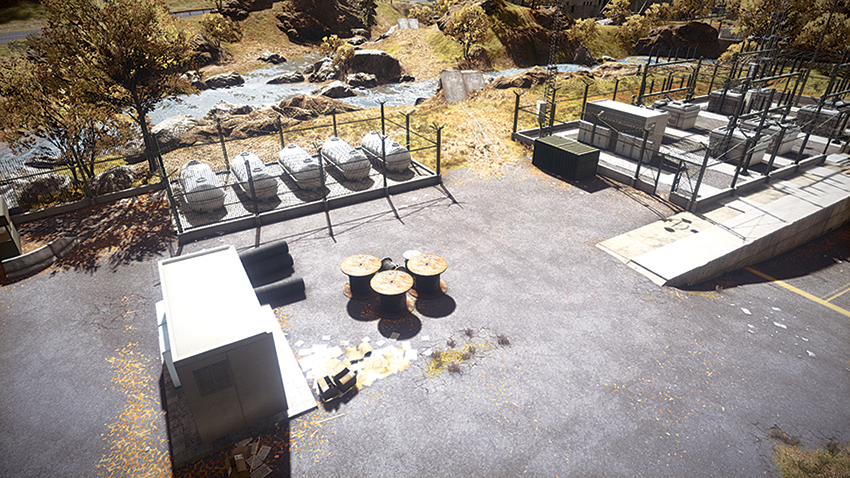
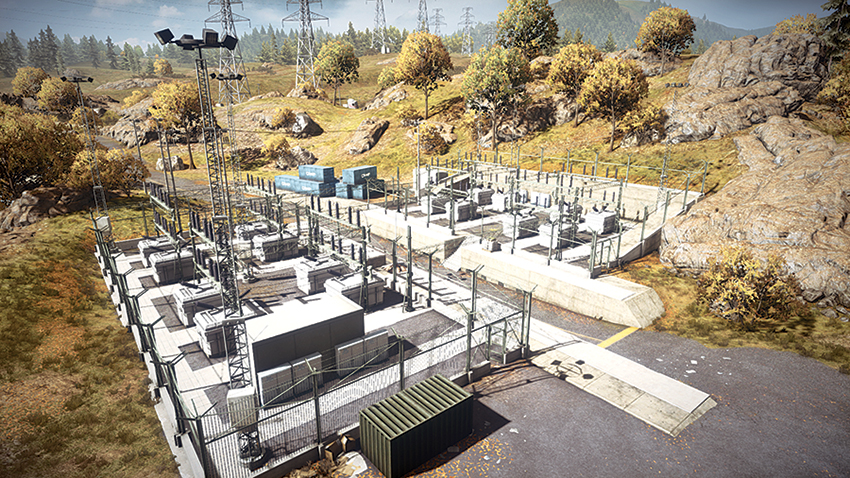
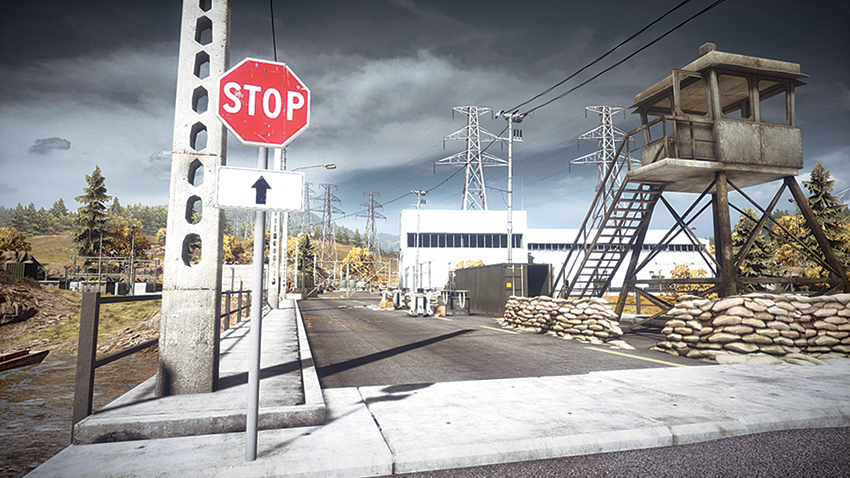
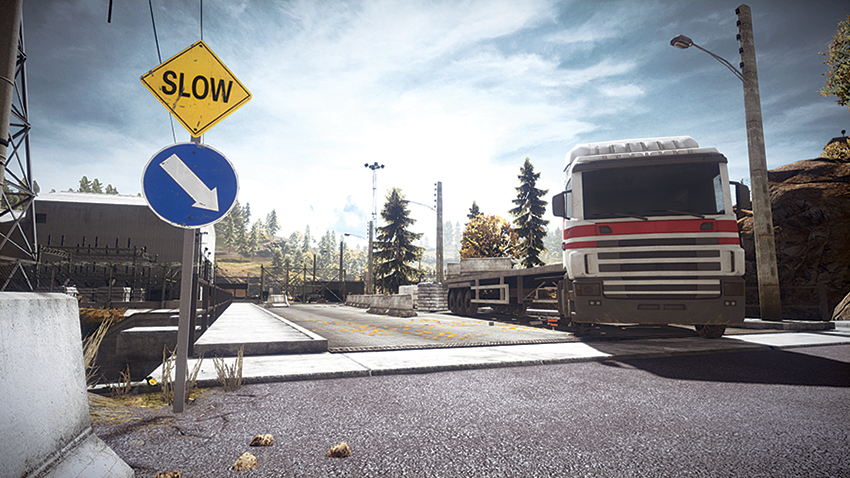
Likely to be controlled by the RU team due to its close proximity to their base, the Power Station (D) can provide a clinch point for US forces looking to hold the Warehouse (C). One caveat to this point is that while the road that passes by the Power Station (D) can be travelled by tanks and other heavy vehicles, the concrete walls that flank it make turning difficult, leaving the rear of the vehicle exposed and vulnerable to C4 attack. For the team defending this point, they should be setting mines at each end of the Power Station (D), forcing larger vehicles to stop and leaving them vulnerable to attack. To the southeast of the control point are some blue shipping containers stacked atop one another. These containers provide good cover to initiate an ambush on forces entering the area.
E: Outpost
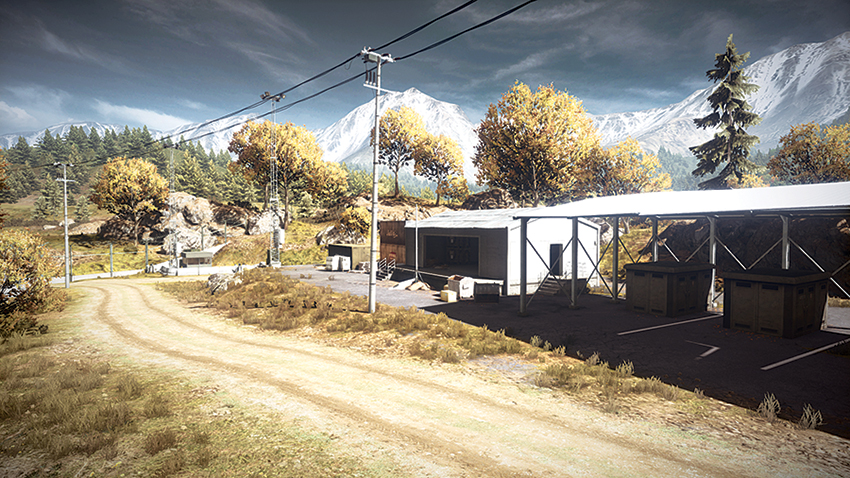
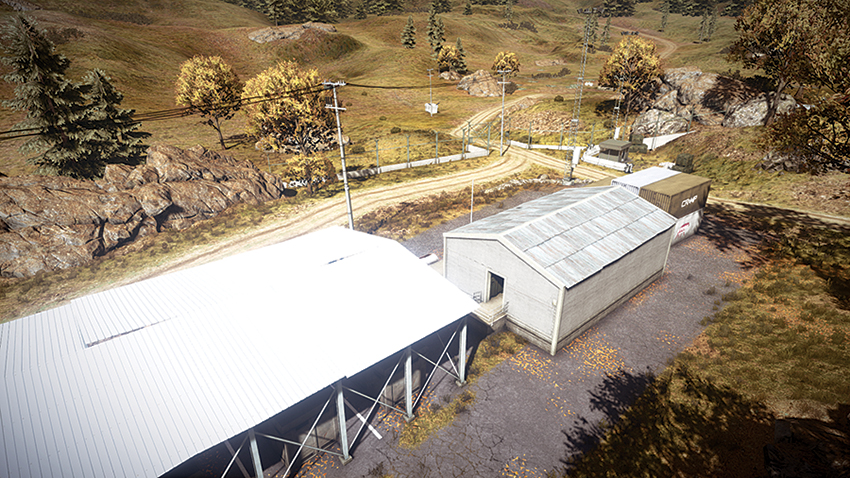
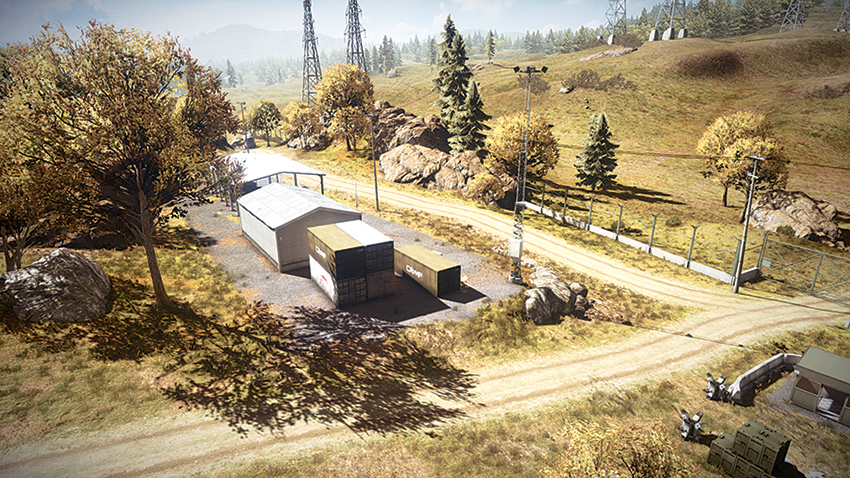
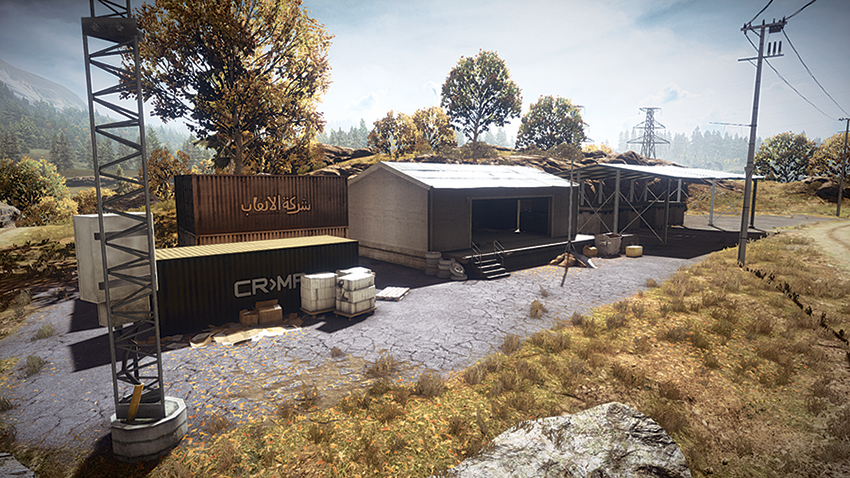
The Outpost (E) is similar in strategic significance to the Woods (A). More than likely, this point will be controlled by the RU team throughout the course of a match. From here, the road heading east can be used to flank US forces by following it across the river and bombarding US forces as they deploy from the north. Now, for the US team looking to take control of this point, coming from the road that runs north from the Outpost (E) is sure to be met with heavy resistance without air support. Instead, the US team should opt to approach from the east to capture this point. As for maintaining control of this area, the rocky ridge to the north provides a great lookout spot, and soldiers on this elevated position still have some room to avoid enemy fire. It is best to make use of traps like claymores and mines in this area to deter hostiles, instead of using heavily armored vehicles, as the point is relatively out of the way from the Warehouse (C) and Power Station (D), where most of the conflict will take place.