
Battlefield 3 Premium Guide Battlefields Conquest
Nebandan Flats
Conquest
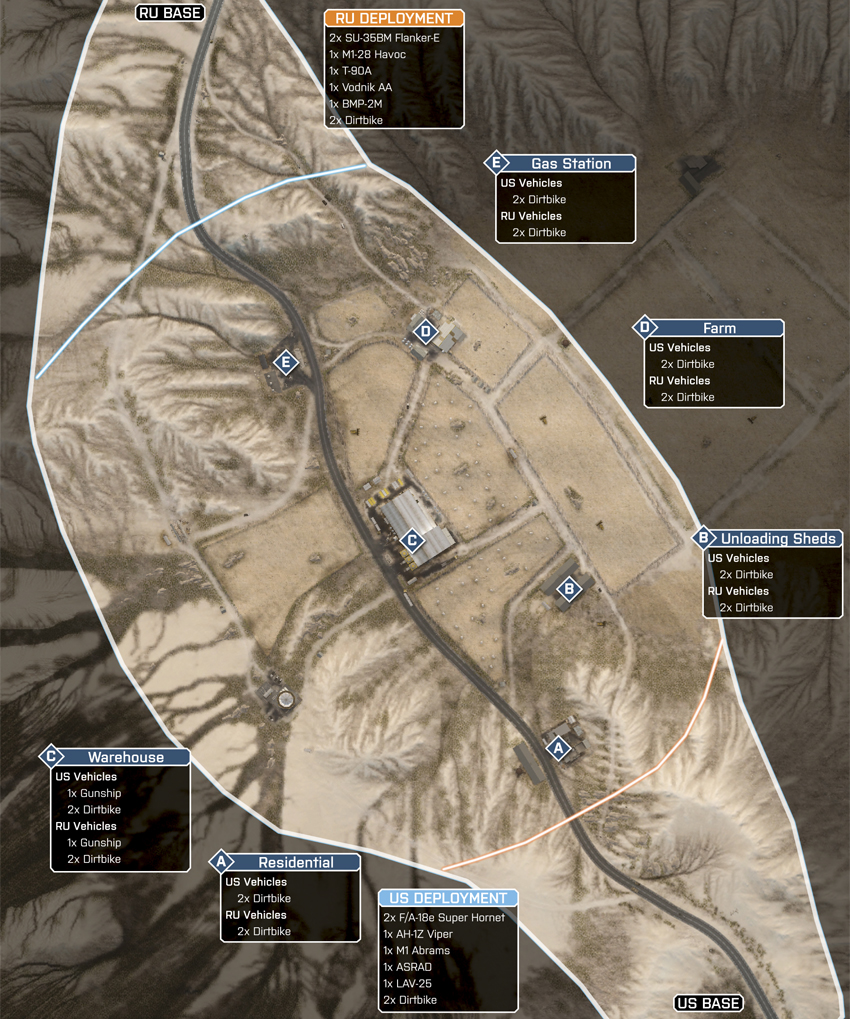
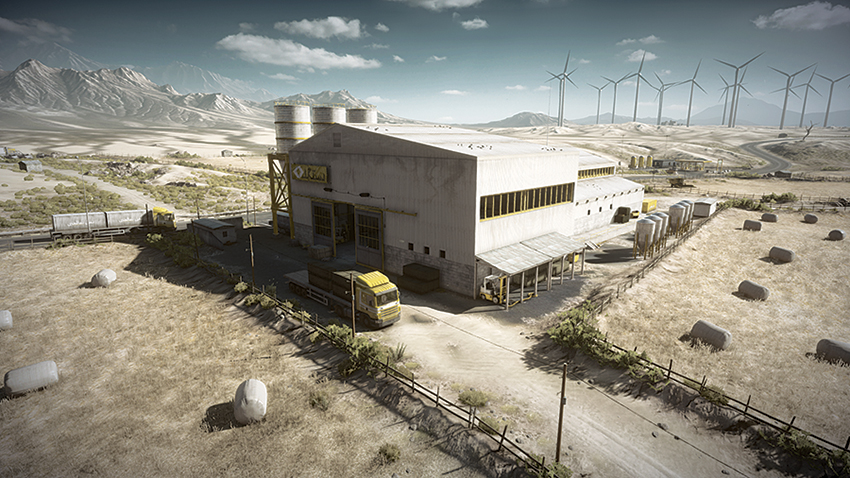
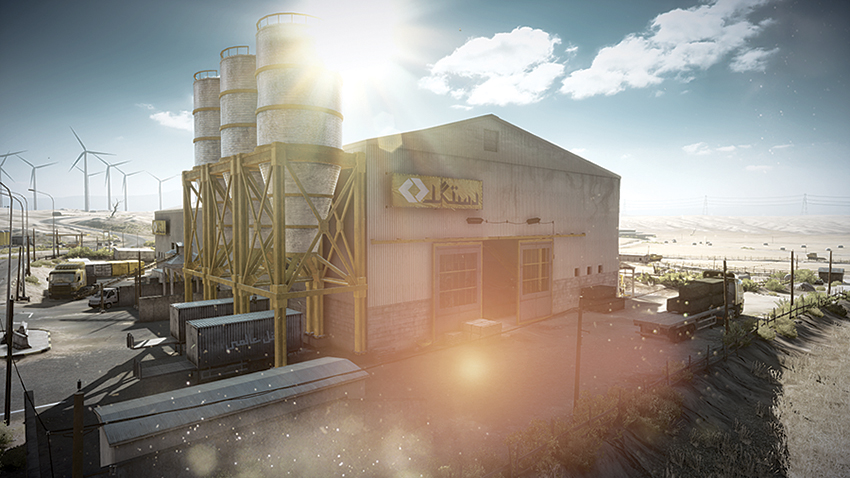
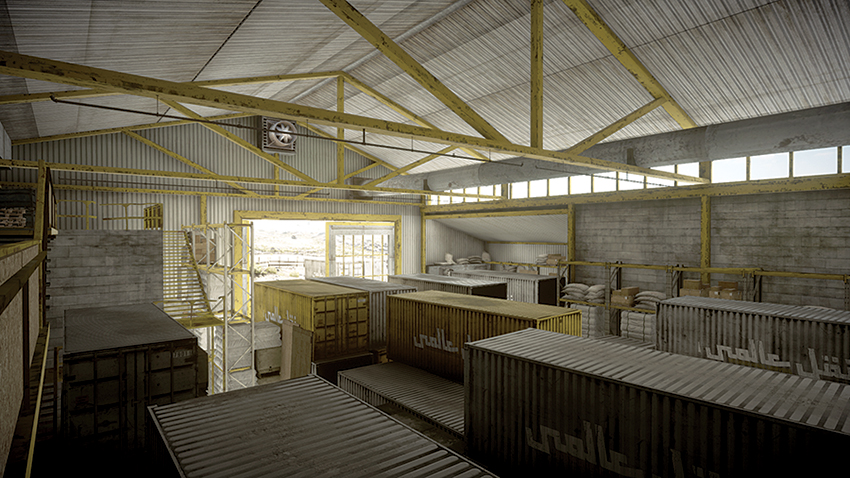
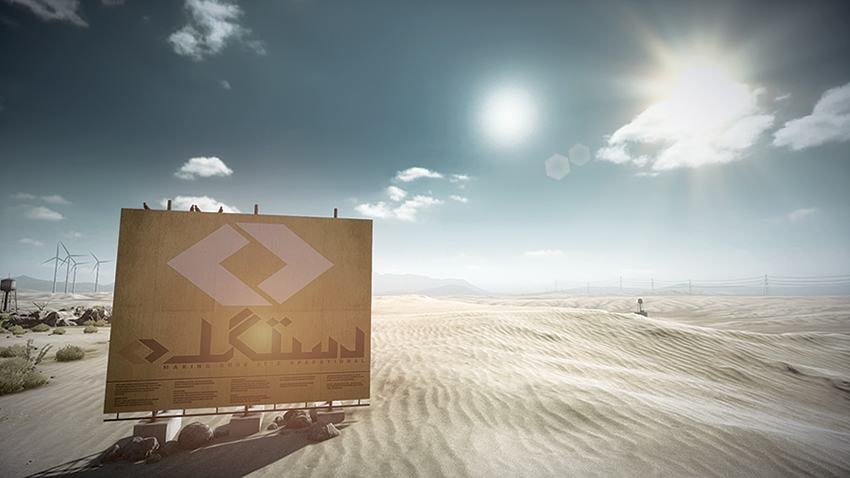
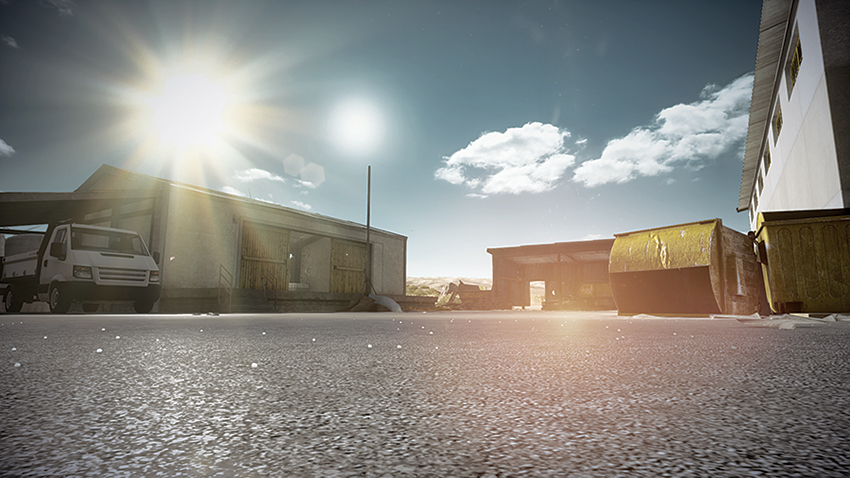
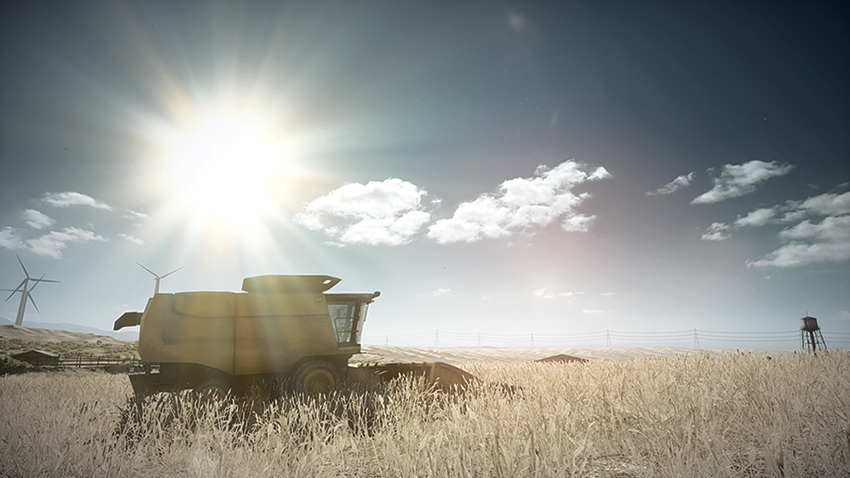
The Nebandan Flats are dusty windswept plains that have recently peaked the interest of a large agricultural firm. With methods of desert farming proving successful in other dry climates such as those present in Australia, Israel, and California’s Imperial Valley, desert farming can be a lucrative investment for regions that lack exportable goods. Of course, this is only a cover story to conceal the much more lucrative business of the supply and storage of weapons within the warehouse located on the plot of land where the farming operation is taking place. Two opposing forces will engage each other on this desolate landscape—with the victor reaping the spoils. Five control points are contested during this game mode. The US team makes their approach from the southeast, and they will quickly have control of the Residential (A) control point and the Unloading Sheds (B) to the northeast. The RU team enters the fray from the northwest, and therefore the Gas Station (E) and the Farm (D) east of it will quickly be under the control of the RU team. At this point, the battle will turn to the Warehouse (C) which is central on the map. The flag is positioned inside of the Warehouse (C), and combination of the building’s multitiered interior and the multitude of shipping containers stored within result in vicious close-quarters combat when engaging the enemy. Because the interior is as confined as it is, teams should focus on entering from multiple sides of the Warehouse (C) to overpower and flush out any hostiles that may be within.
US Base
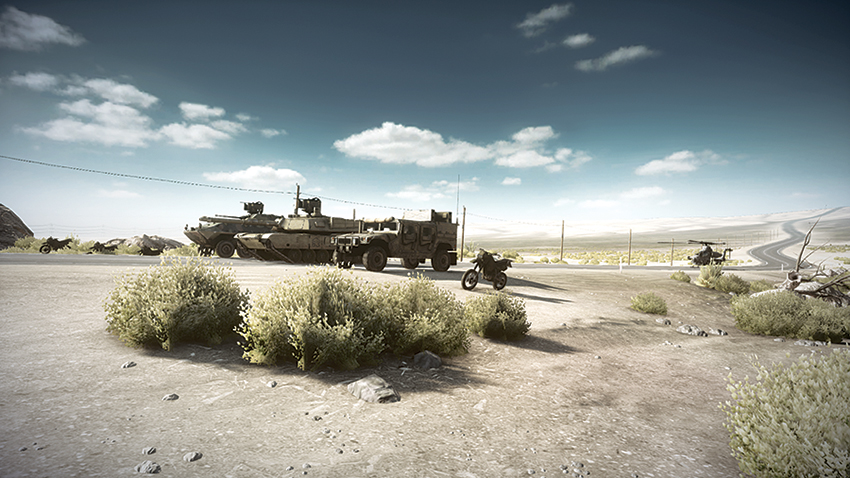
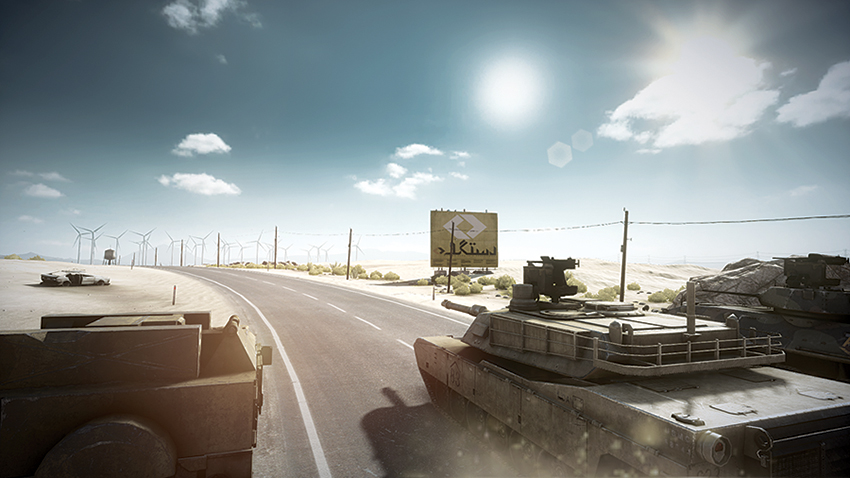
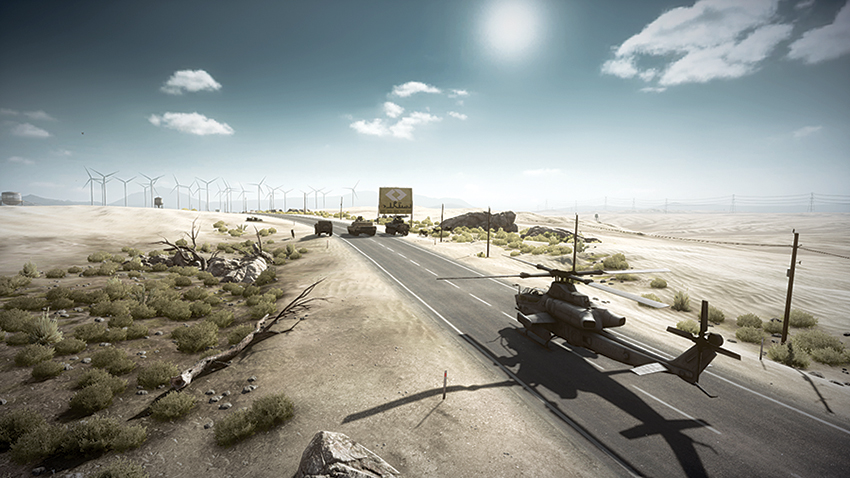
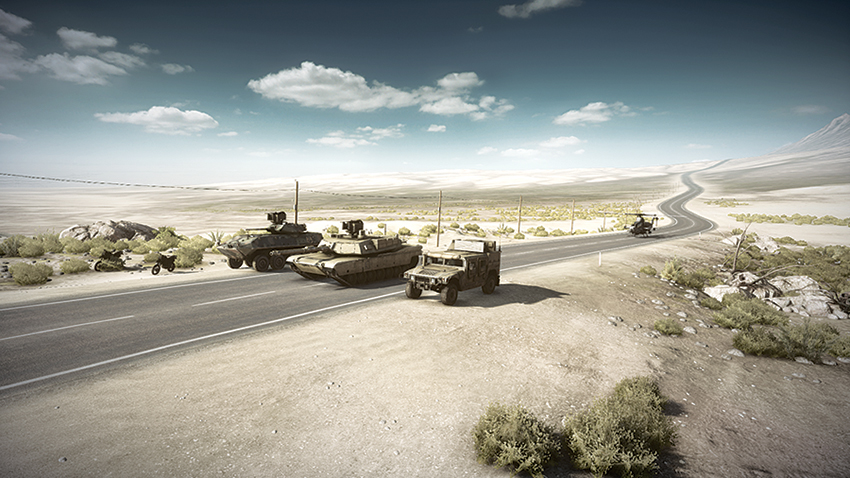
Deploying from the southeast end of the map, the US team can quickly secure the Residential (A) control point and Unloading Sheds (B). From here, the team can advance to the Warehouse (C) and claim the point to gain control of the dropship. Since it is very likely that the RU team will be advancing to the Warehouse (C) at this time, a good strategy is to maintain a presence at the Unloading Sheds (B) to protect the area south, then proceed to and capture the Farm (D) instead of the Warehouse (C). Once the Farm (D) is captured, it is likely to splinter the RU team away from attacking the attractive Warehouse (C) control point. Once the RU team is further fragmented, the US team can advance from the Unloading Sheds (B) and capture the Warehouse (C), and now with the dropship under allied control, the aircraft can be used to bombard the enemy during their attempt to reclaim the Farm (D). Through most of the battle, the Gas Station (E) will likely be held by the RU team, but considering the relative distance from most other control points, this does not pose any immediate threat to the US team.
RU Base
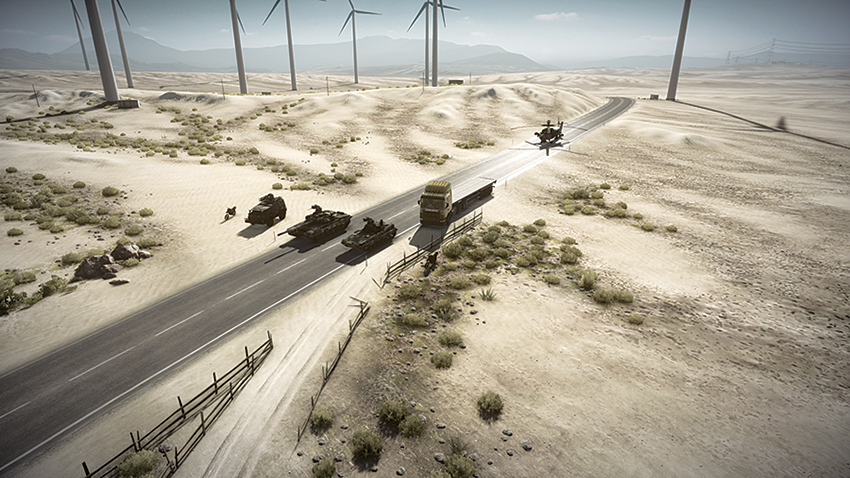
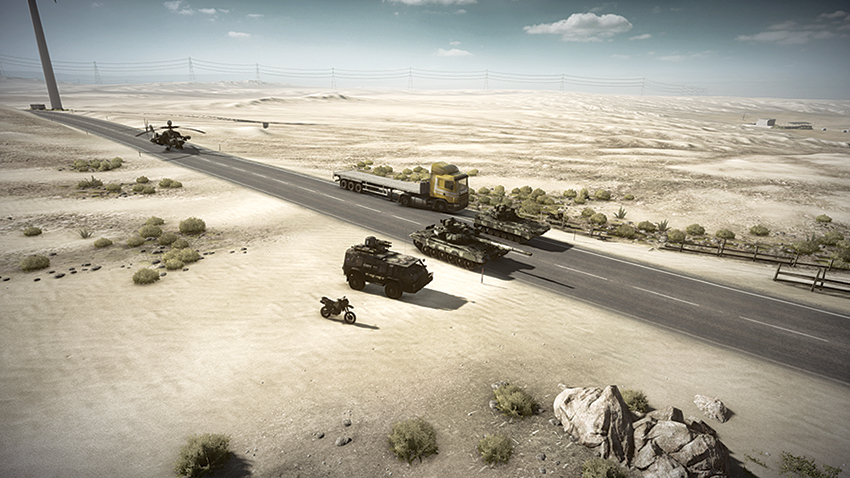
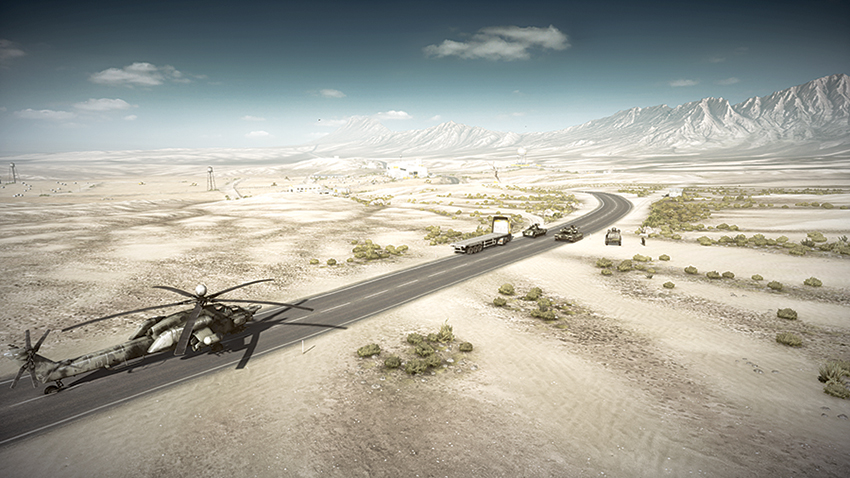
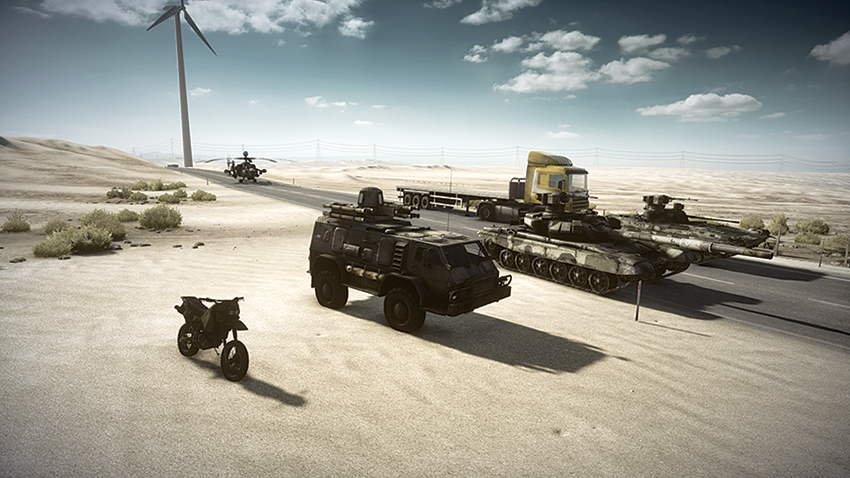
With their deployment being from the northwest, the RU team is set to quickly claim the control points at the Gas Station (E), with the Farm (D) to follow soon after. Both of these points are equal in distance to the next control point, the Warehouse (C). When capturing this point, one squad should proceed into the building via the large hangar door on the north side, while another squad climbs to the top of the building by way of the ladder on the building’s east side. From the roof, the squad can observe the approach of any hostiles that may be coming from the south. Should the RU team as a whole attempt to capture the Unloading Sheds (B) or the Residential (A), expect US forces to attempt to capitalize on the move south to flank and gain control of the Warehouse (C). Helicopters and dirtbikes are the most useful vehicles for getting in close to these points without sacrificing position at the northern control points.
A: Residential
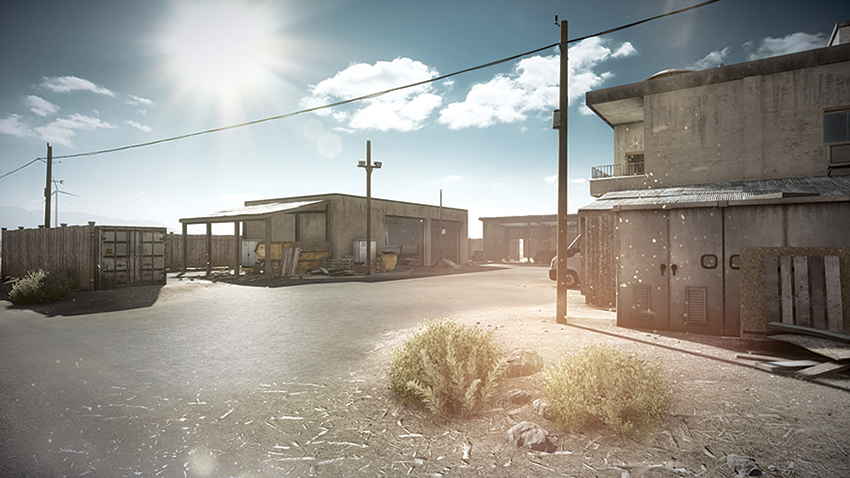
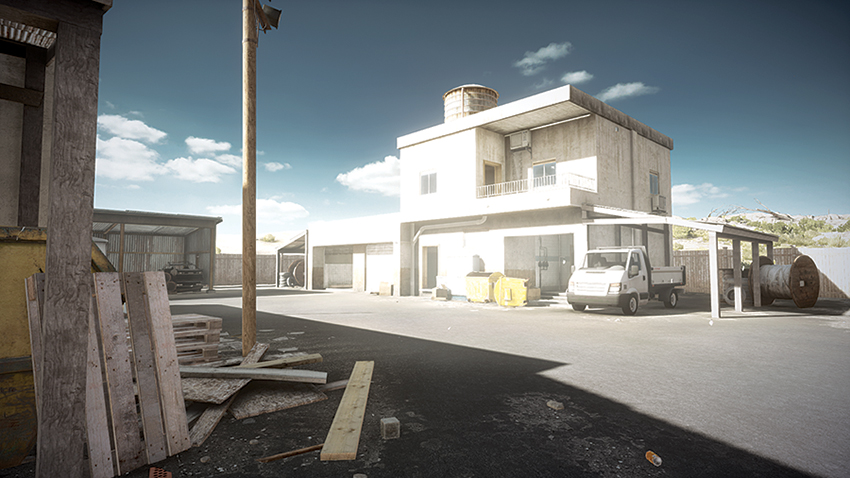
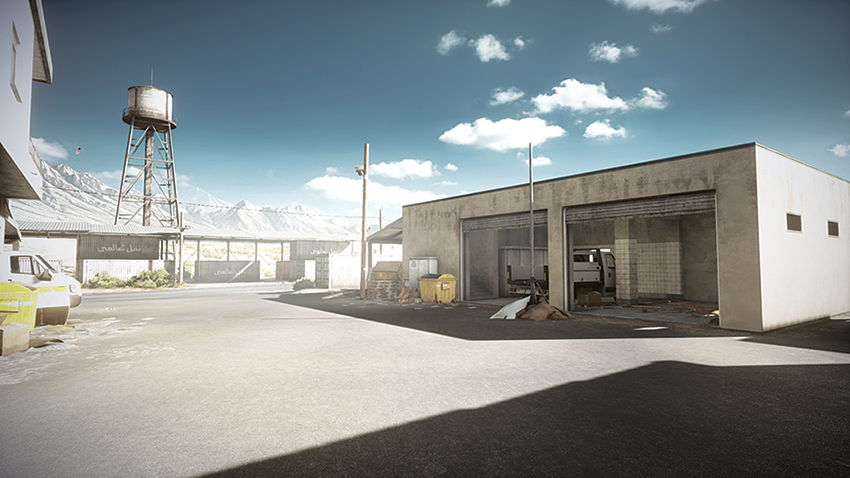
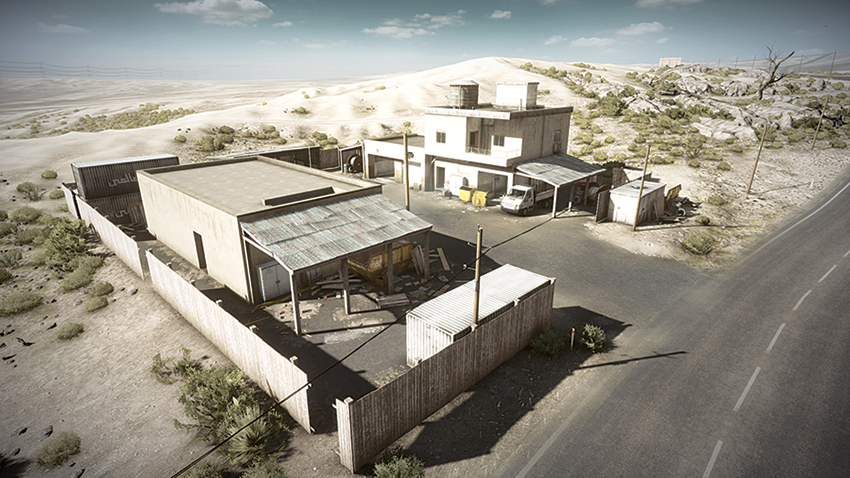
Because it is at the far south end of the map, this point will likely be under the control of the US team for most of the match. Most of the conflict will occur from the west of the point, as the road that runs through the length of the map is on this side. This point is of more value to the US team, though, as having the enemy control this point can cut off the supply of vehicles that deploy from their base. When guarding this point against attack, it is best to avoid the balcony overlooking the flag. Instead, opt to use the nearby window to spot approaching enemies and then rain down fire upon them. Another location to spot from is the covered area on the west side of the road, as the shipping containers provide ample cover should the squad be spotted.
B: Unloading Sheds
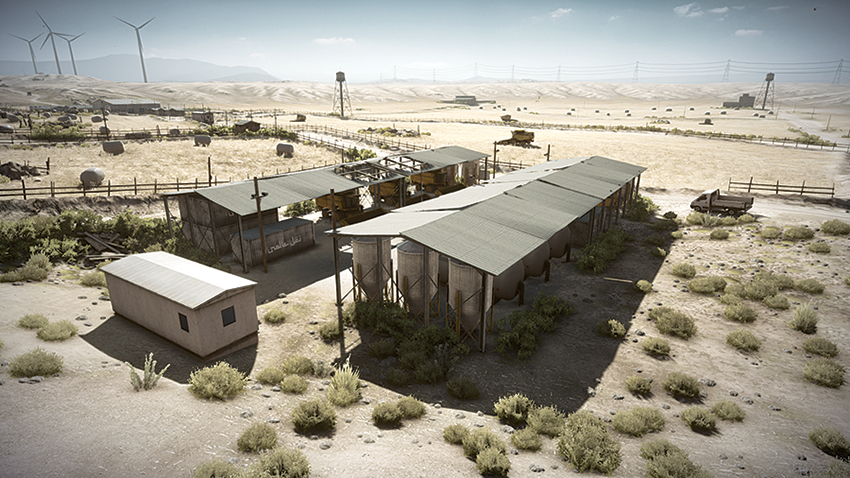
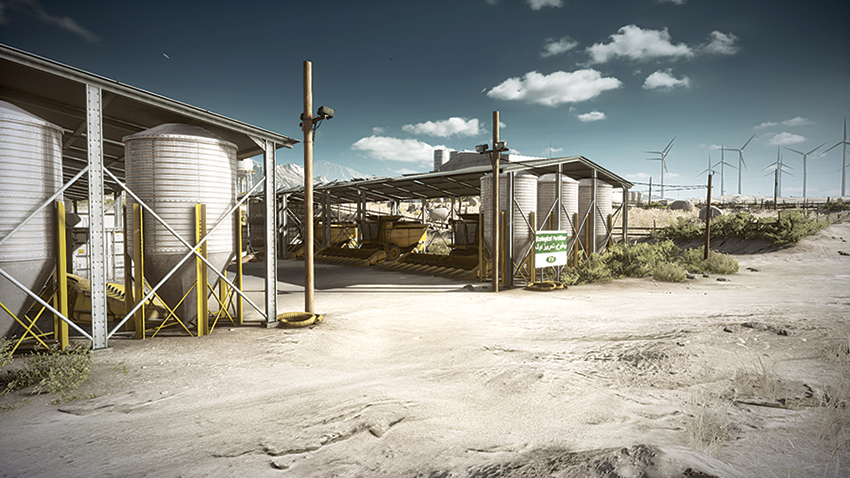
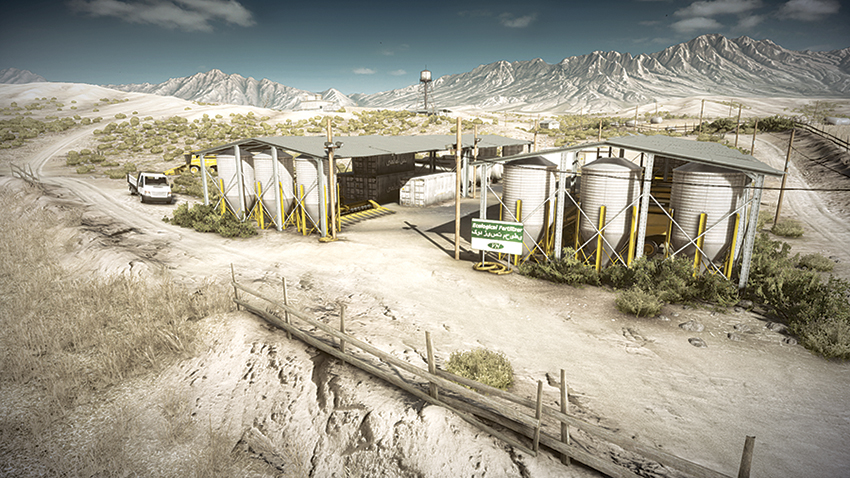
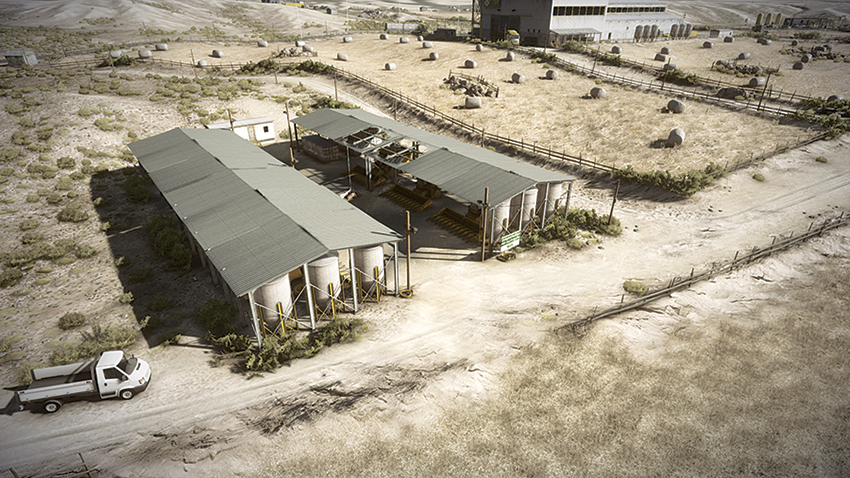
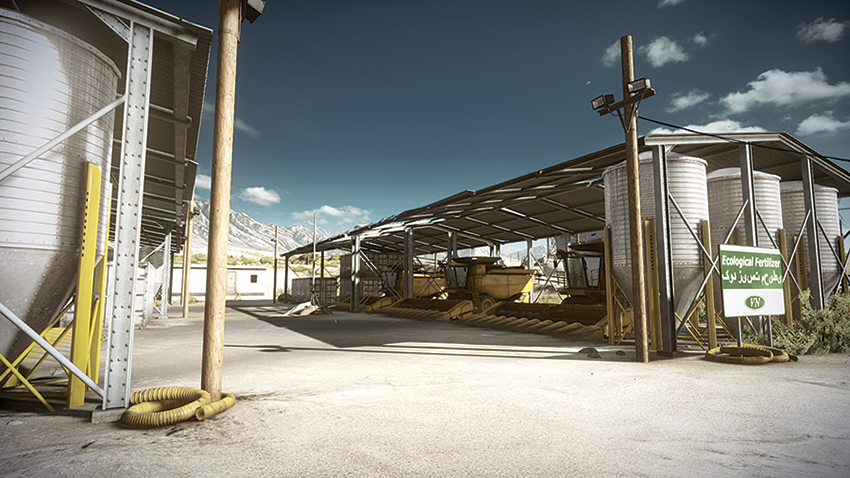
The Unloading Sheds (B) are a covered depot where the farm vehicles are parked when they are not in use. This point is located east of the Warehouse (C) and may seem open to attack, but the heavy machinery and shipping containers provide a good amount of cover, obscuring units that may be present there. Although this point is likely to be held by the US team, it is a wild card given the proximity of the base to the Warehouse (C), where most of the combat will be taking place. When attempting to capture this location, teams should be aware of the small office located at the west side of the area. This office can be accessed by shooting the door down. Larger vehicles should avoid entering the area between the covered vehicles, as a quick escape from a squad wielding explosives can be nearly impossible without suffering damage. On the other hand, dirtbikes are well suited to attacking this point, as they can enter quickly and escape if the need arises via the tight confines between the shipping containers.
C: Warehouse
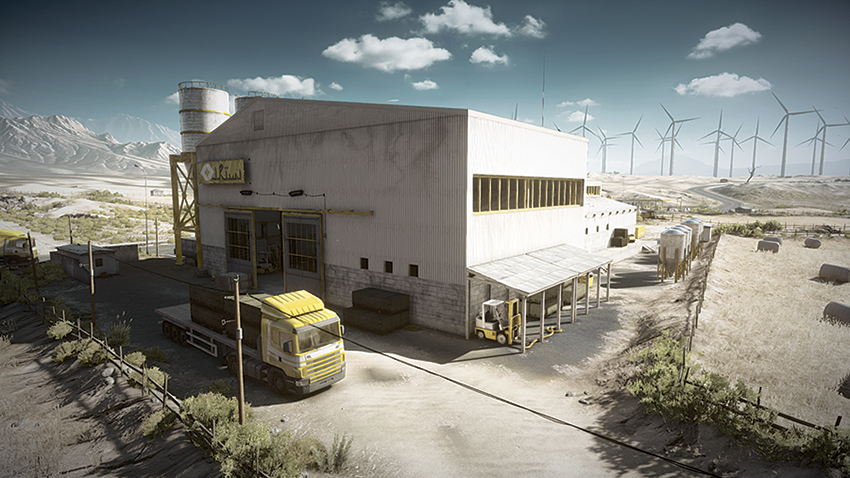
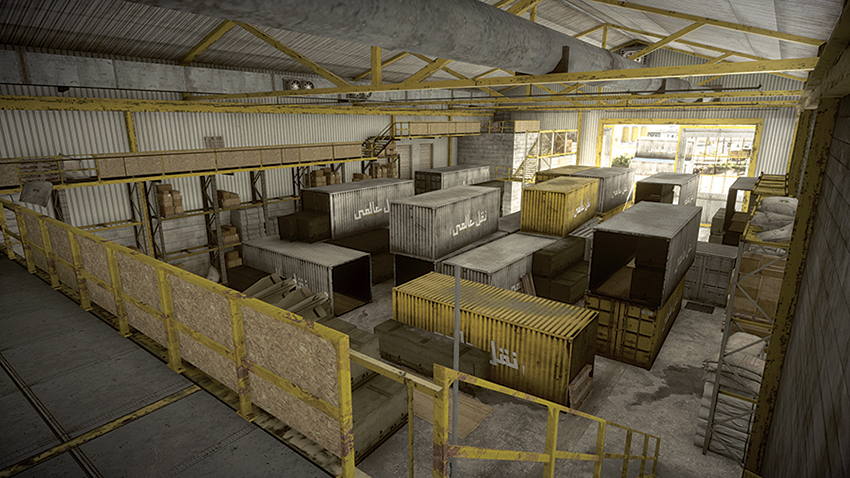
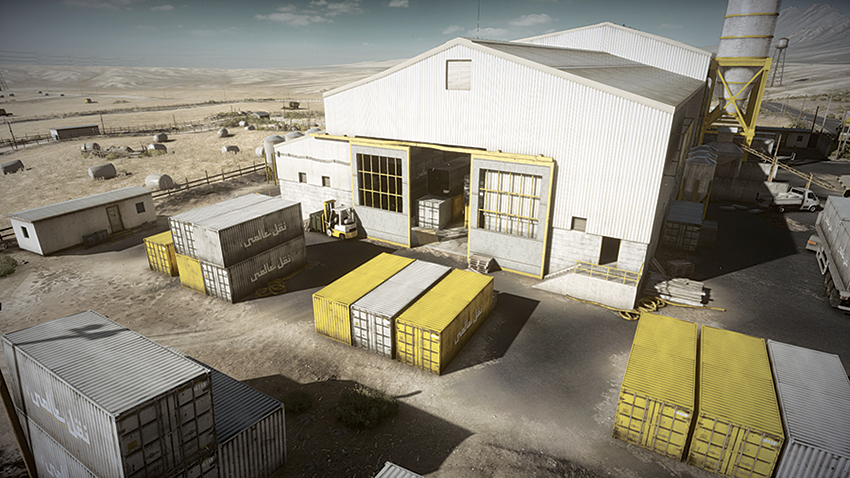
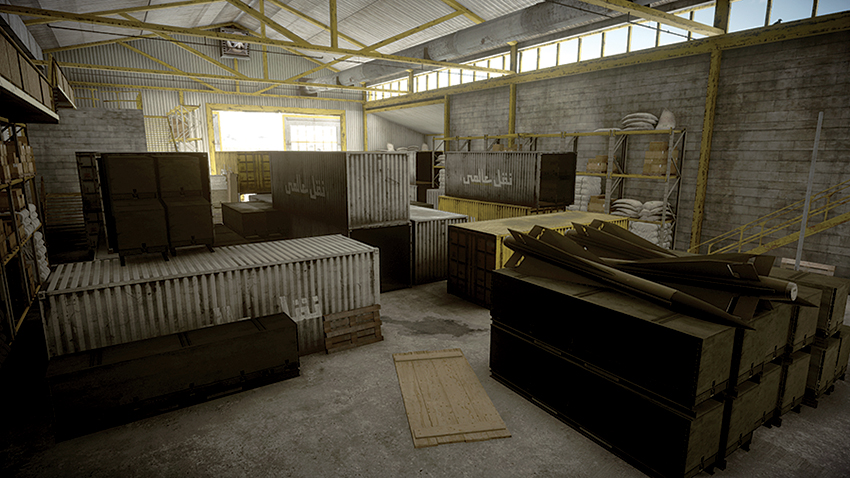
The most contested point in the battle, the Warehouse (C) is a large central structure surrounded by open fields. The flag itself is located inside the building, in a large room that houses shipping containers. Considering that the Warehouse is accessible via the two large hangar doors on the building’s north and south sides, as well as by a small doorway near the ladder on the east side, the best place to be within the flag space is on the catwalks overlooking the shipping containers. These catwalks provide an opportunity to observe any hostiles that may be entering from the large hangar door to the north and the small doorway to the east. But hanging out in here too long could prove fatal, as routes of escape can be easily cut off. Another option to monitor activity inside of the Warehouse (C) is through the yellow windows on the roof. These windows can be observed by climbing the ladder on the building’s east side, and they give a view of the interior. Another advantage of climbing onto the roof is that troops can ascend to the highest level of the roof by using a second and third ladder, which results in a bird’s-eye view of all directions surrounding the Warehouse (C).
D: Farm
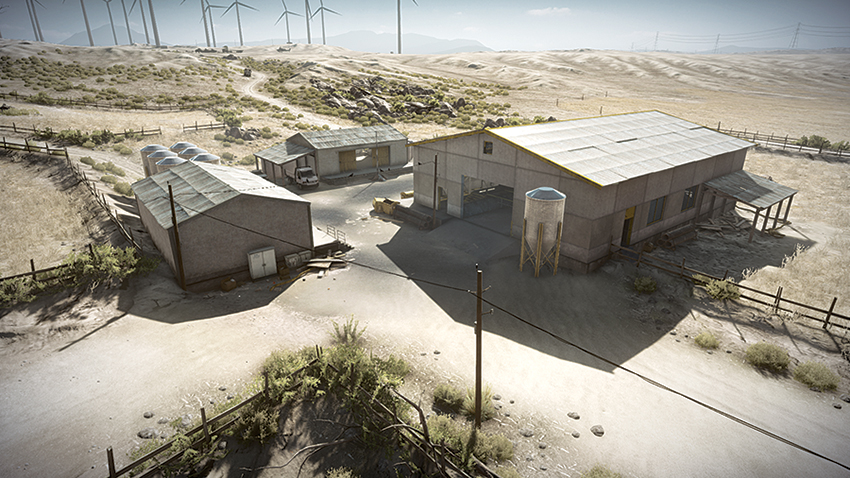
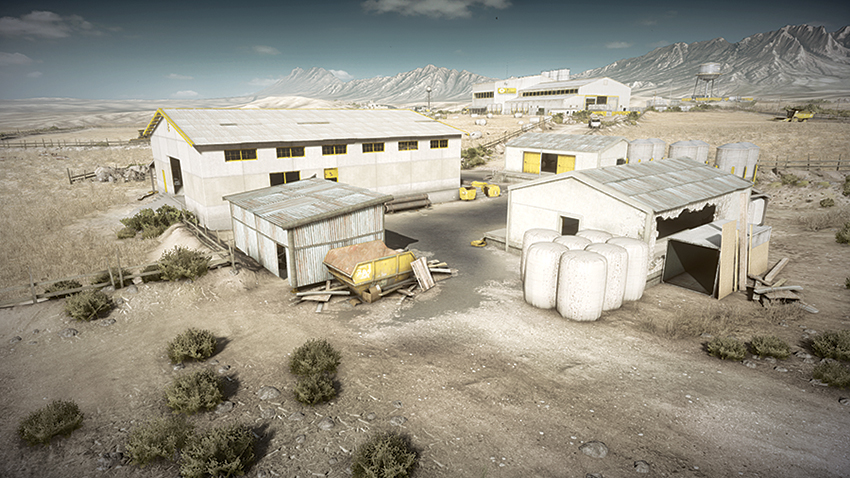
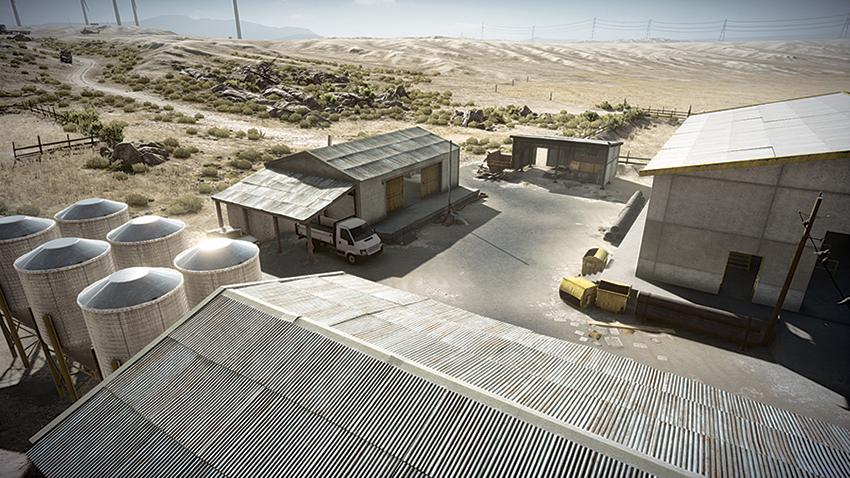
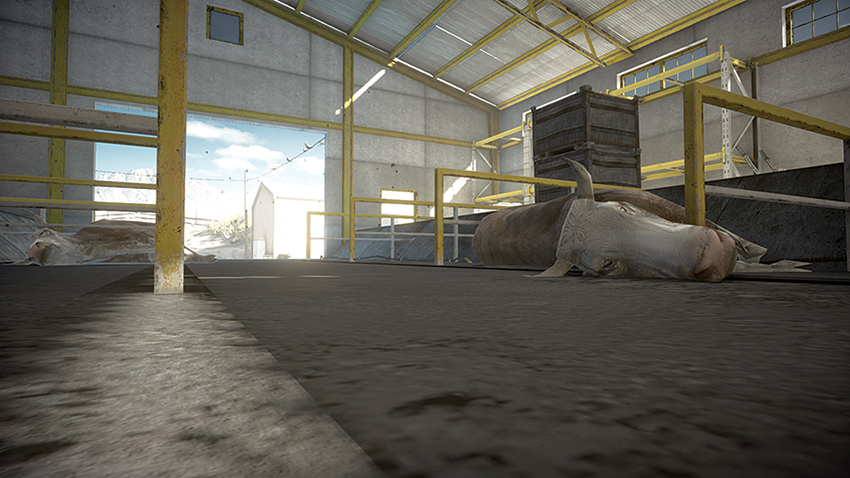
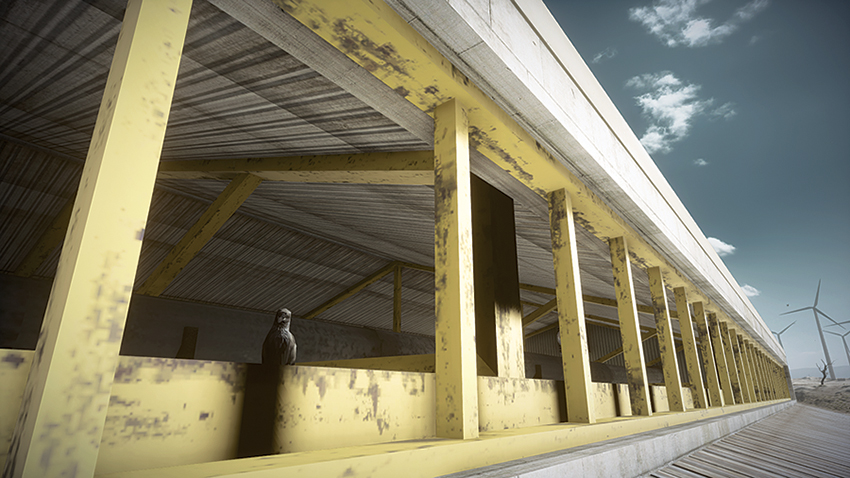
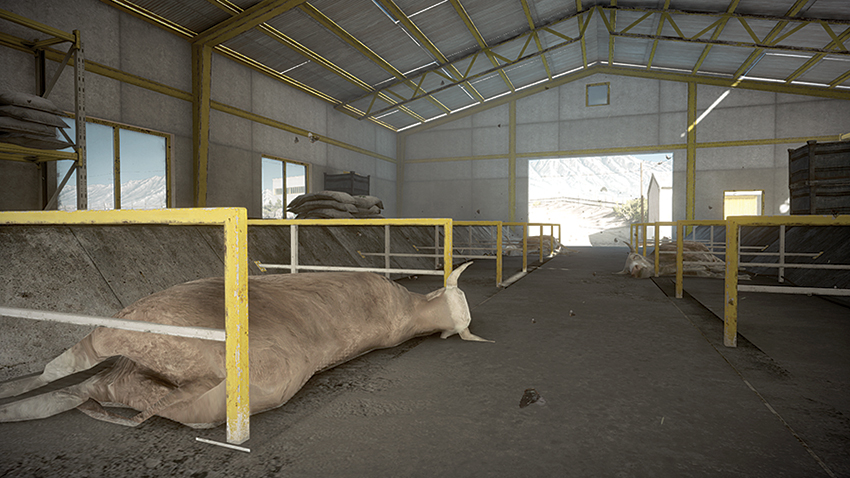
Located on the north side of the map and east of the Gas Station, the Farm (D) is a dilapidated stable flanked by two carports and a makeshift office building. The flag is between these buildings, so capturing it can be precarious. The stables allow for ambushing any enemy soldiers that are attempting to capture the flag, as there are entrances on each side of the building as well as windows on the north and south sides. Staying inside of the stables can be dangerous, though, as there is little cover from enemy fire aside from the cattle carcasses inside. Given the Farm’s proximity to the RU team’s deployment, they most likely will capture this point early on in the match. However, they are likely to move on due to its distance from other control points. This is the opportunity for the US team to advance and capture the point as their own. Note that the point is accessible from the north and the south by larger vehicles, but if there are mines in place, this can put these large and awkward vehicles in peril. Instead of rushing the point with these larger vehicles, teams should allow dirtbikes to enter the capture area, while providing heavy armored support from afar.
E: Gas Station
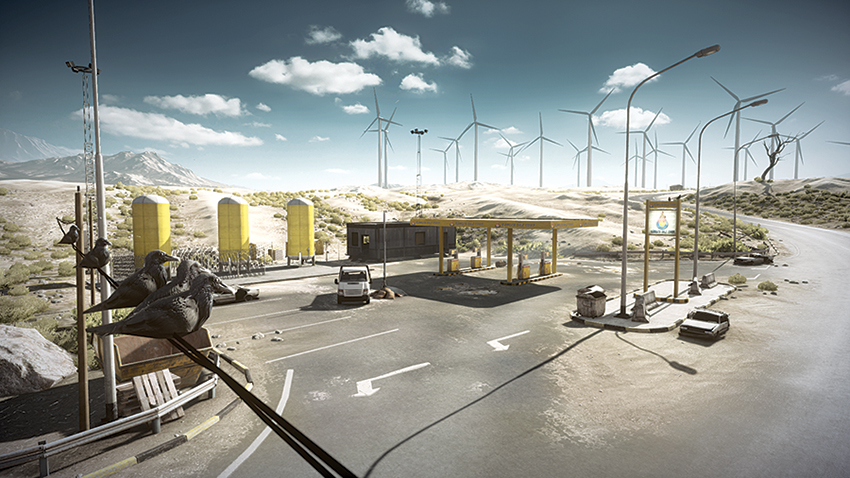
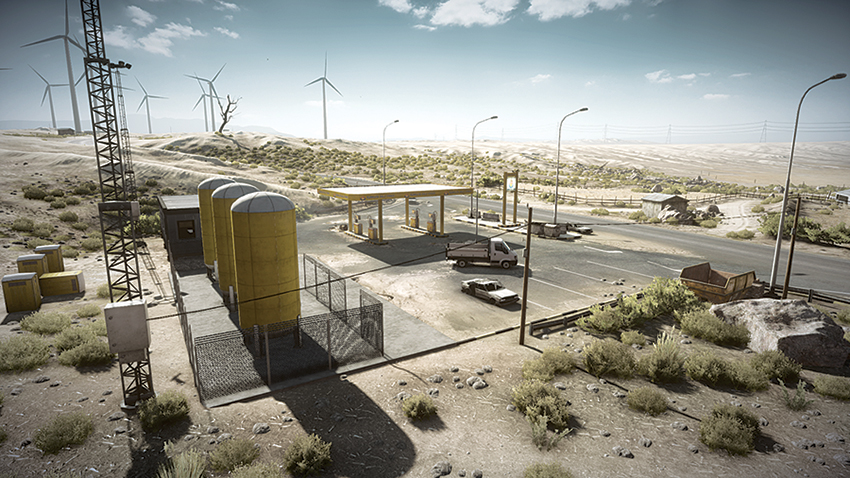
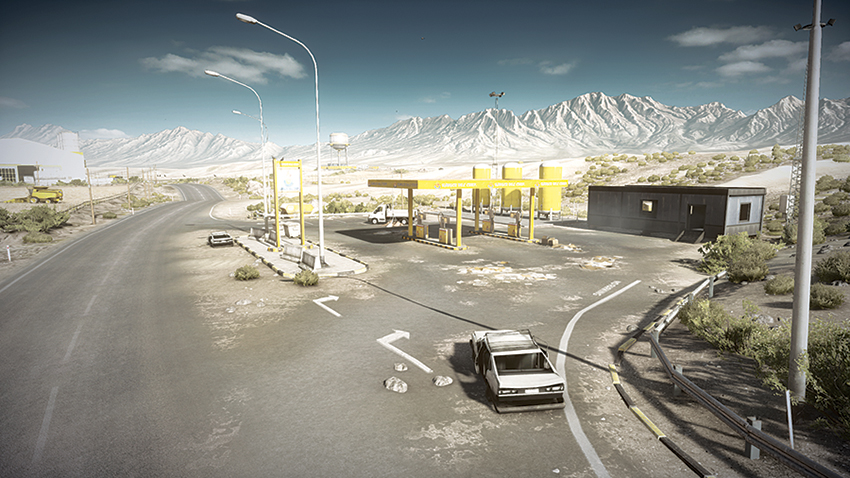
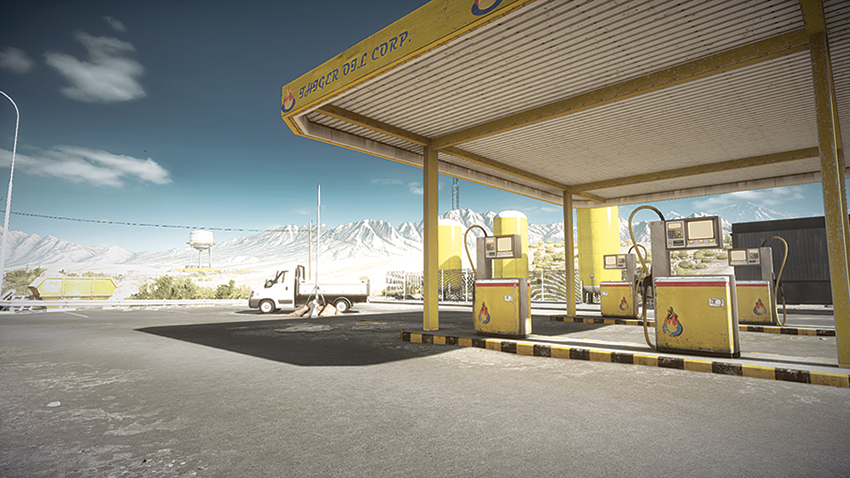
The Gas Station (E) is located to the northwest of the Warehouse (C) and because it is so close to the RU team’s deployment, will be held by them early on. The flag is positioned near a white truck parked near the gas pumps. Although the team might hesitate when approaching because of possible occupants of the white office building on site, the real danger is that it is possible for enemies to be on the west side of the building and go prone to observe the gas pumps. Lying prone on the west side of the building is ideal for lying in wait until the enemy attempts to capture the control point, as you will see your enemy before they ever see you. The position of the Gas Station (E) on the map, centralized in the north, allows for a spawn point that can easily access southern control points such as the Warehouse (C), as it is set upon the road that cuts through the map. The road provides a quick escape route as well, should the need arise.