
Battlefield 3 Premium Guide Battlefields Rush
Alborz Mountains
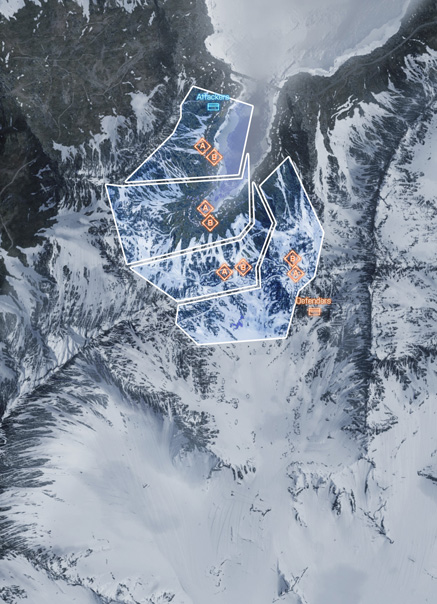
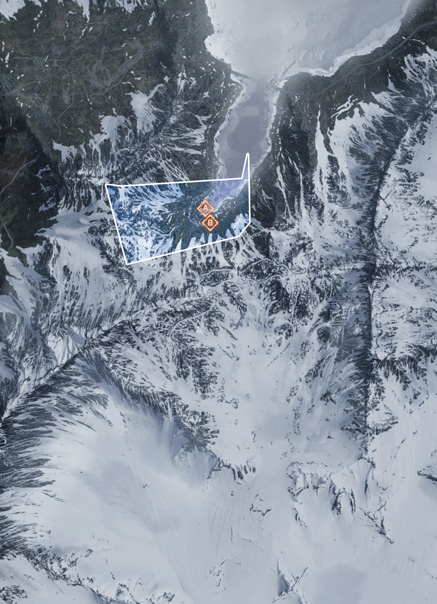
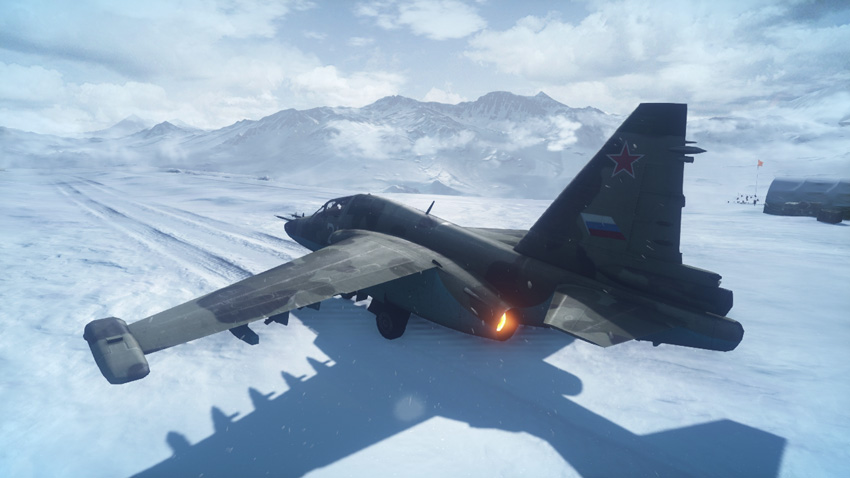
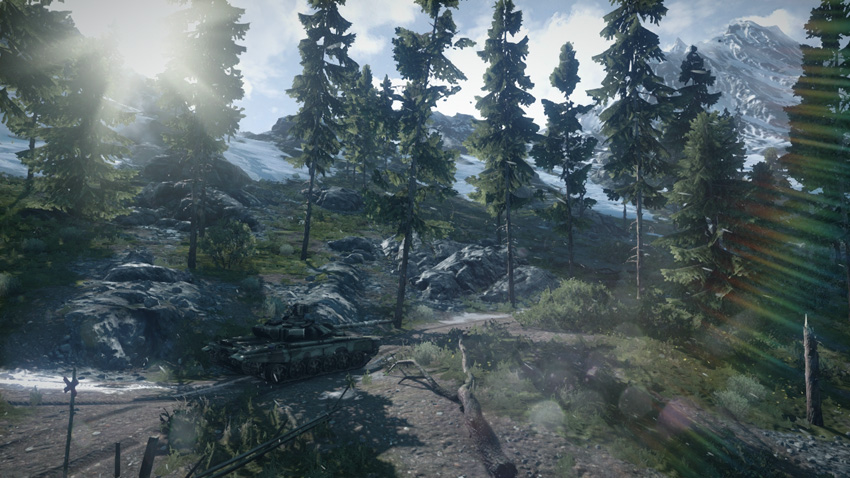
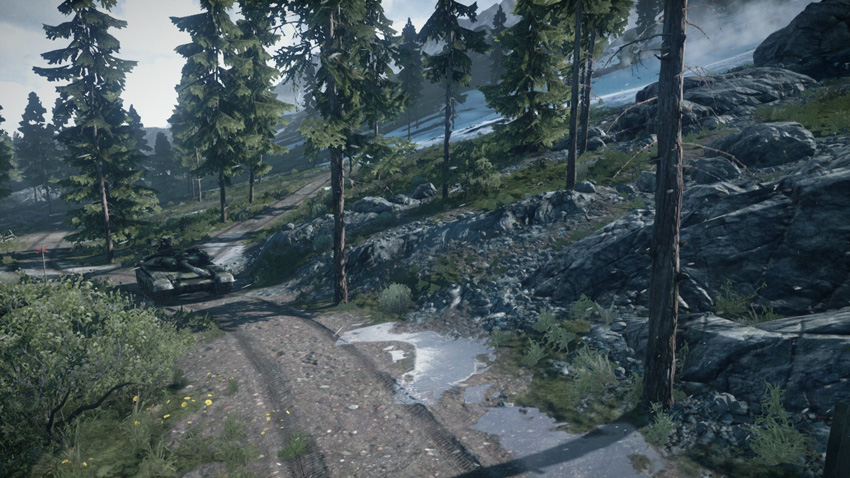
This Rush battle is spread across four zones, starting in the lower elevations near the lake before climbing into the rugged mountain range. While the US attackers maintain a significant vehicle advantage throughout the course of the battle, they’ll need to make the most of these assets to secure a victory on this challenging map. In many instances the challenging terrain forces the US attackers to perform predictable frontal assaults on each defensive position. This makes the US vehicles vulnerable to ambushes by the defenders. While the terrain is a hindrance to the US team, the narrow roads and dense forests are a key asset for the RU defenders. Throughout the battle the defenders have access to only one T-90A and a single SU-25TM Frogfoot. This means the defenders are largely an infantry force facing off against an onslaught of US vehicles. While engineers are the most effective at taking out vehicles, the defenders must also rely on recon troops to spot incoming attackers, preferably with MAVs and T-UGS motion sensors. By leveraging the natural choke points and keeping tabs on the whereabouts of the attackers, the RU team has a strong chance of holding out for a victory despite their lack of vehicles.
Zone 1: Fishing Huts
US Deployment
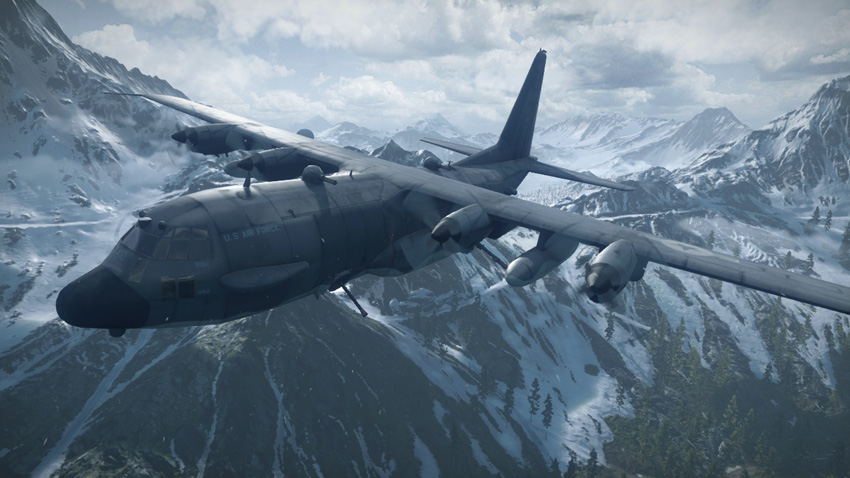
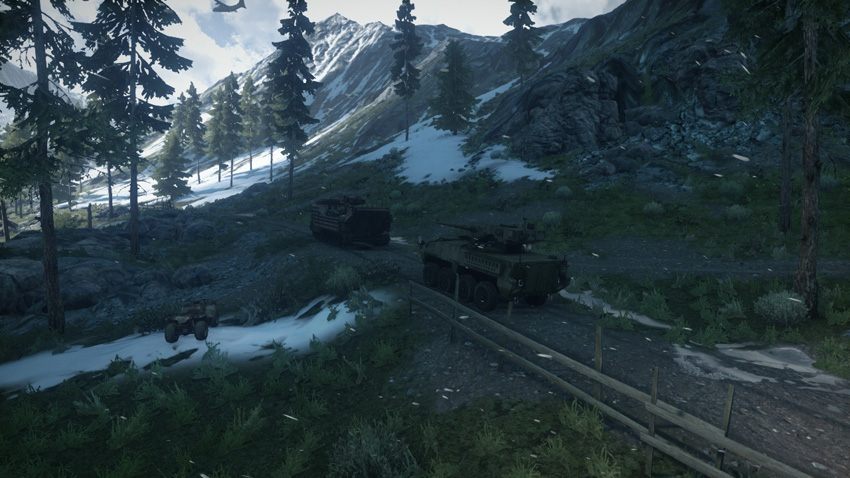
Deployment Area Assets
| Name | Quantity | Respawn Time |
|---|---|---|
| Quad Bike | 2 | 5 sec. |
| M1128 | 1 | 20 sec. |
| AAV-7A1 AMTRAC | 1 | 60 sec. |
| A-10 Thunderbolt | 1 | 40 sec. |
| Gunship | 1 | 120 sec. |
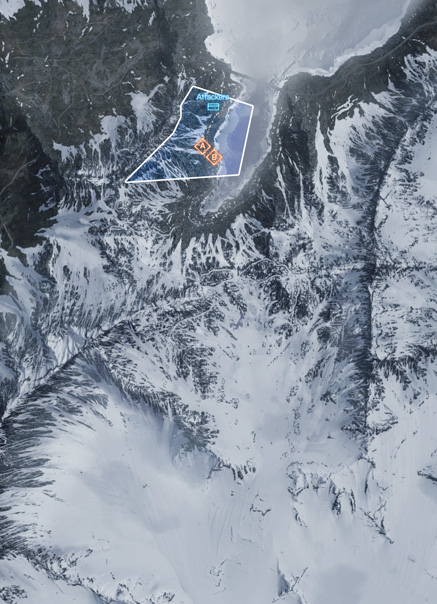
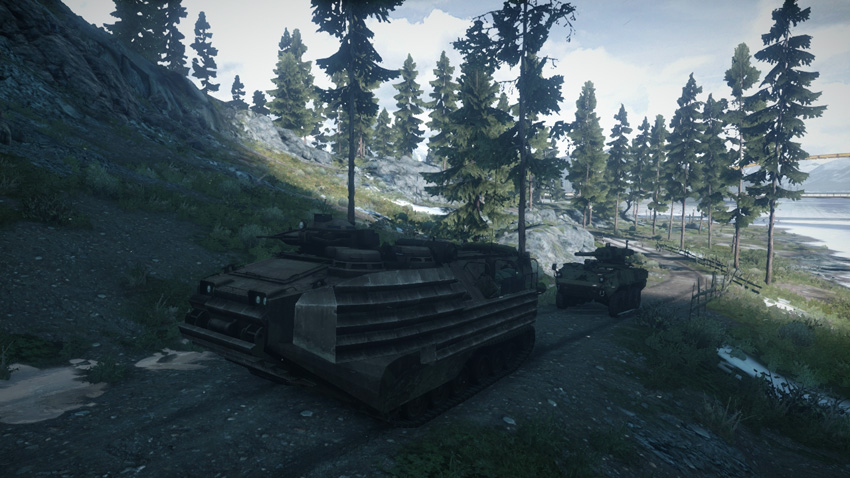
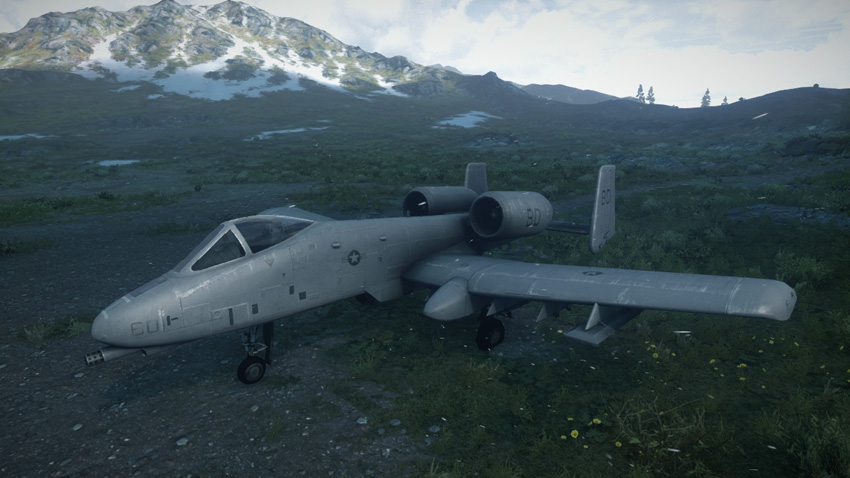
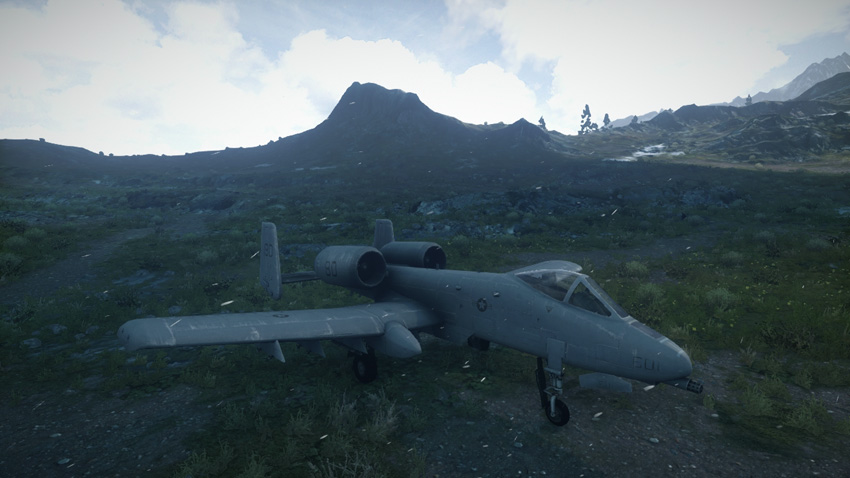
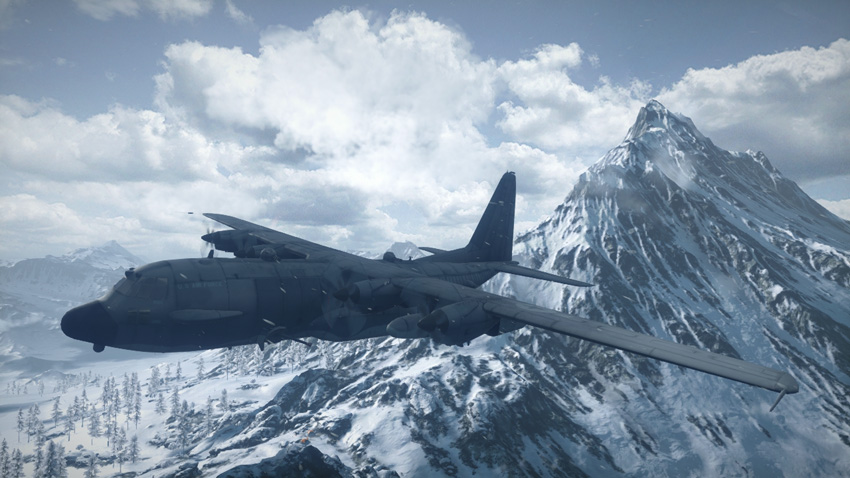
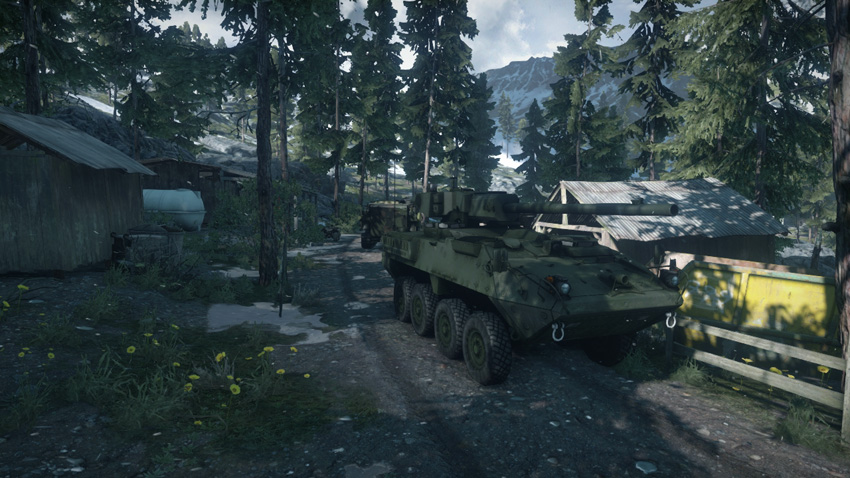
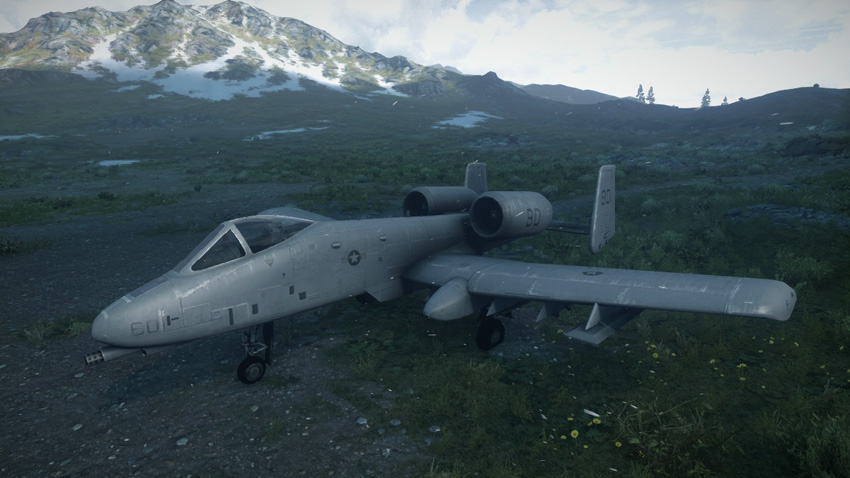
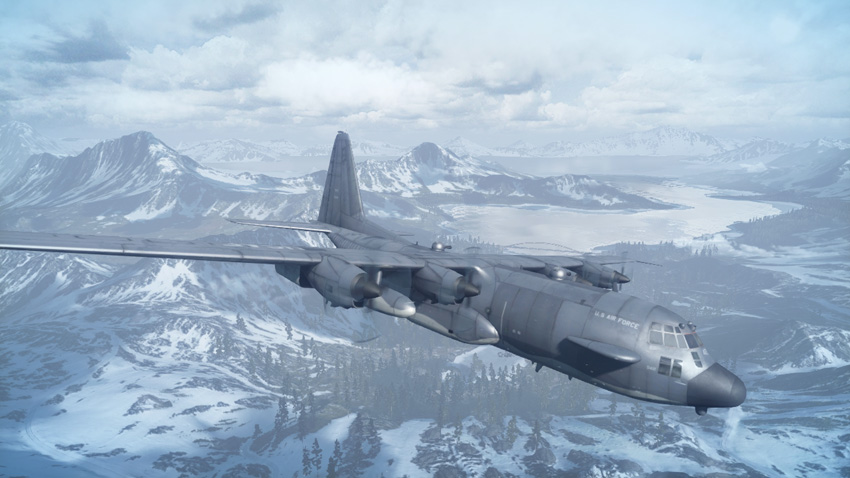
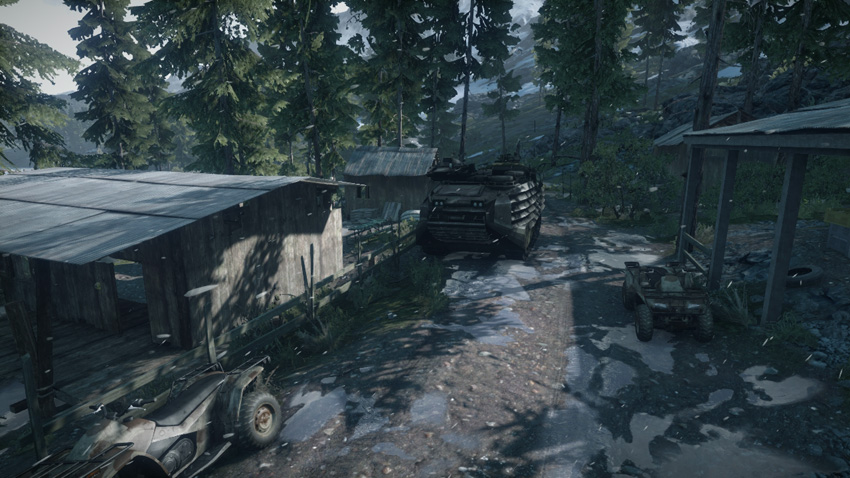
During the opening phase of the battle, the US team deploys on the western bank of the lake, just north of the fishing huts. As usual, the attackers have a significant advantage when it comes to vehicles—try rushing the objectives early with the quad bikes before the RU team can dig in. But once the defenders are situated it takes a concerted effort to push them back before the M-COM stations can be approached and destroyed. Lead the attack with the M1128 tank destroyer, and make sure at least one engineer with a repair tool rides in the back. Without the support of engineers, the M1128 won’t last long against the RU team’s T-90A. The tank destroyer can gain the upper hand if supported from the air by the A-10 and gunship. Meanwhile, rush the objectives with the AAV-7A1 AMTRAC. This vehicle can serve as a forward spawn point for the whole team, allowing the US to apply constant pressure on the fishing huts and its objectives.
RU Deployment
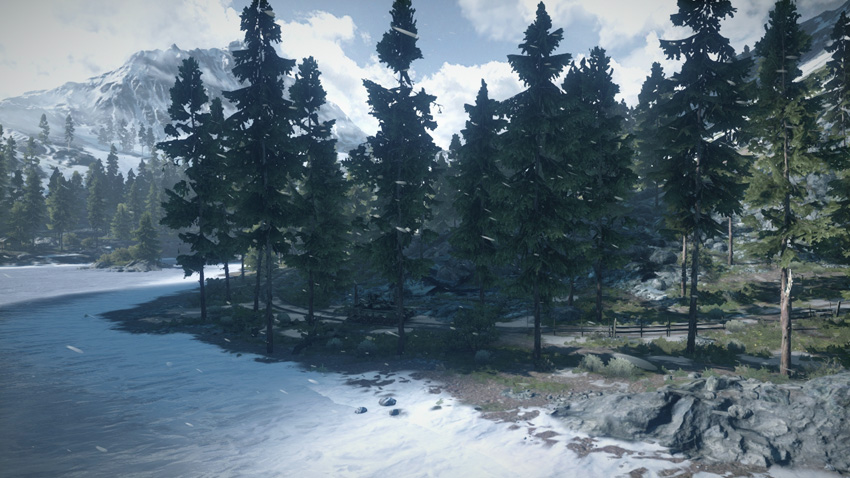
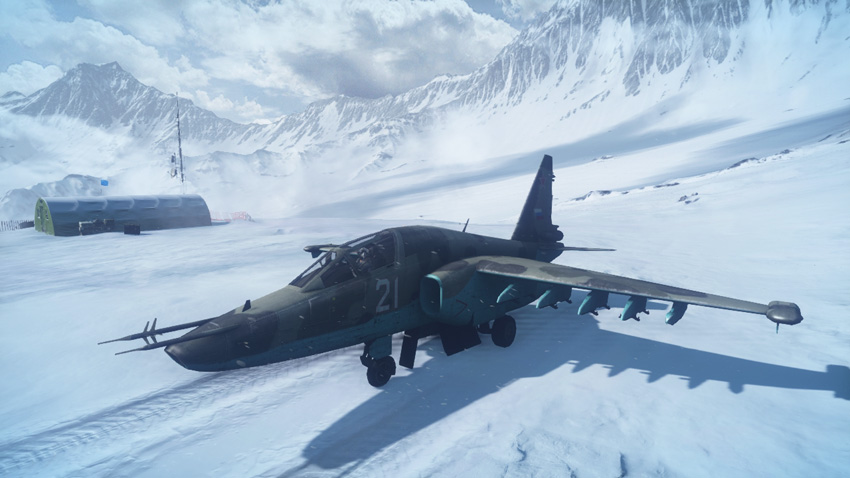
Deployment Area Assets
| Name | Quantity | Respawn Time |
|---|---|---|
| T-90A | 1 | 60 sec. |
| SU-25TM Frogfoot | 1 | 40 sec. |
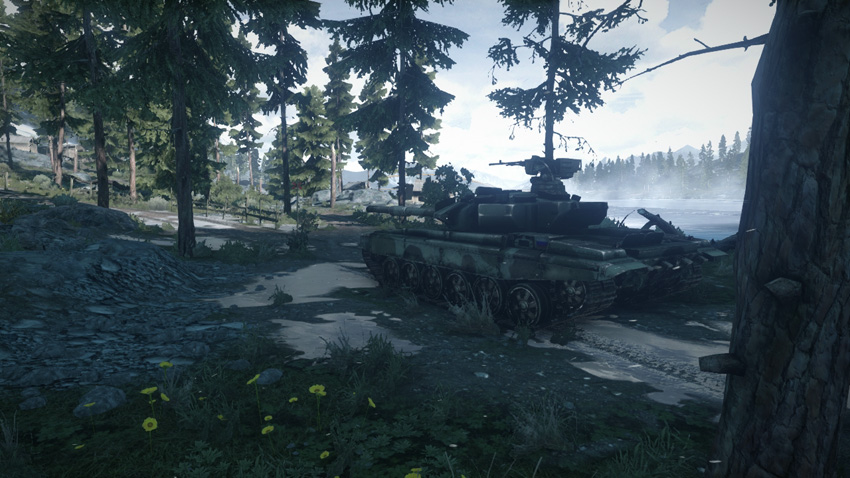
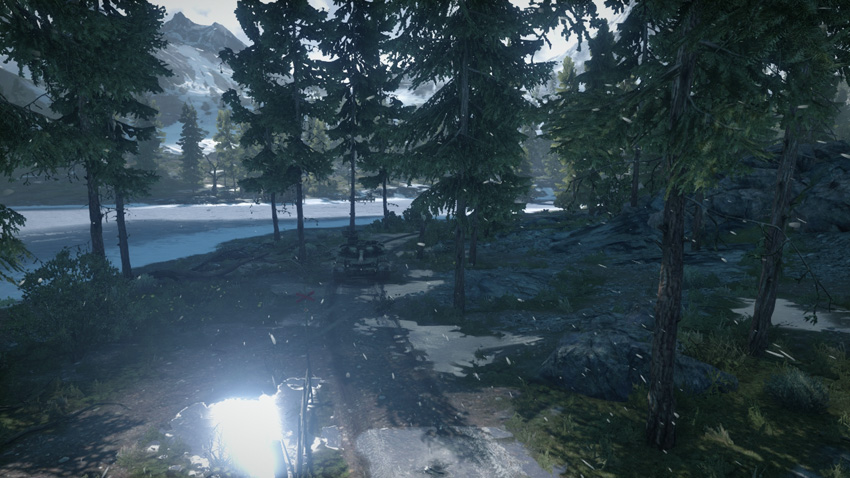
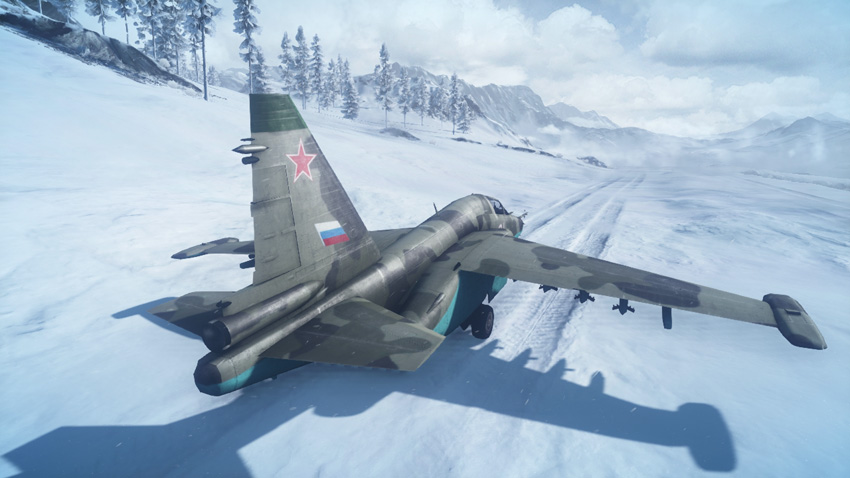
At the start of the battle, the RU team deploys on the south side of the fishing huts, leaving the objectives wide open for early-round attacks. Move the T-90A north as quickly as possible in an effort to secure the objectives. Infantry must sprint toward the objectives and assume a defensive posture. Engineers are necessary to keep the T-90A repaired at all times—their mines and rocket launchers also come in handy for countering the onslaught of US vehicles racing in from the north. While the T-90A and infantry work to secure the fishing huts, get the SU-25TM into the air so it can counter the US team’s A-10 and gunship. Although it’s a ground-attack aircraft, the SU-25TM is best suited for shooting down the US team’s air assets in this battle. Denying the US team close air support is key to weakening their offensive capabilities. When the US aircraft are destroyed, the SU-25TM can assist by strafing the US team’s ground vehicles. But the wooded terrain can make strafing runs somewhat dangerous, so watch your altitude.
M-COM Station A
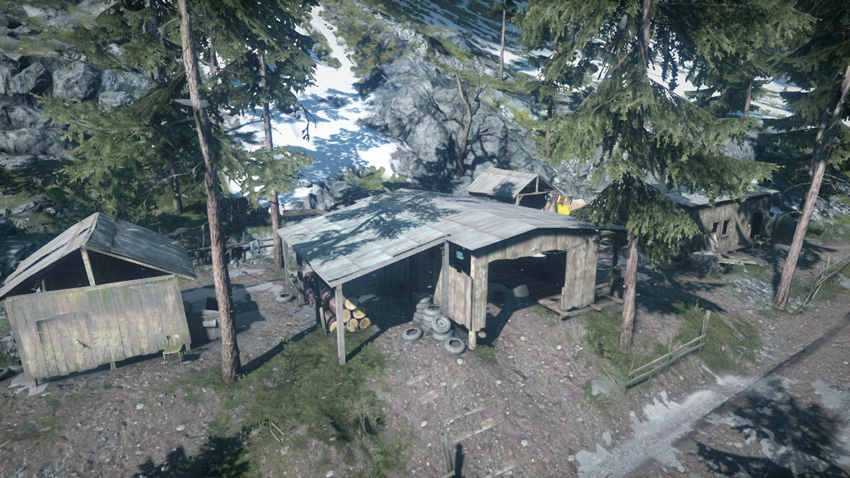
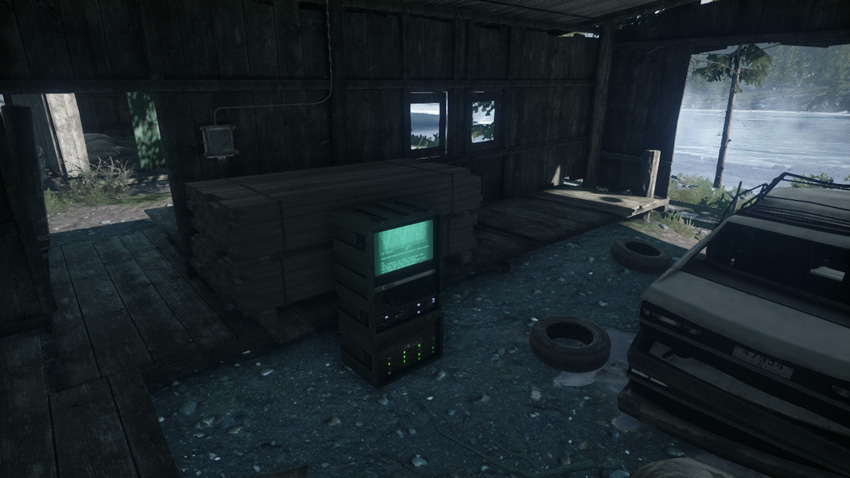
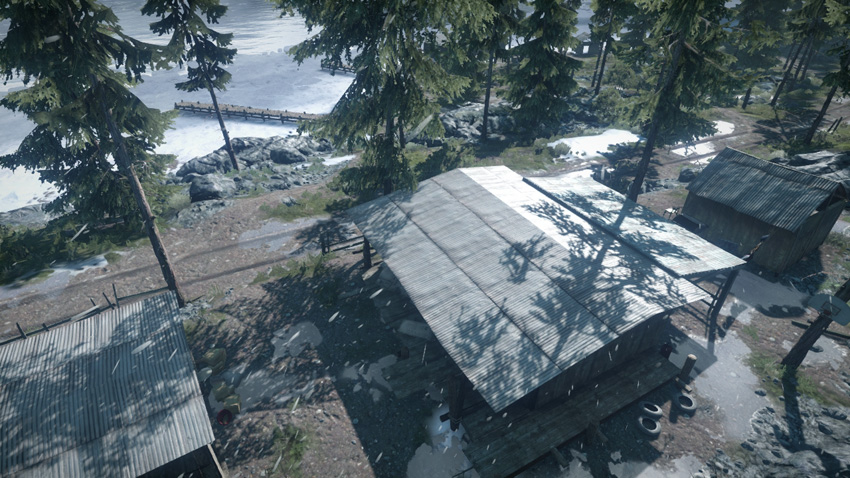
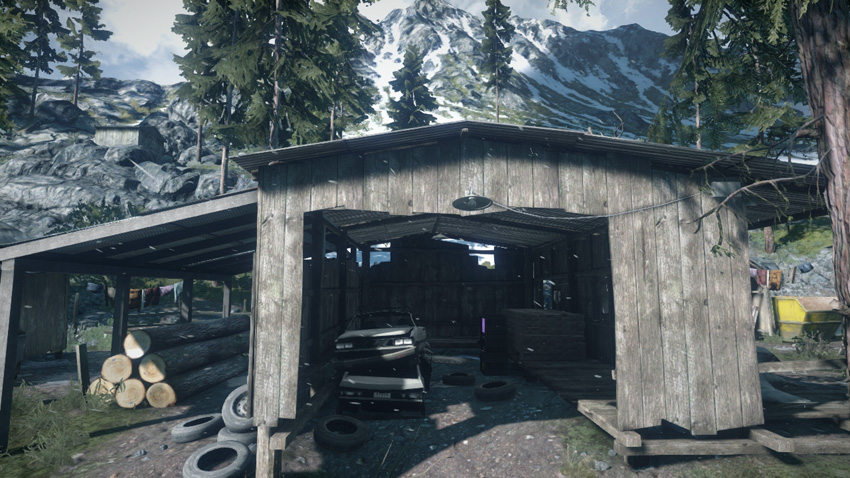
M-COM Station A is the closest objective to the US deployment area and most likely to come under attack first. The US attackers should rush this objective early during the round, preferably with quad bikes or by parachuting out of the gunship. Unless approaching in the T-90A, the RU team has a difficult time reaching this objective before the US team. Sometimes it’s better to consolidate defenses around M-COM Station B than to try to defend this distant objective. The M-COM station is housed within a rickety garage adjacent to the dirt road cutting through the fishing huts. The garage’s interior is accessible from the road as well as from a narrow doorway on its north side. The wooden walls of the garage will not stand up to heavy fire, making it a poor hiding spot. Instead, defenders should booby-trap the interior and then back off and guard the perimeter.
M-COM Station B
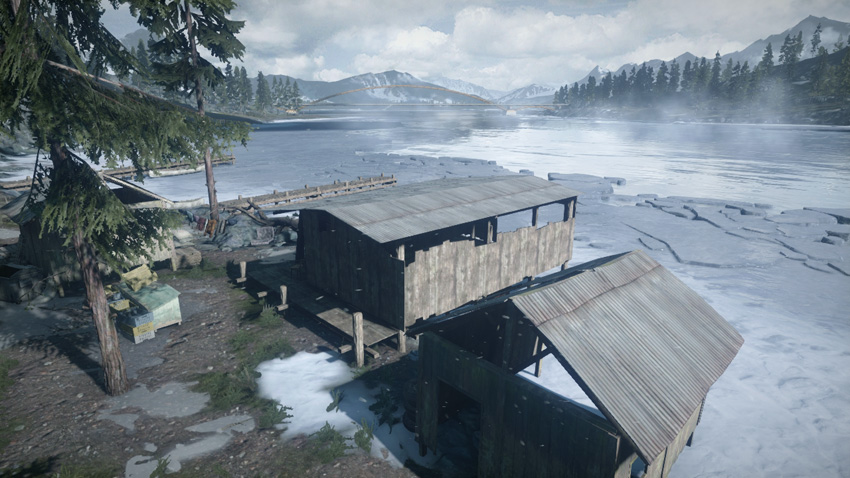
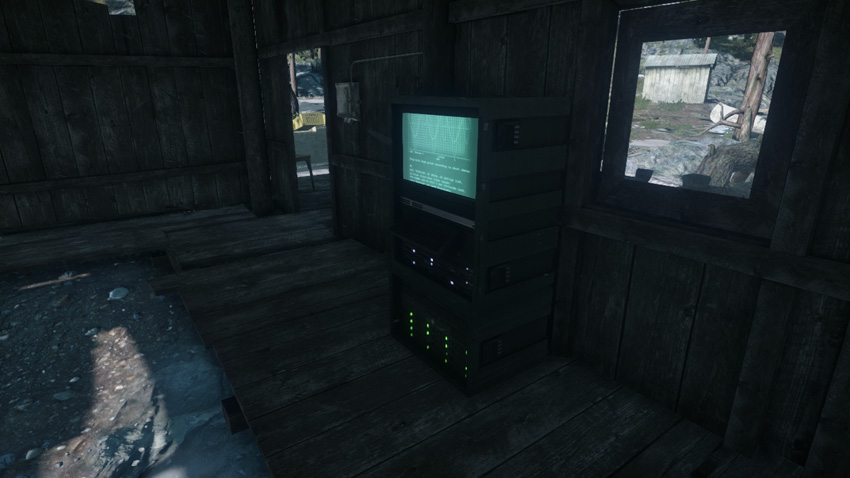
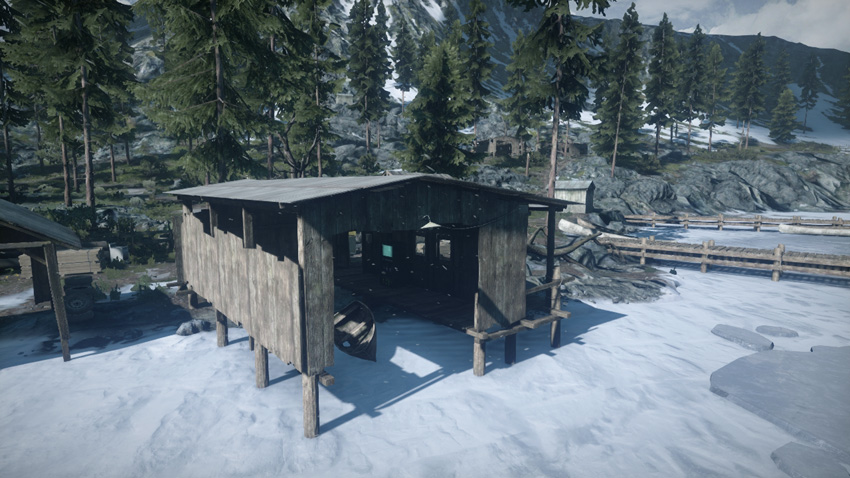
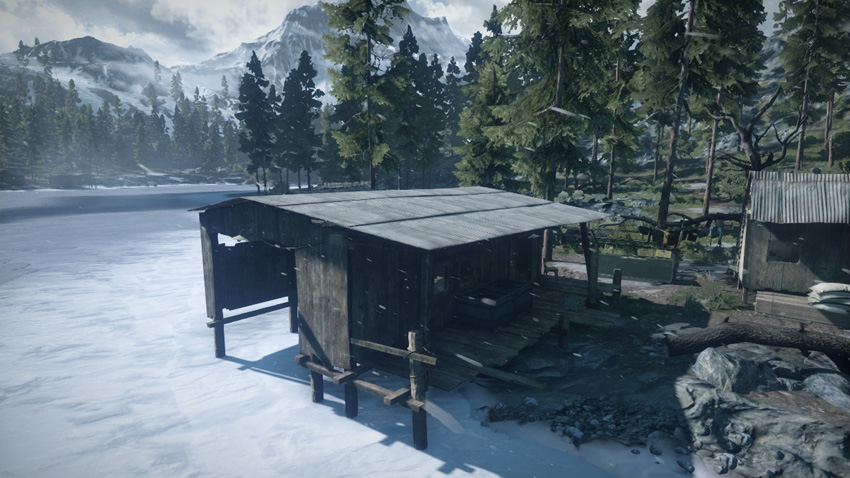
This objective is housed within a wooden boathouse on the western shore of the lake. Given its proximity to the RU deployment area, the defenders have a much easier time reaching and locking down this objective than they do M-COM Station A. For the attackers, it’s easiest to reach this boathouse by traveling along the frozen western bank of the lake. The amphibious AAV-7A1 AMTRAC can even approach from the water to the east in an effort to flank the boathouse and act as a forward spawn point. However, defenders should expect most attacks to come along the dirt road from the north. Mining the dirt road and booby-trapping the boathouse’s interior is highly advisable. But don’t rely solely on passive defenses. If you’re not constantly watching, infantry can sneak in from the north or drop in via parachute from the US team’s gunship. Consider parking the T-90A in the woods to the south or west to reinforce this position against infantry and vehicle attacks.
Zone 2: Mountain Village
US Deployment
Deployment Area Assets
| Name | Quantity | Respawn Time |
|---|---|---|
| Quad Bike | 3 | 5 sec. |
| M1128 | 2 | 20 sec. |
| AAV-7A1 AMTRAC | 1 | 60 sec. |
| A-10 Thunderbolt | 1 | 40 sec. |
| Gunship | 1 | 120 sec. |
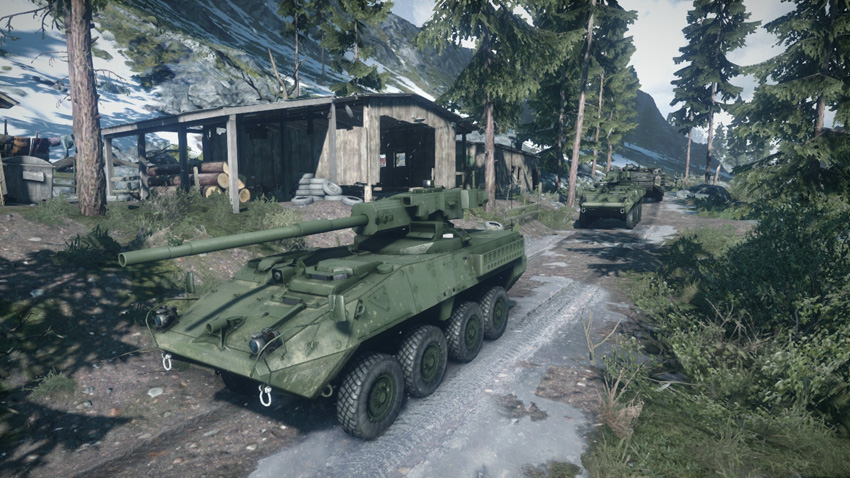
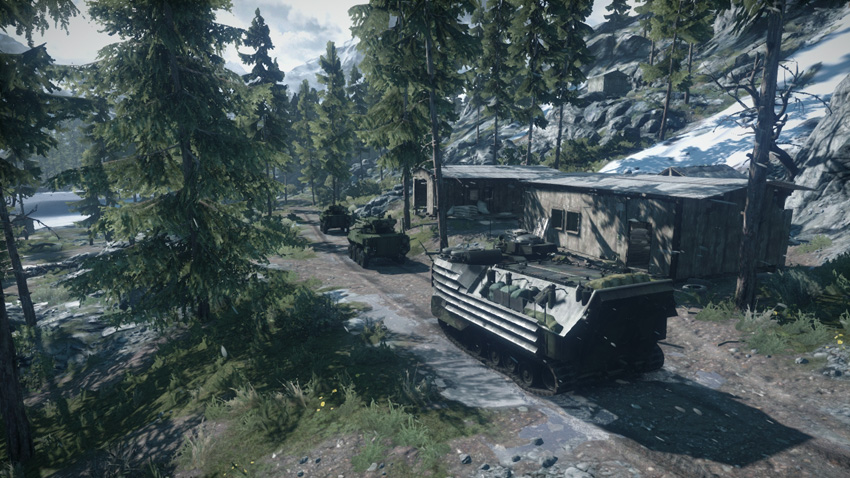
After knocking out the first pair of objectives, the US deployment area moves south to the fishing huts. Here the US gains access to an extra quad bike and M1128 tank destroyer, allowing for greater firepower and mobility as they press toward the new objectives at the mountain village. Since the RU team has a few seconds to dig in around the objectives, avoid early-round rushes in quad bikes or parachutes. Instead, lead a coordinated attack on the mountain village with both tank destroyers and the AMTRAC. The firepower of these three vehicles is enough to overwhelm the defenders. At the very least, a frontal assault can serve as a distraction, allowing infantry on quad bikes to stage flanking attacks, hitting the mountain village from the east. Both the A-10 and gunship are great for softening defensive positions, but watch out for the RU team’s SU-25TM. If left unchallenged, the SU-25TM can seriously hinder the advance by the tank destroyers and AMTRAC.
RU Deployment
Deployment Area Assets
| Name | Quantity | Respawn Time |
|---|---|---|
| T-90A | 1 | 60 sec. |
| SU-25TM Frogfoot | 1 | 40 sec. |
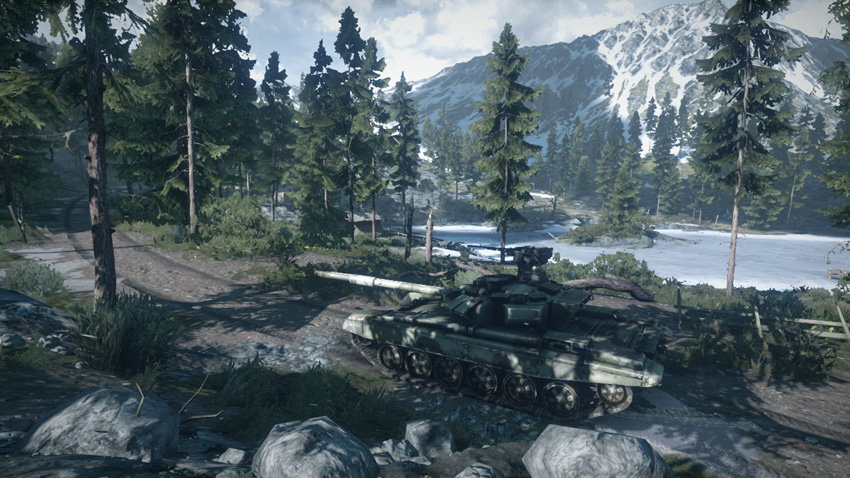
Following the destruction of the objectives at the fishing huts the RU team’s deployment area is pushed back to the east side of the mountain village. Unlike in the first phase, the RU team has a few seconds to regroup and consolidate their forces around the mountain village before the US team arrives. Use these precious seconds to move the T-90A forward, taking a position along the dirt road between the two M-COM stations. Back up the T-90A with engineers equipped with repair tools—the T-90A will need plenty of assistance if it hopes to survive the fight with the incoming US tank destroyers. Engineers can assist offensively as well by deploying mines and launching rockets at the incoming US vehicles. Keep the SU-25TM airborne to deal with the US team’s aircraft. Shooting down the US team’s A-10 and gunship can alleviate pressure on the ground, allowing defenders to focus solely on the ground assault.
M-COM Station A
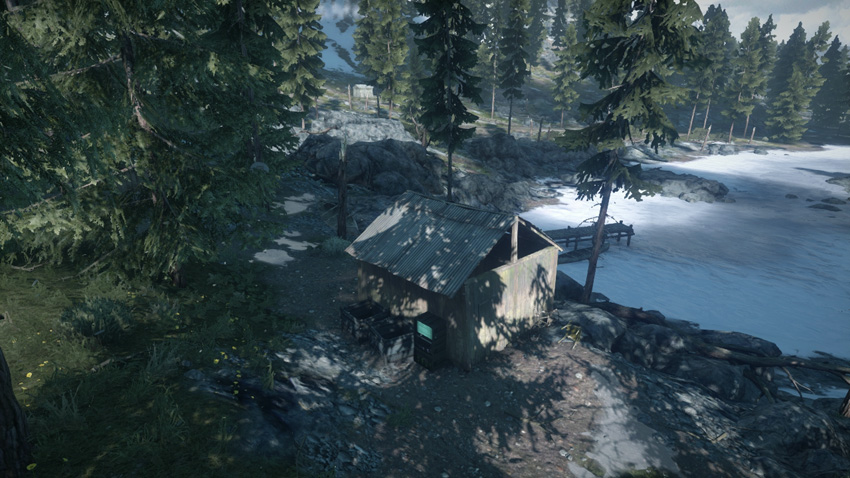
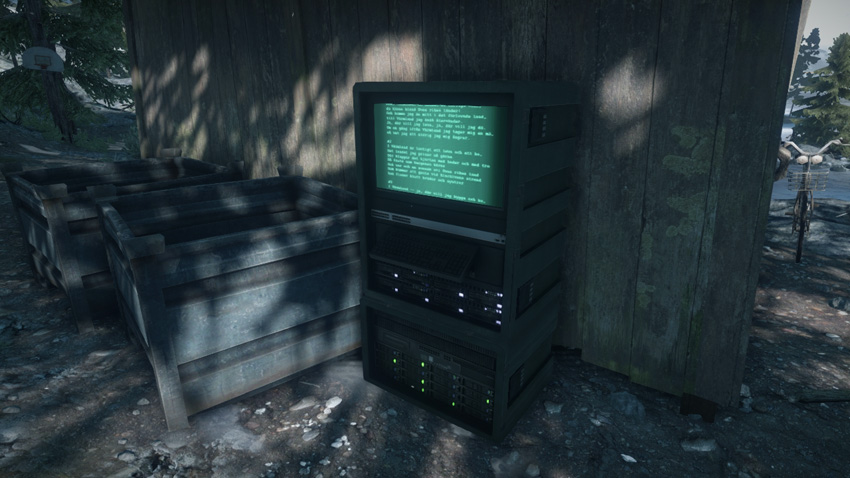
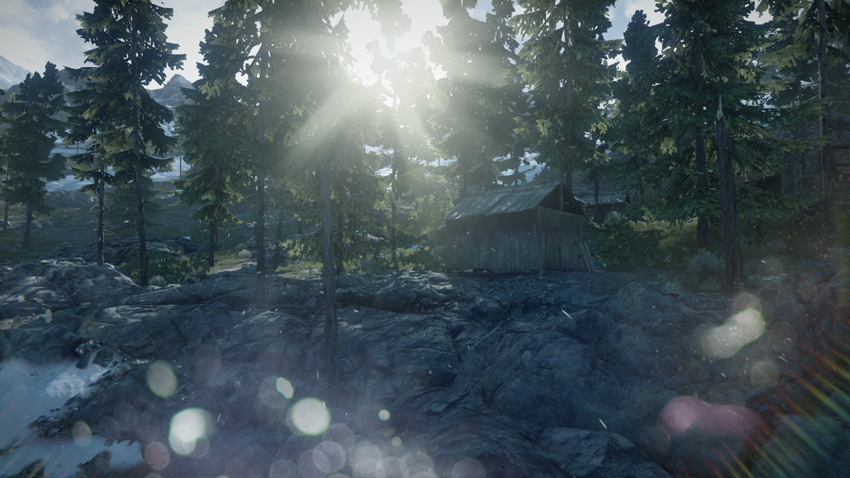
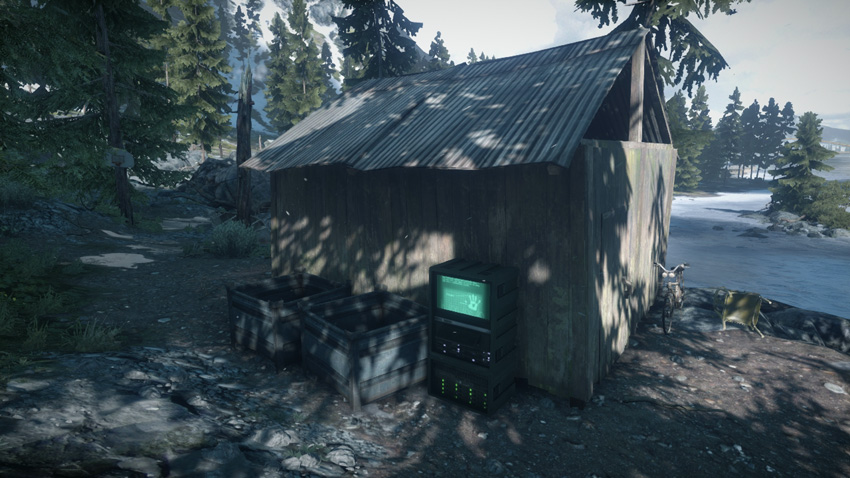
M-COM Station A is situated on the outside of a small wooden shack on the southern bank of the lake. The terrain around the shack is wooded and rocky, making vehicle access a little difficult, especially for large tracked vehicles like tanks and tank destroyers. As a result, defenders are better off guarding this area on foot, watching the objective from the surrounding structures. When a slow and steady advance on foot isn’t possible, the US attackers should rely on their quad bikes to rush toward this objective. Attempts to set a charge can be supported by the AMTRAC parked on the frozen lake to the north. Given the lack of cover around the objective, both teams should utilize smoke when attempting to arm or disarm this M-COM station.
M-COM Station B
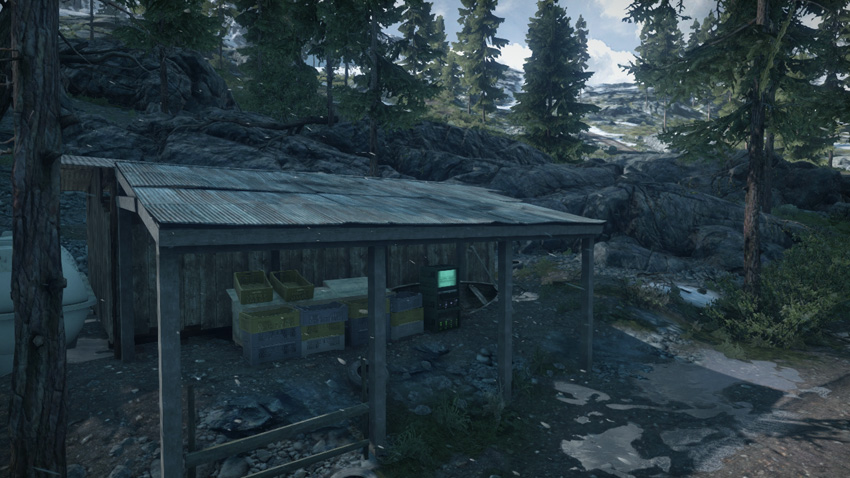
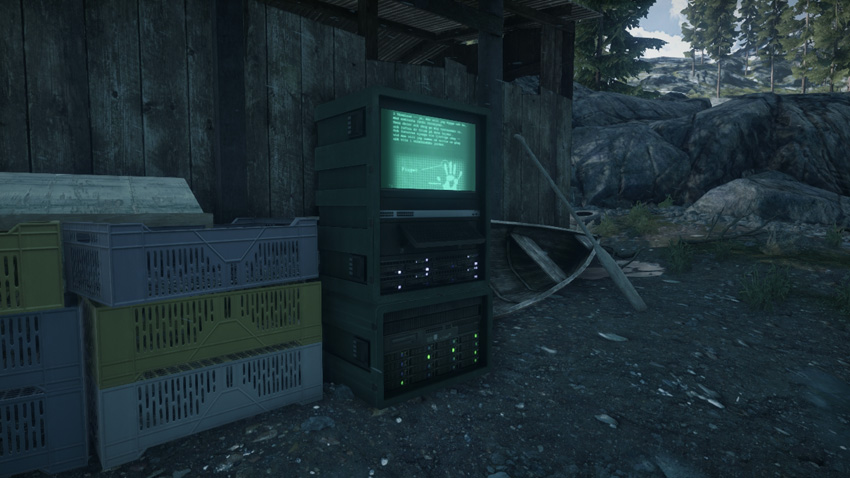
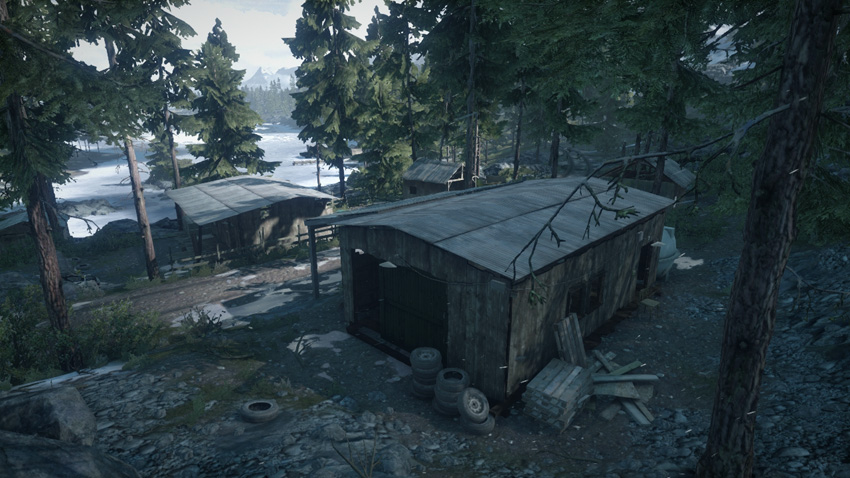
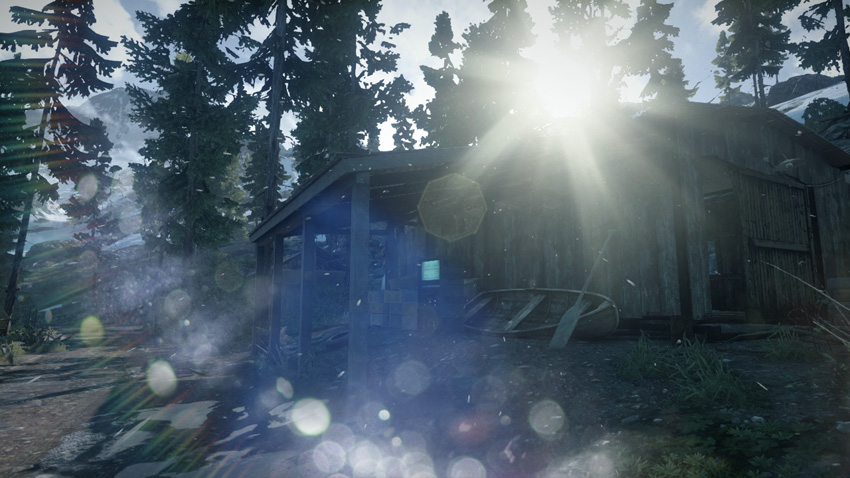
This objective is located beneath the awning of a wooden storage shed on the south side of the mountain village. Given the M-COM station’s nearness to the dirt road, this objective is often rushed by vehicles approaching from the fishing huts. Defenders can slow down the attackers by placing mines along the dirt road to the west. Parking the T-90A on the road next to the objective is also a good deterrent. When attacking this objective, the US team should park their tank destroyers to the west and provide fire support while the AMTRAC moves close to the M-COM station and serves as a forward spawn point for the team. Don’t forget to make use of the AMTRAC’s grenade launcher and machine gun turret—these weapons are ideal for providing cover fire while infantry set a charge on the objective.
Zone 3: Radio Outpost
US Deployment
Deployment Area Assets
| Name | Quantity | Respawn Time |
|---|---|---|
| Quad Bike | 3 | 5 sec. |
| M1128 | 2 | 20 sec. |
| AAV-7A1 AMTRAC | 1 | 60 sec. |
| A-10 Thunderbolt | 1 | 40 sec. |
| Gunship | 1 | 120 sec. |
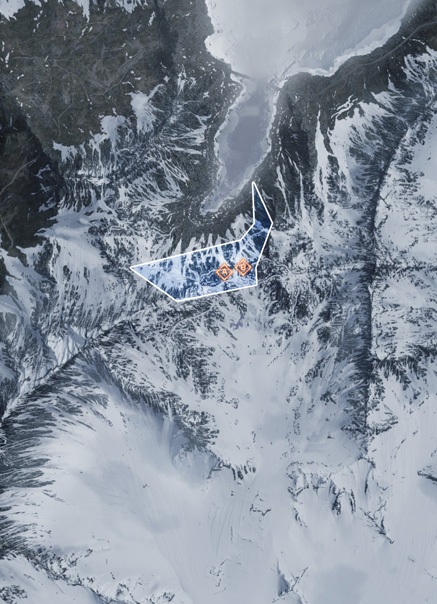
As the US team enters the third phase of the battle, they maintain the same type and number of vehicles. However, the climb to the next set of M-COM stations, at the radio outpost, is steep and treacherous, making the tank destroyers and AMTRAC less effective. As the battle transitions into the mountain, there are also far fewer trees, making these slow-moving vehicles easy targets for the RU team’s SU-25TM. The quad bikes are far more effective in handling the rough terrain leading up to the radio outpost. Unlike the tank destroyers and AMTRAC, the quad bikes can go off road and avoid ambushes staged along the narrow, snowy roads. The lack of trees in this area also makes it easier for US air assets to spot and target defenders on the ground. Use the gunship to clear a path for advancing troops and vehicles while the A-10 hunts down the RU team’s SU-25TM.
RU Deployment
Deployment Area Assets
| Name | Quantity | Respawn Time |
|---|---|---|
| T-90A | 1 | 60 sec. |
| SU-25TM Frogfoot | 1 | 40 sec. |
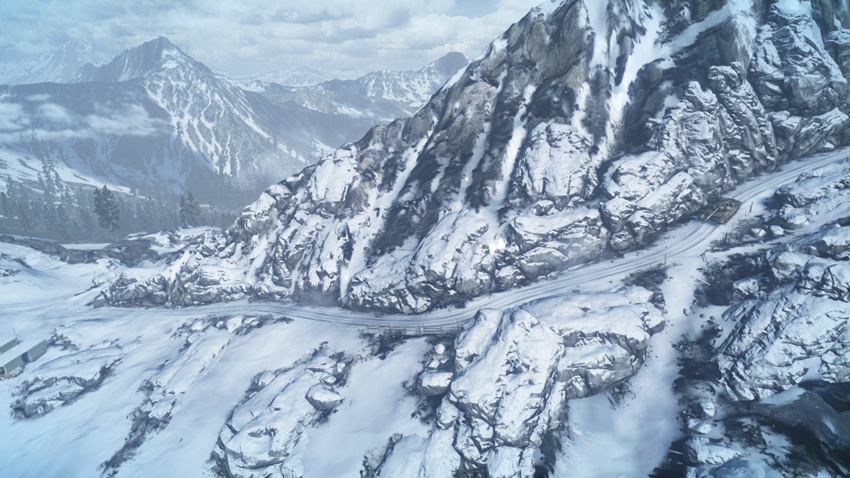
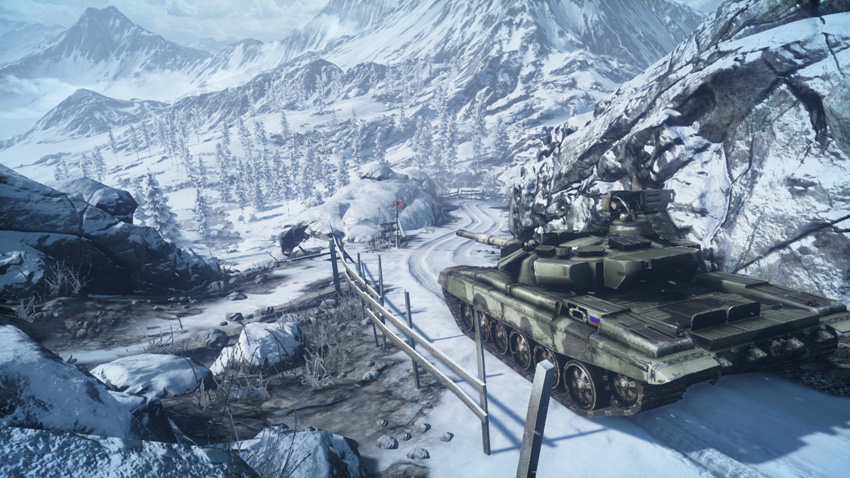
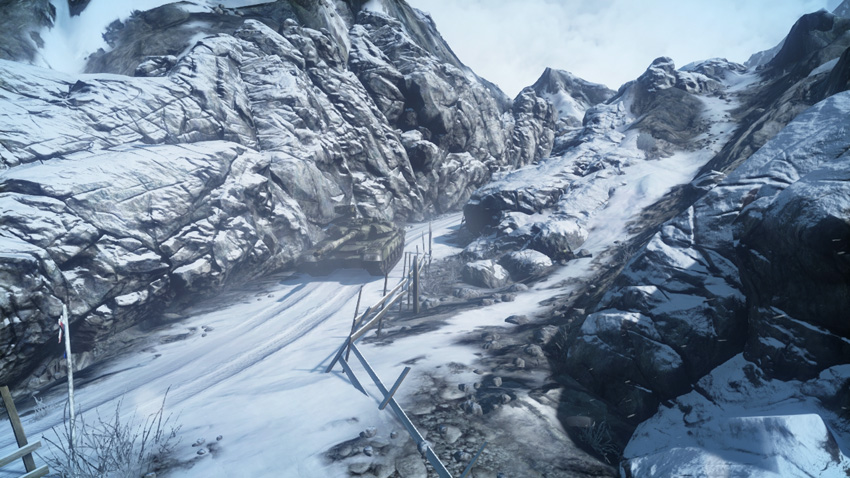
After losing the objectives at the mountain village, the RU team’s deployment area is pushed into the mountains, just east of the radio outpost. While the RU defenders gain no extra vehicles in this phase, the challenging terrain works in their favor. Most of the advancing US vehicles are limited to climbing the steep and narrow snow-covered roads. As a result, the defenders should attempt to intercept these attackers west of the radio outpost using mines and rocket launcher attacks to take advantage of these narrow choke points. However, it’s important to keep at least one squad posted near each objective to defend against US troops dropping in via parachute from the gunship. While the SU-25TM’s primary goal is to suppress the US team’s air assets, this ground attack jet can also make a serious contribution to the fight over the objectives by strafing US vehicles and infantry—the attackers are easy to spot and target due to the lack of trees in the higher elevations.
M-COM Station A
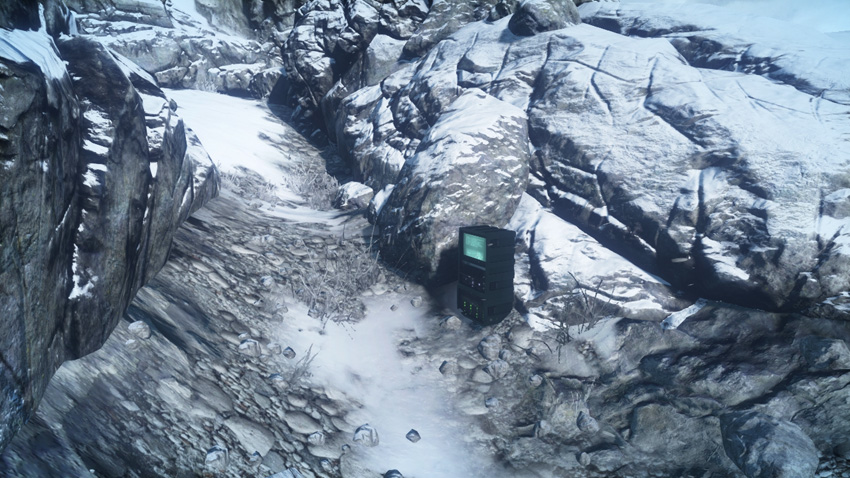
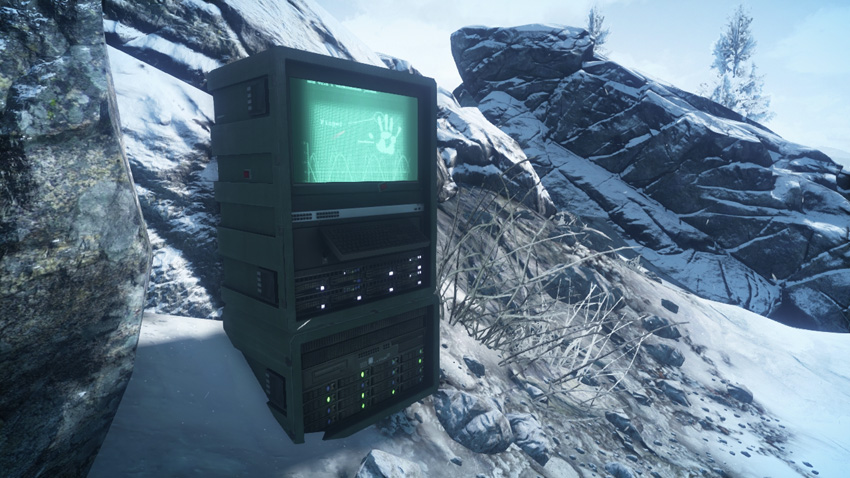
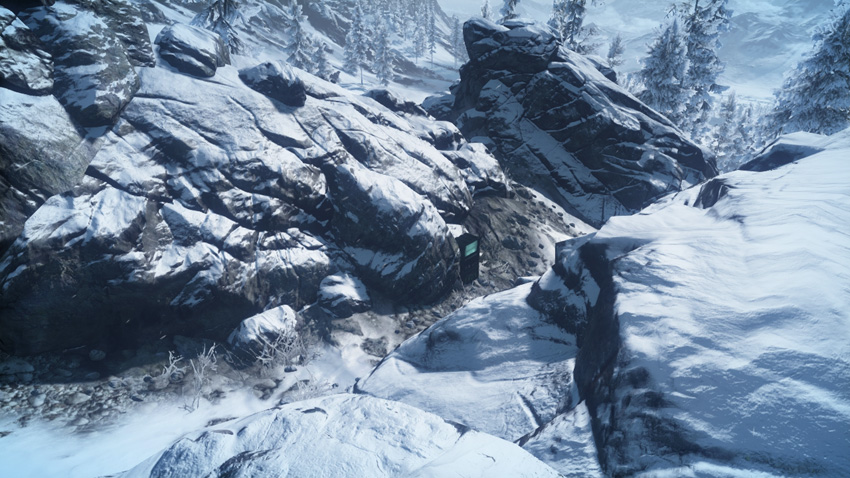
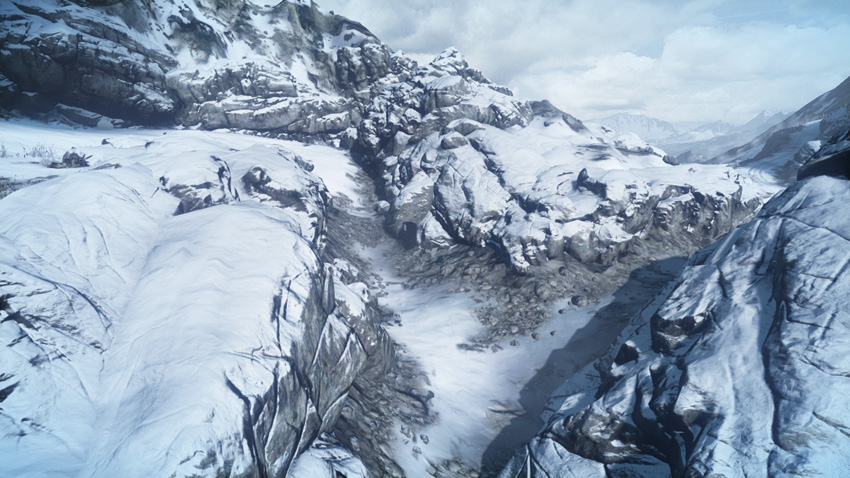
M-COM Station A is nestled within a crevice between two large rock formations directly west of the radio outpost. Whether attacking or defending, this area is easiest to negotiate on foot. Driving anything larger than a quad bike into this tight space will result in a quick death as your stalled vehicle is pummeled by rockets from the rocks above. As a result, expect close-quarters infantry combat around this objective. Weapons like shotguns and PDWs are very effective for taking down opponents at close range. Attackers should expect to encounter plenty of claymores and C4 in this narrow crevice, so be ready to toss grenades to detonate these booby traps prior to rushing the objective. If it’s heavily defended, attackers should attempt to flank from the south or east. It’s also important to control the high ground surrounding the objective. Defenders can watch the M-COM station from the rocks while the attackers can pound the surrounding area with their gunship.
M-COM Station B
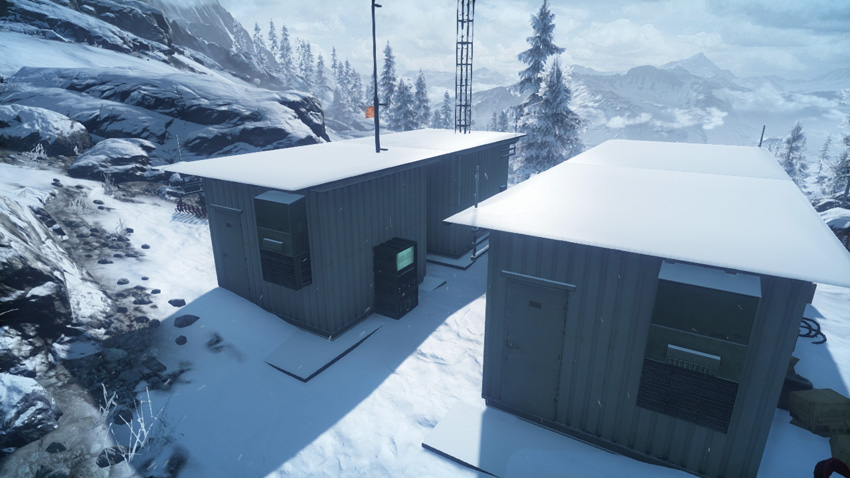
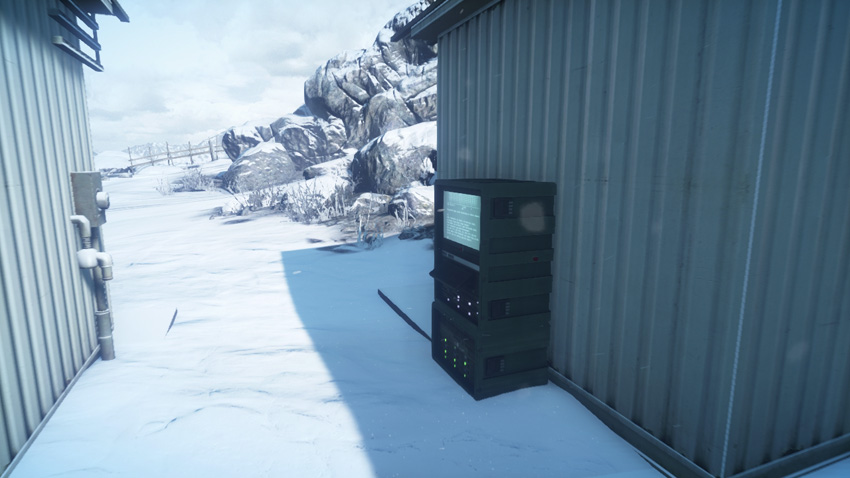
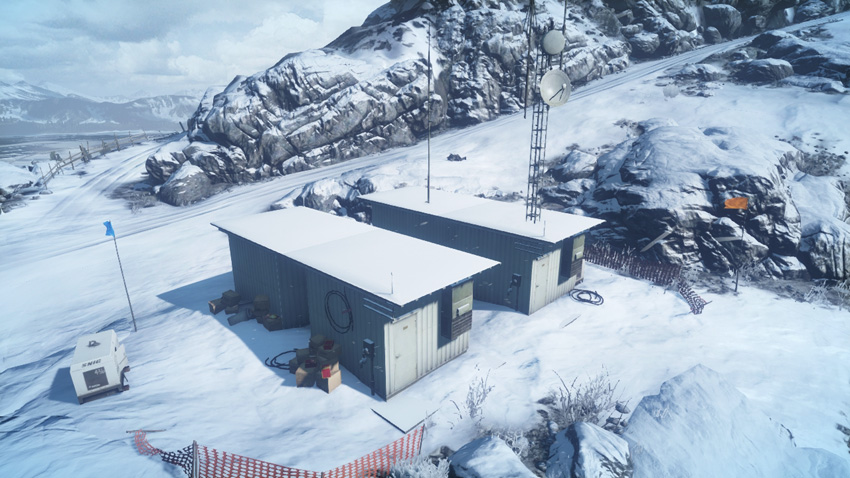
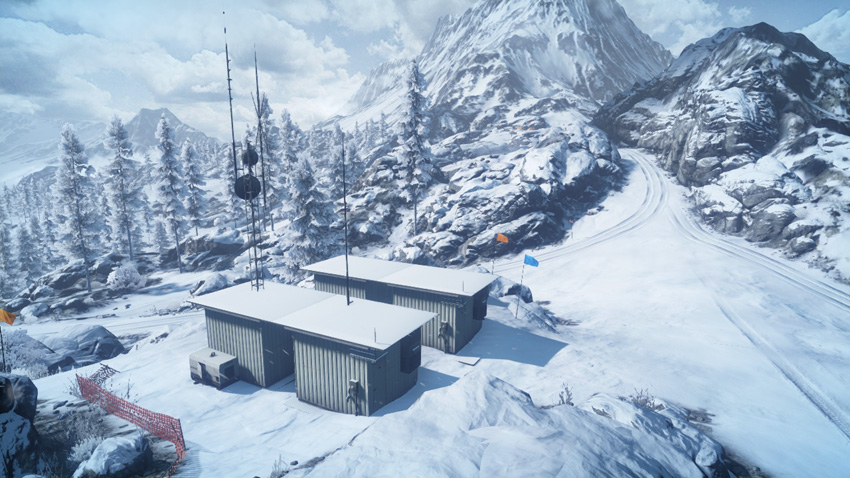
M-COM Station B sits between the two small structures at the radio outpost. The nearby roads and relatively even terrain provide easy vehicle access for both teams. The RU defenders should park their T-90A nearby to help fend off attacks by US ground vehicles approaching from the west. But in addition to watching out for attacks along the ground, the defenders should always make periodic scans of the sky to watch for US troops dropping into the area via parachute from the gunship. Given the open terrain and long sight lines, infantry operating in this area are best equipped with assault or sniper rifles. With the exception of the structures by the objective, there isn’t much cover. So stay low and utilize smoke when necessary to conceal your movements. The US attackers can benefit greatly from their AMTRAC here, parking it near the objective to establish a forward spawn point while using the vehicle’s grenade launcher and machine gun turret to suppress defenders.
Zone 4: Radar Station
US Deployment
Deployment Area Assets
| Name | Quantity | Respawn Time |
|---|---|---|
| Quad Bike | 2 | 5 sec. |
| M1128 | 2 | 20 sec. |
| AAV-7A1 AMTRAC | 1 | 60 sec. |
| A-10 Thunderbolt | 1 | 40 sec. |
| Gunship | 1 | 120 sec. |
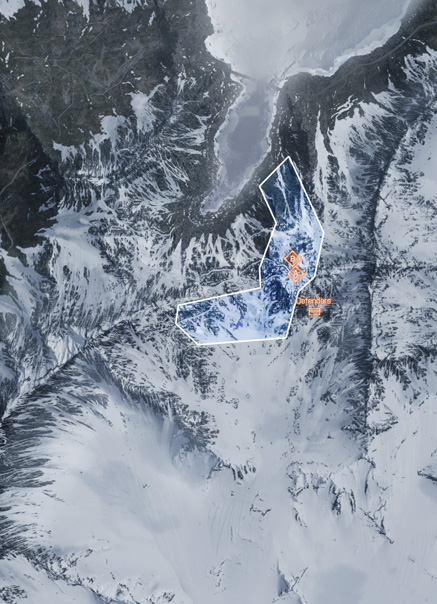
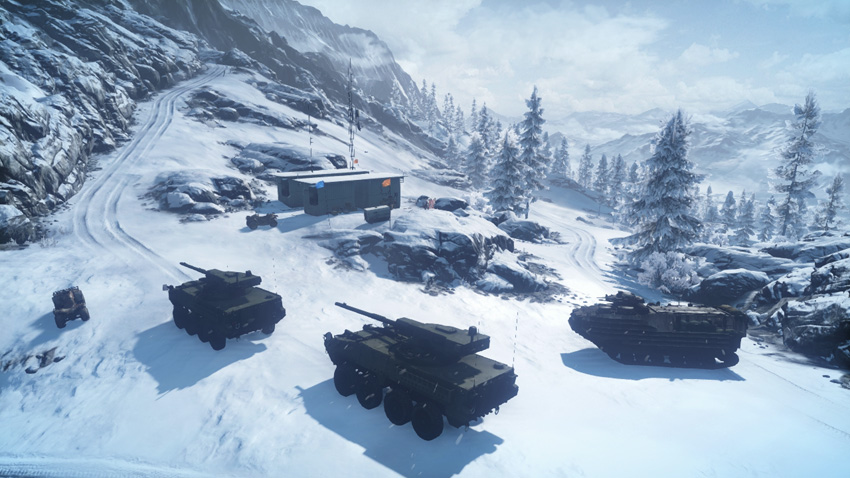
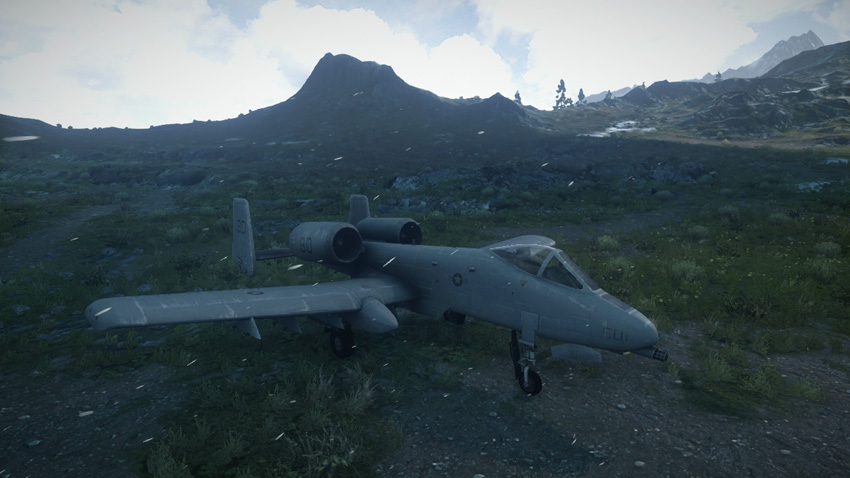
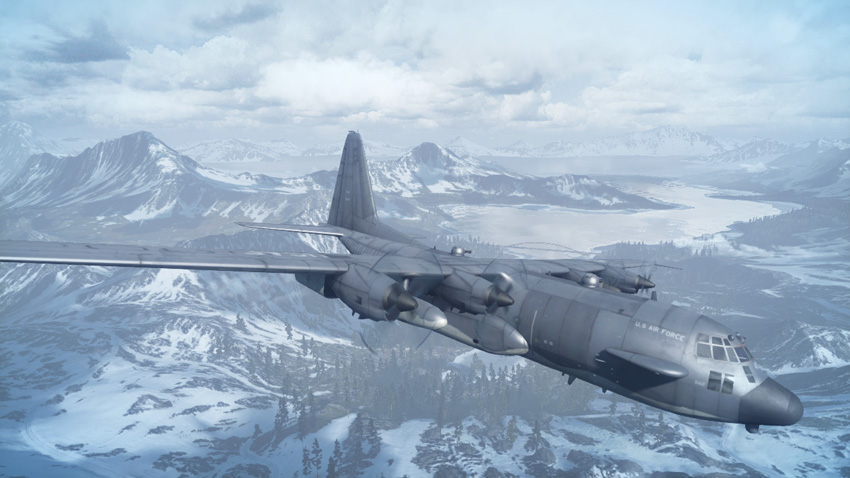
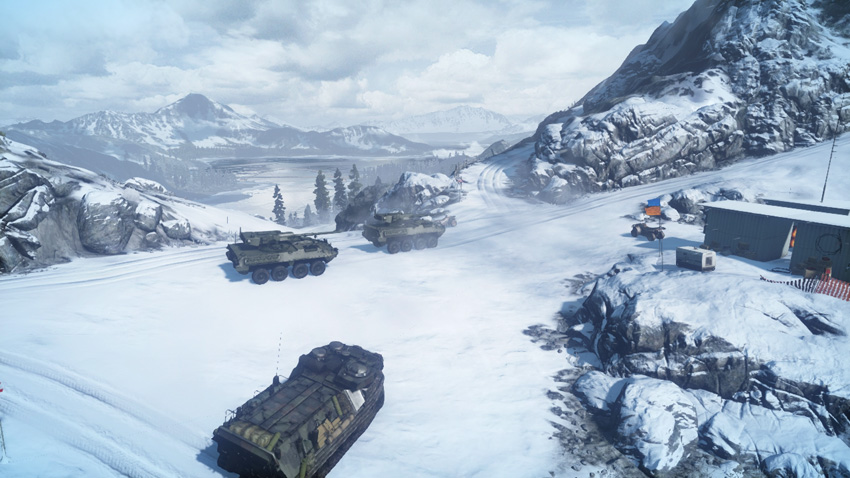
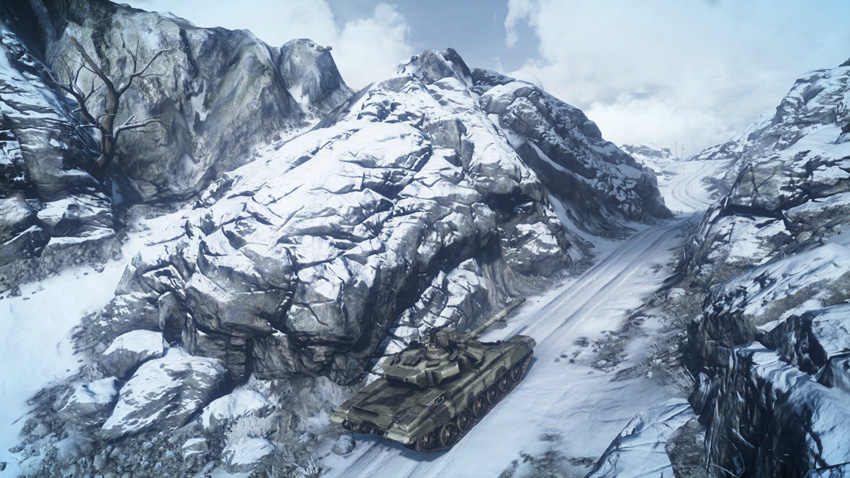
During the final phase of the battle the US team deploys from the radio outpost, having established a solid foothold in the rugged mountain range. While the battle is almost over, the final push toward the radar station can be costly. As a result, the US team must make a coordinated push to achieve victory. From the radio outpost two roads lead to the radar station. The road heading east is the most direct, but is likely to be defended and mined by enemy troops. So consider taking the long way around, utilizing the road to the north. This allows you to sneak up on the radar station from the east. However, due to the distance, it’s best traveled by the speedy quad bikes. But parking the AMTRAC somewhere on the east side of the radar station is a great way to spawn troops close to the objectives. Once again, the A-10 and gunship play a crucial role in securing the final two objectives. Use the gunship to pound defenders posted around the M-COM stations while the A-10 hunts down the RU team’s SU-25TM and T-90A. With a coordinated push from the ground and air, the US team has a good chance of wrapping up the win.
RU Deployment
Deployment Area Assets
| Name | Quantity | Respawn Time |
|---|---|---|
| T-90A | 1 | 60 sec. |
| SU-25TM Frogfoot | 1 | 40 sec. |
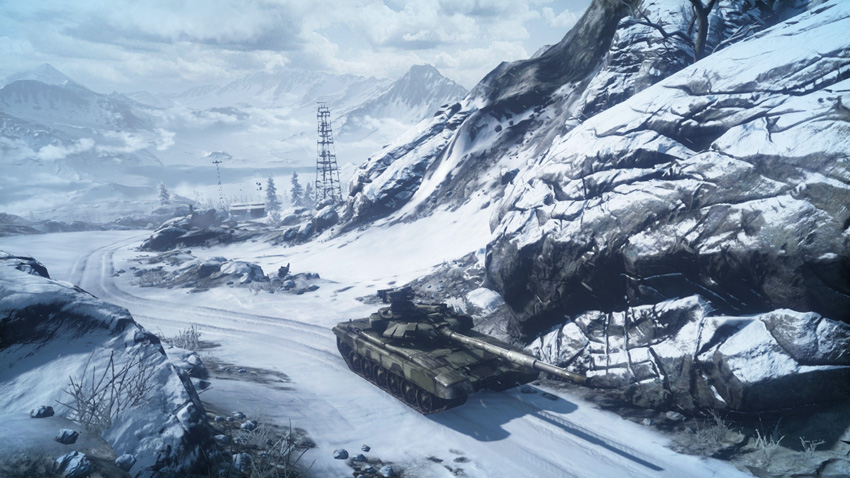
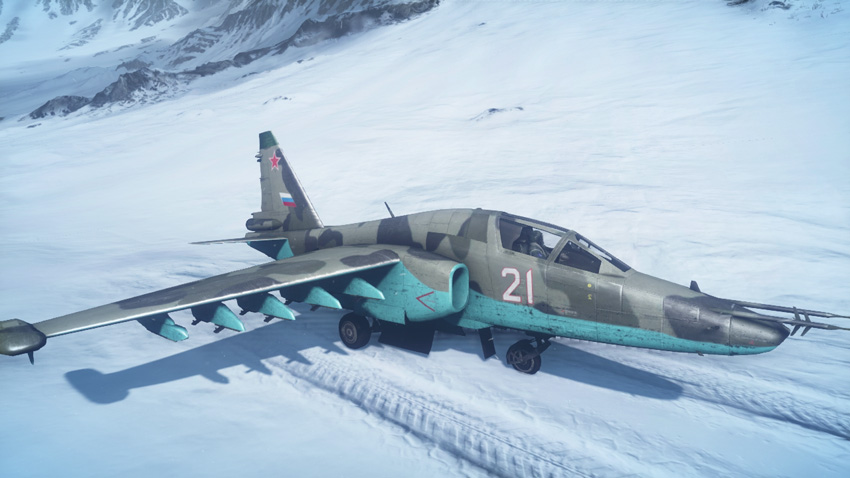
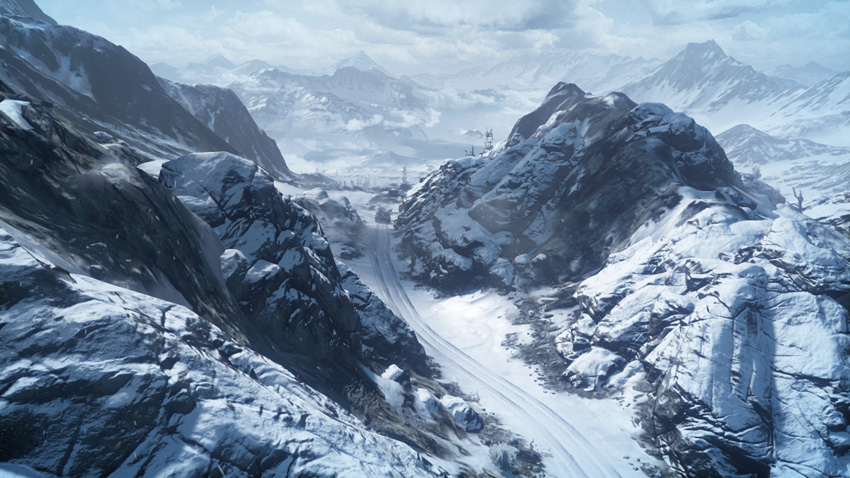
Although this is the final phase of the battle, the RU team has a very good chance of holding out for an upset here. The road to the west is steep and narrow, making it ideal for ambushing US attackers approaching from the radio outpost. Engineers armed with mines and rocket launchers and support troops equipped with C4 can delay the US advance here indefinitely. Strafing runs by the SU-25TM are also effective when focused on this narrow road. But it’s important to watch for flanking attacks from the east as well. So it’s important to post a squad (or the T-90A) on this flanking route. Since the radar station can be attacked from two different directions, recon troops should consider launching MAVs to keep an eye on US movements from the air. Defensive efforts on the ground can be completely spoiled by the pesky US gunship and A-10. So get the SU-25TM in the air and use it to shoot down these US air assets. With the A-10 and gunship out of the picture, the battle is much more even, giving the RU team a better chance of holding out for a win. The key here is protecting M-COM Station B in the radar tower, as it’s the easiest objective to defend.
M-COM Station A
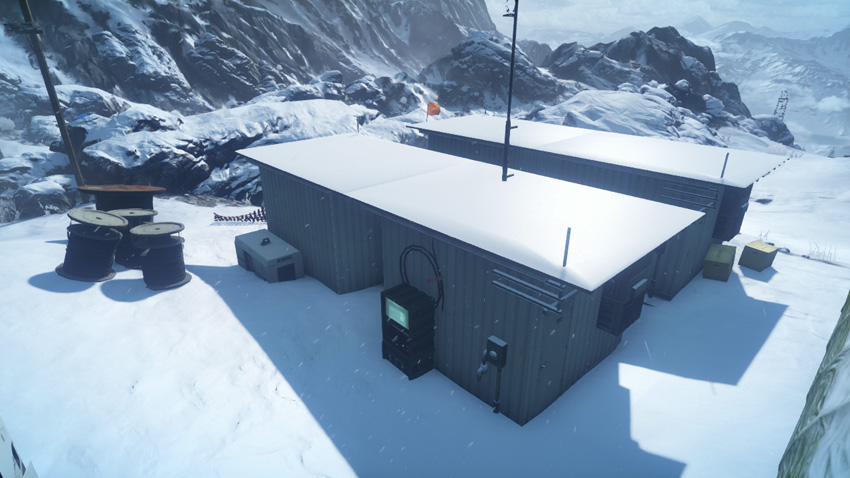
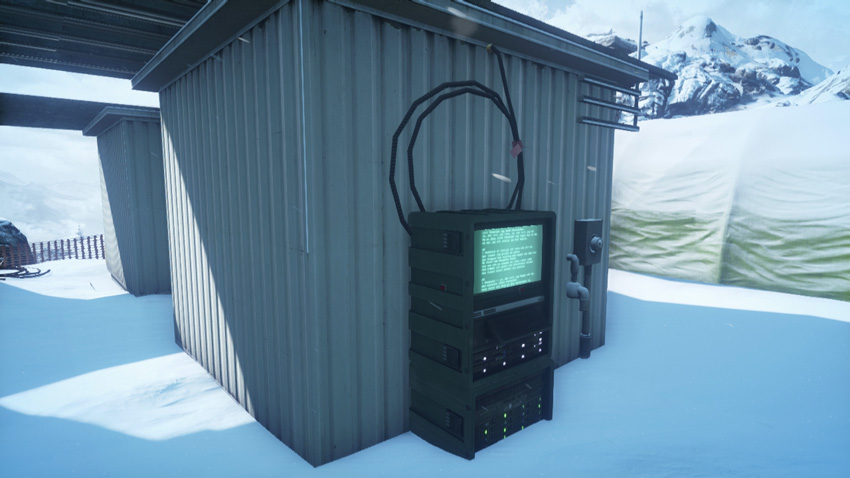
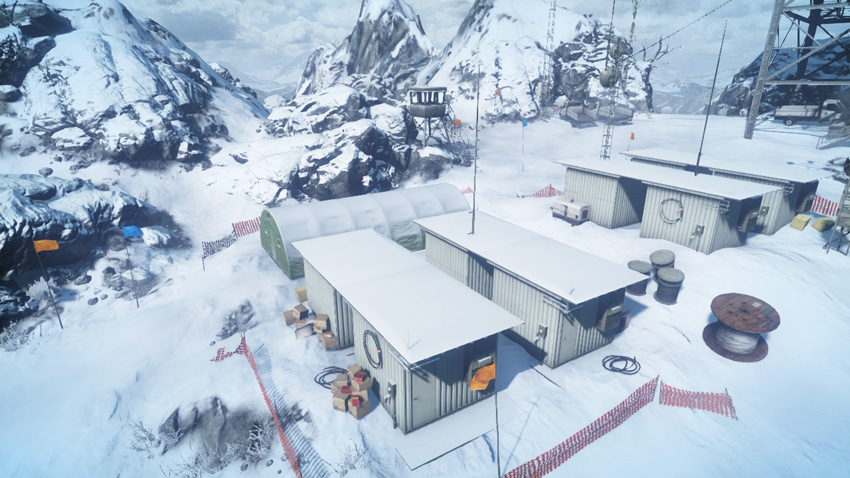
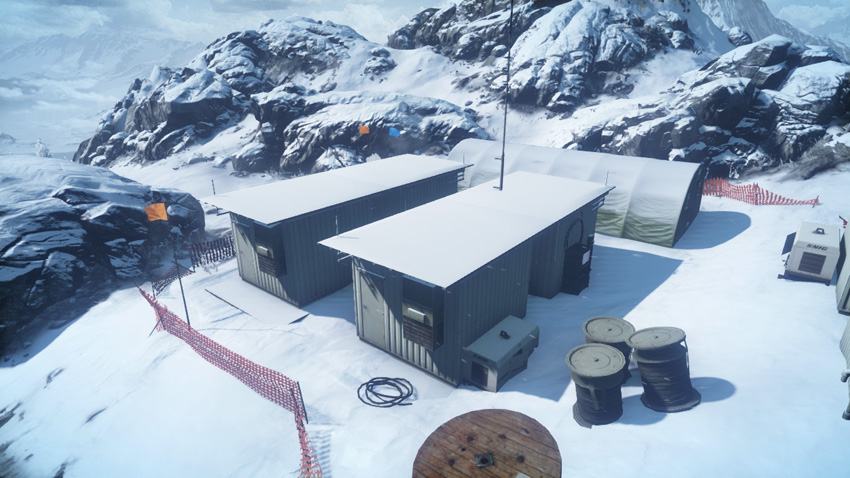
Of the two remaining objectives, M-COM Station A is the easiest to attack. The objective is tucked between a few small structures on the south edge of the radar station facility. While the alley between the structures is somewhat narrow, it’s still wide enough to accommodate vehicles. Quad bikes in particular have no problem negotiating this somewhat cramped space. The US can even get their AMTRAC close to this objective. As a result the RU team should prepare for point-blank vehicle attacks on this area. Placing mines and C4 around this area is the best way to defend against such aggressive attacks. But infantry pose a threat too. Both teams should prepare for close-quarters combat around the M-COM station. The small structures offer plenty of cover and concealment for both attackers and defenders, often leading to some intense close-quarters engagements where shotguns and PDWs are most effective.
M-COM Station B
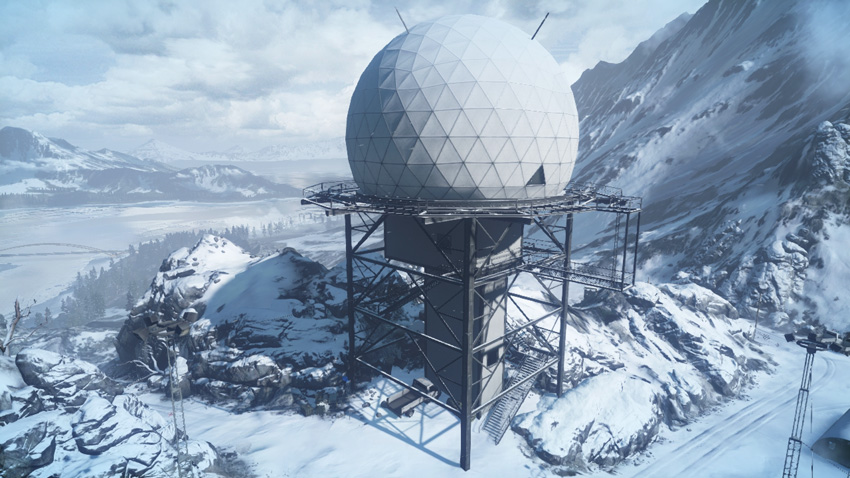
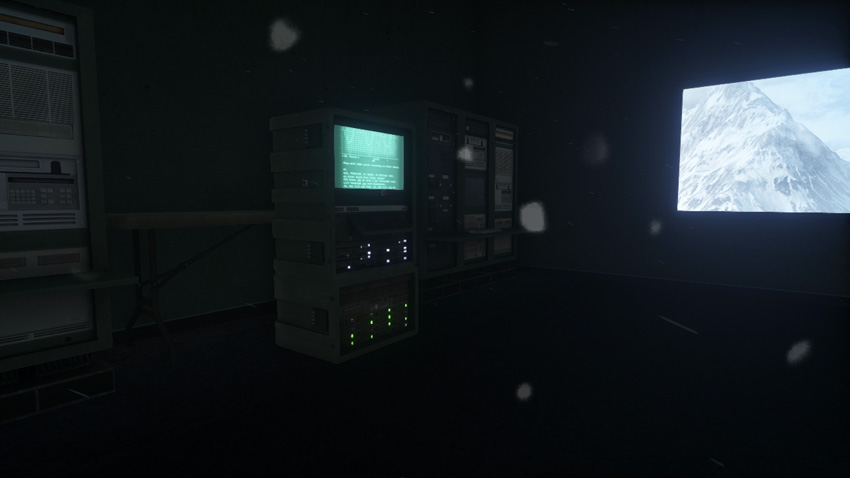
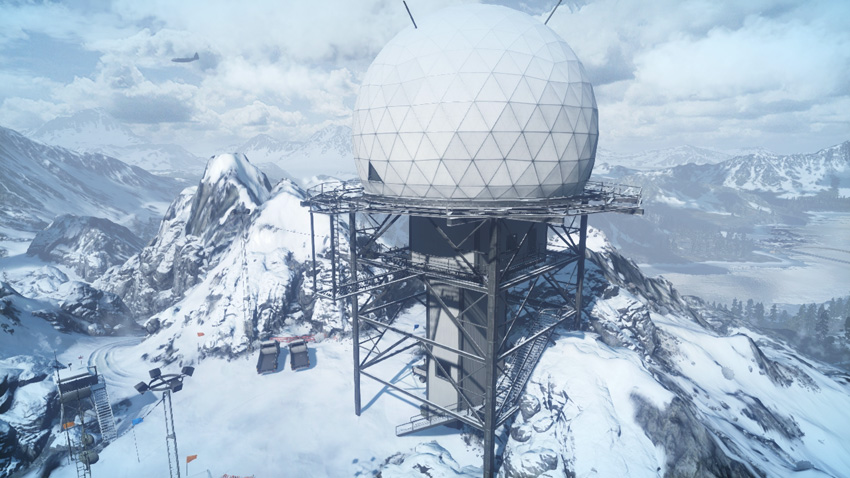
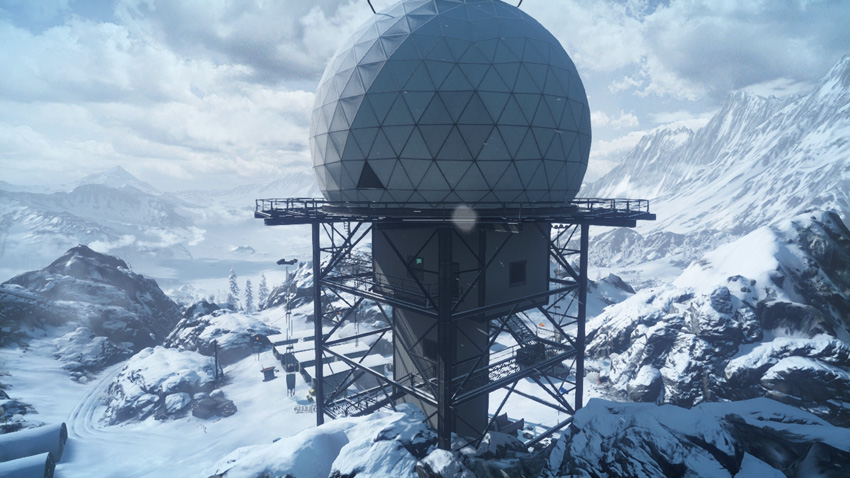
M-COM Station B is housed within the control room atop the tall radar tower. While vehicles can assist in securing the exterior, the fight for control of this tower is largely an infantry battle. The RU defenders must move quickly to secure the tower at the start of the round, preferably by placing radio beacons inside the control room. Maintaining a spawn point on the tower is crucial when defending the objective. The staircase at the base of the tower is the only way to climb to the control room. However, sneaky US paratroopers can drop onto the tower via parachute, landing on the upper-level catwalk—a popular sniper perch. From the ring-shaped catwalk a ladder leads down to the lower-level catwalk, from which the control room can be accessed. Both teams should expect fighting to occur at close range. Deploy with a shotgun or PDW, preferably equipped with a tactical light or laser sight. The control room interior is dark, making it the perfect place for ambushes and booby traps. So attackers should always lob grenades inside the control room prior to entry in an effort to detonate booby traps and kill camping defenders.