
Battlefield 3 Premium Guide Battlefields Conquest 64
Damavand Park
Unlike most Conquest maps, this one is completely linear, with all five control points neatly aligned from north to south. Although a linear plan of attack is not mandatory, it makes the battle much easier if your team can control at least three adjoining control points.
The US team should focus on capturing and controlling the Factory Valley (A), South Entrance (B), and Tunnel (C) in an attempt to drain the RU team’s ticket count.
On the opposite side of the map, the RU team should hold the Mining Area (E), North Entrance (D), and Tunnel (C) to bleed the US tickets.
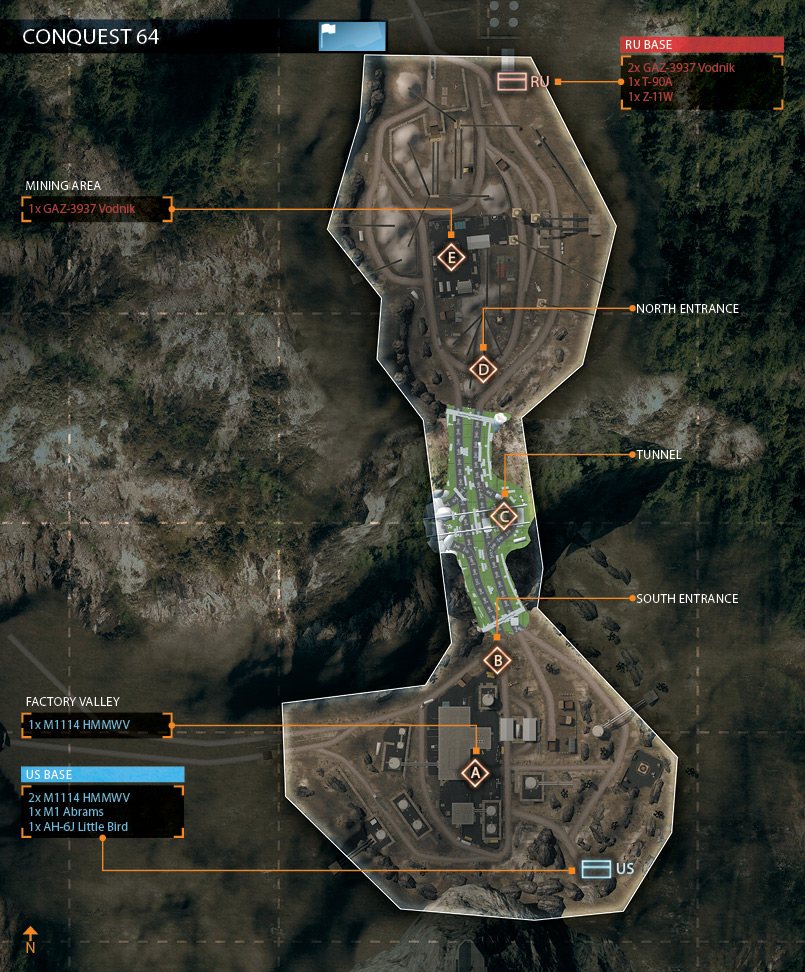
While these plans of attack are the easiest, they aren’t the only way to capture and hold three control points.
If your team gets bogged down in the Tunnel, bypass this choke point using your team’s helicopter and open up new fronts by capturing the control points close to your opponent’s base.
Even if you can capture one of these control points temporarily, it may be enough to divert enemy resources away from the Tunnel, giving teammates a chance to capture that central critical point.
US BASE
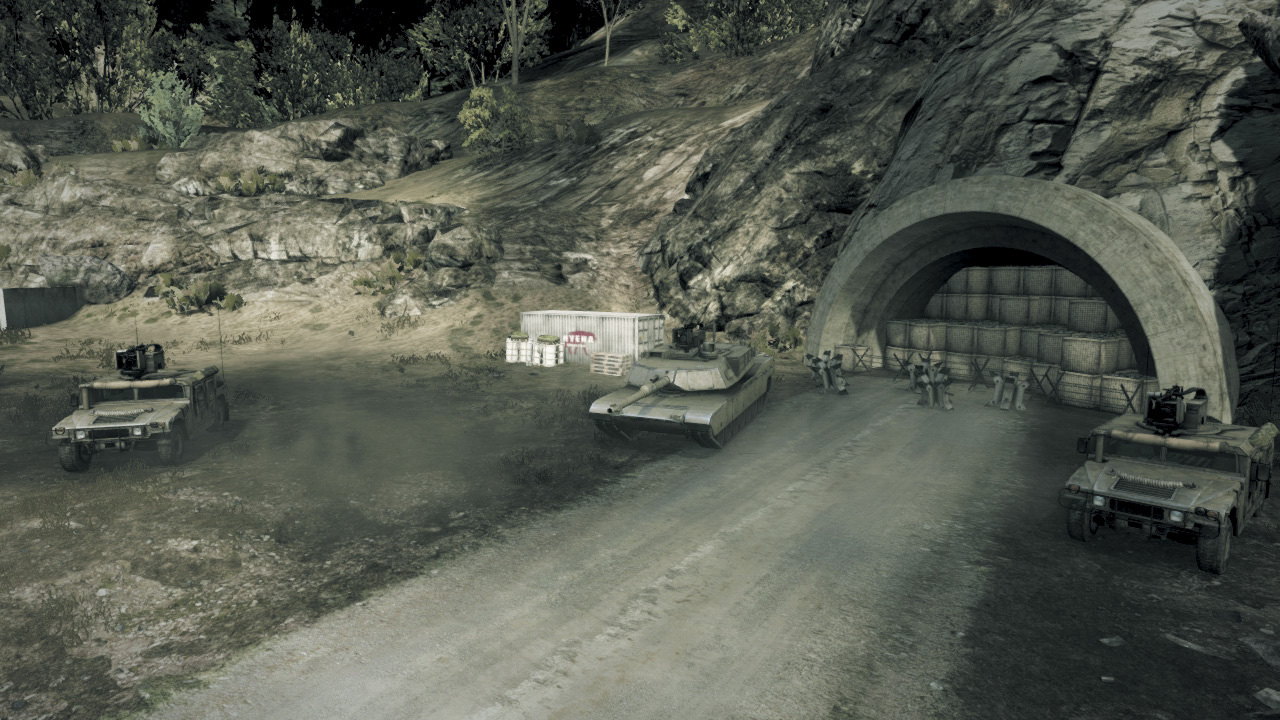
Base Assets
| Name | Quantity | Respawn Time |
|---|---|---|
| M1114 HMMWV | 2 | 20 sec. |
| M1 Abrams | 1 | 60 sec. |
| AH-6J Little Bird | 1 | 90 sec. |
The US Base is nestled against the cliff side, just below Damavand Peak on the map’s southern edge. There aren’t many vehicles spawned here, so most of the US team must advance to the nearby control points on foot.
Players that manage to get in a HMMWV at the start of a match should pass on capturing the Factory Valley (A) and South Entrance (B) control points and make a move for the Tunnel (C) before the RU team can do the same.
US infantry and the M1 Abrams can handle taking the nearby points, but the speed of the HMMWV is essential for capturing the Tunnel (C) early on. The AH-6J Little Bird is spawned on the helipad to the east and is great for harassing RU ground units to the north.
You can also use this scout helicopter to covertly drop troops at the distance North Entrance (D) and Mining Area (E) control points.
RU BASE
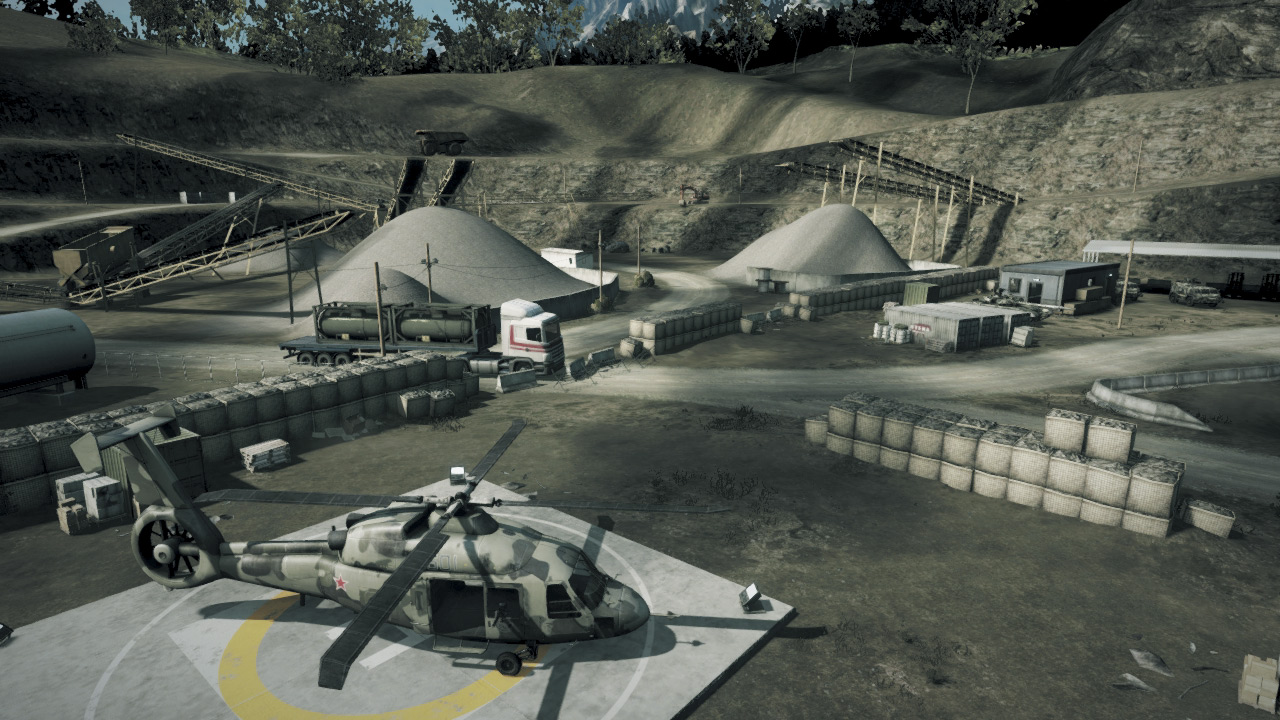
Base Assets
| Name | Quantity | Respawn Time |
|---|---|---|
| GAZ-3937 Vodnik | 2 | 20 sec. |
| T-90A | 1 | 60 sec. |
| Z-11W | 1 | 90 sec. |
Like the US team, the RU team only has a few vehicles that spawn at their base, which require careful deployment during the early moments of a match.
Vodnik drivers should wait until every seat is filled, then head directly for the Tunnel (C) control point. Capturing this central control point early on and reinforcing it is extremely important.
The nearby Mining Area (E) and North Entrance (D) control points can be captured by infantry and the T-90A. The Z-11W scout helicopter spawns on the helipad to the west of the RU Base.
While the helicopter is useless for attacking or defending the Tunnel (C) it comes in handy for launching raids on distant control points like the South Entrance (B) and Factory Valley (A).
However, the RU team is strongest when consolidating their forces at the three control points closest to their base.
A: FACTORY VALLEY
Control Point Assets
| US Control | RU Control | Respawn Time |
|---|---|---|
| M1114 HMMWV (1) | — | 20 sec. |
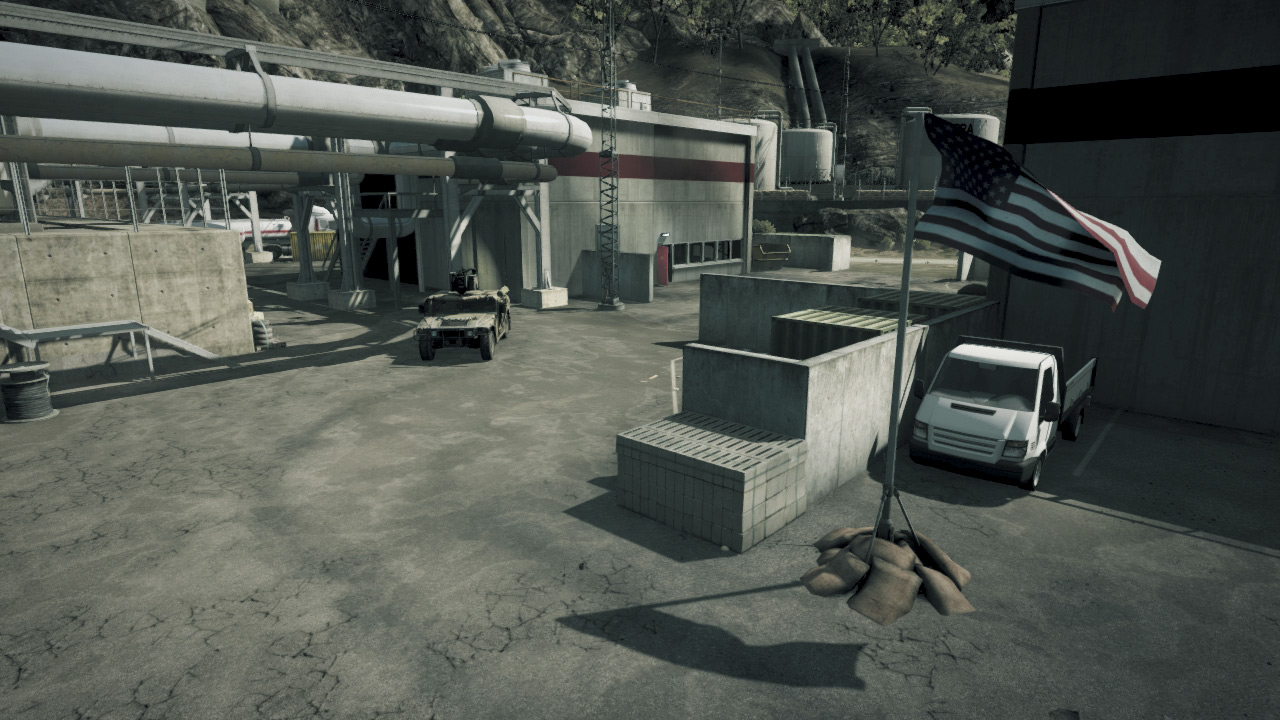
The Factory Valley (A) control point is centered around a massive industrial complex surrounded by chain-link fences and several large warehouses.
The flag is located in an open area in the complex, near a forklift and some shipping containers. Despite the area’s open nature, there are still plenty of places to hide while capturing or contesting the flag.
However, given the control point’s close proximity to the US Base, the Factory Valley is likely to stay in US control for the duration of the match.
Outside of their base, this is the only control point that supplies the US team with an extra vehicle, which makes it a location worth defending.
The HMMWV deployed here can play a vital role in defending the nearby South Entrance (B) control point from RU attacks originating from the Tunnel (C).
B: SOUTH ENTRANCE
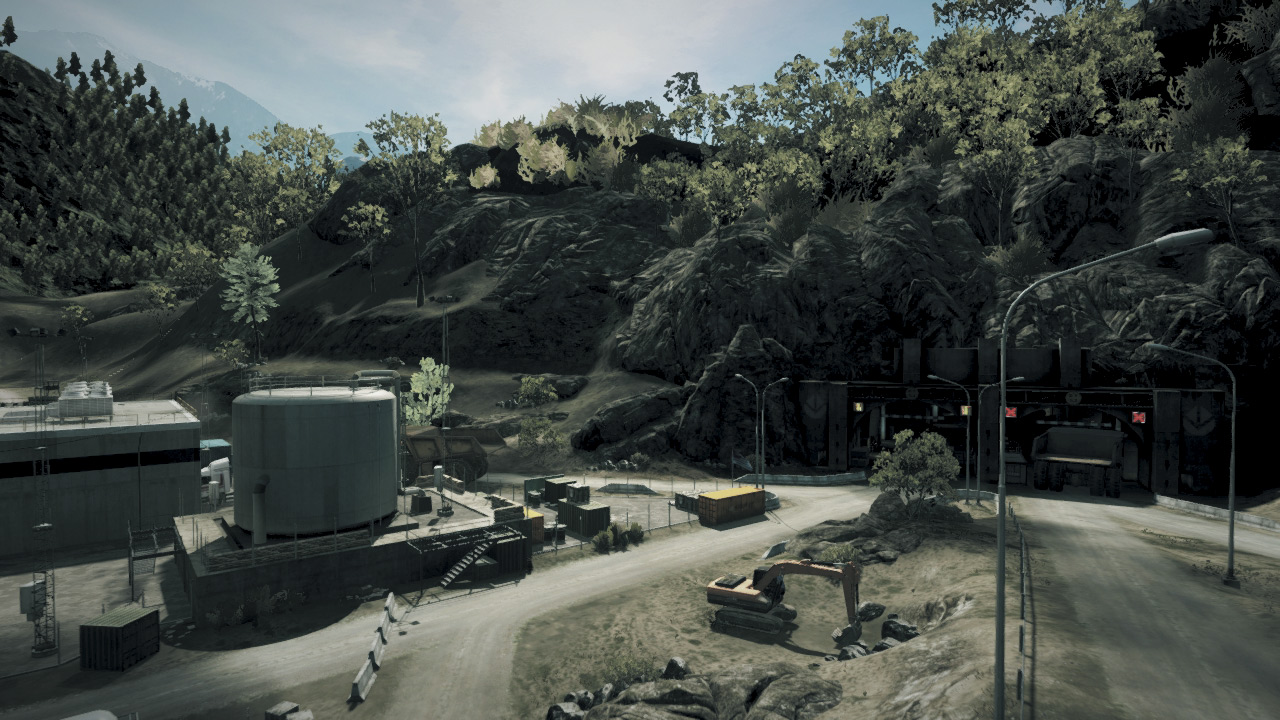
The South Entrance (B) is definitely within the US team’s sphere of influence given its proximity to the Factory Valley (A). The US team should use this control point as a first line of defense in the event the RU team takes the Tunnel (C) control point.
From this location, it’s easy to pick off enemy troops and vehicles emerging from the dark Tunnel cutting through the large mountain to the north. Use the turret on an HMMWV to suppress and cut down an RU troops that come rushing out of the Tunnel.
The flag here is located near a fork in the road by the Tunnel’s entrance, making it easy for both infantry and vehicles to capture. The chain-link fence surrounding the flag can be easily cut with a knife.
So if you find yourself standing on the road, slice your way through the fence and seek cover near one of the shipping containers south of the flagpole while capturing or contesting this point.
When playing as the US, make sure at least one squad defends this point at all times to prevent the RU team from gaining a foothold on the south side of the map.
C: TUNNEL
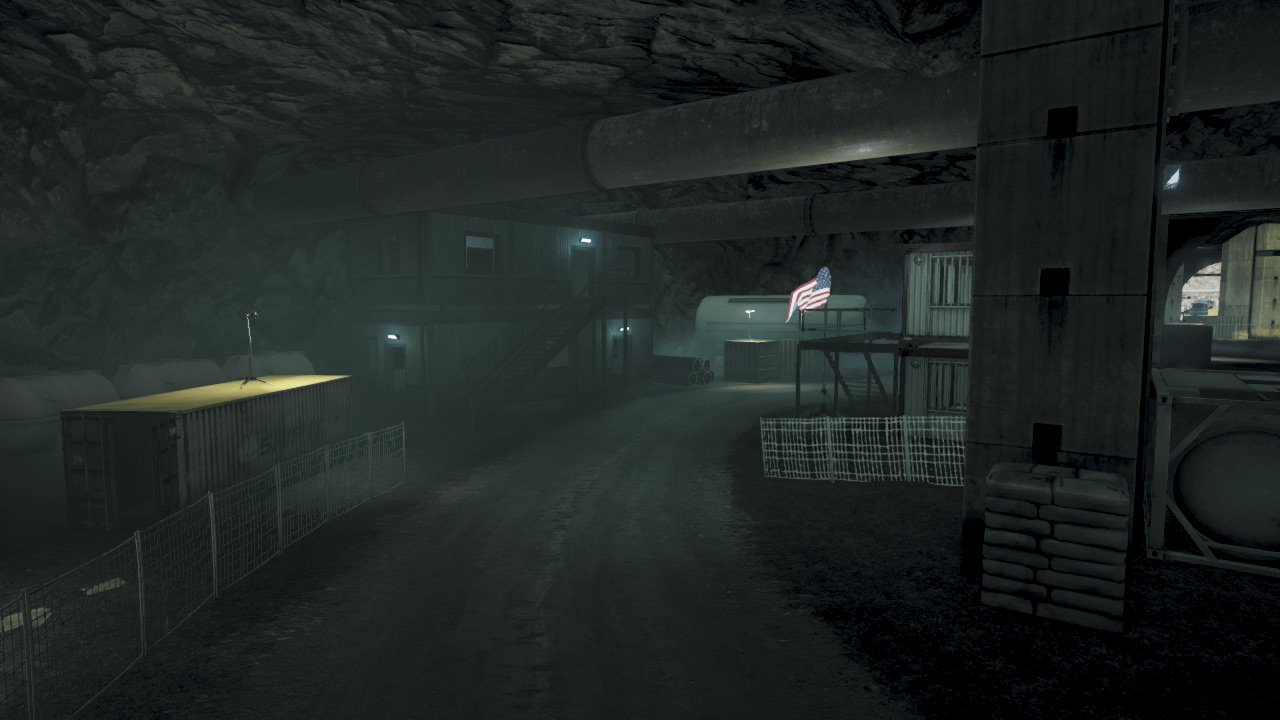
The Tunnel (C) control point supplies no vehicles to either team, but it remains the most crucial point on the map. With five control points on this map, whichever team controls the Tunnel has a good chance of bleeding the opposing team’s ticket count and all but guarantee a victory.
The flag is located along a side road on the east side of the Tunnel and can be captured or contested from within the nearby buildings.
While the main Tunnel entrances to the south and north are the only approaches for vehicles, infantry can utilize the narrow side passages on the eastern edge of the Tunnel to access this area directly.
This is the preferred method of advancing on this area while on foot, allowing infantry to detour heated vehicle battles on the main road. However, these narrow passages can be deadly if properly defended by opposing forces.
The Tunnel is very dark, so make use of Tactical Lights and Laser Sights to blind your opponents. The IRNV (IR 1x) scope and Flash Suppressor are also useful here if you wish to avoid detection.
This is particularly useful for defenders—find a nice corner with a good view of the flag, and pick off any attackers that move into view. If necessary, don’t forget to move vehicles from your base to this point to better defend it against enemy attack.
D: NORTH ENTRANCE
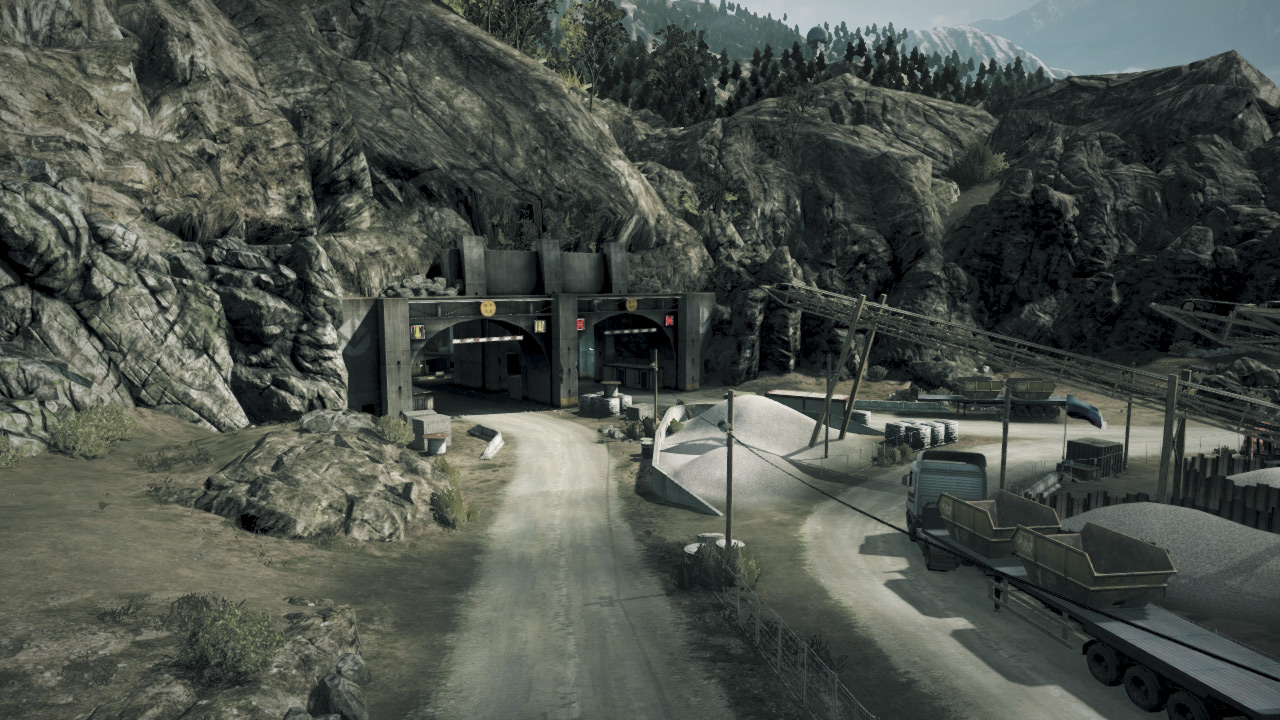
The North Entrance (D) serves as a forward base for the RU team, providing a spawn point near the Tunnel. Because the North Entrance is located on the north side of the map, the RU team should have little problem maintaining control of this location throughout the duration of the match.
But if the US team holds the Tunnel (C), RU troops should be prepared to fend off attackers here. Like at the South Entrance (B), the flag here is located right next to the road outside the Tunnel and can be captured by either vehicles or infantry.
The lack of cover along the road makes it safer for infantry to slice through the nearby fence and seek cover among the rusty metal retaining walls to the north.
However, there are plenty of hiding spots for attackers and defenders alike, so it may require a thorough patrol of the area before you can eliminate opposing forces within the flag’s capture radius.
The RU team should always post a squad of defenders here in an effort to prevent US troops from advancing through the Tunnel and gaining a foothold on the north side of the map.
If the North Entrance falls to the US, they’ll have an easier time taking the nearby Mining Area (E), thereby securing a near rout of the RU team.
E: MINING AREA
Control Point Assets
| US Control | RU Control | Respawn Time |
|---|---|---|
| — |
GAZ-3937
Vodnik (1) |
20 sec. |
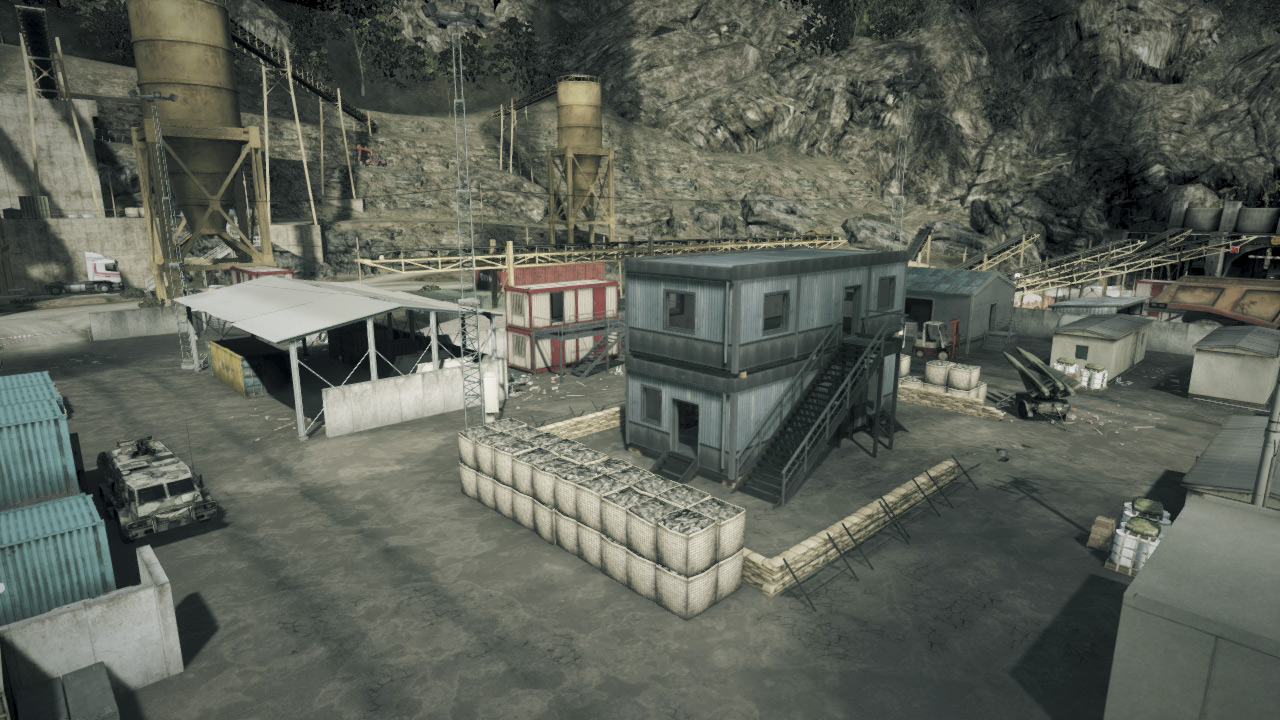
Located a short hike south of the RU Base, the Mining Area (E) is likely to stay under the RU team’s control for most of the match.
This control point supplies the RU team with an extra Vodnik, which is ideal for launching fast attacks on the Tunnel (C) or defending the nearby North Entrance (D).
The flag here is located within the small office-like structure. However, the flag can be converted or contested from outside the building as well.
However, the surrounding objects make it difficult (and potentially dangerous) to maneuver large vehicles like tanks in this area. So this area is best attacked and defended by infantry.
There are plenty of hiding spots surrounding the control point, making it relatively easy to defend. However, once secured, the RU team is best served by focusing most defensive efforts around the North Entrance (D) and Tunnel (C).
Still, don’t neglect this control point entirely as it may still be captured by US aerial attacks staged with their scout helicopter.