
Battlefield 3 Premium Guide Battlefields Conquest 64
Bandar Desert
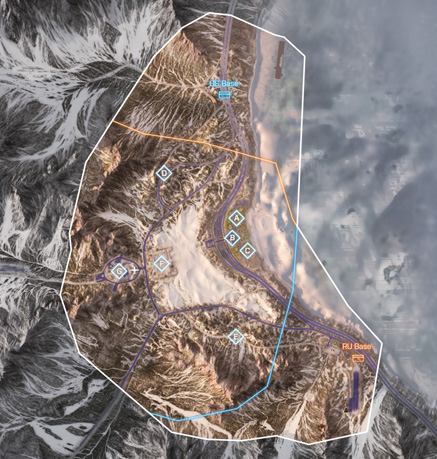
To date, this is the largest map in the history of the Battlefield franchise. As a result, transportation is key to reaching your destination and securing control points—don’t try to hike across this sprawling landscape. Fortunately, the map is packed with vehicles, with most spawning at each team’s base. In fact, the bases supply each team with their only tanks. So be ready to spawn back at your base if you want to jump in a tank and gain an edge over the numerous tank destroyers and light vehicles racing across the desert. With seven flags on the map, each team must try to capture and hold at least four control points to initiate a drain on the opposing team’s ticket count. Both teams should make an early push for the army base (G) on the west side of the map. This crucial control point grants the controlling team access to the gunship as well as an extra scout helicopter. While most of the control points are spread out, requiring some form of transportation, the three flags clustered near the coast are easily managed by infantry. While vehicles are available at the village south (A), village center (B), and construction site (C), fighting for these flags is often dominated by infantry—vehicle drivers should watch for mines and other infantry-related threats when cruising through this area. With so many ground vehicles scurrying about, the desert is an absolute kill zone for jet and helicopter pilots eager to boost their score. But both teams should attempt to establish air superiority before lining up strafing runs. Getting distracted by juicy ground targets is a surefire way to get shot down by enemy pilots, not to mention the mobile and stationary anti-aircraft units.
US Base
Base Assets
| Name | Quantity | Respawn Time |
|---|---|---|
| Growler ITV | 3 | 20 sec. |
| M1128 | 3 | 20 sec. |
| M1 Abrams | 2 | 20 sec. |
| LAV-AD | 1 | 20 sec. |
| AH-6J Little Bird | 1 | 60 sec. |
| AH-1Z Viper | 1 | 60 sec. |
| F/A-18E Super Hornet | 2 | 40 sec. |
| Centurion C-RAM | 1 | — |
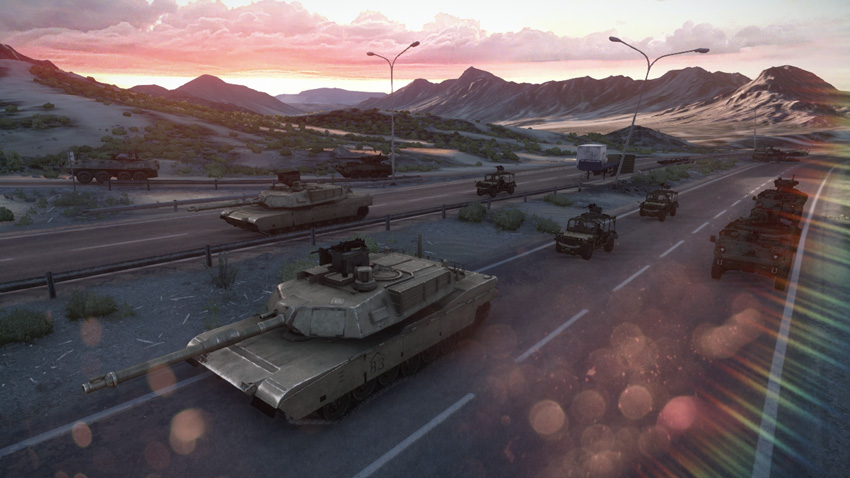
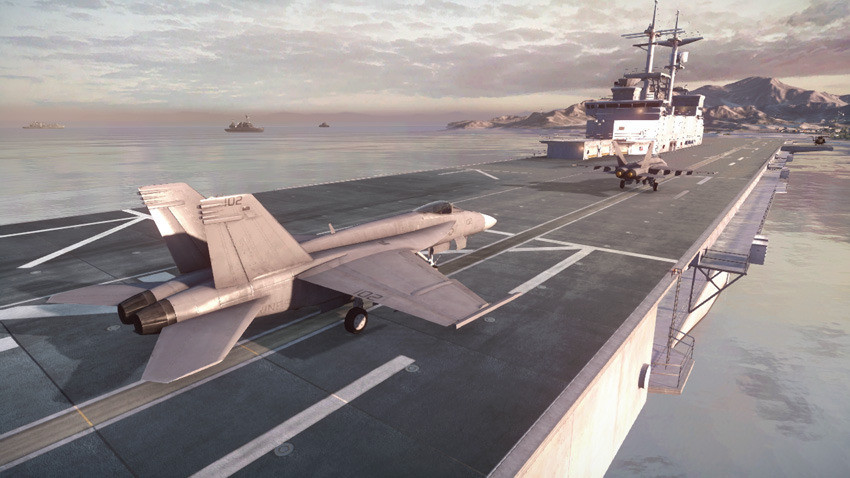
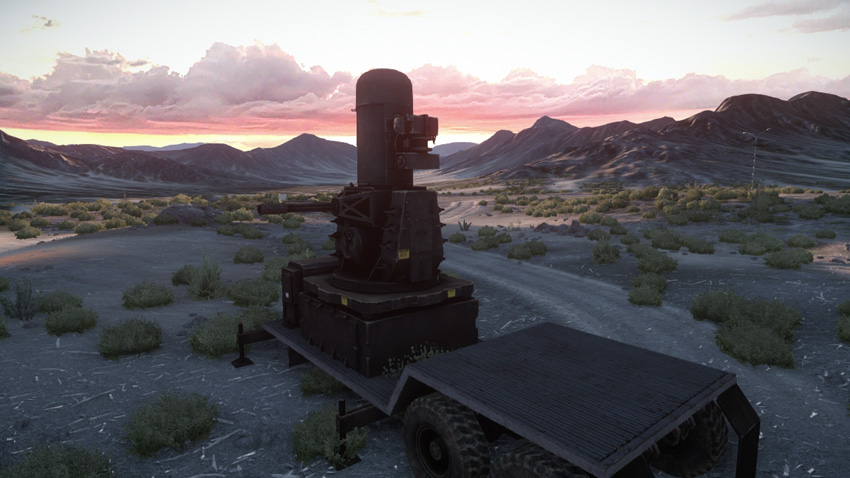
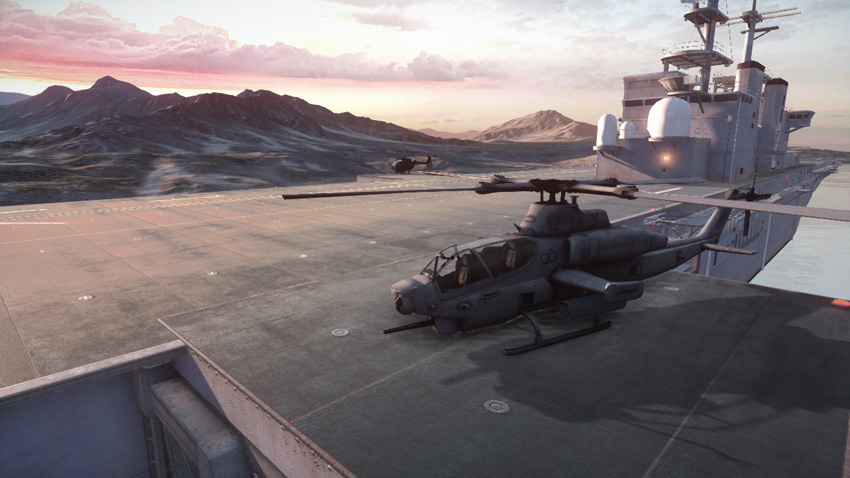
This base produces the vast majority of the US team’s vehicles. So if you’re having trouble finding transportation, this is the place to spawn. The US base is spread across two distinct zones. All the ground vehicles spawn along the highway on the north side of the map, while the jets and helicopters spawn on the aircraft carrier to the northeast. In between these two zones is a Centurion C-RAM anti-aircraft gun. The many parked vehicles at the US base make it a tempting target for enemy aircraft. Use the Centurion C-RAM and LAV-AD to fend off strafing runs by the RU team’s jets and helicopters. Early during the round US troops spawning here should try to capture as many control points as possible. Use the AH-6J Little Bird to transport troops to distant control points, like the army base (G), while the Growler ITVs and M1128 tank destroyers rush to the nearby flags of the mountain village (D), village south (A), and village center (B). While the ground forces take and hold ground, it’s up to the jets and helicopters to neutralize the RU team’s air assets. The RU team’s Mi-28 Havoc poses a particular threat to the US team’s ground forces. Use the Super Hornets and LAV-AD to clear the skies, paving a clear path for friendly tanks and tank destroyers.
RU Base
Base Assets
| Name | Quantity | Respawn Time |
|---|---|---|
| VDV Buggy | 3 | 20 sec. |
| SPRUT-SD | 3 | 20 sec. |
| T-90A | 2 | 20 sec. |
| 9K22 Tunguska-M | 1 | 20 sec. |
| Z-11W | 1 | 60 sec. |
| Mi-28 Havoc | 1 | 60 sec. |
| SU-35BM Flanker-E | 2 | 40 sec. |
| Pantsir S-1 | 1 | — |
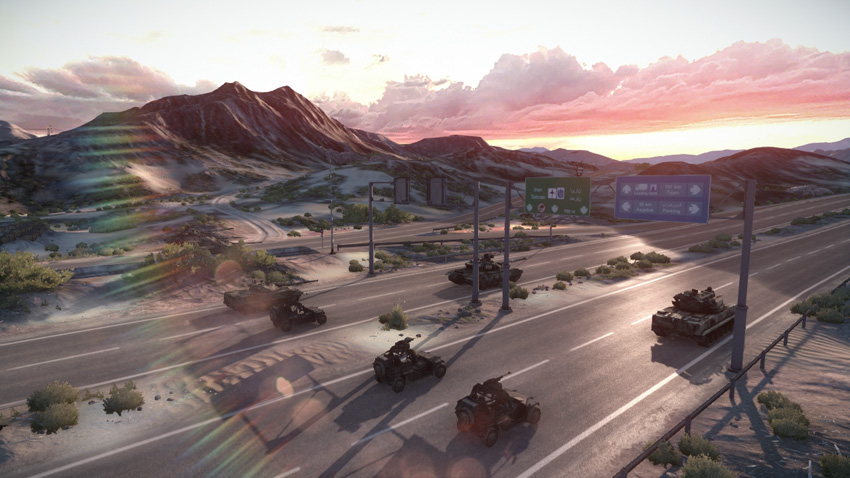
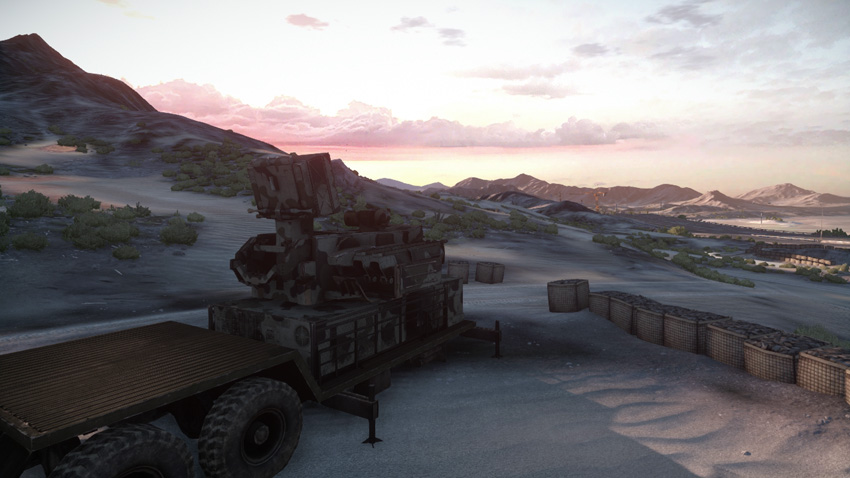
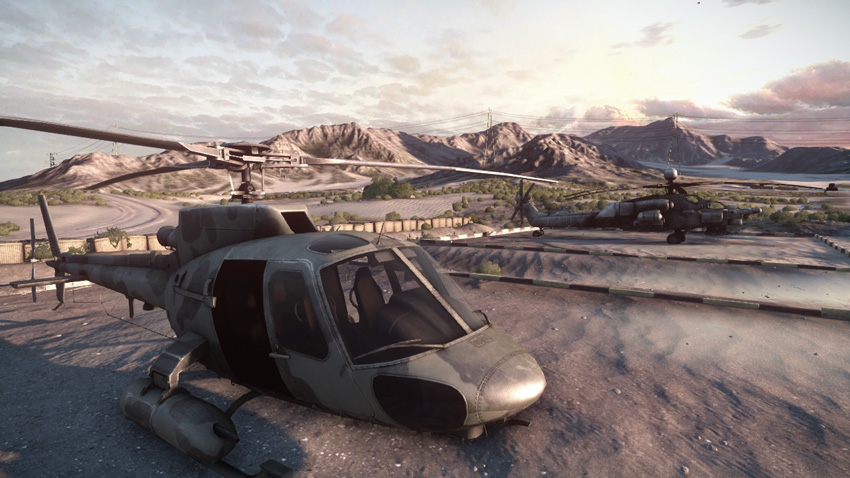
The RU team deploys on the south side of the map with the exact same type and number of vehicles as their US opponents. As at the US base, the RU team’s assets are spread across two different locations. All the RU team’s ground vehicles are spawned on the highway along the southern coast. Meanwhile, the RU team’s jets and helicopters are spawned at the airfield to the southeast. To protect these vehicles from air strikes, make sure the Pantsir S-1 anti-aircraft gun is manned, particularly during the opening moments of the battle. The 9K22 Tunguska-M can also help deter strafing runs by US aircraft—move this vehicle west of the base so it can provide more comprehensive air coverage above the central control points. Early on the RU team should make a move for the army base (G) in an effort to gain control of the gunship. Use the Z-11W scout helicopter to rush a squad to this location while the VDV Buggies and SPRUT-SD tank destroyers secure the nearby mountain outpost (E), construction site (C), and village center (B). Consider making a move for the artillery base (F) too, in an effort to better secure the army base (G). Waste no time getting the SU-35BMs into the air so they can counter the US jets and helicopters. The Mi-28 Havoc can assist in the air battle as well, but it’s far more effective attacking the US tanks and tank destroyers as they race across the open desert.
A: Village South
Control Point Assets
| US Control | RU Control | Respawn Time |
|---|---|---|
| Quad Bike (1) | Quad Bike (1) | 5 sec. |
| Growler ITV (1) | VDV Buggy (1) | 20 sec. |
| M1128 (1) | SPRUT-SD (1) | 40 sec. |
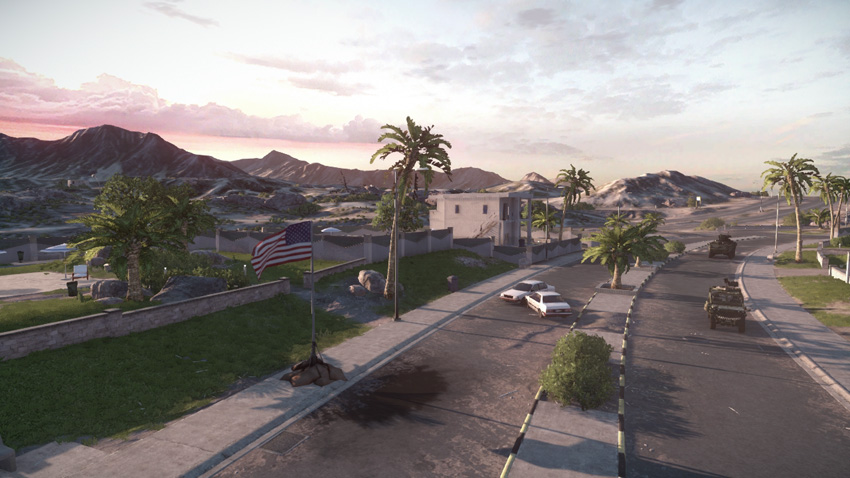
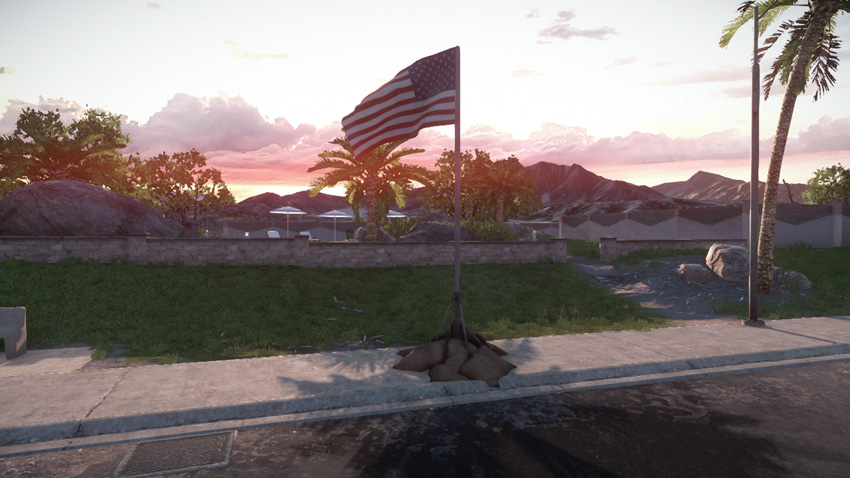
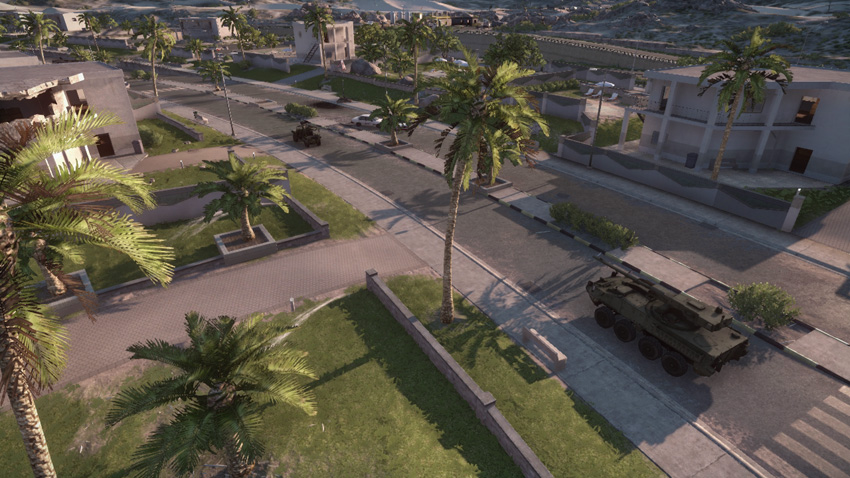
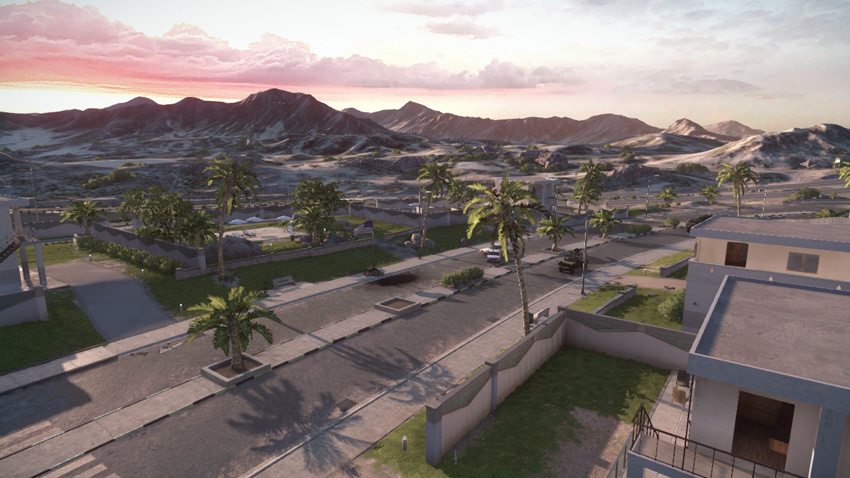
Don’t let the name confuse you. The village south (A) is located on the north side of the map, not far from the US base. This control point spawns a tank destroyer for each team, making it an extremely valuable control point. For the US team, simply having a spawn point within the center of the map is a big benefit, allowing for attacks on the nearby village center (B) or construction site (C). The flagpole is planted on a sidewalk along the main street cutting through the seaside village. Given the lack of cover, this flag is best captured from the safe confines of an armored vehicle. If you’re on foot, take cover along the low wall to the west of the flag or hide in vegetation on the median to the east. Given its proximity to the street, this flag is often rushed by vehicles approaching from the north or south. Defenders should consider placing mines on this road or packing the flag’s capture radius with C4. The surrounding two-story buildings provide excellent overwatch positions for attackers and defenders alike. But the walls of these concrete buildings won’t withstand heavy fire, so be ready to move out if you’ve been spotted by an enemy tank or tank destroyer.
B: Village Center
Control Point Assets
| US Control | RU Control | Respawn Time |
|---|---|---|
| Growler ITV (1) | VDV Buggy (1) | 20 sec. |
| M1128 (1) | SPRUT-SD (1) | 40 sec. |
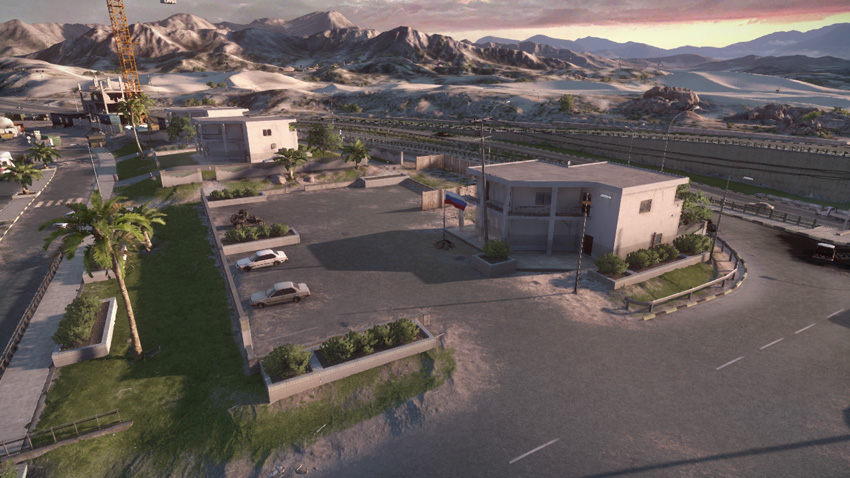
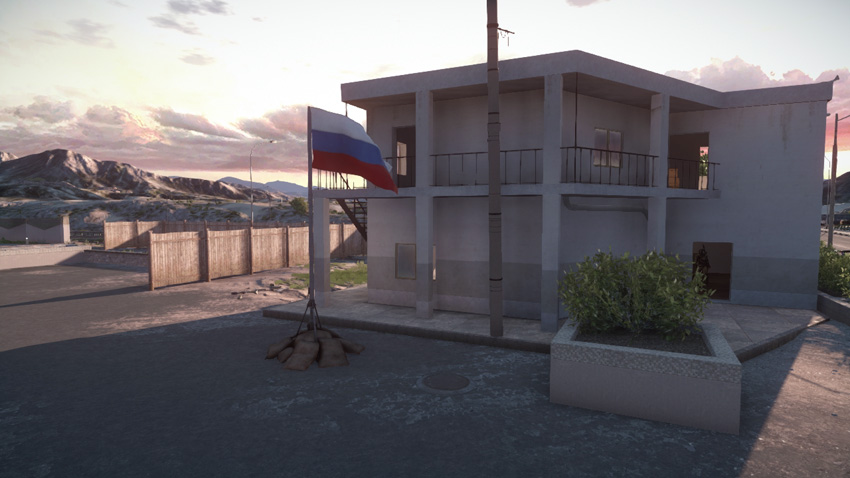
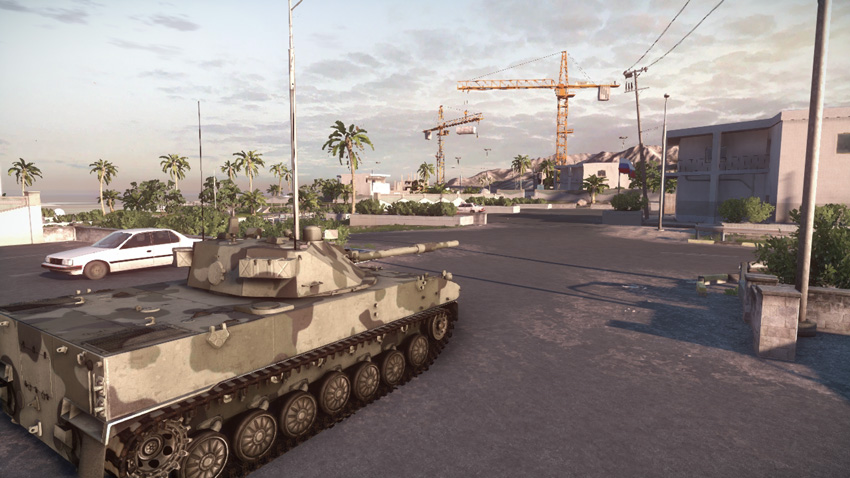
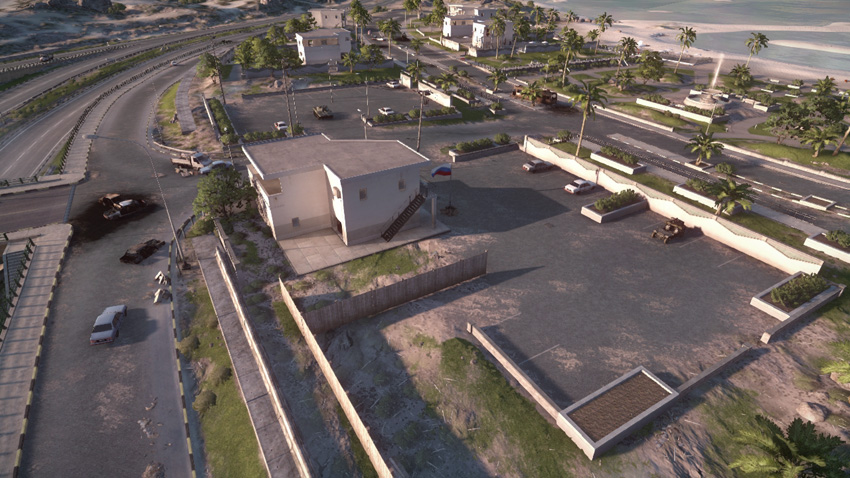
The village center (B) is in the center of the cluster of three control points near the coast. This makes it a high-traffic area that is likely to change hands many times during the course of the battle. The addition of a tank destroyer makes it a valuable flag to hold onto. In matches where opponents fail to spawn at their base and field ground vehicles, gaining a tank destroyer in the center of the map can make a huge difference when attacking the surrounding control points. The flag is located in a large parking lot next to a concrete two-story house. If you’re on foot, hide inside the house to convert or contest the flag. While the house’s exterior walls won’t hold up to heavy bombardment, they provide adequate protection from small-arms fire. Given this control point’s central location, it’s likely to change hands many times during the course of a battle. But gaining access to a tank destroyer spawn point makes this a flag worth fighting for, so don’t leave it undefended. Those left behind on guard duty will see more than their fair share of action. Engineers and support troops are capable of dealing with a variety of threats, but they can greatly benefit from keeping the tank destroyer nearby.
C: Construction Site
Control Point Assets
| US Control | RU Control | Respawn Time |
|---|---|---|
| Quad Bike (1) | Quad Bike (1) | 5 sec. |
| Growler ITV (1) | VDV Buggy (1) | 20 sec. |
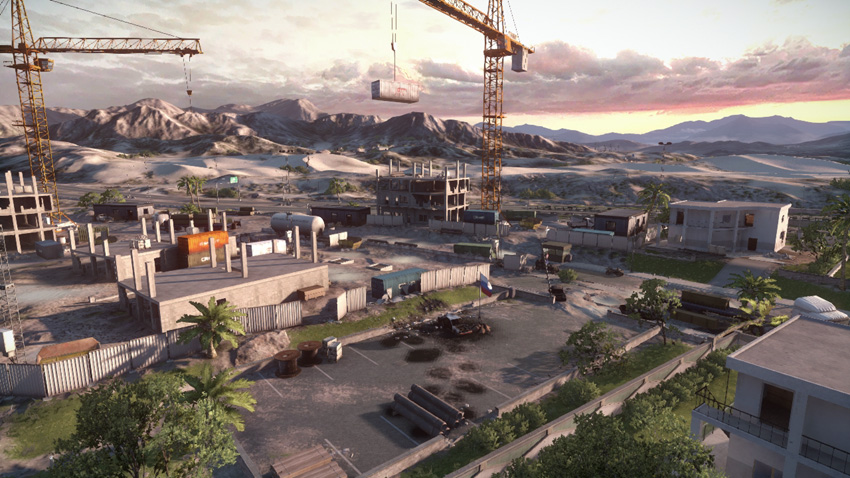
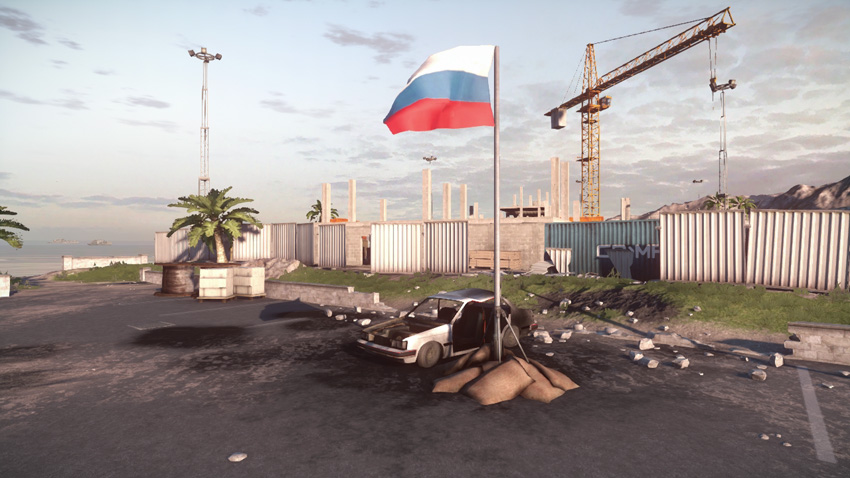
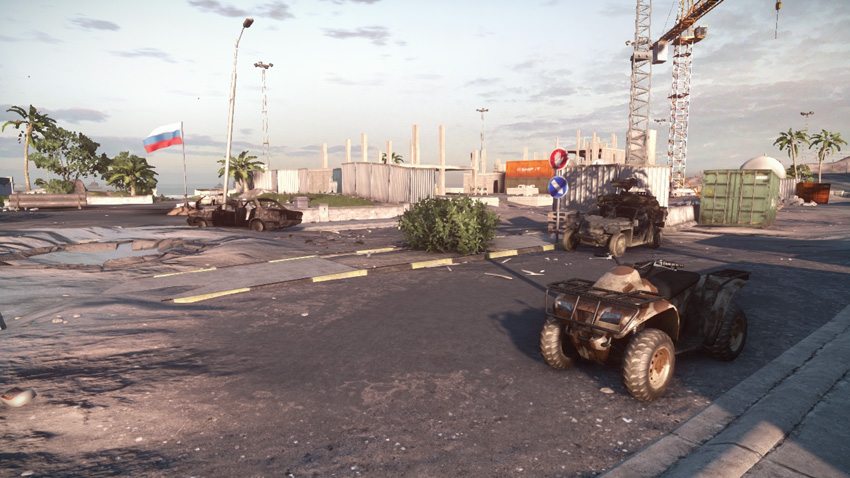
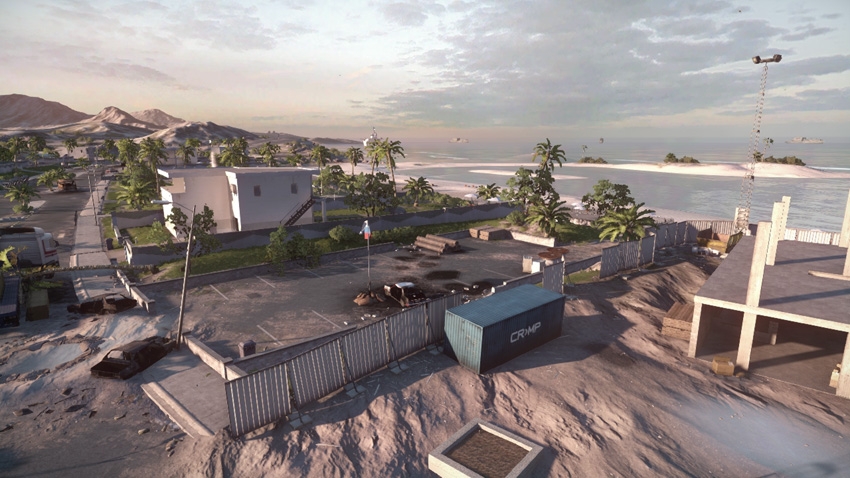
Unlike the nearby village south (A) and village center (B), the construction site (C) doesn’t produce a tank destroyer. Still, it’s a control point worth holding onto, if for nothing other than maintaining a spawn point in the center of the map. The flag itself is in a small parking lot on the north side of the facility. Except for cars and a low perimeter wall, there isn’t much cover within the flag’s capture radius. As a result, it’s safest to capture this control point in an armored vehicle. However, watch for mines and other booby traps before driving toward the flag. The nearby construction cranes are popular sniper perches for recon troops eager to score long-range kills. From the cranes, recon troops can easily cover the flags at the village south (A) and village center (B). Consider placing a SOFLAM on one of these tall cranes to laser-designate enemy vehicles. Even if the construction site (C) is in your team’s possession, the cranes may be occupied by enemy snipers. Strafe the tops of these cranes regularly using your team’s attack helicopter or gunship to clear out enemy sharpshooters. It’s also possible to cover the flag and cranes from the house on the north edge of the parking lot. If necessary, blow a hole in the southern upstairs wall to make a bigger window.
D: Mountain Village
Control Point Assets
| US Control | RU Control | Respawn Time |
|---|---|---|
| Quad Bike (2) | Quad Bike (2) | 5 sec. |
| M1128 (1) | SPRUT-SD (1) | 40 sec. |
| M142 (1) | BM-23 (1) | 50 sec. |
| M220 TOW Launcher (1) | M220 TOW Launcher (1) | 30 sec. |
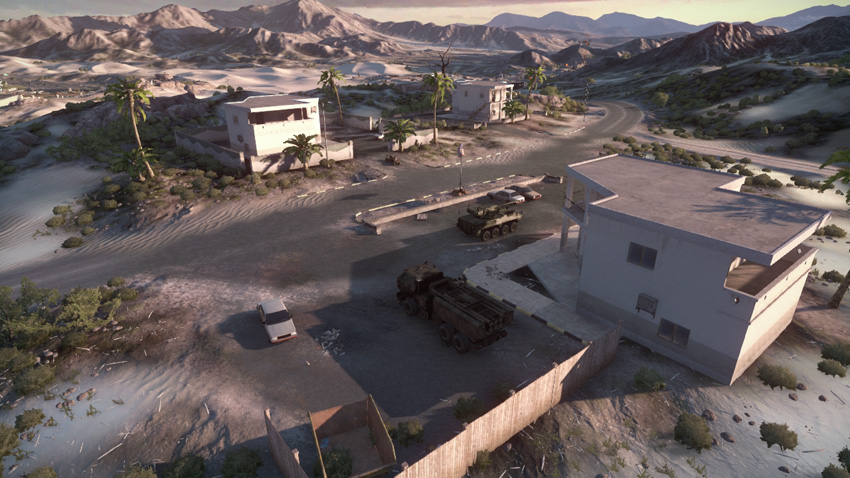
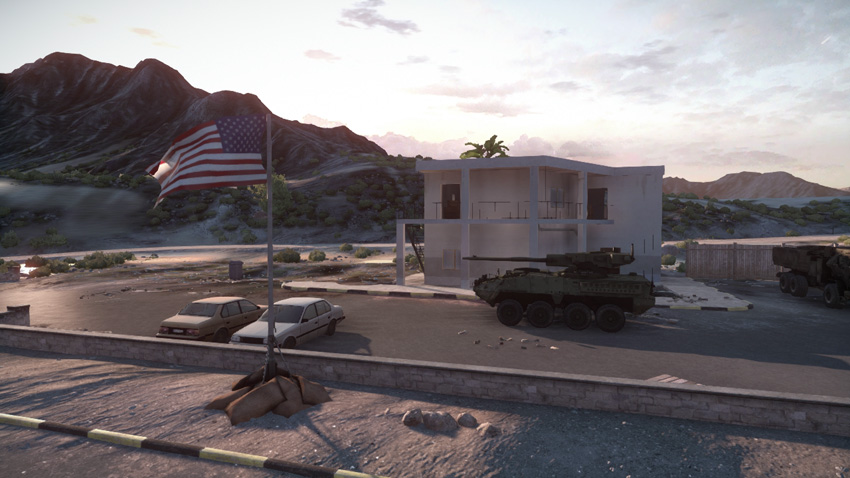
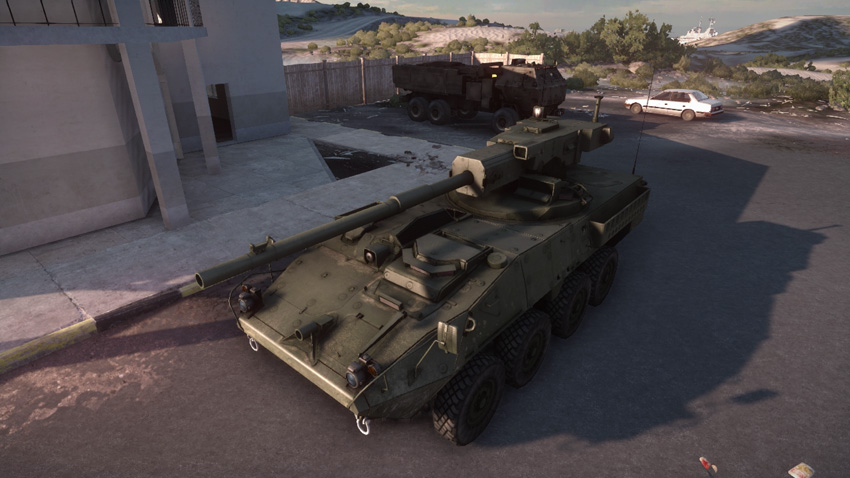
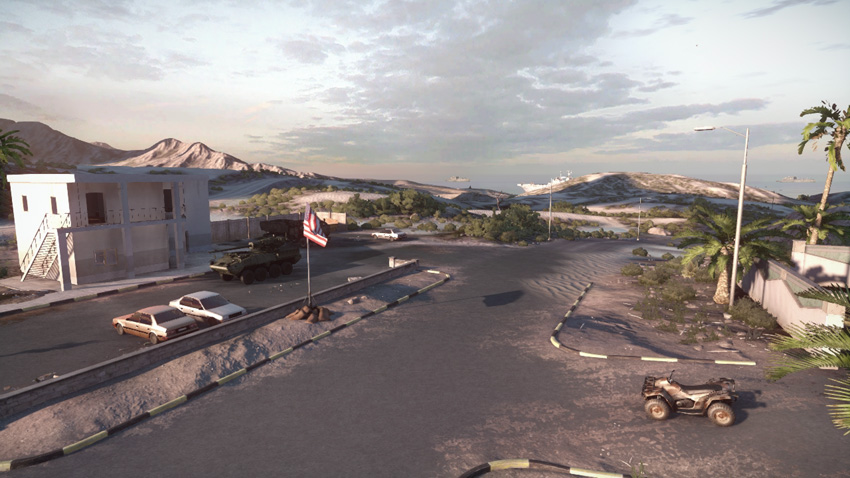
The mountain village (D) is on the north side of the map, putting it well within the US team’s sphere of influence given its close proximity to the US base. However, both teams can benefit from the assets produced here, including a tank destroyer and mobile artillery unit. The M142 and BM-23 artillery units are great for bombarding distant control points like the artillery base (F) and army base (G). If the RU team takes control of this point, they can even aim the rockets toward the US base. For this reason alone, the US should try to hold onto this control point throughout the battle. The flag here is situated on a median on the street running through the village. There isn’t much cover near the flag, so it’s safest to capture or convert this flag from within an armored vehicle. But attackers should watch for mines left around the flagpole before rushing in for the capture. Defenders may also be posted in the buildings flanking the street. These buildings offer decent cover and concealment, but they can still be reduced to rubble when subjected to heavy bombardment by tanks or aircraft.
E: Mountain Outpost
Control Point Assets
| US Control | RU Control | Respawn Time |
|---|---|---|
| Quad Bike (2) | Quad Bike (2) | 5 sec. |
| M1128 (1) | SPRUT-SD (1) | 40 sec. |
| M142 (1) | BM-23 (1) | 50 sec. |
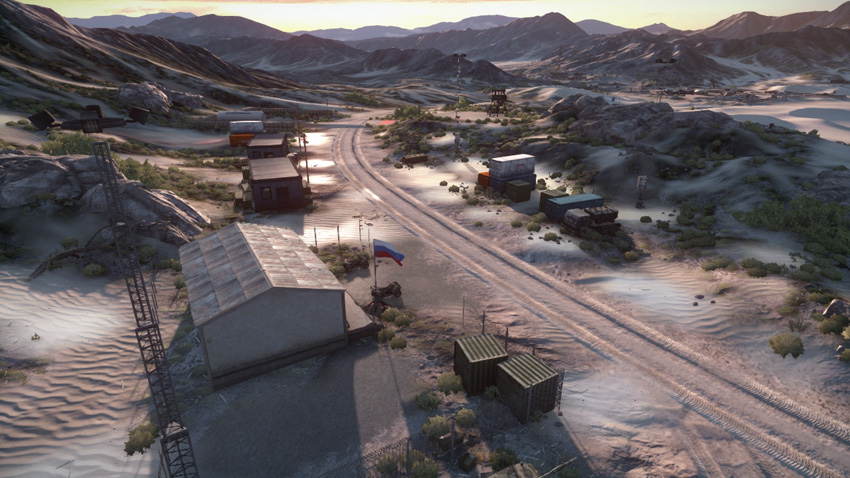
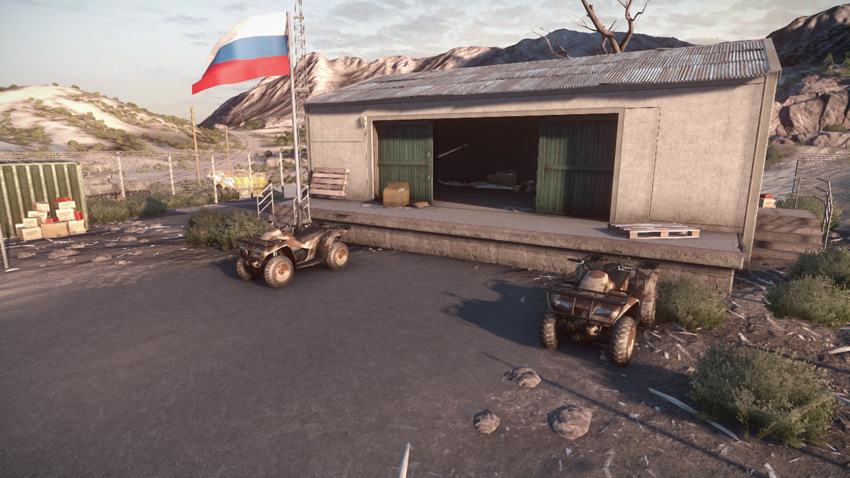
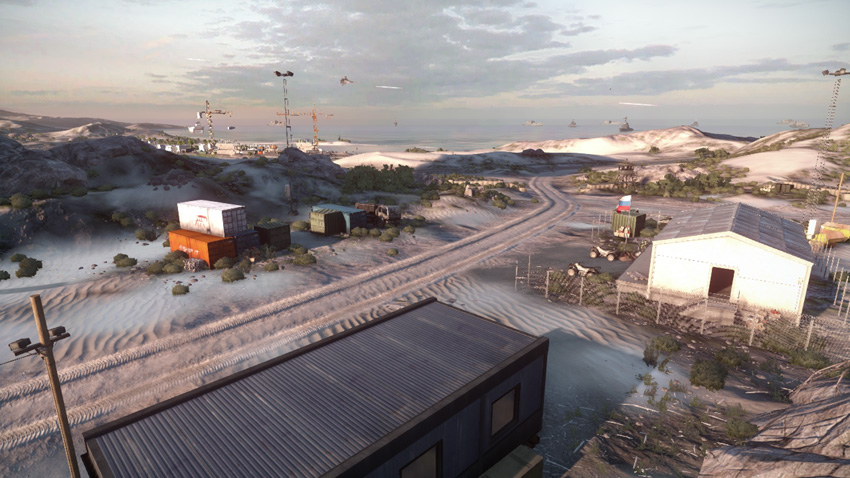
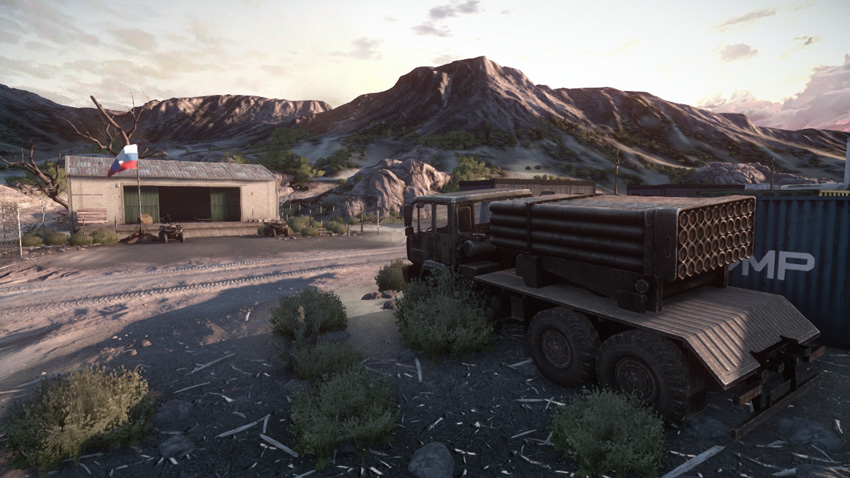
The mountain outpost (E) is like a mirror image of the mountain village (D), providing the RU team with a control point close to their base. As a result, the RU team is likely to hold this control point for most of the battle. This southern control point produces a tank destroyer and mobile artillery unit for both teams, as well as a couple of quad bikes. Besides the mountain village (E), this is the only other control point that produces the M142 and BM-23 mobile artillery units, ideal for bombarding distant control points in the center of the map. The US team can even use the M142 spawned here to pound the nearby RU base. The flag is next to a small concrete storage building. This small structure is within the flag’s capture radius, allowing infantry to seek shelter while capturing or converting the flag. Given the flag’s proximity to the dirt road cutting through the facility, vehicle capture attempts are also common. Defenders should consider mining this road or keeping the control point’s tank destroyer nearby to fend off attackers.
F: Artillery Base
Control Point Assets
| US Control | RU Control | Respawn Time |
|---|---|---|
| Quad Bike (1) | Quad Bike (1) | 5 sec. |
| Growler ITV (1) | VDV Buggy (1) | 20 sec. |
| M1128 (1) | SPRUT-SD (1) | 40 sec. |
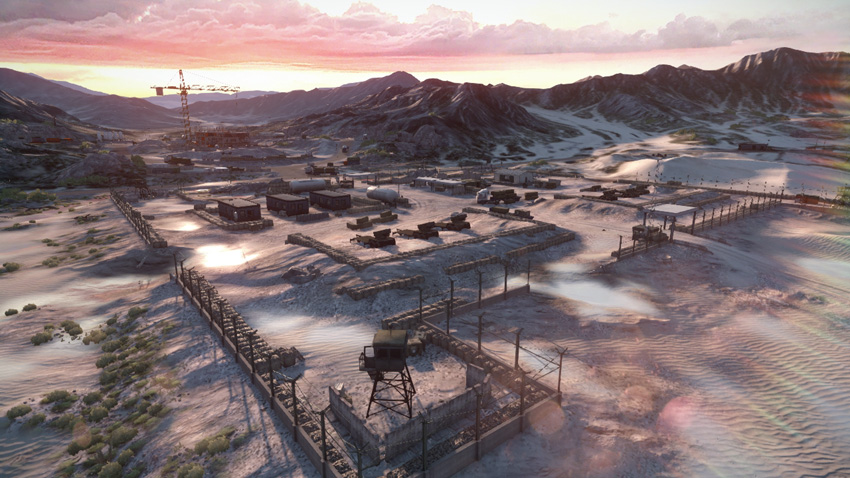
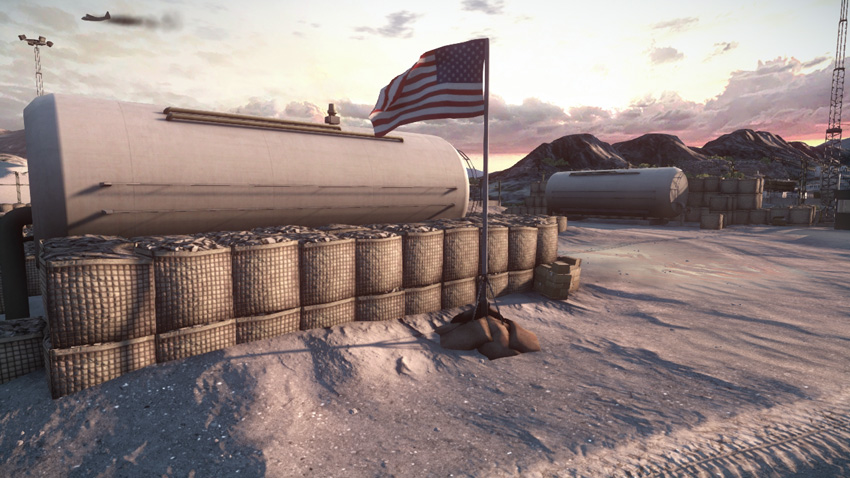
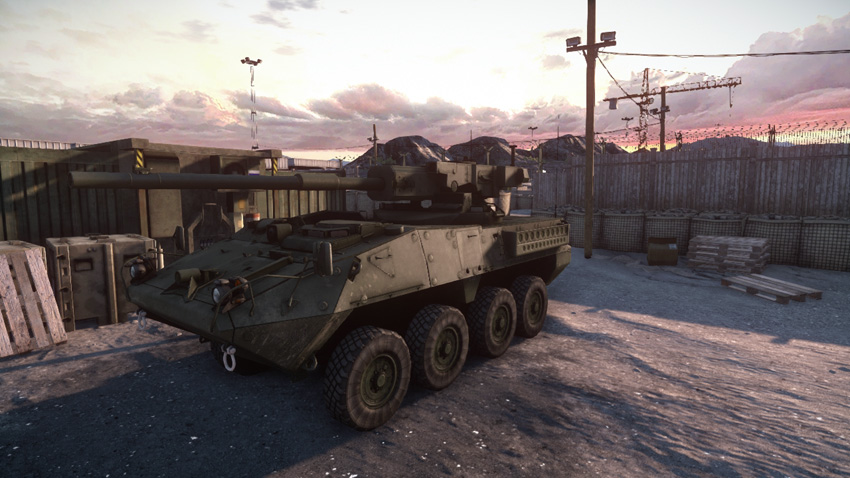
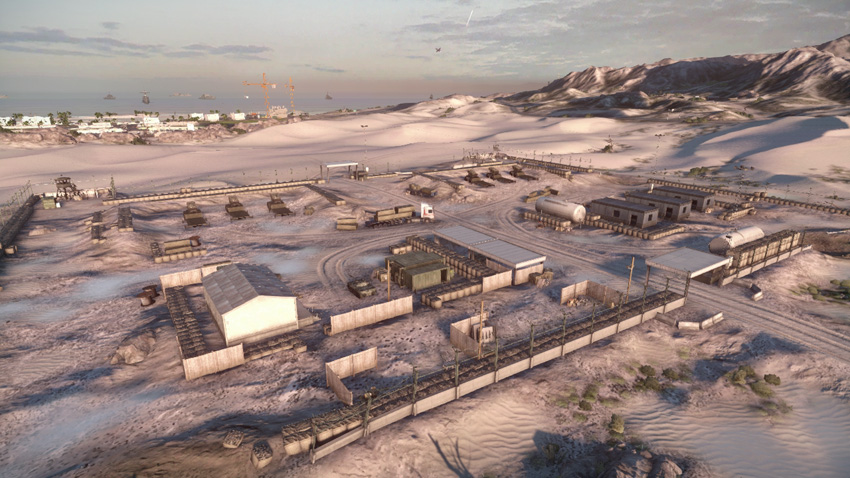
The artillery base (F) is a fortified military installation on the western edge of the map. Located only a short distance east of the highly contentious army base (G), it is likely to see heavy traffic throughout the battle. This sprawling facility is surrounded by a perimeter fence and contains multiple structures capable of serving as overwatch positions for defenders. Four official gates offer access to the facility, but the weak perimeter fence can be breached at virtually any point by vehicles or infantry. The flag is near the center of the base, by a large white fuel tank—consider blowing up this tank before getting too close. Given the size and its porous perimeter fence, don’t bother trying to lock down this base. Instead, focus defensive efforts around the flag. Placing mines near the flag or simply parking a tank destroyer nearby serves as a good deterrent. Keep at least one squad here at all times to secure this flag. Even if the defending squad is wiped out, they can maintain a presence in the base by placing a radio beacon in one of the nearby structures. Defending this control point is much easier if the army base (G) is held by your team. So make an effort to capture and defend these two western control points.
G: Army Base
Control Point Assets
| US Control | RU Control | Respawn Time |
|---|---|---|
| Quad Bike (2) | Quad Bike (2) | 5 sec. |
| M1128 (1) | SPRUT-SD (1) | 40 sec. |
| AH-6J Little Bird (1) | Z-11W (1) | 60 sec. |
| Gunship (1) | Gunship (1) | 60 sec. |
| 9M133 Kornet Launcher (2) | 9M133 Kornet Launcher (2) | 30 sec. |
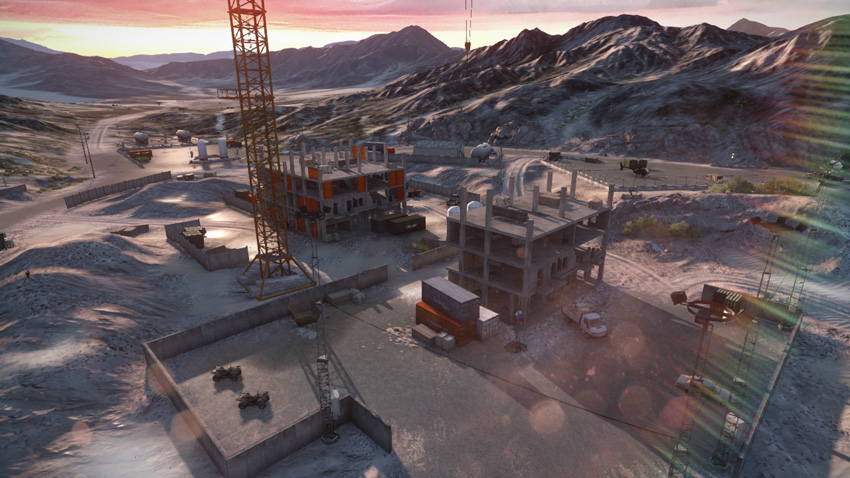
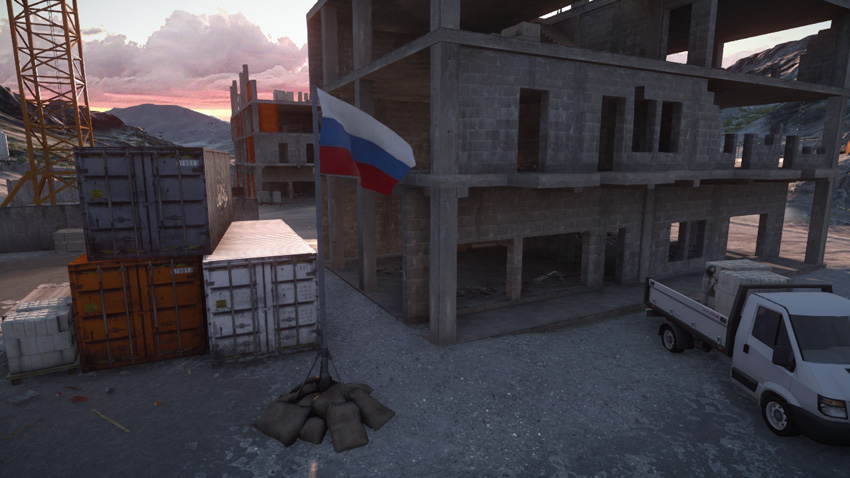
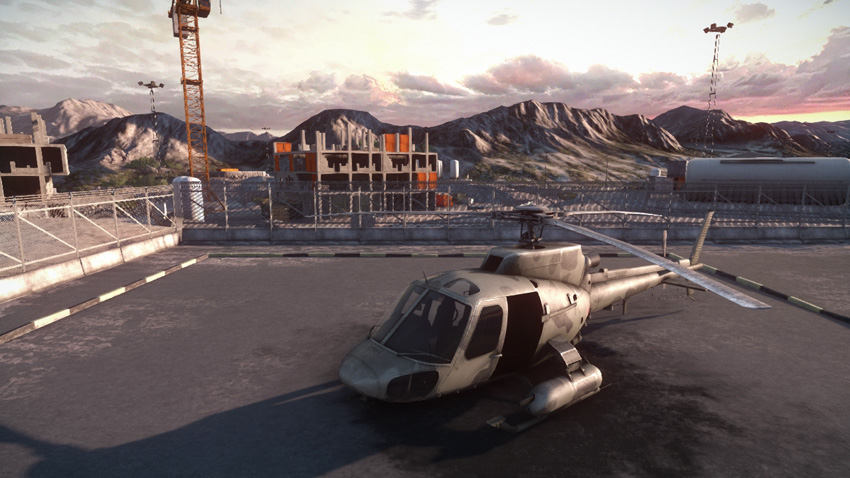
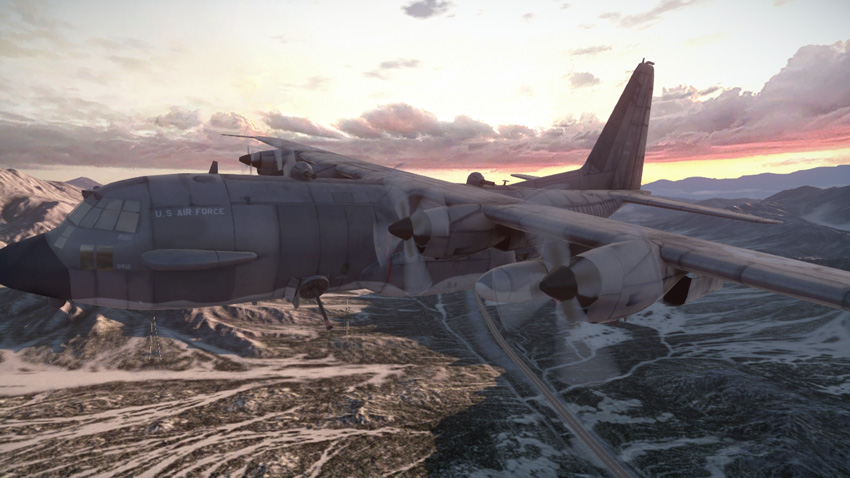
The army base (G) is without a doubt the hottest spot on the map and often the site of the most intense fighting. In addition to supplying the controlling team with access to a powerful gunship, this control point produces a scout helicopter, a tank destroyer, and a couple of quad bikes. Both teams should rush this control point early during the battle and attempt to capture the flag. If necessary, fly a jet over the control point and bail out above the flag—sacrificing a jet is worth gaining early access to this control point’s bountiful assets. This facility is still under construction, as evident by the incomplete structures and massive crane. Like the crane at the construction site (C), this crane is a popular sniper perch, ideal for monitoring enemy movements on the western side of the map, including the nearby artillery base (F). The helipad on the north side of the facility is complete and hosts a scout helicopter for the controlling team. Even if your team doesn’t control the flag, make an effort to steal this helicopter to give your team a boost in the air. The flag is positioned on the east side of the facility next to a tall, partially constructed building. It’s possible to capture and contest the flag from within this structure, giving infantry the opportunity to seek cover amid the chaos. Once the flag is captured, keep at least one squad here at all times to defend this control point. Maintaining access to the gunship is crucial to gaining the upper hand in this battle.