
Tales of Xillia 2 Guide 5 Side Quest Side Quests
Illusionary Darkness
A New Dungeon Appears When the Main Game Ends
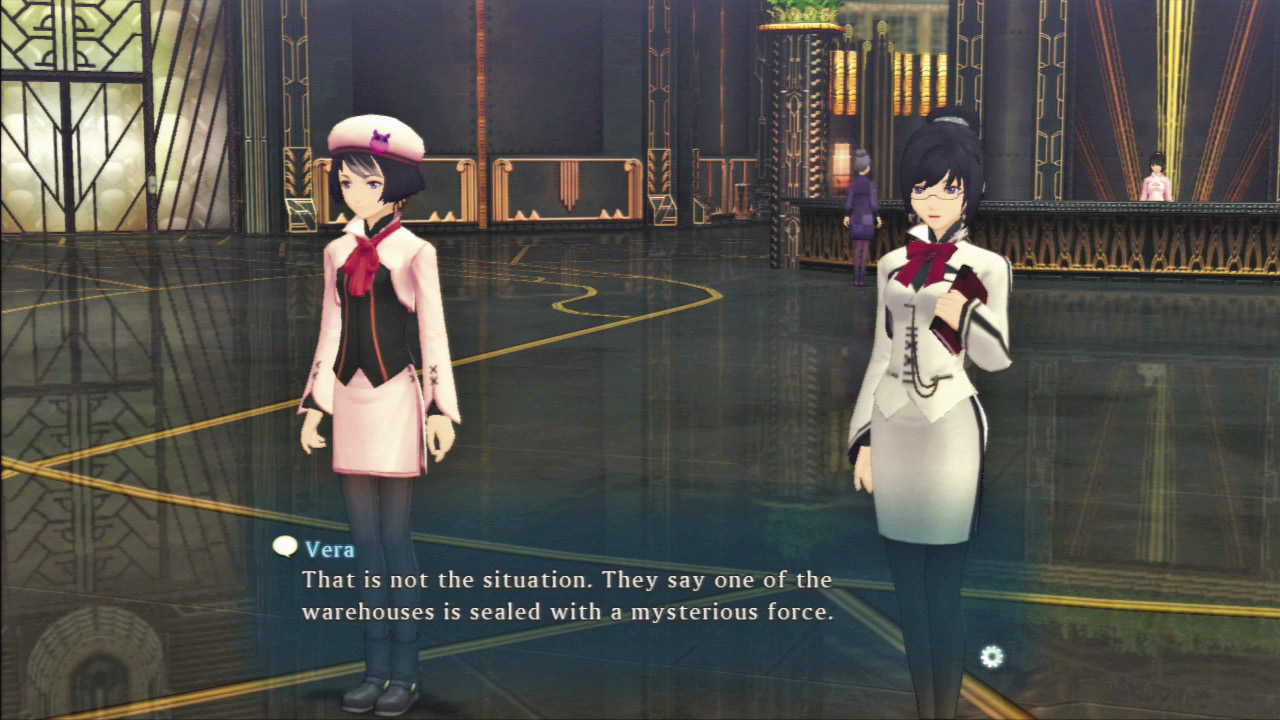
After you complete the game’s main story, a new event triggers when you approach the first floor entrance of the Spirius Corporation. After that, the entrance to the Illusionary Darkness appears in a Drellin—Central Plaza warehouse.
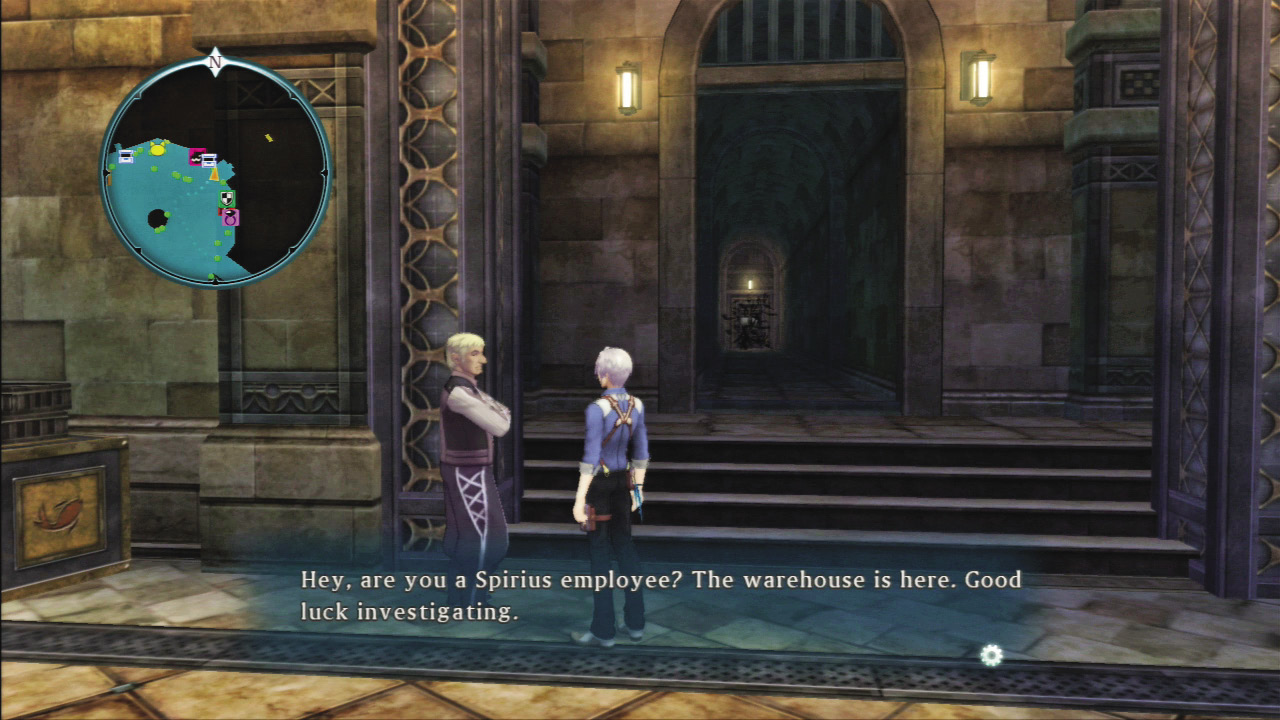
This is an extremely difficult dungeon rife with foes at level 100+, so you’ll need a disciplined strategy to succeed. If you do succeed, the boss in its deepest depths will emerge to appear as a special guest in the Expert rank of the Coliseum.
Entering Illusionary Darkness
- View the Ludger Ending or Elle Ending.
- Go to the 1F Entrance of the Spirius Corporation.
- Enter the warehouse in the northeast part of Drellin’s Central Plaza.
Dungeon Progress
You can bring Ludger and three companions to explore the Illusionary Darkness. You can only select companions with whom Ludger shares an affinity level of at least 15000 (8 hearts). However, you can select one character without regard to their affinity by equipping them with the Bonds of Shadow you received for completing the game. The only catch is that so long as they don’t meet the affinity requirement, you won’t be able to replace the Bonds of Shadow with a more effective accessory while you’re in the Illusionary Darkness. And since you won’t be able to reach the heart of the dungeon without having all of your party members enter the dungeon at least once, you’ll need to break out Friendship Potions for anyone who lacks the necessary affinity.
Advancing Through the Illusionary Darkness
Select Your Companions
You have to use Ludger throughout the dungeon, but have freedom to choose your other members. Select three more companions from among those party members who meet the affinity requirement.
Unlock the Dungeon Gimmicks
When you open the doors within the dungeon, the spiral areas exit into desert areas. Bosses await you as you make your way through these doors.
Defeat the Bosses
Bosses such as Ludger’s Shadow must be defeated to progress. Defeat eighteen bosses to earn the right to challenge the boss at the heart of the dungeon.
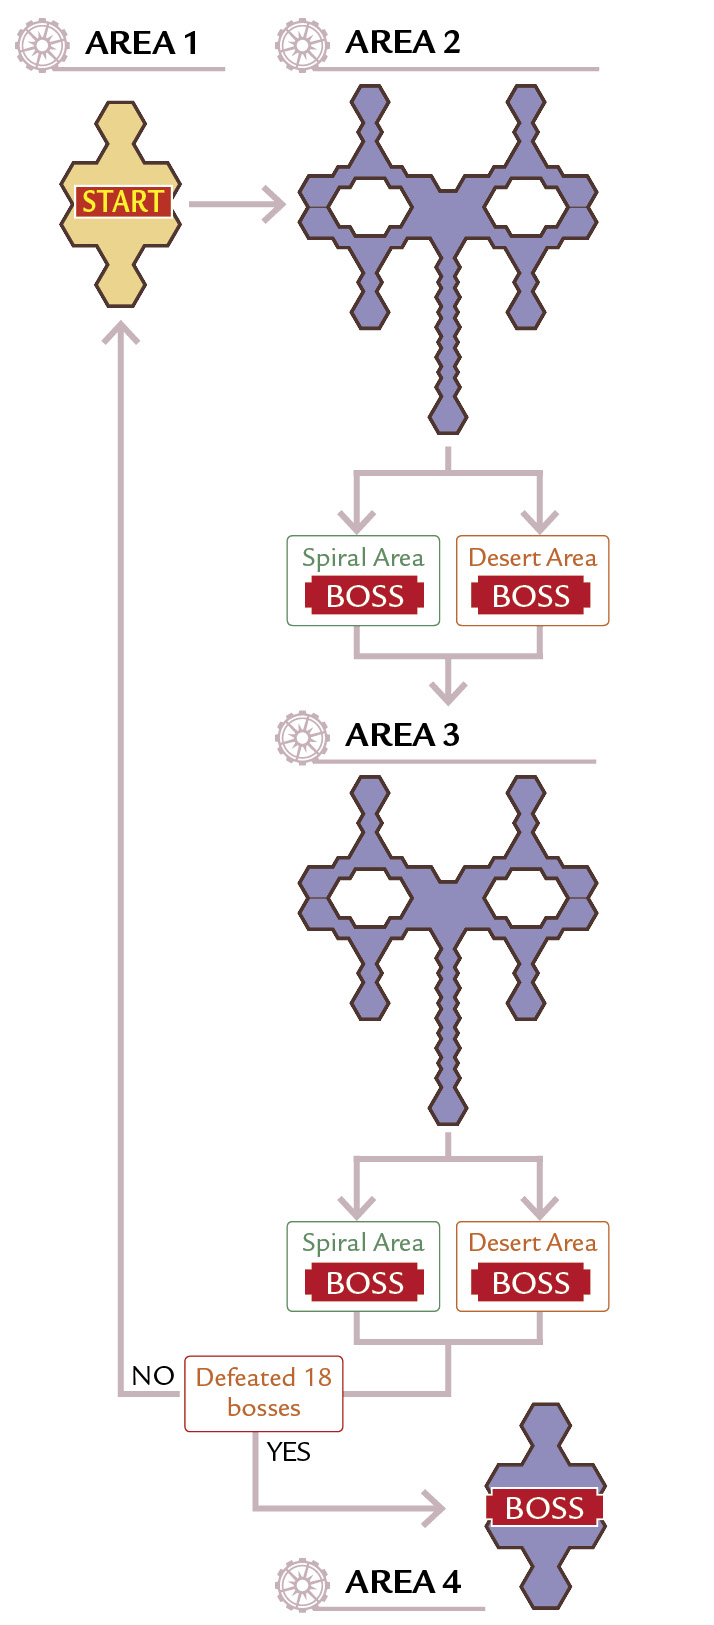
Understand the Layout of the Dungeon
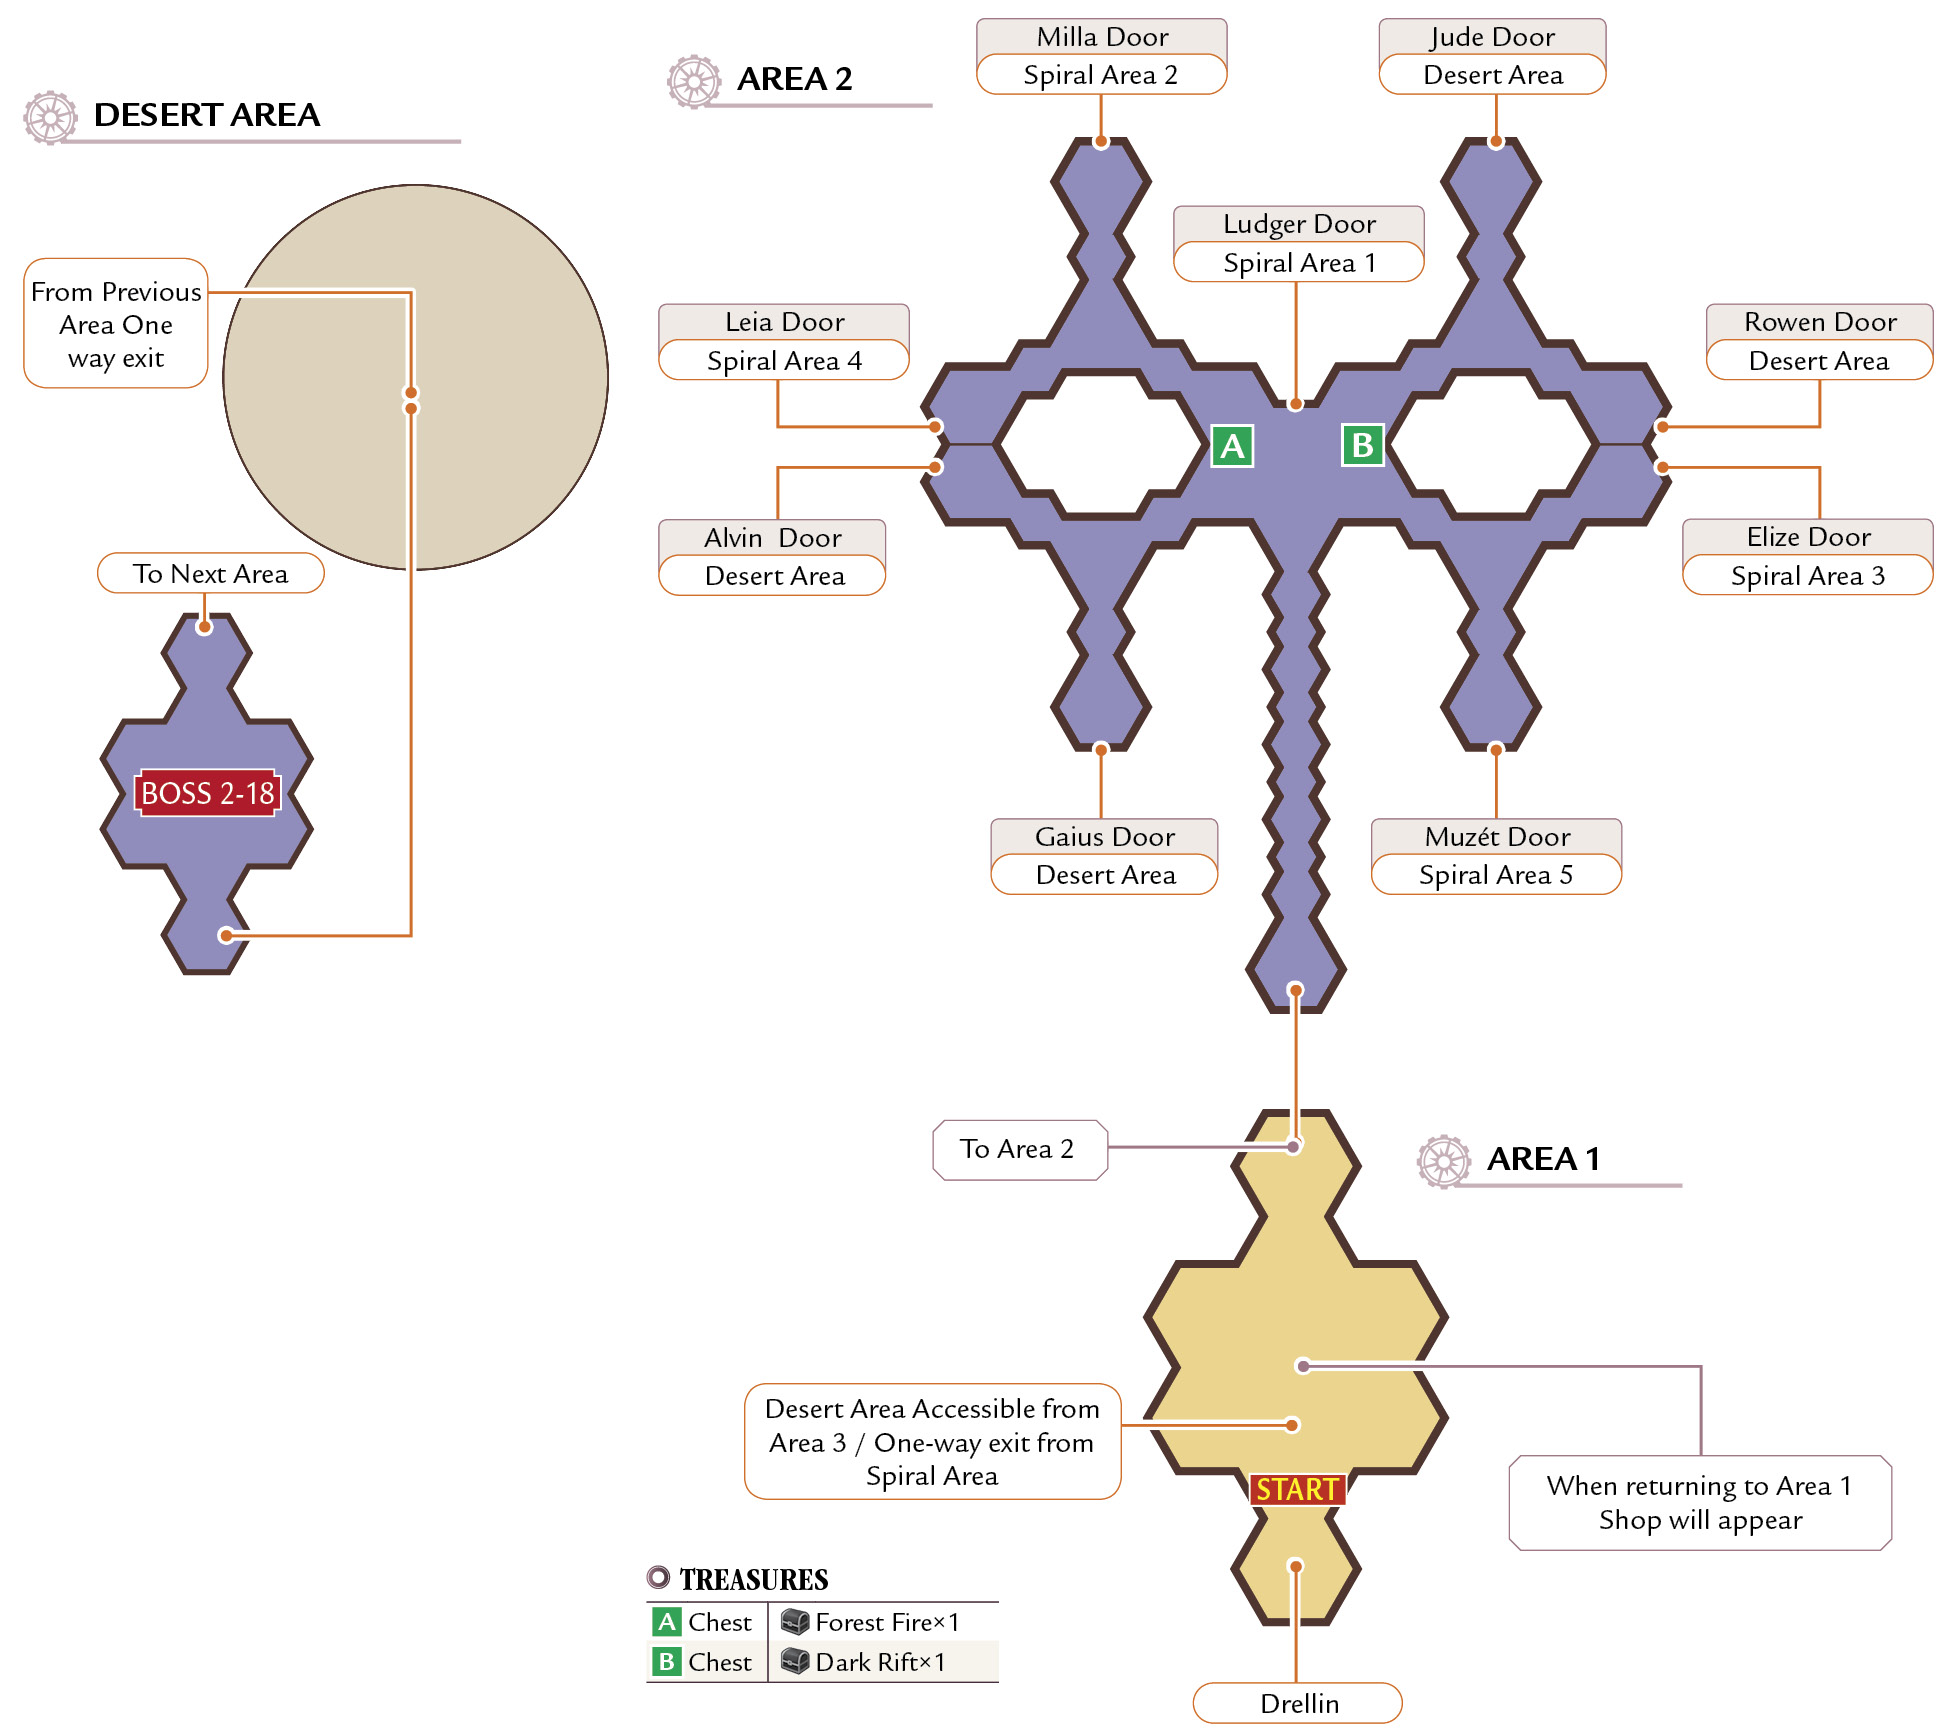
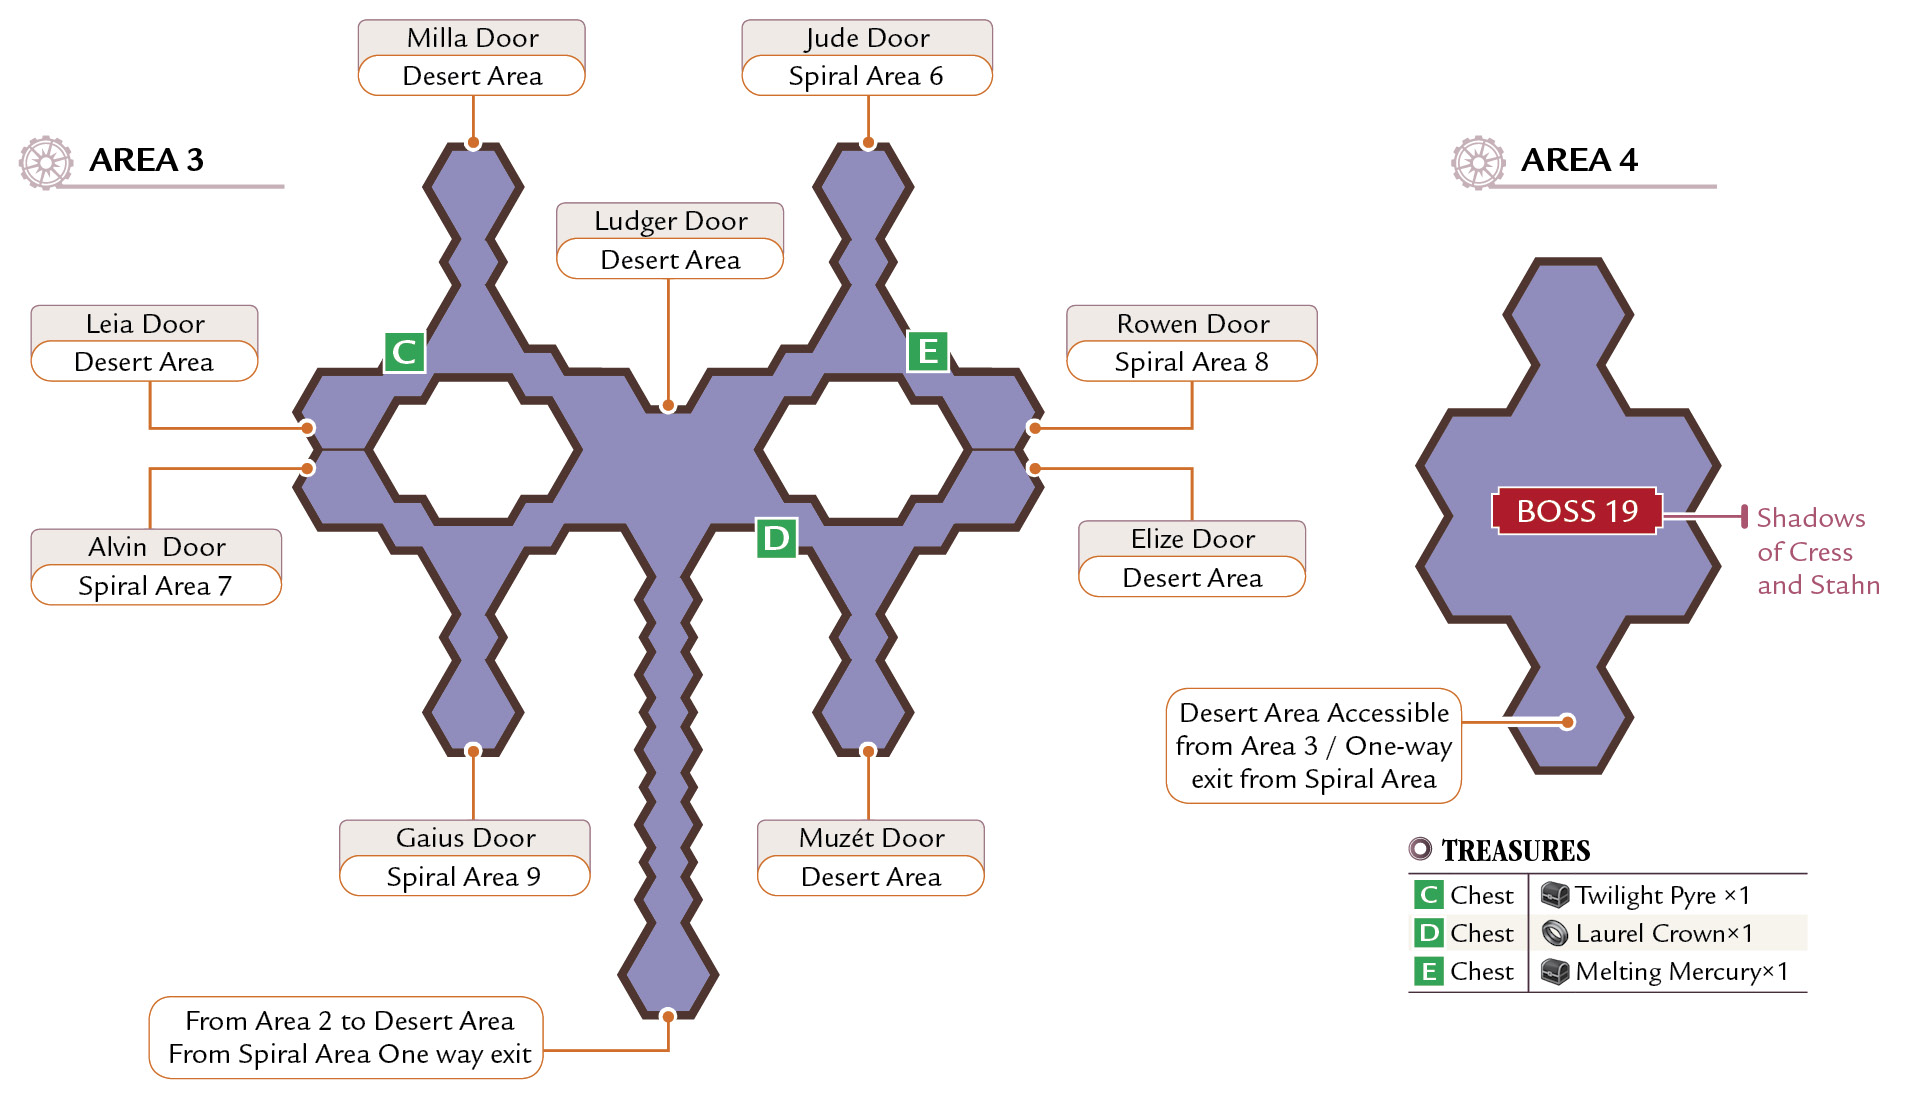
The diagram below explains how the dungeon is laid out. You begin in Area 1, and after finding and defeating the bosses in the spiral and desert areas along the way, you’ll return to Area 1. Areas 2 and 3 contain nine doors, each corresponding to a certain party member, and the doors won’t open unless that character is with you. By switching your party members and repeatedly challenging the dungeon, you can defeat eighteen bosses to reach Area 4, the dungeon’s final area, where the Shadows of Cress and Stahn await you. Keep in mind that while defeated bosses do respawn, you do not need to fight them again. Also, know that you won’t go to the game over screen if your party is wiped out; you’ll simply respawn from Area 1.
Area 1
The dungeon begins at Area 1, which is free of enemies. Once you defeat any boss, a shop opens here where you can exchange the Ancient Bells found in the dungeon for other items.
Areas 2 and 3
These are the areas with the nine doors. Each corresponds to a party member, and will not open unless that member is present. You can tell from looking at the door whether it’s passable or not, and whether the boss behind it has already been defeated.
Door Appearances
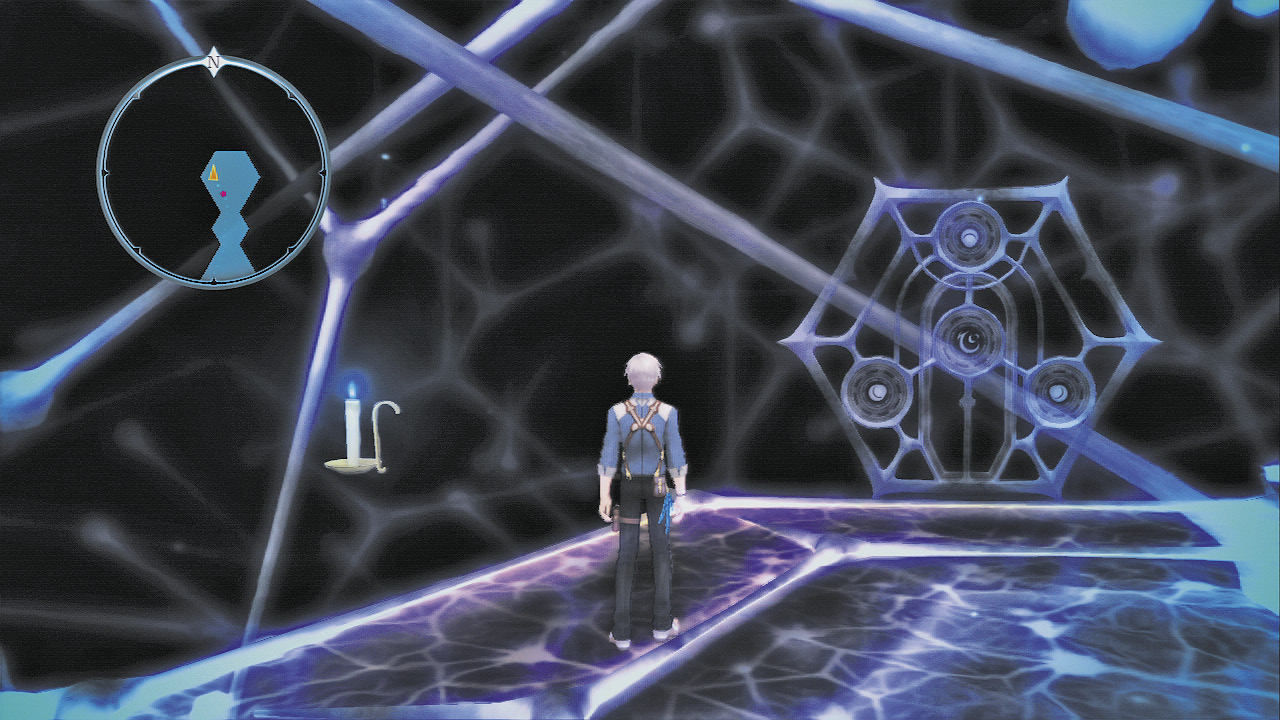
Unpassable
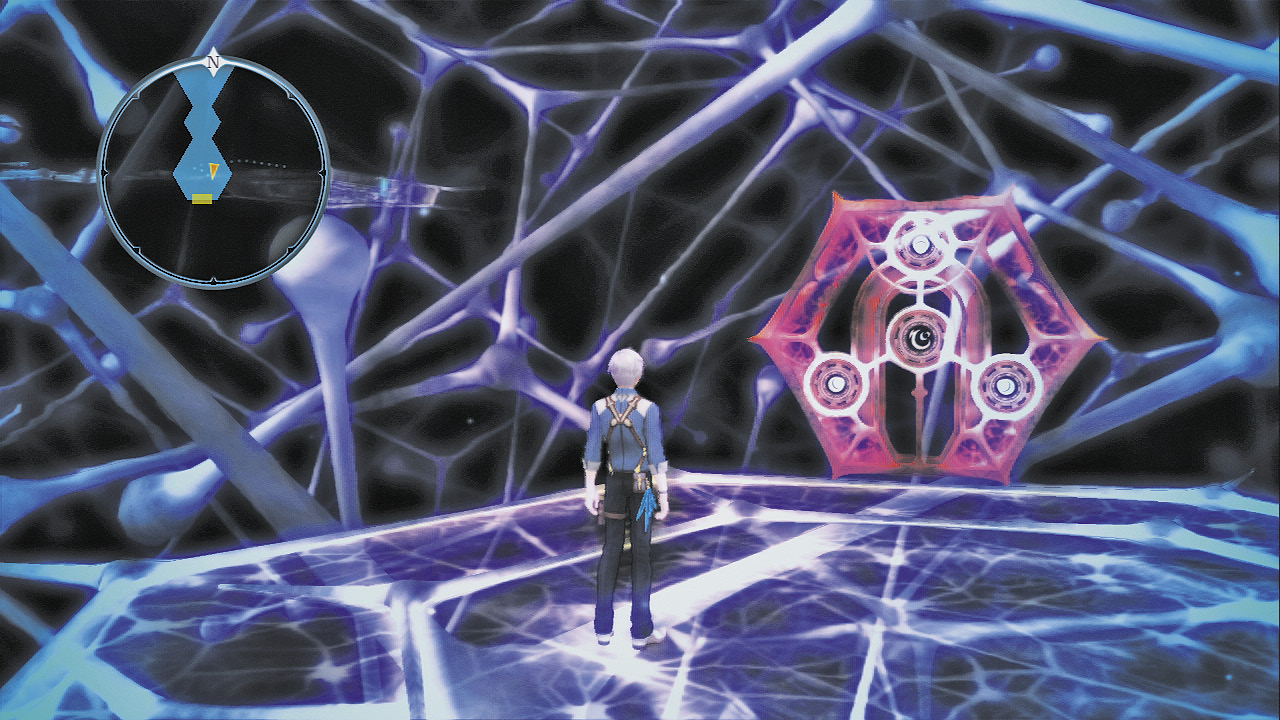
Passable (Boss Not Yet Defeated)
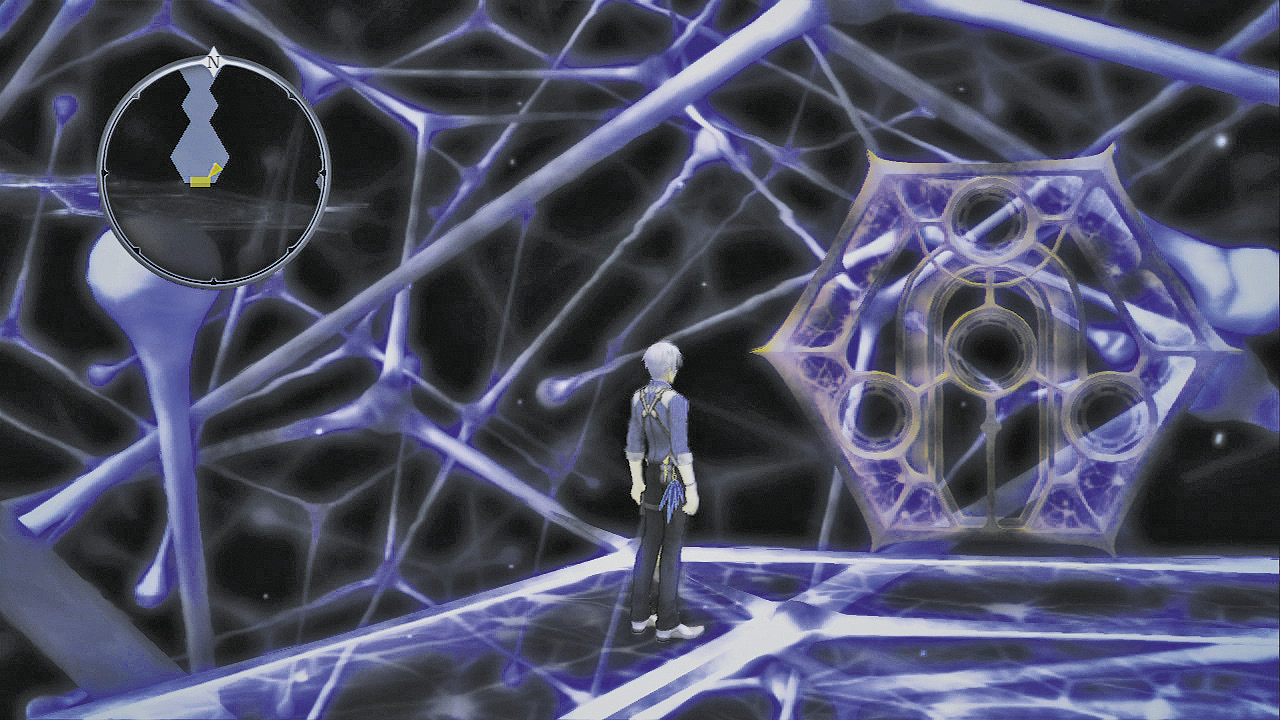
Passable (Boss Defeated)
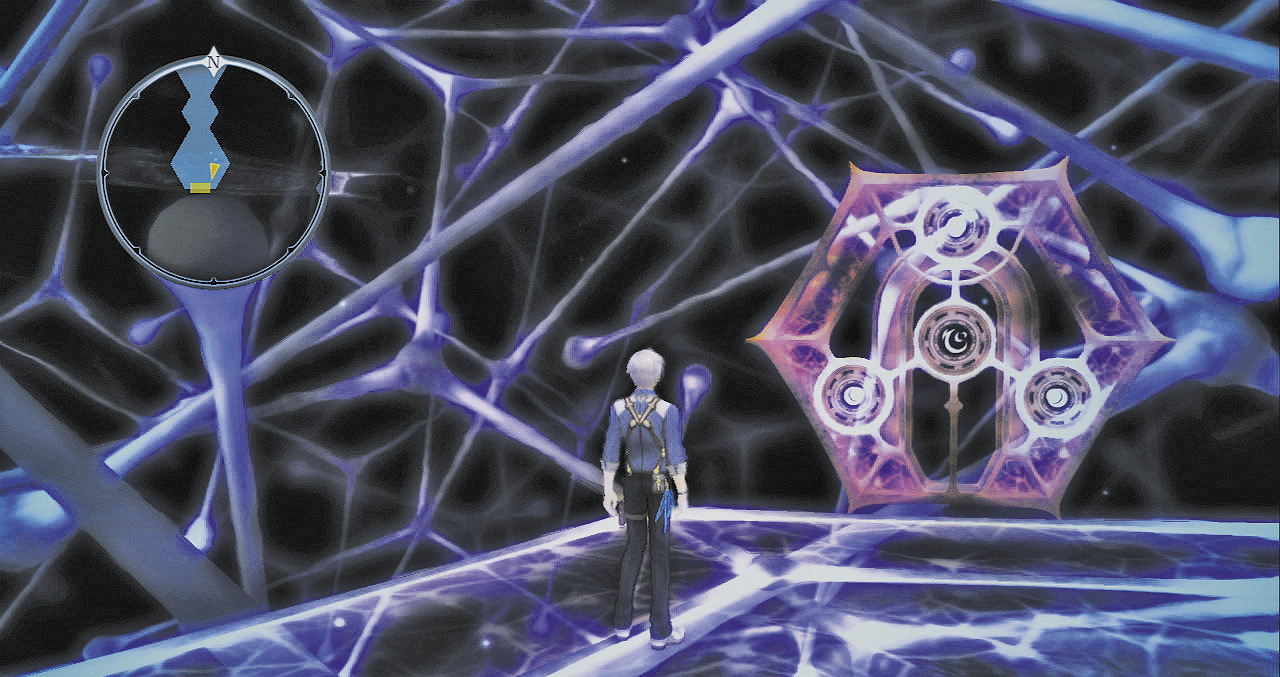
Passable (Boss Has Respawned)
Spiral Areas/Desert Areas
The Illusionary Darkness has spiral areas, made of two spiraling paths, and a large desert area. As you progress through these areas, you’ll generate warp points that will take you to the locations of bosses. There are eighteen bosses in all.
Area 4
When you defeat all eighteen bosses, the passage that would take you to the next area will send you to Area 4, where you’ll battle the Shadows of Stahn and Cress. Defeat them, and you’ll be transported back to Drellin, where Jude will receive Cress’s costume and hairstyle, Milla will receive Stahn’s costume and hairstyle, and the party will receive Cress’ Longsword, Verius Tail, and Shadow attachments.
Spiral Area Strategies
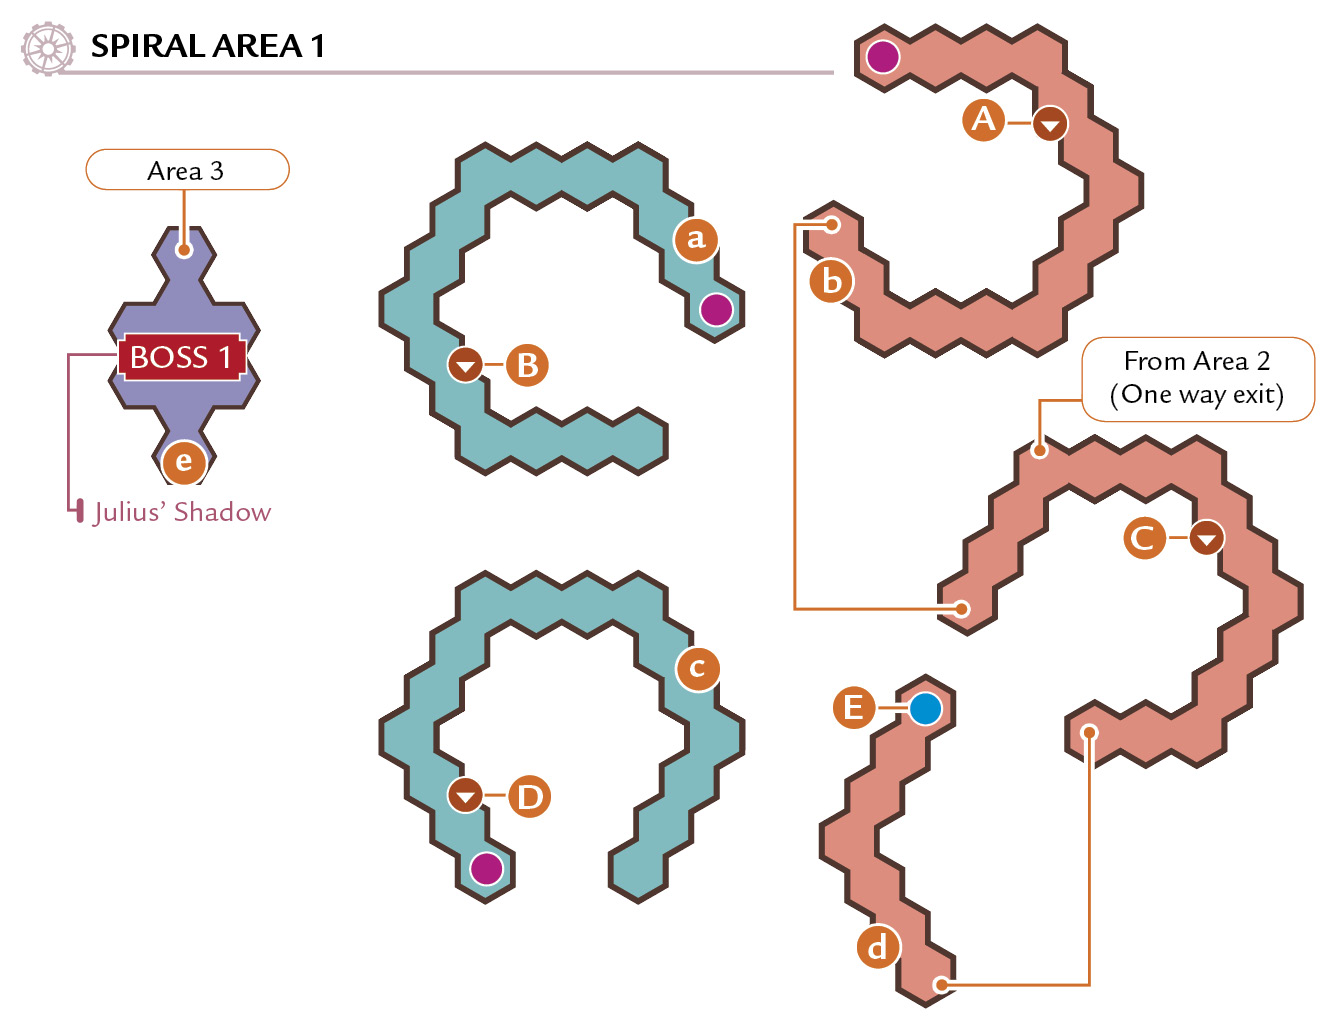
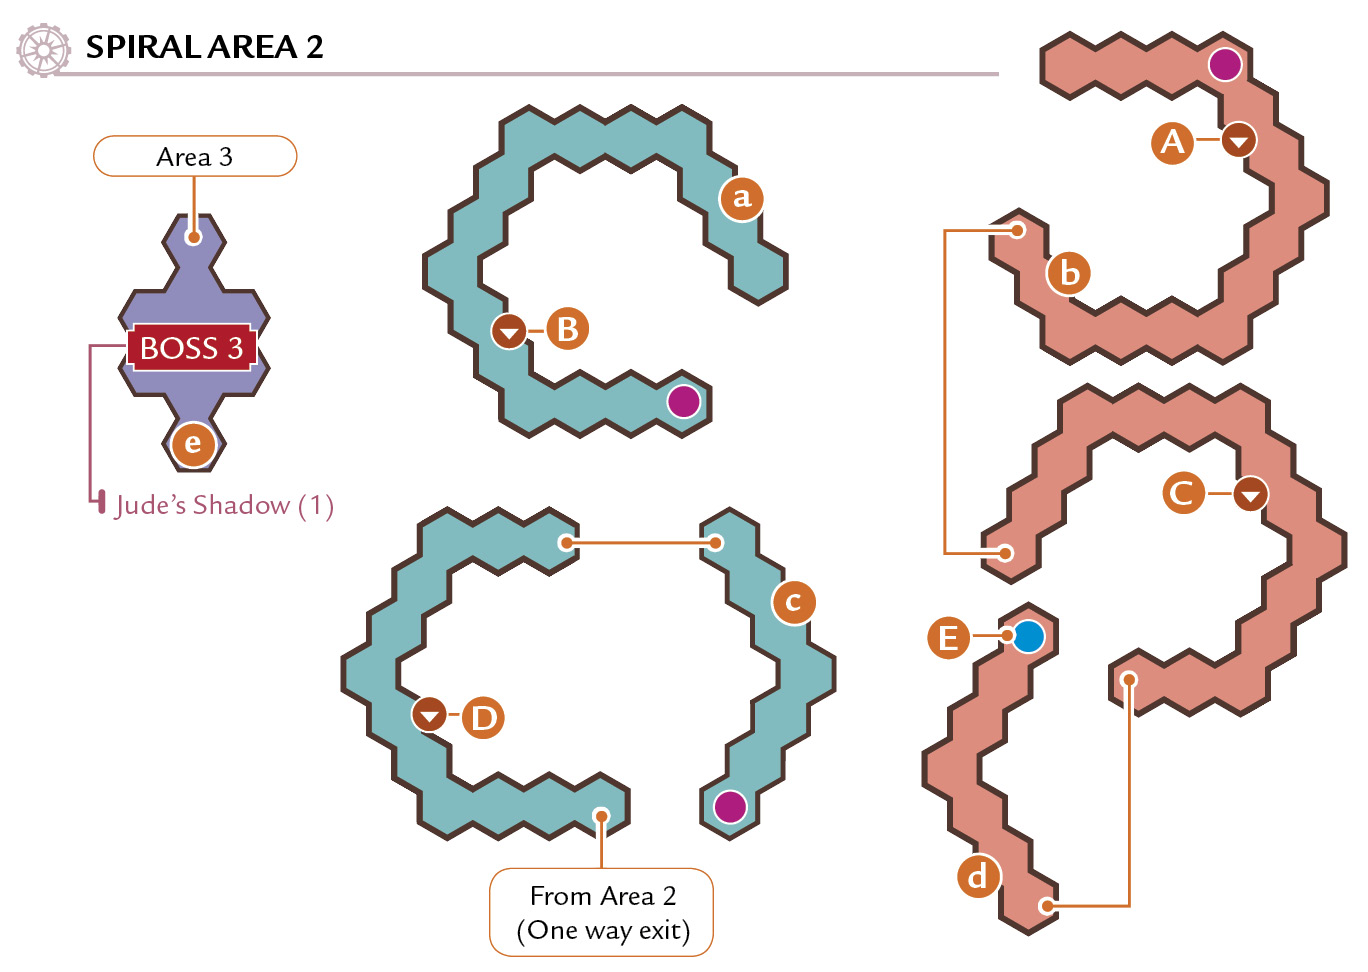
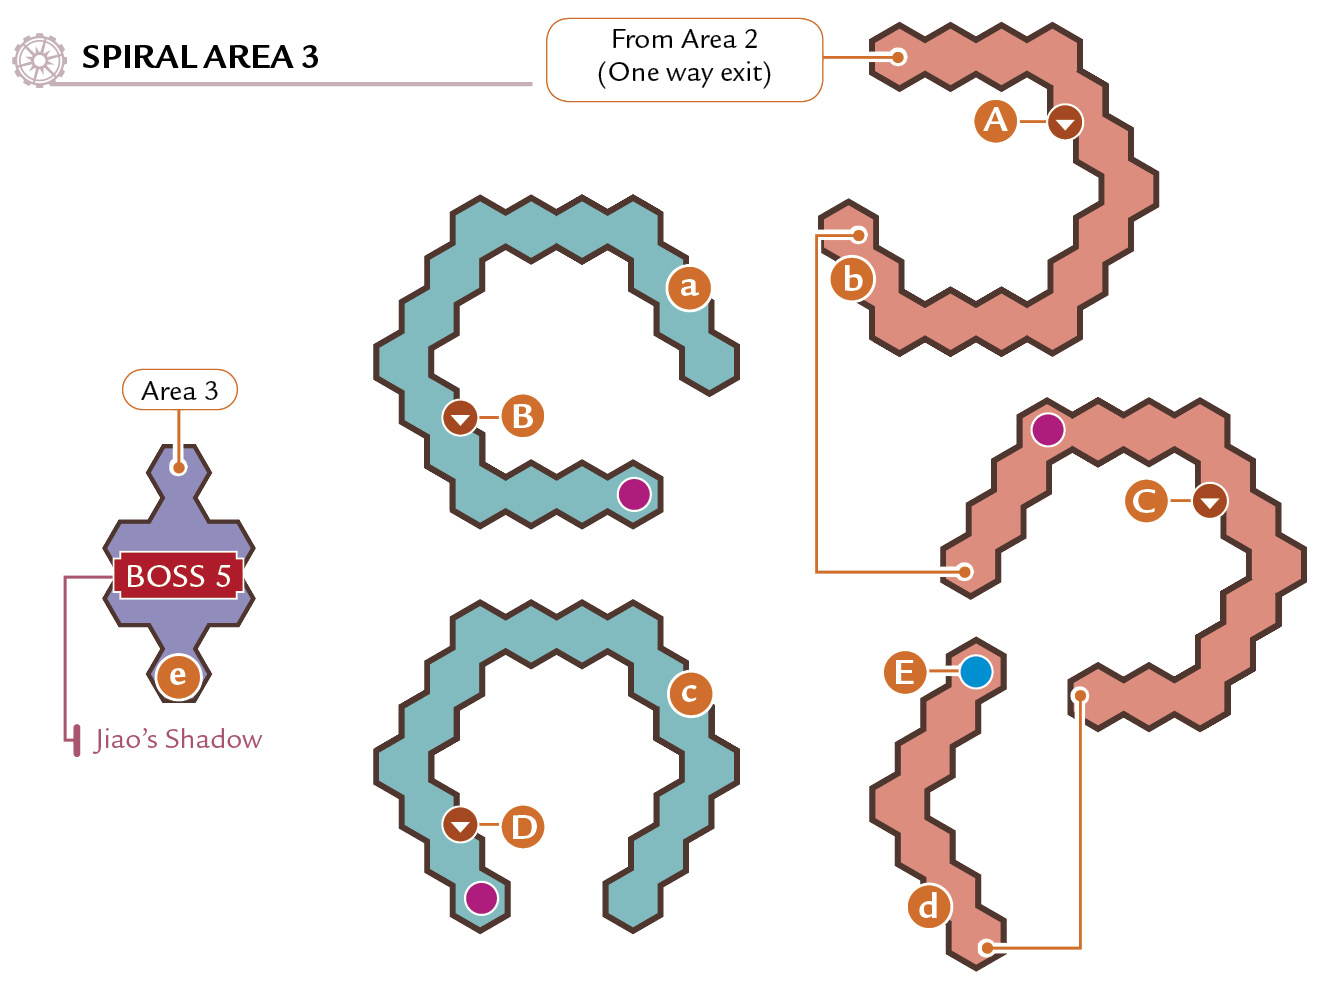
Spiral Areas are formed by the intersections of orange and green spirals. Your goal here is to find and step on three light-up platforms to generate a warp point to the boss. Search for them by traversing and re-traversing the orange and green spirals. The layout of the spiral area changes based on which of the doors from Area 2 and Area 3 you used to enter; there are nine variations in all.
Spiral Area Properties
- There are both orange and green spirals.
- The surfaces of the two spirals do not connect. You must leap from one spiral to the other.
- Step on the three light-up platforms to generate a warp point that will take you to the boss’s position.
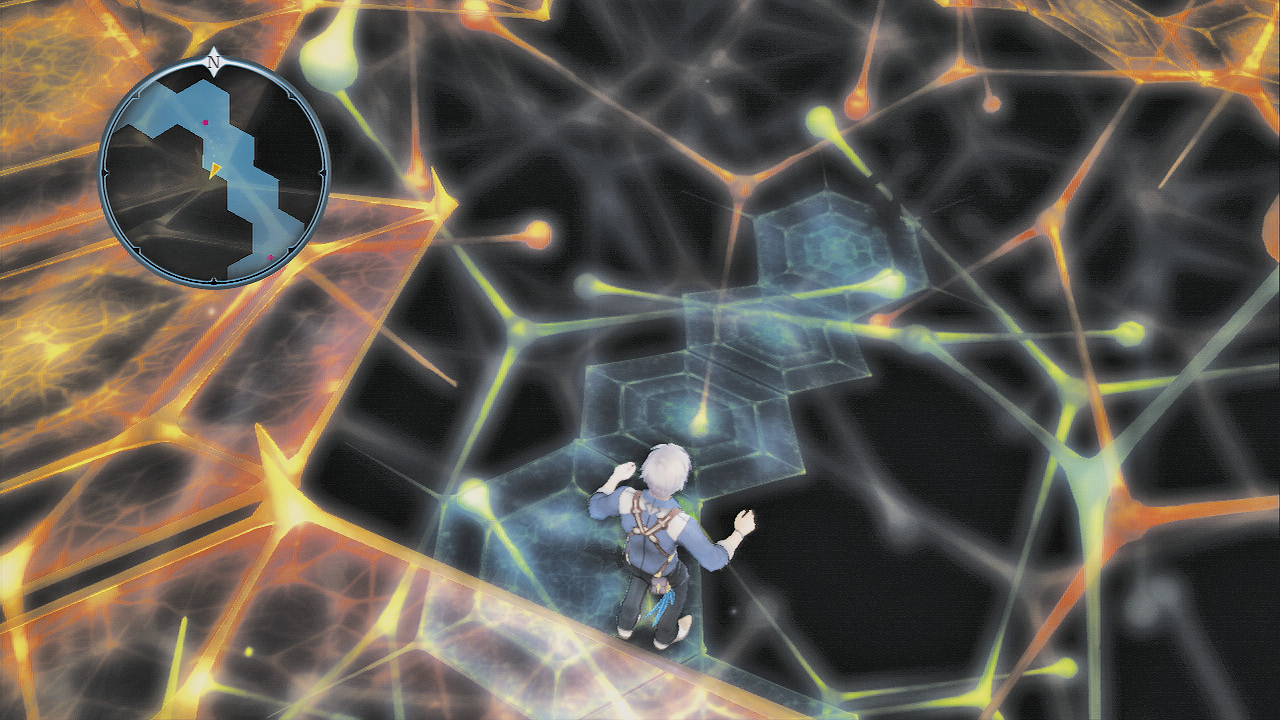
You can jump between the two spirals at the points where they overlap.
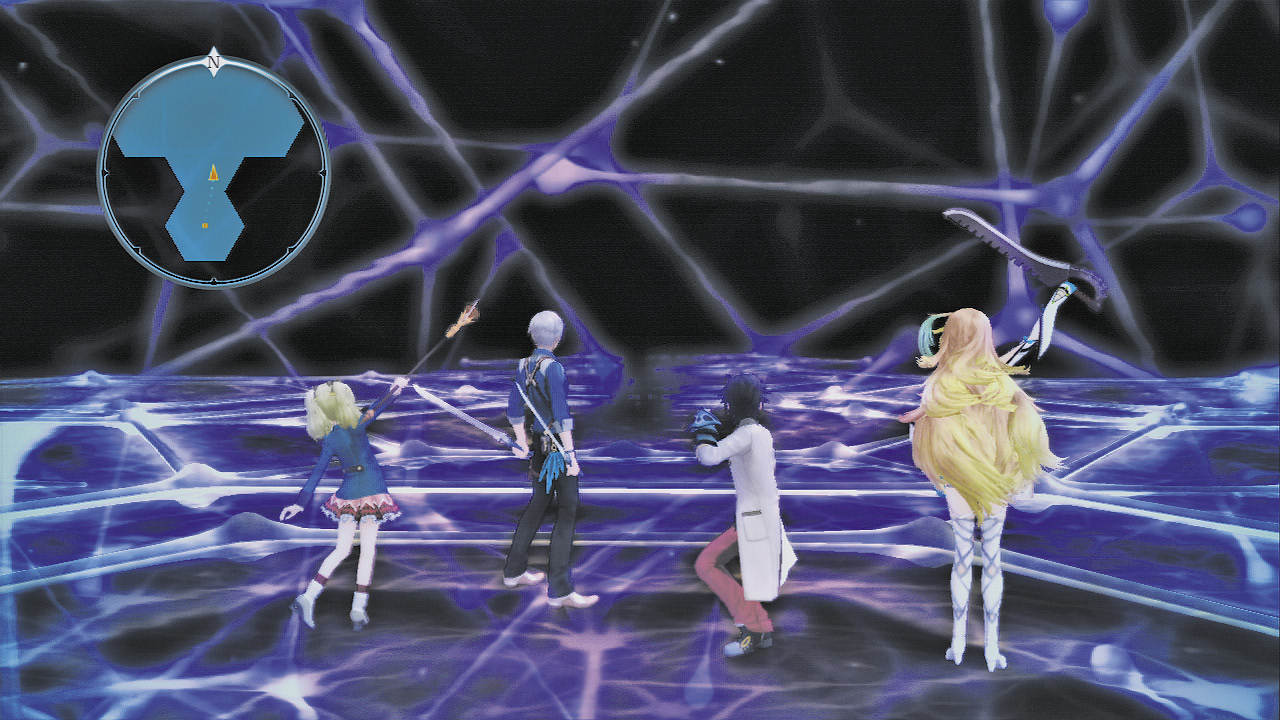
If you progress beyond the warp point, you’ll soon encounter a boss.
Desert Area Strategies
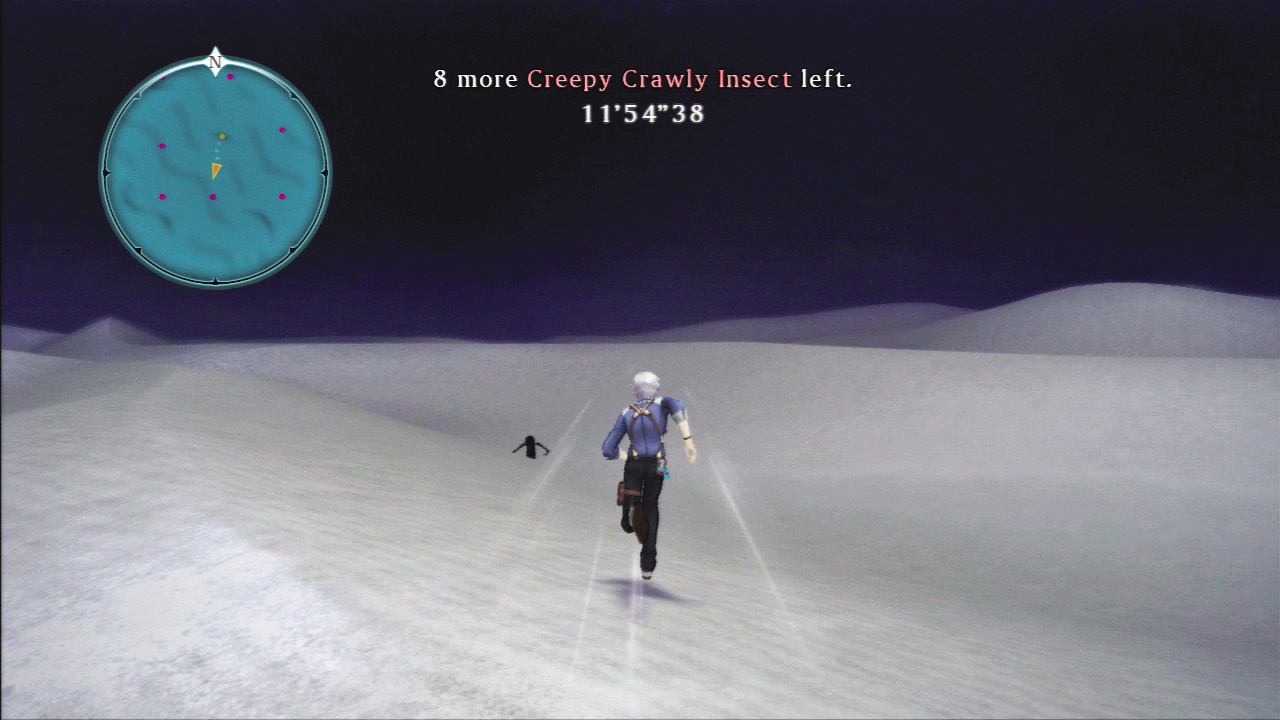
The Desert Areas are giant, circular areas swarming with various enemies. When you enter the area, you’ll be assigned a type of enemy and an amount of that enemy to slay. If you can do so within the time limit, the warp point to the boss will appear. The description of the enemy you’ll be given refers to the on-field enemy model used to represent a group of foes, and you’ll need to win the listed number of battles against groups of foes represented by that model. (The enemies you’ll face and the one chosen as your target changes based on which door you used to enter the desert area.) If you fail to complete your quota within the time limit, you’ll be sent back to Area 1, so don’t waste a lot of time in combat and pre-combat prep.
Desert Area Properties
- You’re assigned an enemy to defeat and a time limit. Generate a warp point to the next floor by defeating groups of foes represented by the assigned enemy within the allotted time.
- The target enemy, target amount, and time limit are determined at random.
- You’ll be sent back to Area 1 if you run out of time.
Search the Dungeon for Ancient Bells
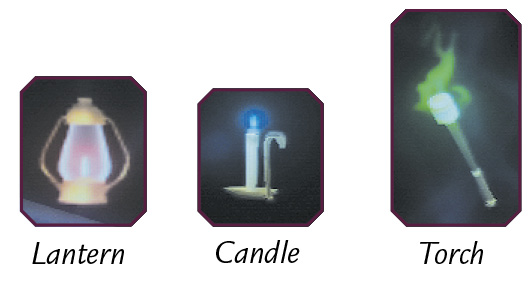
In each of the dungeon’s non-boss areas (Area 2, Area 3, the Spiral Area, and the Desert Area), you can find three light-source items on the ground. Their locations are random, and change every time you enter each area anew. If you find these items and bring them to the next area, you’ll receive Ancient Bells as a reward—the amount varies based on the quantity of items and the order in which you picked them up. The Ancient Bells can be traded for precious items at a shop that appears in Area 1, so you’ll want to assemble as many as you can.
Light Sources Rewards
- If you collect the light sources in Lantern > Candle > Torch order and bring them to the next area, you’ll receive the maximum reward: 6 Ancient Bells, a 50% chance of receiving 1 Gold Dice, and a 75% chance of receiving 1 Silver Dice.
- If you collect the light sources in any other order and bring them to the next area, you’ll receive 4 Ancient Bells, a 35% chance of receiving 1 Gold Dice, and a 50% chance of receiving 1 Silver Dice.
- If you collect only one or two of the light sources and bring them to the next area, you’ll receive 2 Ancient Bells, a 10% chance of receiving 1 Gold Dice, and a 25% chance of receiving 1 Silver Dice.
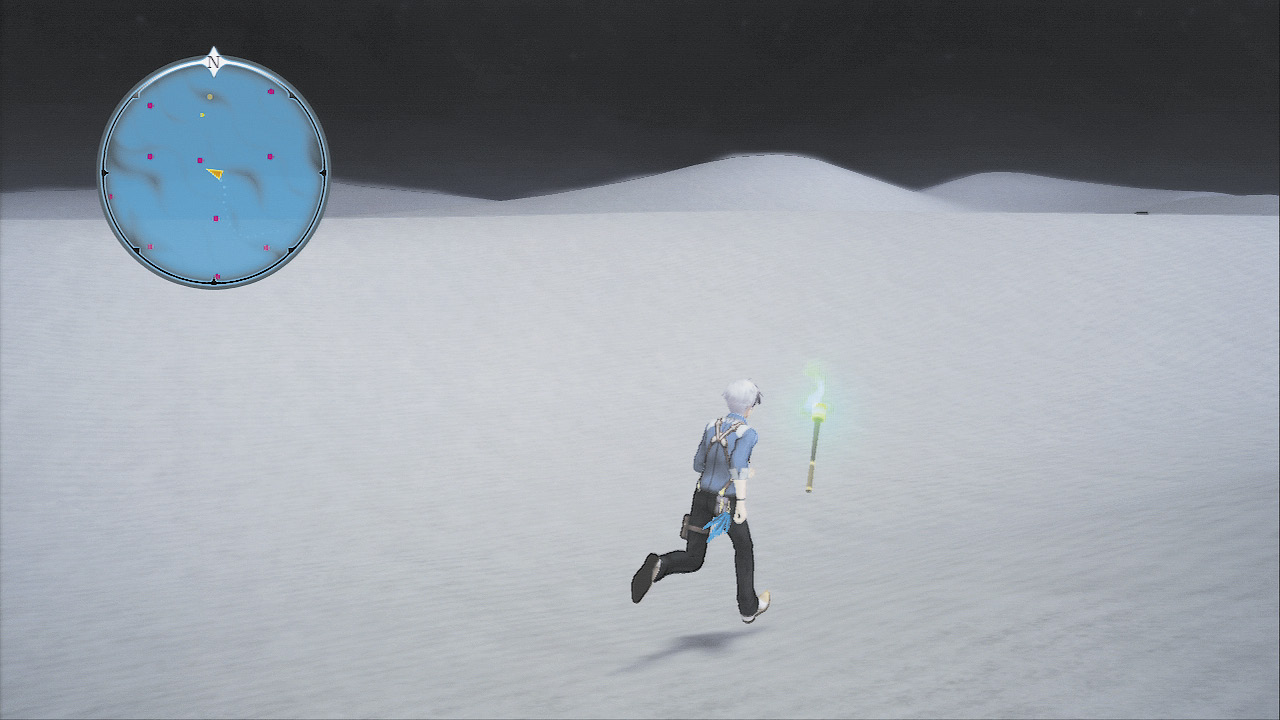
The light sources are particularly difficult to find in the Desert Areas. Search for them after you’ve met your monster-destruction quota.
Exchange Ancient Bells for Precious Items
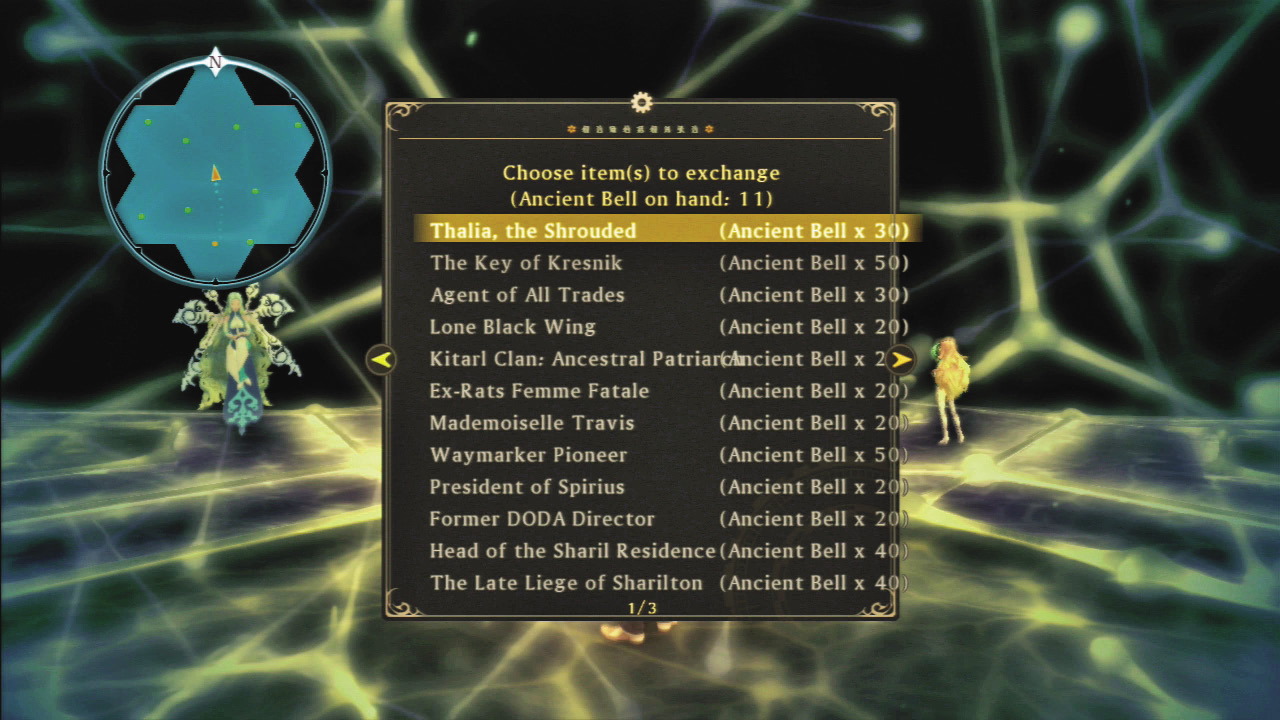
At the shop that appears in the center of Area 1, you can exchange your Ancient Bells for special items, as shown in the chart below. The goods include weapons and rare “Transformation” costumes. One warning: the names that appear in the shop list don’t always correspond to the name of the item, so don’t confused if you can’t find what you think you just bought.
Ancient Bell Shop
| Item Name | Item You Really Get | Ancient Bells |
|---|---|---|
| Thalia, the Shrouded | Thalia, the Shrouded |
30 |
| The Key of Kresnik | Transformation: Elle |
50 |
| Agent of All Trades | Transformation: Ivar |
30 |
| Lone Black Wing | Transformation: Wingul |
20 |
| Kitarl Clan: Ancestral Patriarch | Transformation: Jiao |
20 |
| Ex-Rats Femme Fatale | Transformation: Presa |
20 |
| Mademoiselle Travis | Transformation: Agria |
20 |
| Waymarker Pioneer | Transformation: Julius |
50 |
| President of Spirius | Transformation: Bisley |
20 |
| Former DODA Director | Transformation: Rideaux |
20 |
| Head of the Sharil Residence | Transformation: Driselle |
40 |
| The Late Liege of Sharilton | Transformation: Cline |
40 |
| Great Spirit of Ice | Transformation: Celsius |
40 |
| Verland Bank Debt Collector | Transformation: Nova |
40 |
| The President’s Secretary | Transformation: Vera |
40 |
| Swordsman of Time | Transformation: Cress |
20 |
| Unicorn Cleric | Transformation: Mint |
50 |
| Fire Swordian Master | Transformation: Stahn |
20 |
| Lens Hunter | Transformation: Rutee |
50 |
| Hero of Neuestadt | Transformation: Bruiser |
20 |
| Kitty Krisps | Kitty Krisps |
1 |
| Gummy Fishies | Gummy Fishies |
3 |
| Catnip | Catnip |
5 |
| Kitty Toy | Kitty Toy |
7 |
| Royal Feast | Royal Feast |
10 |
| Win Stick | Win Stick |
1 |
Shadow-Type Enemies Appear
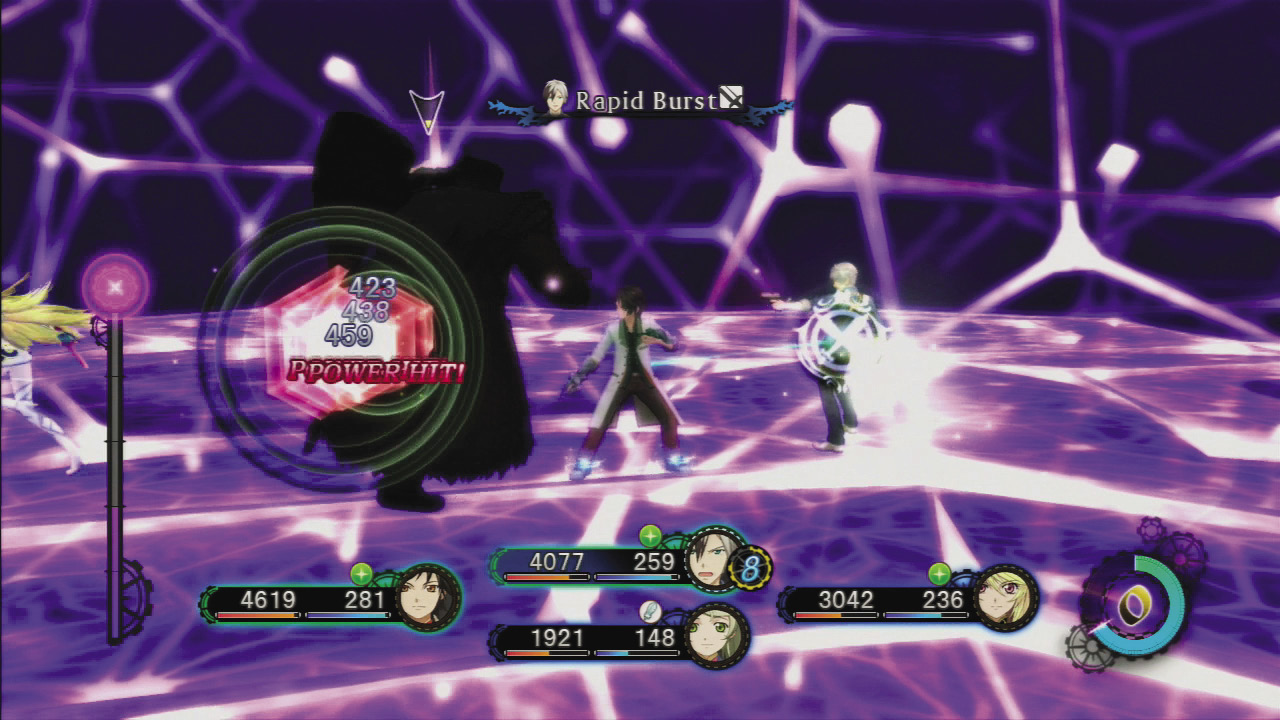
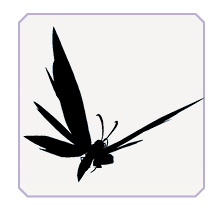
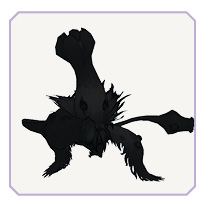
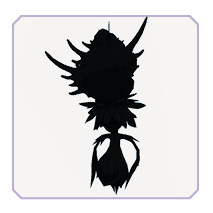
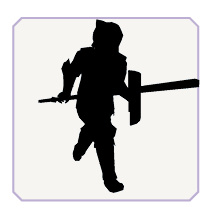
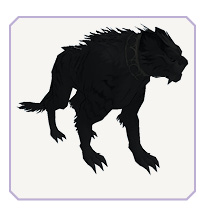
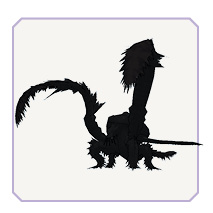
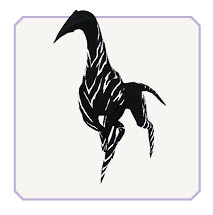
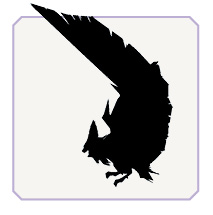
All of the enemies you’ll face in the Illusionary Darkness appear as pitch-black Shadows. If you aren’t linked as you fight them, your attacks will deal only one point of damage, so use the Strategy menu to order your party members to link with each other constantly. The foes you’ll face in the Spiral and Desert Areas reached from Area 2 range from level 80 to 105, while the foes in areas reached from Area 3 run from level 110 to 140.
Enemies
Shadow Bacura
|
Type |
|
| HP | 39450/52950 |
|---|---|
| Weak | — |
| Strong |
|


Shadow Shade
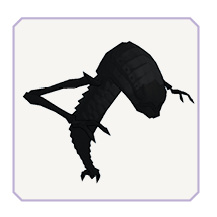
|
Type |
|
| HP | 7890 |
|---|---|
| Weak |
|
| Strong |
|


Shadow Skull
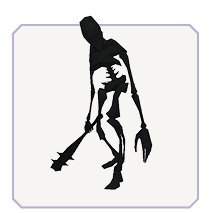
|
Type |
|
| HP | 7337 |
|---|---|
| Weak |
|
| Strong |
|


Shadow Sol
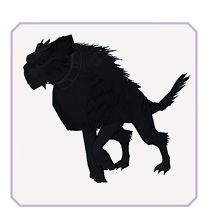
|
Type |
|
| HP | 7337 |
|---|---|
| Weak |
|
| Strong |
|


Shadow Treant
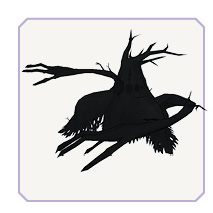
|
Type |
|
| HP | 15960 |
|---|---|
| Weak |
|
| Strong |
|


Shadow Butterfly
|
Type |
|
| HP | 7890 |
|---|---|
| Weak |
|
| Strong |
|


Shadow Plant
|
Type |
|
| HP | 15780 |
|---|---|
| Weak |
|
| Strong |
|


Shadow Mandragora
|
Type |
|
| HP | 7890 |
|---|---|
| Weak |
|
| Strong |
|


Shadow Sentry
|
Type |
|
| HP | 10590 |
|---|---|
| Weak |
|
| Strong |
|


Shadow Erdas

|
Type |
|
| HP | 11225 |
|---|---|
| Weak |
|
| Strong |
|


Shadow Cat
|
Type |
|
| HP | 9848 |
|---|---|
| Weak |
|
| Strong |
|


Shadow Demon
|
Type |
|
| HP | 22641 |
|---|---|
| Weak |
|
| Strong |
|


Shadow Nightmare
|
Type |
|
| HP | 9848 |
|---|---|
| Weak |
|
| Strong |
|


Shadow Bat
|
Type |
|
| HP | 9848 |
|---|---|
| Weak |
|
| Strong |
|


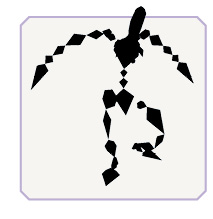
Shadow Gentlemundine
|
Type |
|
| HP | 32040 |
|---|---|
| Weak |
|
| Strong |
|


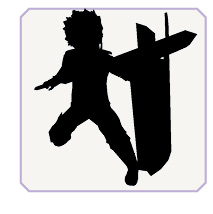
Shadow Battlecorps Sergeant
|
Type |
|
| HP | 10590 |
|---|---|
| Weak |
|
| Strong |
|


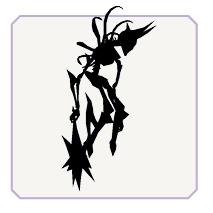
Shadow Chill
|
Type |
|
| HP | 7890 |
|---|---|
| Weak |
|
| Strong |
|


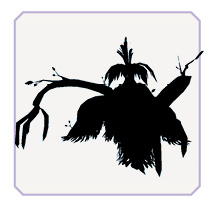
Shadow Sylvan
|
Type |
|
| HP | 15780 |
|---|---|
| Weak |
|
| Strong |
|


Shadow Djinn

|
Type |
|
| HP | 7890 |
|---|---|
| Weak |
|
| Strong |
|


Shadow Devil
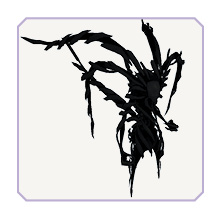
|
Type |
|
| HP | 15960 |
|---|---|
| Weak |
|
| Strong |
|


Shadow Basilisk
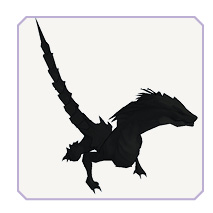
|
Type |
|
| HP | 7337 |
|---|---|
| Weak |
|
| Strong |
|


Shadow Beak
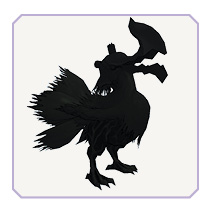
|
Type |
|
| HP | 8363 |
|---|---|
| Weak |
|
| Strong |
|


Shadow Mine Plant
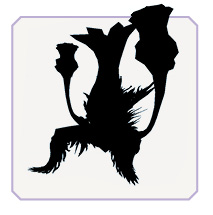
|
Type |
|
| HP | 15780 |
|---|---|
| Weak |
|
| Strong |
|


Spiritcorps Sergeant’s Shadow
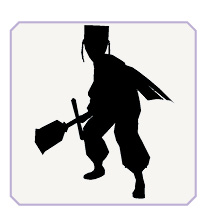
|
Type |
|
| HP | 7890 |
|---|---|
| Weak |  |
| Strong |
|


Shadow Eater
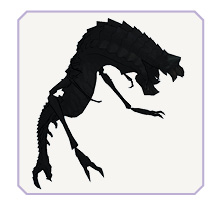
|
Type |
|
| HP | 22641 |
|---|---|
| Weak |
|
| Strong |
|


Shadow Gatekeeper
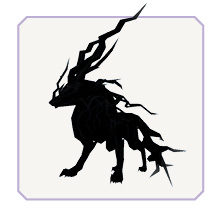
|
Type |
|
| HP | 9848 |
|---|---|
| Weak |
|
| Strong |
|


Shadow Crab Man

|
Type |
|
| HP | 11225 |
|---|---|
| Weak |
|
| Strong |
|


Shadow Dragon
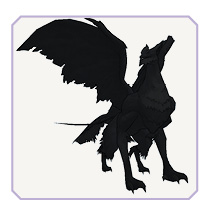
|
Type |
|
| HP | 42720 |
|---|---|
| Weak |
|
| Strong |
|


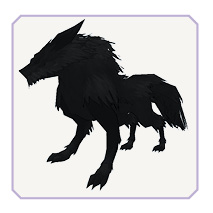
Shadow Hound
|
Type |
|
| HP | 9848 |
|---|---|
| Weak |
|
| Strong |
|


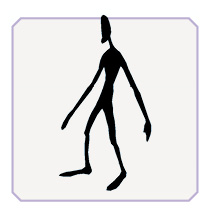
Gentleshadow
|
Type |
|
| HP | 32040 |
|---|---|
| Weak |
|
| Strong |
|


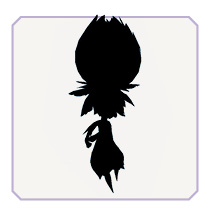
Shadow Leaf
|
Type |
|
| HP | 10590 |
|---|---|
| Weak |
|
| Strong |
|


Maps

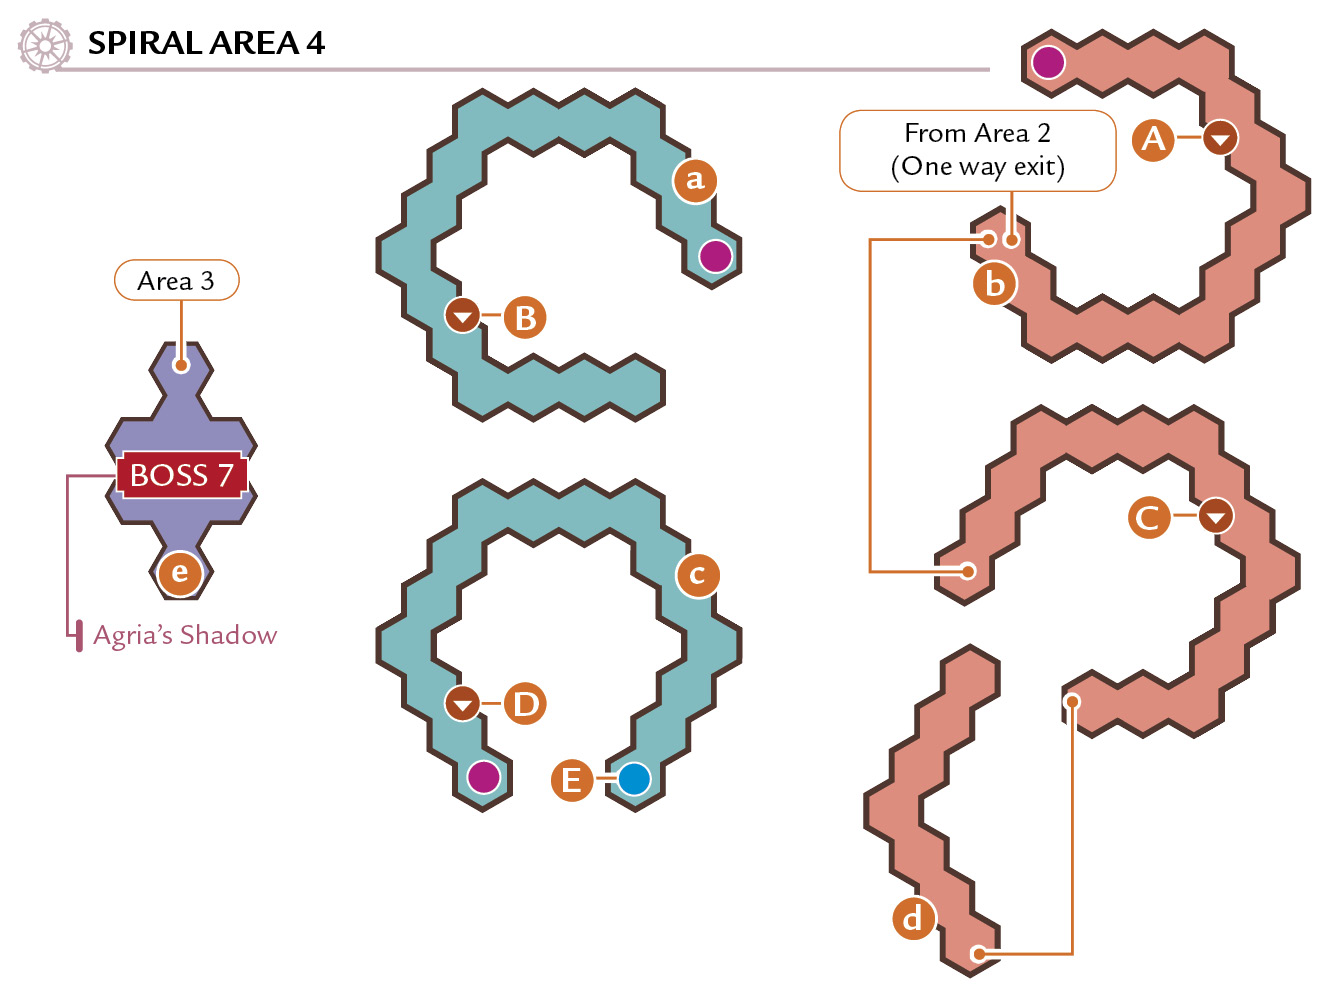
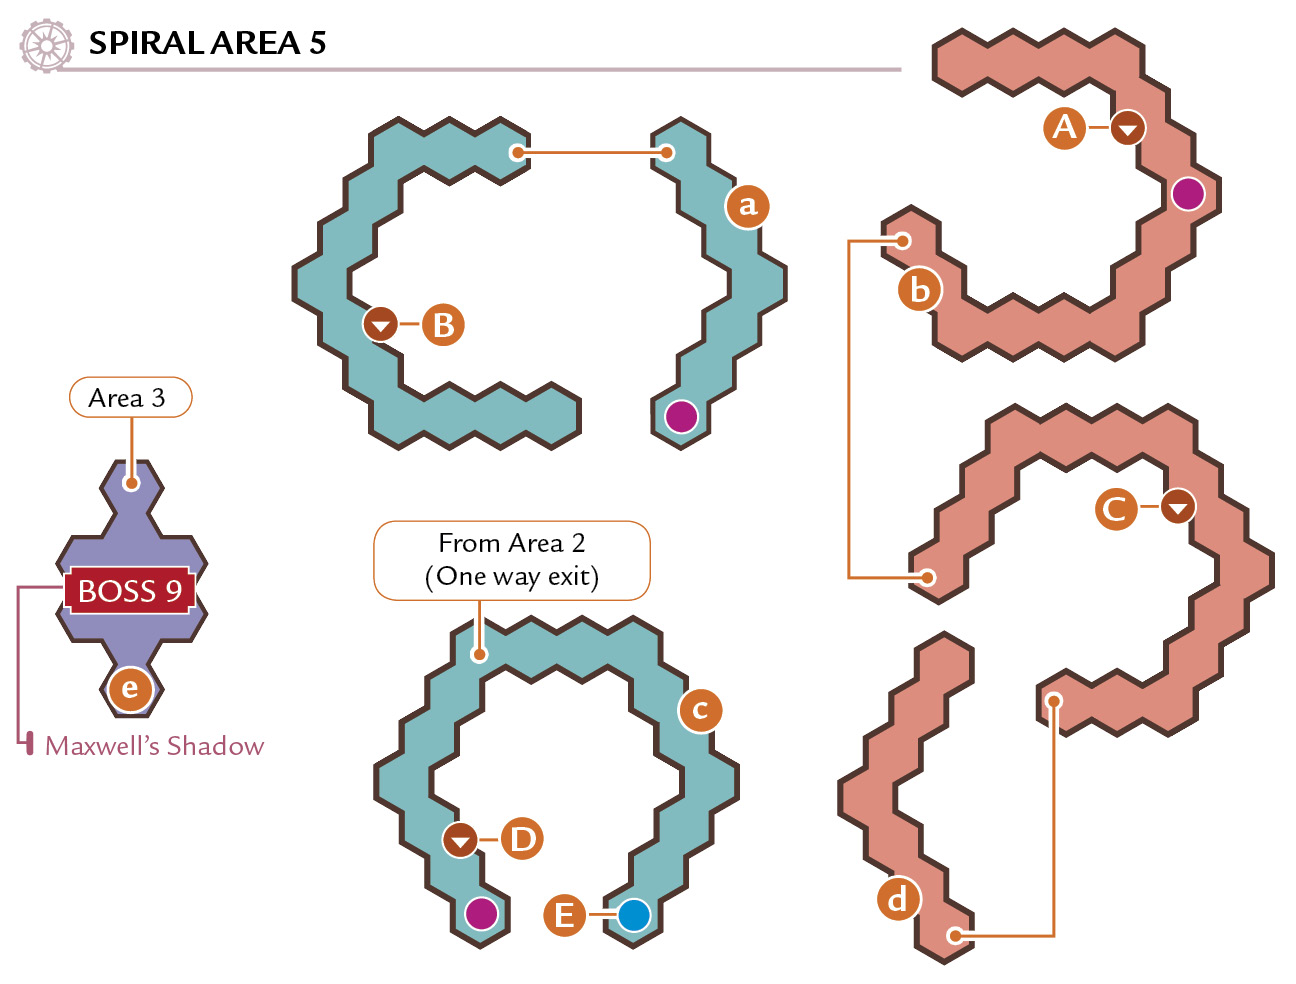
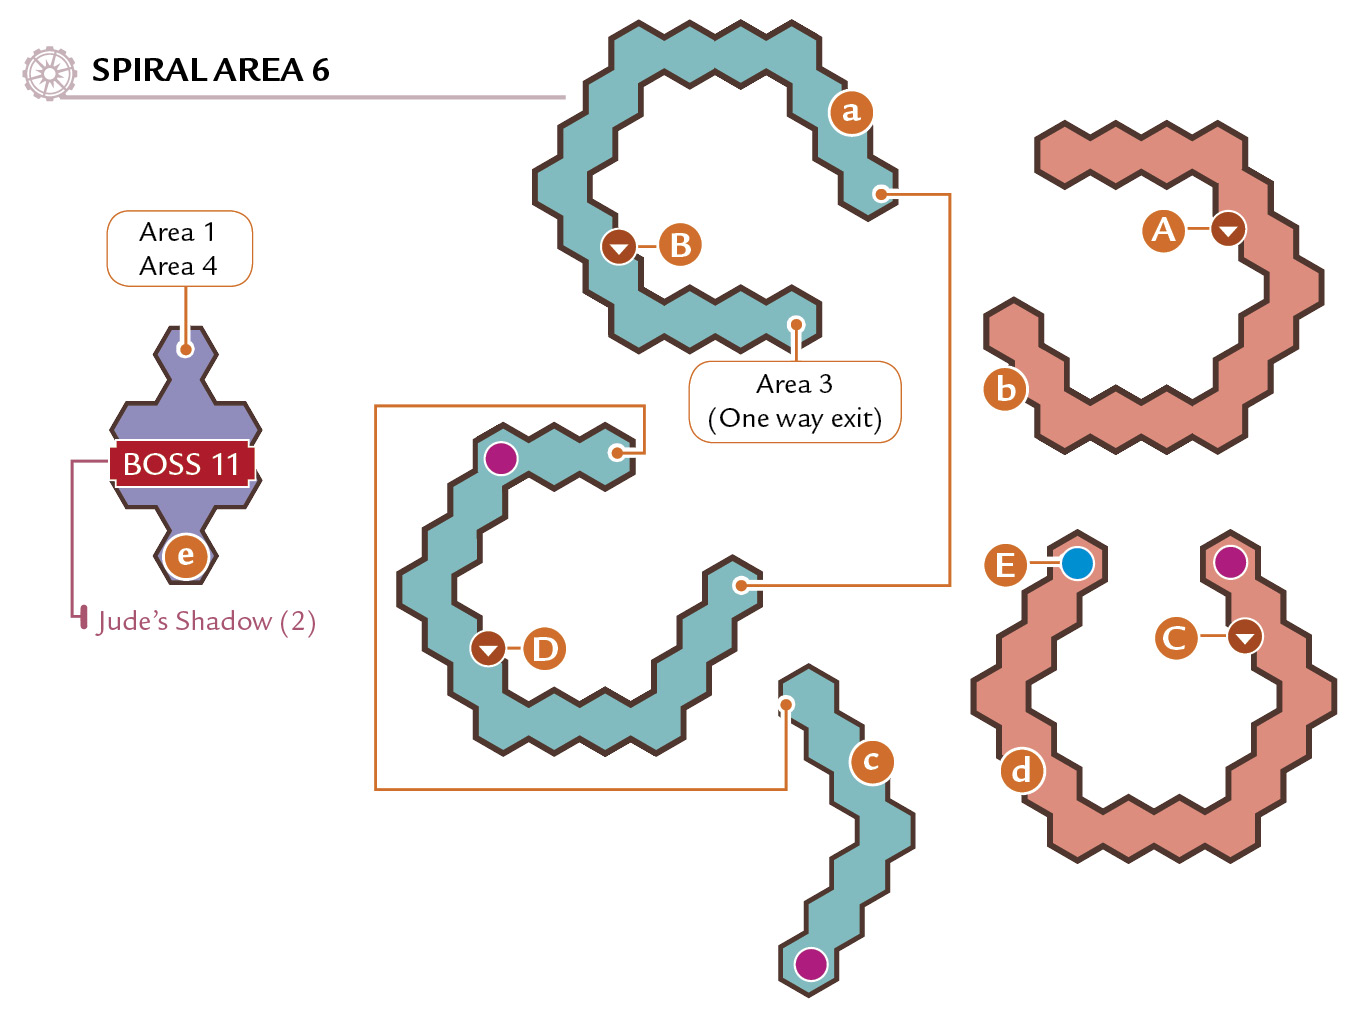
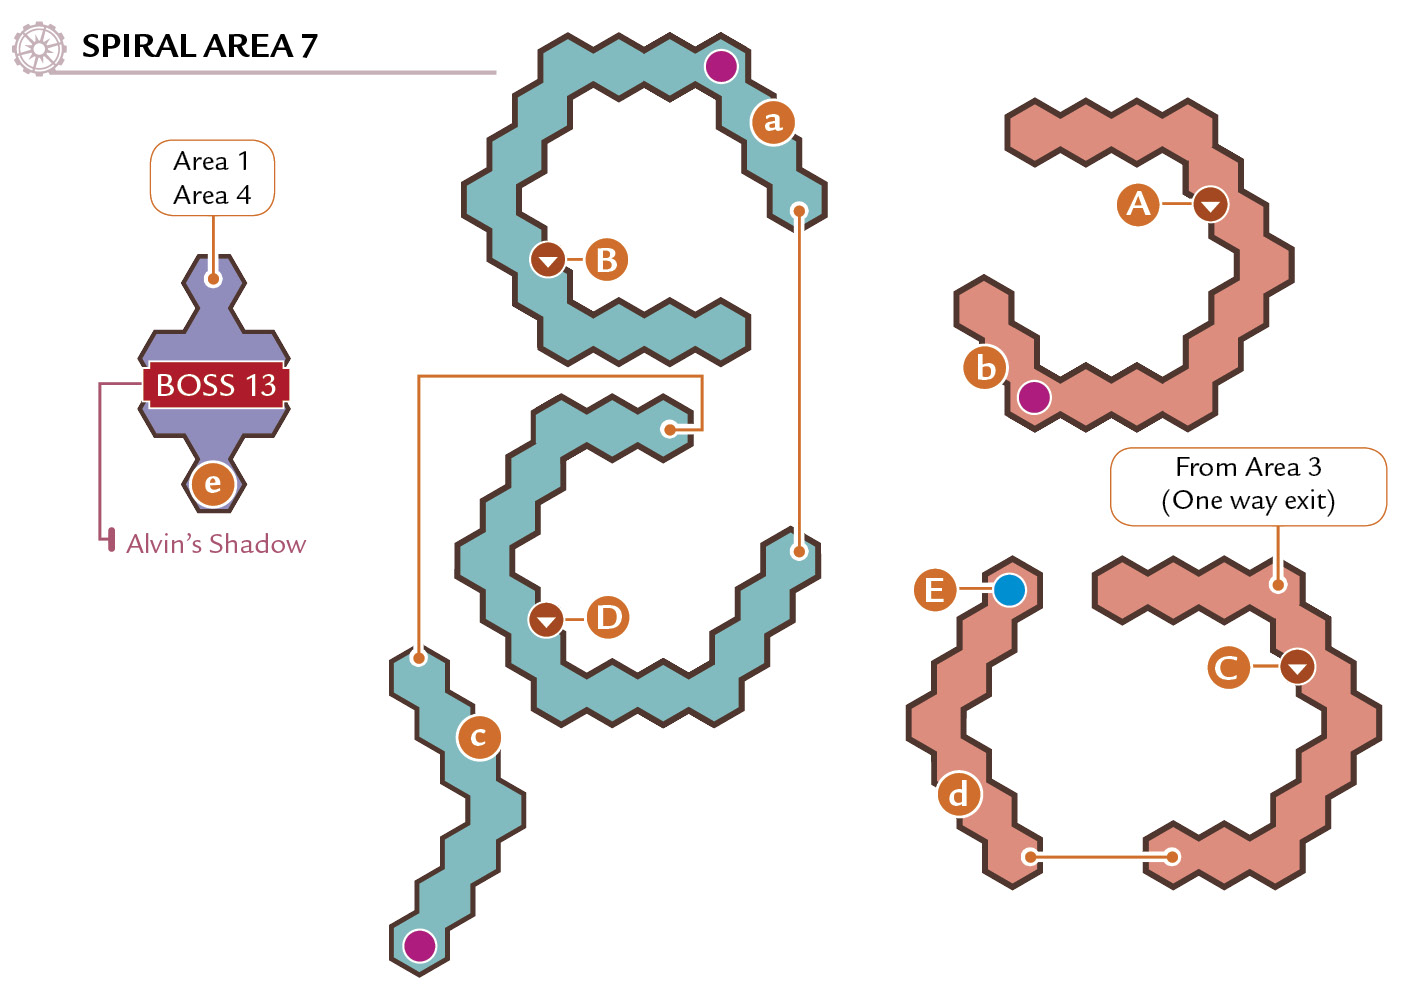
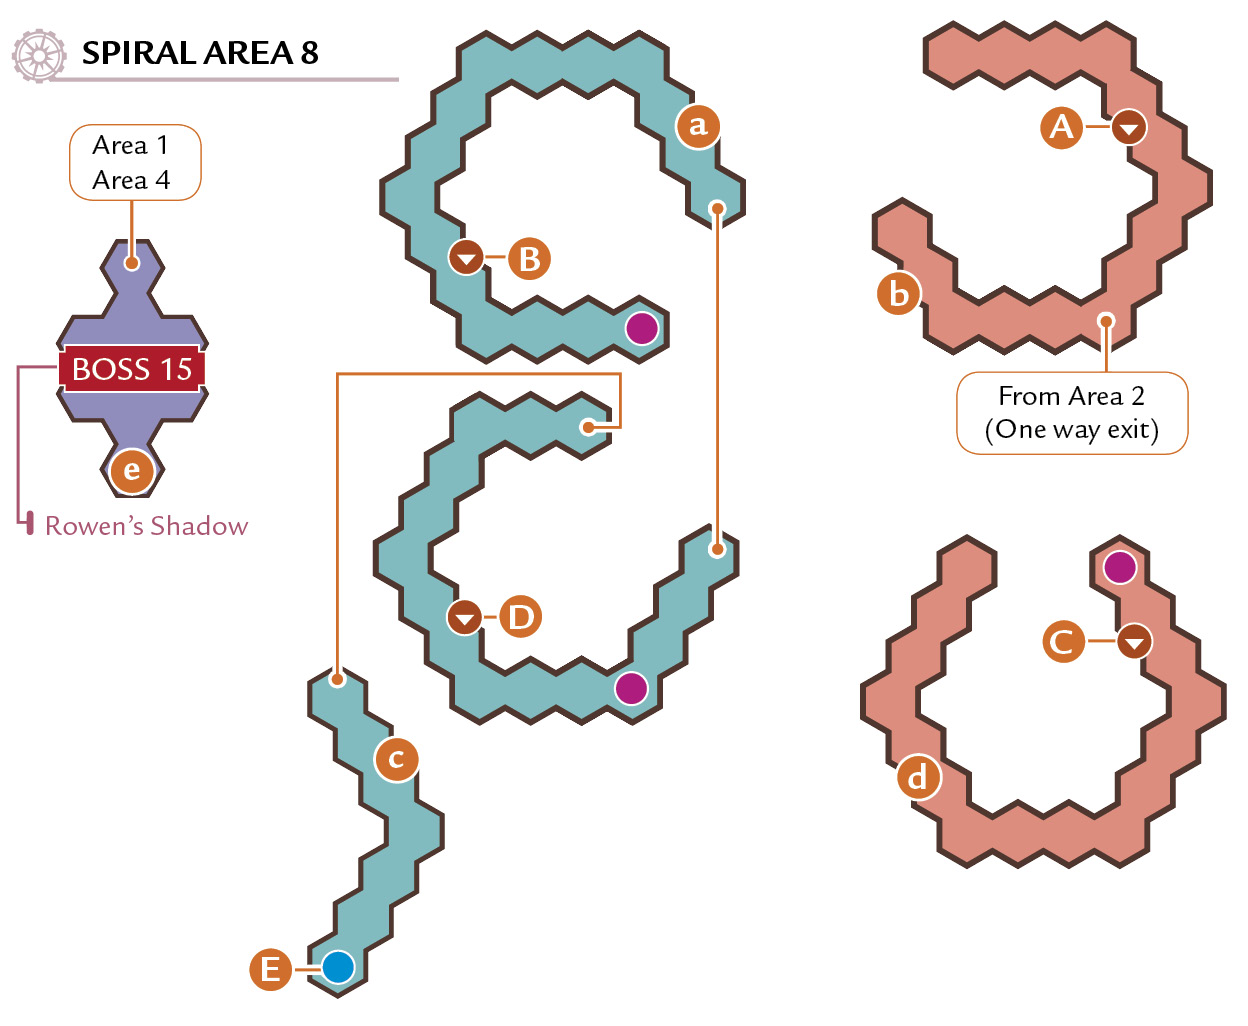
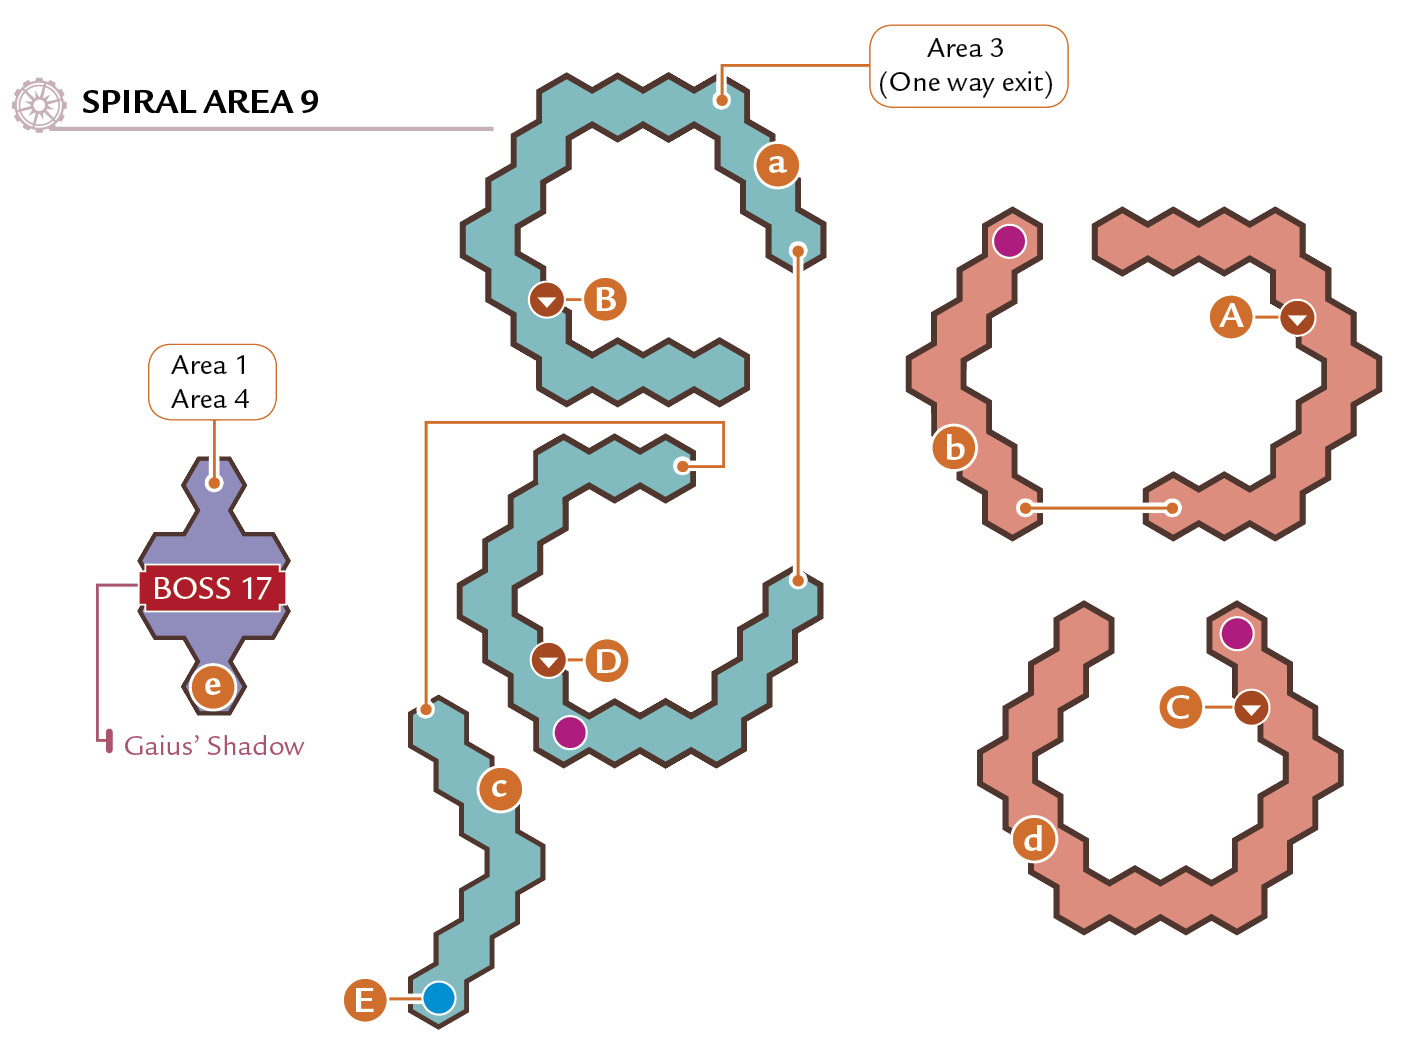
Bosses
Bosses Reached Via the Desert Area
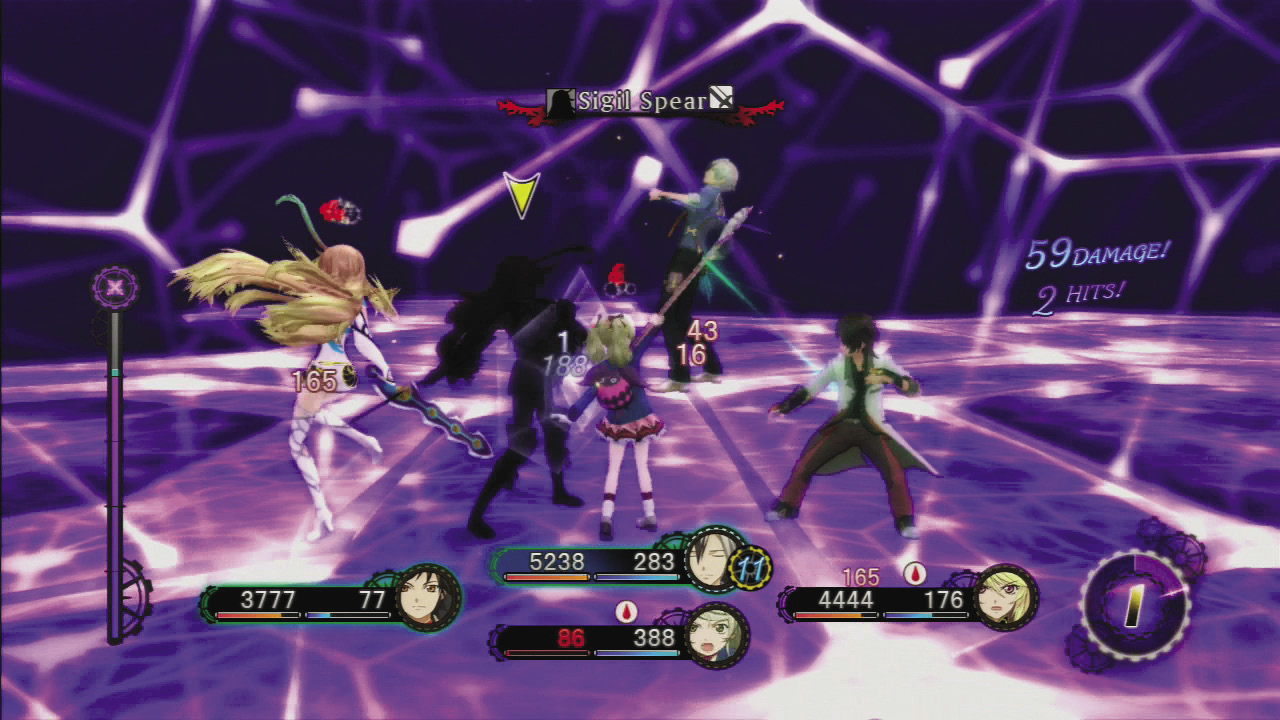
| Previous Area | Character Whose Door You Went Through | Boss | Next Area |
|---|---|---|---|
| Area 2 | Jude | Boss 2: Milla’s Shadow | Area 3 |
| Area 2 | Alvin | Boss 4: Presa’s Shadow | Area 3 |
| Area 2 | Rowen | Boss 6: Nachtigal’s Shadow | Area 3 |
| Area 2 | Gaius | Boss 8: Wingul’s Shadow | Area 3 |
| Area 3 | Ludger | Boss 10: Ludger’s Shadow | Area 1 or 4 |
| Area 3 | Milla | Boss 12: Milla’s Shadow (2) | Area 1 or 4 |
| Area 3 | Elize | Boss 14: Elize’s Shadow | Area 1 or 4 |
| Area 3 | Leia | Boss 16: Leia’s Shadow | Area 1 or 4 |
| Area 3 | Muzét | Boss 18: Muzét’s Shadow | Area 1 or 4 |
Boss 1: JULIUS’ SHADOW
| Level | 83–103 |
|---|---|
| Iron Stance | 50 |
| HP | 233376–284856 |
| Weak |
|
| Strong |    |

| Drop | Ancient Bell (100%) / Silver Dice (100%) |
|---|---|
| Steal | — |
Create an Opening with Ludger’s Dual Blades
Julius’ Shadow uses artes like Swift Strike and Time Disintegration while quick-stepping to the left and right. Julius’ Shadow Slashing-type artes like Time Disintegration can easily inflict Bleeding, so cure it immediately with an item. It’s hard to find an opening amid his quick attacks; instead, focus on blocking his attacks and retaliating with counterattacks. It’s also a good idea to equip Muddle Charms to head off the Confusion effect of his Falling Thunder and Moonlight Assault artes. When you launch your attacks, use Ludger’s quick dual blades to deal solid damage while staggering him by hitting his damage-type weakness. The boss’s Energy Shackles arte deals Fire- and Wind-type damage, and are able to pierce through their target to hit multiple foes.
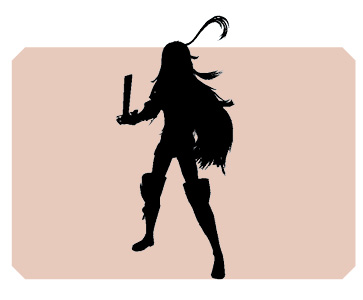
Boss 2: Milla’s Shadow
| Level | 85–105 |
|---|---|
| Iron Stance | 80 |
| HP | 331932–403572 |
| Weak |
|
| Strong |
|


| Drop | Ancient Bell (100%) / Silver Dice (100%) |
|---|---|
| Steal | — |
Prepare a Defense Against Milla’s Confusion-inflicting attacks
Milla’s Shadow will attack with artes that use a variety of damage types. Two of the most dangerous are the Confusion-inflicting Blade Torrent and Shimmer Spin. Losing an ally to the Confusion ailment would be devastating, so it’s important that each of your characters has an accessory to defend against this. To strike back against Milla’s Shadow, wait until she begins casting an arte, then start a combo with a quick arte like Jude’s Blunt Fang or Ludger’s Thousand Swords. Her Cyclone has a wide area of effect and deals heavy damage—it’s imperative you interrupt its casting.
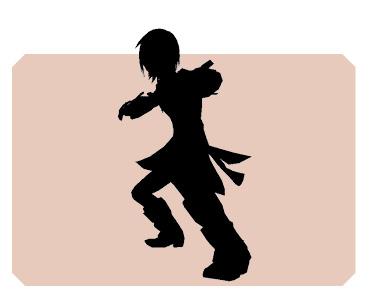
Boss 3: Jude’s Shadow
| Level | 85–105 |
|---|---|
| Iron Stance | 60 |
| HP | 336936–409656 |
| Weak |
|
| Strong |   |

| Drop | Ancient Bell (100%) / Silver Dice (100%) |
|---|---|
| Steal | — |
Create an Opening with Fire-Type Artes
Jude’s Shadow zips freely around the field, executing fast artes like Cyclonic Surge and Rising Falcon. He’ll rarely give you an opening to attack, so instead switch your playable character to someone he isn’t attacking and use them to strike at Jude’s Shadow from behind. Note that this version of Jude’s Shadow differs from the one in Spiral Area 6, in that it’s weak to Fire. Ludger can exploit this weakness quite effectively by equipping his sledgehammer and using artes like Flame Tunnel. During Over Limit, run away to avoid being hit by Jude’s Shadow’s Shattering Demon Fist arcane arte. Jude’s Shadow can use Rising Falcon in mid-air, so if you see him jump, guard immediately.
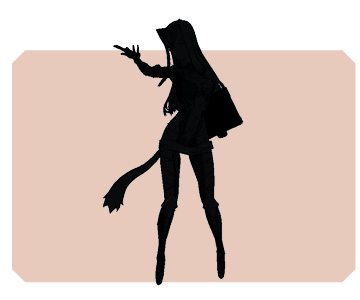
Boss 4: PRESA’S SHADOW
| Level | 85–105 |
|---|---|
| Iron Stance | 100 |
| HP | 391980–476580 |
| Weak |
|
| Strong |
|


| Drop | Ancient Bell (100%) / Silver Dice (100%) |
|---|---|
| Steal | — |
Stay Out of Range of Her Deadliest Artes
Presa’s Shadow uses physical attacks and Water-type artes. Two of her favorite artes are Dragonmare Claw and Foxtail Allure, both of which hit only a narrow area directly in front of her. Make a habit of using free run to circle to safety behind her, and exploit her weakness by attacking with Fire-type artes. If you do find yourself standing in front of her, quickly back-stepping away should allow you to dodge her attacks.
Boss 5: Jiao’s Shadow

| Level | 85–105 |
|---|---|
| Iron Stance | 300 |
| HP | 423672–515112 |
| Weak |
|
| Strong |
|


| Drop | Ancient Bell (100%) / Silver Dice (100%) |
|---|---|
| Steal | — |
Guard, Observe, and—If Safe—Counter
Jiao’s Shadow primarily relies on three artes: Lone Wolf Charge, Devil’s Maw, and Gilded Fist. All three are powerful, so you’ll want to guard them, wait a moment to see if he has a follow-up attack, and if not, counterattack. Activating the Power Charge 2 and 3 skills will make it easy to score weakness-exploiting combos. Just make sure to keep everyone’s HP at or near max at all times, so you can survive his counterattack if you fail to land a blow. When you see Jiao’s Shadow swing his hammer for the Devil’s Maw arte, you’ll still have time to guard the strike.
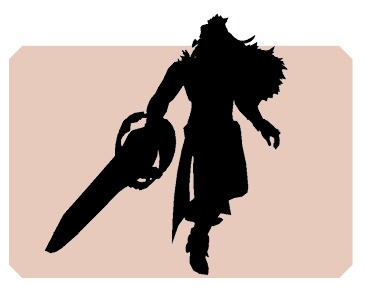
Boss 6: Nachtigal’s Shadow
| Level | 85–105 |
|---|---|
| Iron Stance | 300 |
| HP | 406992–494832 |
| Weak |
|
| Strong |   |

| Drop | Ancient Bell (100%) / Silver Dice (100%) |
|---|---|
| Steal | — |
Exploit Nachtigal’s Post-Attack Openings
Nachtigal’s Shadow uses his giant lance to perform artes like Terra Pike and Massacre Arc. These attacks are so powerful that a direct hit will almost certainly be fatal, but their power is tempered by a long window of post-attack vulnerability. Nachtigal’s Shadow rarely performs multiple attacks in a row, so after blocking one of these powerful artes it’s usually safe to retaliate. Note, however, that Massacre Arc cannot be blocked, so you’ll need to evade it with a back-step. When you do attack, use Water-type artes like Ludger’s Arc Fire to exploit Nachtigal’s Shadow’s weakness. When Nachtigal’s Shadow props his lance on the ground after performing an arte, that’s a sign he’s defenseless. Nachtigal’s Shadow’s Grave Worm arte hits only a narrow area in front of him, so circle around to the sides.
Boss 7: Agria’s Shadow
| Level | 85–105 |
|---|---|
| Iron Stance | 100 |
| HP | 417000–507000 |
| Weak |   |
| Strong |
|

| Drop | Ancient Bell (100%) / Silver Dice (100%) |
|---|---|
| Steal | — |
Retaliate After Agria Casts Blazing Ring
Agria’s Shadow primarily casts Fire-type artes like Flame Drill and Sunburst, so using accessories and skills to raise your Fire resistance will make this battle a snap. Also, Agria’s Shadow frequently casts the Blazing Ring arte, despite it being weaker than most of her other artes. You won’t take much damage if it hits you, so you can charge right in without concern for the flames. Once you’re up close and personal, use a series of Water-type artes and linked artes to bring her down. Blazing Ring doesn’t have a very wide range, so responding with ranged attacks is another viable strategy. Agria’s Shadow’s Pyro Helix arcane arte has a wider area of effect than Blazing Ring and deals more damage.
Boss 8: Wingul’s Shadow
| Level | 85–105 |
|---|---|
| Iron Stance | 50 |
| HP | 435348–529308 |
| Weak | — |
| Strong |
|

| Drop | Ancient Bell (100%) / Silver Dice (100%) |
|---|---|
| Steal | — |
Strike During the Casting of Flame Ring
Wingul’s Shadow uses artes like Demon Fang, Gale Fang, and Rising Phoenix as he evades your attacks with his nimble movements. None of those attacks offer a good opening for a counterattack, so bide your time as you focus on guarding. Your opportunity to strike will come when Wingul’s Shadow stops moving to cast an arte. Flame Ring provides the best opportunity to move in for an attack, as its power level is low and you won’t take much damage if you end up getting hit. Using accessories like Garnets to raise your fire resistance will make it even safer. If you fail to cancel Wingul’s Shadow’s casting process in your first few attacks, switch to Magic Guard to prepare yourself for the arte.
Boss 9: Maxwell’s Shadow

| Level | 85–105 |
|---|---|
| Iron Stance | 300 |
| HP | 418668–509028 |
| Weak | — |
| Strong | — |
| Drop | Ancient Bell (100%) / Silver Dice (100%) |
|---|---|
| Steal | — |
Continuously Assess Maxwell’s Elemental Properties
Maxwell’s Shadow frequently uses Element Change to shift his damage-type weaknesses and resistances, as well as the artes he’s capable of casting. For example, when he uses Element Change: Fire, it means he becomes resistant to fire and weak to water, and begins using Fire-type artes like Flame Vanguard. It’s important that you regularly use the R1 Button to check his current resistances and weaknesses, and change your accessories and weapons accordingly. Hold your ground and guard to lessen the damage from artes like Flame Vanguard. Maxwell’s Shadow also has a variety of Dark-type artes he can use no matter what his current element is.
Boss 10: Ludger’s Shadow
| Level | 115–135 |
|---|---|
| Iron Stance | 80 |
| HP | 772800–898800 |
| Weak | — |
| Strong | — |
| Drop | Ancient Bell (100%) / Gold Dice (50%) |
|---|---|
| Steal | — |
Use Ailments to Get Around Ludger’s Defenses
Ludger’s Shadow has the Impregnable Guard and Melee Gamble skills active, and guards religiously throughout this battle. To break his guard, have your party members cast Fire- and Dark-type artes from long range in hopes of inflicting ailments. Ludger’s Shadow will take heavy damage from either Poison or Burn—potentially up to 40% of his max HP if you can hit him with both! Repeatedly inflicting these ailments is a relatively easy way to end this battle. If Milla or Muzét are in your party, set a shortcut for Sunburst so you can have them cast it repeatedly. Elize should focus primarily on healing, but have her cast Dark-type artes when the party is out of danger.
Boss 11: Jude’s Shadow (2)
| Level | 115–135 |
|---|---|
| Iron Stance | 60 |
| HP | 669024–778104 |
| Weak | — |
| Strong |   |
| Drop | Skill Tome: “Instant Landing” JD (100%) / Gold Dice (50%) |
|---|---|
| Steal | — |
Retaliate After Guarding Against Jude’s Combos
This version of Jude’s Shadow uses front- and back-steps to get in close and strike with quick combo attacks, making it difficult to avoid his artes by using free run. Activate the skills Impregnable Guard and Power Charge 3, and aim to retaliate with powerful weakness-exploiting combos after weathering his flurry of attacks. The best times to launch your counterattacks are when Jude’s Shadow lands after using Rampaging Dragon, or uses a back-step to withdraw. Jude’s Shadow’s Aqua Sweep can hit multiple characters when they’re clustered together. Change your Strategy settings to keep the party far apart. Jude’s Shadow generally tries to start his combos with Beast, so make sure you’re ready to guard that first attack!
Boss 12: Milla’s Shadow (2)
| Level | 115–135 |
|---|---|
| Iron Stance | 80 |
| HP | 633696–737016 |
| Weak | — |
| Strong |
|

| Drop | Ancient Bell (100%) / Gold Dice (50%) |
|---|---|
| Steal | — |
Protect Yourself from All of Milla’s Artes with All Guard
Since Milla’s Shadow uses an even mix of physical and spirit artes, activate the All Guard skill to allow Ludger to block both with a single action. Milla’s Shadow is especially fond of the Overdrive arte, which can juggle characters who are guarding, making the second hit unguardable. If she’s in Over Limit, she’ll chain the attack into her mystic arte. The only way to evade it at this point is to have Ludger transform. However, you can evade Overdrive with a side- or back-step. Against her spirit artes, aim to launch counterattacks after successfully guarding with Magic Guard.
Boss 13: Alvin’s Shadow
| Level | 115–135 |
|---|---|
| Iron Stance | 60 |
| HP | 756240–879540 |
| Weak | — |
| Strong |
|

| Drop | Ancient Bell (100%) / Gold Dice (50%) |
|---|---|
| Steal | — |
Strike During the Openings Between Attacks
Alvin’s Shadow is as powerful a physical attacker as you might expect, but he suffers from long windows of vulnerability between attacks. The biggest opening to retaliate comes when Alvin’s Shadow lands after jumping up to use Homing Shot. Equip Impregnable Guard and Power Charge 3 so you can guard everything Alvin’s Shadow throws at you, then retaliate with a weakness-exploiting combo when you see an opening. Note that Alvin’s Shadow will try to heal with Guardian Field when his HP gets low, so you’ll want to head that off by doing the last big chunk of damage with one long combo or a mystic arte.
Boss 14: Elize’s Shadow
| Level | 115–135 |
|---|---|
| Iron Stance | 60 |
| HP | 577392–671532 |
| Weak | — |
| Strong |
|

| Drop | Ancient Bell (100%) / Gold Dice (50%) |
|---|---|
| Steal | — |
Absorb Dark-Type Damage with a Blue Cape
All of the artes cast by Elize’s Shadow are Dark-type, so custom order as many as Blue Capes as you can, as everyone who wears them will be able to absorb the damage from her spirit artes. Not only does that reverse the efficacy of her artes, but it allows you to launch combos freely even as Elize’s Shadow is casting them. The only catch is that the Blue Cape won’t protect you from the instant-death effect of Dark Visitor, so you’ll want to have your own Elize cast Revive to give everyone in the party the power to automatically revive once. Linking with Muzét to evade the attack with Support Warp is another option. At close range, Elize’s Shadow makes heavy use of Teepo Roar, so evade it with back-steps.
Boss 15: Rowen’s Shadow
| Level | 115–135 |
|---|---|
| Iron Stance | 60 |
| HP | 614928–715188 |
| Weak | — |
| Strong |   |
| Drop | Ancient Bell (100%) / Gold Dice (50%) |
|---|---|
| Steal | — |
Defend Yourself from Spirit Artes with Magic Guard
The Magic Guard skill is a must-activate when battling Rowen’s Shadow. That will limit the damage from his Water-type artes, but you’ll still want a Tech Charm to prevent the Skillseal ailment that goes hand-in-hand with Water-type artes. When Rowen’s Shadow begins to cast an arte, use Magic Guard to protect yourself, and then counterattack. If you activate the Spell Gamble skill, you’ll take only 1 point of damage from artes blocked with Magic Guard. Afterwards, when Rowen’s Shadow begins casting again, resume guarding. During Over Limit, Rowen’s Shadow will attempt to chain a Tidal Wave into his mystic arte; transform to protect yourself. The effects of Tidal Wave span the whole battlefield. Make sure to guard.
Boss 16: Leia’s Shadow
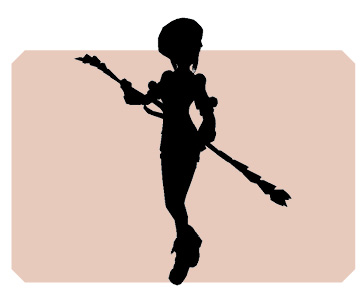
| Level | 115–135 |
|---|---|
| Iron Stance | 60 |
| HP | 510048–593208 |
| Weak | — |
| Strong |   |
| Drop | Ancient Bell (100%) / Gold Dice (50%) |
|---|---|
| Steal | — |
Launch Combos While Leia’s Shadow Casts Spirit Artes
Activate the Impregnable Guard and Power Charge 3 skills and prepare to guard when Leia’s Shadow gets close. When you get a break between attacks, retaliate with a weakness-exploiting combo. Since Leia’s Shadow has no offensive spirit artes, there’s no risk in attacking while she’s casting an arte. The biggest danger in this fight is of Leia’s Shadow ensnaring a whole group of characters at once by using an arte like Crescent Flash. To avoid this, order much of your party to spread out and fight from afar. Make certain to guard against Soaring Blast, and prepare a counterattack for the moment she lands.
Boss 17: GAIUS’ SHADOW
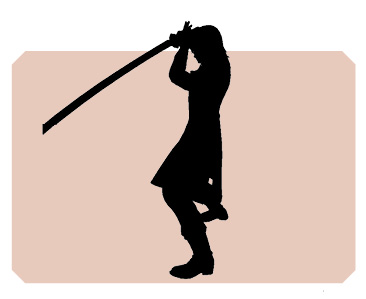
| Level | 115–135 |
|---|---|
| Iron Stance | 80 |
| HP | 911904–1060584 |
| Weak | — |
| Strong |   |
| Drop | Skill Tome: “The Undefeated” GS (100%) / Gold Dice (50%) |
|---|---|
| Steal | — |
Prepare Your Confusion Countermeasures Early
Gaius’ Shadow has lots of HP, so brace for a lengthy battle. Activate the Impregnable Guard and Melee Gamble skills, and focus on guarding Gaius’ Shadow’s attacks. After he lifts his sword above his head and unleashes his Divine Ascension arte, seize the brief window of opportunity to begin your counterattack. A red light emits from Gaius’ Shadow’s sword when he uses Divine Ascension. Circling behind him can also be an effective strategy. Another concern is Light-type artes like Light of Ruin, which can Confuse their targets. Using a Syrup Bottle is a good way to prevent Confusion effects. It takes a little time before the light blades generated by the Light of Ruin art to appear so don’t relax your guard!
Boss 18: Muzét’s Shadow
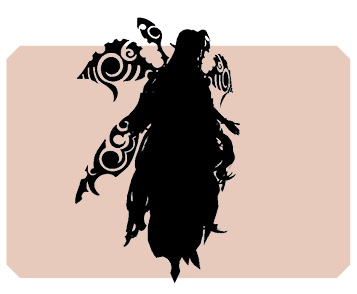
| Level | 115–135 |
|---|---|
| Iron Stance | 60 |
| HP | 696624–810204 |
| Weak | — |
| Strong |
|

| Drop | Ancient Bell (100%) / Gold Dice (50%) |
|---|---|
| Steal | — |
Turn Muzét’s Support Warp Against Her Shadow
It can be difficult to land a blow against Muzét’s Shadow, thanks to her ability to abruptly warp away. To counterattack this, link with your Muzét and use her Support Warp ability. When Muzét’s Shadow warps, you’ll be able to close the distance with a single front-step and resume your offense. Also, when Muzét’s Shadow casts an arte, use a quick-step immediately after the arte triggers to avoid the arte while moving into attack range. Using Muzét’s Support Warp makes it much easier to dodge the artes of her Shadow. Note that Sunburst’s wide area of effect makes it particularly dangerous, so defend yourself with Magic Guard.
Boss 19: Shadow of Cress
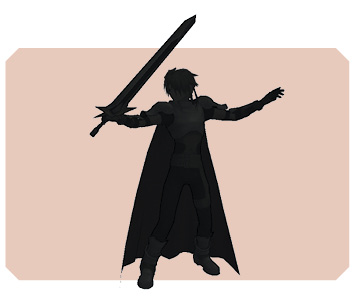
| Level | 120–140 |
|---|---|
| Iron Stance | 60 |
| HP | 352743–408003 |
| Weak |
|
| Strong |
|


| Drop | Ancient Bell (100%) / Ancient Bell (100%) |
|---|---|
| Steal | — |
Boss 19: Shadow of Stahn
| Level | 120–140 |
|---|---|
| Iron Stance | 60 |
| HP | 359637–415977 |
| Weak |
|
| Strong |
|


| Drop | Ancient Bell (100%) / Ancient Bell (100%) |
|---|---|
| Steal | — |
Use an All-Divide to Clinch Victory
Both Stahn and Cress are aggressive attackers who are able to use linked artes during Over Limit, making this a particularly grueling fight. When either of your foes enters Over Limit, immediately transform and use your mystic arte to end their Over Limit state. It’s worth using an All-Divide—which halves damage dealt to friend and foe alike—to lower the damage to survivable levels. It’s also not a bad idea to load up your inventory with the maximum 15 Reverse Dolls to equip Elize with and have her focus solely on healing. It’s also a good idea to activate the HP Surge and HP Surge 2 skills for all of your party members so that they can be revived from KO’s at full HP. Your priority target in this battle is Cress’s Shadow, as his Distortion Blade attack is particularly dangerous. Use Ludger’s Light-type Moonlight Assault as an opening for combo attacks against him. Most of the artes used by Stahn’s Shadow are Fire-type, so try to lessen their damage with skills and accessories that offer resistance to Fire.