
Tales of Xillia 2 Guide 3 Walkthrough Walkthrough
CHAPTER 14: The Mission Complete 2
Dungeon
Underground Training Grounds (2)
|
Required Teammates |
|
|
Inn Price |
— |
|
Elemental ore |
— |
|
Enemies Level |
63–67 |
|
Cats |
Boris |
 Ludger
  Jude or
  Milla
Milla 
 Muzét
Muzét
Enemies
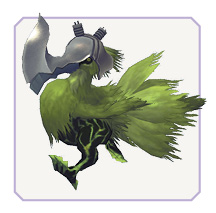
Spirius Axe Beak
|
Type |
|
| HP | 6741 |
|---|---|
| Weak | — |
| Strong | — |

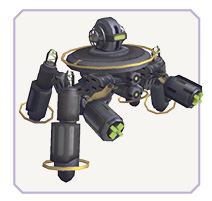
Spirius Meniphto
|
Type |
|
| HP | 6741 |
|---|---|
| Weak |
|
| Strong |
|


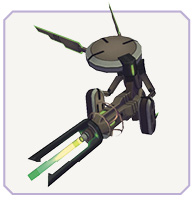
Spirius Gunner
|
Type |
|
| HP | 5914 |
|---|---|
| Weak |
|
| Strong |
|


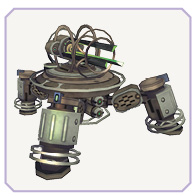
Spyrix Sentry 1.0+
|
Type |
|
| HP | 12720 |
|---|---|
| Weak |
|
| Strong | — |


Escape Through the Underground Training Grounds
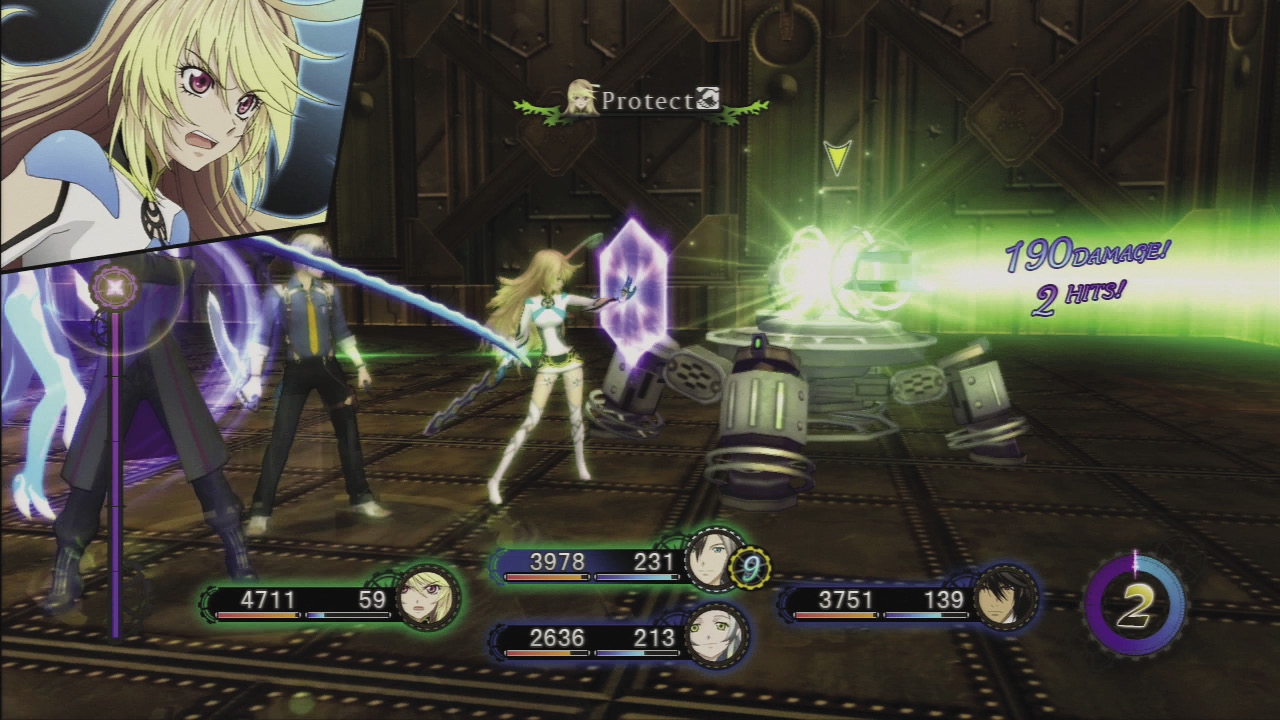
 As soon as you step foot into the Underground Training Grounds, a forced battle occurs with several mechanized foes. These are the same enemies you will encounter in the rest of the training grounds. The “big guns” down here are the Spyrix Sentry 1.0+ which have a lot of HP and a huge turret. Not only will this foe fire a huge green laser, but the turret will spin around, covering the battlefield. Block the large beam and make sure to link up with a partner using the Act Together option. The goal is to pummel the robotic machines and interrupt them before they have a chance to fire their guns.
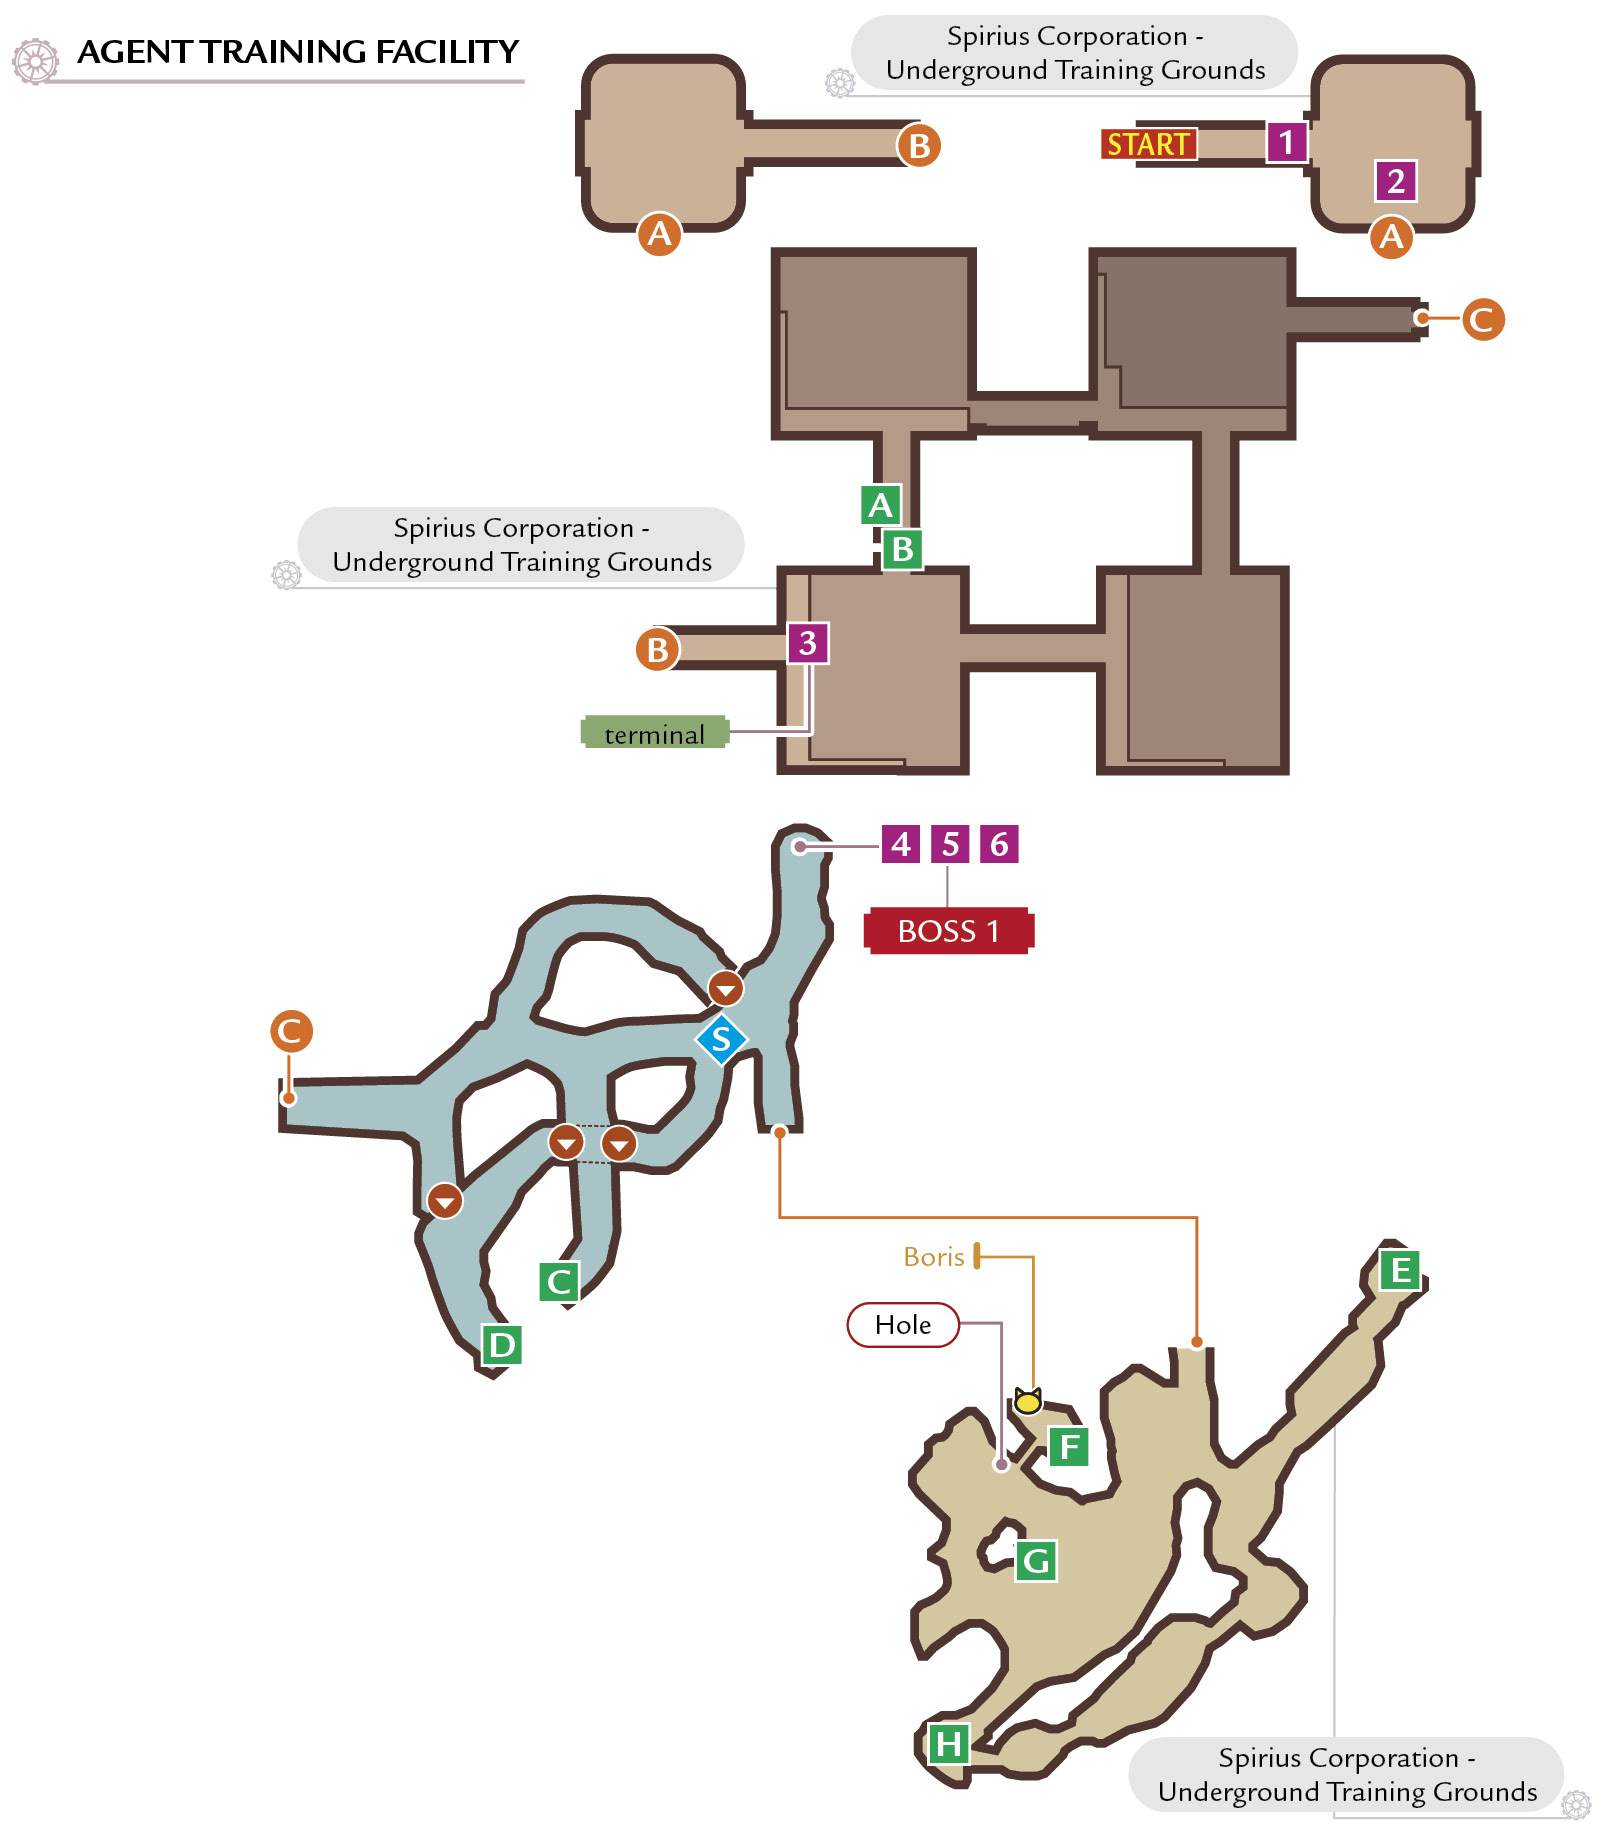
 This area should be familiar from when you received training from Bisley. Just like before, use the terminal to activate the room lift.
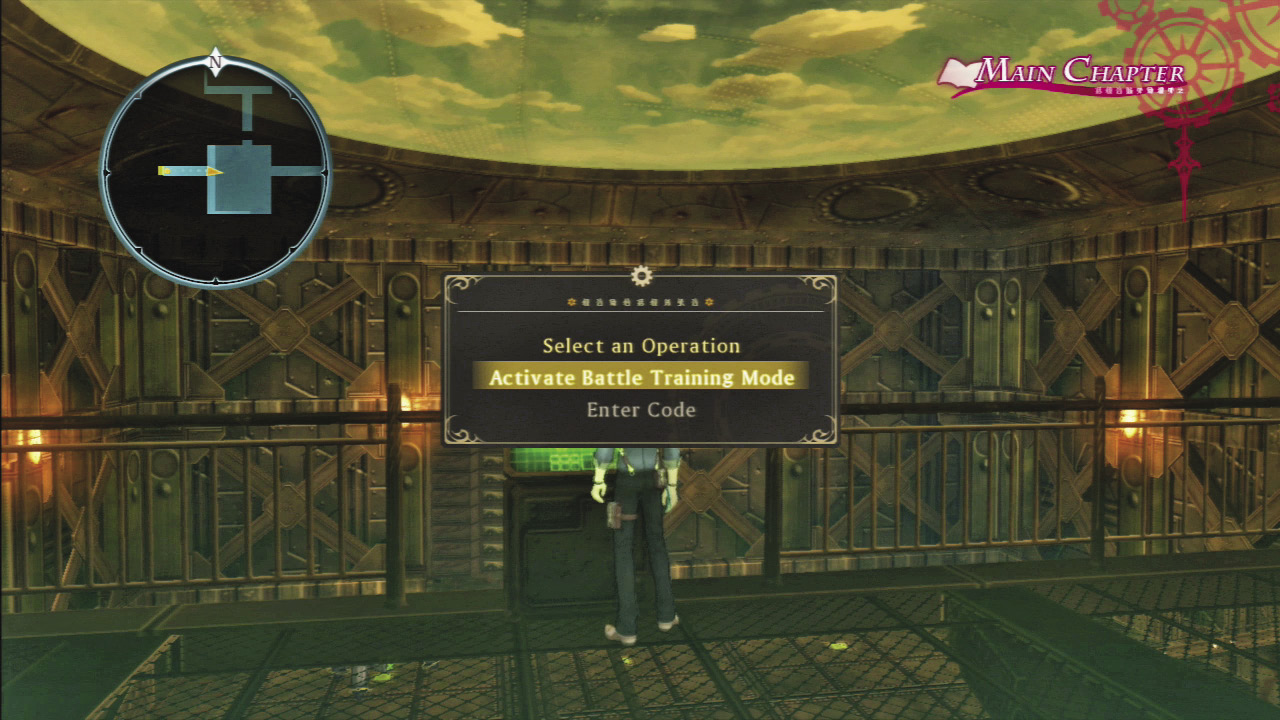
 The place is shut down and you can’t go anywhere unless you use the terminal at the top of the stairs. The obvious choice is Active Battle Training Mode, which will populate the four rooms with enemies that must be destroyed to unlock each subsequent section. However, if you checked in the DODA room and have the emergency code, you can use the Enter Code option to input the numbers that will make the machines self destruct. Not only do you not have to battle tons of robots, but you can still pick up the items they left behind when they are destroyed!
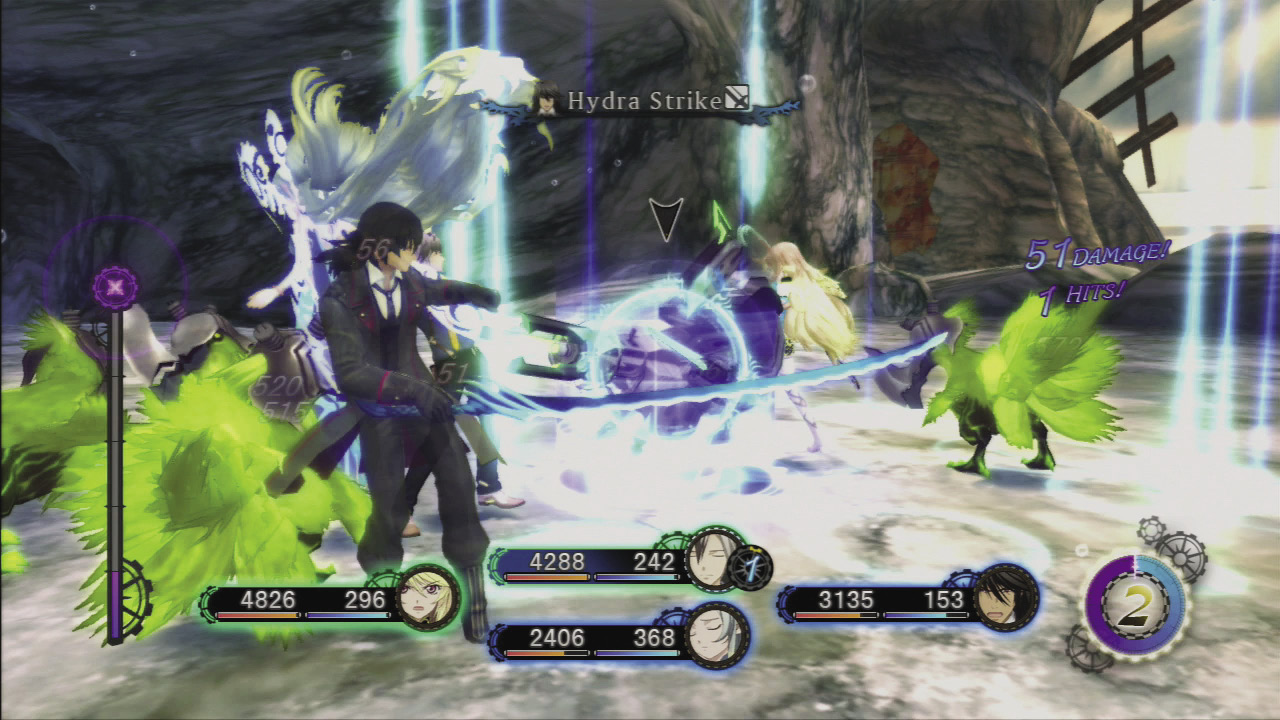
Fight your way from room to room (or just use the code) and when all the doors are unlocked, you can enter the caverns of the Underground Training Grounds. Ludger has come full circle, returning to the spot where this long journey began. The familiar Spirius Axe Beaks join the robot foes in this section and unfortunately the big green birds have no weaknesses.
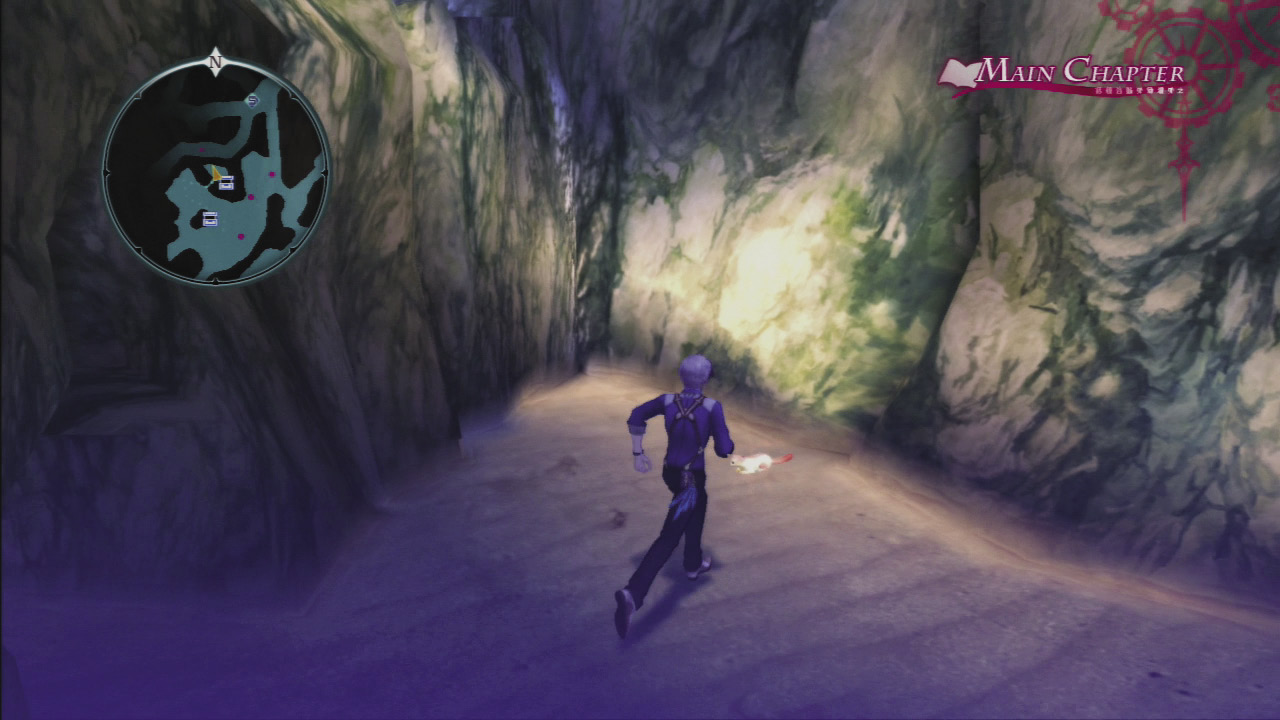
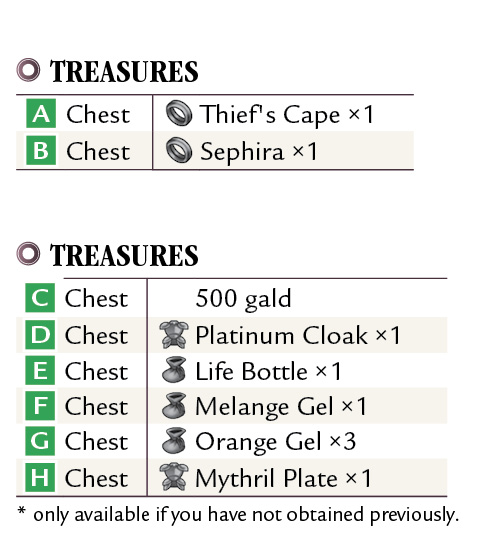
It is tempting to make a quick escape to the northeast, but there are several great treasures to plunder (if you didn’t collect them before). Also, go to the lower sandy area and look for a small cave where you can find Boris with its valuable Item Quest collar.
 The escape plan was great, but Rideaux and Ivar prevent your final departure.
|
Bonus Scene: Muzét (completed Muzét Episode 1) |
Maybe I’ll kill him.
|
Boss Rideaux
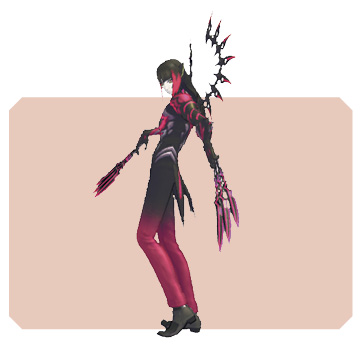
| Level | 64–68 |
|---|---|
| Iron Stance | 100 |
| HP | 207690–219282 |
| Weak |
|
| Strong |
|


| Drop | Vitality Ring (100%)/Skill Tome: “Beyond Linking” LU (100%) |
|---|---|
| Steal | — |
Boss Ivar

| Level | 63–67 |
|---|---|
| Iron Stance | 0 |
| HP | 84588–89376 |
| Weak |
|
| Strong |
|


| Drop | Win Stick (100%)/Psychic Ring (100%) |
|---|---|
| Steal | — |
Engage your Foes in Order of Their HP
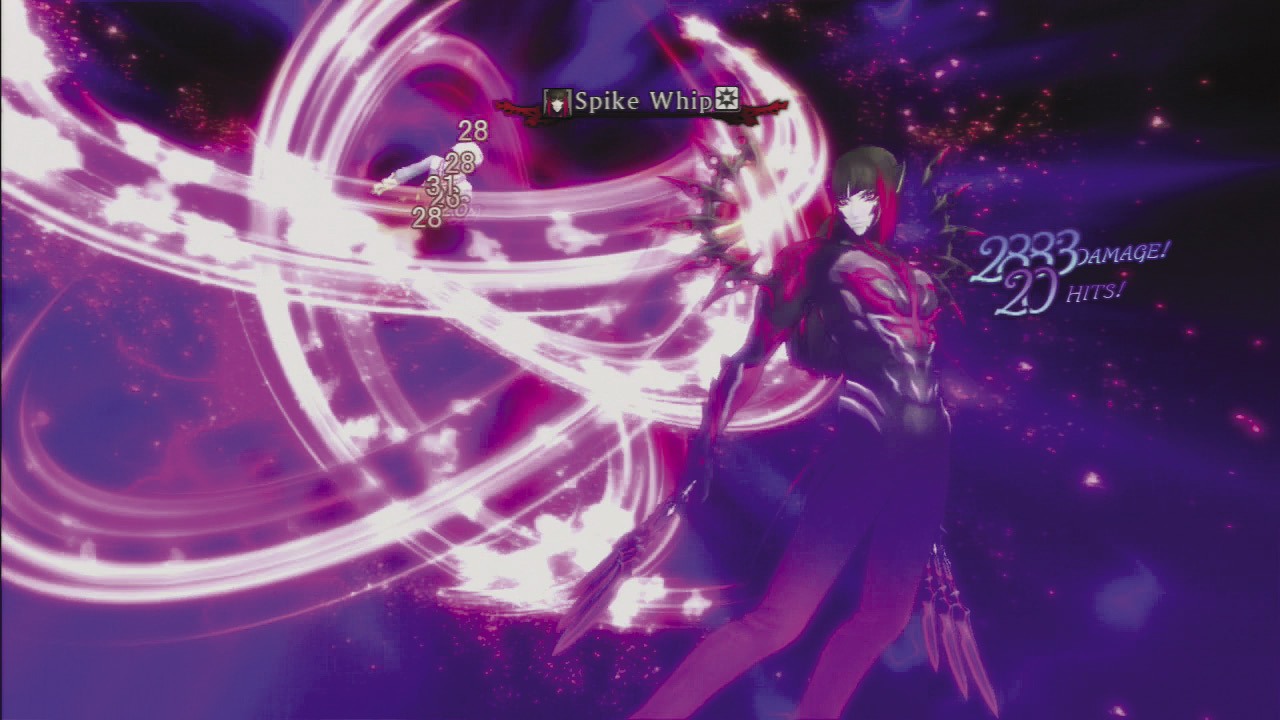
Spike Whip is a mystic arte that can be launched off of Infusion during the boss’s Over Limit. When your enemy is in Over Limit, use free run to flee.
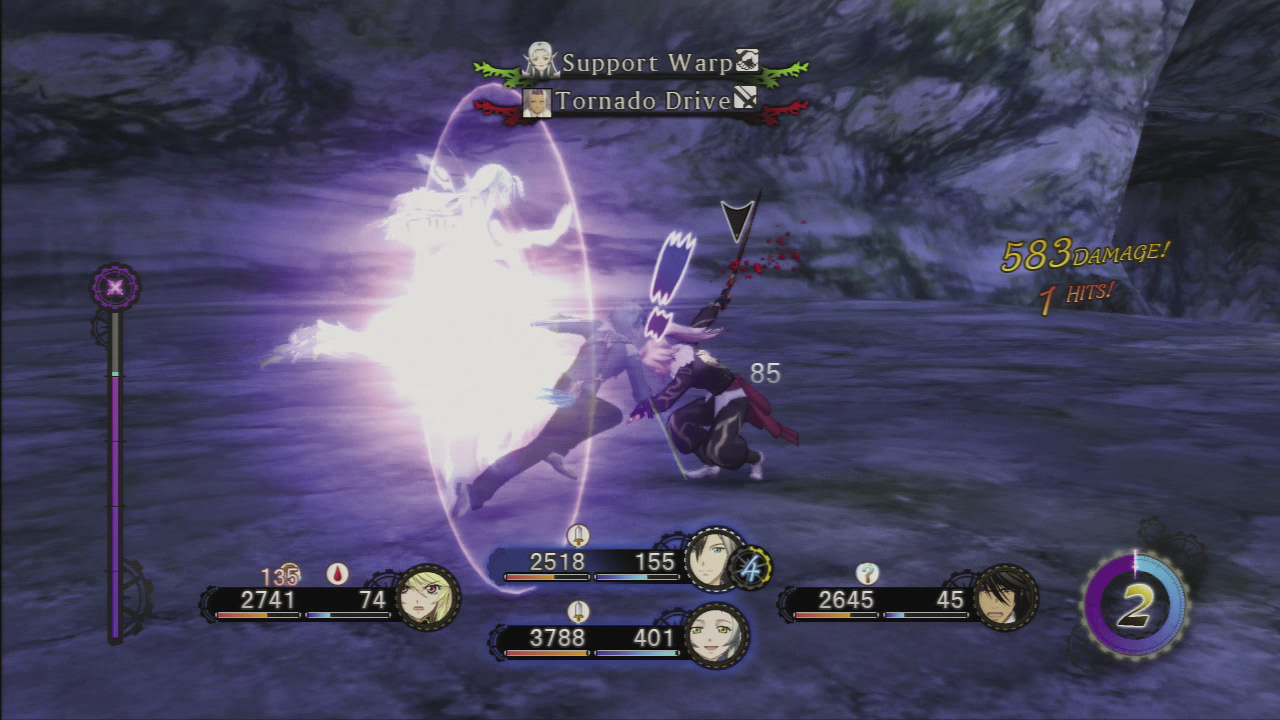
The Phantom Edge attack can’t be blocked, and if you’re hit, Ivar will be able to get behind you for follow-up attacks. Link with Muzét and use her Support Warp ability to evade this and other artes like Tornado Drive.
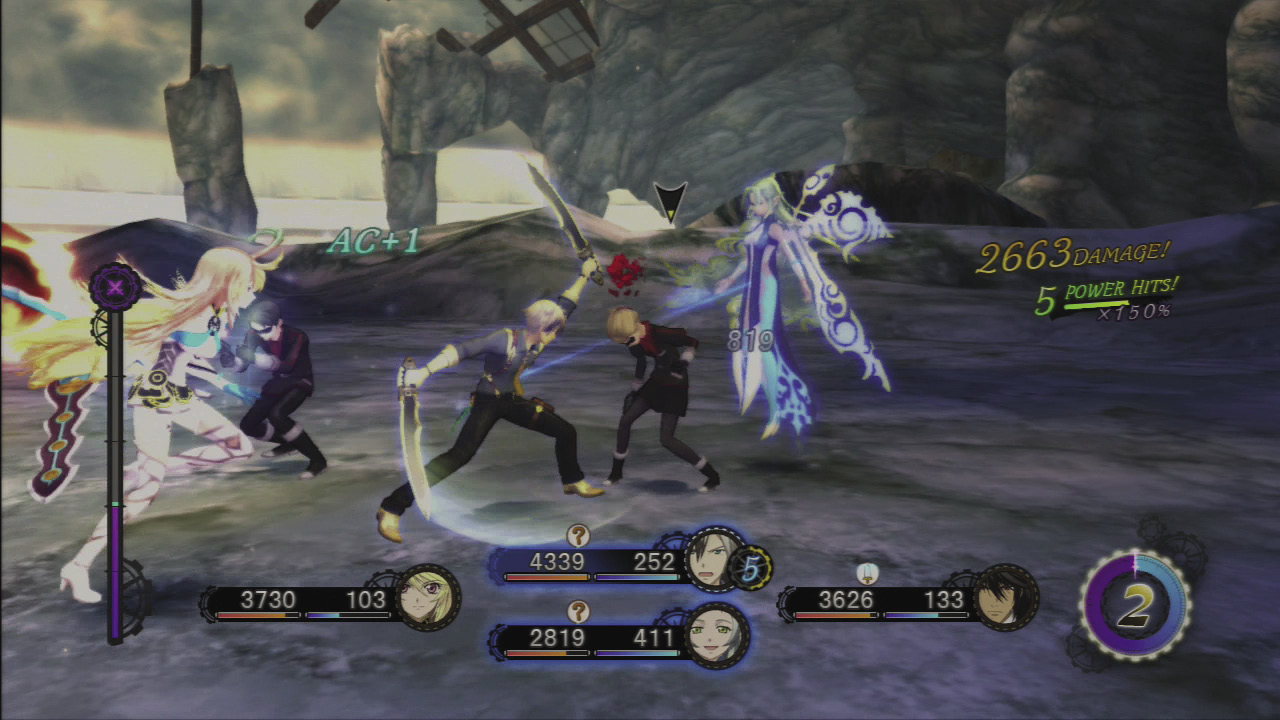
Before you jump into battle, notice that you’re facing a large group of foes here, and any attempt at attacking the bosses directly could leave you surrounded. Instead, start by picking off the Spirius Agents and Spirius Female Agents.
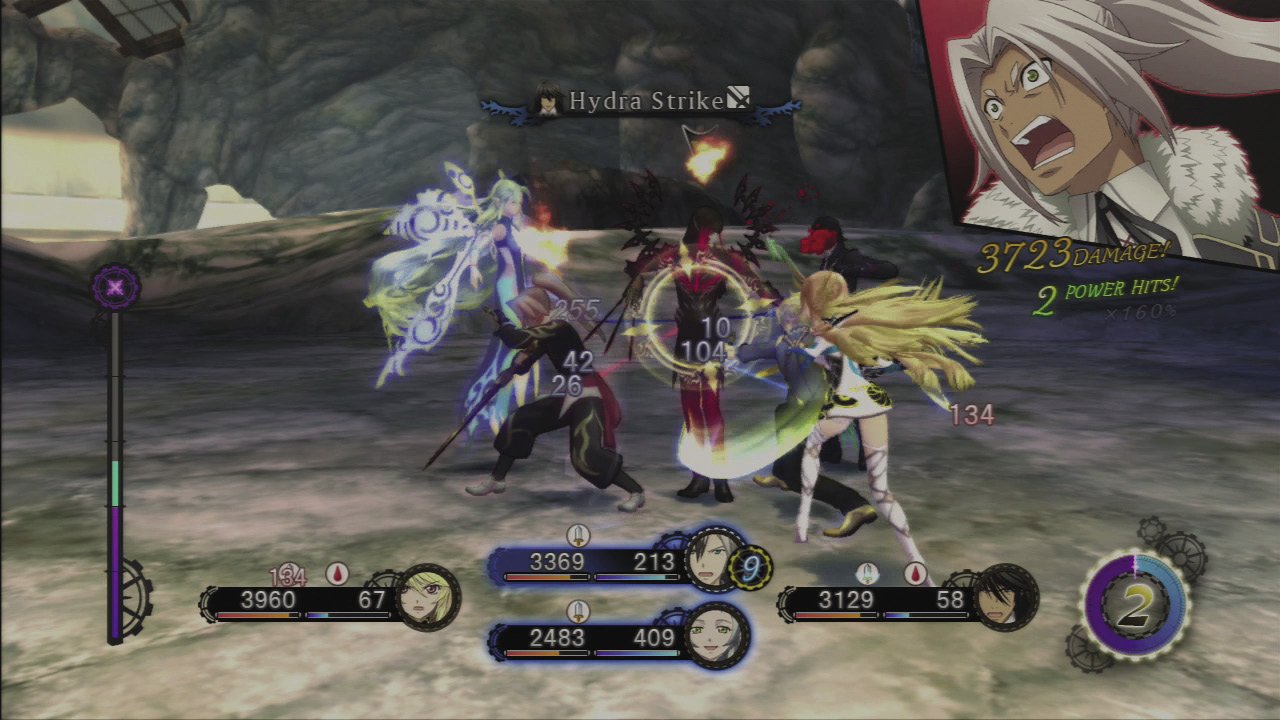

 Next, turn your attention to Ivar, and finally Rideaux. In this battle, it’s difficult to maintain a combo without enemy interruption. Both foes are weak to Wind, so use Lunar Reflection to launch a combo, and mix it up with attacks of various elements to head off any attempts at a counterattack.
 Bonus Scene: