
Tales of Xillia 2 Guide 4 Character Stories Character Stories
Milla's Story

Episode 1: Milla’s Soup
Time
After completing Chapter 7 and until Interval 10–11
Location
Nia Khera—Residence
DIALOGUE FLOWCHART
L1: Milla affinity +250 / R1: — L1: Milla affinity +250 / R1: — |
 Nia Khera—Residence
Soup is On
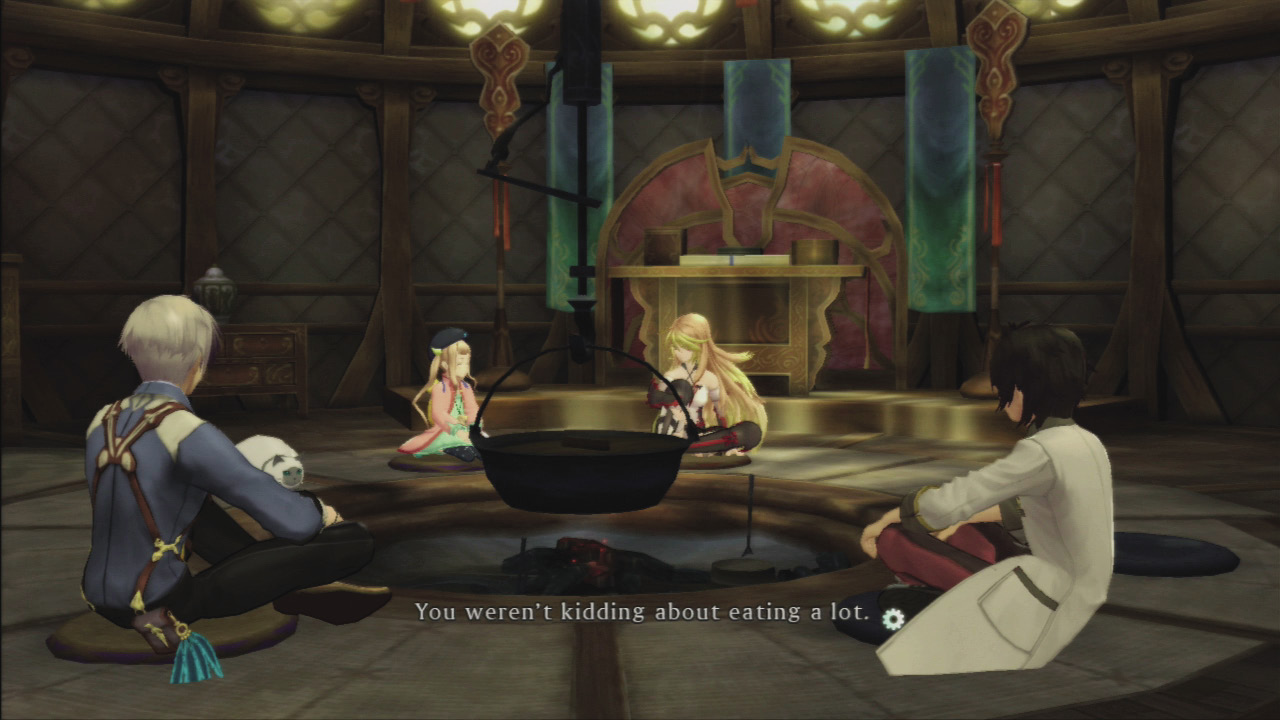
 Talk to Milla in the cozy Nia Khera—Residence. She promised Elle a sample of her cooking and the owner of the house lets Milla use the kitchen to make soup.
Episode 2: Master Chef Milla
Time
After completing Chapter 8 and until Interval 10–11
Location
Kanbalar—Main Road
DIALOGUE FLOWCHARTKanbalar—Main Road L1: — / R1: —
L1: Milla affinity +250 / R1: —
L1: — / R1: Milla affinity +250 L1: Milla affinity +200 / R1: — |
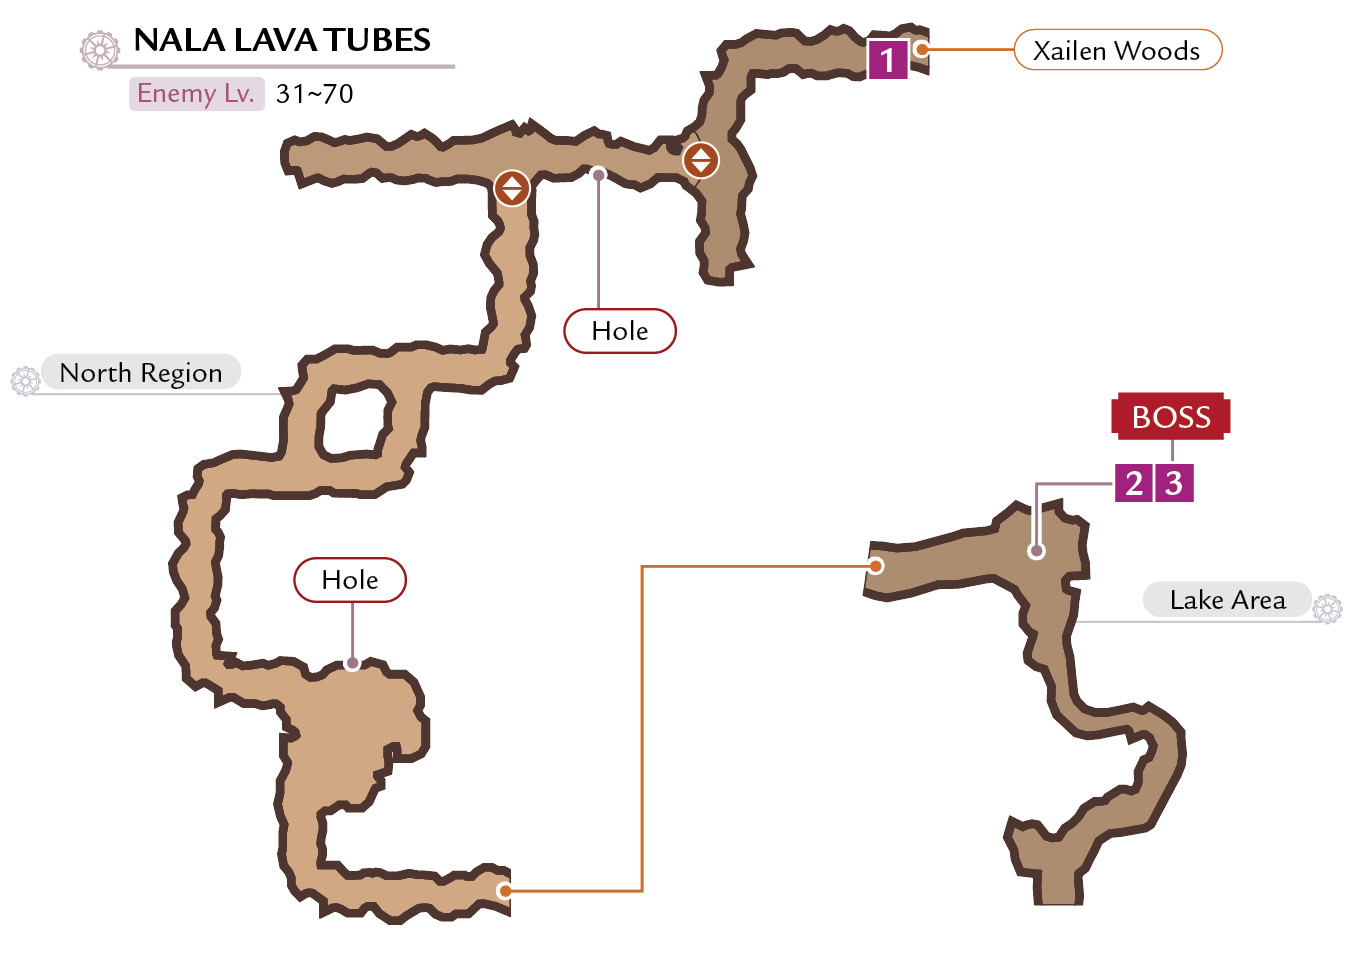
 Nala Lava Tubes—North Region
 Nala Lava Tubes—Lake Area
 Boss—Blaze Claw
Ingredient Hunt
Speak to Milla in Kanbalar to join her on a hunt for a secret ingredient to prove her culinary prowess.
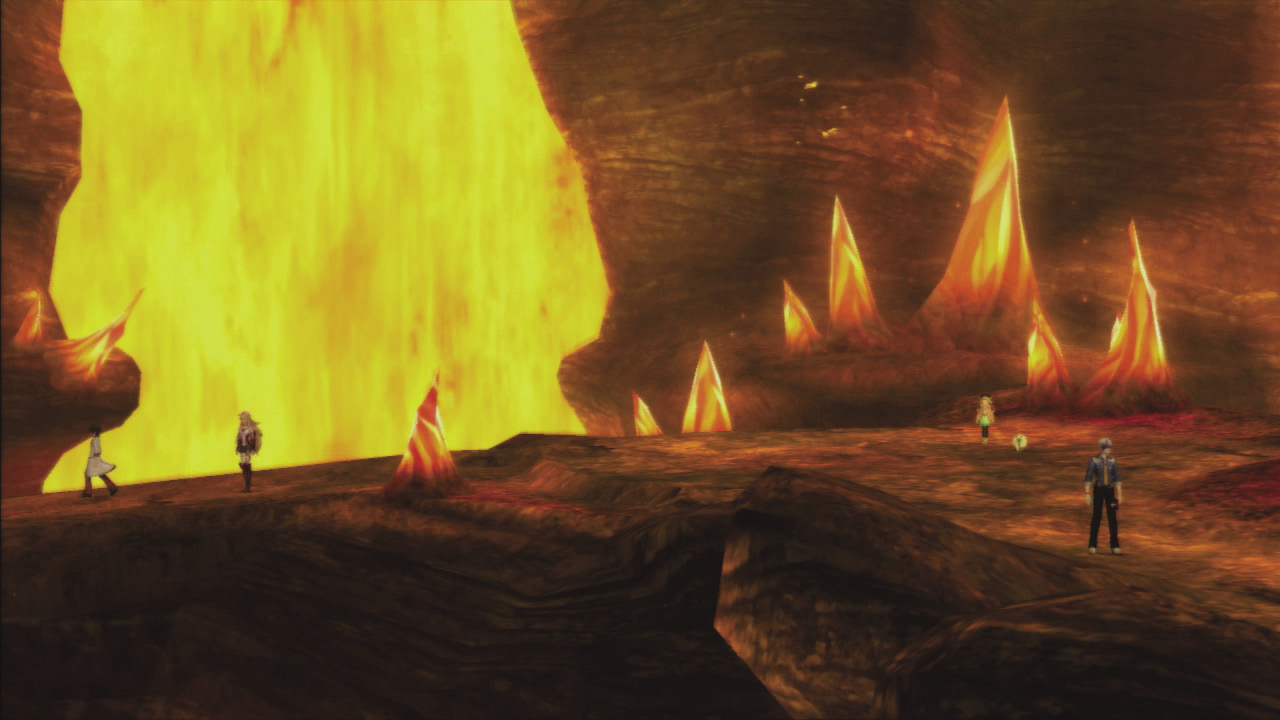

 Go to Nala Lava Tubes—North Region and make your way to the Lake Area. The party splits up looking for the item they need, but make sure to help Milla before she slips into the lava. Just watch those hands!
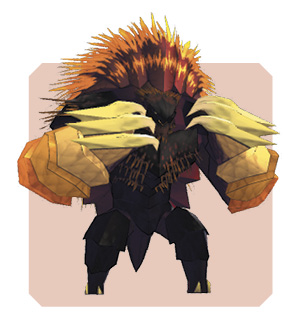
Boss Blaze Claw
| Level |
32–71 |
|---|---|
| Iron Stance |
300 |
| HP |
157794–312936 |
| Weak |
|
| Strong |
|


| Drop |
Pointy Talons (100%) / Flame Cape (100%) |
|---|---|
| Steal |
— |
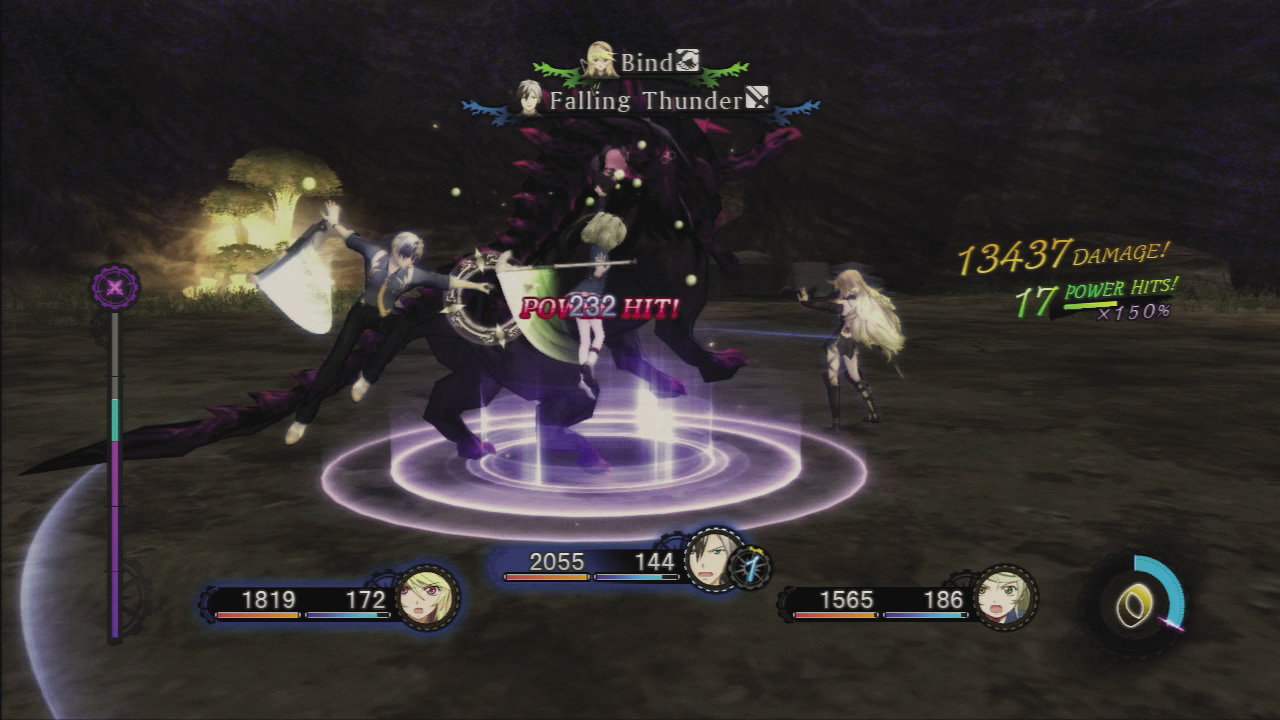
Slip Behind Your Foe for Critical Hits
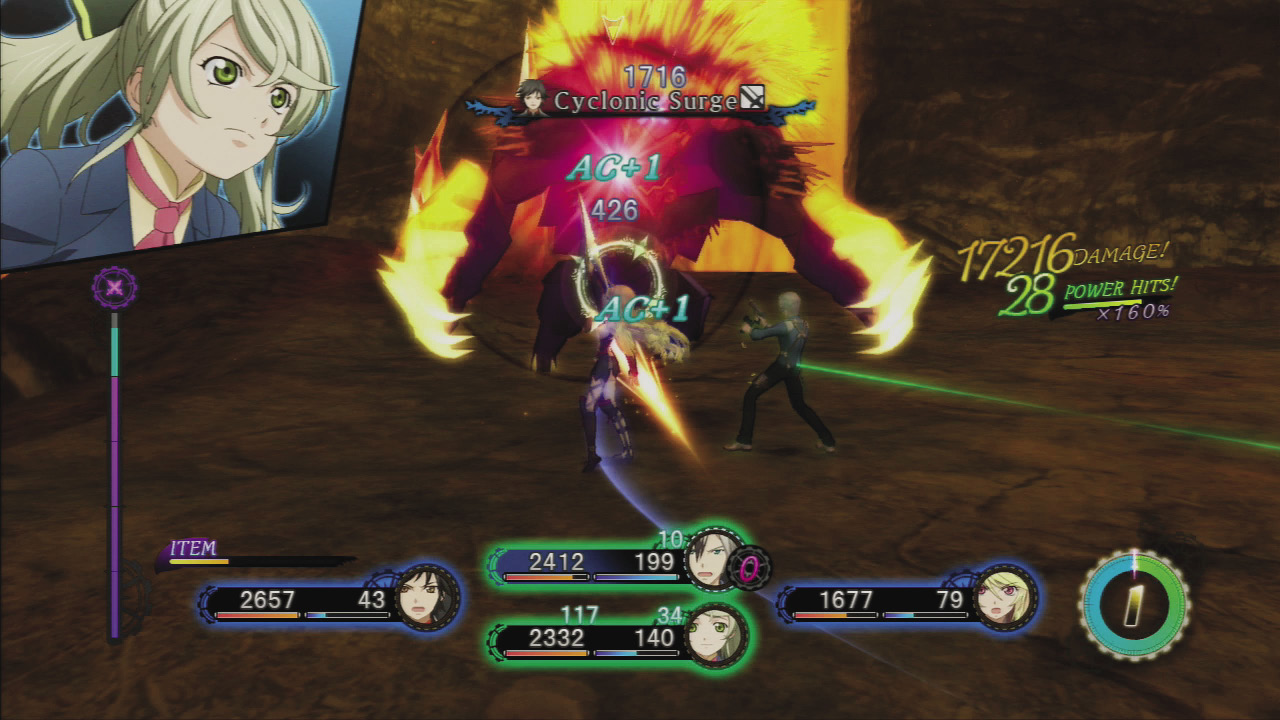
 This boss’s normal attacks are slow and easy to avoid with quick-steps. It’s best to use Jude here, as his Snap Pivot will allow Jude to slip behind the foe as he dodges and retaliate with critical hits. When the boss is staggered, use normal attack combos and then knock the target down with Aqua Sweep to recover your AC. If Jude links with Ludger, they can use the Water-type Linked Arte Dragon Deluge, so when your Link Gauge fills, link with Ludger. Also if you see it leap in the air and start to roll, make sure to guard so you don’t get hit by the Mad Blaze attack.
Attacks to Watch Out For
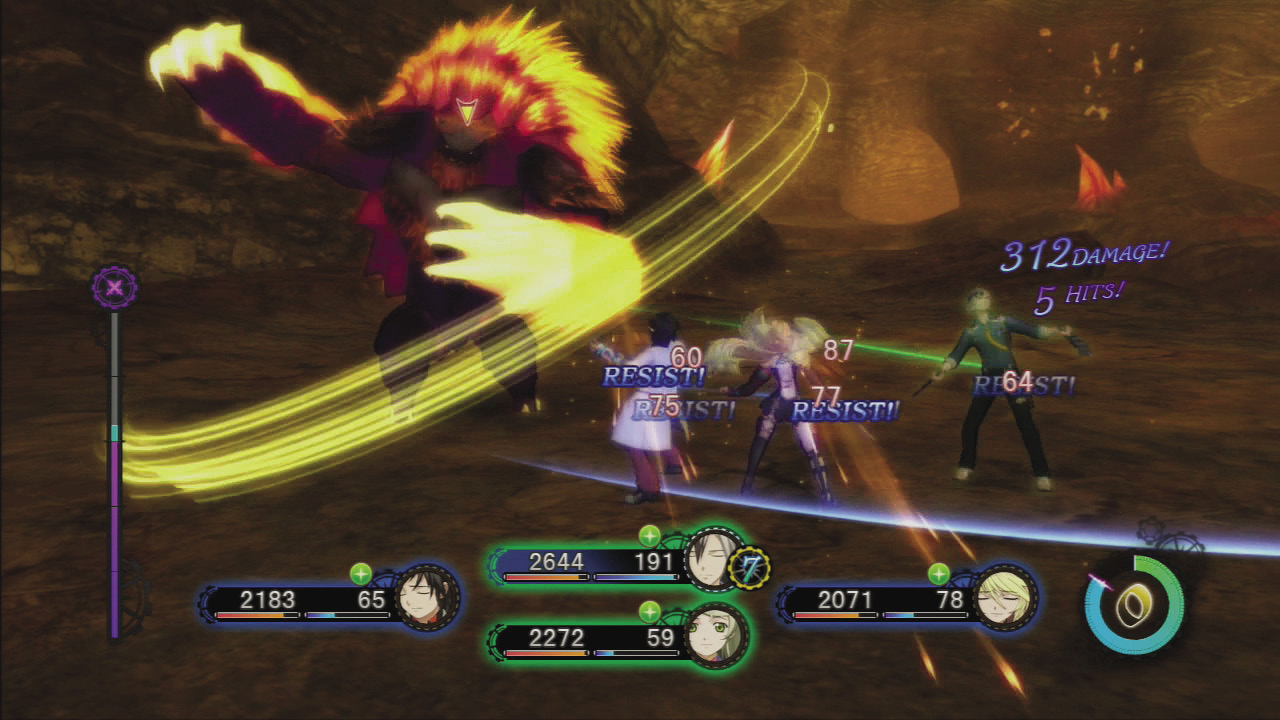
Assault Claw: This has a long forward range, so if you’re near the boss, one back-step won’t be enough to get out of range. You’ll need to perform two in rapid succession.
Downward Swing: This attack has guard break and knockdown effects. There’s a window of opportunity before the boss brings his hands down in which you can quick-step away.
Episode 3: The Milla We Know
Time
After completing Chapter 11 and until Interval 12–13
Location
Nia Khera—Residence
DIALOGUE FLOWCHARTNia Khera—Residence L1: — / R1: Milla affinity +250 L1: — / R1: Milla affinity +250 |
The New Chef?
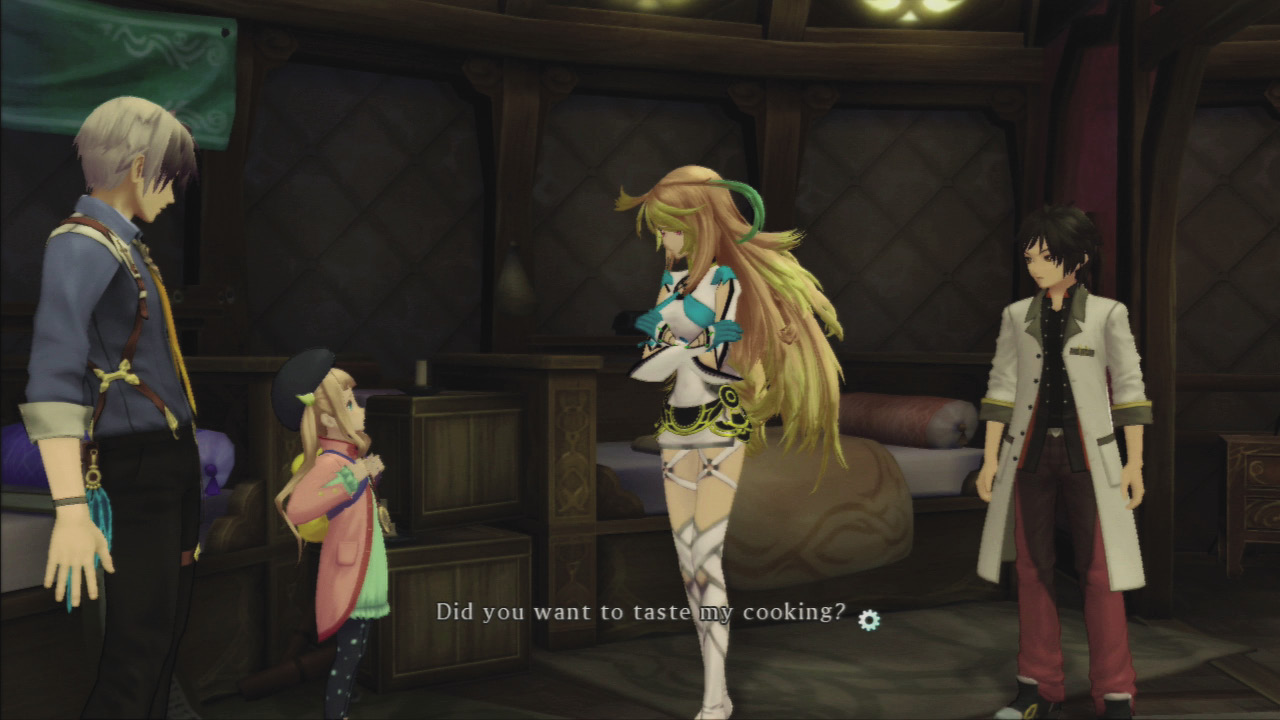
Elle has a hard time accepting Milla after a bad event, but they take their first steps towards friendship.
Episode 4: Milla the Traitor
Time
After Chapter 12
Location
Fennmont—Research District
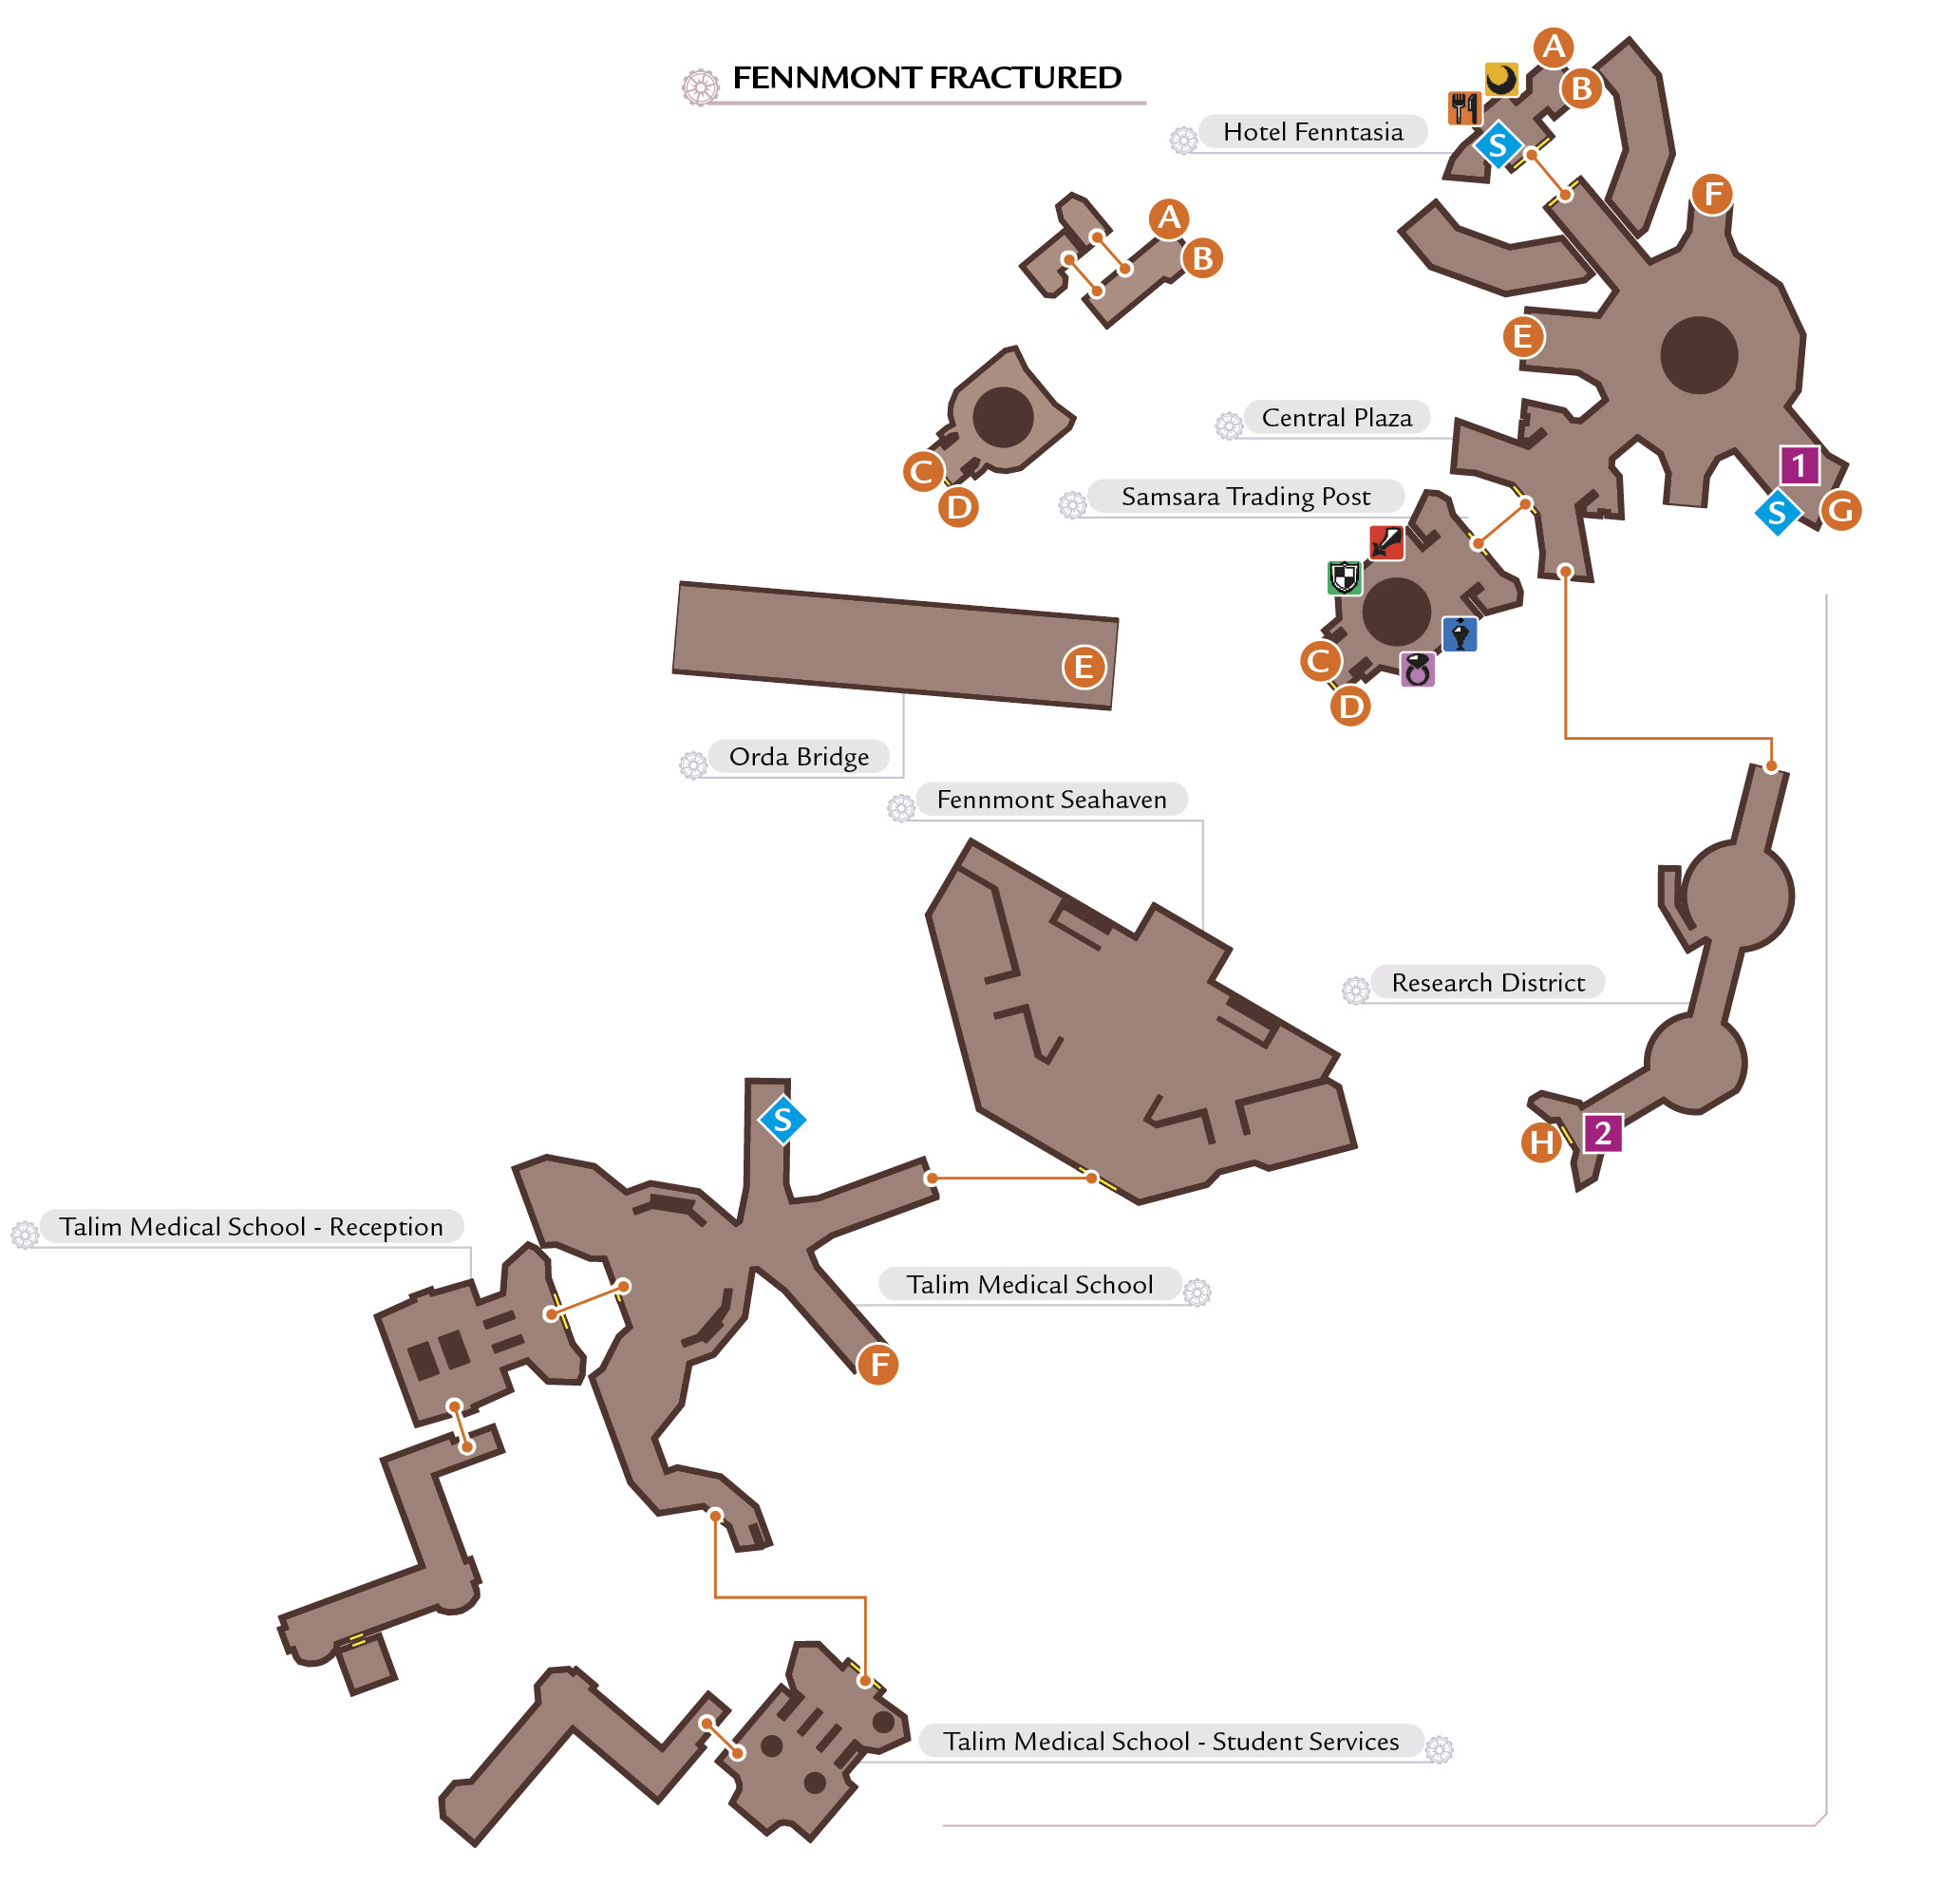
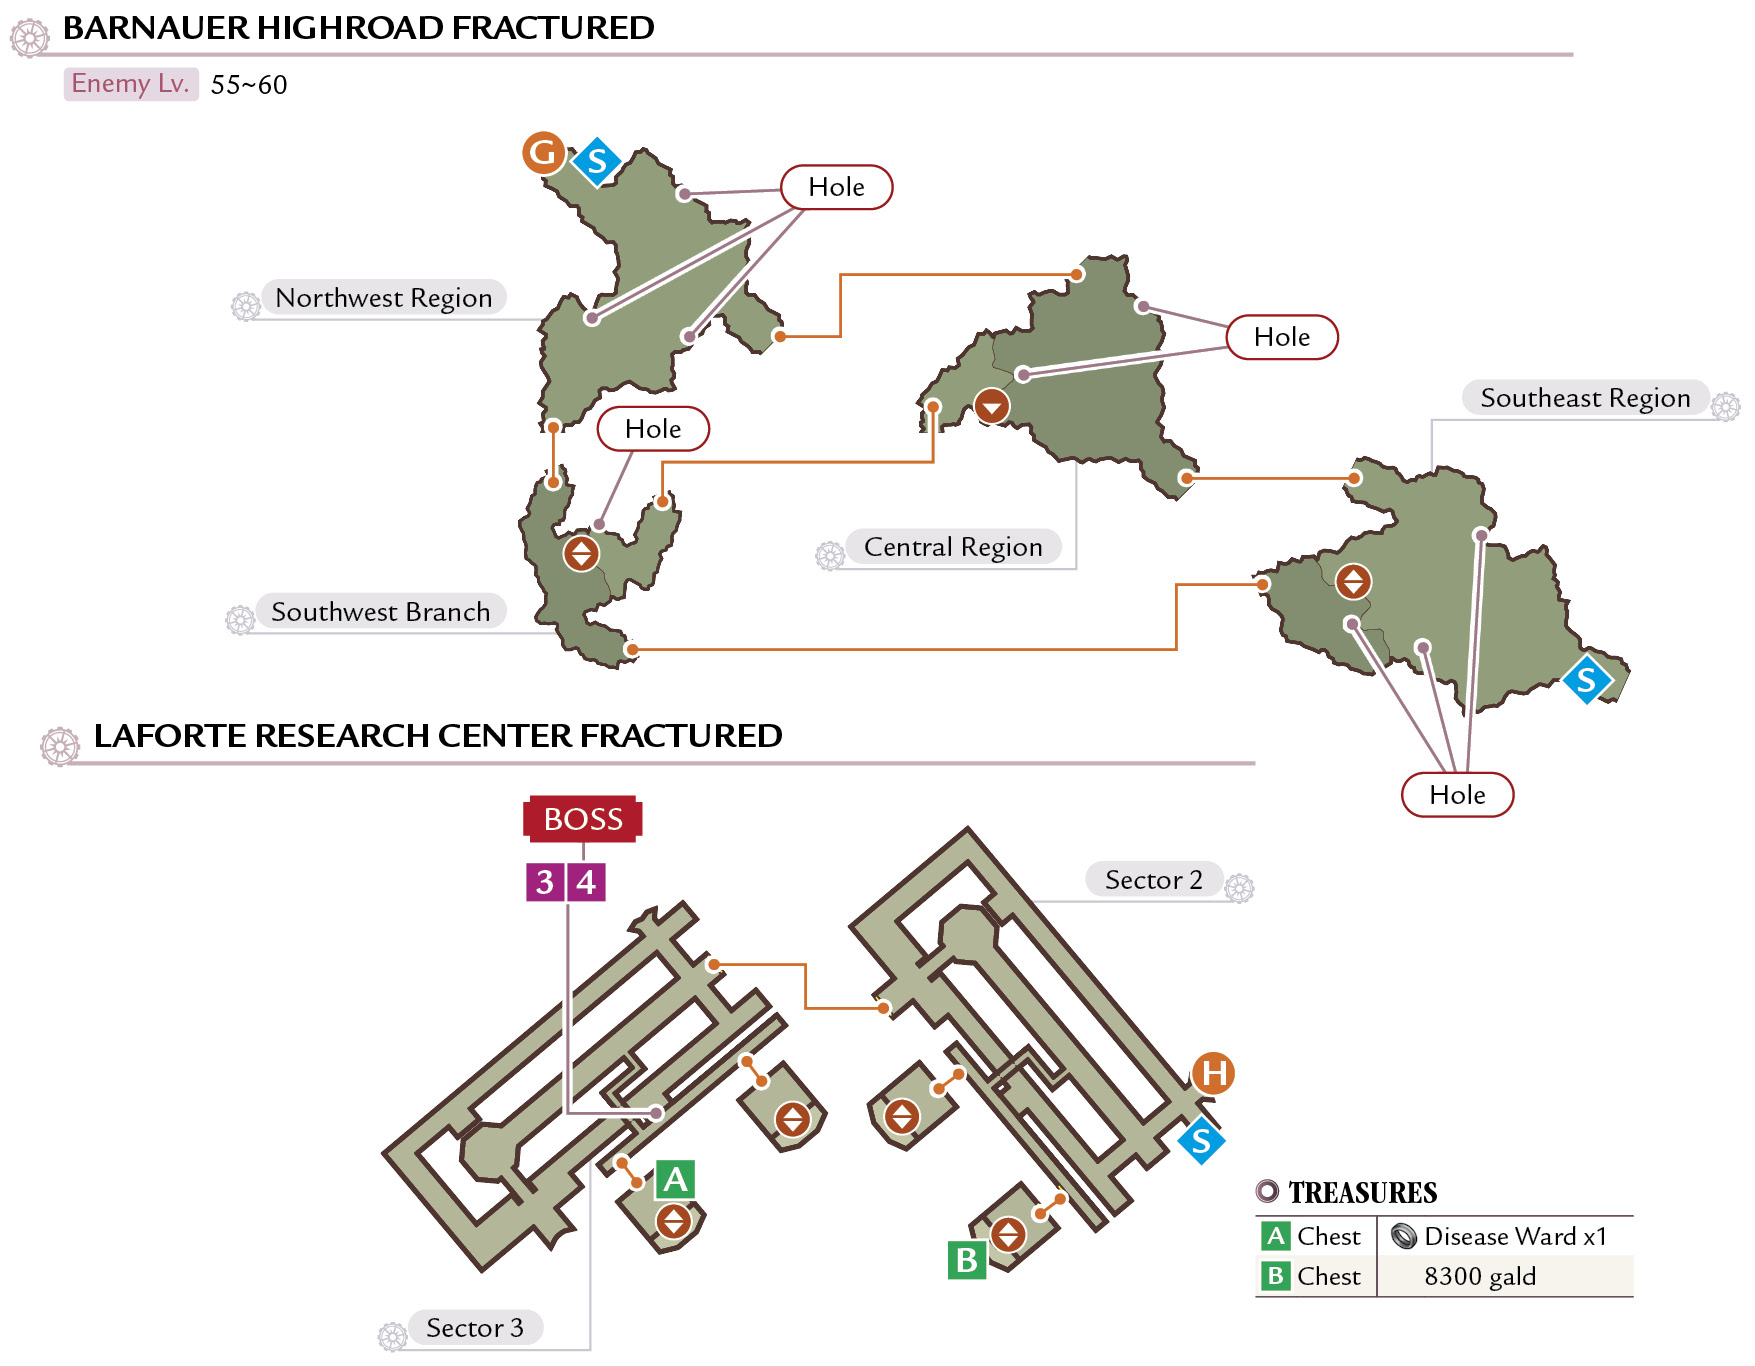
DIALOGUE FLOWCHARTFennmont—Research District L1: — / R1: —
L1: — / R1: — L1: Milla affinity +250 / R1: —
L1: Milla affinity +200 / R1: — L1: — / R1: —
L1: — / R1: Milla affinity +250 |
 Fennmont—Central Plaza (Fractured)
 Laforte Research Center (Fractured)
 Laforte Research Center - Laboratory 4 (Fractured)
 Boss—Aska
 Laforte Research Center
Jude’s Best Buddy
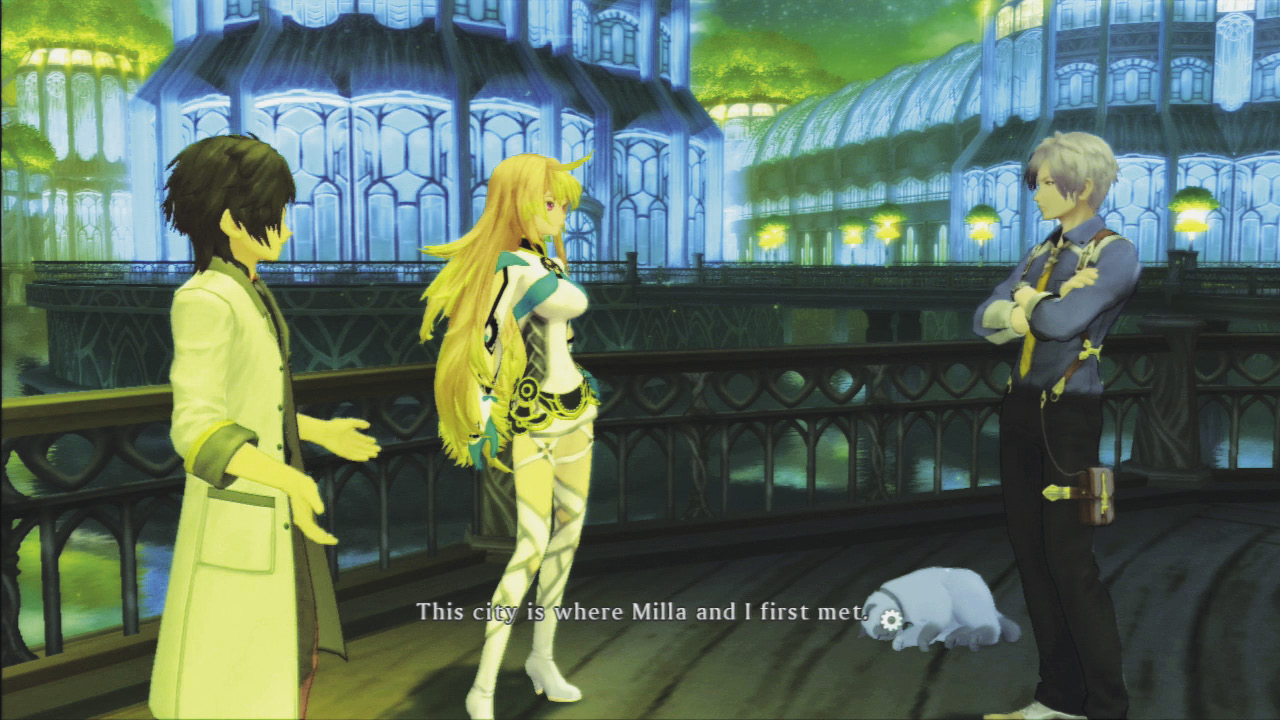
Jude and Milla reminisce about old times in the city where they first met, but a call from Vera disturbs the bickering.
 Jump into a Fractured Dimension that places you right back in Fennmont, but at the Central Plaza.
 Check out the shops if you like and talk to the townfolk to get a clue on the catalyst. When you find out its location, go to Point H to get to Laforte Research Center.
 Go to the upper level in Sector 1 and enter Laboratory 04 to find the source of the problem.
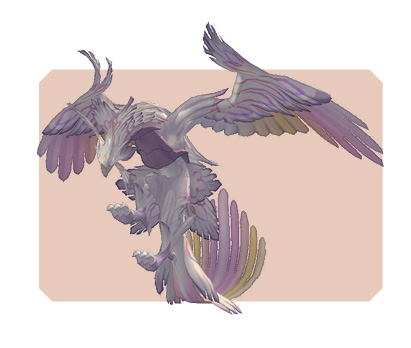
BOSS Aska (Fractured)
| Level |
56–71 |
|---|---|
| Iron Stance |
200 |
| HP |
192528–237888 |
| Weak |
|
| Strong |
|


| Drop |
Muddle Ward (100%) |
|---|---|
| Steal |
Roasted Chicken (5%) |
Attack Your Foes with Dual Pistols and Dark-Type Damage
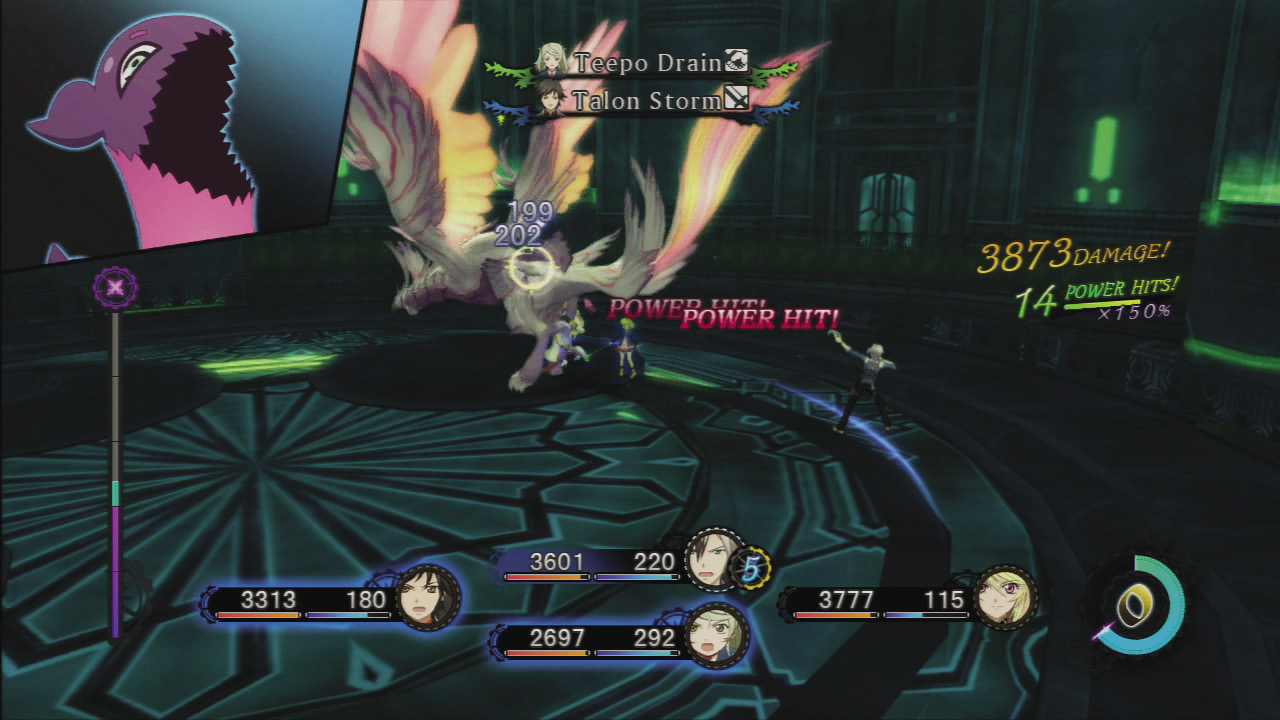
 Ludger’s dual pistols allow him to attack Aska’s weakness and do it from a safe distance away. He can also use weakness-exploiting combos by using the Dark-type Zero Divide arte, which is excellent for breaking through the boss’s Iron Stance. Your best chance to pull one off is when Aska’s head is hanging low after a lunge.
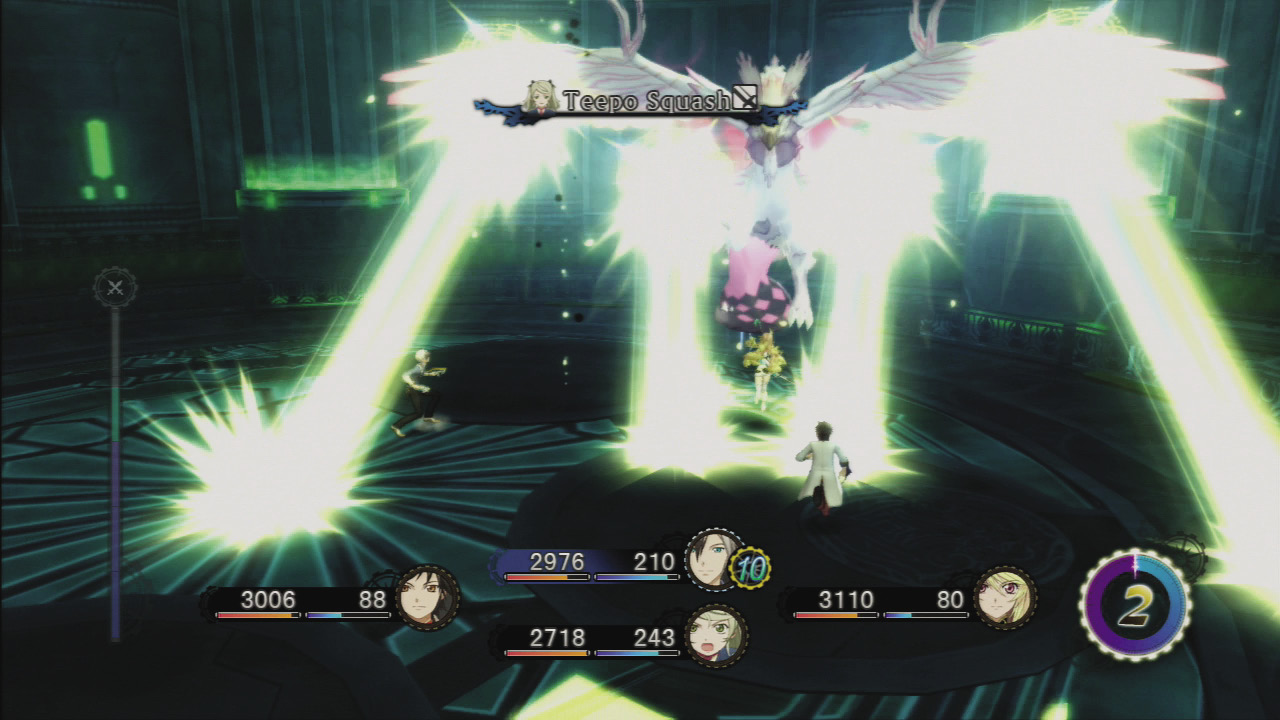
What you need to watch out for is the Shining Veil arte that the boss uses once its HP has been reduced by half. Once it uses this, it’ll be able to use more powerful artes, so be diligent about guarding and evading. When the lights appear on the ground, flee from that spot or you’ll get attacked by a pillar of light. This foe has lots of HP, so try to deal big damage with your transformation.
 Automatically go back to Laforte Research Center for a quick chat after the battle.
Episode 5: Servant of Maxwell
Time
After Chapter 14
Location
Nia Khera
DIALOGUE FLOWCHARTNia Khera L1: — / R1: Milla affinity +250
L1: — / R1: —
L1: Milla affinity +250 / R1: — |
 Nia Khera (Fractured)
 Speak to Ivar
 Nia Khera Spiritway (Fractured)
 Milla’s Shrine (Fractured)
 Nia Khera Hallowmont (Fractured)
 Boss—Melancholic Decay + Melancholic Soul
 Return to Nia Khera
The Kresnik Clan
Nia Khera is where you can find Milla once again. She has some shocking news about the ancient city and its descendants of the Kresnik clan. Just on cue, Vera calls about another Fractured Dimension.
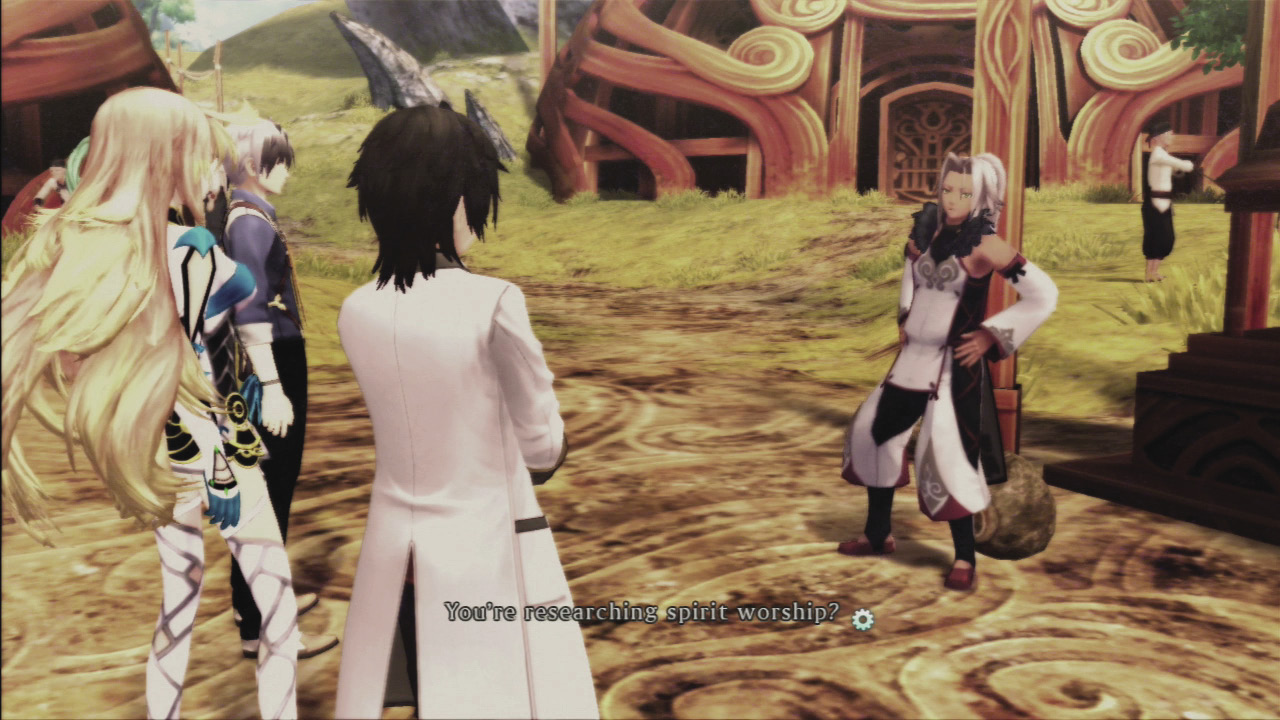

 Jump into the dimension and end up right back in Nia Khera. A short distance away this world’s version of Ivar is engaged in spirit worship. Your chat with Ivar is cut off quickly as the Terror of the Hallowmont has returned.
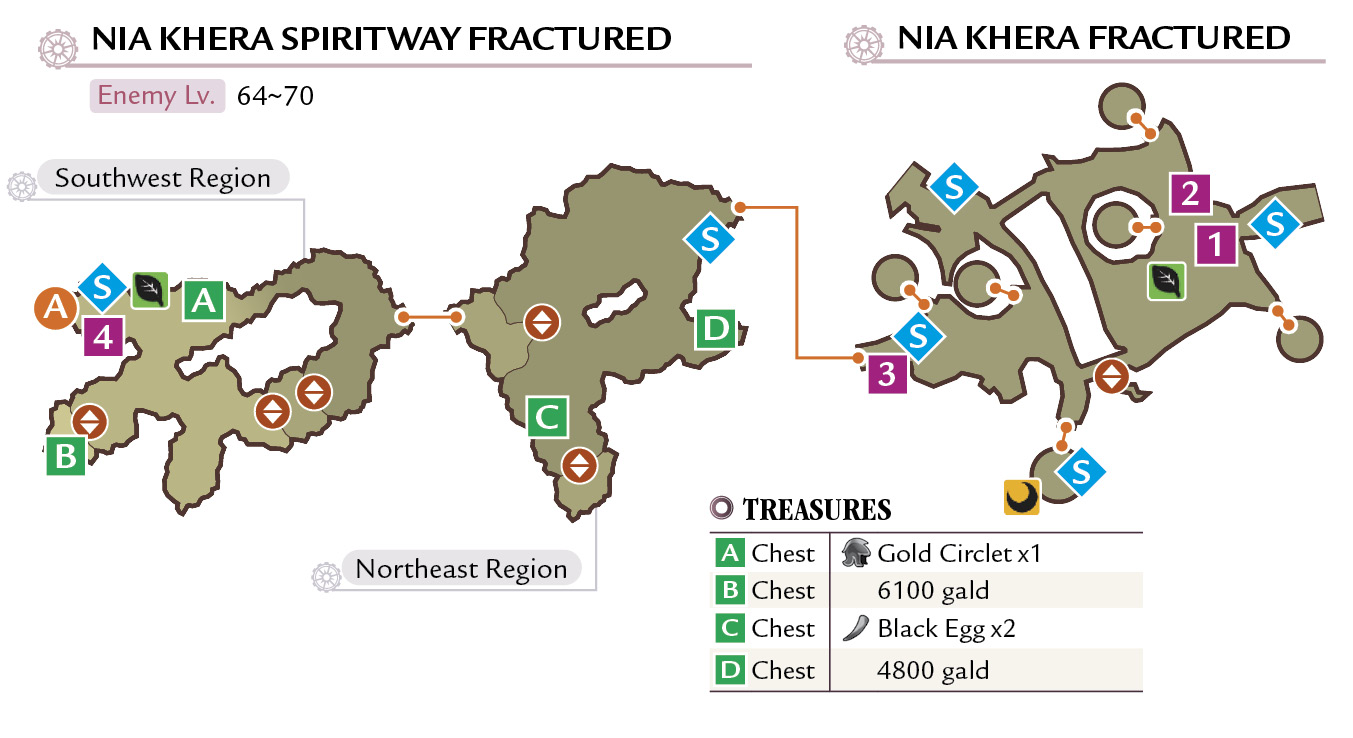
 Leave the city to the west to cut through Nia Khera Spiritway to get to Milla’s Shrine. Along the way there are several new treasures to plunder!
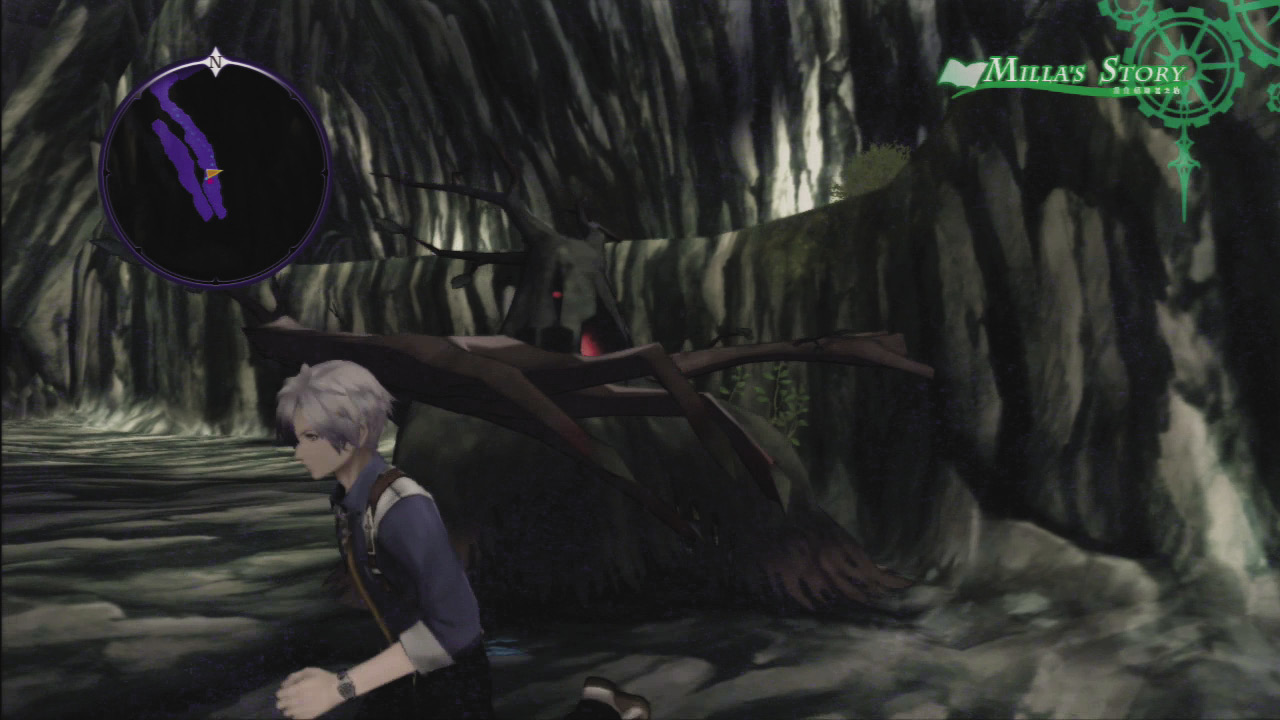
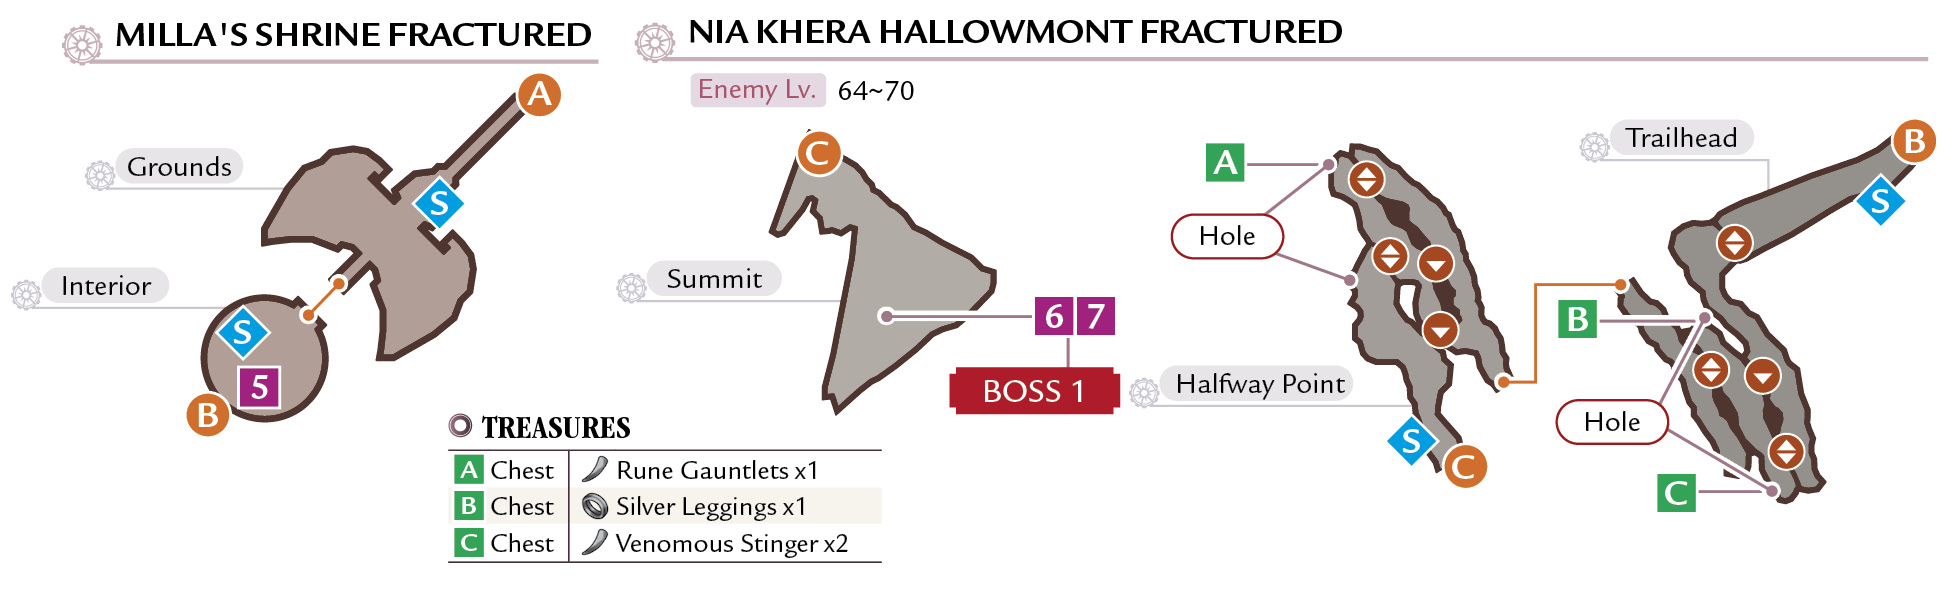
Use the hidden exit behind the tapestry in Milla’s Shrine to get to Nia Khera Hallowmont (Fractured). As you make your way to the summit, conserve your resources for the boss battle, but try to collect the three treasures.
Boss Melancholic Decay
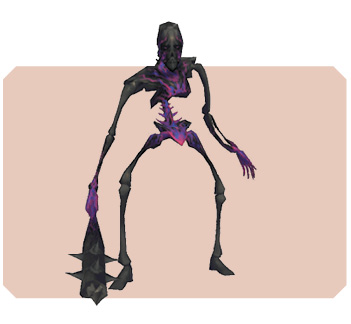
| Level |
65–71 |
|---|---|
| Iron Stance |
200 |
| HP |
297570–322140 |
| Weak |
|
| Strong |
|


| Drop |
Rotten Bone (100%) Sharp Fang (100%) |
|---|---|
| Steal |
Mysterious Bead (5%) |
 Return to Nia Khera for an interesting converation.
Boss Melancholic SOUL
| Level |
65–71 |
|---|---|
| Iron Stance |
0 |
| HP |
22890–24780 |
| Weak |
|
| Strong |
|


| Drop |
— |
|---|---|
| Steal |
— |
Prioritize Killing the Melancholic Soul
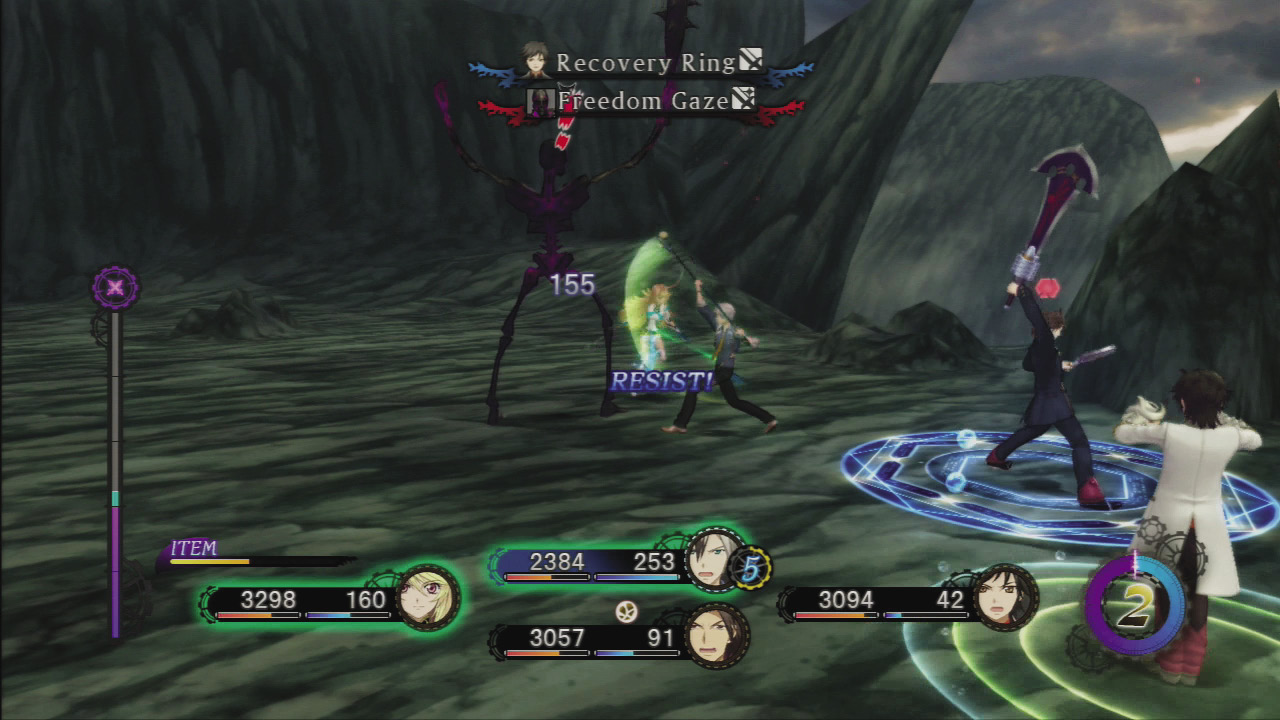
 The Melancholic Decay will use Freedom Gaze to sacrifice its own HP and summon two Melancholic Souls. As soon as you defeat the Melancholic Souls, the boss will immediately summon new ones. But every time it does, it reduces some of its own HP, so your efforts will not be in vain.
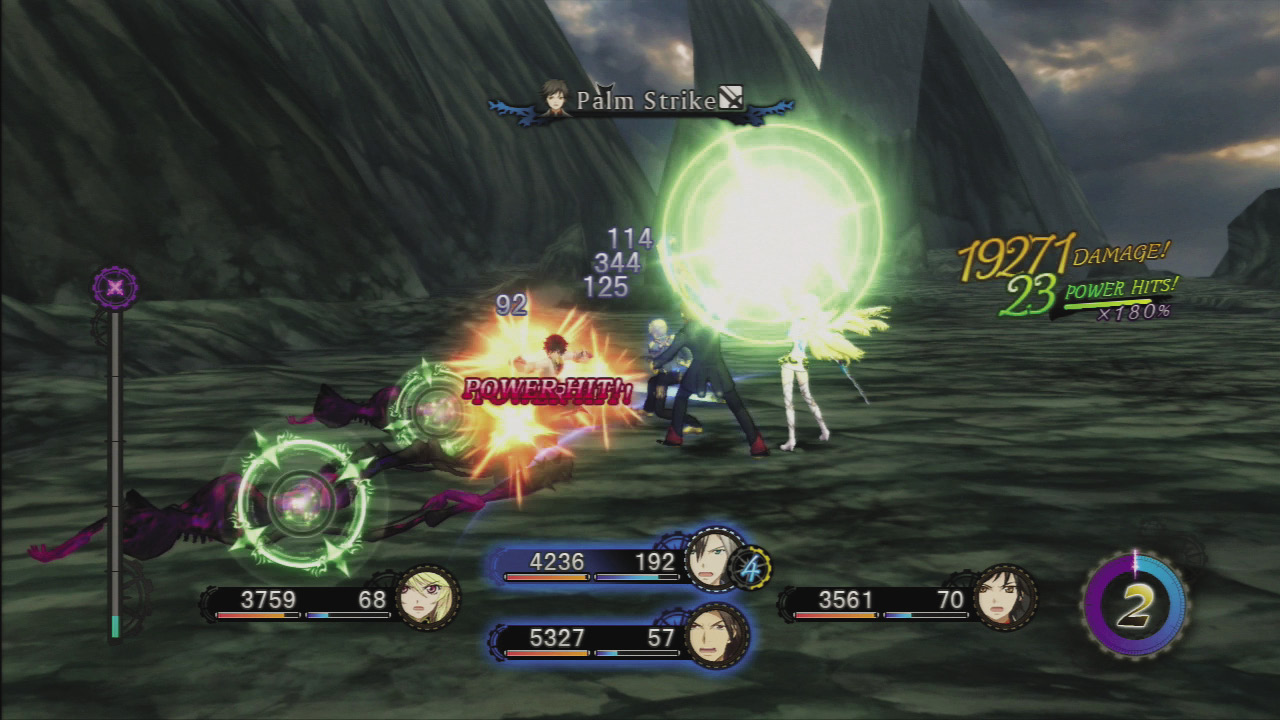
Attack the Melancholic Soul with your strike weapons; it’s a weakness of theirs and hits from strike sources always knock them back.
 Return to Nia Khera for an interesting converation.
Episode 6: Undying Resolve
Time
After Chapter 15
Location
Hamil—Western District
DIALOGUE FLOWCHARTHamil—Western District L1: — / R1: —
L1: Milla affinity +500 / R1: —
L1: — / R1: —
L1: — / R1: Milla affinity +250 |
 Temporal Crossroads (Fractured)
 Jump down to confront Maxwell (Fractured)
 Boss—Maxwell (Fractured)
 Boss—Muzét (Enslaved Catalyst)
 Return to Hamil—Western District
Enemies
Earth Element
|
Type |
|
|
HP |
6249 |
|
Weak |
|
|
Strong |
|
|
Absorbs |
|


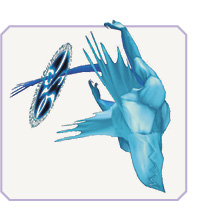
Water Element
|
Type |
|
|
HP |
6720 |
|
Weak |
|
|
Strong |
|
|
Absorbs |
|


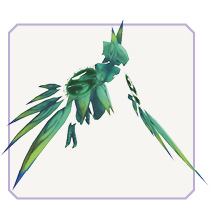
Wind Element
|
Type |
|
|
HP |
6720 |
|
Weak |
|
|
Strong |
|
|
Absorbs |
|


Fire Element

|
Type |
|
|
HP |
6249 |
|
Weak |
|
|
Strong |
|
|
Absorbs |
|


Temporal Crossroads
In Hamil, Milla can be found under the tall trees in the Western District. Guess who calls in and spoils the day with another Fractured Dimension.
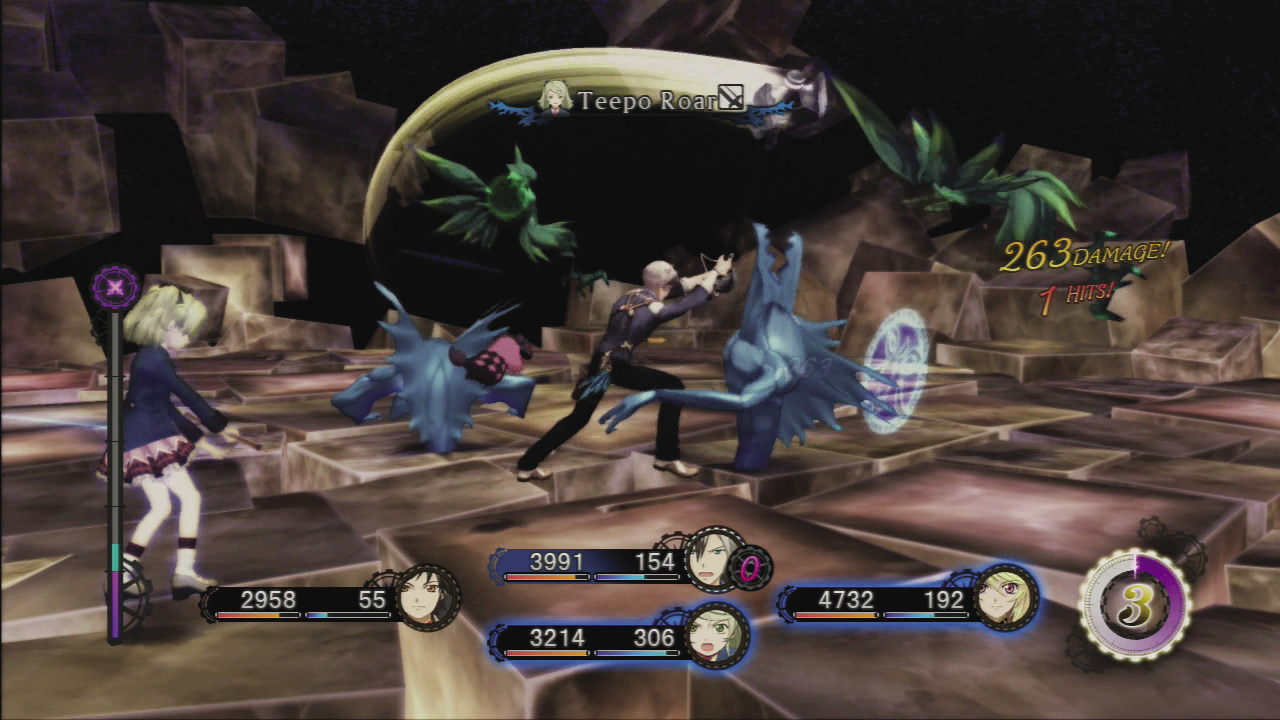
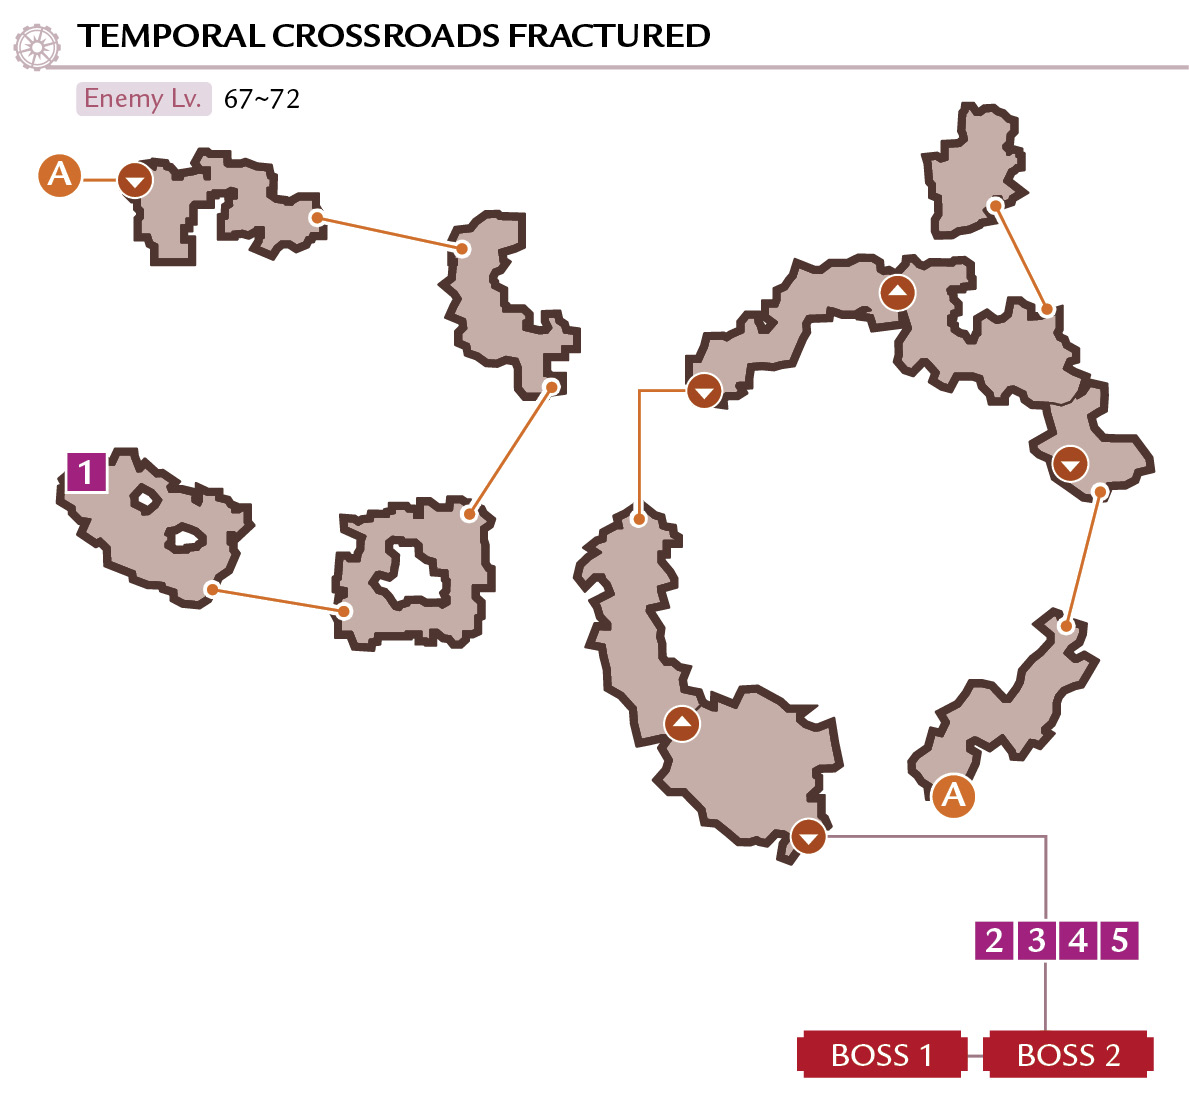
 The dimension you enter is a new location called the Temporal Crossroads. All of the enemies in this area are elemental beings that absorb their own elemental type and are weak against the opposite element. It would be pretty easy to battle these foes if they appeared in groups of only one type. However, the creatures attack in mixed squads, and you will need to alter your artes and possibly your weapon type to deal with them. With a little preparation, you can choose your artes for each weapon to have the four elemental types. Simply start off an attack with the enemy’s elemental weakness and continue the combo with other artes.
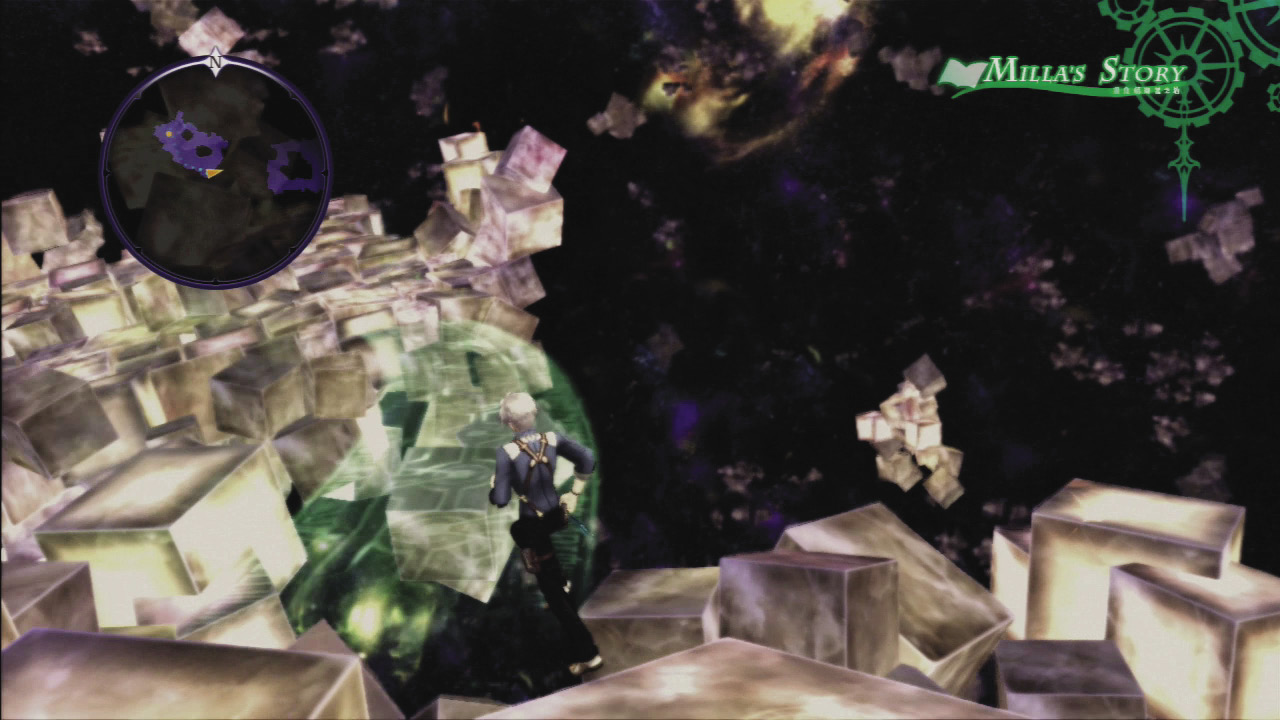
The floating platforms appear to be unconnected sky islands, but as you approach the glowing green light, a transparent bridge will appear. Battle your way through this area in a counterclockwise manner, and in the second ring, jump down at the end of each platform to land on the next segment below.
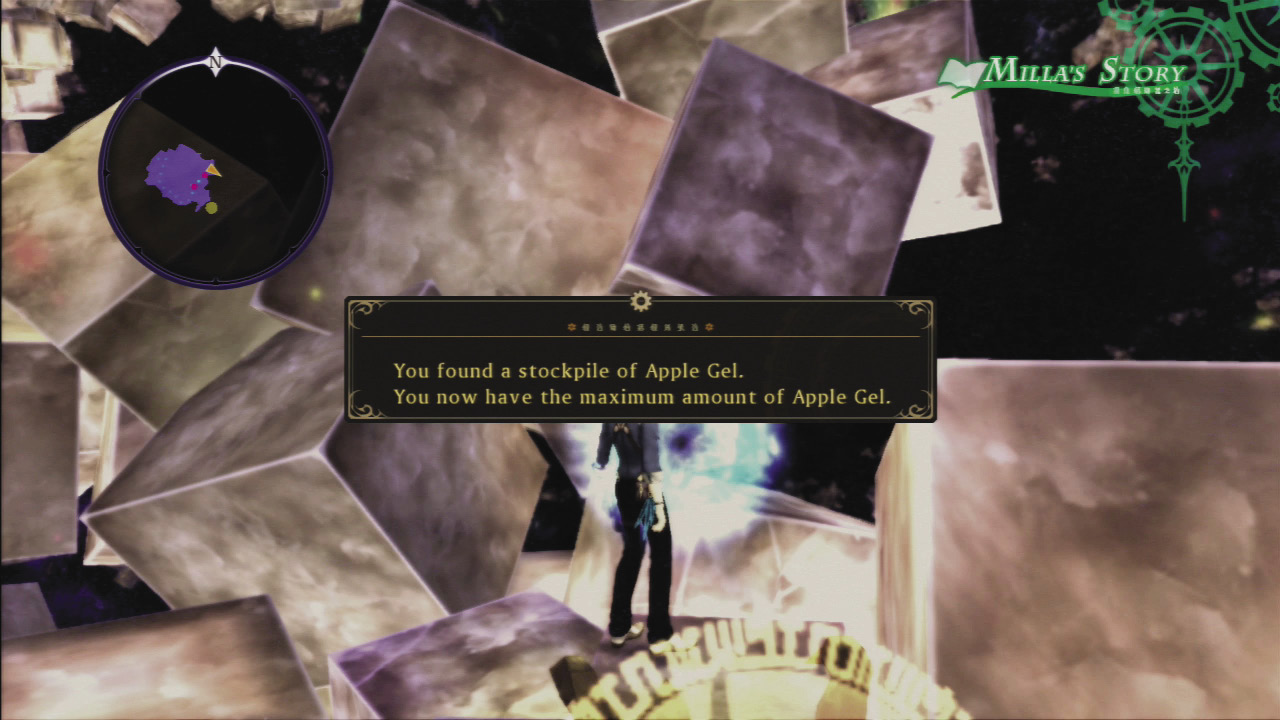
 At the end of the road (so to speak) there are three glowing spheres that can provide unlimited Apple Gels, Orange Gels, and Life Bottles. Stock up on supplies before you jump down to face two bosses.
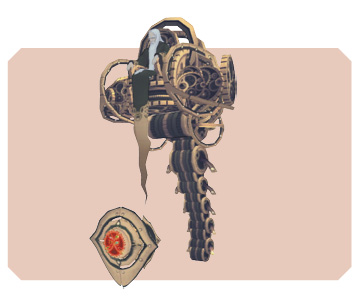
BOSS Maxwell (Fractured)
| Level |
68–73 |
|---|---|
| Iron Stance |
150 |
| HP |
341862–364452 |
| Weak |
— |
| Strong |
— |
| Drop |
Emerald Ring (100%) |
|---|---|
| Steal |
Elemental Cape (5%) |
Always Confirm the Properties After an Element Change
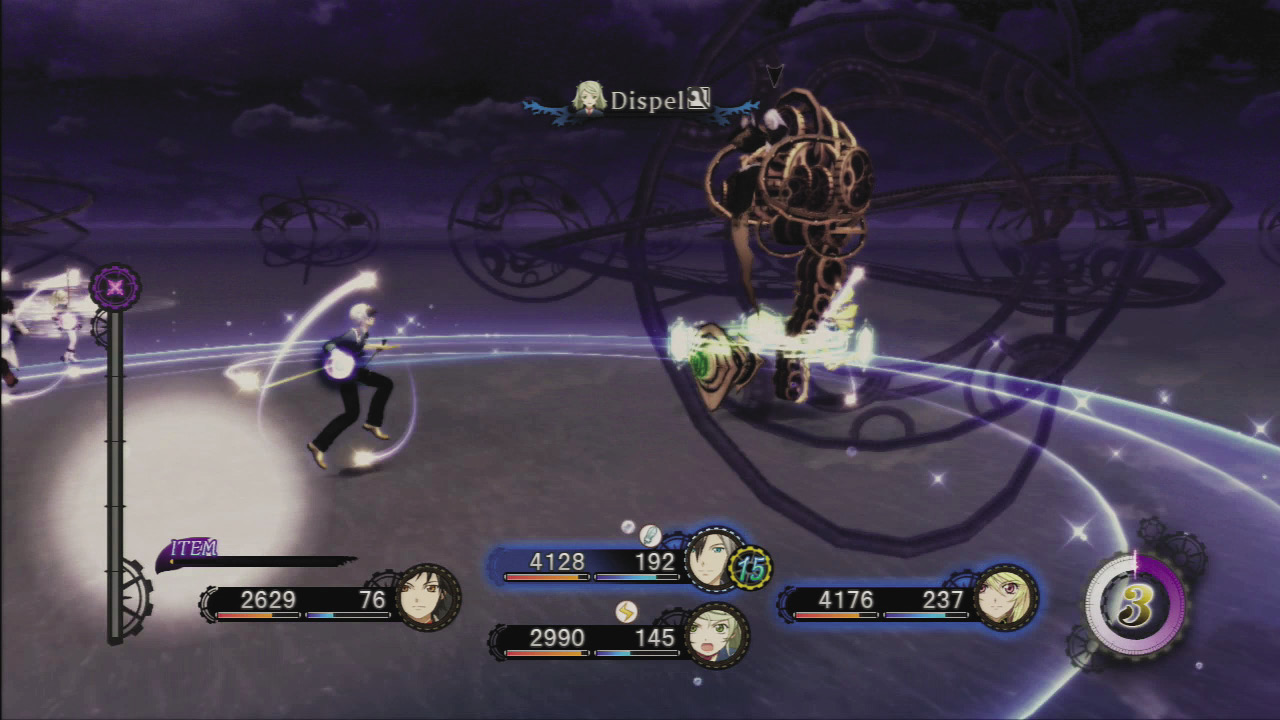
 Maxwell battles with ever-shifting weaknesses and resistances to Fire, Water, Wind, and Earth elements. Whenever his elemental properties shift, the artes he uses will change. It’s especially noteworthy that he has a chance of inflicting Petrify when using Earth-type artes. Use a Syrup Bottle or add Elize to your party to have her cast Dispel to head this off.
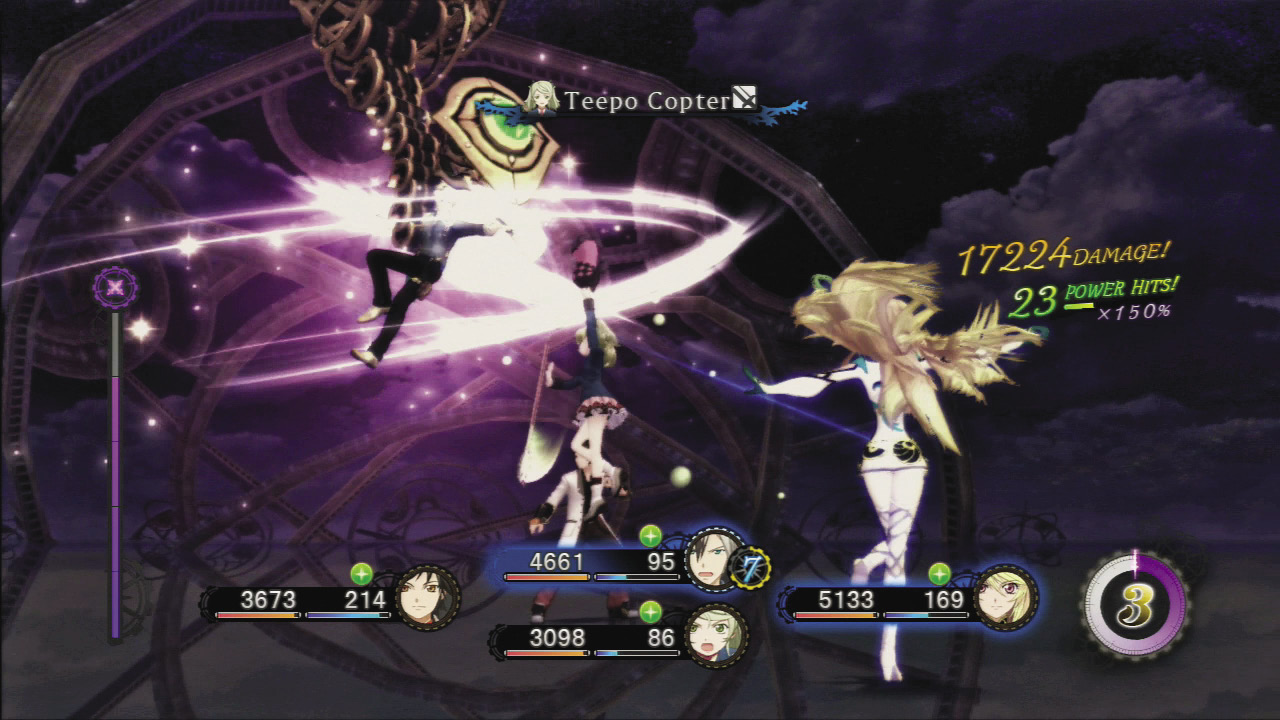
Maxwell’s weak spot is its central core, so you’ll want to attack primarily with jumping attacks that can be chained into combos. Milla especially excels at mid-air combat, so either use her or link with her for this fight. Fight head-on so you can disrupt the boss’s spell casting with jumping attacks.
Attacks to Watch Out For
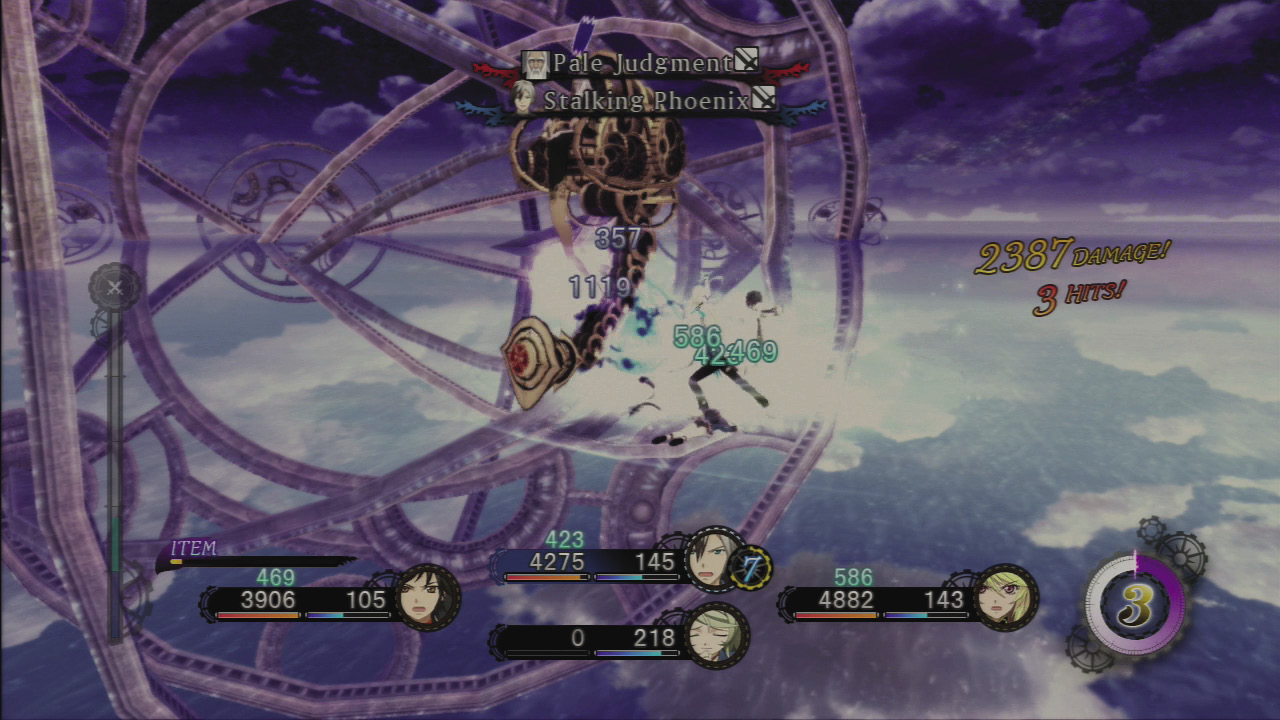
Sunburst: Maxwell uses this arte when in Fire-type form. It has such a wide area of effect that you won’t be able to get out of the way with free run. Defend yourself with Magic Guard.
Pale Judgment: Maxwell uses this arte when in Fire-type form. If it connects, its target may be KO’d. Evade it with a quick-step.
 After the battle, return to Hamil to discuss the information Maxwell provided.
BOSS Muzét (Enslaved Catalyst)
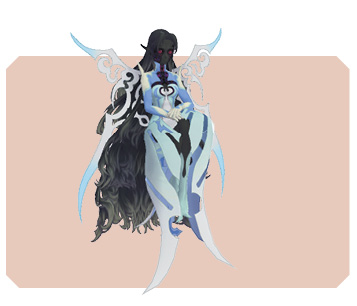
| Level |
69–74 |
|---|---|
| Iron Stance |
120 |
| HP |
207000–220500 |
| Weak |
|
| Strong |
|


| Drop |
Revival Ring (100%) |
|---|---|
| Steal |
Bizarre Clump (5%) |
Aim for Knockdowns with Hungry Hunter
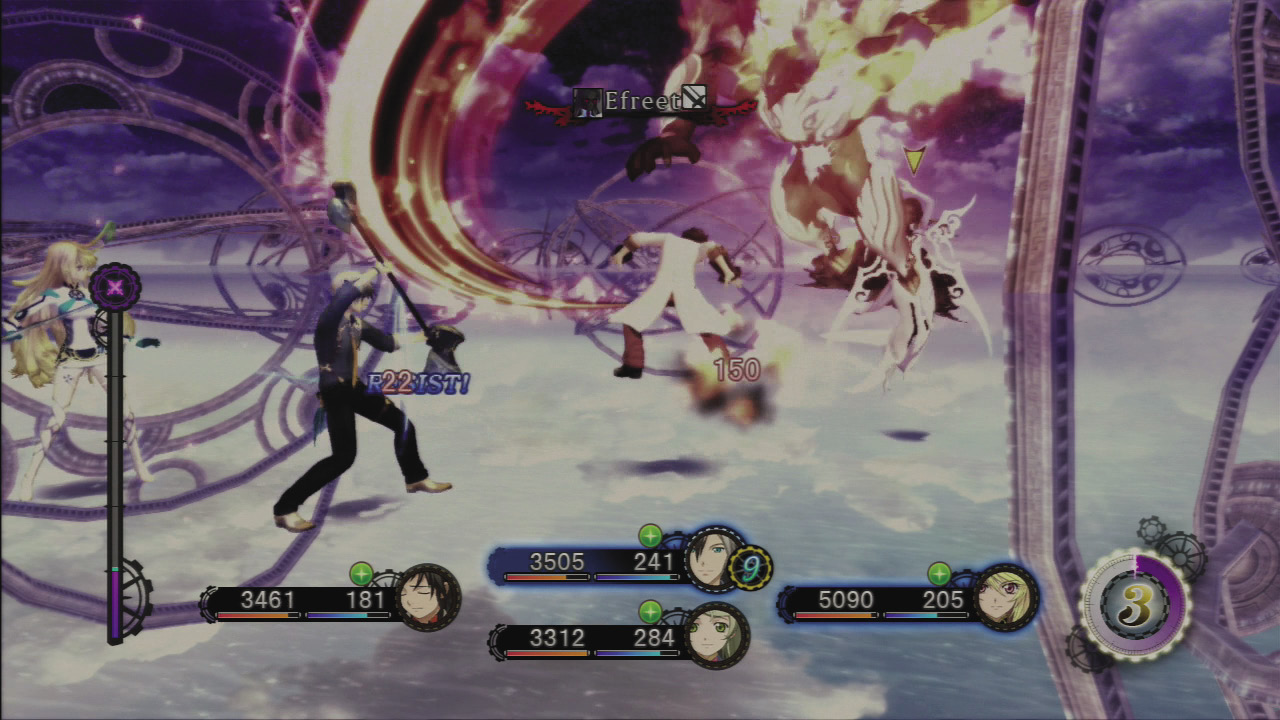
 This boss uses the same artes as Milla, such as Undine and Efreet. Such artes hit numerous times, so make sure to block until the attack is over and then aim for a counterattack.
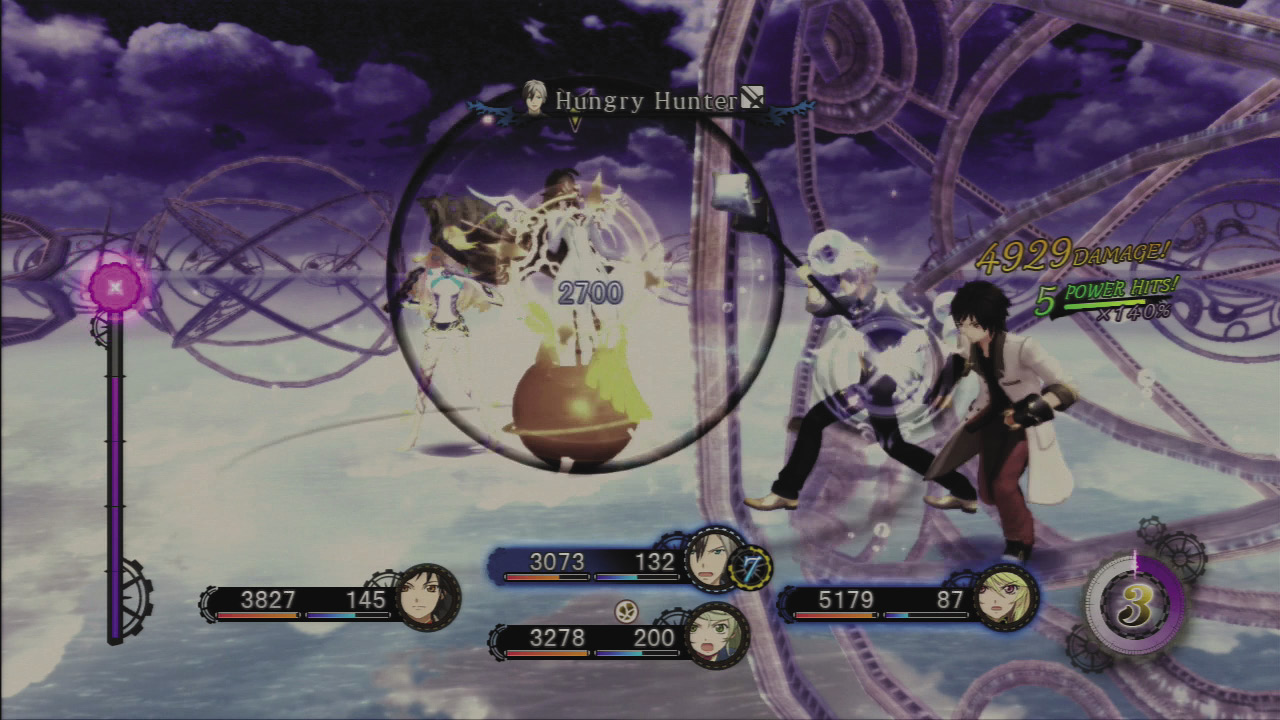
When you do, start things off with the sledgehammer arte Hungry Hunter, which is Light-type (attacking Muzét’s weakness) and has a good chance of a knockdown. Follow it up with continued attacks. Make sure Jude and Ludger have the Down Burst skill set so they can deal heavy damage while she’s down. If you knock her down, make sure you have the Crushing Blow arte that allows you to score critical hits against downed foes.
Attacks to Watch Out For
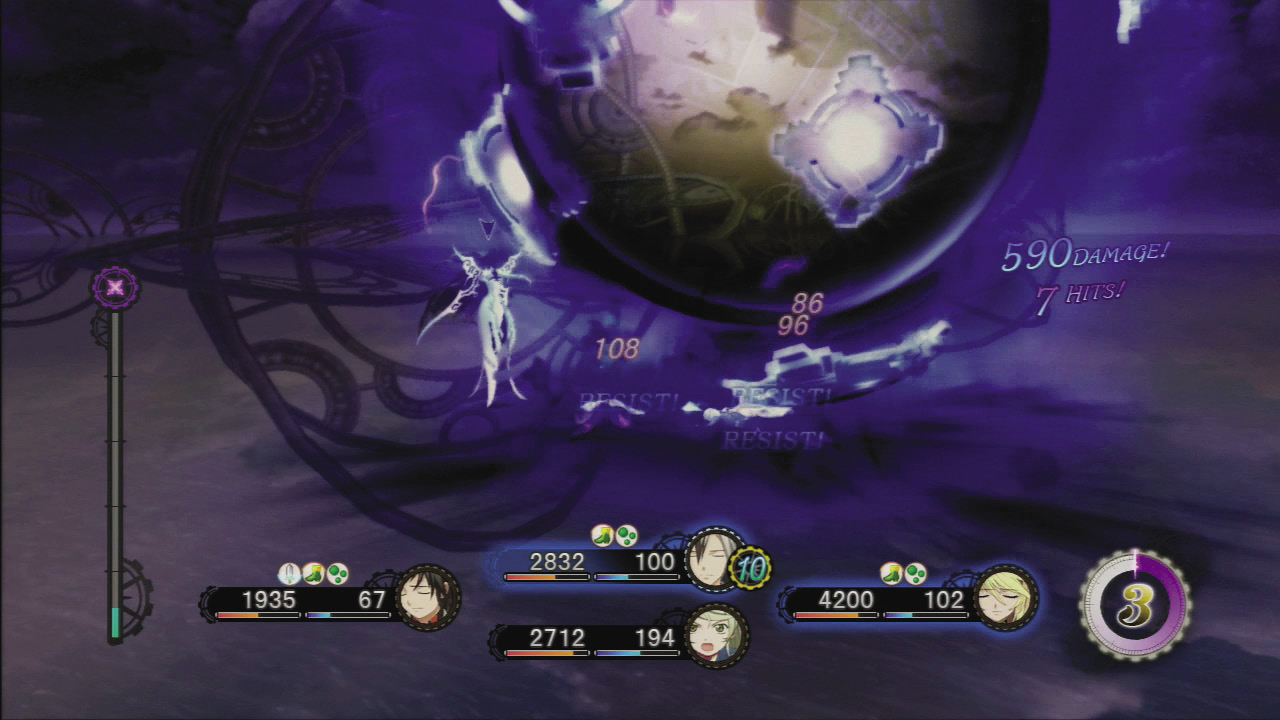
Gravity Well: Generates a giant gravitational field above the battlefield that deals Dark-type damage. Ready your Magic Guard if you’re being targeted.
Hair Attack: Muzét can attack with her hair, a straight-line attack with a very long range. Don’t try to quick-step away, just block.