
Tales of Xillia 2 Guide 3 Walkthrough Walkthrough
CHAPTER 16: The Gates of Judgment
Dungeon
Land of Canaan
|
Required Teammates |
|
|
Inn Price |
— |
|
Elemental ore |
24–75 |
|
Enemies Level |
72–76 |
|
Cats |
Fauntleroy |
 Ludger
Skits
| Start Time | Type | Name | Location | Condition | Choices | Required Members |
|---|---|---|---|---|---|---|
| Land of Canaan |
Etc. |
Haven’t Tried It | — | — | — |  |
Enemies
Chrono Harpy
|
Type |
|
| HP | 7170 |
|---|---|
| Weak |
|
| Strong |
|


Chrono Snake
|
Type |
|
| HP | 28680 |
|---|---|
| Weak |
|
| Strong |
|


Chrono Scorpion
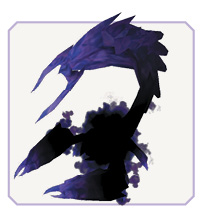
|
Type |
|
| HP | 7600 |
|---|---|
| Weak |
|
| Strong |
|


Chrono Skeleton
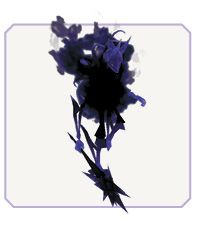
|
Type |
|
| HP | 6668 |
|---|---|
| Weak |
|
| Strong |
|


Enter the Land of Canaan
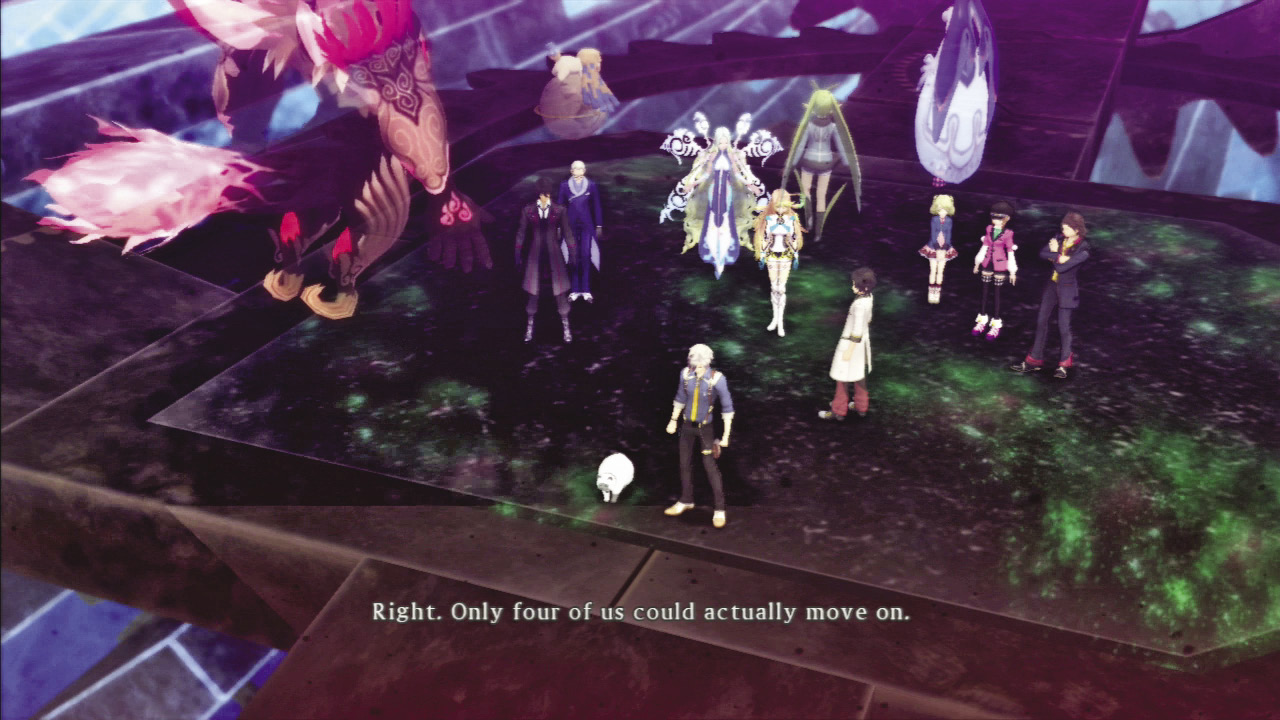
 When you’re prepared for the final area, enter the Land of Canaan through the spirit gate in Marksburg. Miasma creates a toxic fog in the Land of Canaan and only four party members can make the journey to Origin. The choice isn’t critical, but you should pick at least one character that excels at healing.
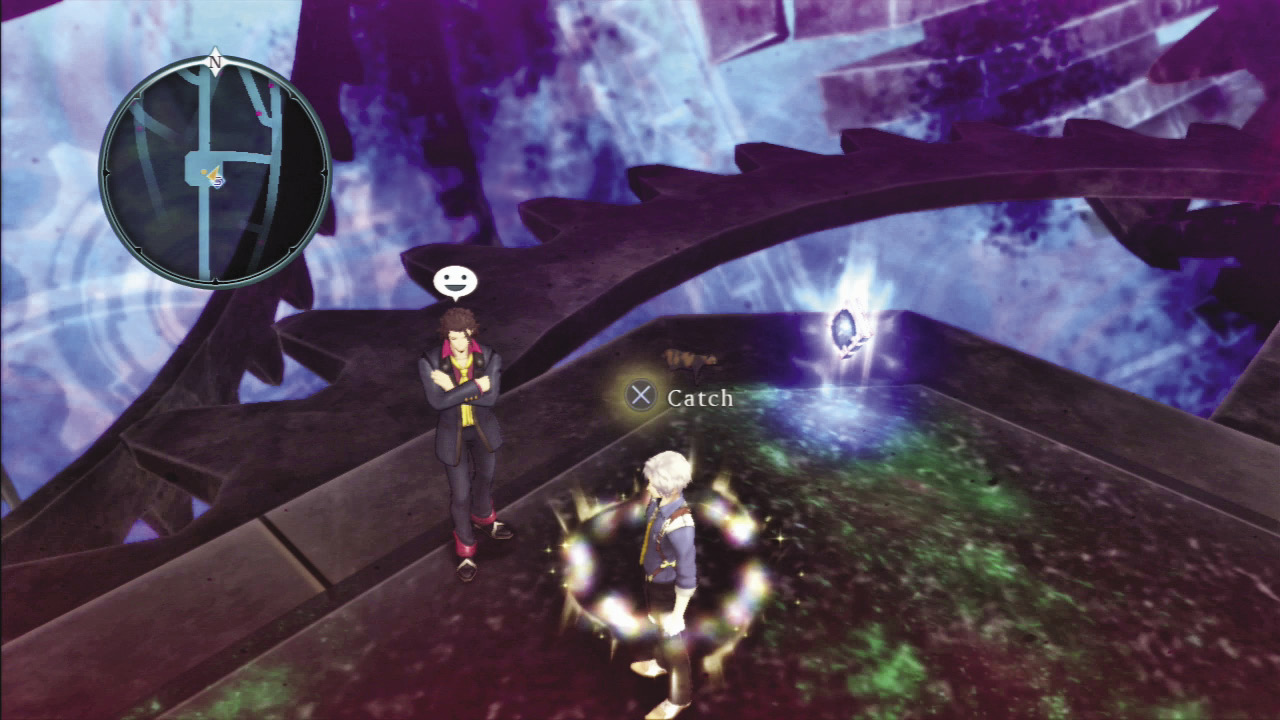
Fauntleroy is a dark feline and is very hard to spot near the save icon at the entrance to Canaan.
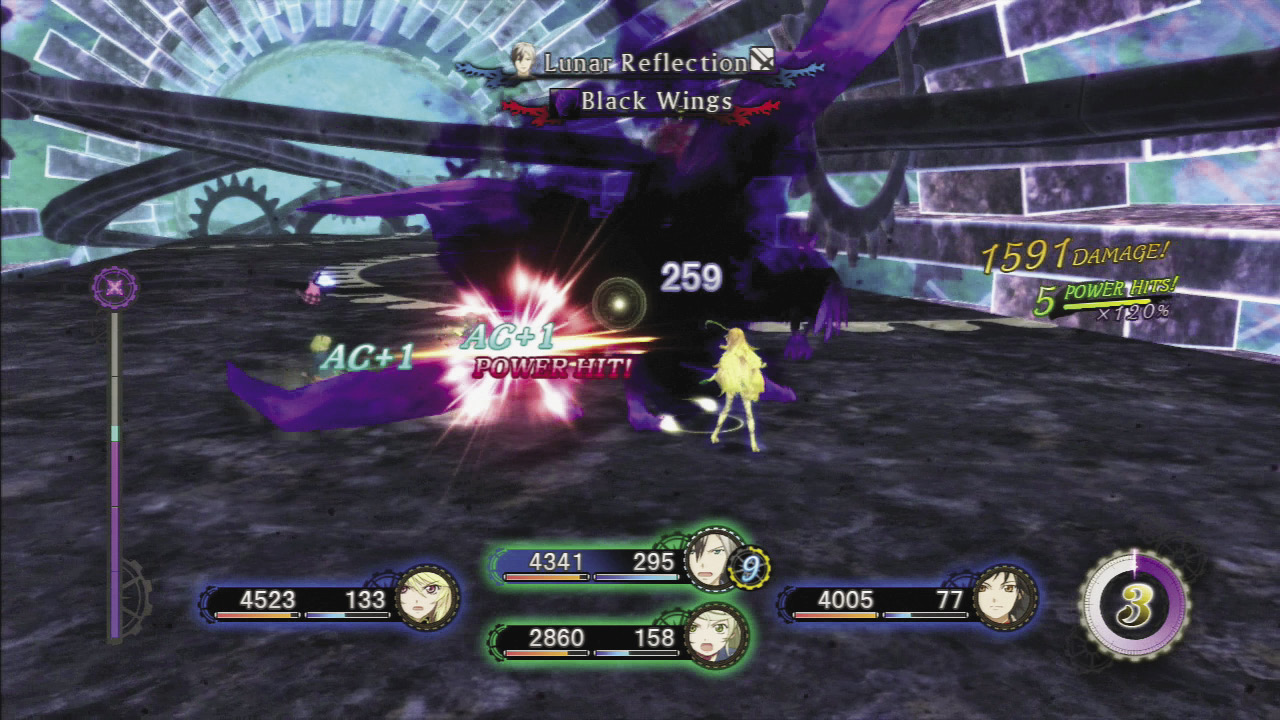
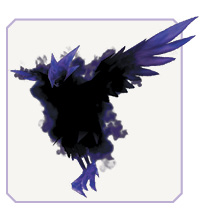
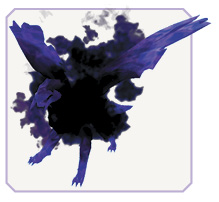
Because of the enemies’ opposite strengths and weaknesses, it is difficult to use a weapon with an elemental property. Thus, simply choose a weapon for each category with the highest attack power. Pay attention to the Chrono Harpies that are resistant to all physical forms of attack and concentrate on using Fire or Light artes such as Crimson Fury and Falling Thunder, respectively. The toughest foe in this area is the Chrono Snake. This beast has a lot of HP and deals heavy damage, but luckily it is pretty slow. Prey on its weakness to Wind damage and use Migrating Sparrows to fire away from a safe distance.
Navigating the Maze
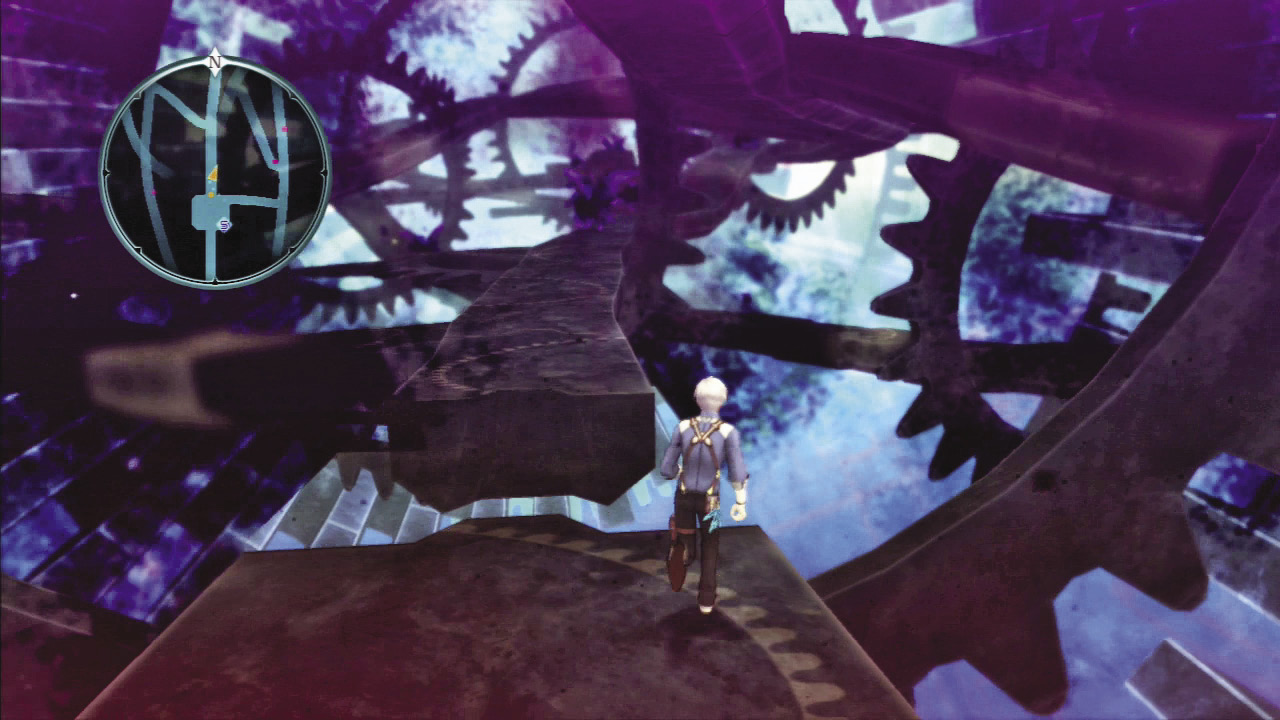
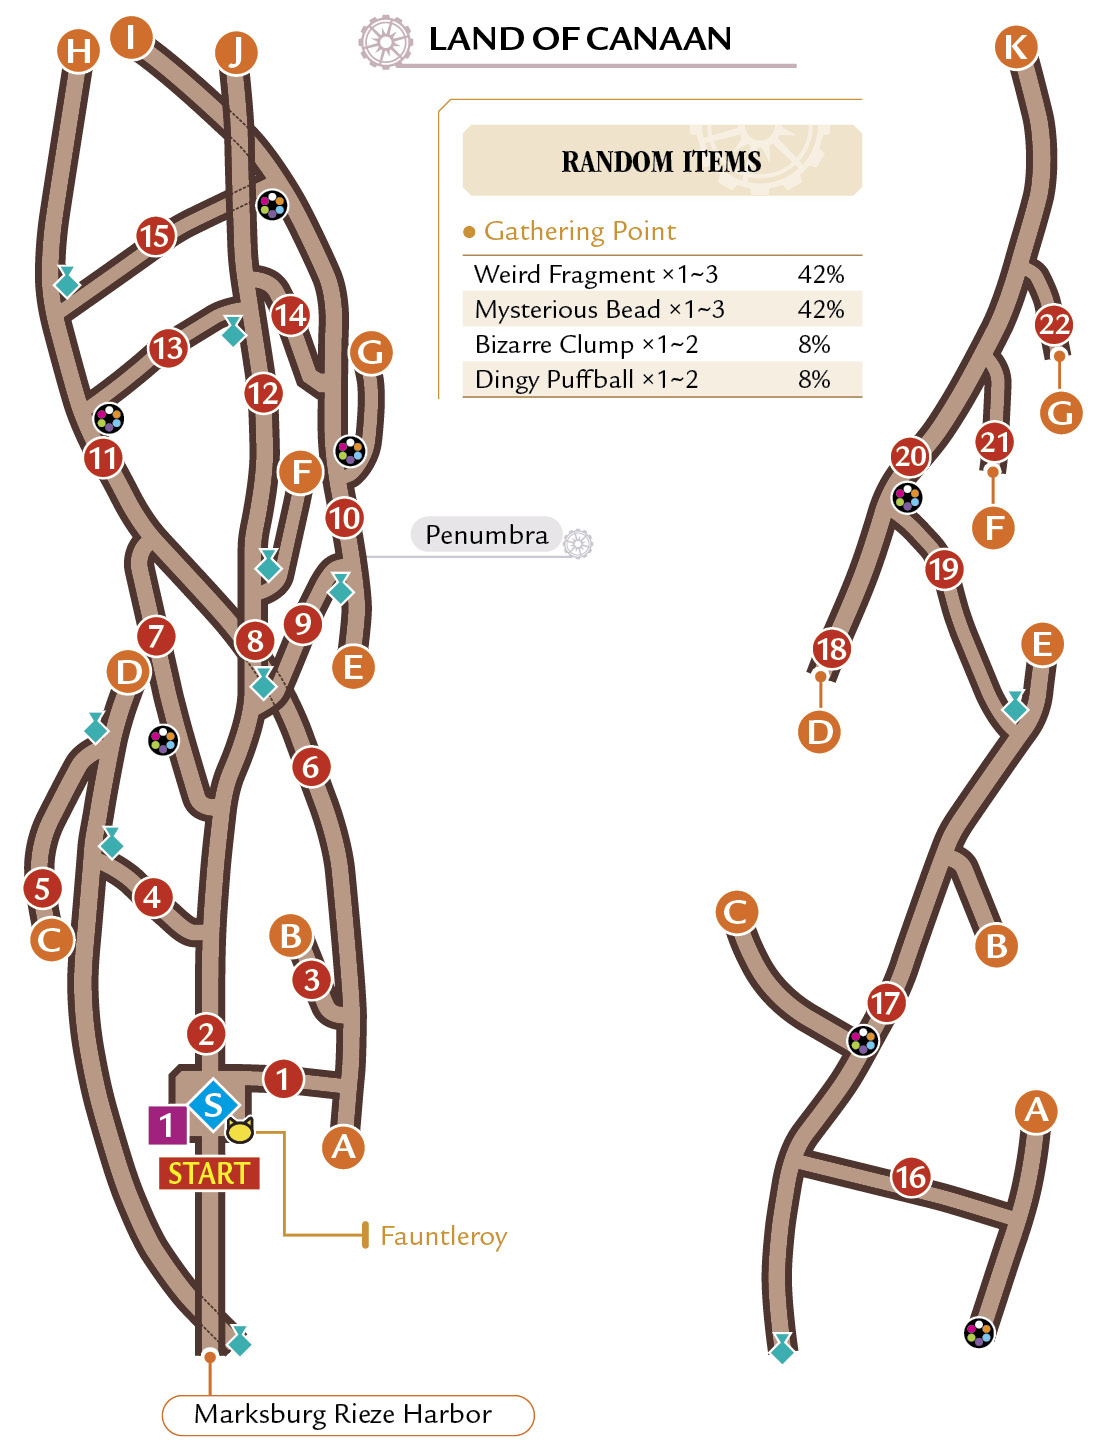
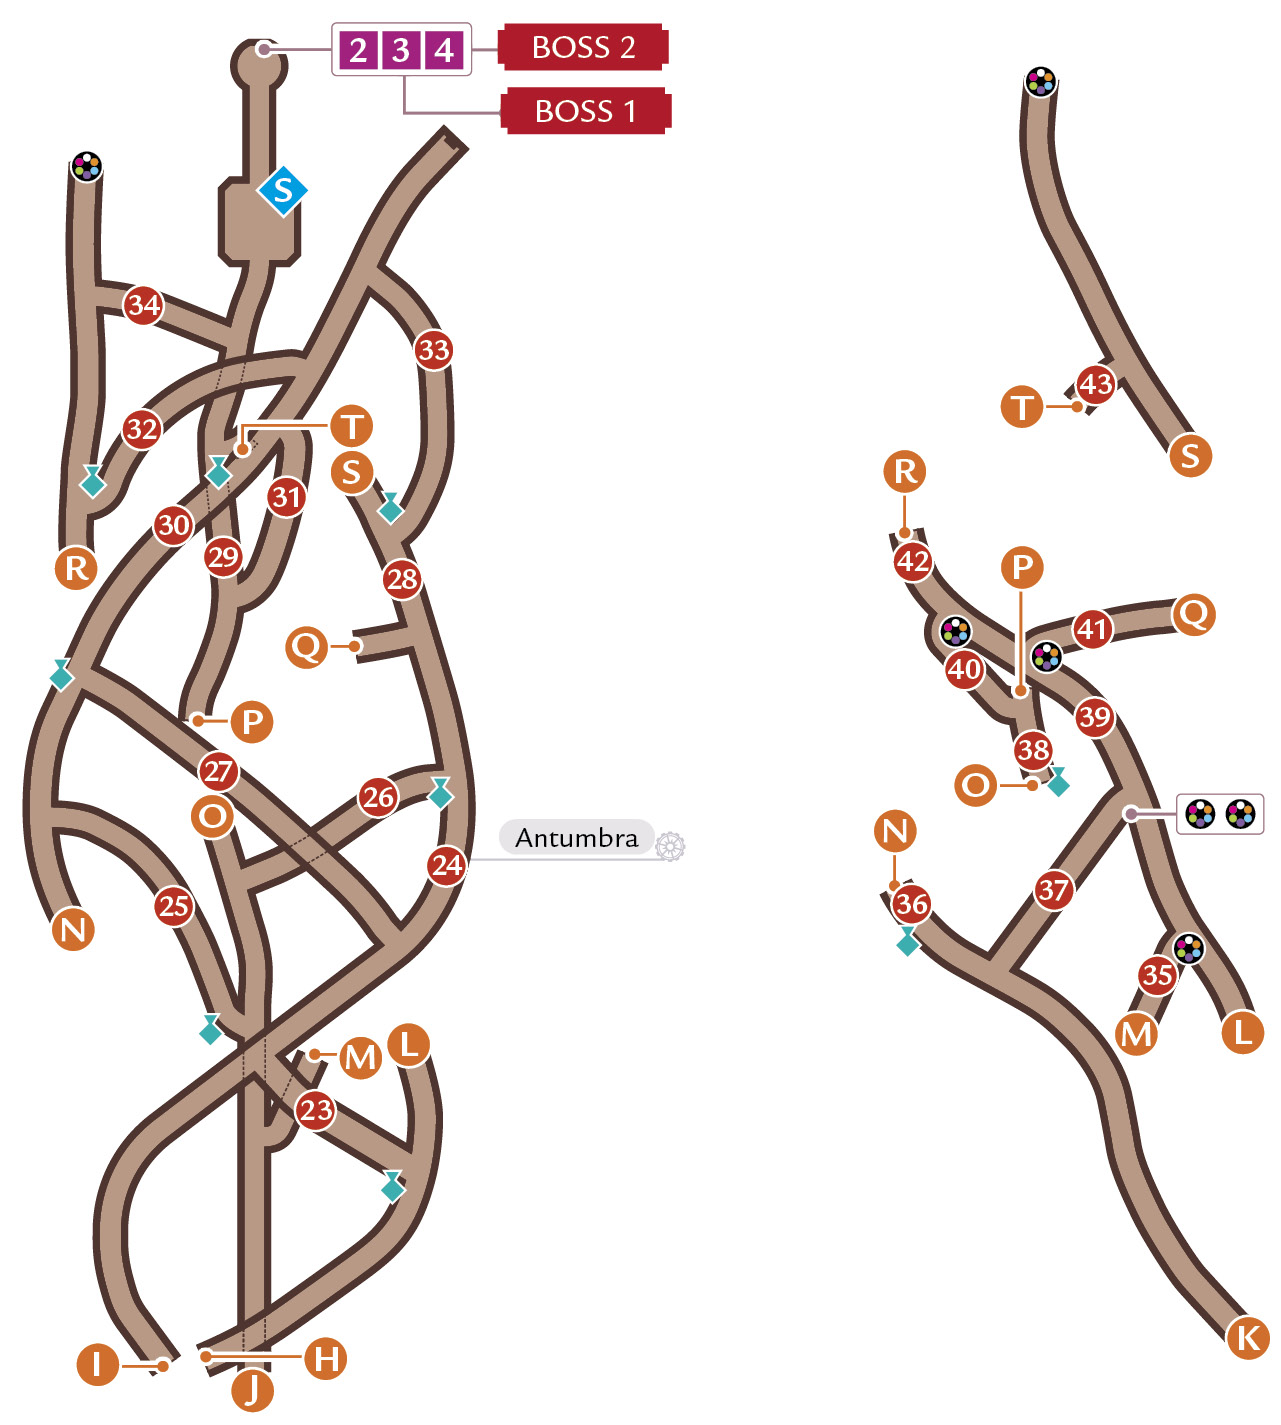
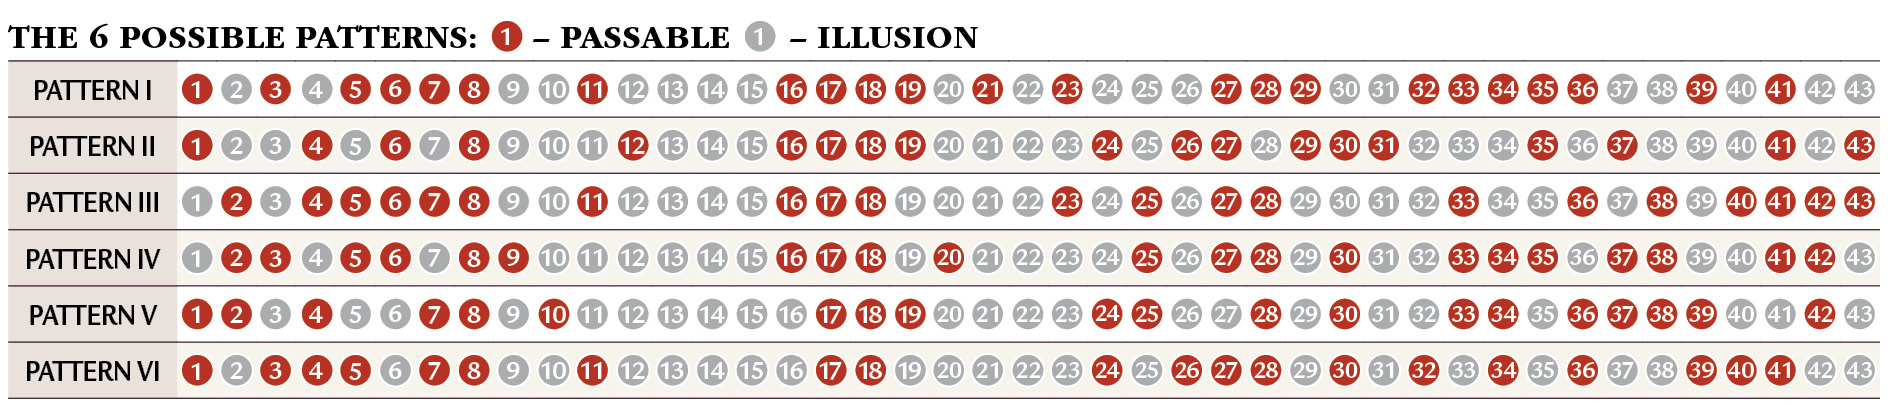
The monsters themselves aren’t the real challenge in the Land of Canaan; it is navigating the area so you don’t spend forever roaming around and depleting your resources. The in-game map is very deceptive, because it shows the possible path, but not actual breaks in the paths. Space is being warped around you to create illusionary routes, and you won’t know if the path is complete until you are up to the edge where the walkway will vanish as you try to step on it.
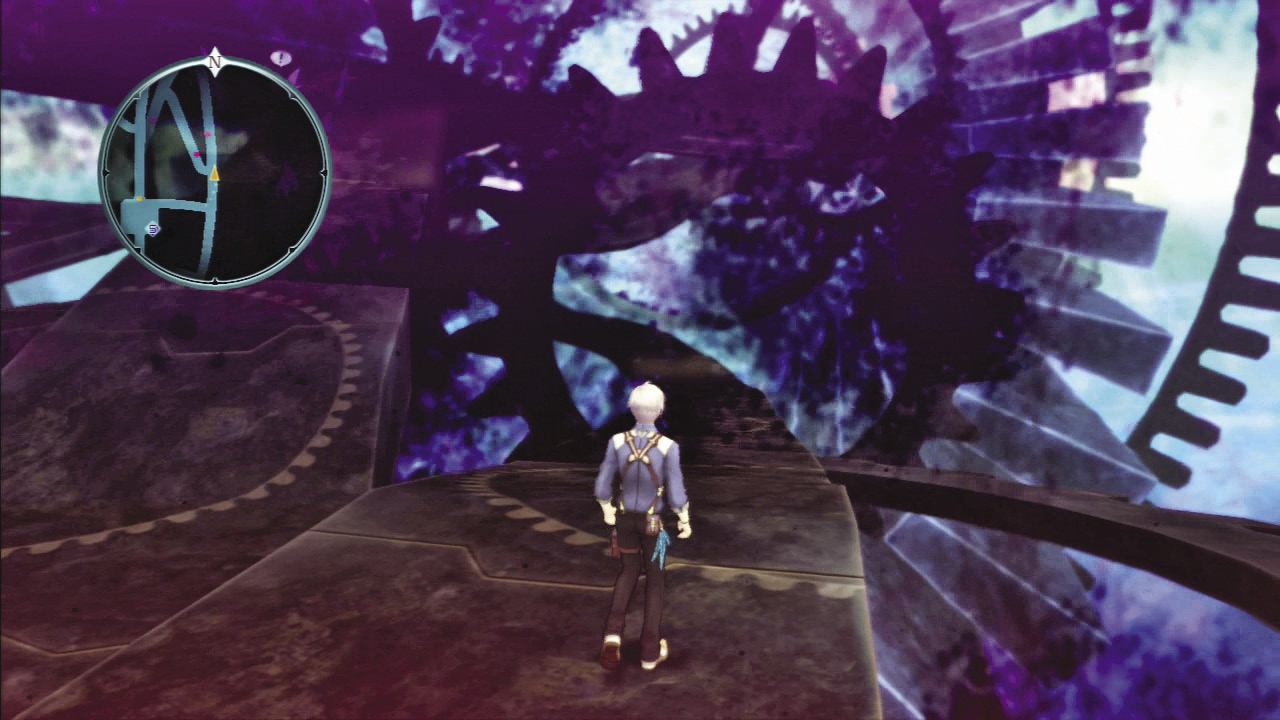
The chart near the map shows all six routes and which junctions are real and which are illusions. Start out checking the first section at point 1. If this is an illusion, you are on pattern III or pattern IV. Both of these patterns have a real path at point 2, and the final test is to check point 3. If point 3 is a real route, you are on pattern IV. If it is an illusion, you are on pattern III. Likewise if point 1 was passable, you would check the next several points (2–4) to determine which pattern you are on.
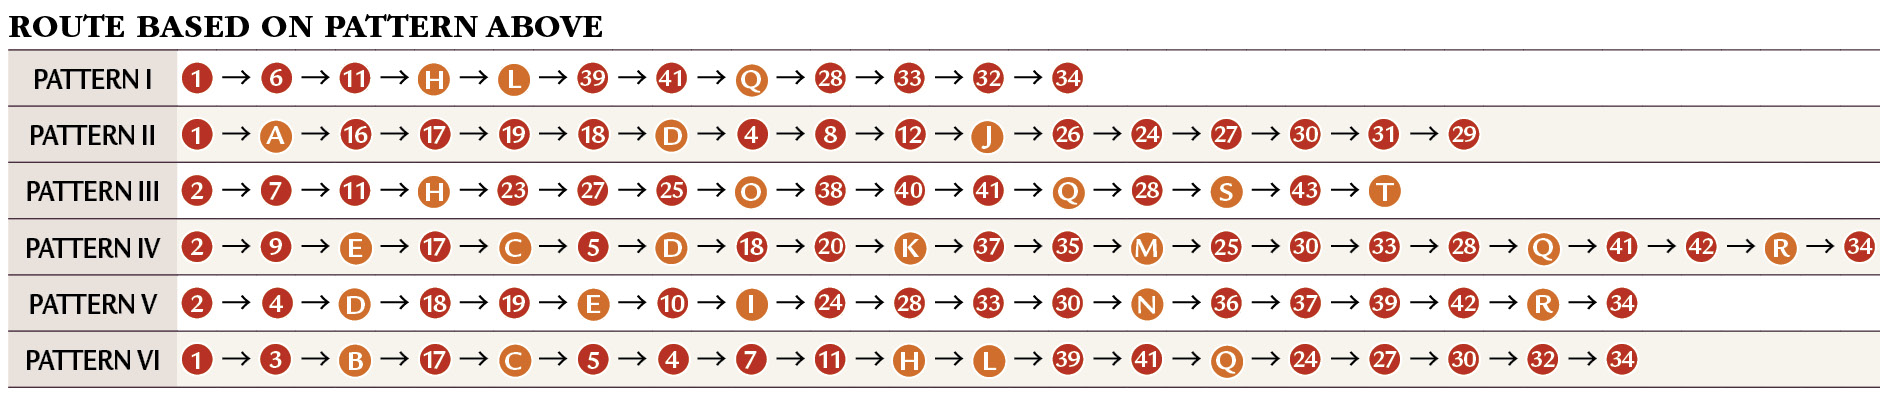
Once you figure out which of the six patterns you currently have, refer to the second chart to find the quickest route to the end. From the example above, if you are on pattern III, the route you would take is to go north past point 2, curve to the left through point 7, continue left through point 11, and exit the first section at point H. H will put you at the next map, the Antumbra, and you continue to follow the suggested route, going right to reach point 23 and taking the first left to the branch containing number 27. Then you must cut back southeast using the branch at point 25 to exit through point O and so on.
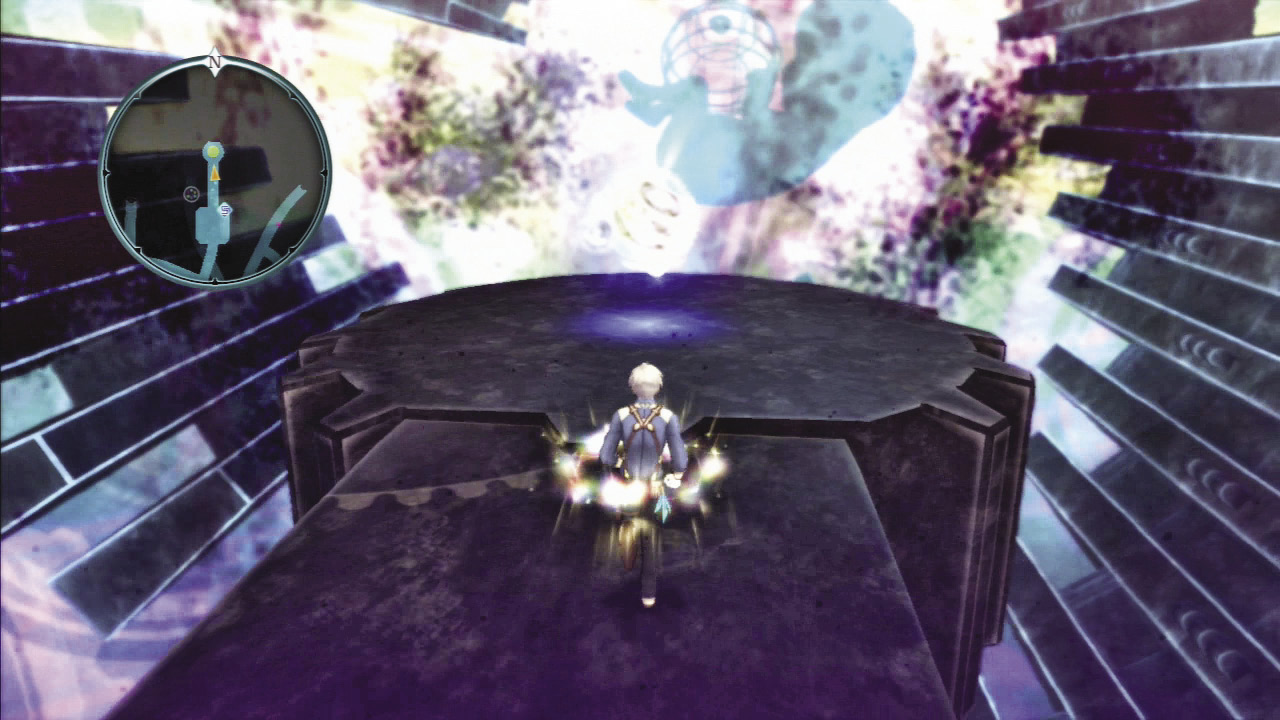
 When you finally reach the end of this maddening maze, save your game, heal your party, and enter the Gates of Judgment when you’ve steeled yourself.
A futile plan, as you can see.
|
BOSS Chronos
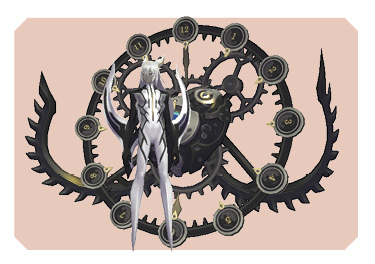
| Level | 75–79 |
|---|---|
| Iron Stance | 50 |
| HP | 223200–234000 |
| Weak | — |
| Strong |
|

| Drop | — |
|---|---|
| Steal | Working Gear (5%) |
Side-Stepping and Counterattack
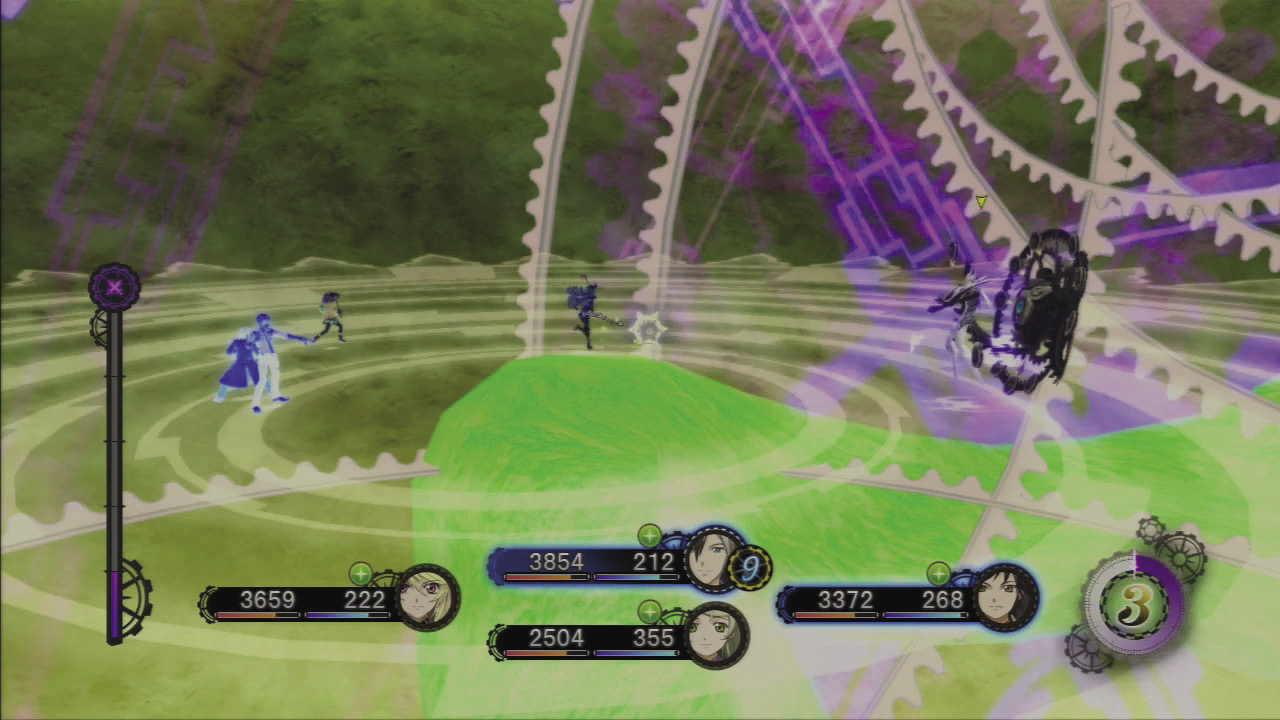
 Chronos has several deadly attacks to be aware of: the first is Gravity Meteor. This is an extremely powerful arte Chronos uses after Time Compression. It doesn’t have the widest range, so start running once you see that’s what he’s using.
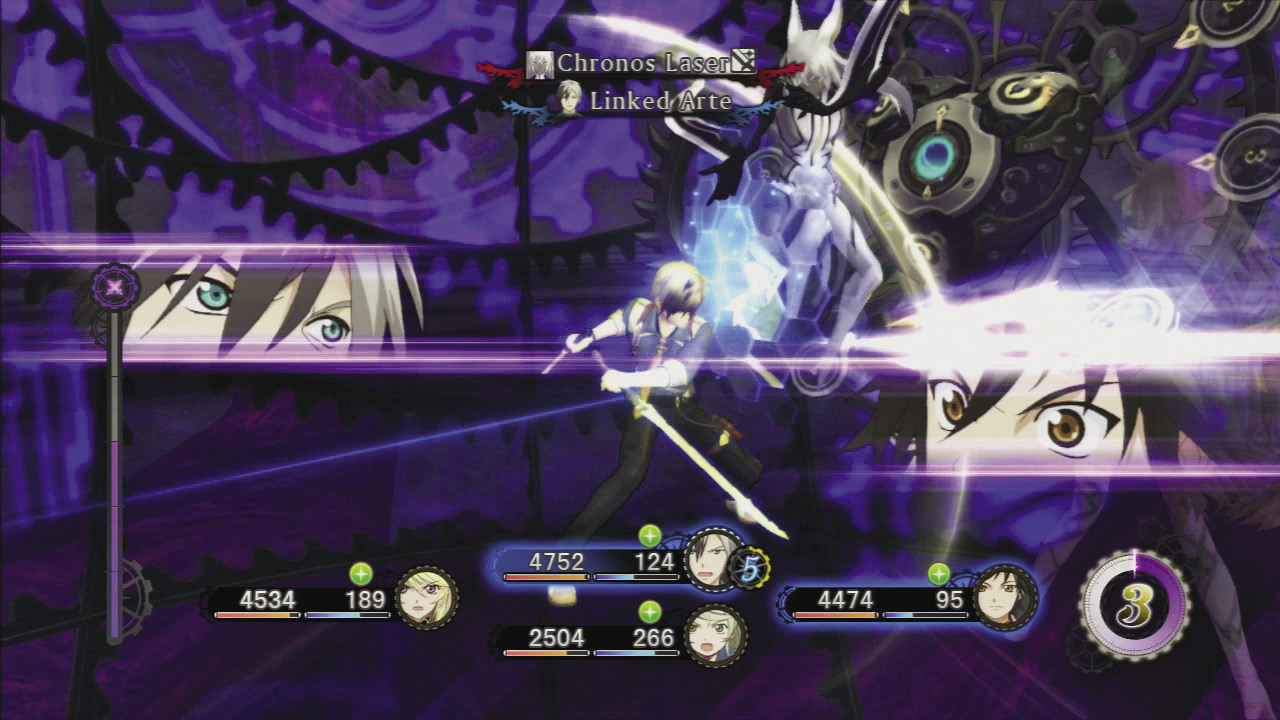
Another attack to be concerned about is Chronos Laser, a long-range laser that he sweeps in an arc. If he hits with this during Over Limit, he’ll chain it into his mystic arte, so run away or transform!
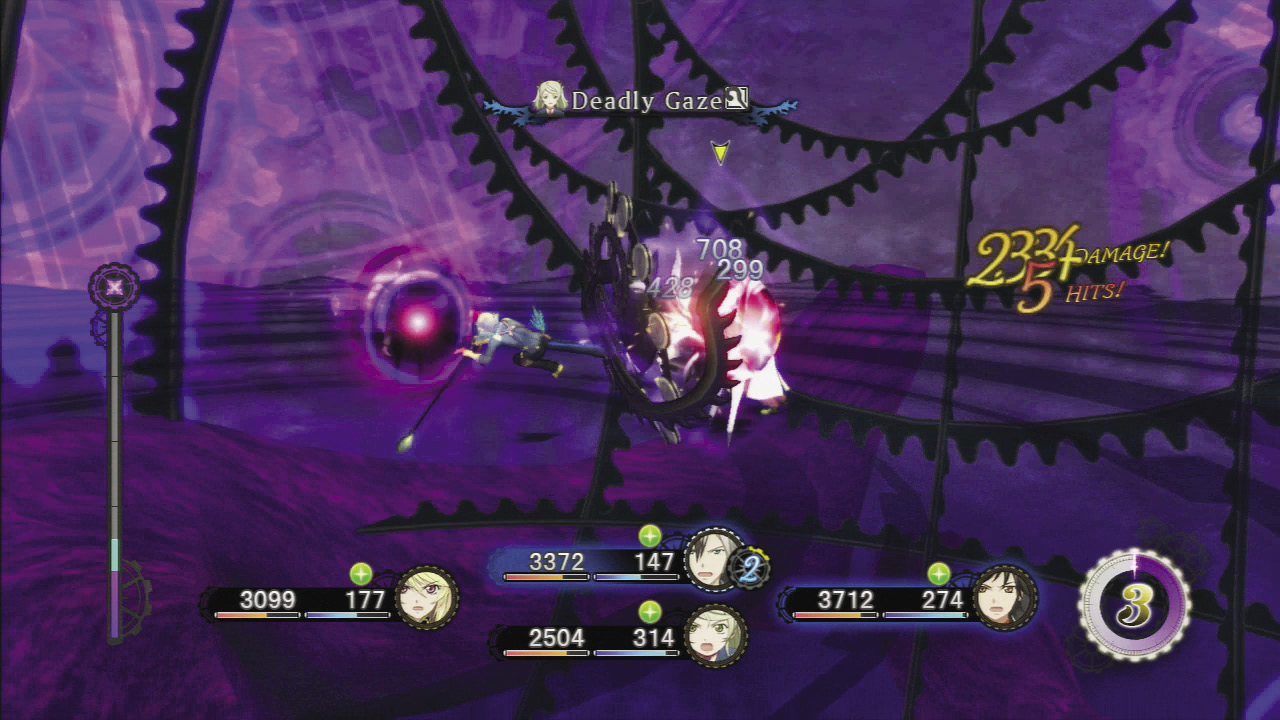
All of Chronos’s attacks are super powerful, so if you take your eye off the ball here you’ll be dead. However, the price for their power is the long window of vulnerability they provide for counterattacks. Evade his attacks and then move in to retaliate. For a great counterattack, watch out for his Tetra Assault. It’s deadly, but it takes a while for the boss to use it and it only hits in the area in front of him. When he starts using it, side-step around him and prepare to attack from the side.
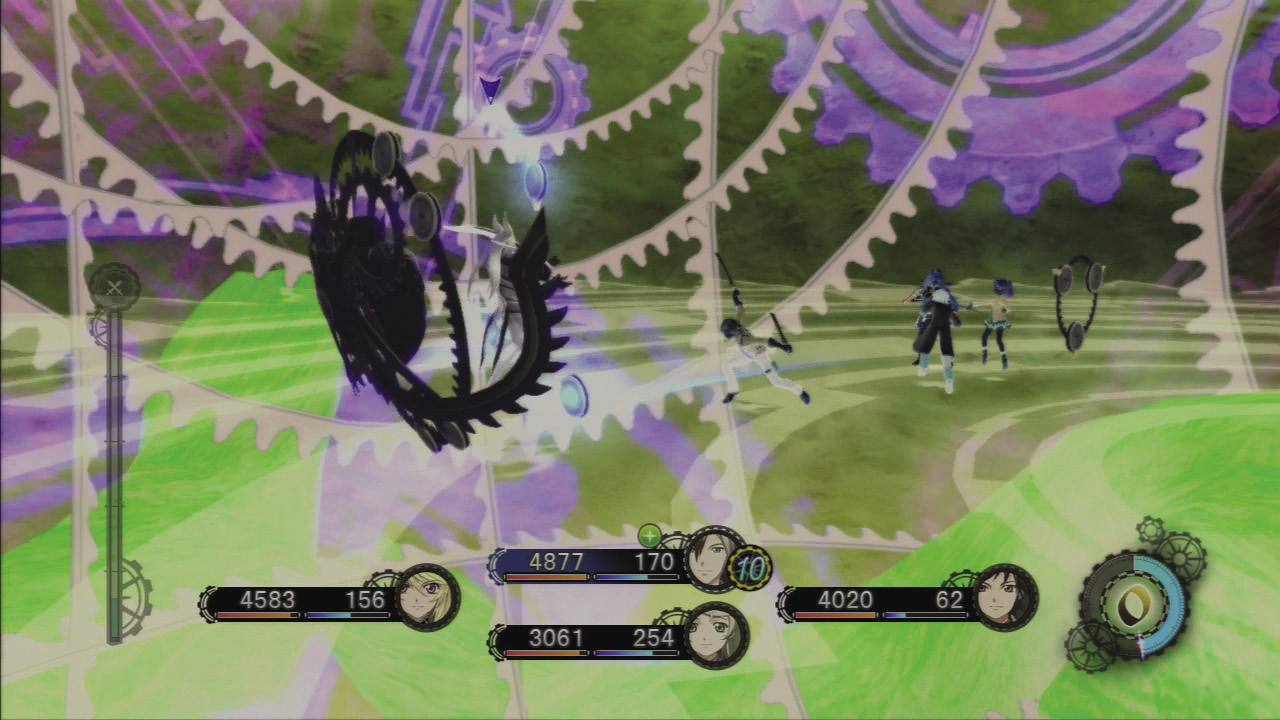
Continue your assault on the boss and wipe out the Chronos Bits if they are summoned or they could interrupt your combos. When Chronos gets to half his max HP, he’ll use Time Compression to reverse time back to the start of the battle. It’s imperative that you cancel this attack by transforming, so keep a close eye on Chronos’s remaining HP, and don’t knock him down to the halfway mark until your chromatus gauge is full.
What are you doing here?
|
Please, wish away the Fractured Dimensions.
|
|
Bonus Scene: Jude (completed Jude Episode 6) |
BOSS Bisley
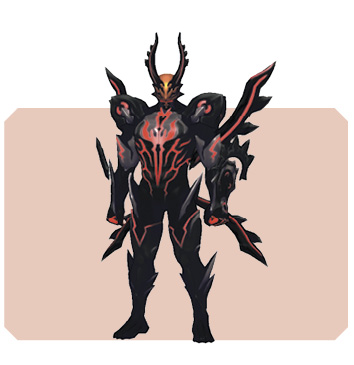
| Level | 77–81 |
|---|---|
| Iron Stance | 60 |
| HP | 320040–335160 |
| Weak | — |
| Strong | — |
| Drop | Elysium (100%) |
|---|---|
| Steal | “Ex Machina” Whiskey (5%) |
Seize Small Opening While Charging Chromatus Gauge
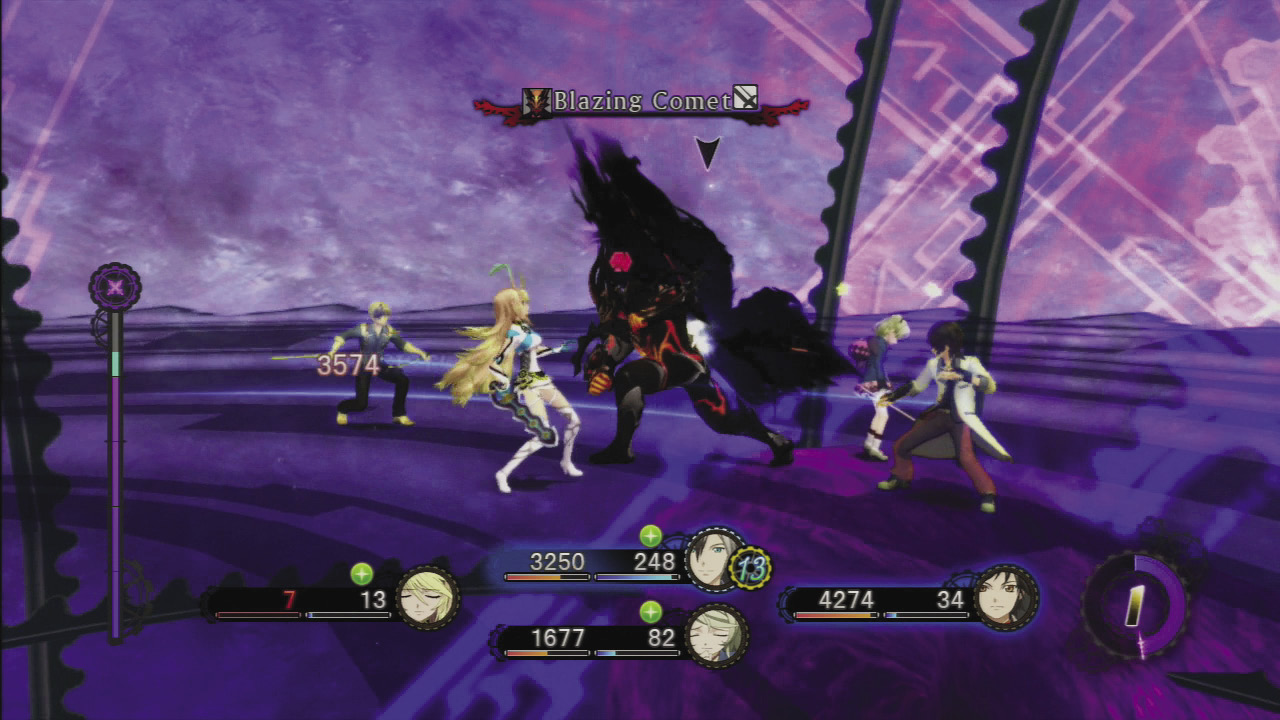
 Several of Bisley’s artes can wipe out a character with a single move. The Blazing Comet attack has a short range, but high power and a chance at an instant KO. It’s a Light-type attack, so use a Syrup Bottle to ward off the Confusion ailment.
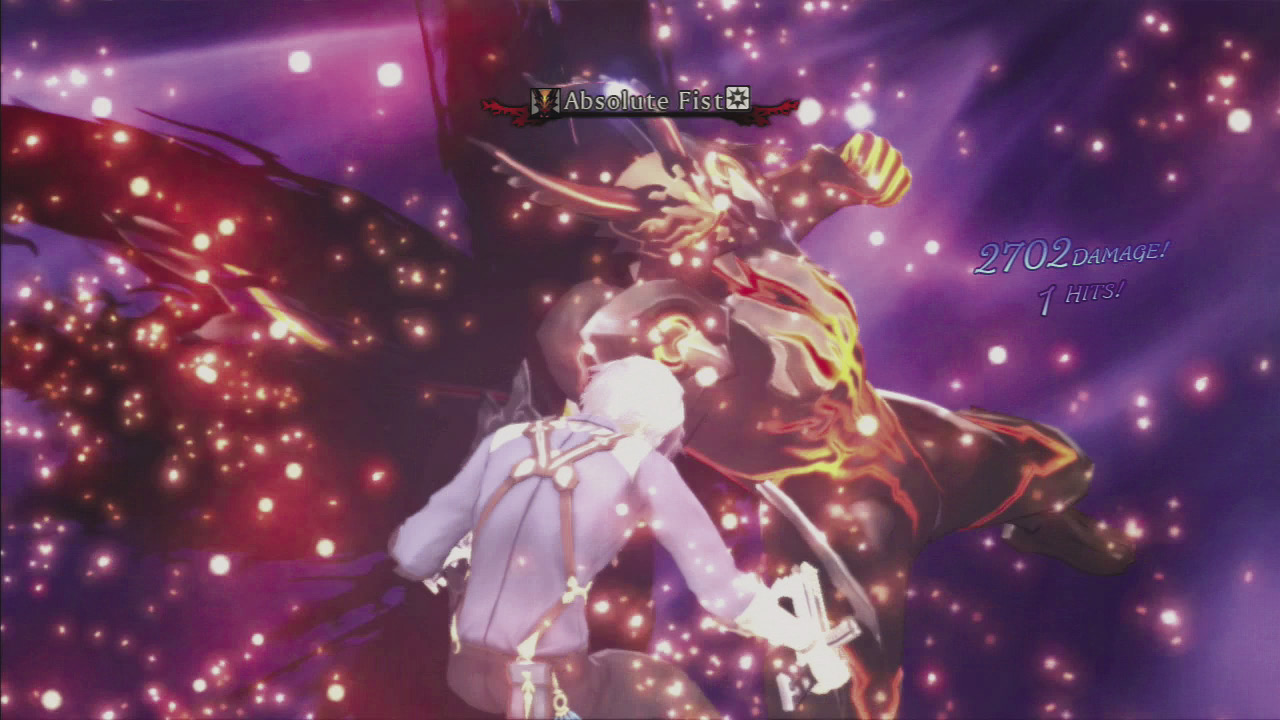
Absolute Fist is an extremely powerful mystic arte that is virtually guaranteed to deliver a KO. Stay far away from the boss when he is in Over Limit.
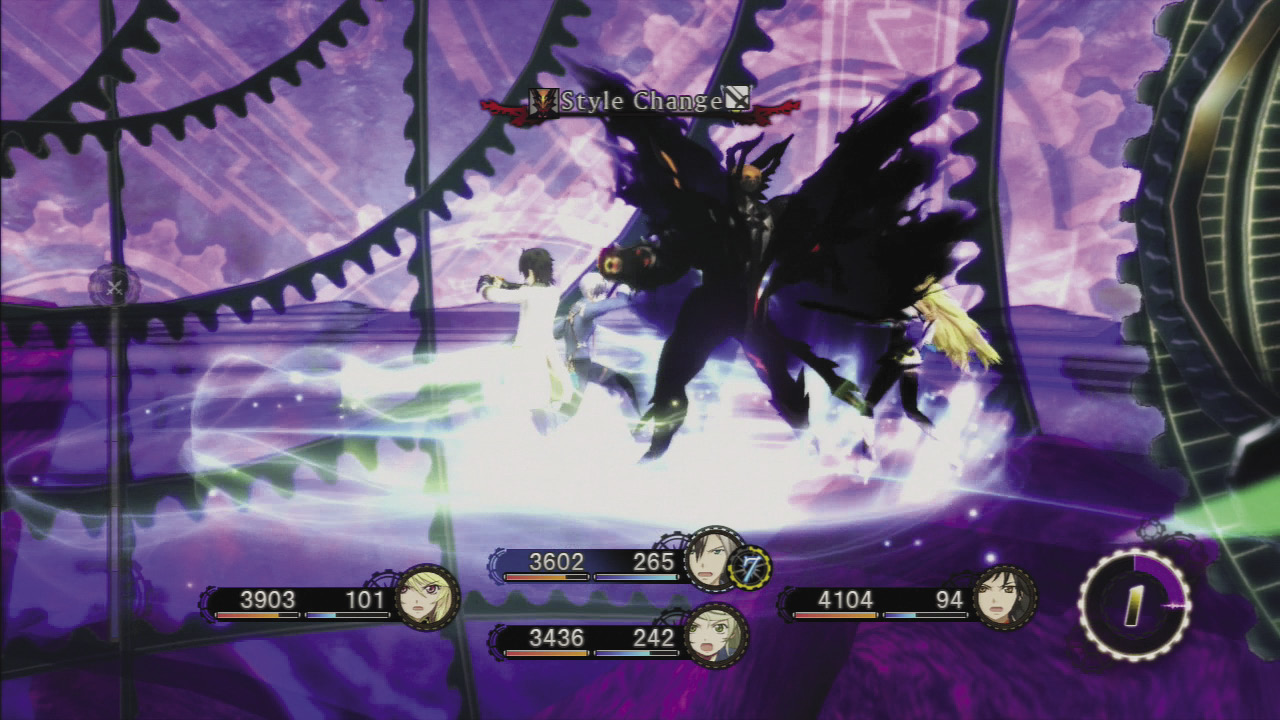
Bisley’s attacks are powerful and leave very small openings to retaliate. If you face him head on, you’ll be in for a tough fight. Side-step and back-step religiously while sneaking in small attacks where you can. If you try normal combos when attacking (instead of weakness-exploiting ones), you’ll face a damaging counterattack. So instead, fire off artes without attempting to chain them into combos and deal damage with Linked Artes when you can. Your primary goal is just charging your chromatus gauge. Also, note that Bisley stops moving to use his Style Change arte. This is your chance to strike or get in some healing.
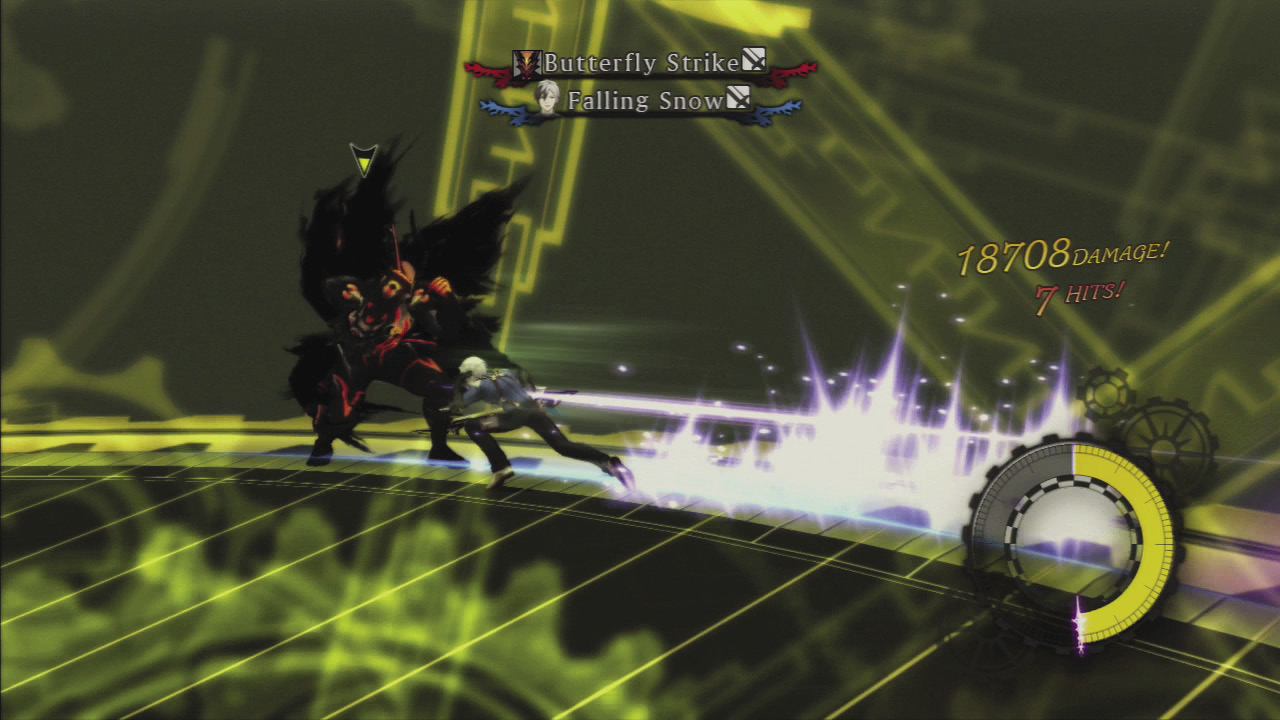
When Bisley gets down to 10% of his max HP, an event will trigger in which he regains a portion of his HP before resuming the fight. Even if you used up your chromatus gauge, you’ll resume the second phase of the fight in your transformed form, so it’s to your advantage to use your transformation towards the end of the first fight. Finally, when you knock Bisley down to 0 HP in that second round, Ludger will automatically transform so that he can use his transformed mystic arte to deliver the finishing blow.
|
Bonus Scene: Milla (completed Milla Episode 6) |
The last set of choices will determine which ending you will get. We won’t spoil the outcome, but to earn the “normal ending” choose L1 each time and to receive the “true ending” select all the R1 choices.