
Tales of Xillia 2 Guide 3 Walkthrough Walkthrough
Chapter 5: Spyrite Goes Haywire
Dungeon
Helioborg Research Station
|
Required Teammates |
|
|
Inn Price |
— |
|
Elemental ore |
4–30 |
|
Enemies Level |
9–13 |
|
Cats |
Narcissus |
 Ludger
  Jude
Jude
Enemies
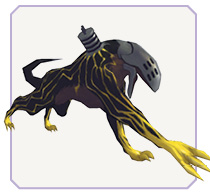
Vortex Wolf
|
Type |
|
| HP |
1395 |
|---|---|
| Weak |
|
| Strong |
— |


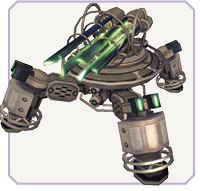
Spyrix Sentry 2.0
|
Type |
|
|
HP |
3000 |
|
Weak |
|
|
Strong |
|


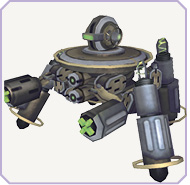
Meniphto
|
Type |
|
|
HP |
1589 |
|
Weak |
|
|
Strong |
|


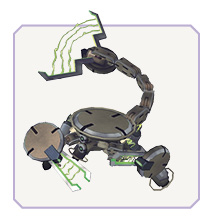
Vortex Scorpion
|
Type |
|
|
HP |
1589 |
|
Weak |
|
|
Strong |
— |


Exodus Stalwart

|
Type |
|
|
HP |
1500 |
|
Weak |
|
|
Strong |
|


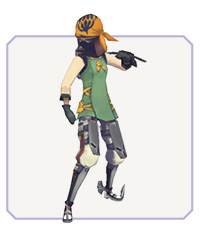
Exodus Infiltrator
|
Type |
|
|
HP |
1500 |
|
Weak |
|
|
Strong |
|


Skits
| Start Time | Type | Name | Location | Condition | Choices | Required Members | |
|---|---|---|---|---|---|---|---|
|
Helioborg Research Station-Helioborg Research Station (Fractured Dimension) D |
Etc. |
Teepo vs Rollo |
Helioborg Research Station (Fractured Dimension) |
Military Research Wing 11F - Passageway |
|
||
|
Helioborg Research Station-Helioborg Research Station (Fractured Dimension) 5 |
Main |
Alvin and Elize |
Helioborg Research Station (Fractured Dimension) |
Military Research Wing 10F - Passageway |
L1: |
Alvin+250 |
|
|
R1: |
None |
||||||
|
Helioborg Research Station-Helioborg Research Station (Fractured Dimension) 5 |
Main |
The Terror Group, Exodus |
Helioborg Research Station (Fractured Dimension) |
Military Research Wing 11F - Passageway |
|
||
|
Helioborg Research Station-Helioborg Research Station (Fractured Dimension) G |
Etc. |
A Year Ago |
Helioborg Research Station |
— |
|
||




Helioborg Research Station
Helioborg Research Station Fractured
Find Balan

The security system has been hijacked! Several goodwill ambassadors are being held hostage on the top floor of the Research Wing, including Balan, who might have a lead on Julius.
Still wanna trust me?
|
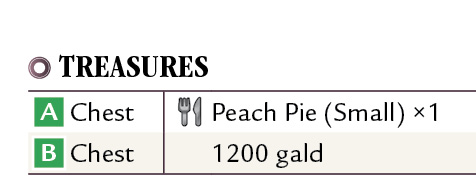
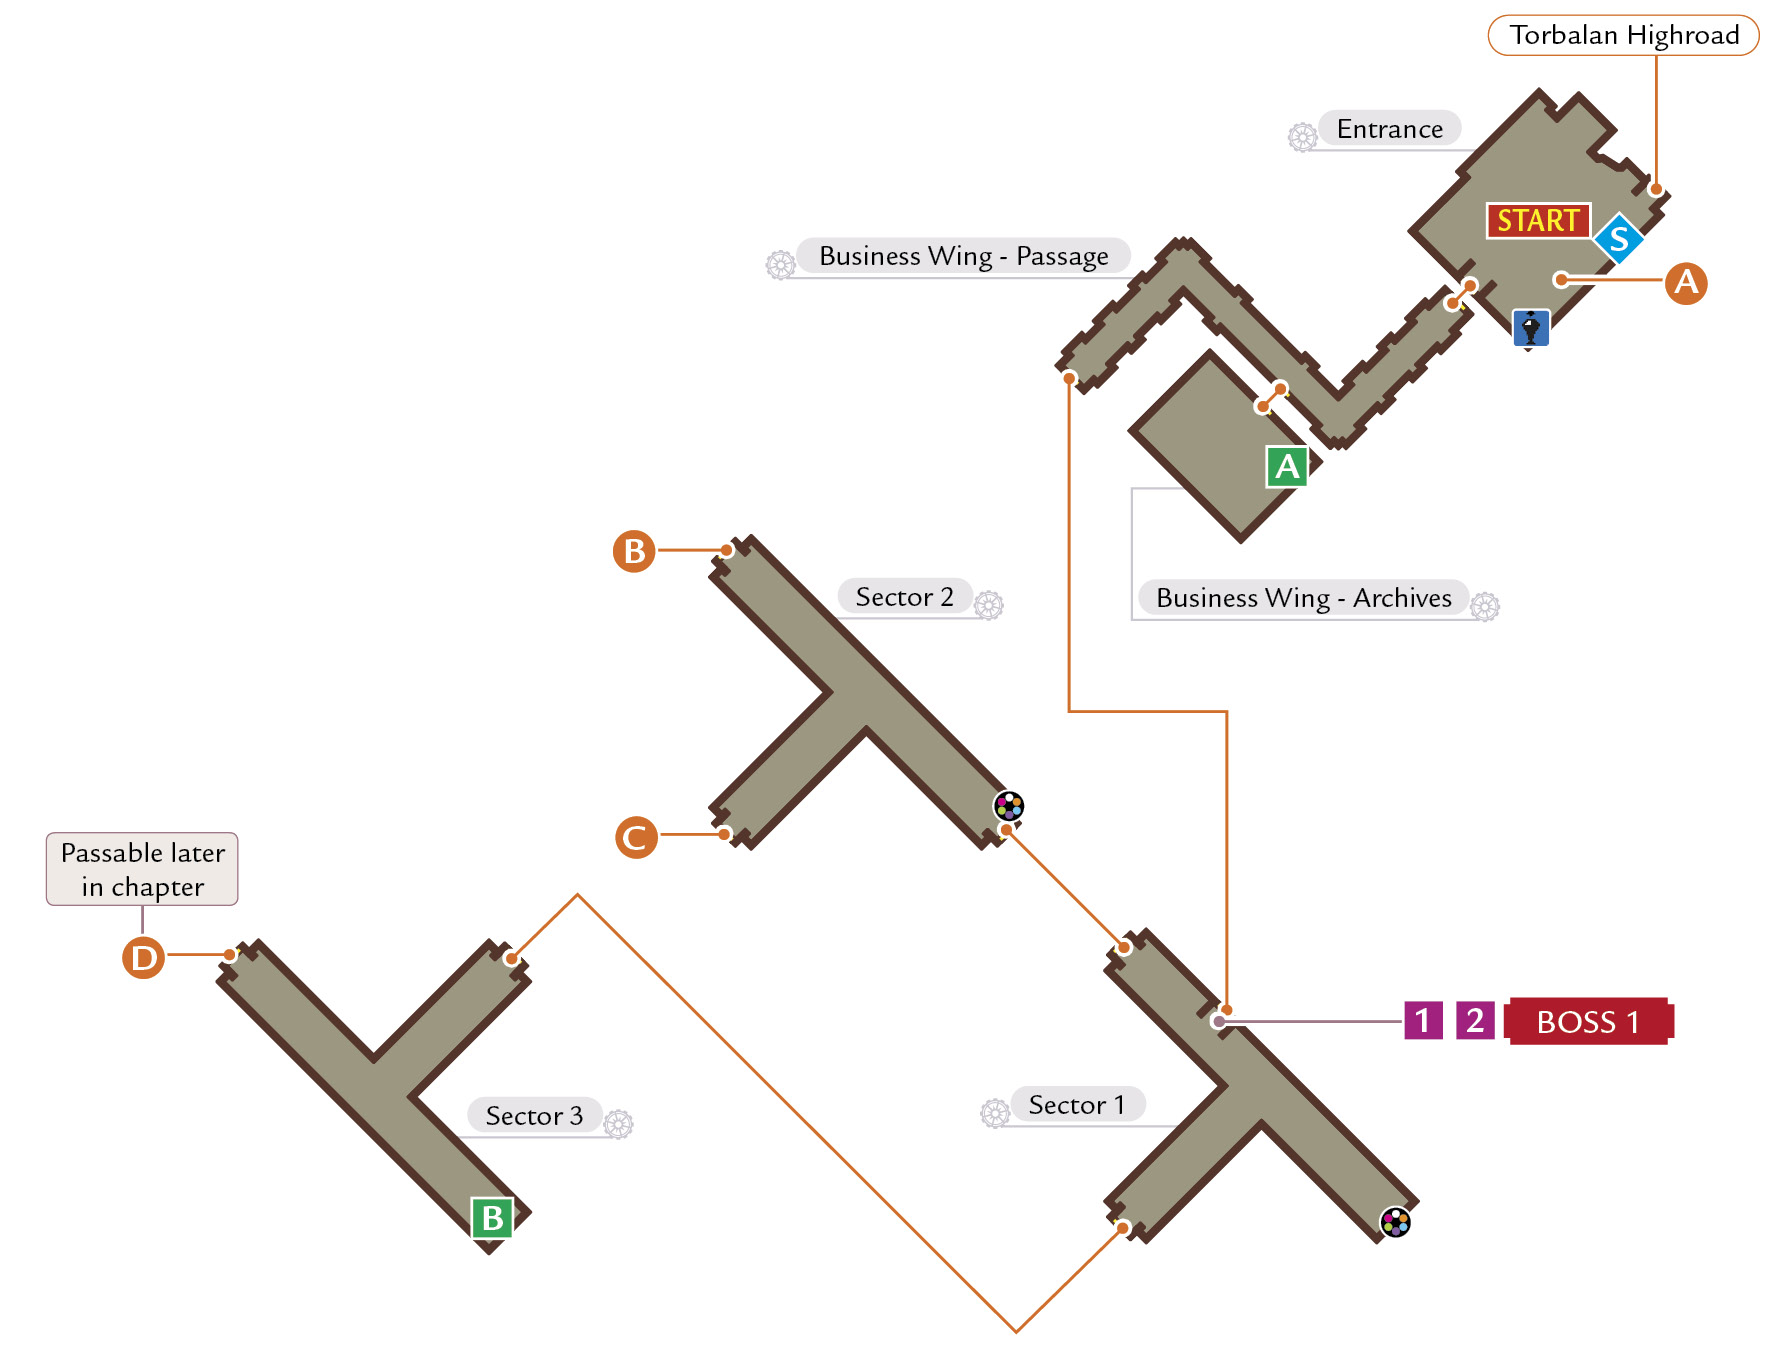
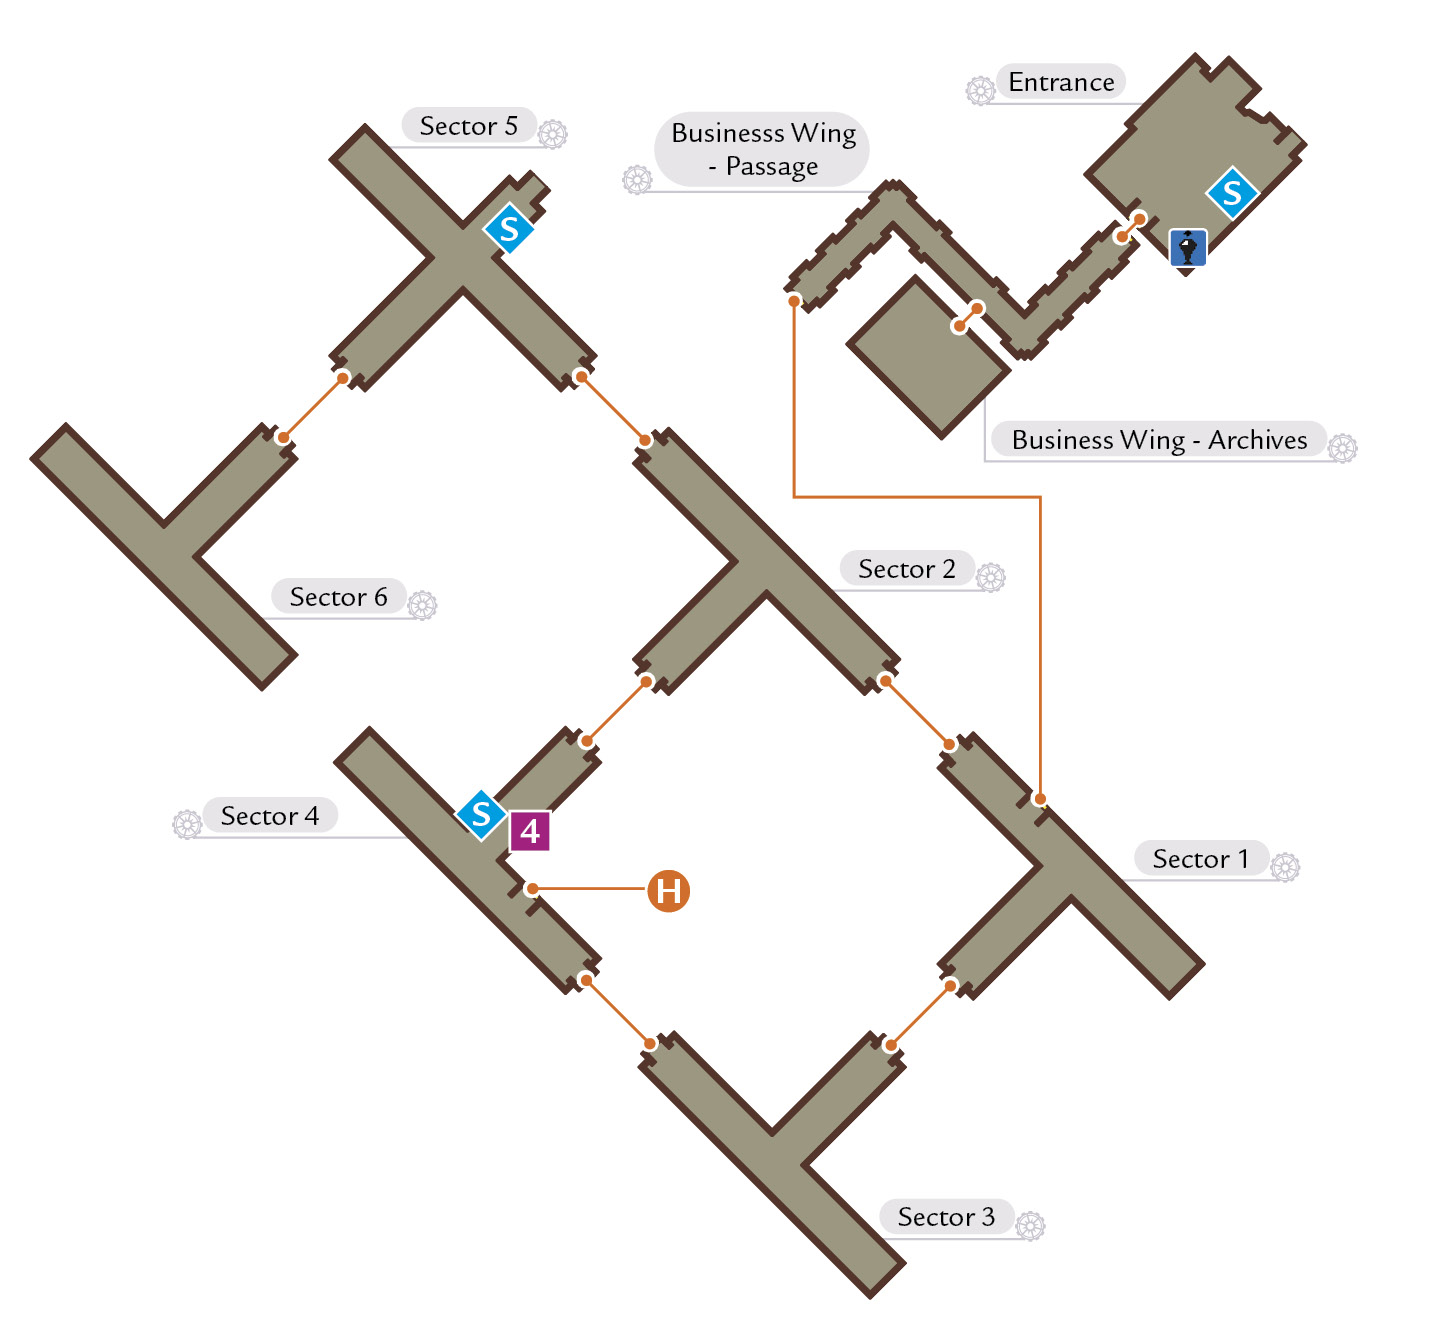
 Alvin joins your party and his gun-like weapon will be very valuable exploring this place. Enter the Business Wing, pick up some pie in the archives, and exit into Sector 1 to run into an ambush. This is an easy fight and it would have been even easier with the “gift” Ivar is about to bring.
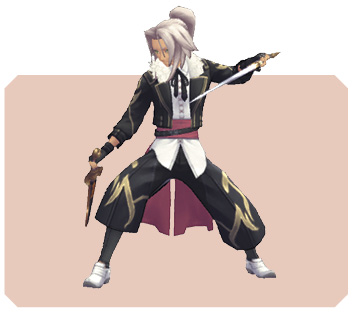
Boss Ivar
|
Level |
9–13 |
|
Iron Stance |
0 |
|
HP |
12000–14880 |
|
Weak |
|
|
Strong |
— |

|
Drop |
Lose Stick (100%), Lightning Bolt (100%) |
|
Steal |
— |
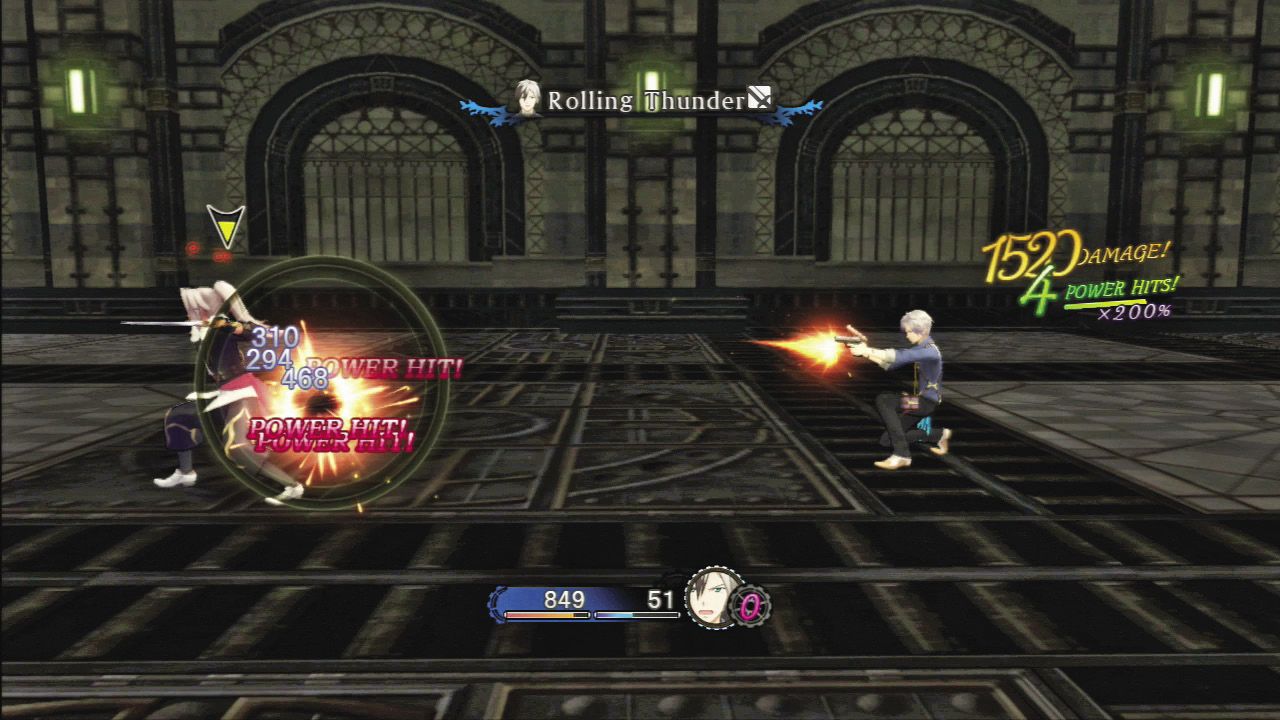
 This is another tutorial fight, this time about using dual pistols. The lesson in this battle is to use the range of the guns to attack from a safe distance. However, to provide some practice, Ivar will charge in using a Phantom Edge attack. Guns are great from afar, but they can be slow. Continue to fire on Ivar, but if you are not able to pin him down at a distance, be prepared to switch back to dual blades when he charges in. Keep your distance using free run and fire away to easily take care of Ivar.
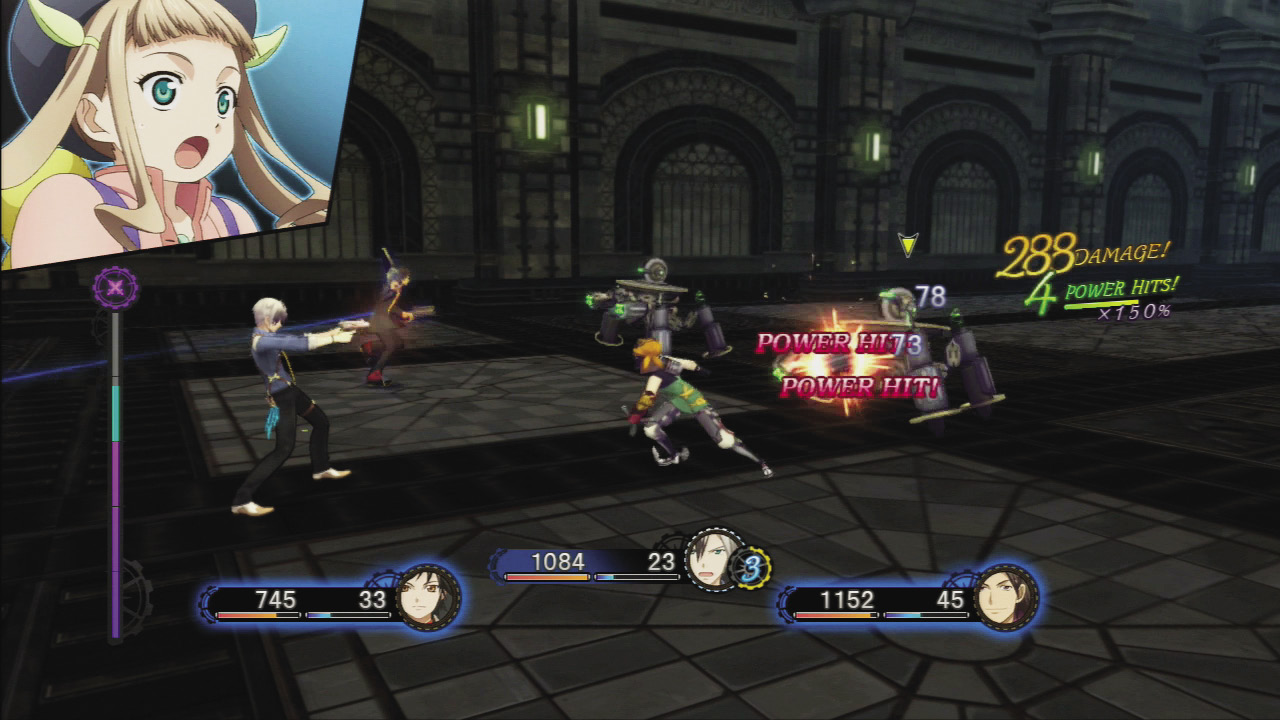
Most enemies in Helioborg are weak to gun attacks, which should make your strategy in this section pretty obvious. Keep your distance and open fire to rack up Power Hits while allowing your party to get in close. Fire as fast as possible to keep foes locked down from a distance, but look for the speedy Exodus Infiltrators that will get in your face quickly. Target the Infiltrators first using your guns, but switch to dual blades if enemies get in close. Also, make sure to link with Alvin to take advantage of his gun-based special linked artes.

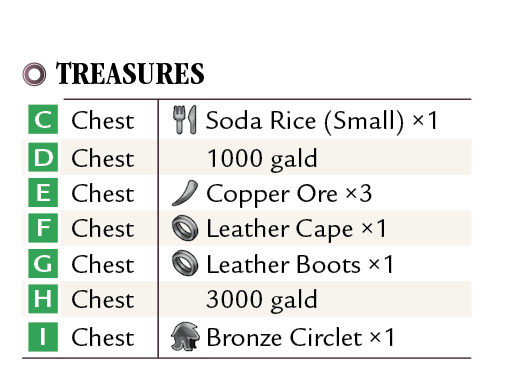
 To the southwest is 1200 gald. After you collect it, head northwest to point C to run into Elize and her buddy Teepo. The young girl is a prodigy spirit artes wielder who was part of the goodwill team. Her classmates are safe and Balan lured the bad guys to the top of the Development Wing. Elize will join your party, and she does an excellent job of filling the role of magic user. However, before the group can go after Balan, another dimensional shift occurs.
Meet Elize and Teepo
|
Head to the Roof (Fractured Dimension)
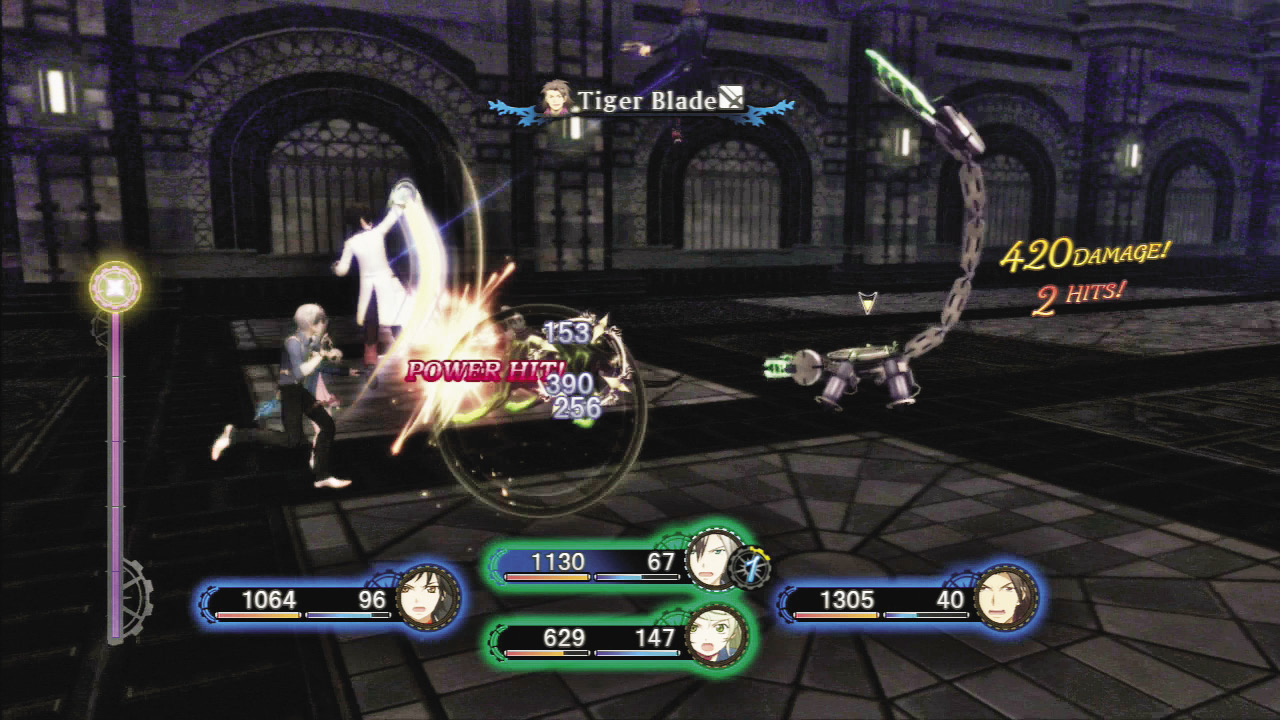
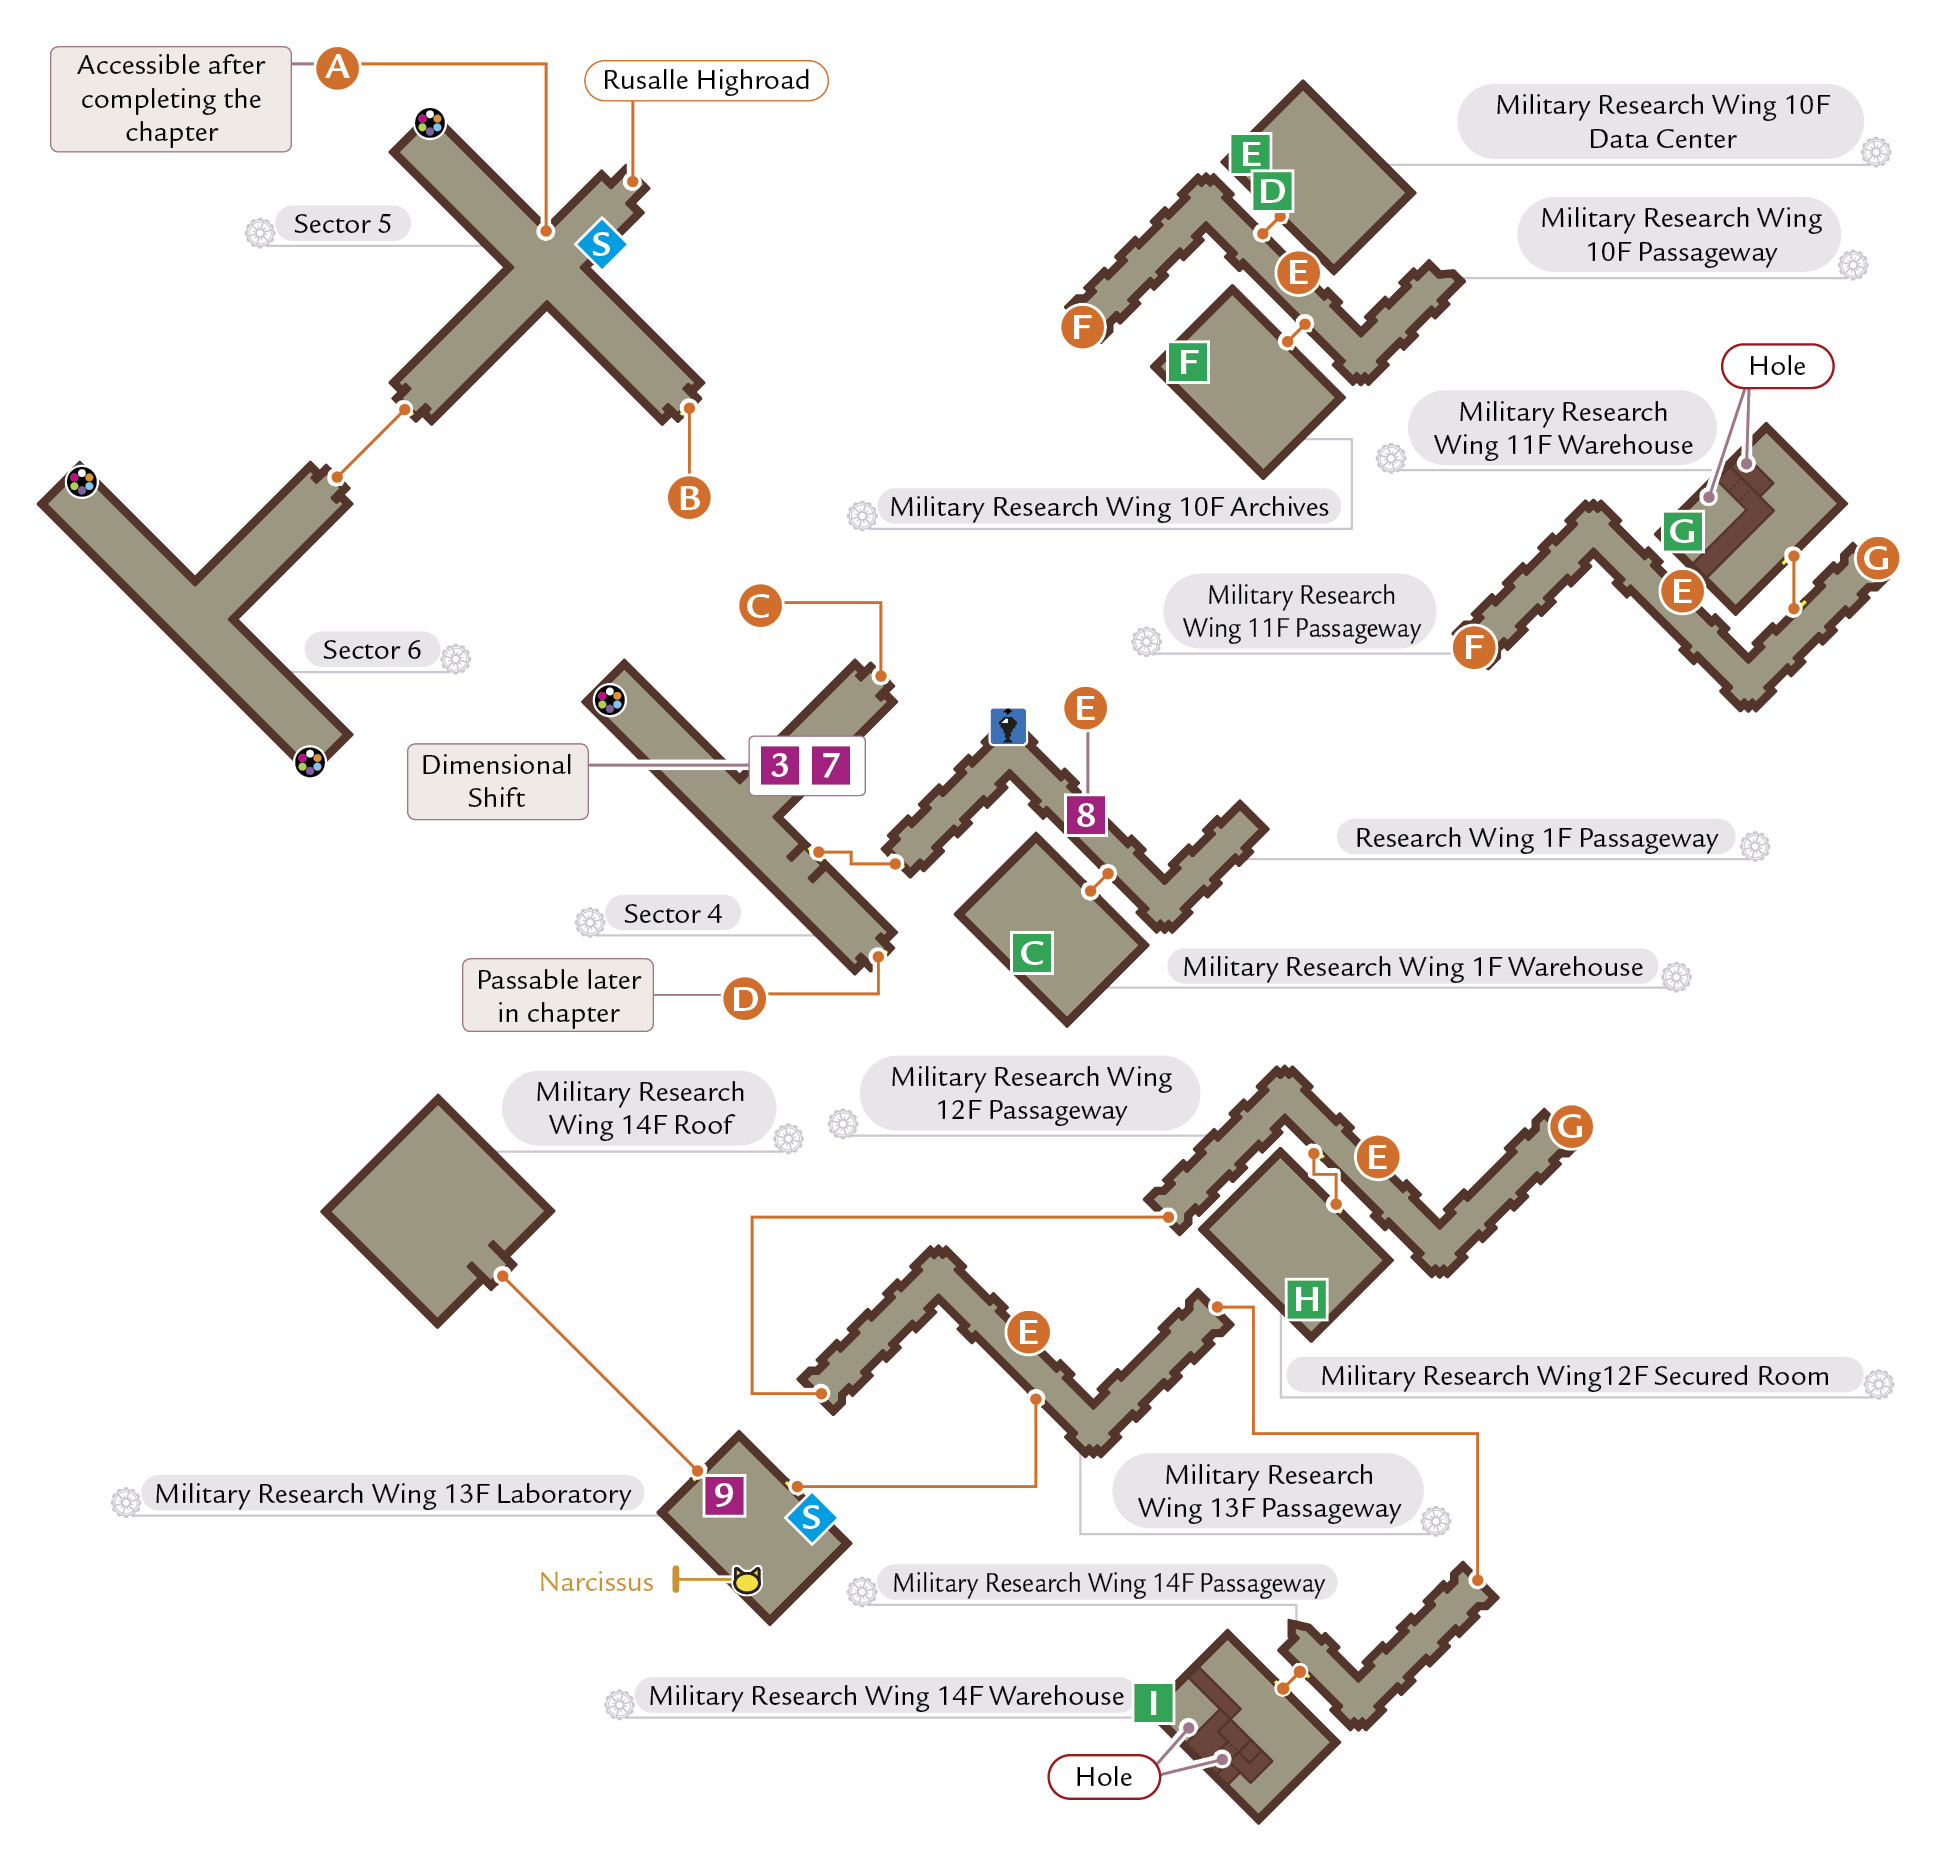
 Warping to a new dimension alters your position in Helioborg, but fortunately there is a save point nearby. There are two unique enemies in this dimension, and if you want to fill out your Enemy Data, make sure to run into both the Vortex Wolf and Vortex Scorpion. Both are weak against your dual pistols, but the scorpions make better target practice because the wolves charge right at you, making your long-range weapon less effective. To deal with the wolves, get some distance and let your teammates occupy them while you fire away from a safe distance.
10th Floor
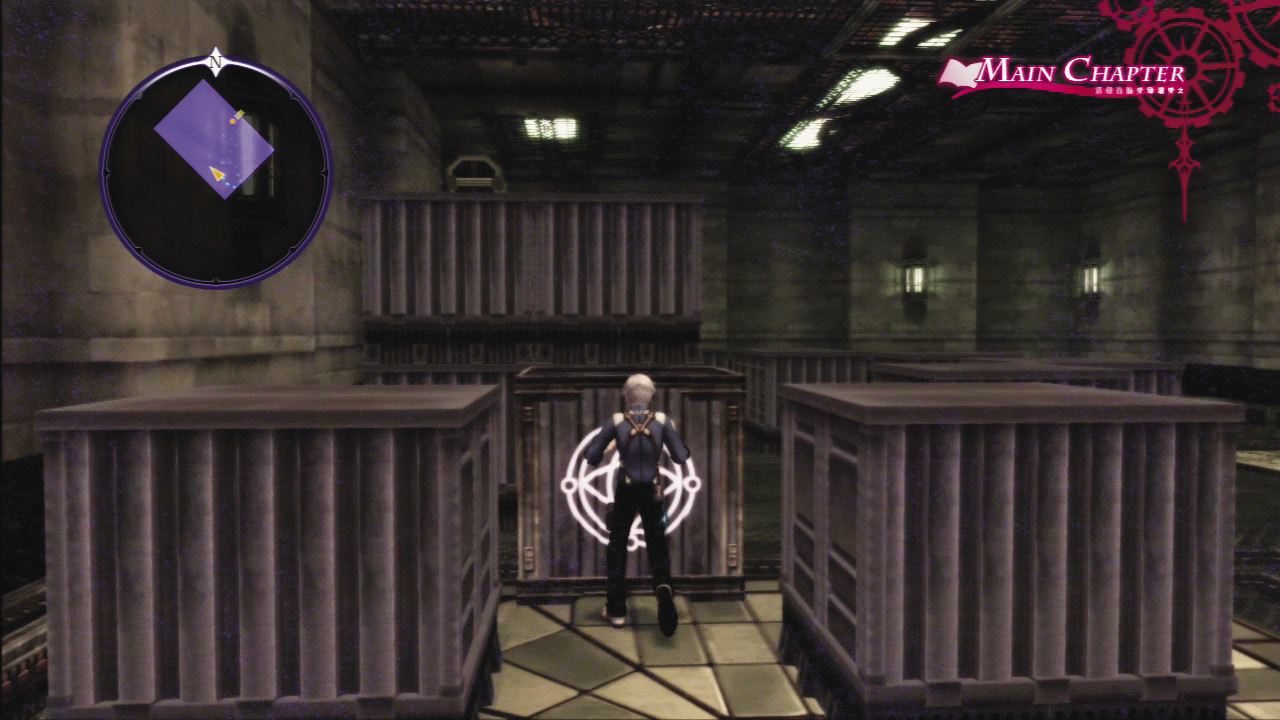
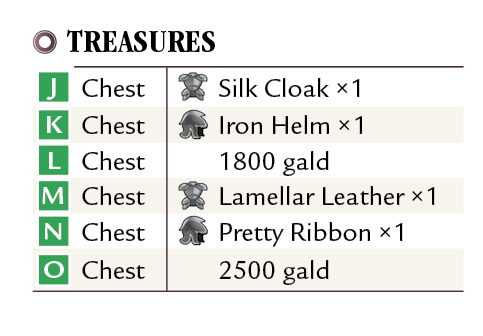
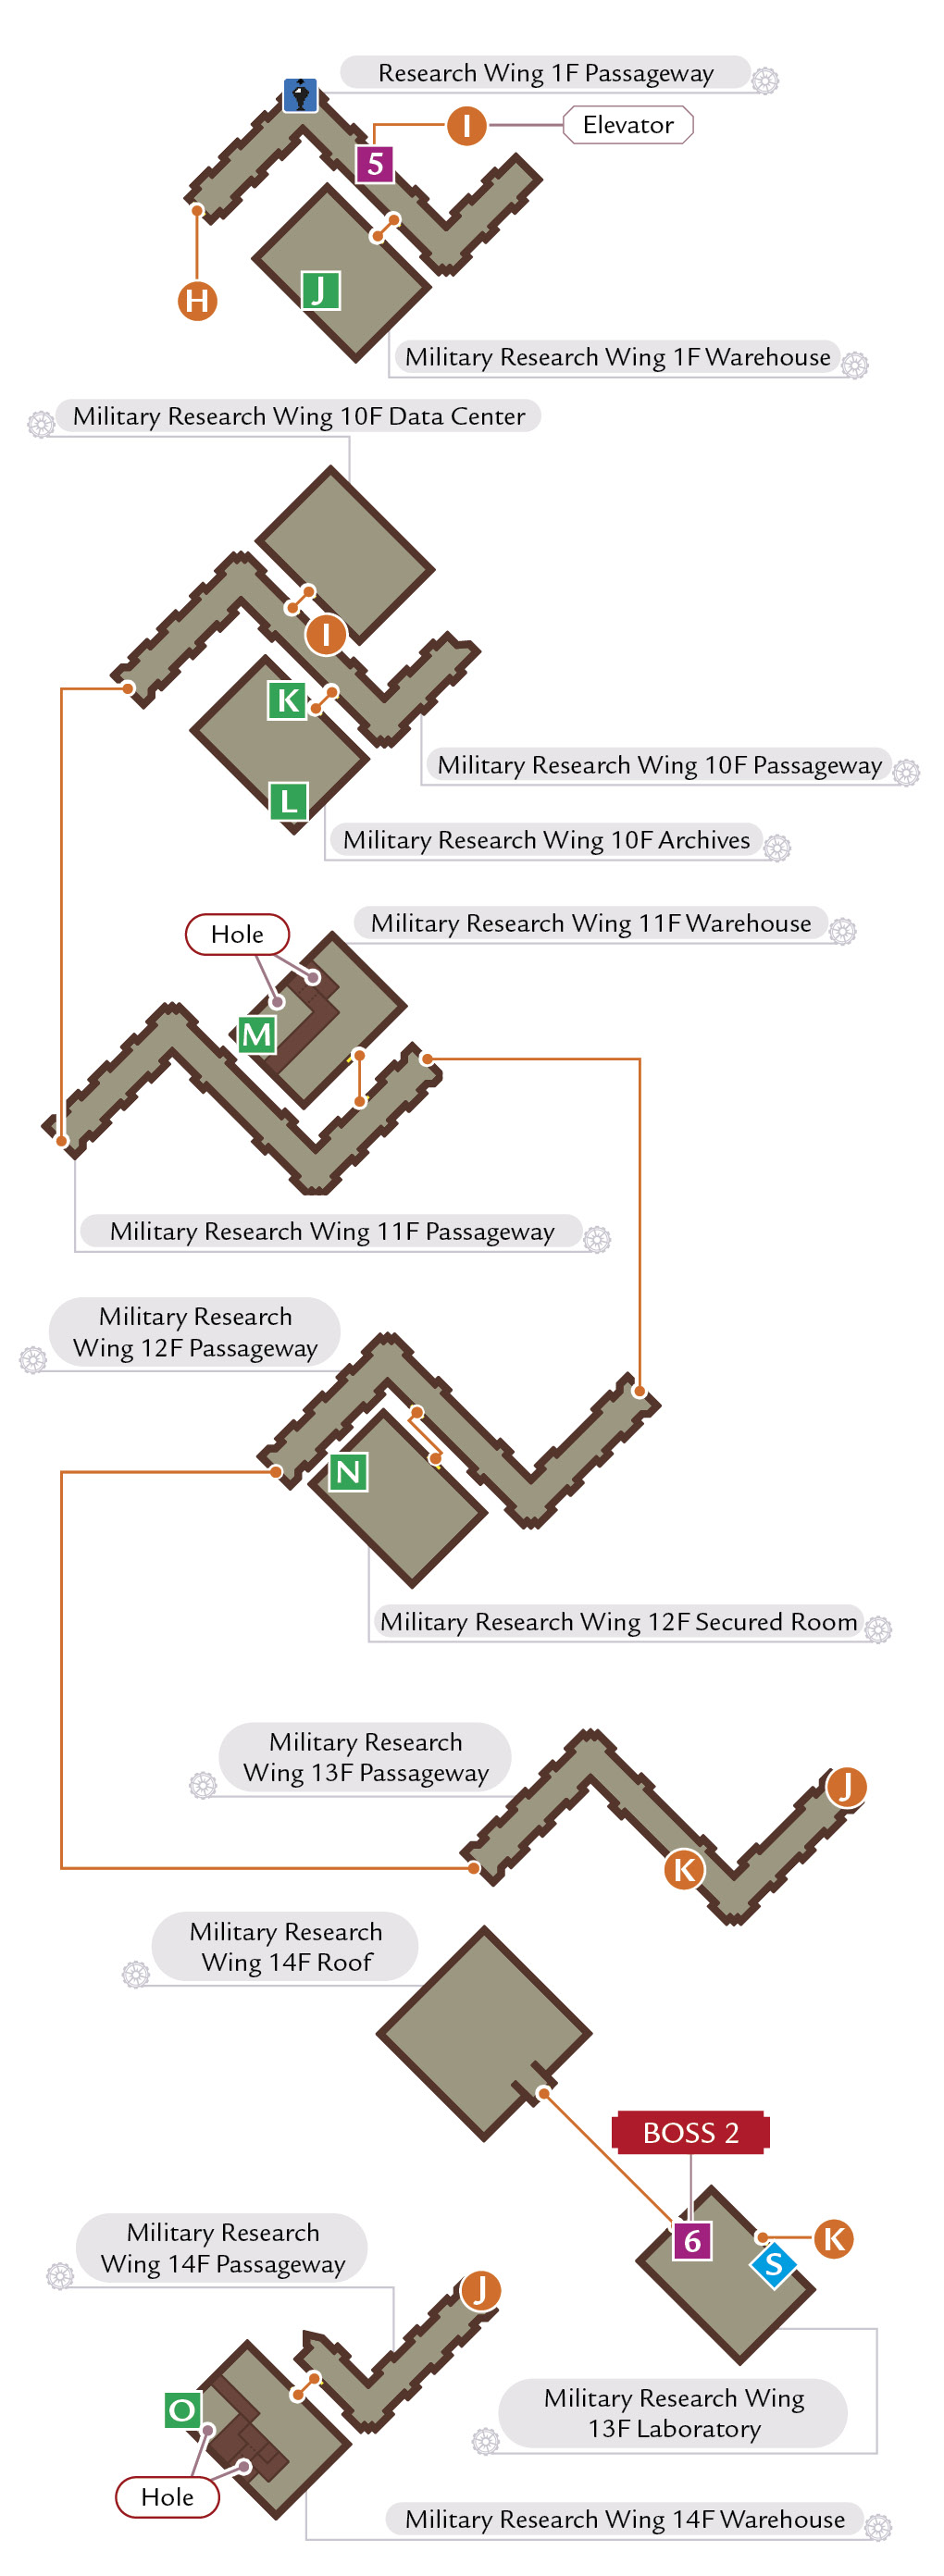
It might be tempting to explore this new dimensional version of Helioborg, but there are no treasures to look for. Instead, head right into the nearby Research Wing and restock items from the vending machine. On the first floor, check out the Warehouse that has a chest on a tall stack of crates. One of nearby crates has a white symbol, indicating that it can be moved. These movable crates create a sort of puzzle to get to the treasures. Push this special crate a few steps forward and run around to the side to push it alongside the tall stack to reach the chest.
 The elevator in this world can’t go to the top floors, but at least it will take you to the 10th floor. Search the Archives room for several items and use the stairs to go to the 11th floor.
11th Floor
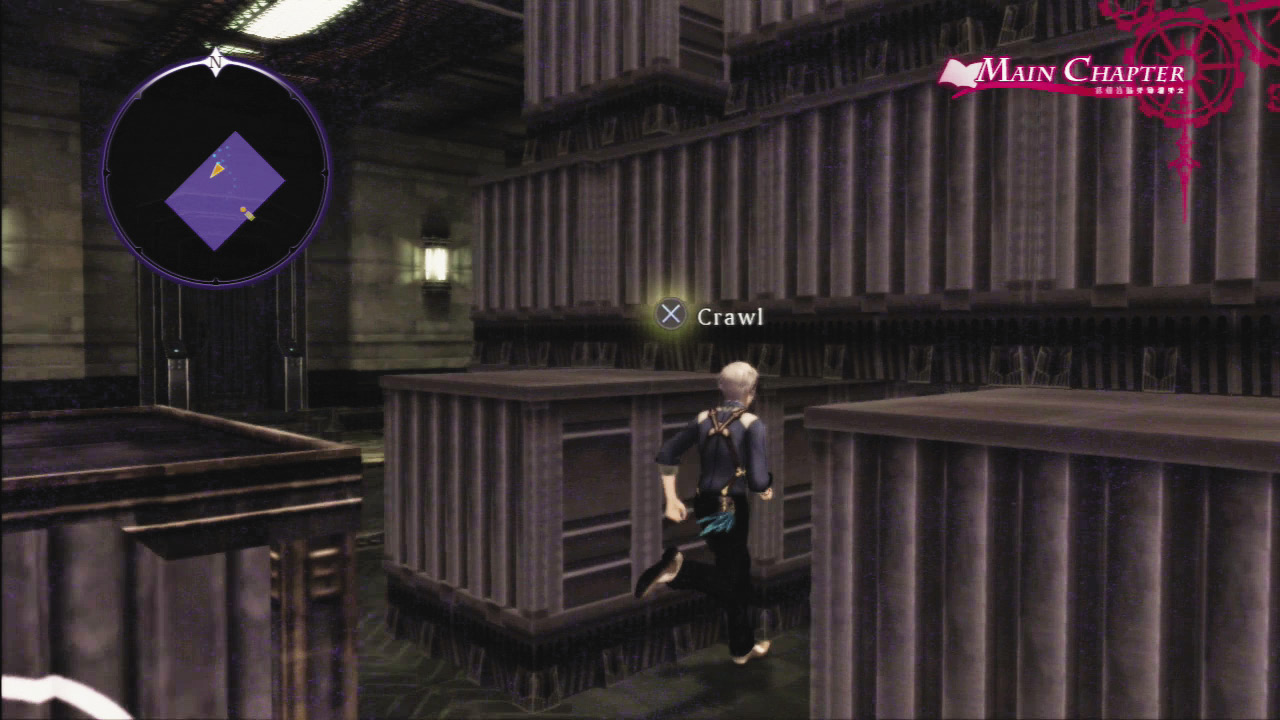
Before going up to the 12th floor, stop in the Warehouse for some more crate puzzle action. The solution is pretty straightforward—pull the marked crate out far enough to create a space where you can crawl under the towering stack to reach the chest.
12th and 14th Floors
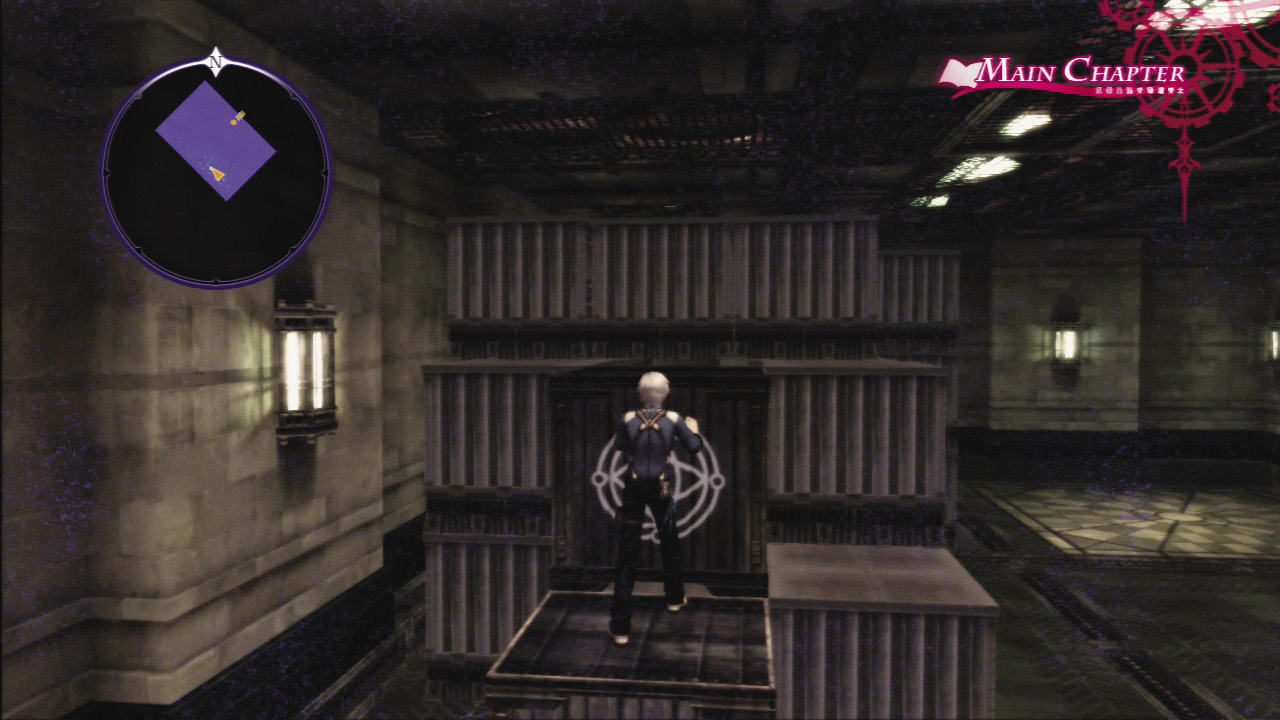
The Secured Room on the 12th floor has a Pretty Ribbon, but no fun crates to push around. Skip the 13th floor for now and go up to the 14th floor to check out the Warehouse. The Warehouse has two crates to play with and it is a lot more taxing to figure out this crate puzzle. Push the crate on ground level towards the large stack and then around the side where the other marked crates reside. These movable crates need to be in front of the other marked crate to allow you to walk on it while pulling out the crate above. Once the top crate has been yanked out of position, you can jump on and over it to get to the treasure.
13th Floor
 Save your game in the Laboratory and exit the room to the roof when you are ready for a battle.
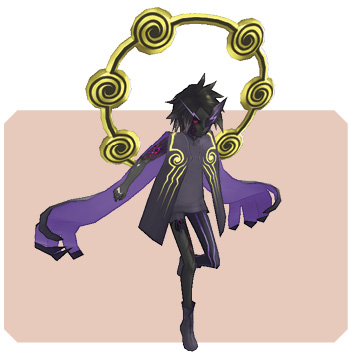
Boss Volt
|
Level |
9–13 |
|
Iron Stance |
40 |
|
HP |
33000–40920 |
|
Weak |
|
|
Strong |
|


|
Drop |
Silver Ore (100%), Stun Bracelet (100%) |
|
Steal |
— |
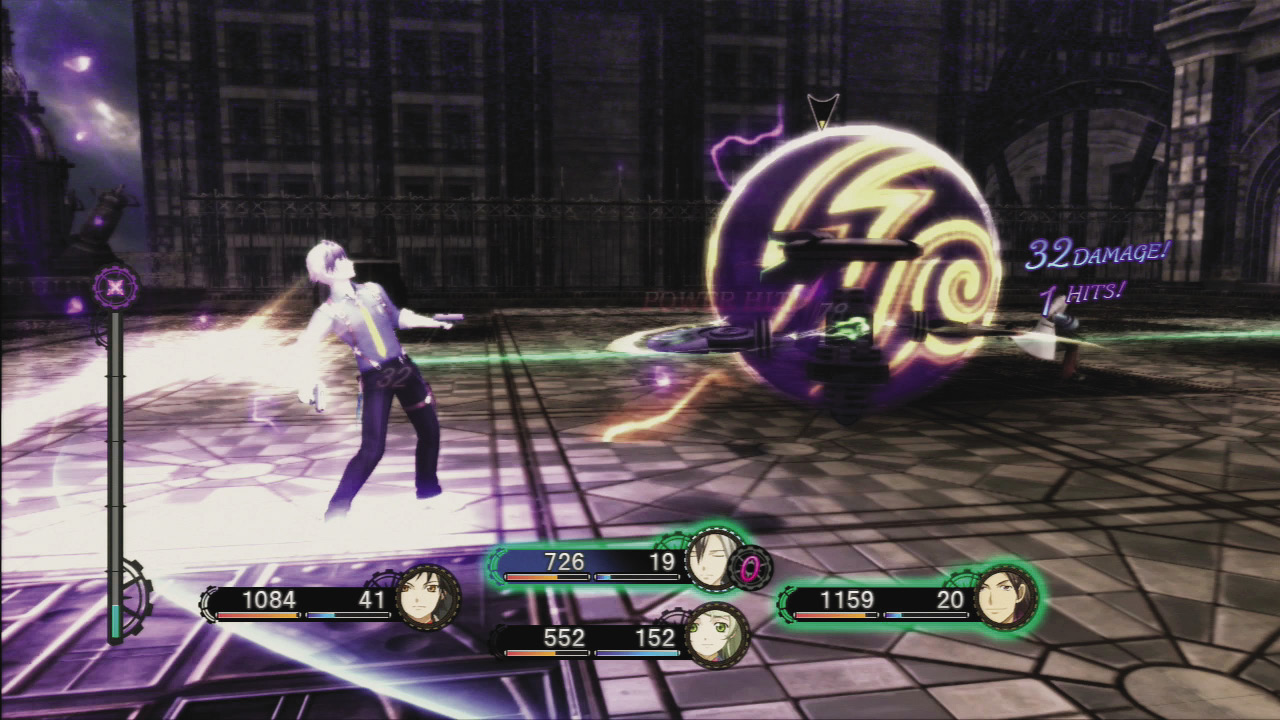
When you approach Volt, he’ll repeatedly use area-effect attacks like Lightning and Bolt Strike. These attacks have a chance of stunning you, potentially leaving you to take hits until you’re KO’d. Leave the front-line attacks to Alvin while you focus on creating weakness-exploiting combos with your dual pistols from afar.
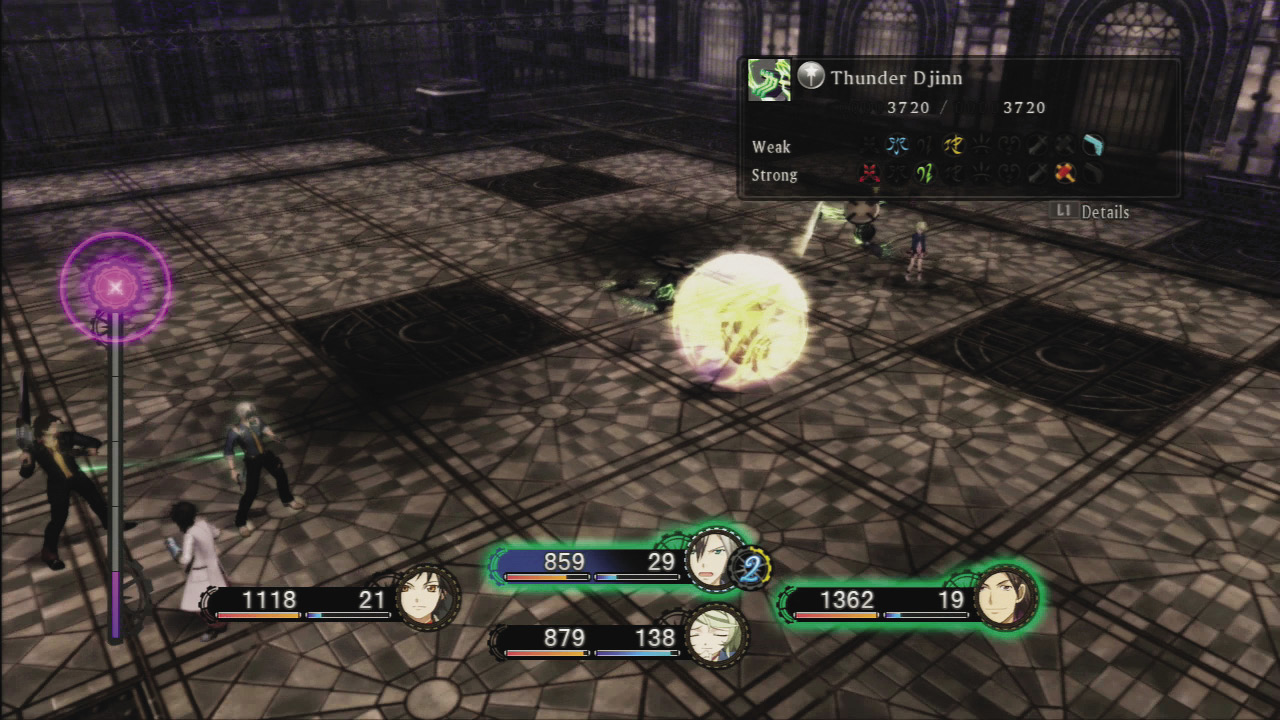
Volt will resummon the two Thunder Djinn after you destroy them, but you should still prioritize wiping them out so that you can focus your attacks on Volt without the distraction. The Djinn are also weak to gunfire. If your Linked Artes gauge is charged, use it on the Djinn so you can catch Volt in the blast too.
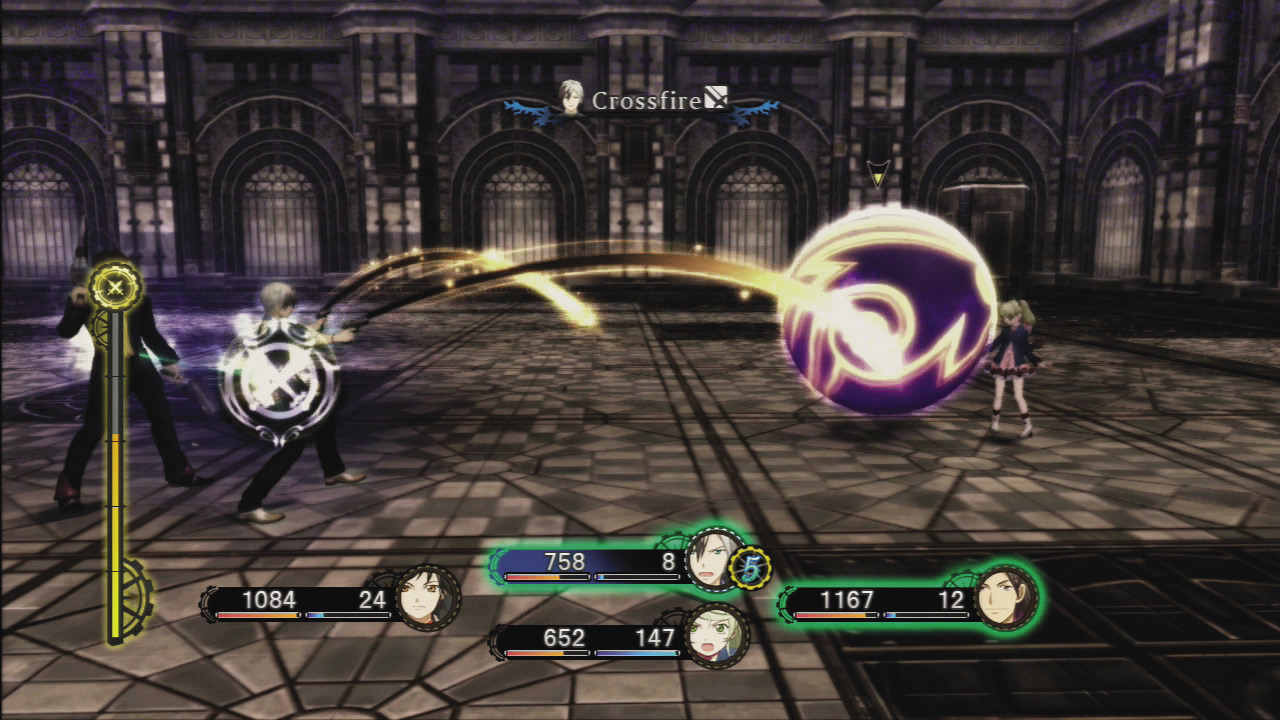
Volt is resistant to strike attacks, so it’s a good idea to have Jude and possibly Elize focus solely on healing. This boss has a strong Iron Stance, but continue to fire away and use Rolling Thunder to easily break through.
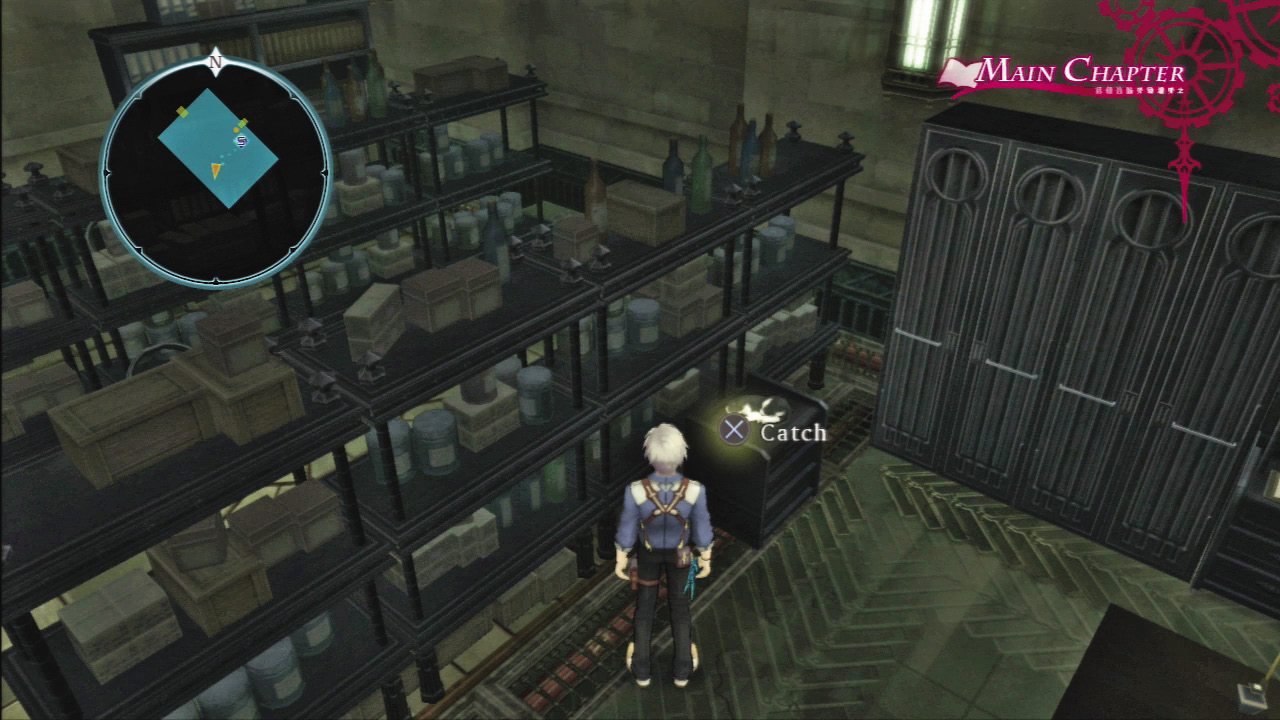

 After the boss battle, you return to your normal dimension—not on the roof you just left, but where you originally had the dimensional shift. The good news is that all the enemies are gone and you are free to roam around Helioborg unmolested. Also, the elevator in the Military Research Wing is now completely functional. This is a great time to pick up any items you want to collect, especially Narcissus sleeping on a crate in the 13th Floor Laboratory.
 After all the action in the other dimension it may be tough to recall that the goal of going to Helioborg is still to track down Balan, who is on the roof. Use the exit in back of the Laboratory to go to the roof to find him. Unfortunately, Balan is of little help, but Vera from Spirius Corp. has a new lead in Aladhi Seahaven.
We’re still having trouble controlling spyrites.
|
Debt Repayment Interval 5-6
|
Payment required |
15000 gald |
Character Episodes

Jude 1 |
|
| Location |
Trigleph |
|---|---|
| Reward |
Jude color variation costume, affinity +500 |

Leia 1 |
|
| Location |
Trigleph |
|---|---|
| Reward |
Leia color variation costume, affinity +500 |
 Event Quest
|
|||||
| Client | Party | Item / Task | Location | Description | Reward |
|---|---|---|---|---|---|
|
Nova |
Ludger |
Classmate Contact List |
Trigleph—Technology Drive |
Ludger! I want you to deliver the classmate contact list! It should be at your home, right? |
1000 gald, 320 Points, Heal Bangle |
 The Debt—Part 1
|
|||||
| Client | Party | Task | Location | Description | Reward |
|---|---|---|---|---|---|
|
Landlord |
Ludger |
Get rid of the cats! |
Trigleph—Residential Quarter |
Do something about the cats hanging around my apartment! They’re starting to get in my way! |
1500 gald, 480 Points, Mind Ring |
 The Days of Our Lives
 Item Delivery Quests
| Quest Name | Required Title | Item | Location | Rewards |
|---|---|---|---|---|
|
Kitty Sightings 4 (1) |
— |
Prickly Pete’s collar |
Xagut Floodmeadow |
800 gald, 500 Points, Kitty Krisps |
|
Bring it! (1) |
— |
Veggie Set |
Hamil |
800 gald, 100 Points, Shade |
|
Godly Ashes (2) |
— |
Holy Ash |
Milla’s Shrine |
800 gald, 100 Points, Flame |
 Elite Monster info
Claws of Steel: Heavy Claw! |
||
| Client | Location | Rewards |
|---|---|---|
|
Spirius Corp. |
Aladhi Trail |
24000 gald, 7200 Points |
Skits
| Start Time | Type | Name | Location | Condition | Choices | Required Members | |
|---|---|---|---|---|---|---|---|
|
Debt Repayment Interval |
Etc. |
Everyone's Clothes |
Anywhere |
— |
L1: |
Alvin+250 |
|
|
R1: |
Rowen+250 |
||||||
|
Debt Repayment Interval |
Etc. |
Just What is Teepo, Anyway? |
Anywhere |
— |
— |
|
|
|
Debt Repayment Interval |
Main |
Call from Nova (5) |
Anywhere |
After debt repayment |
— |
|
|
|
Debt Repayment Interval |
Etc. |
Ludger's Type |
Trigleph |
After debt repayment |
L1: |
Leia+250 |
|
|
R1: |
Elize+250 |
||||||




Debt Repayment Interval 5-6
Town
Aladhi Seahaven
|
Inn Price |
100 gald |
|
Elemental Ore |
4–20 |
|
Enemies Level |
— |
|
Cats |
Lotus |

Aladhi Seahaven
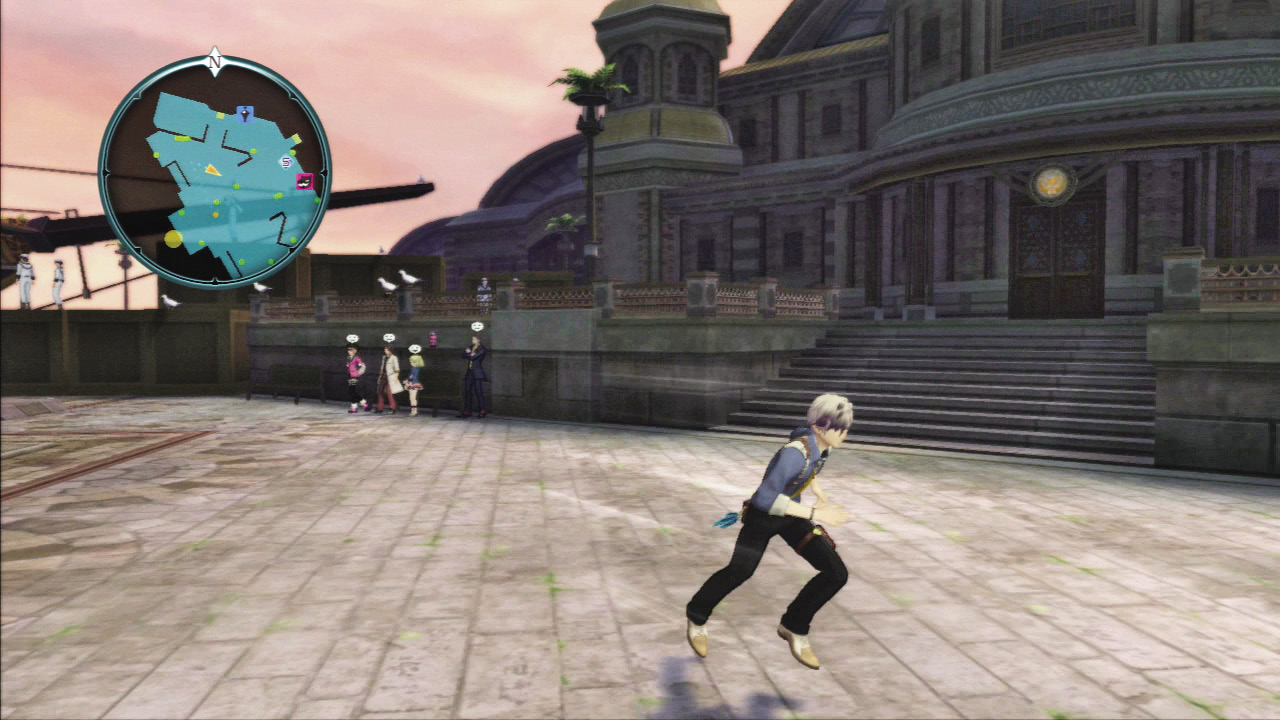
As soon as you arrive, Jolyne will present you with Winged Boots that allow you to dash by holding down R2. This is a great way to move around in large areas, but make sure you don’t run into enemies or you will start the battle surrounded from a “Back-Attack”.

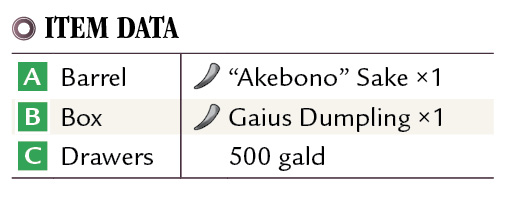
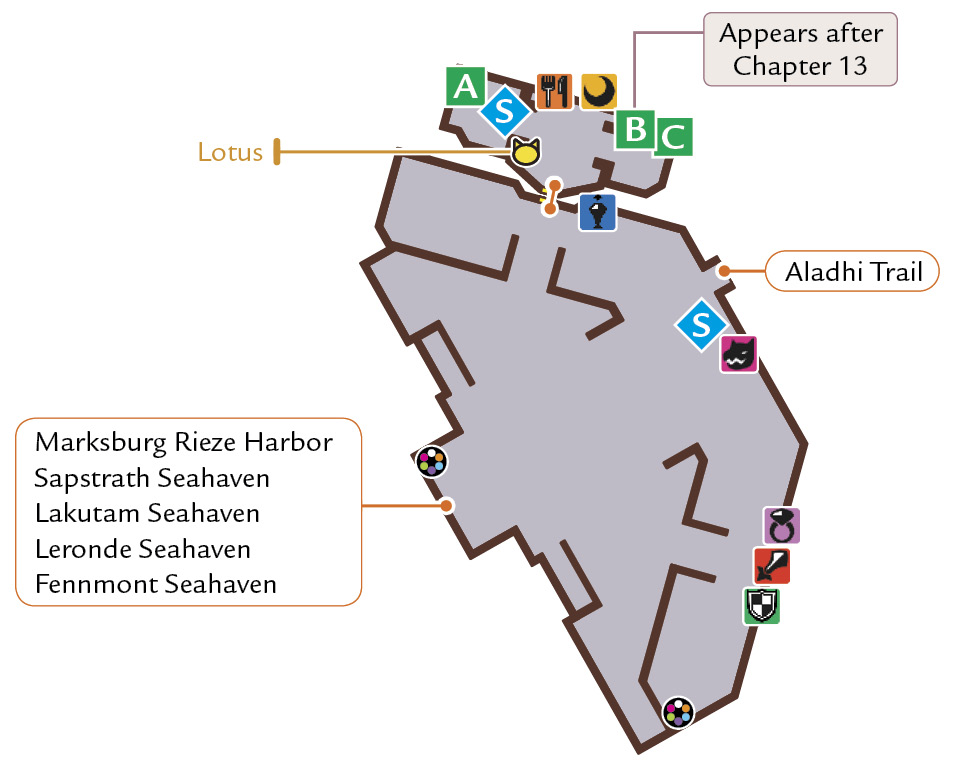
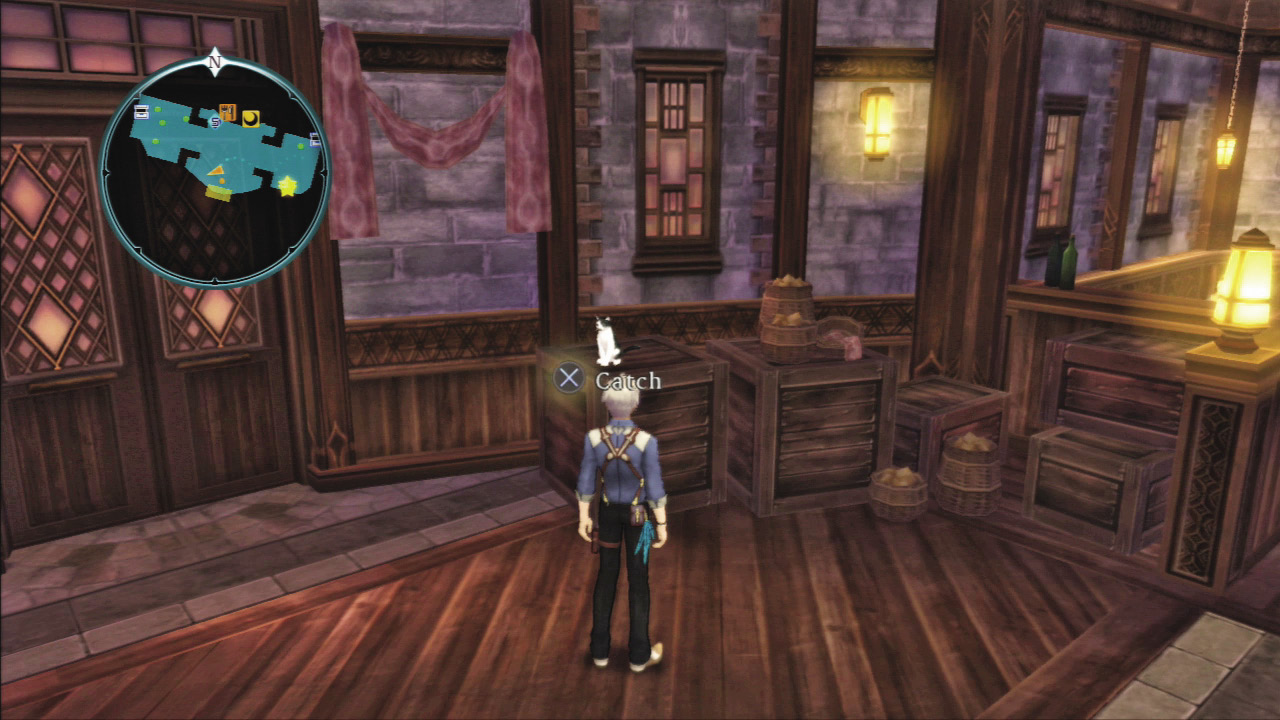
Stop by the shops to check if you need any upgrades and enter the Aladhi Seahaven Inn. Search the ends of the bar to find the “Akebono” Sake and 500 gald by the flower pot. Also, make sure to pick up the tuxedo cat Lotus sitting on a crate near the entrance.
Debt Repayment Interval 5-6
Field
Aladhi Trail
|
Inn Price |
— |
|
Elemental Ore |
4–20 |
|
Enemies Level |
12–16 |
|
Cats |
Filbert |

Enemies
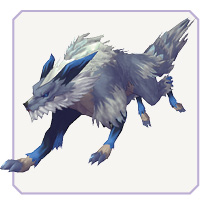
Wolf
|
Type |
|
|
HP |
1646 |
|
Weak |
|
|
Strong |
|


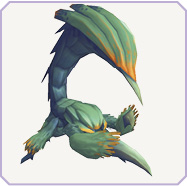
Prickle Spider
|
Type |
|
|
HP |
1876 |
|
Weak |
|
|
Strong |
|


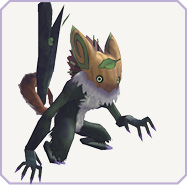
Goblin
|
Type |
|
|
HP |
1646 |
|
Weak |
|
|
Strong |
|


Aladhi Trail
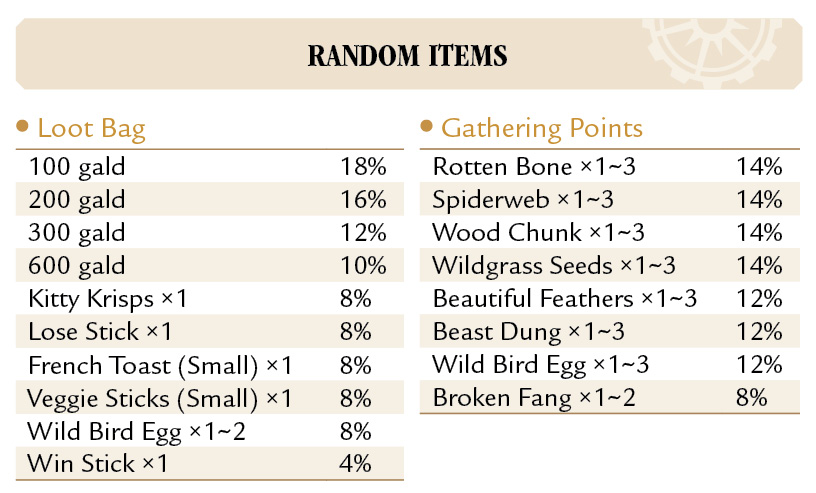
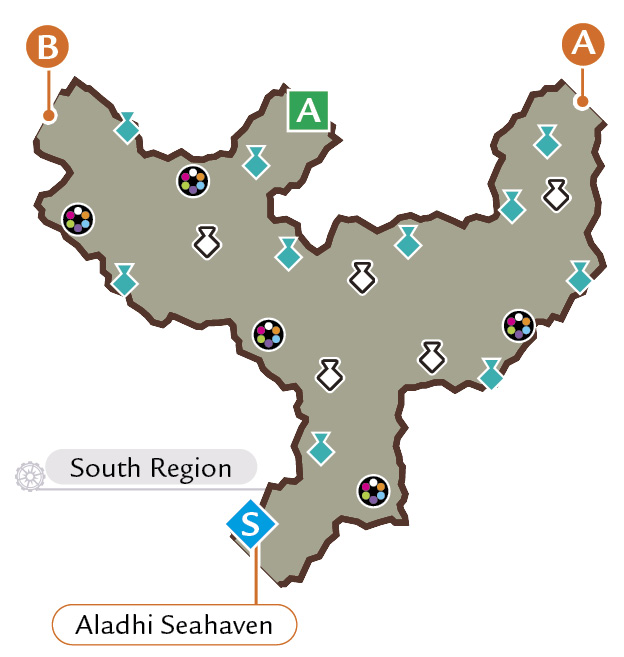
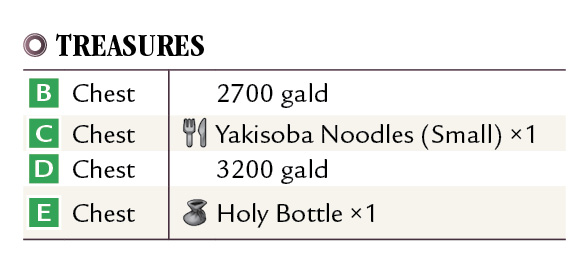
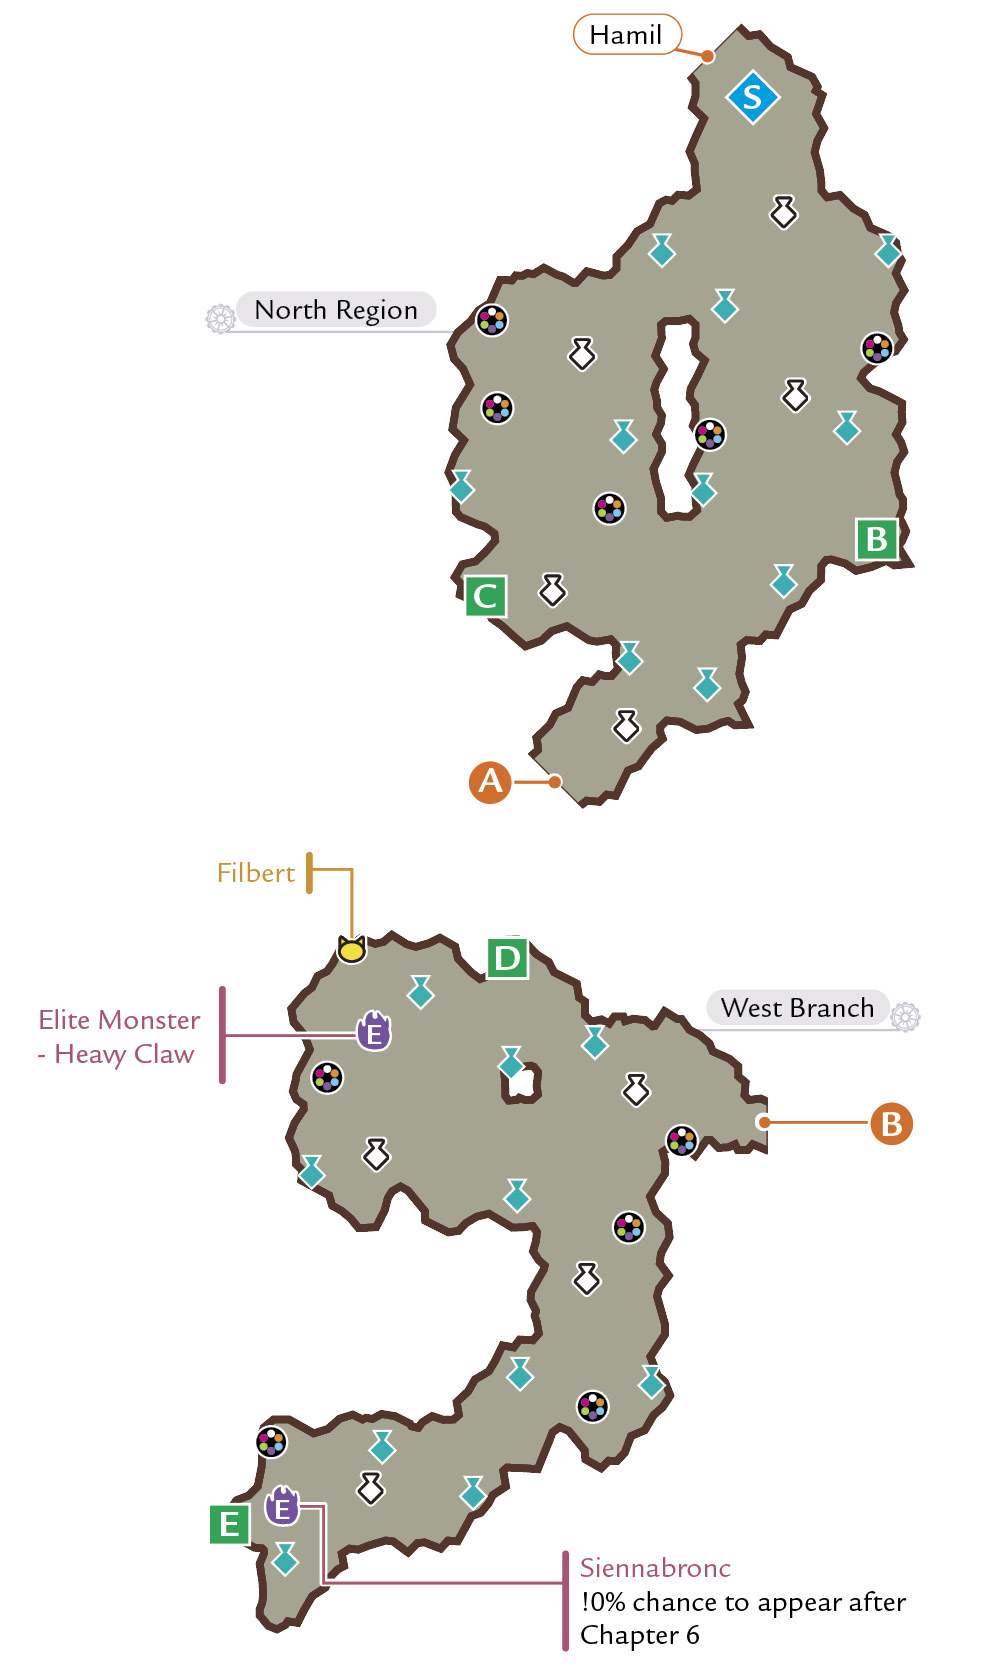
Go in Guns Blazing
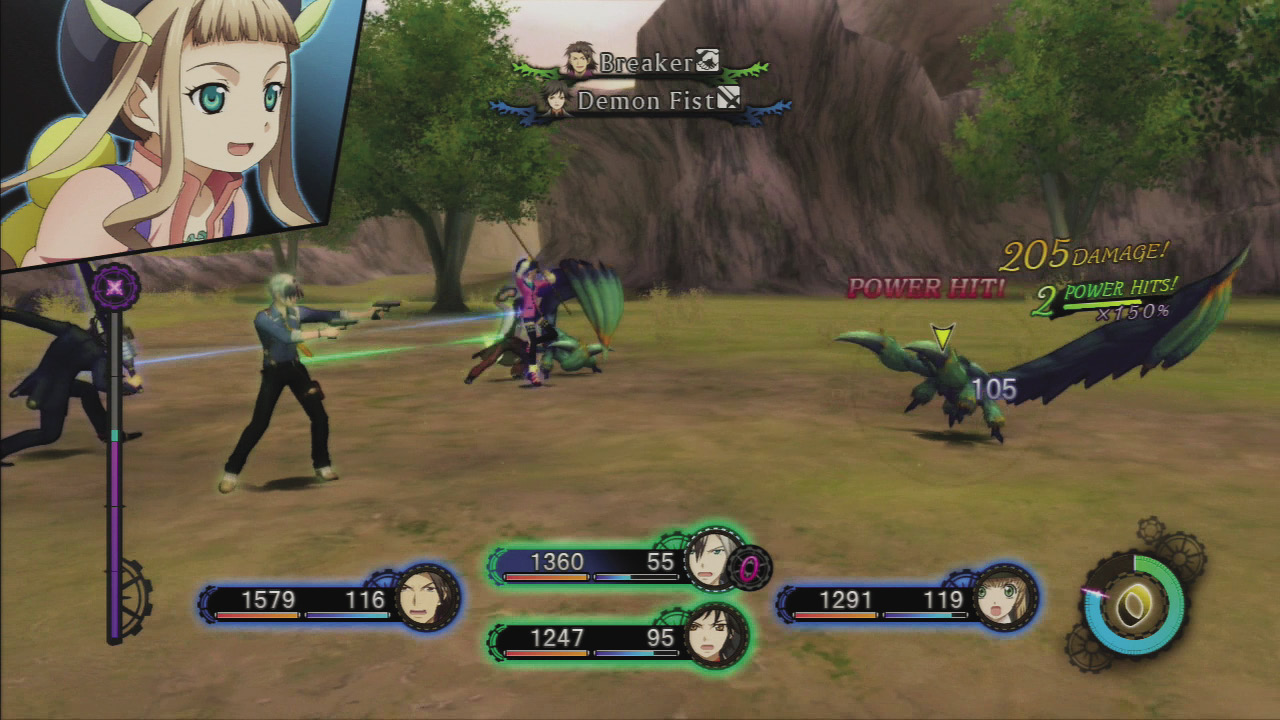
The good news is that all the enemies in this area have the same weakness! Equip your dual pistols and open fire from a safe distance while your teammates keep the monsters occupied. The most powerful foe is the Prickle Spider, but it is slow enough that it shouldn’t be a problem staying at a safe distance. However, if it does manage to get in close, make sure to block its powerful tail attack.
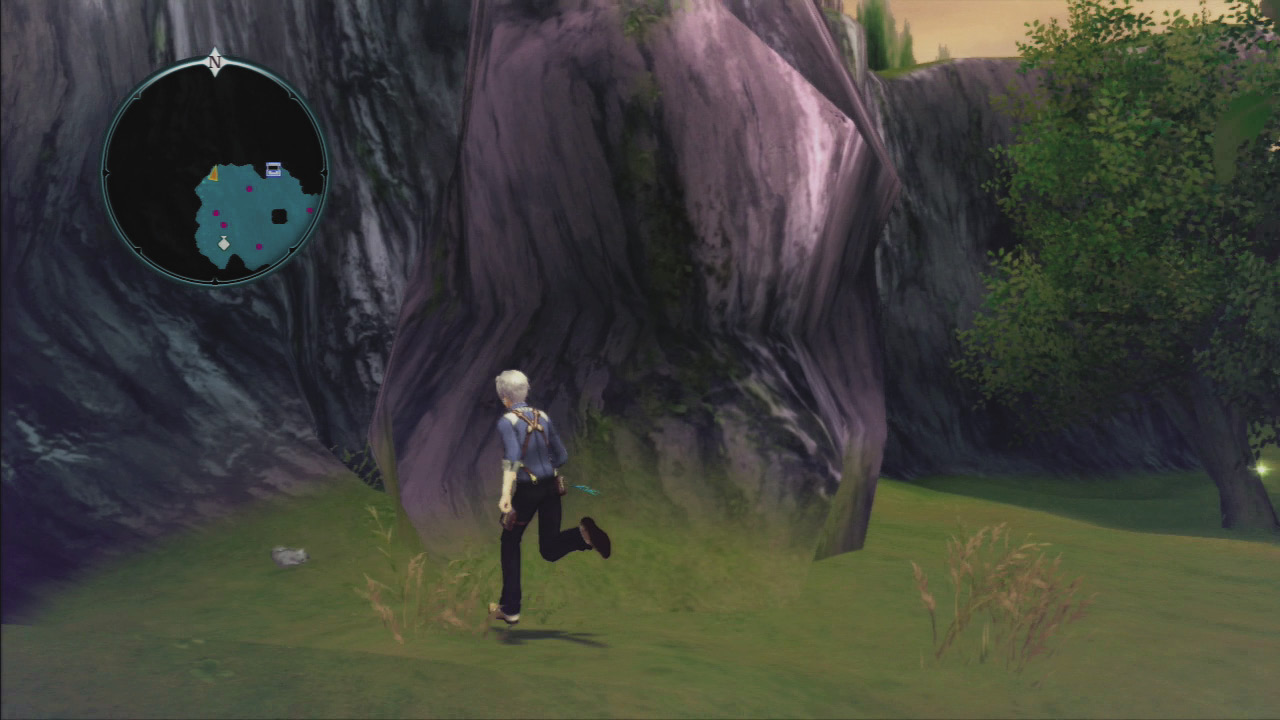
The sole cat in this area is in the West Branch at the northwest corner. Look to the left side of a large boulder to collect Filbert.
Debt Repayment Interval 5-6
Town
Hamil
|
Inn Price |
Free |
|
Elemental Ore |
— |
|
Enemies Level |
— |
|
Cats |
Schrodinger |

Hamil
Stock Up and Rest
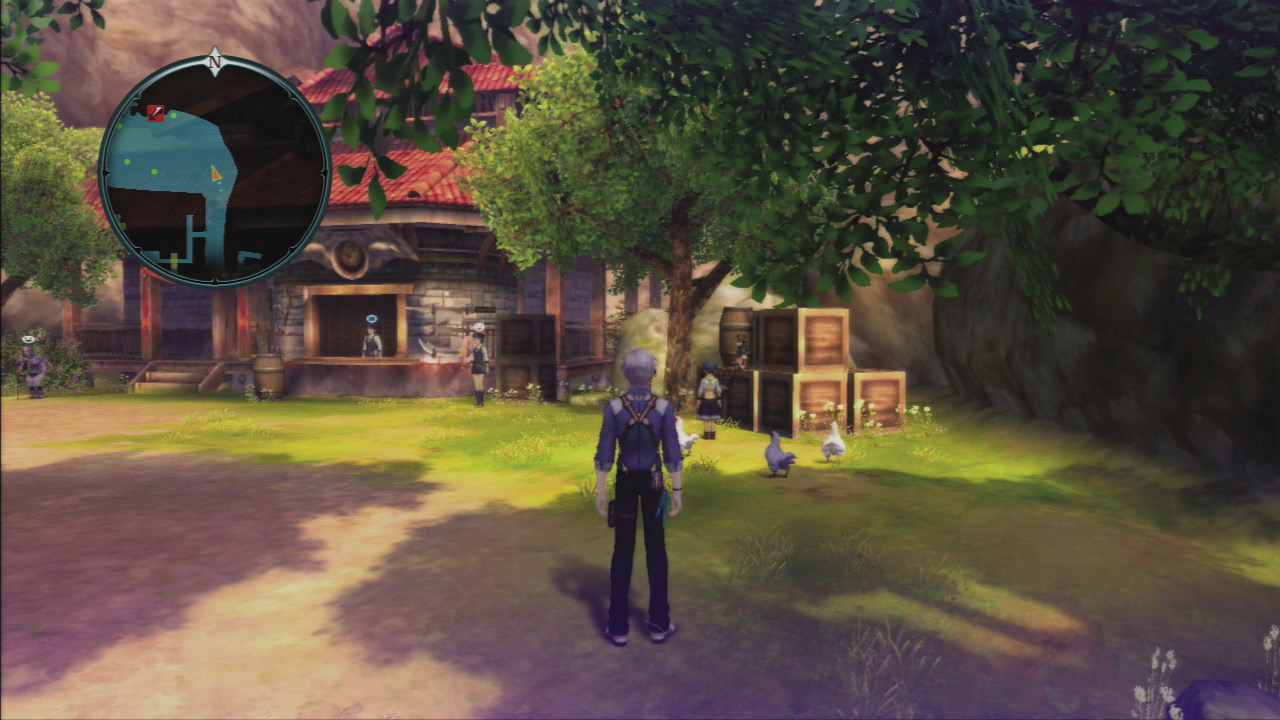
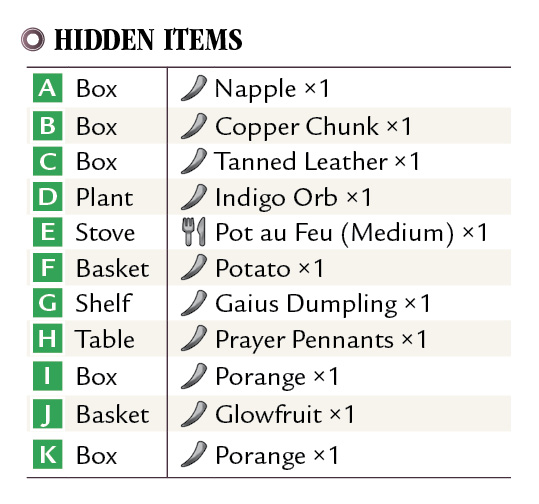
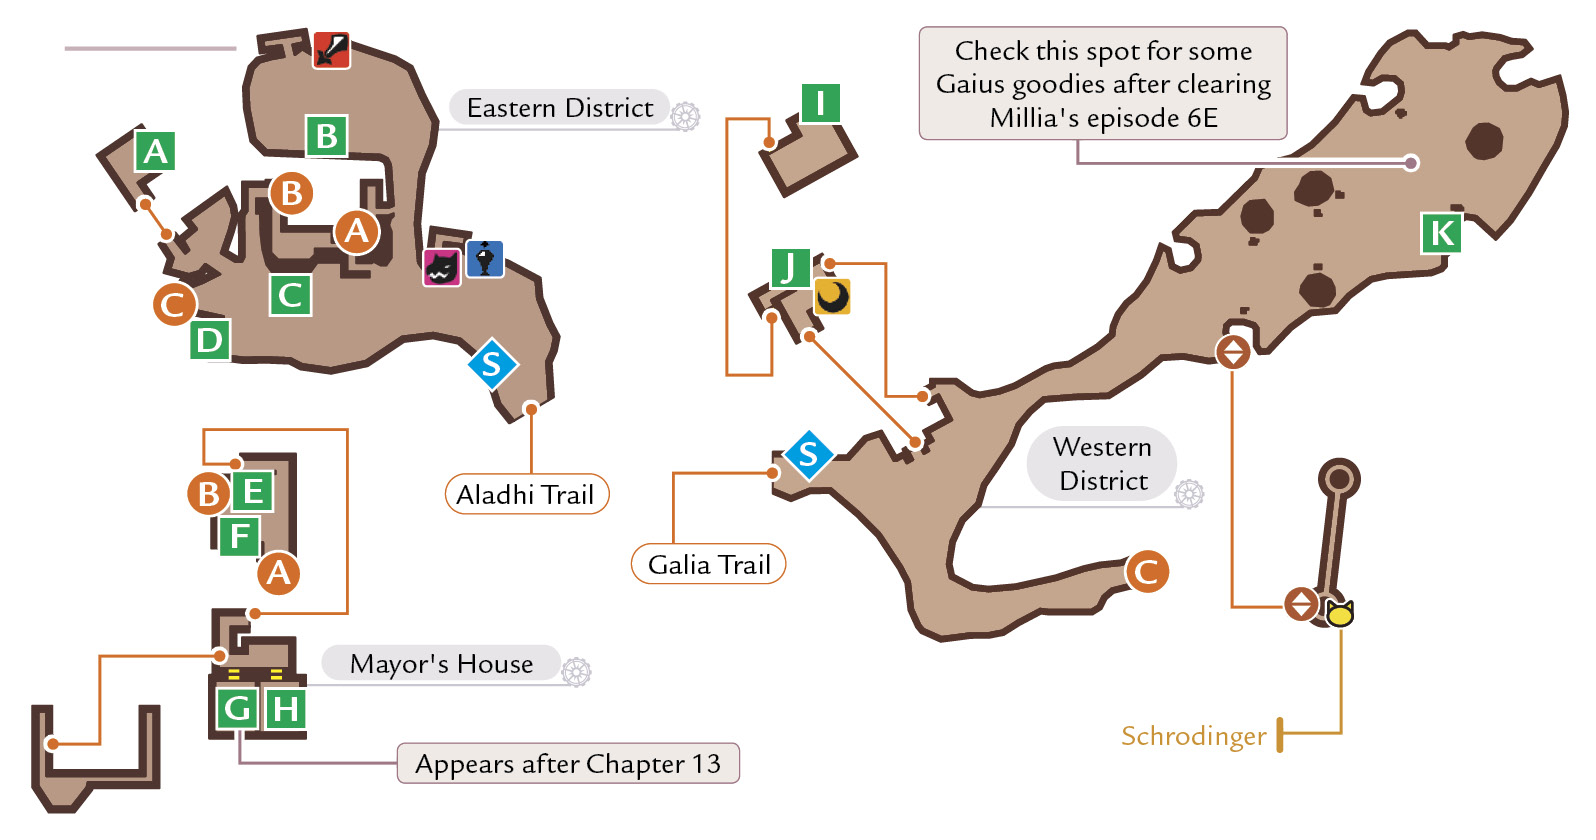
If you plan on exploring the next several areas, stop by the shops and upgrade everyone’s equipment. The weapon shop in the back of the Eastern District should have some hot gear for everyone in your party. Also, make sure to check out the Custom Orders option for the latest additions.
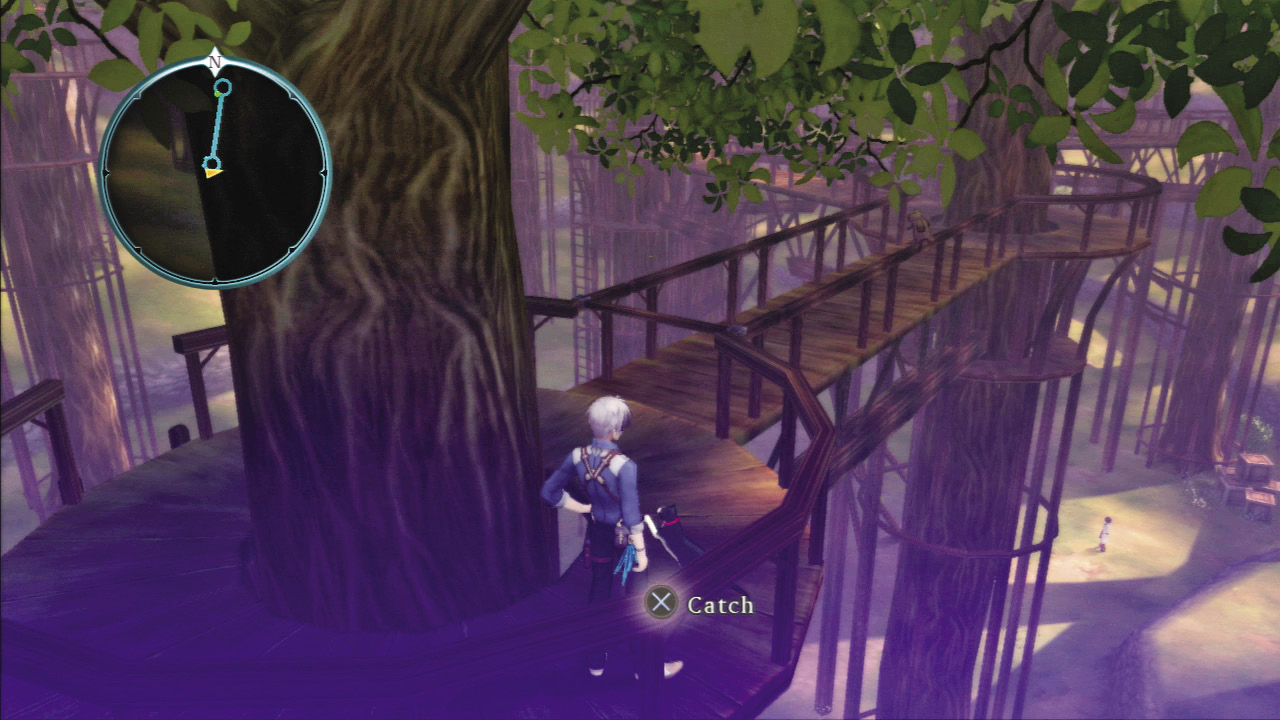
There is a free inn (well, bed) in the Storage Shed of the Western District. Another facet of Hamil is that it is a great spot to get some rare fruit like Poranges. Before you leave to conquer the next several areas, climb up the tall ladder to reach the treetop walkways and find Schrodinger the cat.
Debt Repayment Interval 5-6
Field
Galia Trail
|
Inn Price |
— |
|
Elemental Ore |
4–20 |
|
Enemies Level |
12–16 |
|
Cats |
Nuke |

Enemies
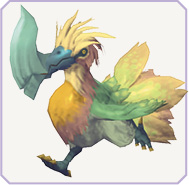
Axe Beak
|
Type |
|
|
HP |
1876 |
|
Weak |
|
|
Strong |
|


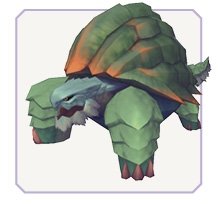
Tortoise
|
Type |
|
|
HP |
1876 |
|
Weak |
|
|
Strong |
|


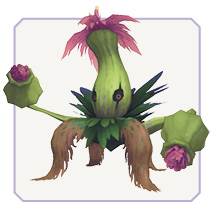
Insect Plant
|
Type |
|
|
HP |
3540 |
|
Weak |
|
|
Strong |
— |


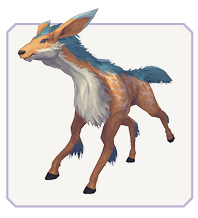
Fleet Mare
|
Type |
|
|
HP |
1646 |
|
Weak |
|
|
Strong |
|


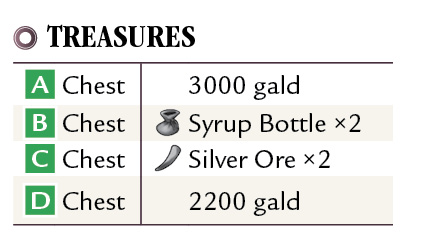
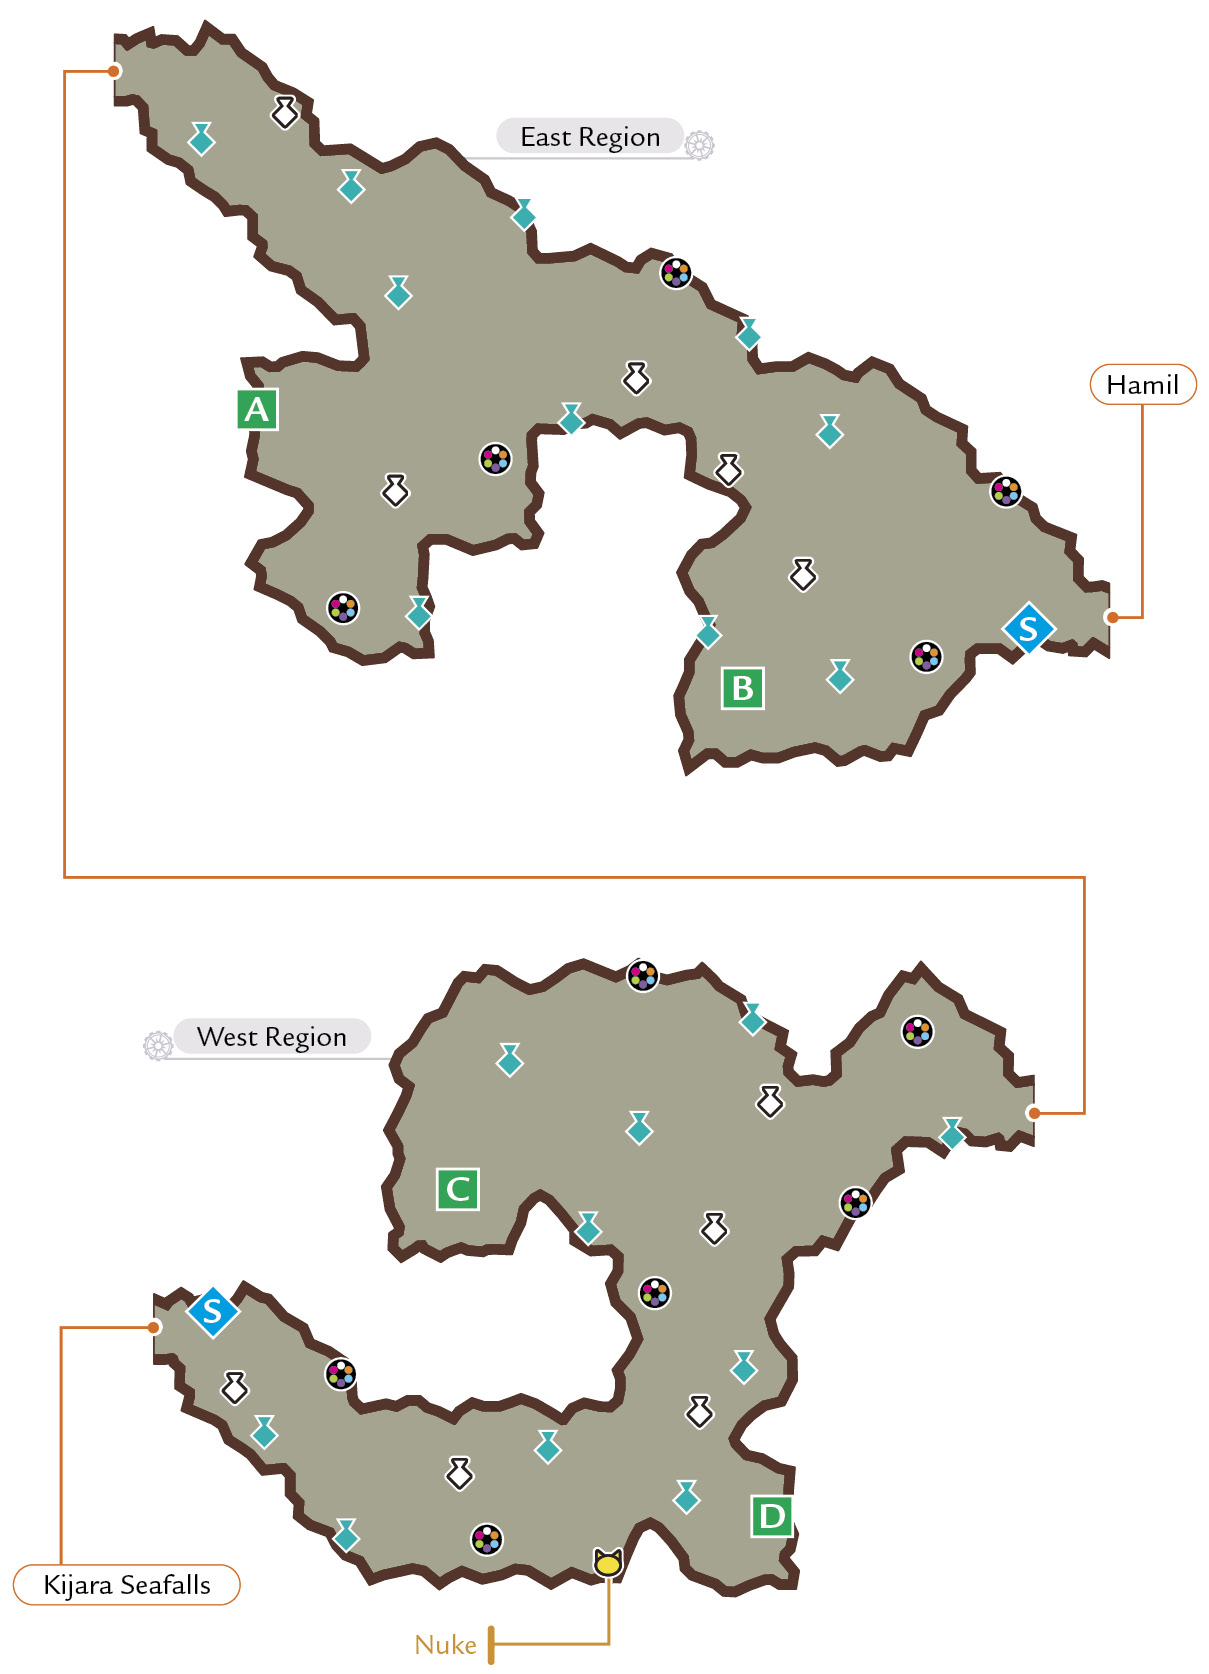
Galia Trail
Galia Grassy Fields
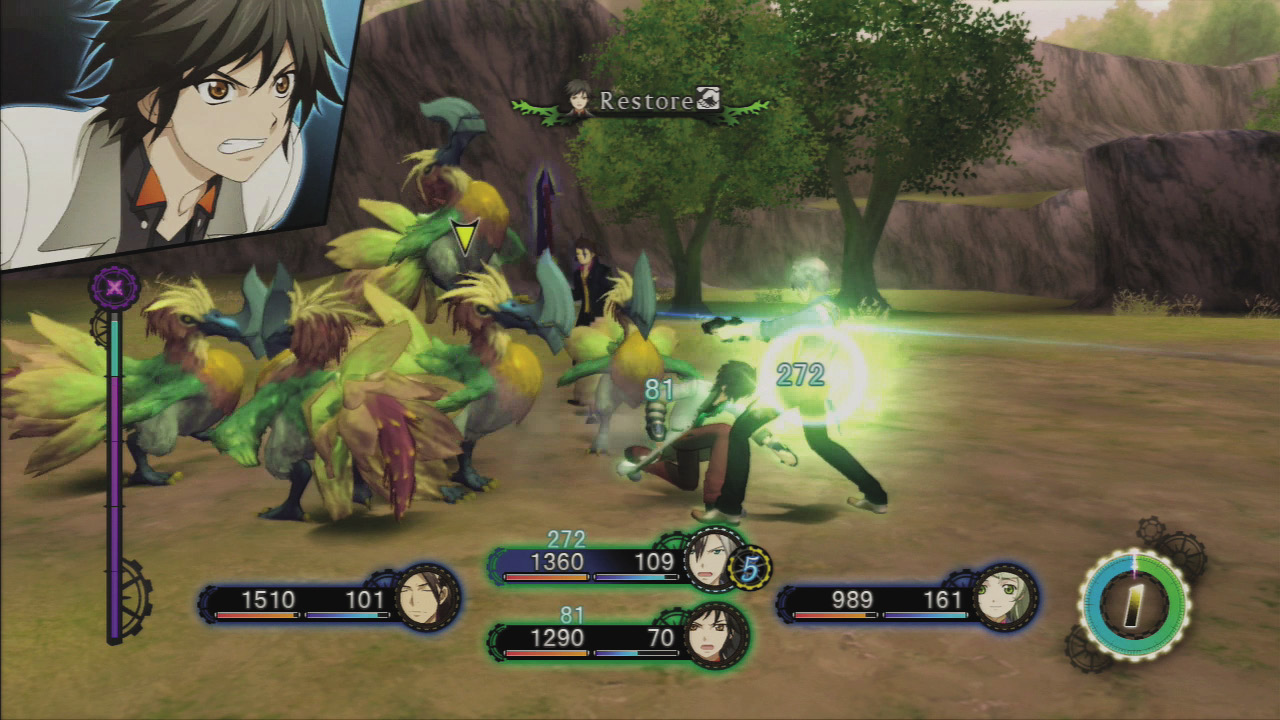
The open grassy fields of Galia Trail are pretty straightforward without a lot of tricky ledges or multiple elevations. The Tortoises are Power-type foes, which means they can defend very well. Link with Alvin to take advantage of his guard-breaking Linked ability and use the sledgehammer to score Power Hits, or use guard-breaking artes to make them very vulnerable. Axe Beaks and Fleet Mares are more challenging foes because they are very aggressive with their charging attacks. To deal with the Axe Beaks, back step their jumping kick attack to avoid its high damage and retaliate with dual blades or earth artes. The Fleet Mares can be shot from afar if you can keep them pinned down with gunfire.
Nuke the cat is hiding in the shadow of a large rock.
Debt Repayment Interval 5-6
Dungeon
Kijara Seafalls
|
Inn Price |
— |
|
Elemental Ore |
4–20 |
|
Enemies Level |
13–17/67–71 (After Jude Episode 5) |
|
Cats |
Lucca |

Enemies
Merfish
|
Type |
|
|
HP |
1971/7123 |
|
Weak |
|
|
Strong |
|


Crab Man
|
Type |
|
|
HP |
1971/7123 |
|
Weak |
|
|
Strong |
|


Coastal Mandragora
|
Type |
|
|
HP |
1860/6720 |
|
Weak |
|
|
Strong |
|


Polwigle

|
Type |
|
|
HP |
1729/6249 |
|
Weak |
|
|
Strong |
|


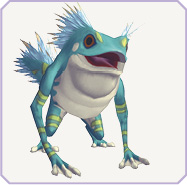
Ribbit
|
Type |
|
|
HP |
1729/6249 |
|
Weak |
|
|
Strong |
|


Kijara Seafalls
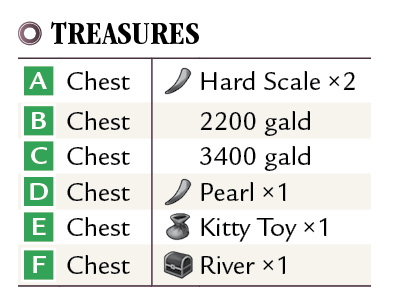
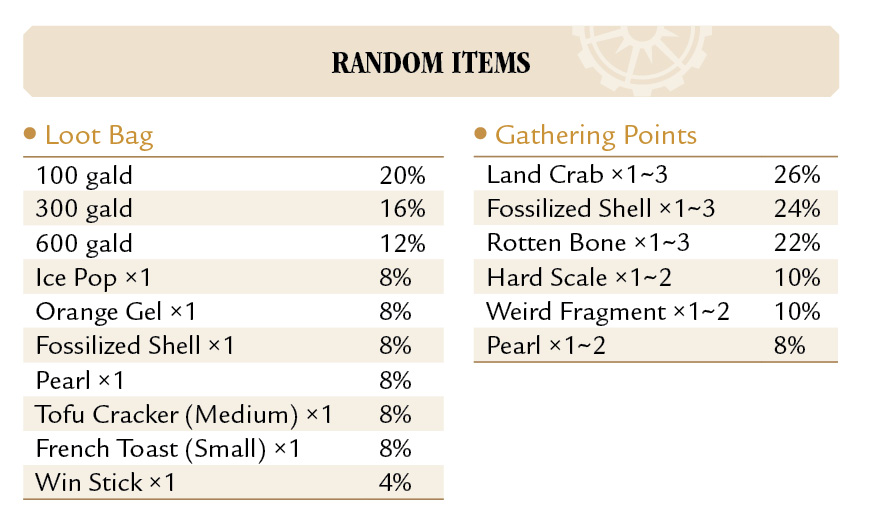
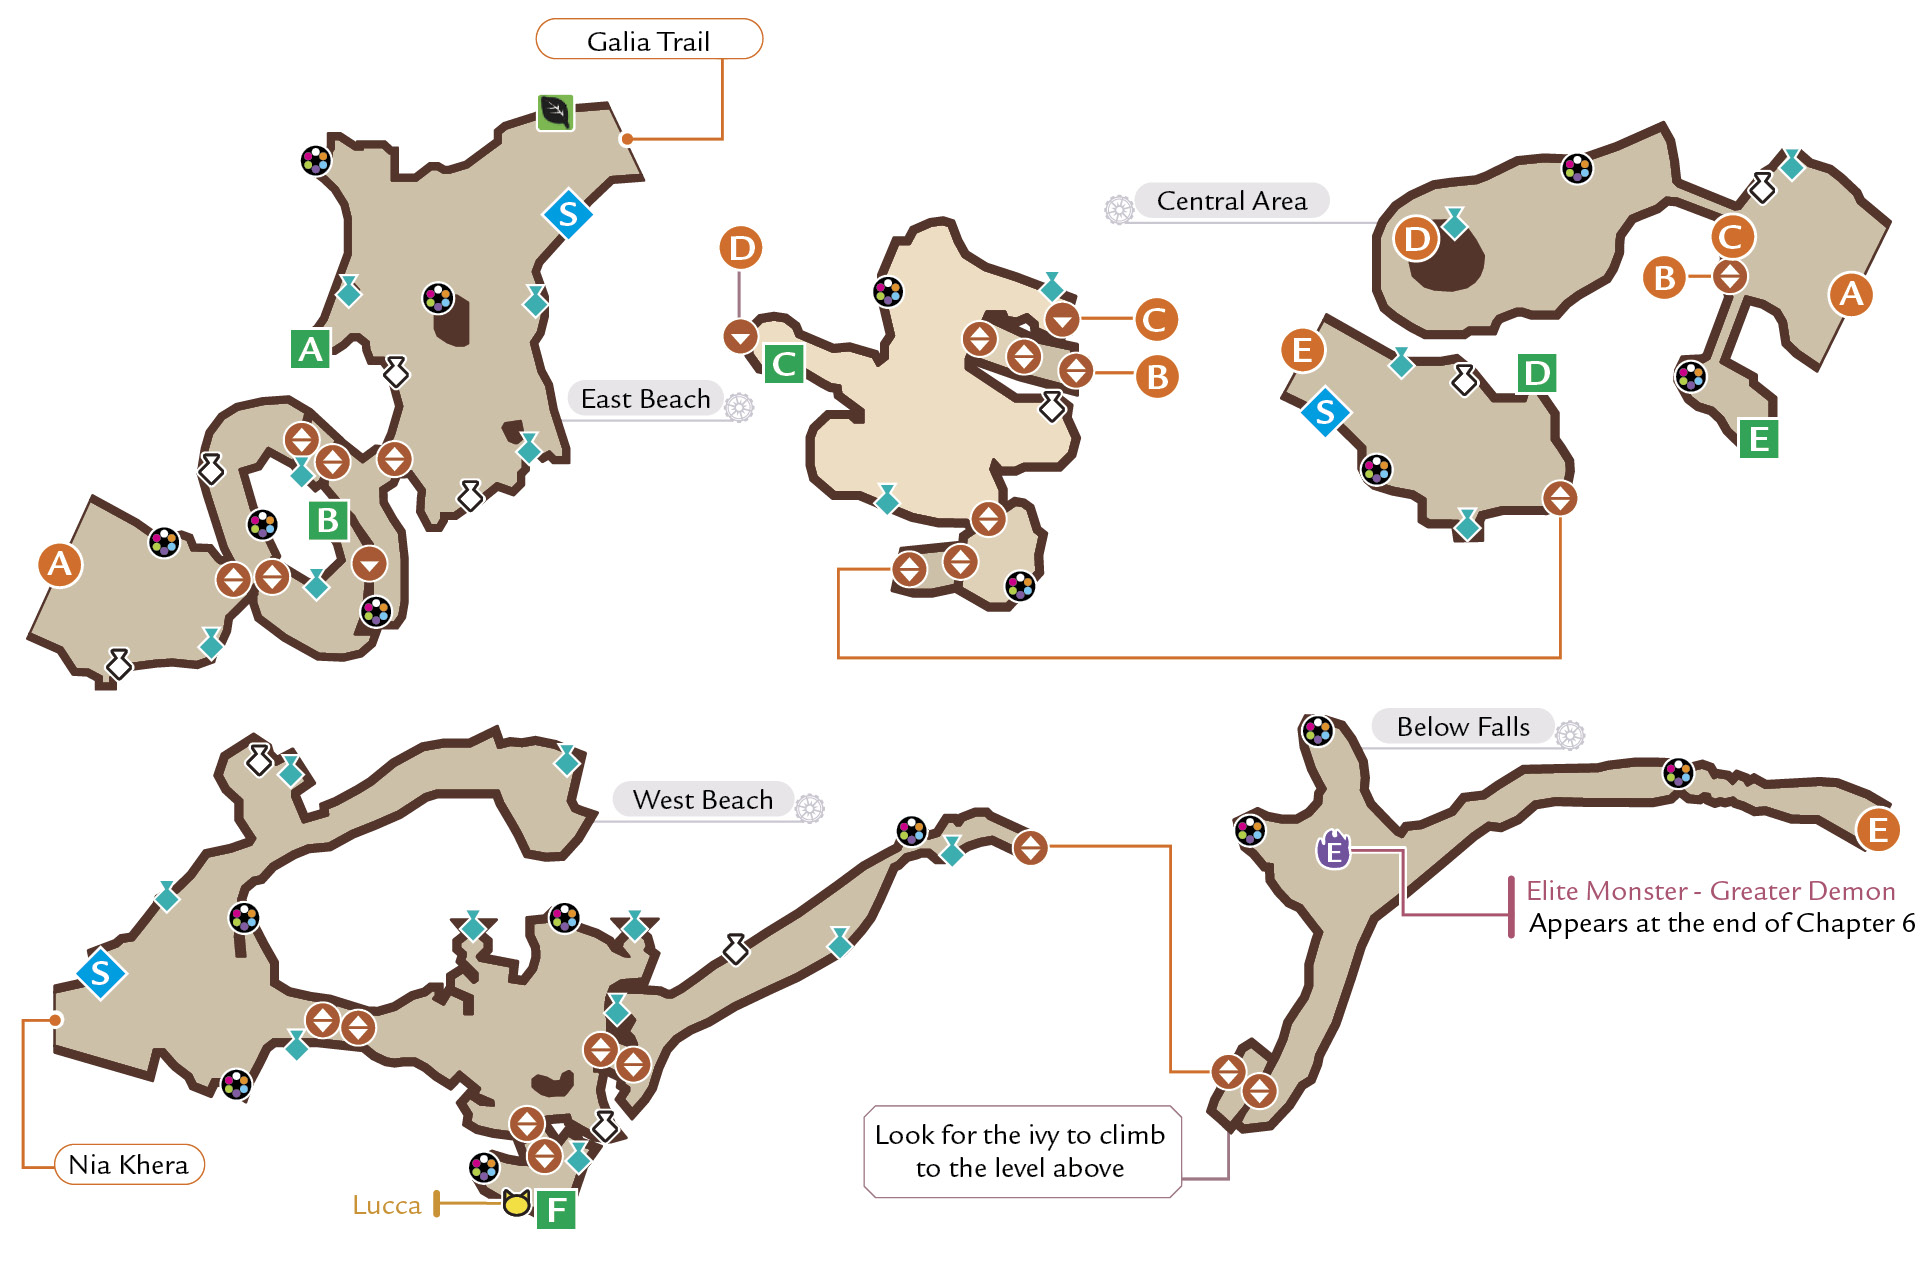
A Day at the Beach
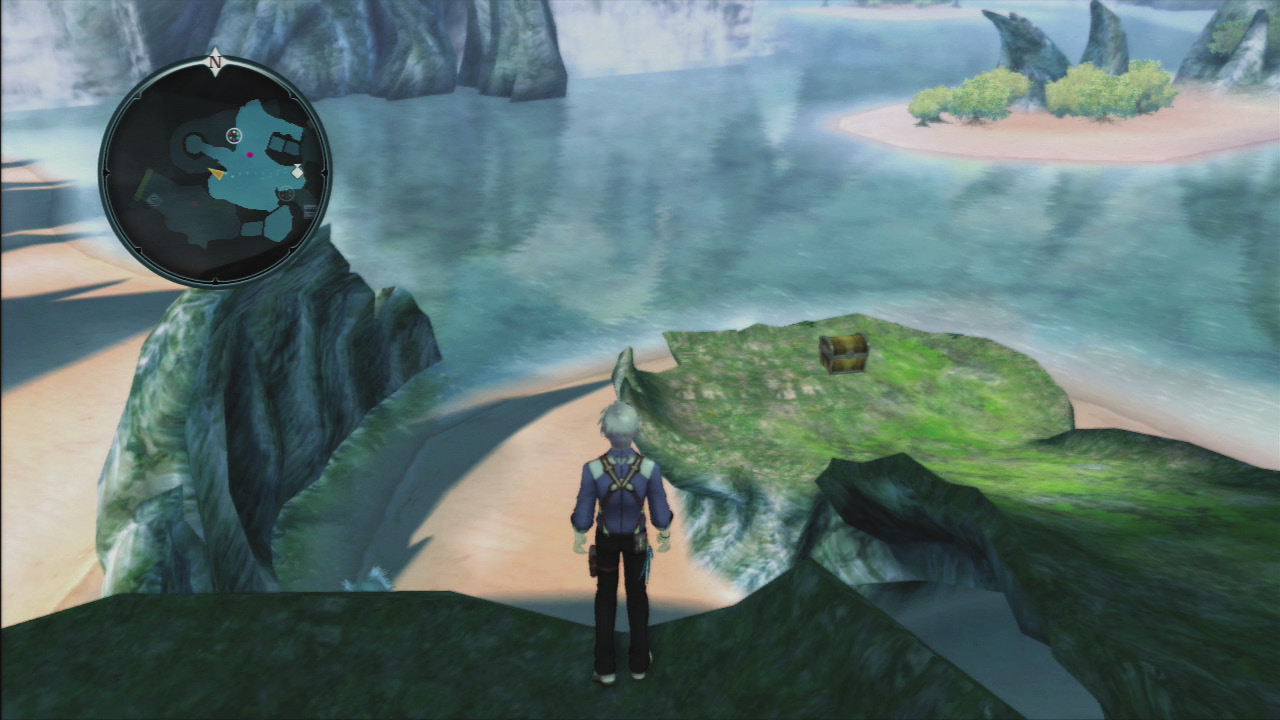
If you forgot to stock up in Hamil, there is a Peddler on the East Beach that has weapons, armor, food, and accessories. This beachfront property is beautiful to look at, but somewhat tricky to navigate. This is especially true in the Central Area that has multiple levels and ledges as well as private coves along the water.
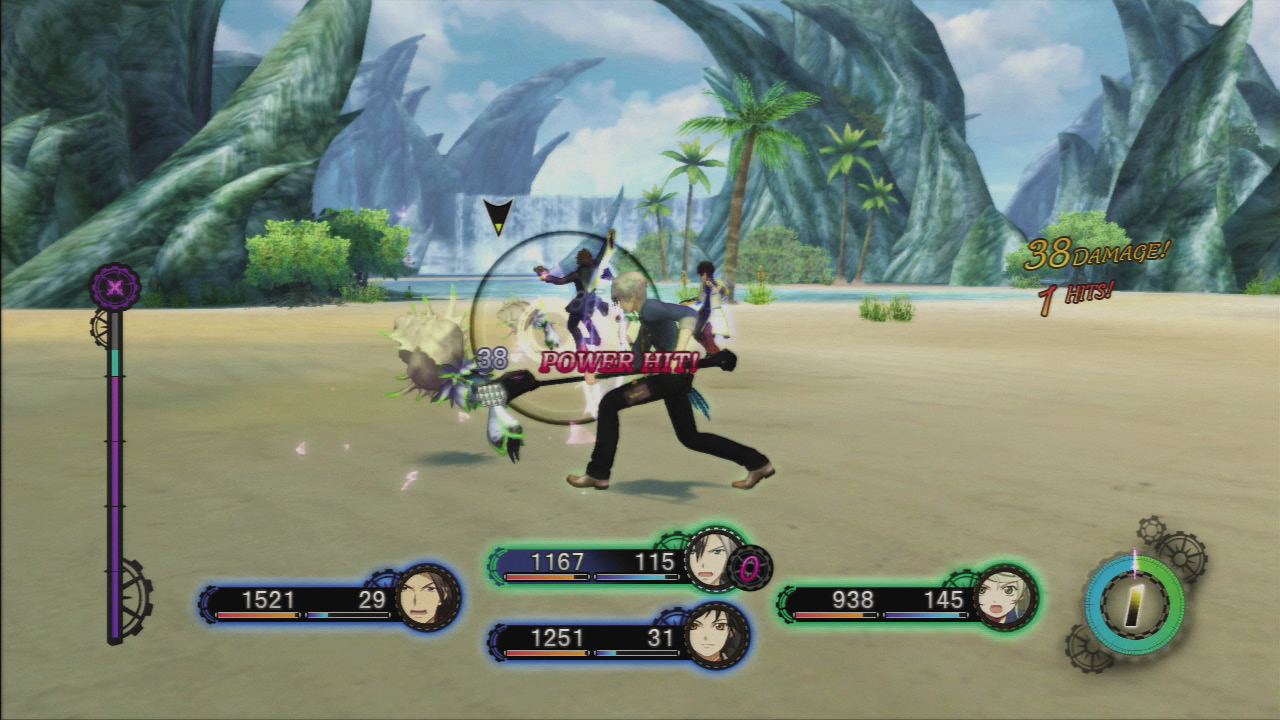
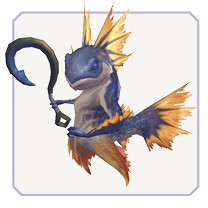
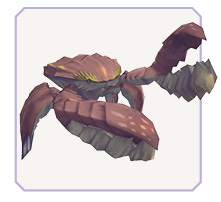
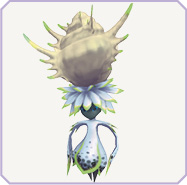
The water-loving monsters of this area are all weak to fire and it is easy to exploit this weakness. Ludger can deal Power Hits using his Crimson Fury arte and Alvin and can prey on the fire weakness with Variable Trigger. The two toughest foes are the Crab Men and Coastal Mandragora that have relatively large water-based area attacks such as Splash. Switch to your sledgehammer when battling these foes to break through their defenses and score Power Hits.
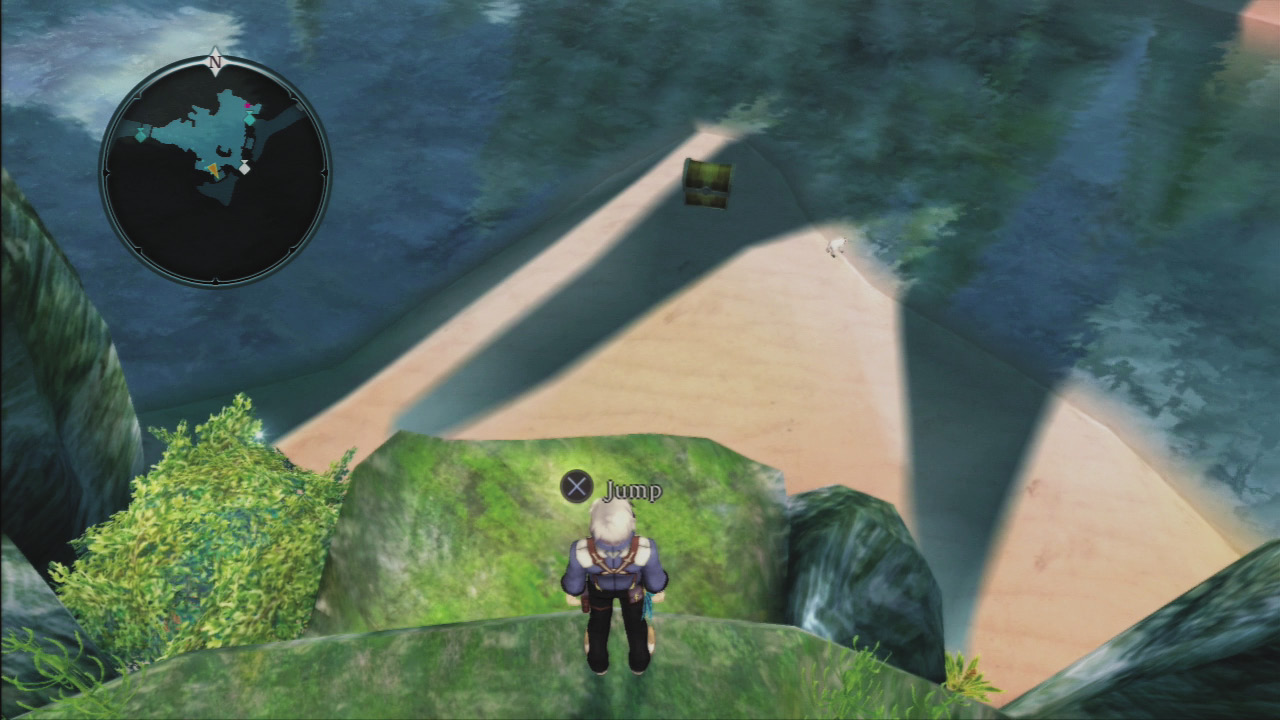
Jump down a series of ledges in the southern section of the West Beach to find Lucca getting a drink near a treasure chest.
Debt Repayment Interval 5-6
Town
Nia Khera
|
Inn Price |
Free |
|
Elemental Ore |
— |
|
Enemies Level |
— |
|
Cats |
Badger |

Nia Khera
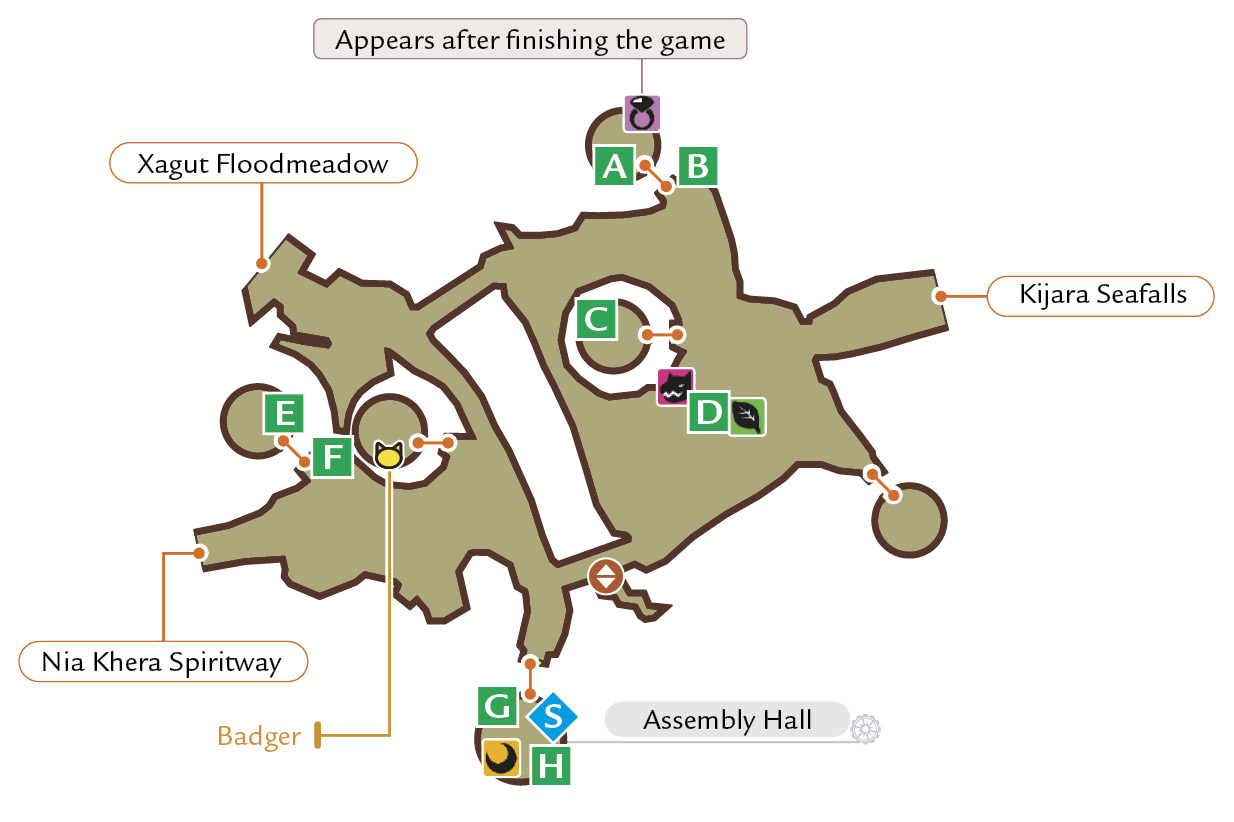
Get New Accessories
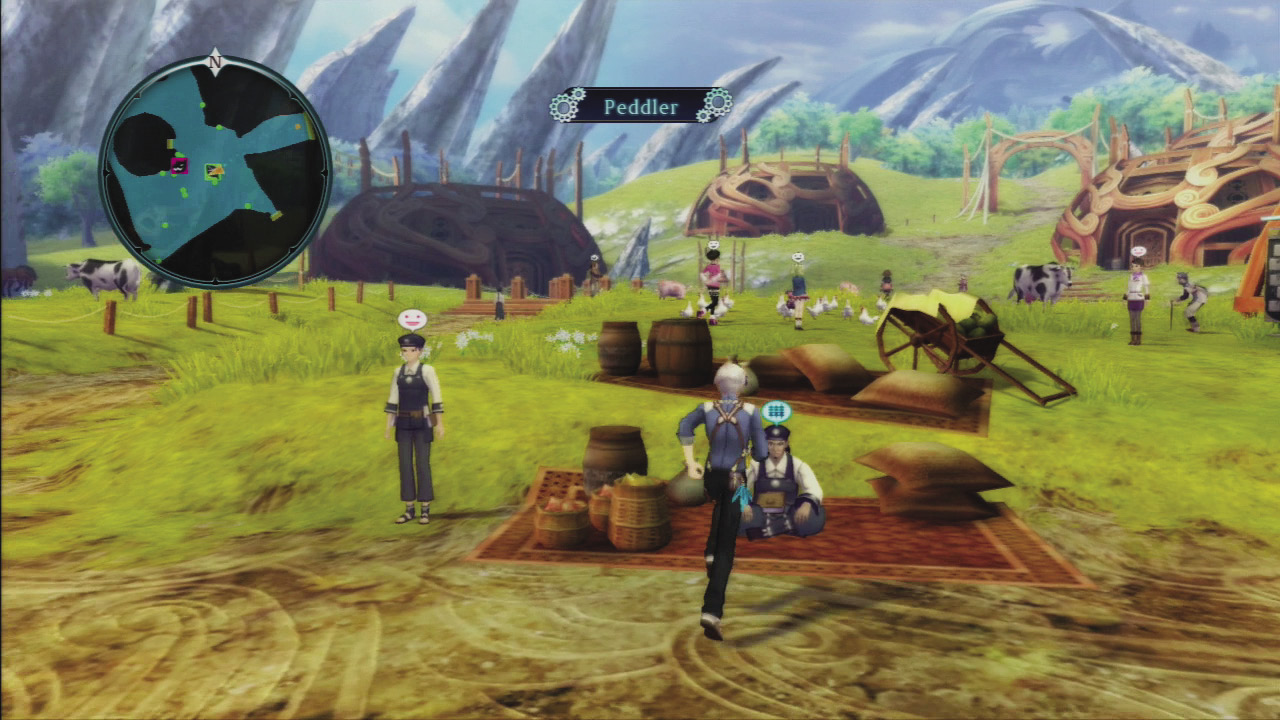
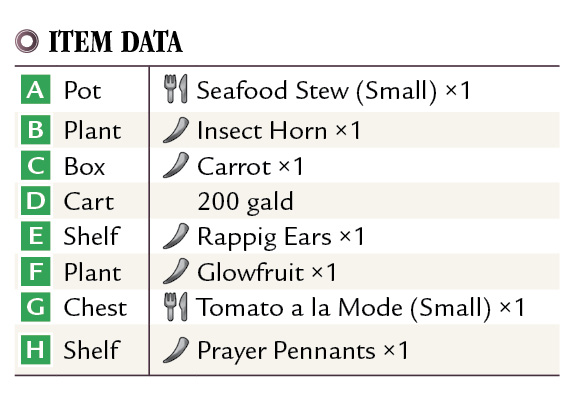
Near the entrance is a Peddler sitting on a rug that has many new symbol accessories and rings for sale. Each of the rings can raise one of your stats 10%, but it takes the place of an armor accessory, so it better be worth the drop in protection. If you need to heal, go south to the Assembly Hall Lodgings for a free bed.
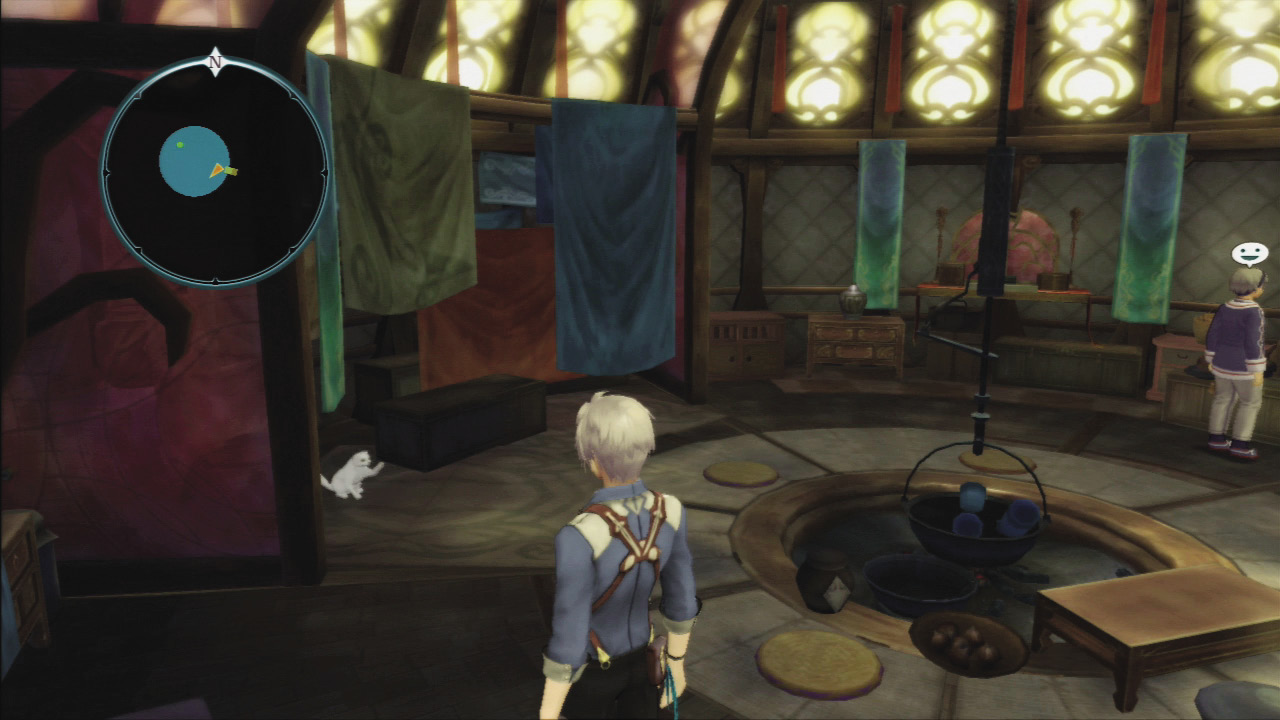
Badger the gray cat is sitting in a hut in the western section of town.
Debt Repayment Interval 5-6
Field
Nia Khera Spiritway
|
Inn Price |
— |
|
Elemental Ore |
9–30 |
|
Enemies Level |
14–18 |
|
Cats |
Norse |

Enemies
Toadstool Goblin
|
Type |
|
|
HP |
1813 |
|
Weak |
|
|
Strong |
|


Treant
|
Type |
|
|
HP |
3900 |
|
Weak |
|
|
Strong |
|


Chirpee
|
Type |
|
|
HP |
1813 |
|
Weak |
|
|
Strong |
|


Butterfly

|
Type |
|
|
HP |
1950 |
|
Weak |
|
|
Strong |
|


Nia Khera Spiritway
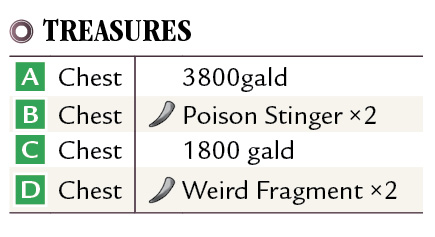
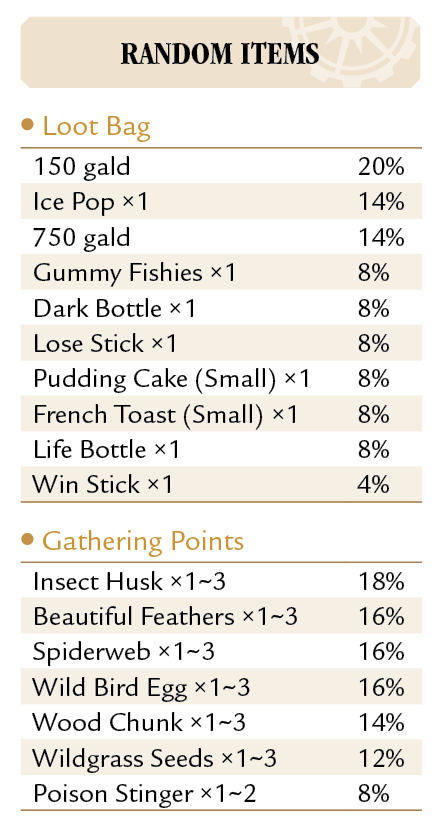
Explore the Elevated Plains
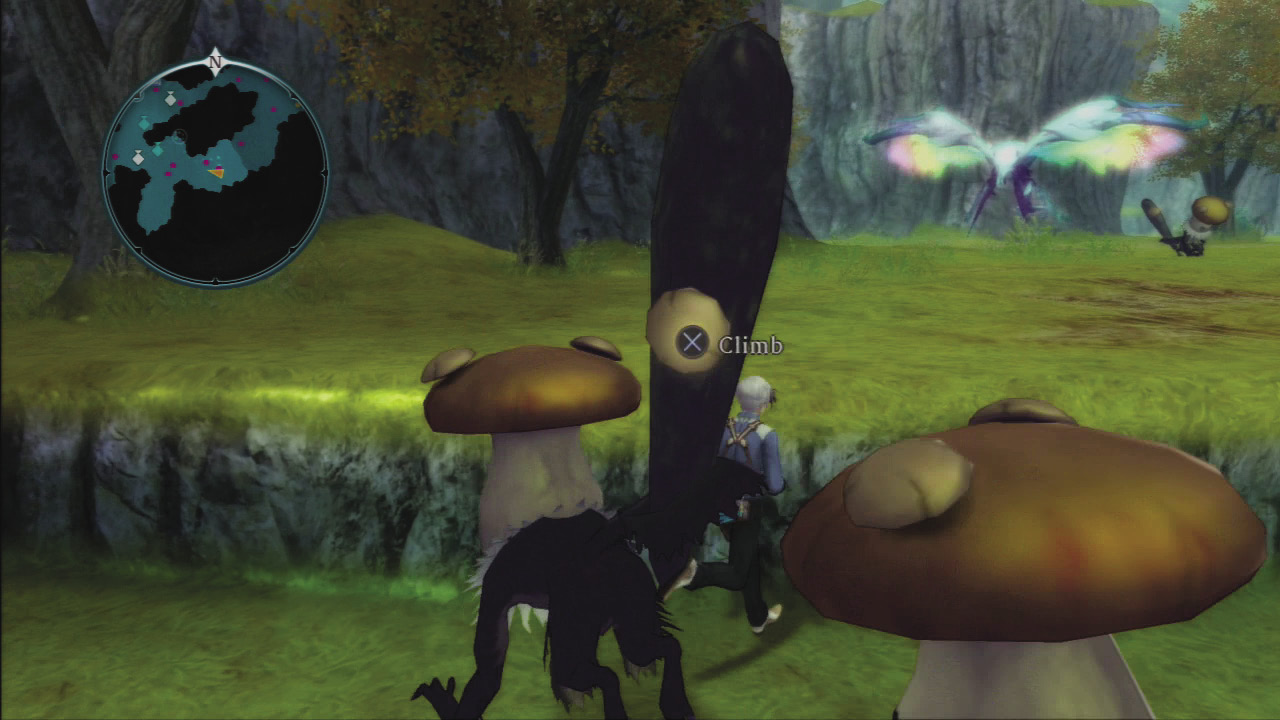
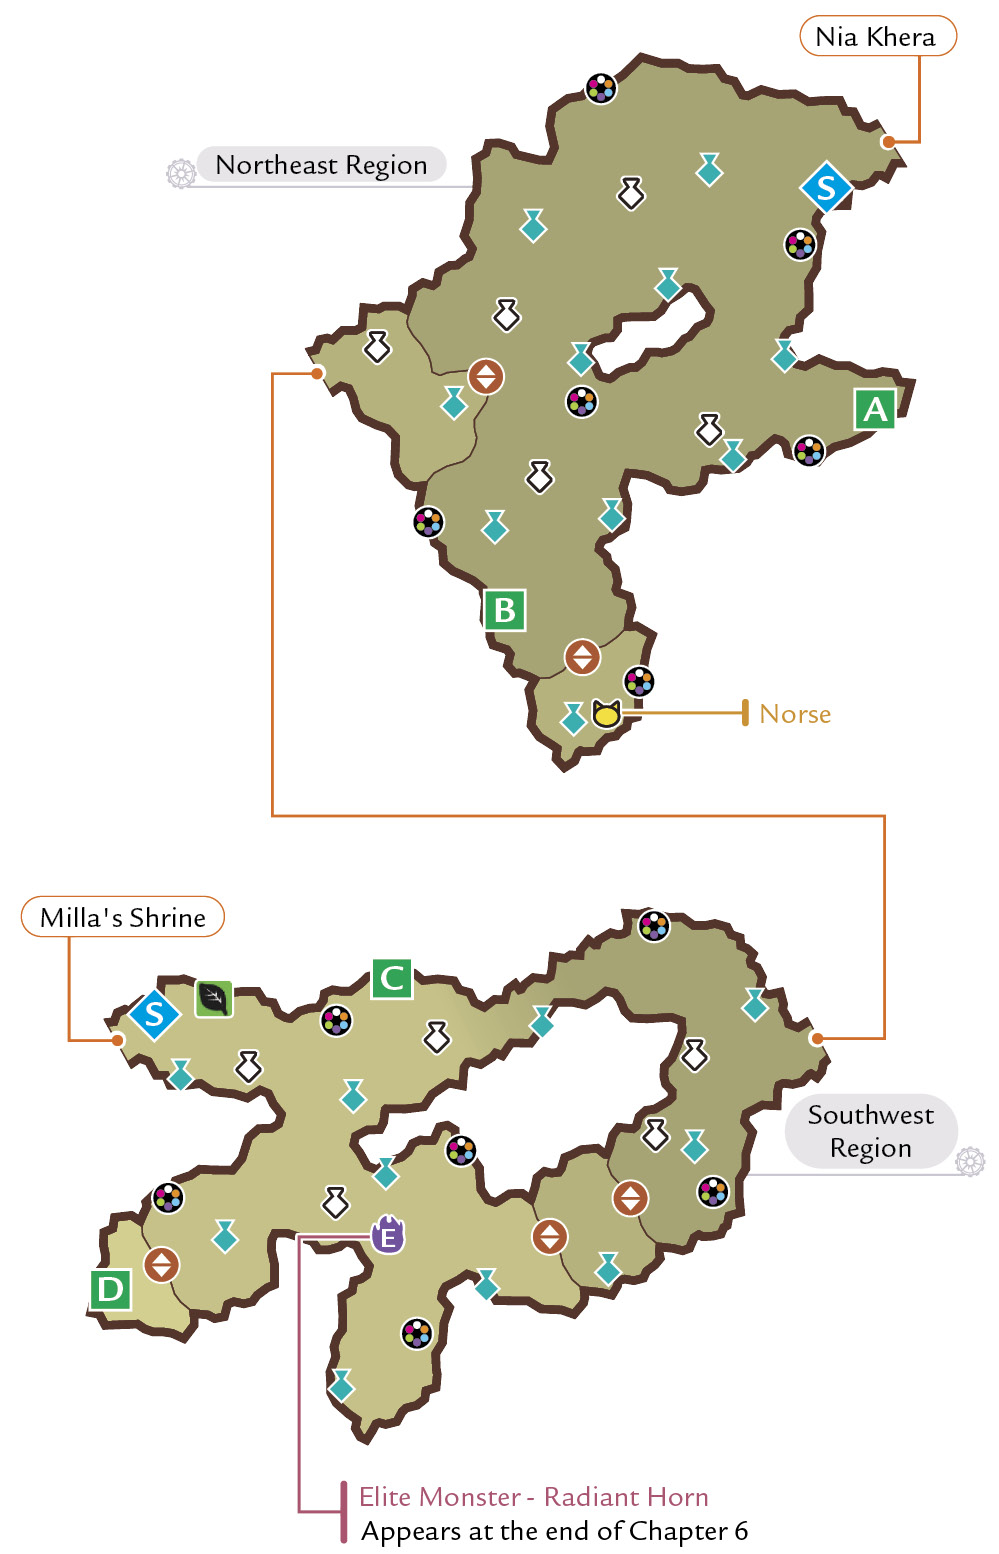
There are several elevated sections in both regions that are not very high but are still tall enough to require you to jump up or down. These can be used to your advantage to separate yourself from monsters, or it could work against you while you attempt to flee if you run into the short barriers. There is a Peddler in the Southwest Region, but he only carries food and basic items.
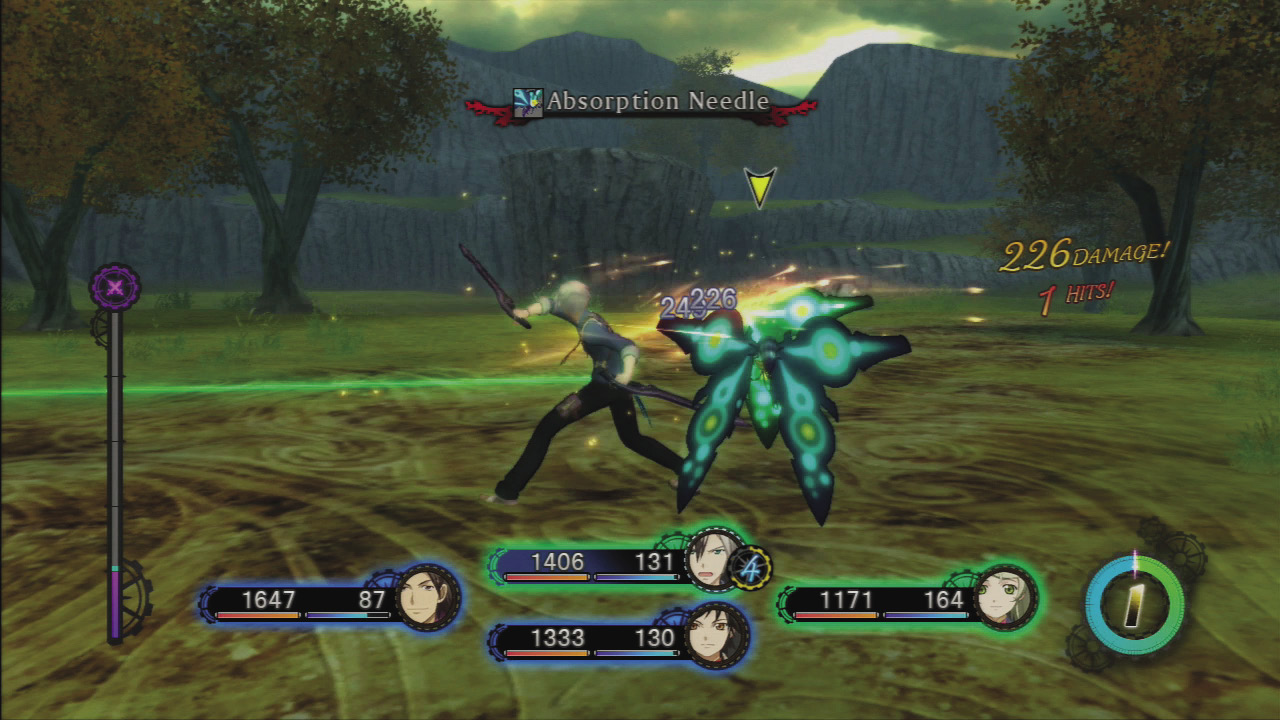
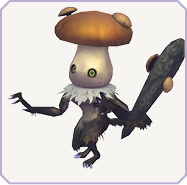
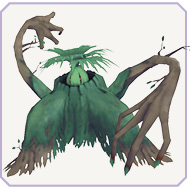
All of the foes are weak to light artes as well as Shot, Strike, or Slash damage. Ludger can leverage these weaknesses by using Rolling Thunder with his guns or Hungry Hunter with the sledgehammer. The Treants have the most HP to deal with, but the sledgehammer can easily score Power Hits on these slow foes, and artes like Hammer Toss are very effective on them. The Butterflies are quick and like to use Absorption Needle, but the damage from that move is not very high and they telegraph the move by lighting up.
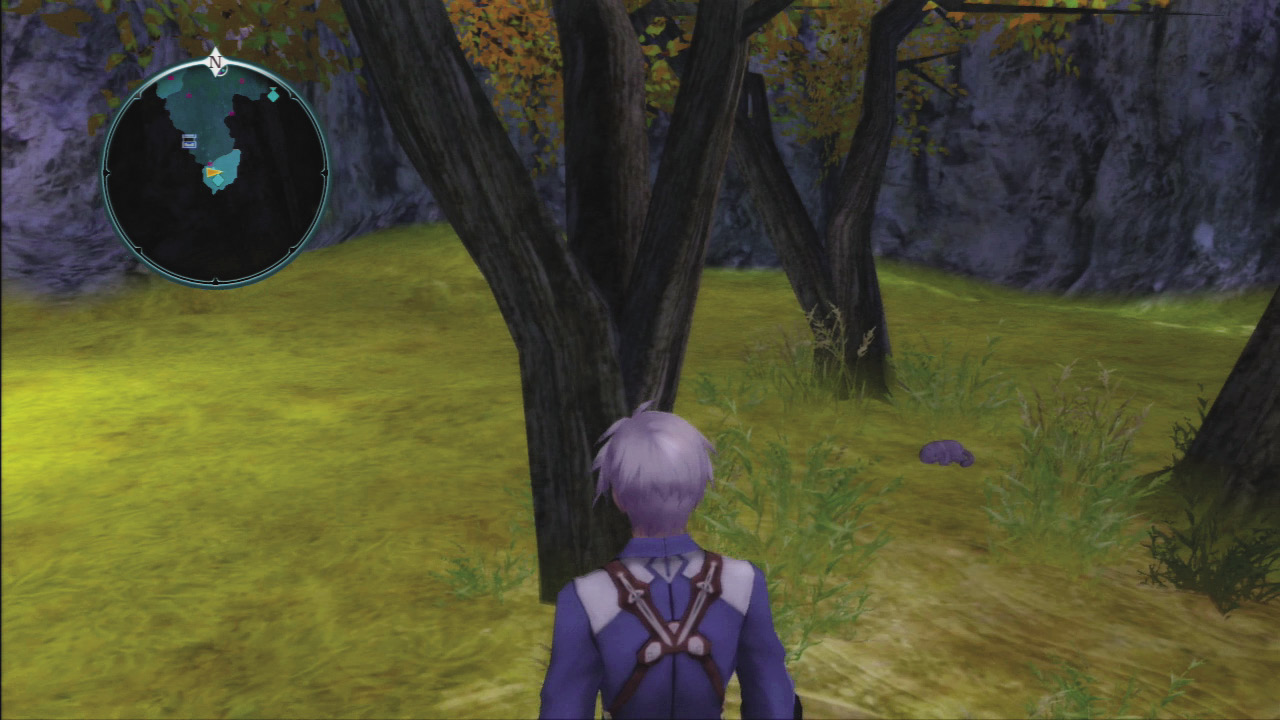
In the Northeast Region, climb a small elevated section and look for Norse the cat snoozing in the shade of the center of a trio of trees.
Debt Repayment Interval 5-6
Town
Milla’s Shrine
|
Inn Price |
— |
|
Elemental Ore |
9–30 |
|
Enemies Level |
— |
|
Cats |
Shorty |

Milla’s Shrine
Explore Milla’s Domain
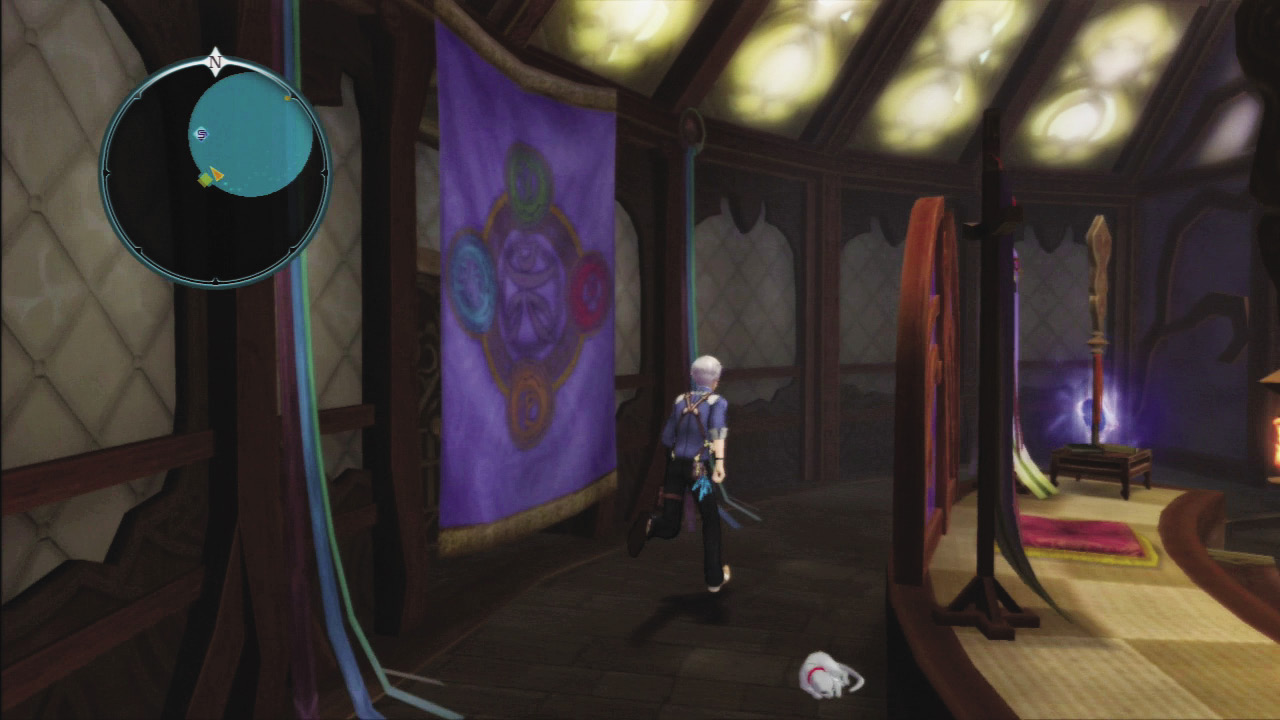
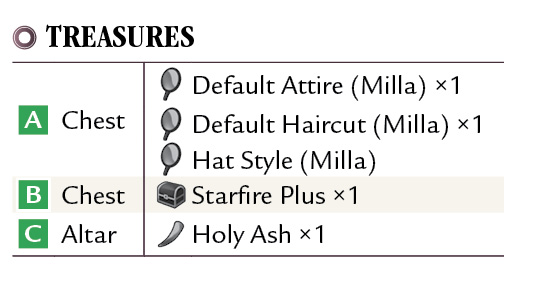
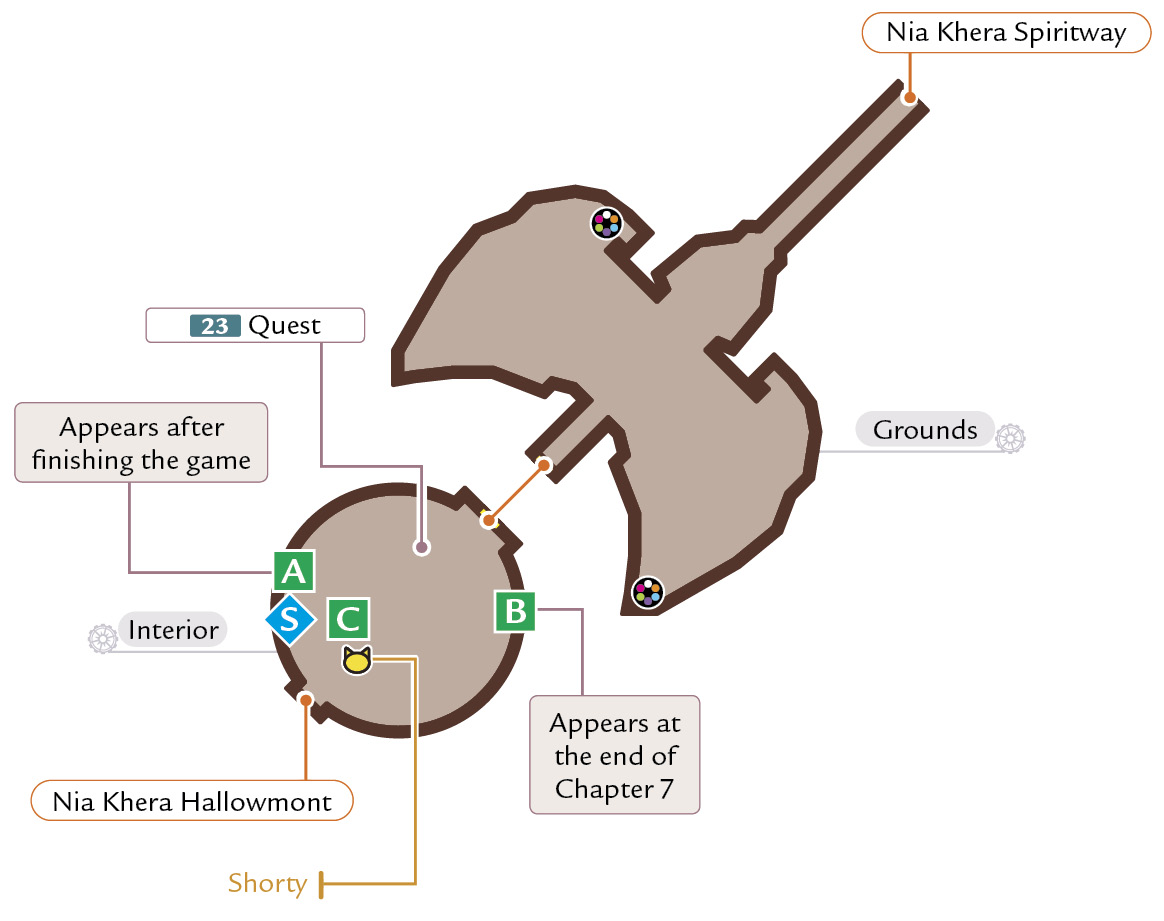
Use the save point if you need to and then search the altar to find the Holy Ash, which is part of an Item Quest. Go in back of the altar to locate Shorty the cat and a tapestry that can be examined to reveal a secret exit to Nia Khera Hallowmont. Return to the shrine later in the game and after completing the game to find several other valuable items.
Debt Repayment Interval 5-6
Dungeon
Nia Khera Hallowmont
|
Inn Price |
— |
|
Elemental Ore |
9–30 |
|
Enemies Level |
15–19/51–55 (After Chapter 11) |
|
Cats |
Spartan |

Enemies
Sylvan Mare
|
Type |
|
|
HP |
1897/4910 |
|
Weak |
|
|
Strong |
|


Floral Butterfly

|
Type |
|
|
HP |
2040/5280 |
|
Weak |
|
|
Strong |
|


Floral Harpy
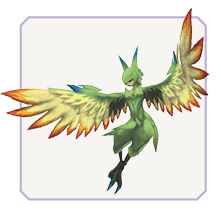
|
Type |
|
|
HP |
2040/5280 |
|
Weak |
|
|
Strong |
|


Megistus Treant
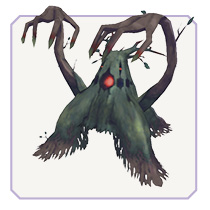
|
Type |
|
|
HP |
4080/10560 |
|
Weak |
|
|
Strong |
|


Nia Khera Hallowmont
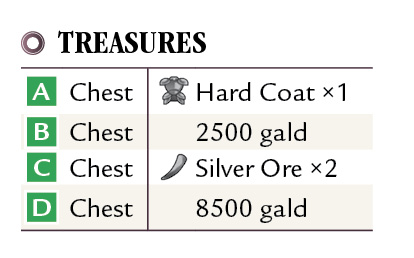
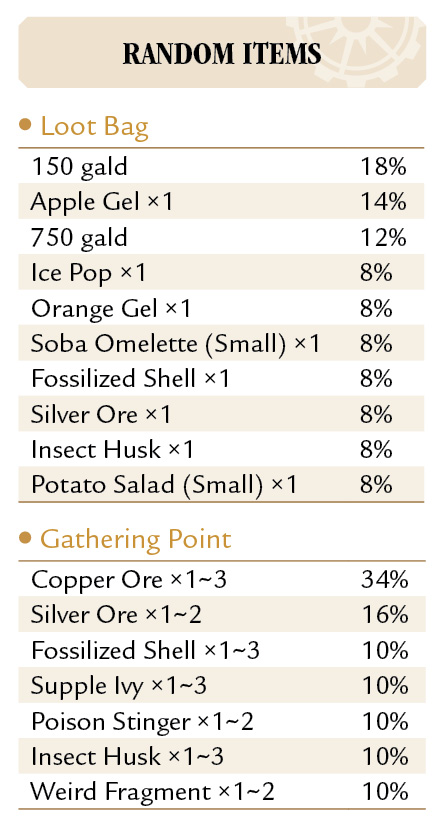
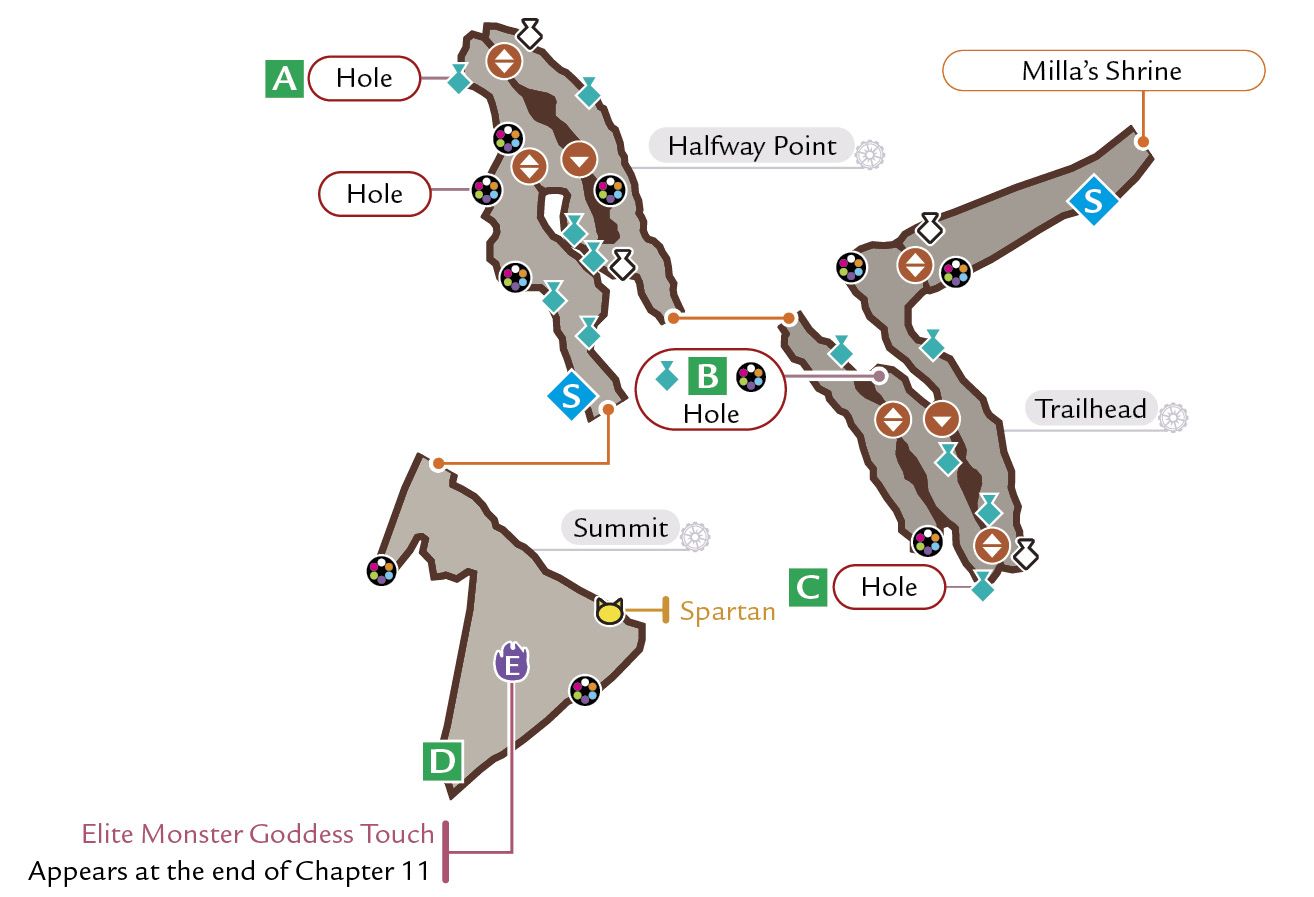
Climb the Mountainside
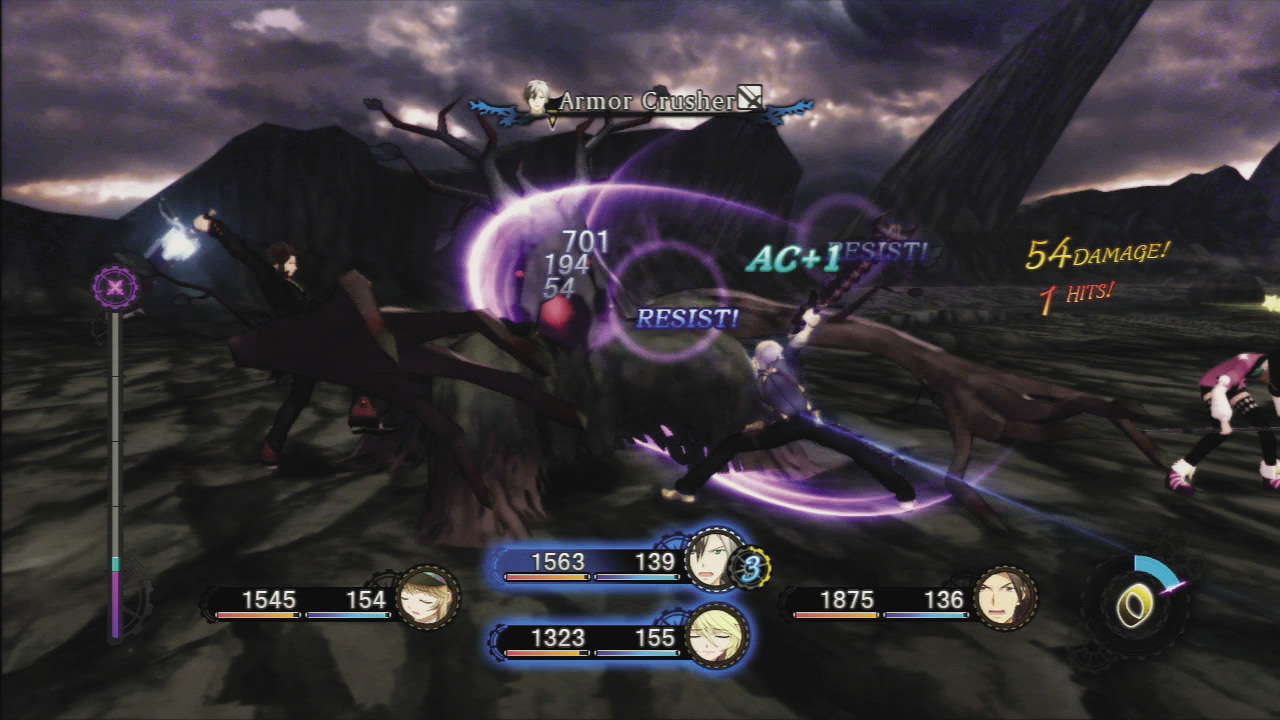
Nia Khera Hallowmont consists of several narrow rocky paths leading to the top of a mountain. Green vines allow you to continue your ascent, but they can be difficult to see against the dark-colored mountainside. The toughest foe in this area is the Megistus Treant. This Power-type creature defends very well and has many powerful attacks with poisonous or shocking effects. When fighting enemies in this area, use light artes to prey on their common weakness.
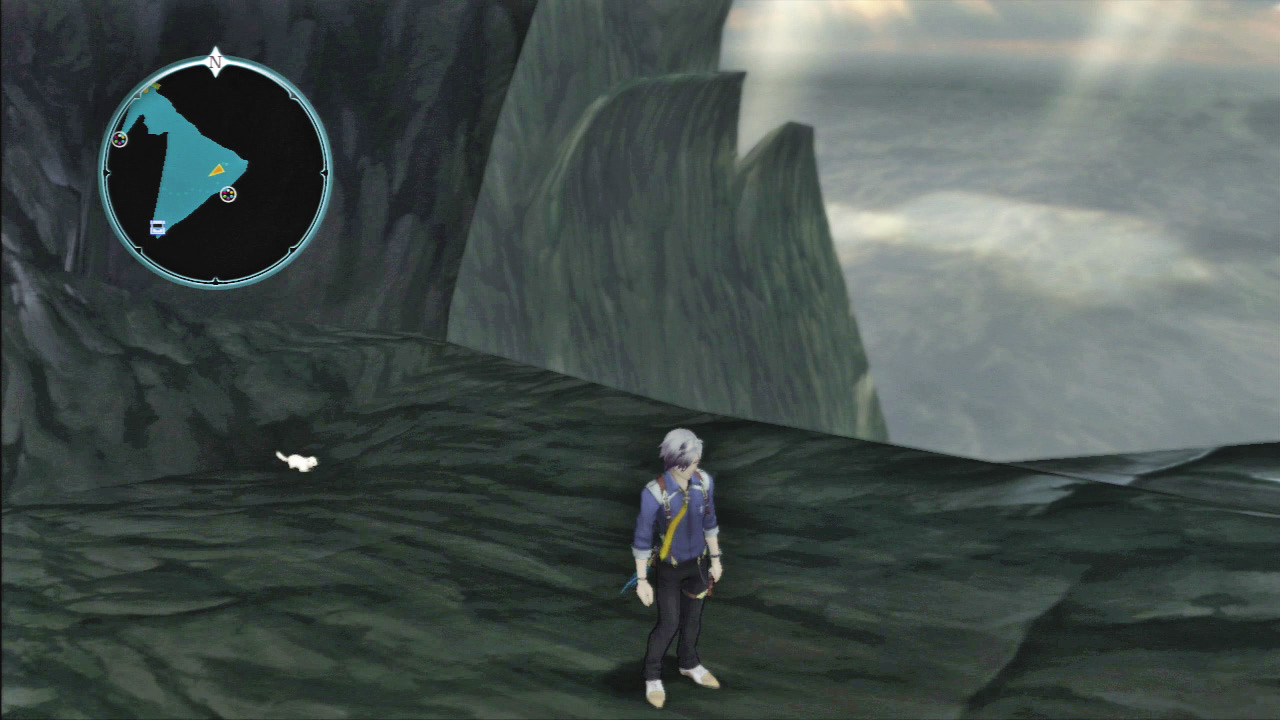
When you make it all the way to the Summit, look for Spartan the cat near the far left edge.
Debt Repayment Interval 5-6
Field
Xagut Floodmeadow
|
Inn Price |
— |
|
Elemental Ore |
9–30 |
|
Enemies Level |
14-19 |
|
Cats |
Prickly Pete |

Enemies
Water Djinn
|
Type |
|
|
HP |
1950 |
|
Weak |
|
|
Strong |
|


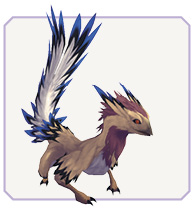
Cockatrice
|
Type |
|
|
HP |
1813 |
|
Weak |
|
|
Strong |
|


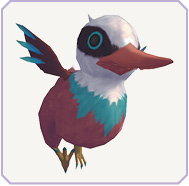
Bog Chirpee
|
Type |
|
|
HP |
1813 |
|
Weak |
|
|
Strong |
|


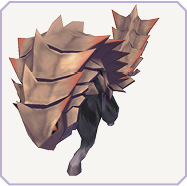
Plated Boar
|
Type |
|
|
HP |
2925 |
|
Weak |
|
|
Strong |
|


Gentleman

|
Type |
|
|
HP |
5850 |
|
Weak |
— |
|
Strong |
— |

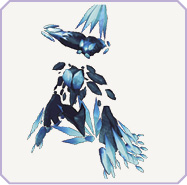
Faud Djinn
|
Type |
|
|
HP |
5508 |
|
Weak |
|
|
Strong |
|


Xagut Floodmeadow
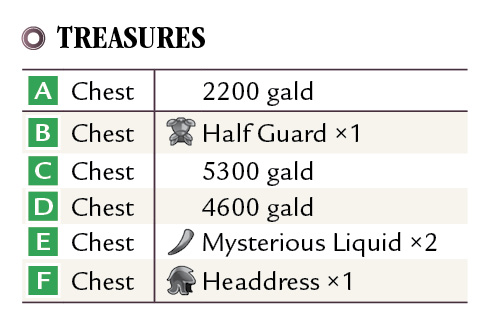
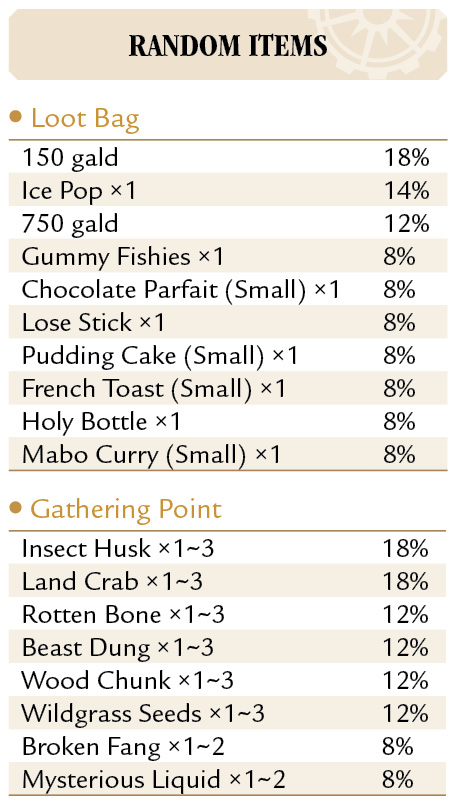
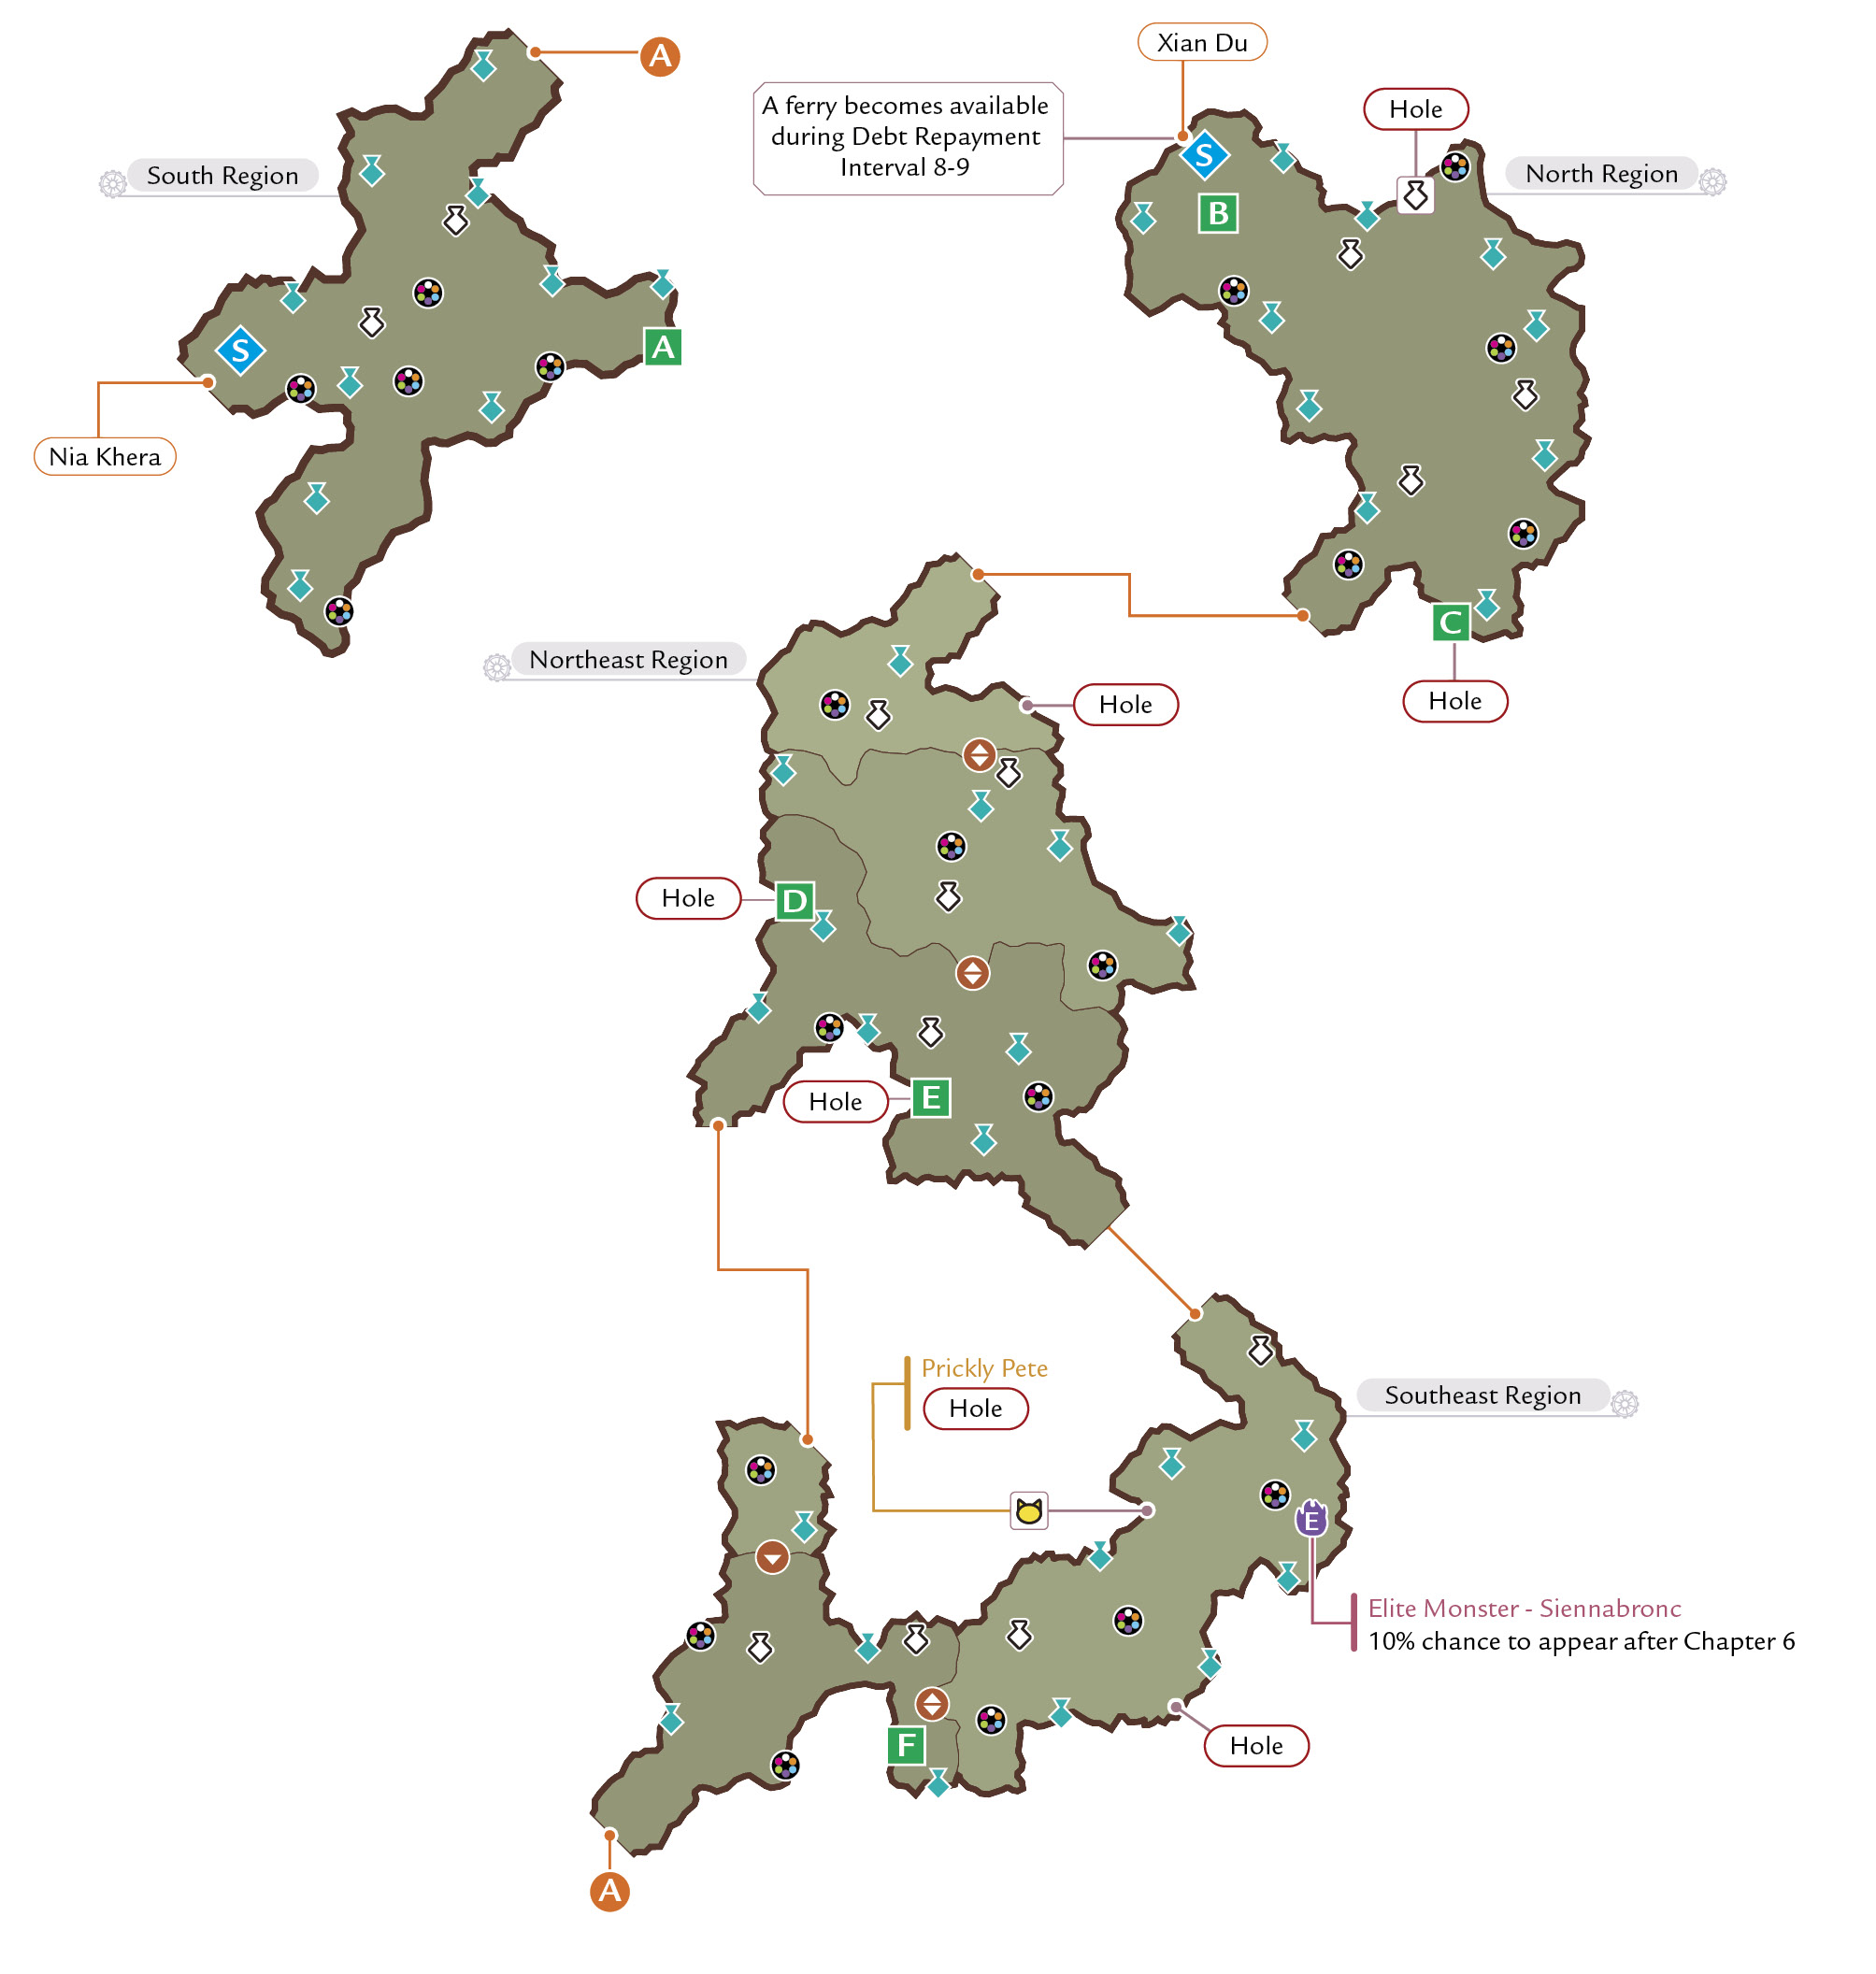
Search the Swamplands
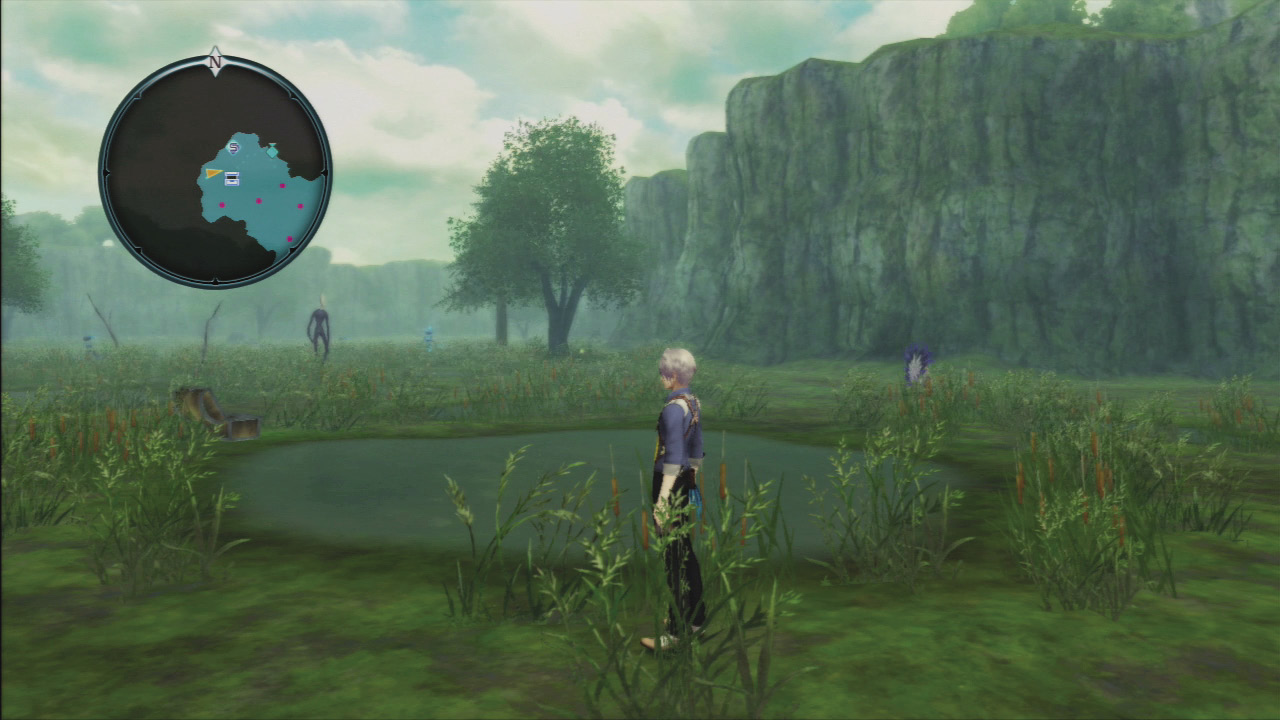
Many of the enemies in this area are strong against regular conventional attacks and it will take a lot of weapon switching to take advantage of their weaknesses. Also, this means you need to be extra careful to use the correct type of artes for each enemy. For example Water Djinn are weak to fire and strong against water, while the Cockatrice has the opposite strength and weakness. Set up your weapons with fire, water, and wind artes and press R1 to check each enemy’s weakness on the battlefield before engaging it.
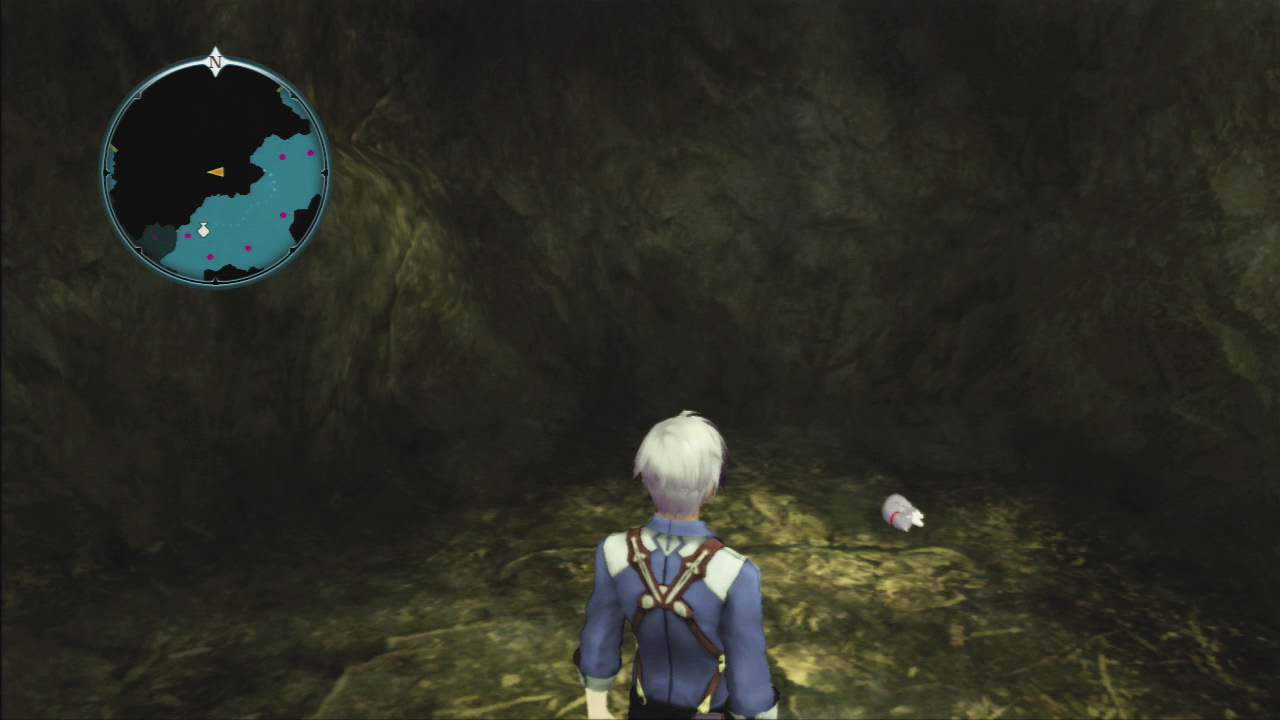
In a small cave in the Southeast Region is Prickly Pete and his Item Quest collar.